Part 15: Oh Dia
13. Oh DiaSo, remember how the game's been generally easy up until now aside from the one blip that was Barbariccia? Yeah, let's change that.
It's been a nice and steady increase in difficulty that we've been able to keep pace with. The next few dungeons are, uh, not that.
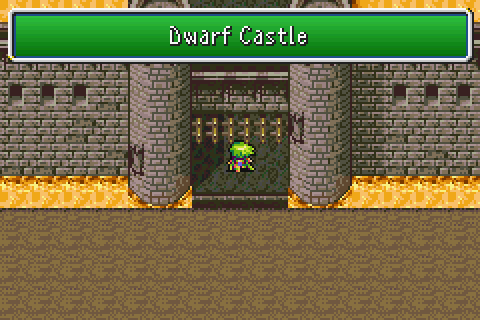
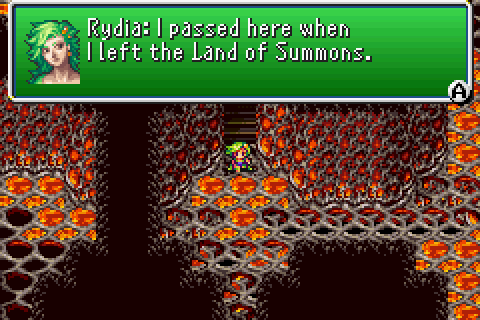
Before we can worry about that, though, we've got to head back to the Dwarf Castle for a few moments because we can't go anywhere else. There's lavagma in the way, you see.
Before we can deal with that, we need to know where the plot wants to send us.
And the ability to enter the dungeon in question.
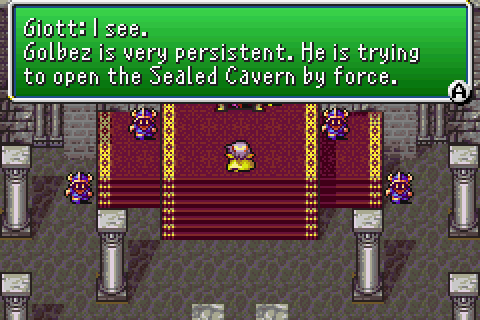
...We are not going to the Sealed Cavern yet. That would be suicidally stupid. Even with my ideas on how to manage it without hours of grinding, I still need something to tip the odds in my favour a bit for the boss. Something like a new summon that deals lots of damage.
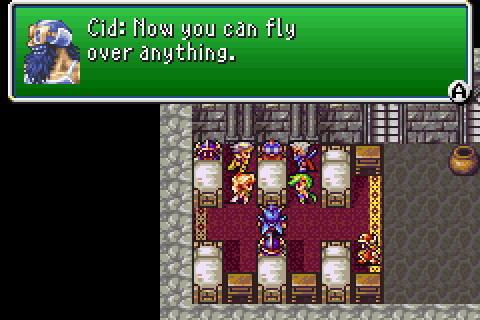
We need to go and see Cid now. He just so happens to be able to berate the hell out of Edge...
While also using him as cheap, manual labour for making the Falcon that much more awesome.
NOW, we can leave and go on a journey to a dungeon or two.
Is what I would like to say, but first we need something else.
To the far south, we can find a town that is easily missed and just as easily forgotten about.
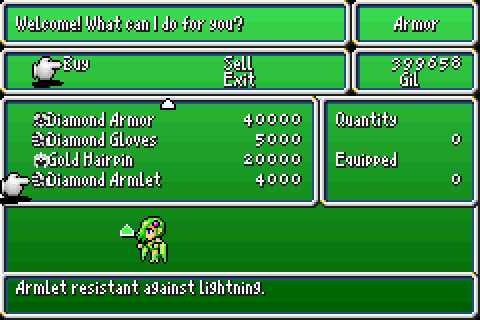
Tomra doesn't have much in store for us, but it does have this piece of armour. We want the Diamond Armlet because its Lightning resistance will stop a specific random enemy from killing us in 2 hits.
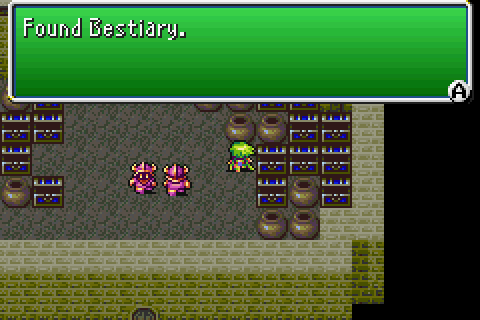
We can also pick up some super weak elemental attack items, money and a Bestiary. The Bestiary is the item version of Scan. We'll use it maybe twice ever. Knowing enemy HP/Weaknesses etc. is nice and all but I've played the game enough to know some of the useful stuff without thinking, some of it is super obvious anyway and let's be serious: who even uses Scan anyway?
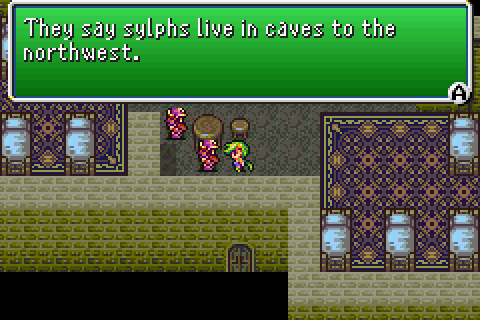
Oh, and in the inn we can find out about one of the three caves we have immediate access too.
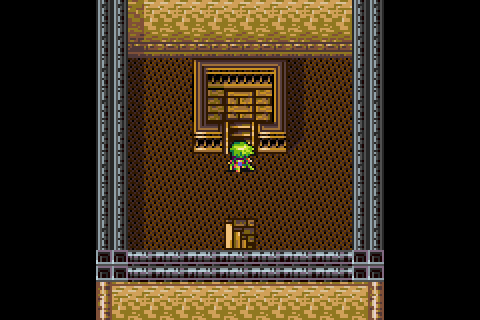
Before we deal with Sylphs, sentient doors of death or a god of some description, let's head to the south-east and visit the guy who lives here for the first and probably last time.
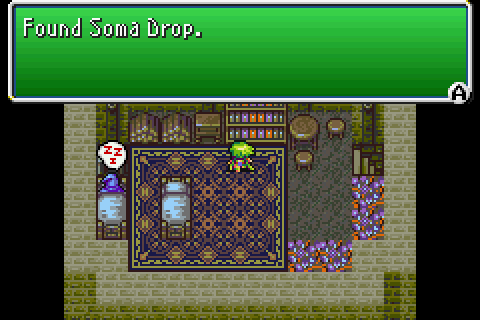
In his bookcase, he has a Soma Drop which is absurdly useful. It does for MP what the apples do for HP, but it's only +10 instead of +50/100. Makes sense, though, since MP is capped at 999 instead of 9999.
There's also no better, or worse, version so it's +10 or nothing.
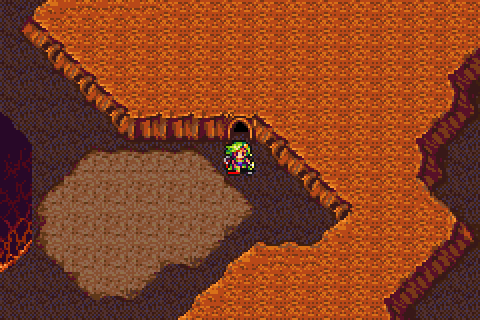
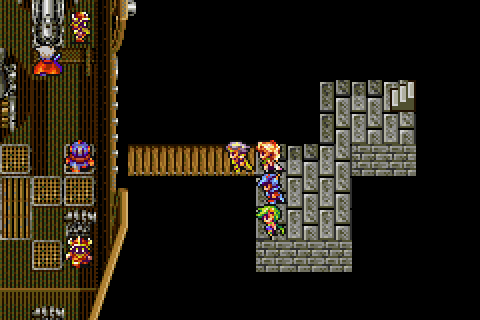
That done, we'll go to this cave up in the northwest corner first. It's the easiest of the three, but that's damning with faint praise.
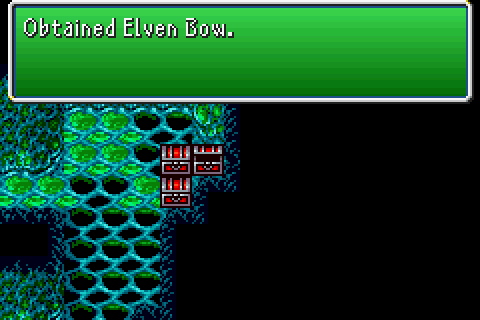
Sylph Cave kinda sucks. It has awful treasure (pictured here is arguably the best thing we're gonna find), it goes on for a lot longer than it should, those green bits of goo are damage tiles because of course they are, and the random encounters are awful.
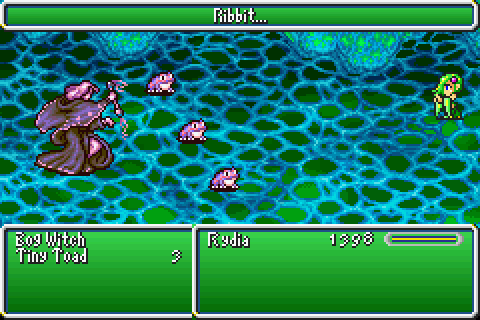
This one's the easiest, but that's because it only does one thing. The witch doesn't attack, ever, and the toads just cast Toad on you. If it hits (and it will), then you're gonna be super annoyed because they spam it ad infinitum. If you're charging a spell when it hits, and you will be, then you still lose the MP the spell would cost even though nothing happens. If you're smart, you'll come in here with some way to negate Toad completely.
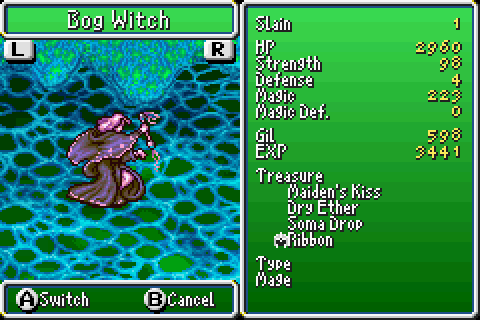
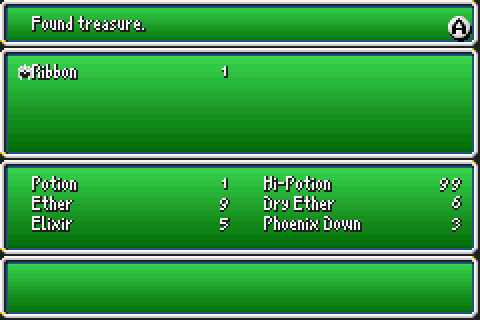
If you're not smart, you will hate yourself forever. Bog Witches are nice enough to have 2 fantastic drops - they're the first source of repeatable Soma Drops, and they have the decency to absurdly rarely drop a Ribbon. This makes most of the difficulty of this dungeon a non-issue, but good luck getting it without farming for it.
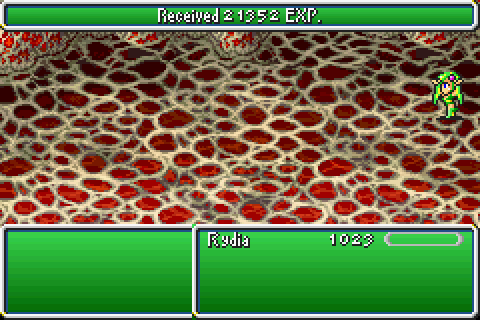
Thankfully, the dungeon having tough as shit enemies is reflected in their EXP gains because this place is wonderful right now.
Of course, it also hates
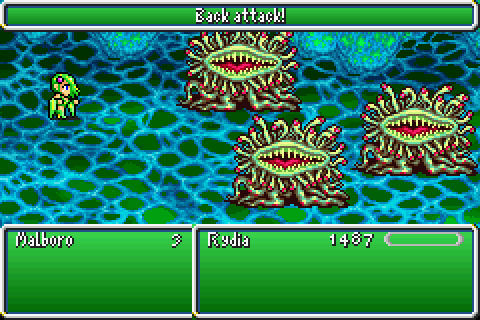
Sometimes the RNG is just feeling spiteful. Malboros are not fun without a Ribbon the best of times. Three of them getting a back attack is just cruel.
Since the only thing I can realistically kill right now is any fight with a Bog Witch in it, this happens a lot sooner than it probably should to be honest.
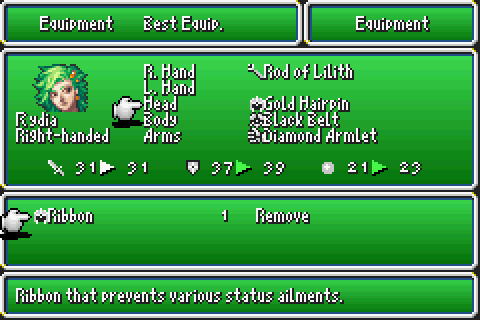
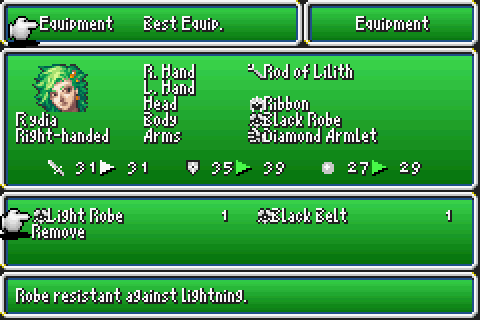
It's a nice boost over the Hairpin in return for granting immunity to lots of things. Namely, in no particular order, (Gradual) Petrify, Toad, Mini, Pig, Silence, Blind, Poison, Curse, Sleep, Confuse and Stop. Or, everything negative but Doom, Sap, Berserk, Slow, Paralysis and critical HP.
So, uh, with this we're pretty safe for quite a while. Kind of. We'll never be taking it off, though, for obvious reasons.
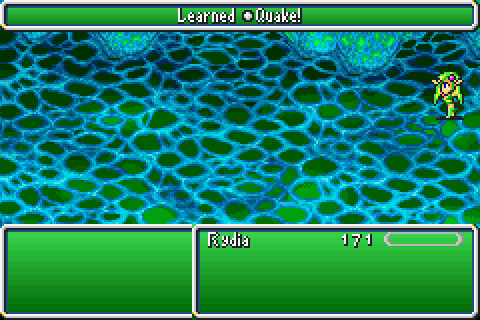
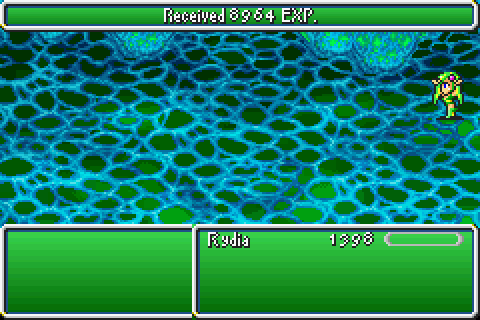
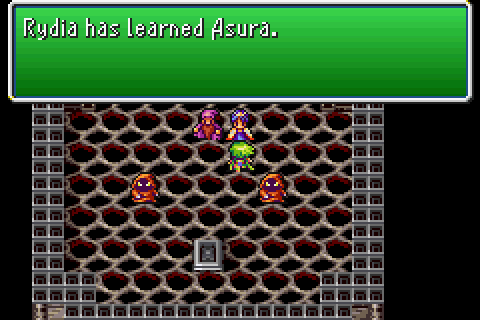
Now that we can fight things, we start levelling up pretty quickly. Come level 47, Rydia picks up Quake and no longer needs to summon Titan for the same effect.
The cave itself is just not particularly fun or interesting along the main path, so we'll skip to this strange house at the end of it.
In it, we find a bunch of sylphs, some gear for Yang oddly enough and Yang himself. We can't do anything else here, so we'll come back later when we can and now we have to leave.
Thankfully, the Sylphs have a teleporter in their home that takes us out of the cave altogether.
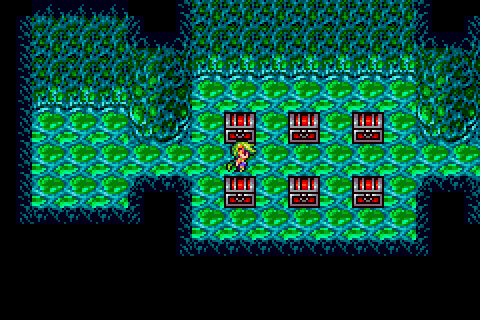
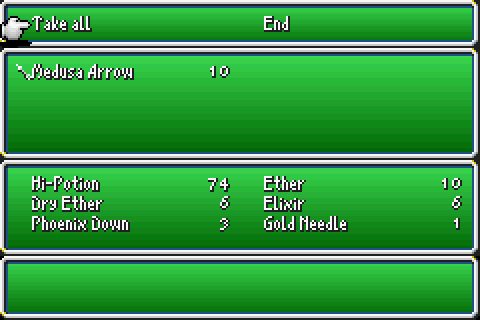
The only other room of note in the entire dungeon is this one. Every space here is a damage tile, because of course it is, and there's 6 chests that are completely worthless. Two of them are equipment for people that aren't Rydia, 3 of them are shit items and 1 of them is arrows.
...So of course I'm clearing them all out.
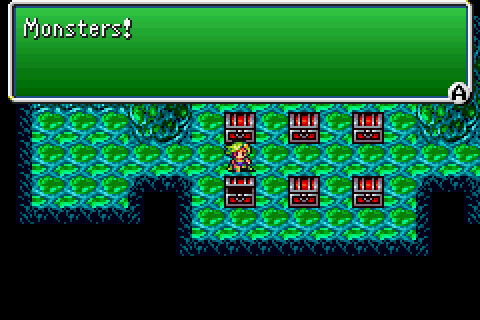
They also all have monsters in them, because of course they do.
[Music: Battle 1 ~ Battle Theme]
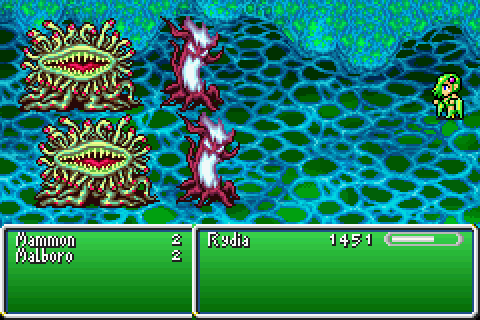
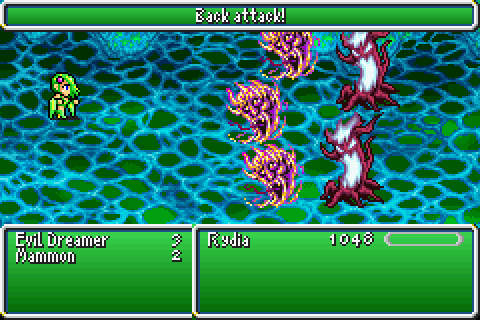
There's four different fights amongst the 6 chests, and the bottom row are all different. Malboros are easily managable now, Mammons are weak to Fire so they die in one Firaga (if you don't kill them in one they cast Berserk on a random enemy). Malboros have no weakness, but they don't have much HP either.
The bottom middle chest is just 4 Malboros. Neither of these two have rewards Rydia can use. The bottom right one has the easiest fight in the entire dungeon.
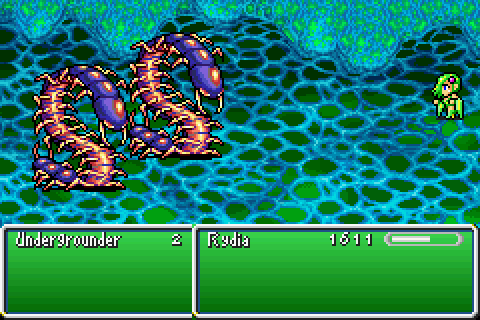
Undergrounders are not as strong as they seem like they should be. They have next to no HP, are awful slow and appear on the underworld's overworld so that speaks volumes about how out of place down here they are.
They're also guarding the arrows which are the only weapon from here Rydia can use. Swell.
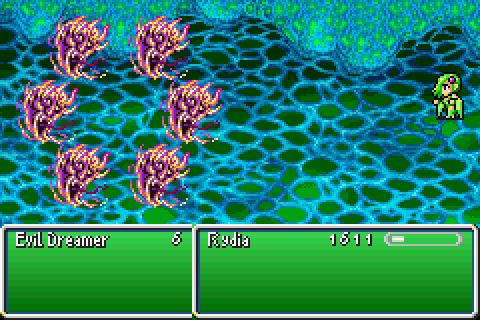
The top row's chests all contain 6 Evil Dreamers. They do two things: cast Fira a lot, and hit you physically. That's it. Being souped up Ghosts, they absord Fire and die pretty easily otherwise. They hit quite hard but shouldn't be that big of a threat.
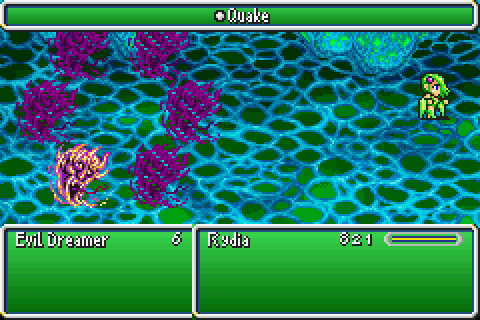
Quake makes very quick work of them.
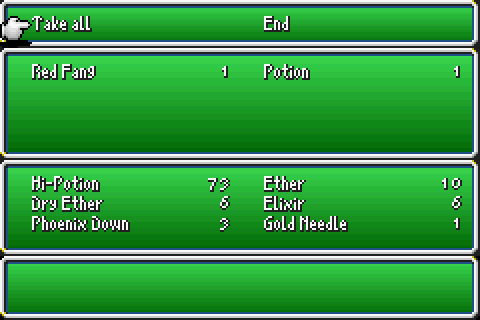
The top 3 chests all contain a fang. The Red Fang, of course, deals middling fire damage. The other two are a Blue Fang (thunder damage) and a White Fang (ice damage). None of these are useful, so we'll be ignoring them completely.
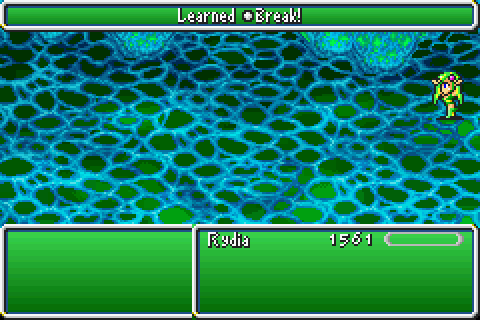
At level 49, Rydia finally learns Break. It functions almost identically to Cockatrice, right down to having the same animation and MP cost. The one advantage it has that Cockatrice didn't is that it can be multi-targetted so it completely outclasses our old friend.
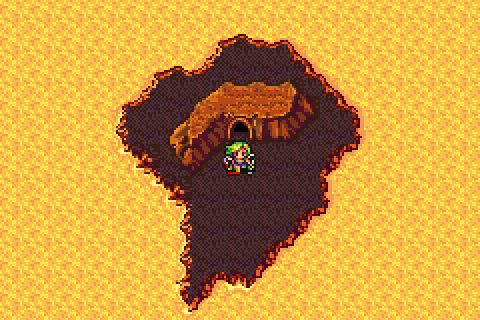
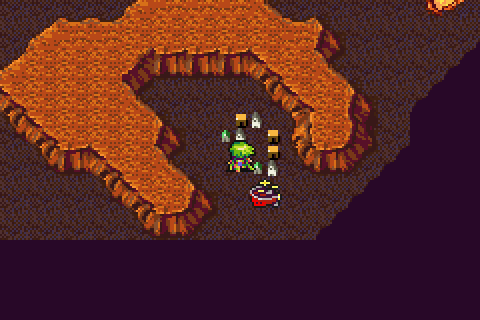
Now that we've cleared out what little in the Sylph Cave there was, let's head to this island near the dwarven castle.
Much like before, we have lots and lots of damage floors. We also have enemies that are dicks and not very many good treasures.
The enemies here are dicks for raw damage output, though, rather than ailments. These guys hurt like a truck, but can be petrified if you get it to stick.
Things here are generally more worth fighting because they give tons of EXP. The damage is a bit offputting, but it's pretty easy to just get back outside and use a cottage.
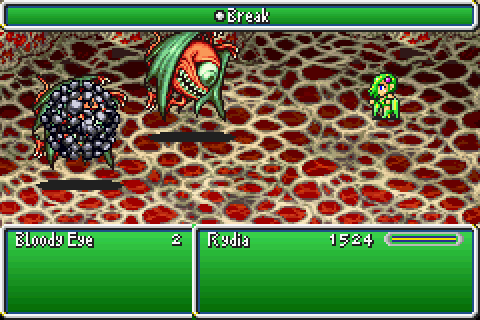
Bloody Eyes are not very threatening, and also petrifiable. They're functionally identical to Hydras from the Baron sewers oddly enough, and just as easily beaten.

Summoners down here work differently to their old versions. They don't come with any buddies, and summon various dudes.
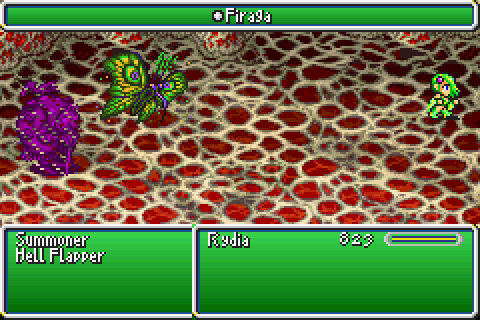
They're pretty weak, and this one just summoned a random moth from the underworld's overworld. Sometimes they're great for EXP, but you need Float to maximise it which we don't have so whatever.
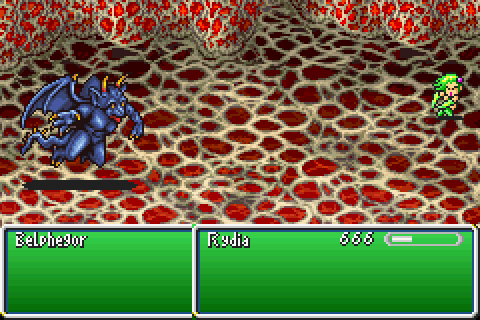
Next up, we have Belphegor who's not particularly exciting and dies in one hit to basically anything. Unlike his much weaker Gargoyle brother, he doesn't appear to cast Tornado so he's not even interesting. Go figure.
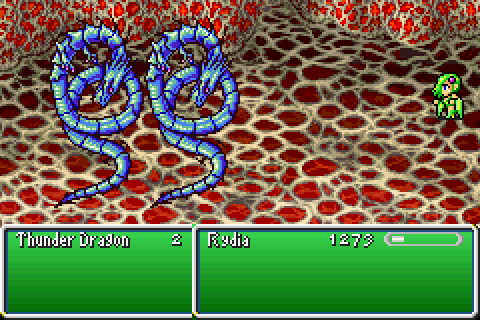
Thunder Dragons are the sole reason I bought the Diamond Armlet. Since we're not running with the Gold Hairpin any more, we need some form of Lightning resistance.
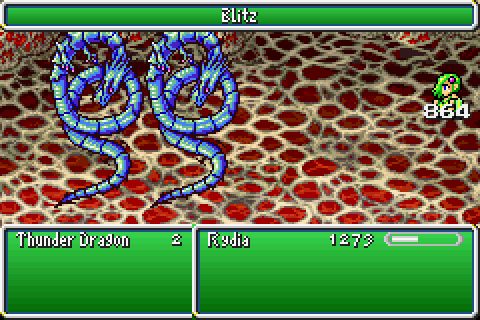
If you're not using any, these guys will kill the shit out of you. If you're using some, then you can actually fight back and win. It goes from over 800, to barely cracking 100. It's pretty nuts!

The dungeon is pretty easy to navigate if you can survive, and once you get to the third floor you're safe. From here on, there's no random encounters and no damage floors either.
There's some meh treasures, and also this. Normally, this would be great but since we can't use Excalibur it's just here for the sake of it.
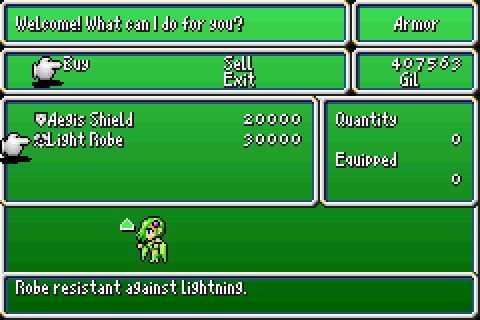
Speaking of "for the sake of it," we can get even more lightning resistance from the only thing from the armour store we can use.
It is very worth it, though,since the defence boosts are great.
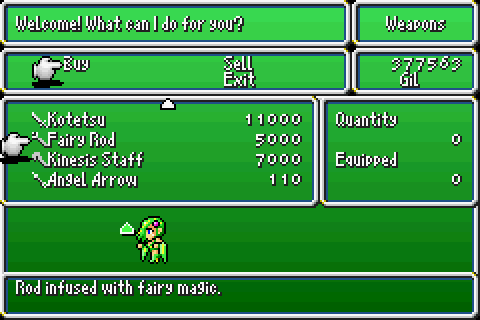
From the weapon store, we can get the Fairy Rod which is alright I guess. It casts Confuse when used as an item, so there's going to be times that comes in handy I am sure.
Also for some inexplicable reason its item store sells Tents and Cottages. I know it does that because it's just generic like that, but...
The inn costs more than both of them combined.

The inn just so happens to be immediately next to a building with a save point in it. I cannot imagine that this is particularly good for business.

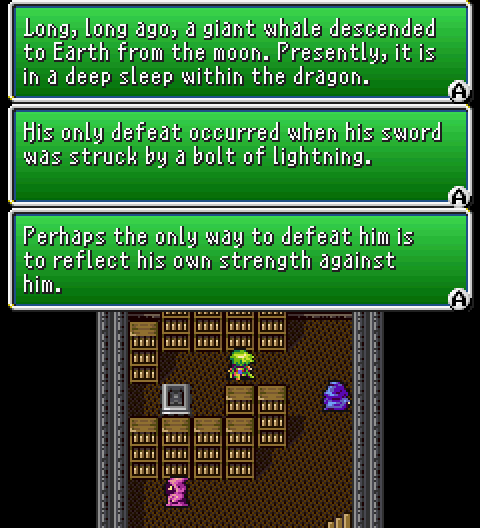
In the library, we can find some foreshadowing for later bosses and also a bit of plot because why not. The bosses referenced are, of course, Odin and Bahamut. We can use one of these tips but not necessarily the other.

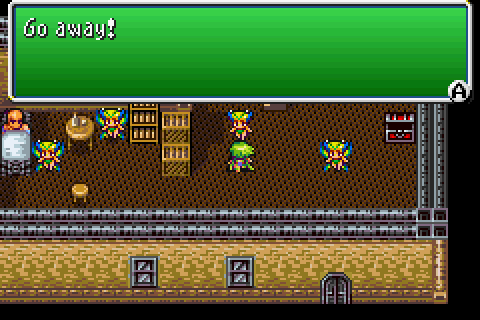
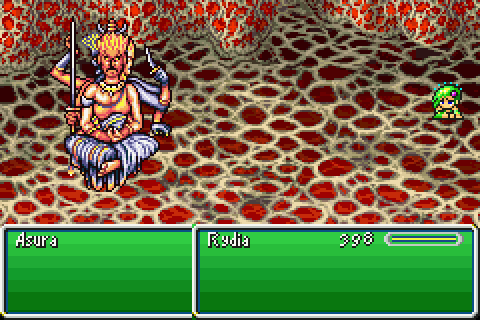
If we take the teleporter in the library, then we can find a unique sprited woman and a generic old man. The old man won't talk to us, yet, but the woman's a fight. Let's kick her ass.
[Music: Fighting of the Spirit ~ Phantasia]
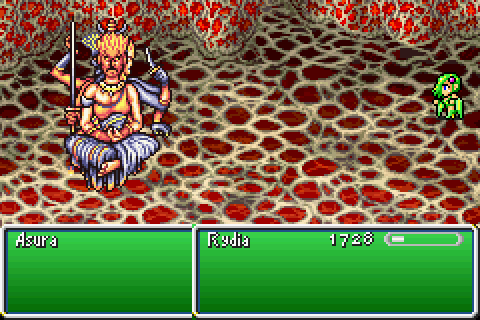
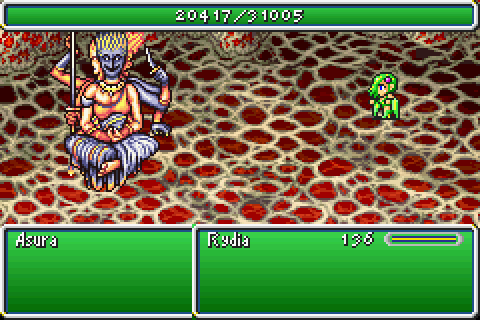
Okay, so Asura in and of herself is not particularly difficult.
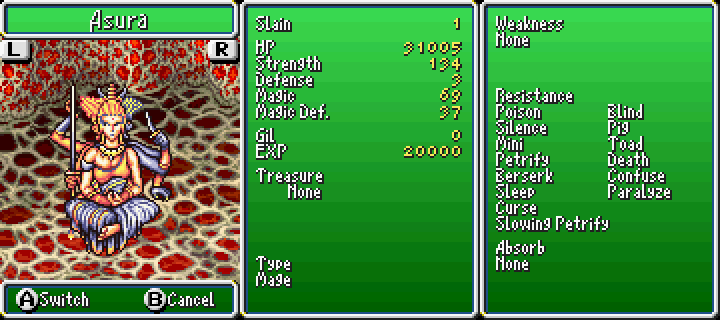
She has less HP than Rubicante had, but makes up for it by legitimately having no weakness. On the flip side, she's even less of a threat than he was in a straight up fight.
This is because she does all of three things.
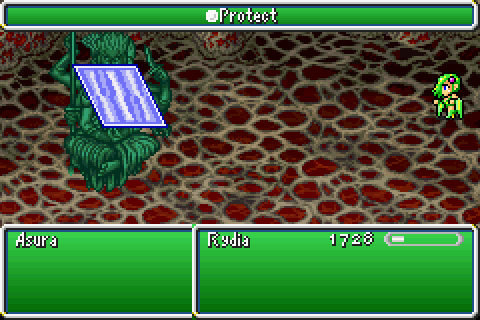
She casts Protect, which is a non-issue.
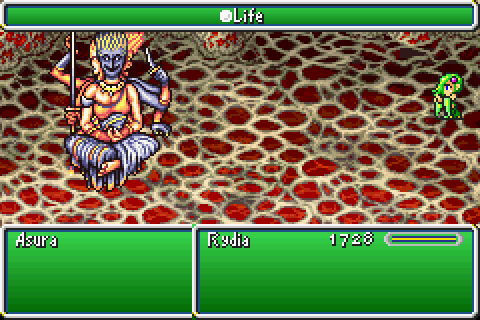
She casts Life, which is also a non-issue.

And she casts Curaga. This one is a problem.
Y'see, all 3 of these are on herself. If you were looking closely you would see that she got to do 2 before I got a single turn, and the 3rd while I was in the middle of casting a spell. Asura is ungodly fast, and so this fight is Not Very FunTM. There's no set pattern to what order she does things in, and since she effectively gets 4 turns to Rydia's 1 (she snuck in a second Protect while we were still charging) we have a bit of a problem.
There is nothing stopping her from casting Curaga several times in a row, for example, and making this entire fight basically unwinnable. Protect and Life she can spam with reckless abandon, because they don't matter at all. We also can't realistically abuse the usual "cast Reflect on Asura and laugh forever" method.
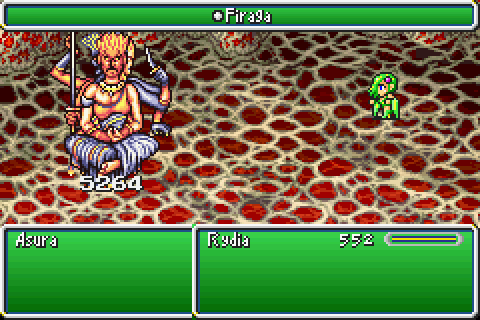
We can still in fact win without having to grind, and it's not difficult just entirely time consuming and heavily luck based. Our damage output isn't too bad considering she's the Queen of All Summons Ever, but it could stand to be better. There's nothing we can really abuse in this instance to make the fight that much more reasonable either, unless I straight up forgot something important and useful which I very well may have done! Everything I could think of, I threw in at some point or another to see how it'd fare.
Also she counters everytime you hit her. It doesn't matter how you hit her, so long as you do. And it's non-interruptable and immediate so you can't try and use this to replace one of her many, many turns. So long as you keep healing it's sort of a non-issue but the more turns you take not hurting her, the more turns she takes completely negating everything you've done so it's a toss up. Too much HP to damage race, but also healing that necessitates doing your damnedest to outpace it.
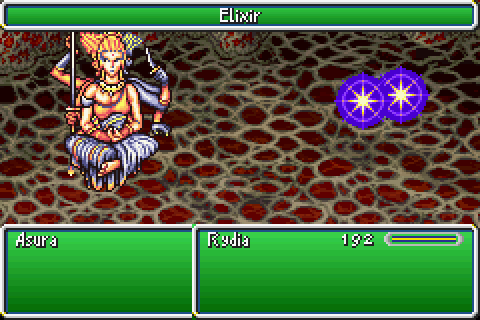
So, the only real way to stay competitive is to use Elixirs. Which is a bad idea, considering how few we have right now and that her damage output doesn't really warrant it. Drain sounds like a good idea here, but it doesn't hurt her enough to outpace Curaga and it doesn't heal enough to warrant using when you need it.
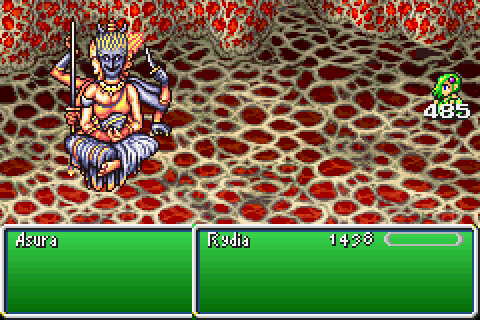
The good news is that if you keep track of her HP, it does noticably go down albeit very slowly. Sometimes she'll just cast Curaga like 6 times in a row and you will get very very angry (totally not bitter) but that doesn't happen too often so it's possible to eventually outpace her.
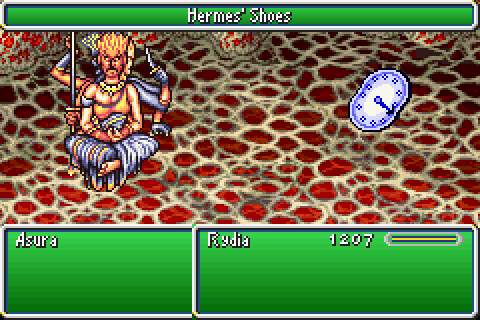
And, of course, if there's ever a fight that warrants the use of Hermes' Shoes its this one (it turns her 4-to-1 turn advantage into a 3-to-1 one and that's a lot more useful than it sounds). It helps stay somewhat competitive and you can slow Asura too, but that wears off eventually. Haste, thankfully, doesn't.
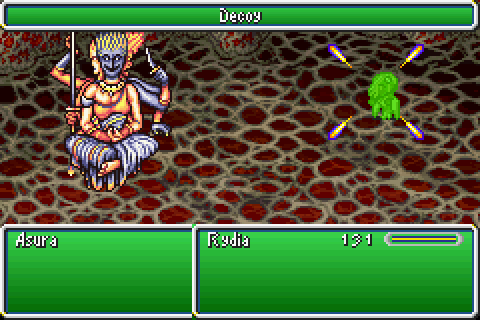
I also decided to use the like 3 Decoys I'd picked up on account of their being absurdly useful here. Her only attack is a regular physical, so being able to guarantee it missing even if its only twice every few turns it helps a ton. I should probably have grabbed a couple more, in hindsight, but the few I had did a good enough job.
Eventually - and I do mean "eventually" - Asura will finally die.
We're probably never going to actually use Asura because she does one of three things at random. Protect, Life and Curaga. Sound familiar? Now, this would be fine if we could, say, use her to reliably heal with Curaga but it's random so we can't. We also need her to get two rather awesome summons anyway.
This guy, of course, is the first and is the entire reason we're down here to begin with.
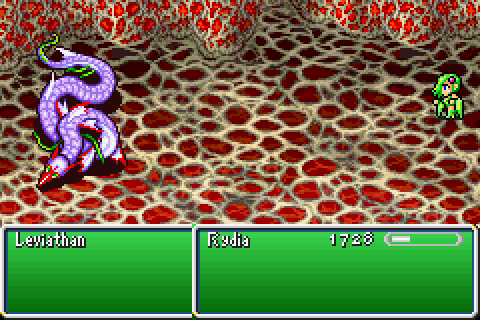
Leviathan's arguably going to be easier than Asura in that he can't spam Curagas forever.
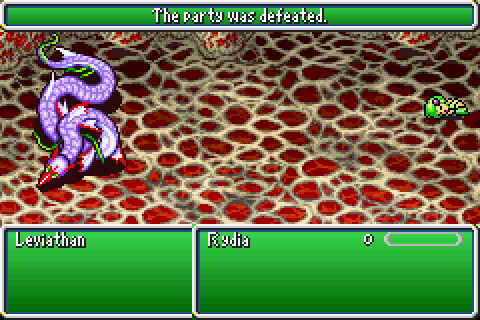
On the other hand, he can also attack for realsies and so straight up kill Rydia in no time. We'll deal with this issue at some point in the future.
Next time: we deal with this issue, and shamelessly murder a lot of doors.

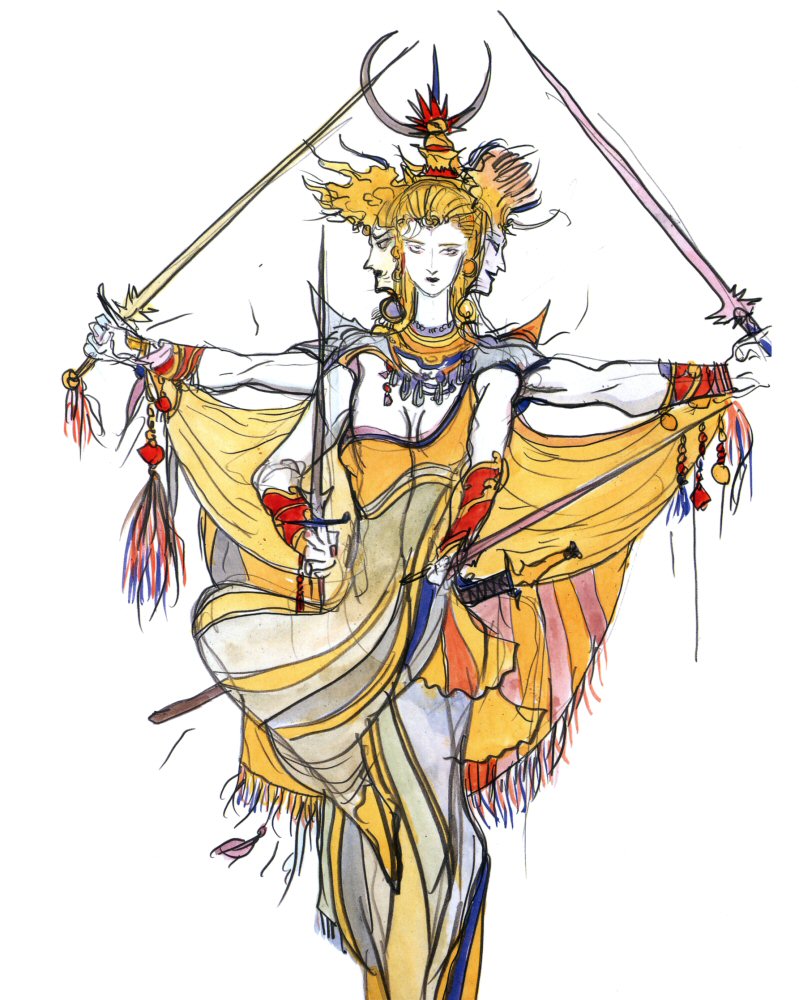
Asura ~ Amano artwork.