Part 18: Godlia
16. Godlia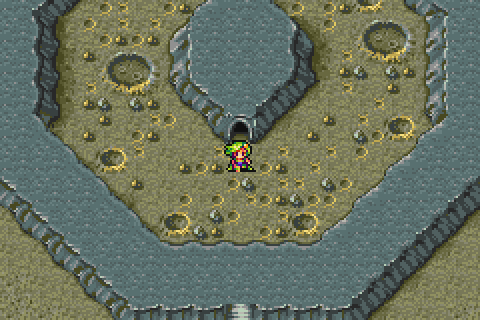
Before we go to the penultimate dungeon, let's take care of a sidequest.
We have one last summon to get, and it's not gonna be easy. We have a small cave to get through, some top-tier armour to pick up, four bosses to fight (though 3 are the same)...
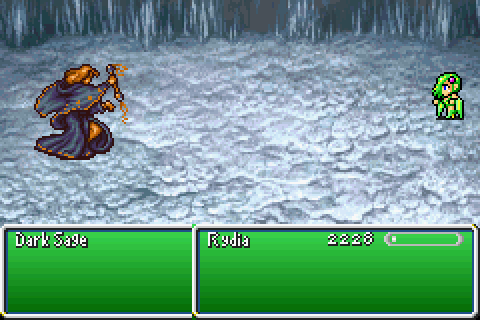
And lots and lots of these things to murder. Dark Sages turn up constantly, so it's probably a good thing that they can drop Soma Drops, huh?

There's four chests in this dungeon, and they each contain a piece of Genji equipment. This is one of two places to get it, and we have no interest in it on account of none of it being usable.
It also sells for a whopping 20 Gil for the entire set.
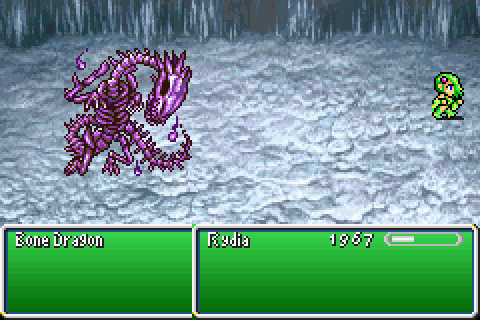
The Bone Dragon only appears from the second floor onwards, and is not something I am willing to fight. It has over 10,000 HP and is the only thing in here with a weakness.
Hitting its weakness makes it counter with Blaze. This wouldn't be a problem were it not for the fact that the Bone Dragon hits really, really hard even without that. Not worth the hassle!
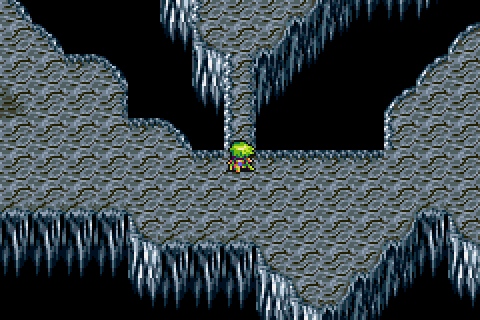
Speaking of things that hit really, really hard, at 3 points there's narrow walkways like this one. On each one, we get a forced encounter...
[Music: Battle #2 ~ Itadaki Street Portable]

With a Behemoth. We have to fight 3 of these things to get through here. This sounds problematic, and by all accounts it should be.
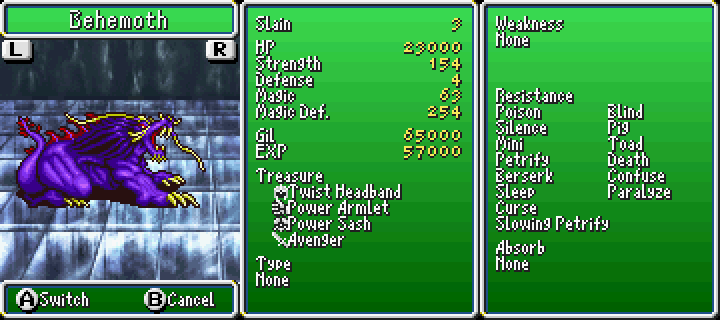
It has nothing it can give us that we can use, so there's no need to worry about that. It's also loaded with all the usual resistances, has no weakness we can exploit and has 254 magic defense. So it should be absurdly difficult to defeat.

It can also hit really, really hard. This is the higher end it can do when we're in the backrow. It will almost never get turns of its own because it's so slow, but this is a non-issue. Everytime we hit it, it will counter with a powerful physical attack.
I have no Decoys to use to completely make it a joke.
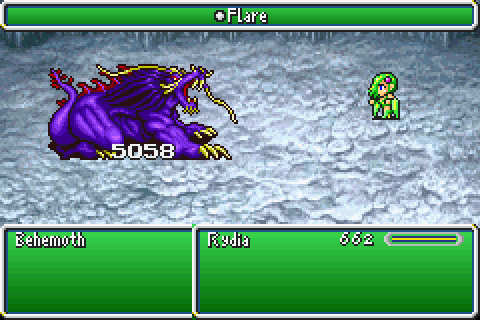
It will take anywhere from 5-10 Flares to take down a single one of these, and yet... it's not that difficult or threatening.

It's speed is its weakness; rather than be overwhelming, the fact that it's so slow means I only really get hit when it does too. I can heal without worrying about it. I can take several turns just chugging Hi-Potions and not worry about it sneaking a hit in when I'm not expecting it.
And we can make them even easier.
Meet the Selene Guardian (that being the greek moon goddess, not an error). She also has a lot of magic defence, but she has wonderful drops for us and her magic defence is mitigated by having almost no HP.
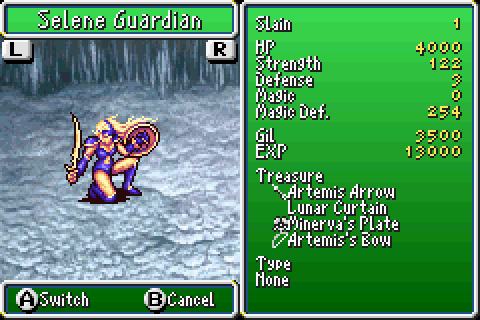
Of course, she can give us a Lunar Curtain but we're not interested in that any more. The Artemis' Bow is the only one better than Yoichi's, but we're not interested in that either.
Minerva's Plate is what we want. It's a wonderful piece of armour, only equippable by women and, on paper, is the second best armour we can get.
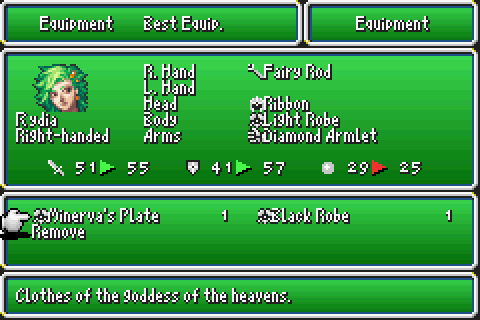
The -4 magic defence hurts a bit, but considering it comes with +16 physical defence over what we currently have (a total of +20 over base defence!) I think it's a fair trade off. Not pictured is the other bonuses it bestows, namely +15 Agility, +30 Evasion and +5 Magic Evasion. On the other hand, it has a -15 Intelligence (and Spirit) penalty but Rydia's base Intelligence is second only to Palom so this doesn't really matter that much.
Or, to put it in simpler terms:
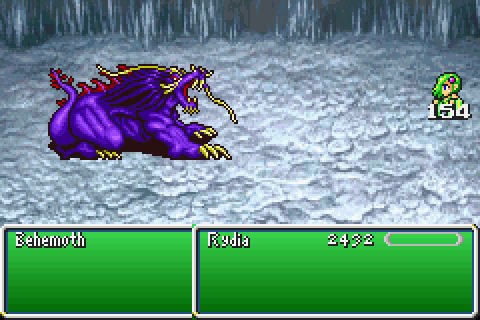
It takes even a Behemoth's damage from averaging around 900-100 all the way down to 1-200. With it sometimes dropping below even that.
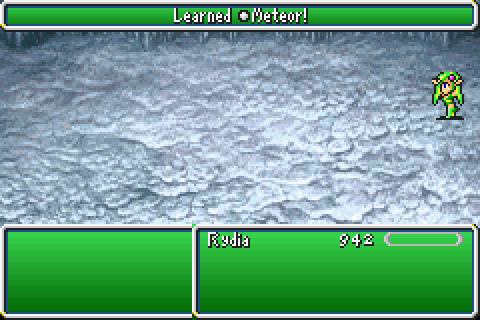
This helps Rydia rocket up to level 60, where she gets her final Black magic spell: Meteor. We've seen Meteor before, when Tellah busted it out on Golbez waaaay back. Meteor is... not very good, to be frank.
It will almost always deal 9999 damage, yeah, but it costs 99 MP, takes forever to charge and can be outdone by 2 Flares which cost basically the same, deal more damage and are cast a lot quicker. It has its uses, certainly, but for the "ultimate" spell, they are very niche.
Also, despite what you would expect, it's Holy elemental. Except in the DS/iOS remake when it is non-elemental.
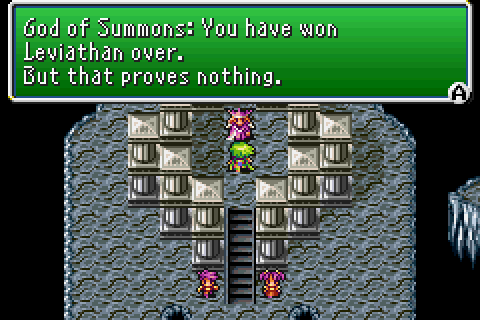
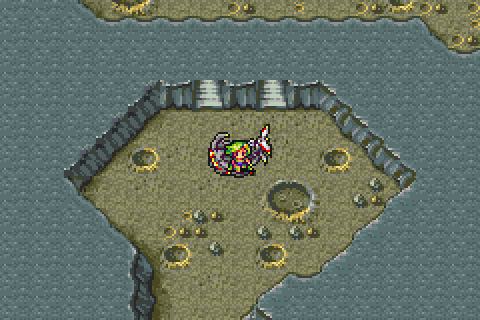
More importantly, after the 3rd Behemoth we find this guy chilling out with 2 kids. Had we not beaten up Leviathan, we'd get nothing out of this. He doesn't care if we've got Odin or not though. That's fine with me, really.
[Music: Fighting of the Spirit ~ Symphonia]
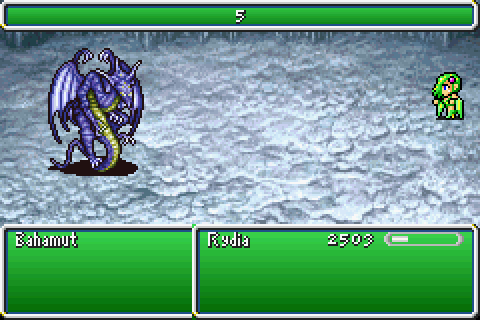
So, Bahamut does one and exactly one thing in this fight. It makes him a complete pushover.
Kind of a shame too, since he should be a major threat. He just... isn't.
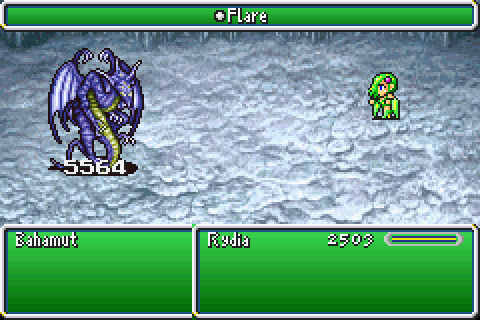
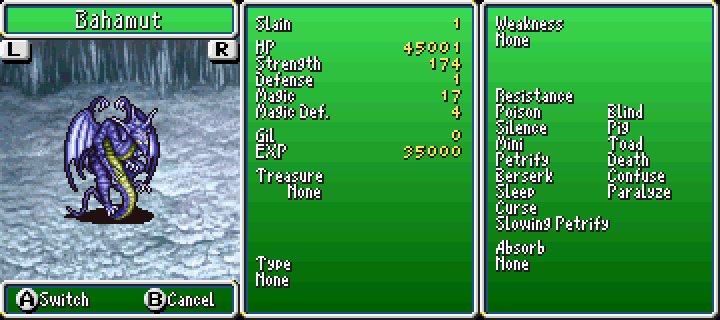
He spends 90% of his time sitting there, charging up his one attack. Of course, as you should already know (and if not: pay attention!) Bahamut's crippling weakness here is Reflect.
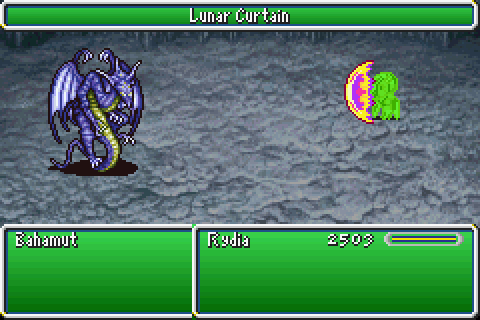
After hitting him with a few Flares, we'll take advantage of that and throw up a curtain of some form - doesn't matter which one. Shortly thereafter, he'll finally get to attack.
And in doing so, he will inevitably kill himself. I think I like Bahamut better when he does things other than "charge up constantly and use a reflectable attack". Even if it's just a bunch of physicals, and then he uses Mega Flare as a last ditch effort, that's still not a complete joke. Only mostly a joke.
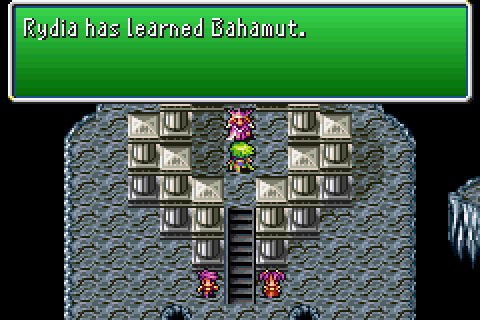
It's worth going through the dungeon to get Bahamut. I just find it odd that Bahamut himself is a lot easier than some random chumps hanging out nearby.

There's nothing else on the moon, at all, so let's take the Lunar Whale and leave. In doing so, we cause all of the plot to happen at once and get locked into the penultimate dungeon.
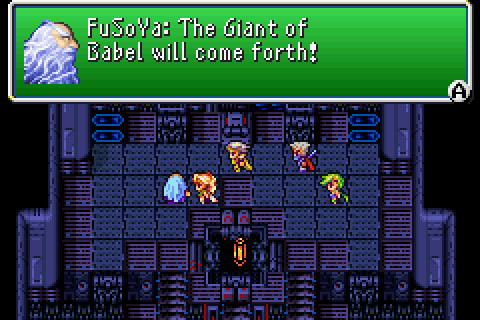
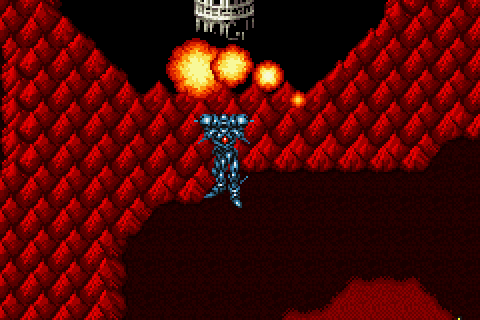
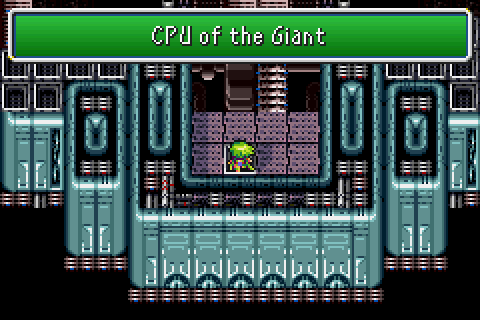
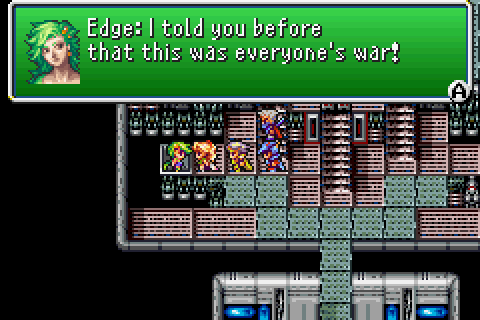
Turns out while we were away, Golbez managed to summon that giant for Zemus.
This is quite a bad thing, both generally and for the story.
The arrival of the giant should be cool, but when everyone (except Tellah) spontaneously turns up here at this moment it kinda sours it a little.
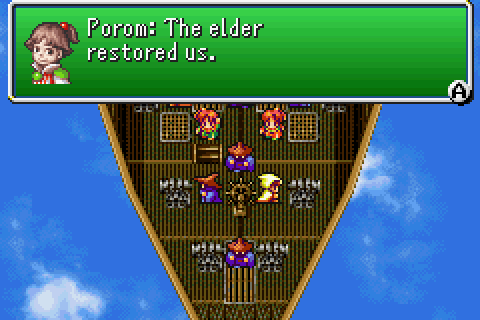
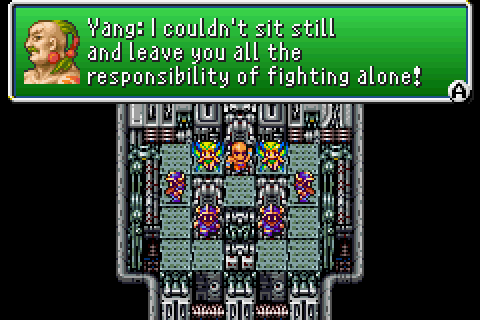
And I do mean "everyone." I can see Yang and maybe Cid at a stretch getting here for this. Cid's already dragged his ass out of that hospital bed twice already, and Yang got healed up by the best magical healers outside of the playable cast. The twins were deus ex machina'd off-screen and Edward? Yeah, they don't even try to handwave that one.
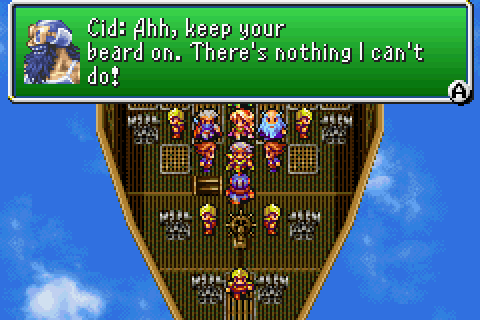
Don't get me wrong, this is clearly a pretty awesome thing getting the entire cast together to deal with the Giant and all but it just feels so forced and hollow.
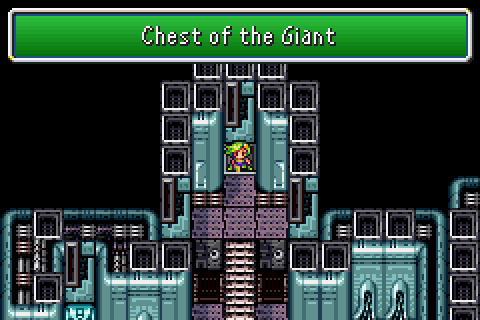
The dungeon itself is kind of cool, in theory. It's nice and short, but has enemies that should be challenging without being overwhelmingly difficult. It even has some really nice treasures to be found and one amazing boss fight.
On the other hand, Bahamut makes a complete mockery of every regular enemy. That's not necessarily a bad thing, but it makes it quite easy to just blitz through in a few minutes.
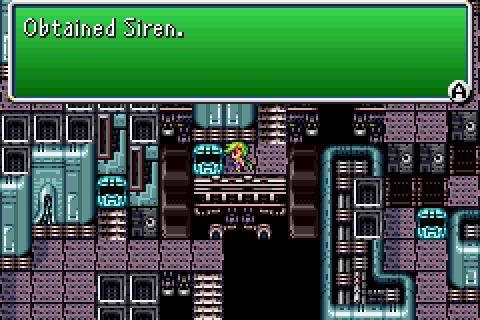
There's three really nice treasures we can find, and a free Siren is definitely one of them. We can't really get a lot of these, and that's why I'm not inclined to go for the Adamant Armour. With only a small few of them, and having to reset constantly, it makes it even more annoying and awful to try.
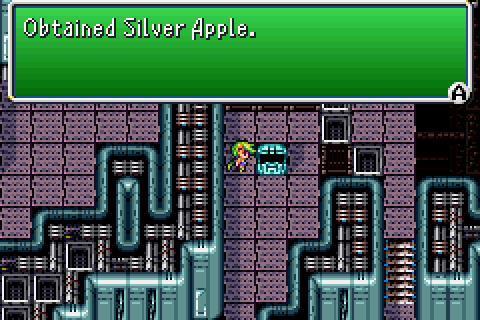
Almost immediately after the Siren, though, we get a free Silver Apple. The only one that isn't either a super-rare drop or guarded by a monster-in-the-box.
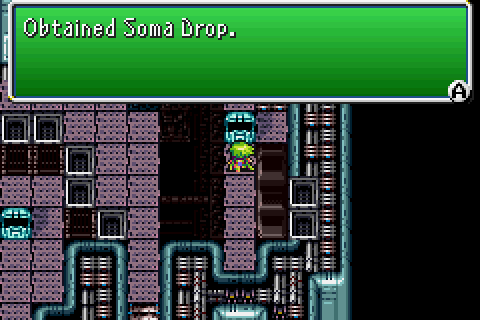
Quite literally next to it, we can even pick up a second free Soma Drop. This makes the next bit even more unusual.
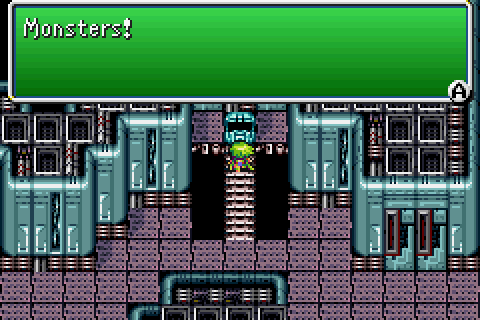
You see, right at the end of the dungeon there IS a chest containing monsters.
The Last Arm has ~9500 HP, enough defence to not be killed by most things quickly and will keep Rydia permanently under Stop status if it doesn't die in one hit. Weirdly, Meteor is the only thing that can manage this task and even then it's only just capable of going off in time.
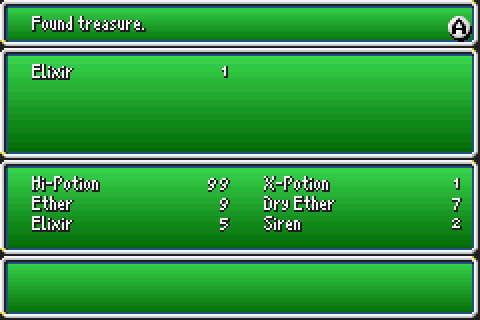
It's only guarding an Elixir, even, so it's debatable whether or not it's even worth it!
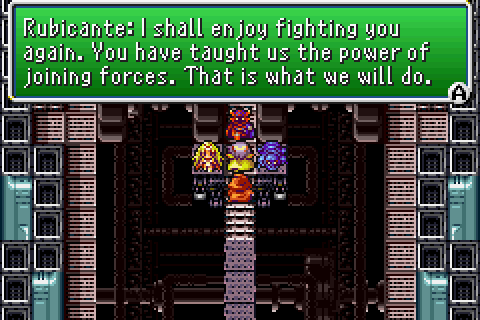
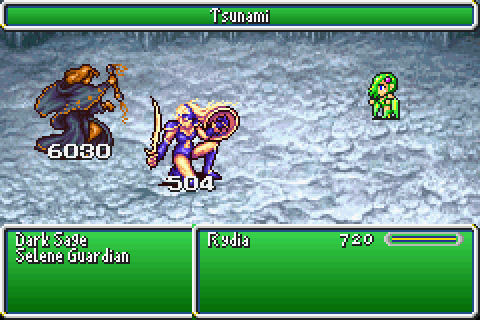
Since that's right at the end, that means that all that's left here is two fights. The first is an amazing refight against all four elemental fiends. Much like before, Rubicante is nice enough to restore all of our HP and MP.
[Music: Dreadful Fight ~ Orchestral]
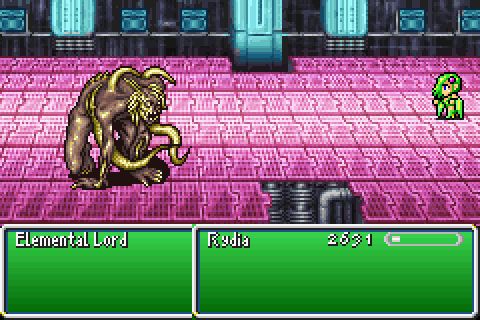
So, the four fiends are mostly different this time around. Scarmiglione's the exception, since he's more or less the same as before just with bigger numbers; he's just generally easier as a result, to be honest.
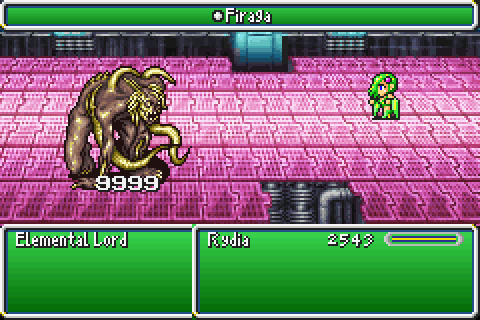
He focuses almost entirely on physical attacks and has a crippling weakness to Firagas. If we could cast it, he would absorb Holy (the spell) for some reason, but that's about it. He doesn't even counter our Fire attacks this time around!
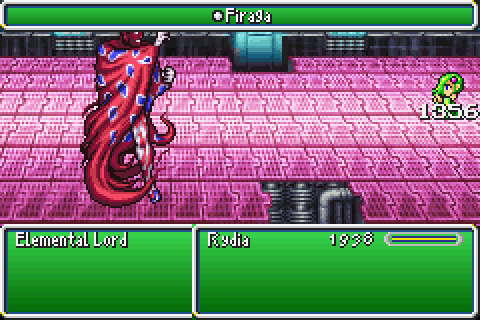
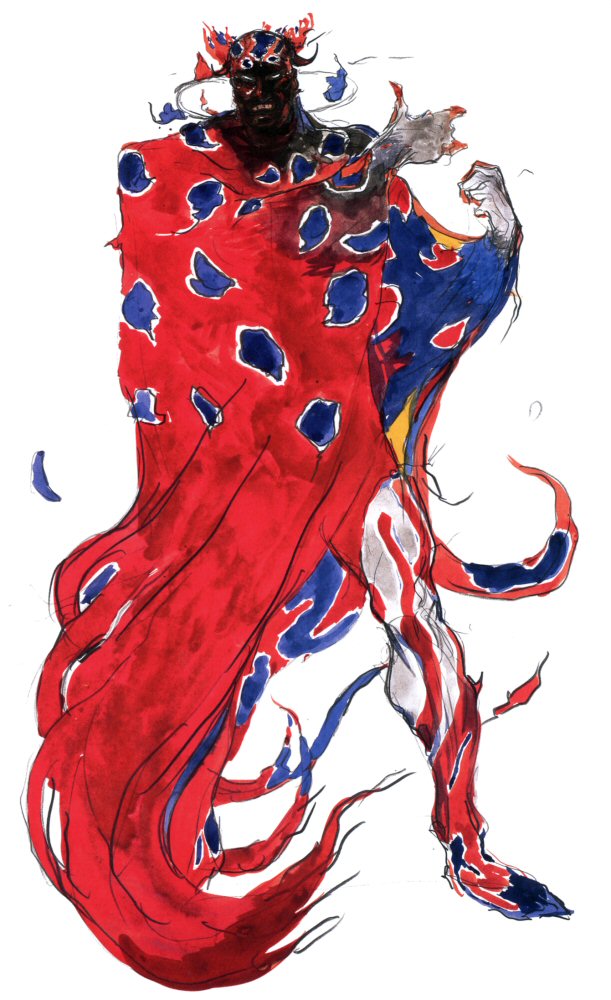
Rubicante's a lot harder this time around. He's no longer giving himself a susceptibility to Fire, he picked up Firaga and that shit hurts.
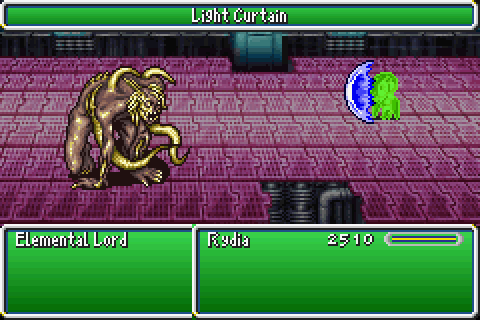
Since Rubicante throws spells around with reckless abandon, throwing up a Light Curtain renders 2/3rds of his offensive completely uselss. Putting it up after the second Firaga against Scarmiglione's the best time, since Scar's not powerful at all whereas Rubicante's fast and dangerous.
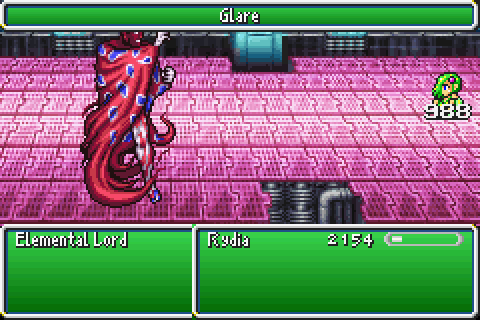
He still has Glare, which isn't reflectable, but that's relatively less of a threat now. We can also just use Sylph to completely heal all the damage it does.
He's still weak to Ice, though, and that means...
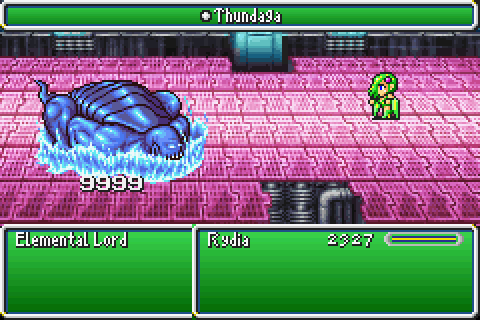
Cagnazzo isn't. Cagnazzo's weaknesses have changed up the most since before; he now IS weak to Thunder and absorbs Ice. This was probably changed to prevent them doubling up on the same weakness in this fight. Other than that, Cagnazzo's easier than before since he doesn't cast Haste now. He also doesn't have a dumb defensive gimmick where he heals himself.
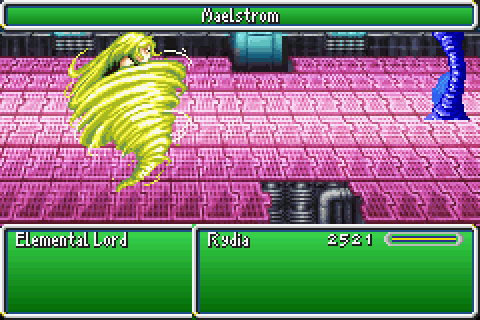
Last, but not least, is Barbariccia. She's the most threatening because of Maelstrom. It's just Tornado but blue, but she uses lots and lots of physical attacks. She technically has no weakness, but Holy (the spell) basically counts. Meteor also hits for 9999 but using it is a bad idea. Barbariccia' pattern this time around is a physical attack, then Ray (gradual petrify; even if we weren't immune wouldn't matter), then a physical attack, then another physical attack, then Maelstrom. Then it repeats.

This means we need to have a pattern that mitigates hers, then. Flare most likely between Ray and the second hit to deal maximum damage with minimum time wasted. Then she's probably about to cast Maelstrom, so wait for her to do so then use Sylph to have enough HP to not worry.
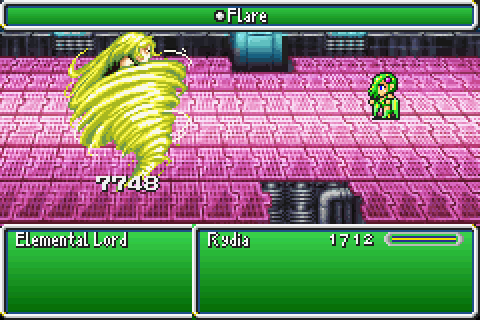
I picked Flare for this one, for the obvious reasons. Meteor would almost always go off just before Maelstrom which gives no time to heal. Rydia could dodge the physical attack afterwards, but I don't want to rely on that if I don't have to.
It's simple, but it works effectively. And like I said before, even if we weren't immune to Ray it would be a non-issue since she should never get to use it four times in this fight anyway.
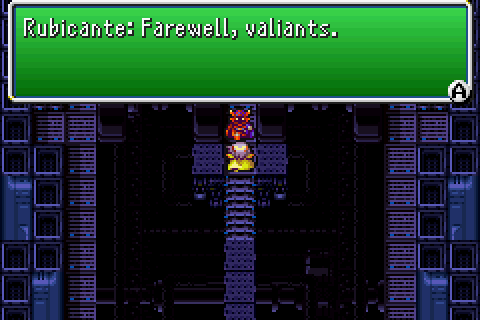
Now that we've bested them here, they'll never return again. We've also got one room left to go to, and it's directly north of here. Though any sensible person would first turn around and use a Cottage on the save point that's immediately before the fight against the fiends.
The last room is almost as straight forward as the previous one, but we can't just hold a single button to get through it this time.
It also contains a boss fight, of course, though this one is not even remotely close to as dangerous as the previous one.
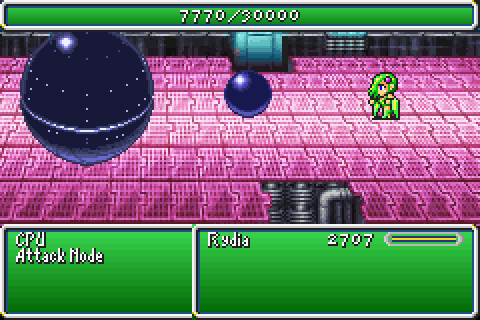
[Music: Battle 2 ~ The Magic Book]
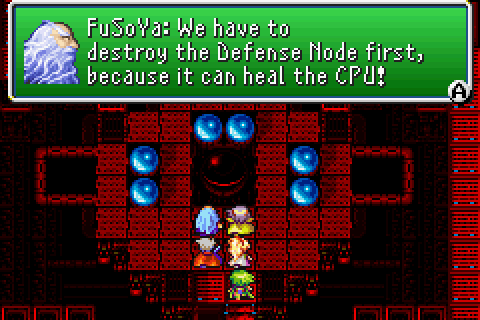
FuSoYa had the right idea, since we can't really outdamage the Defense Node. Taking it out also doesn't have any negative repercussions.

The nodes are nice and easy to take out, but we want to leave the Attack Node alive.
A single Flare will take out either, but casting any spell causes the CPU to do the only thing it should ever do.
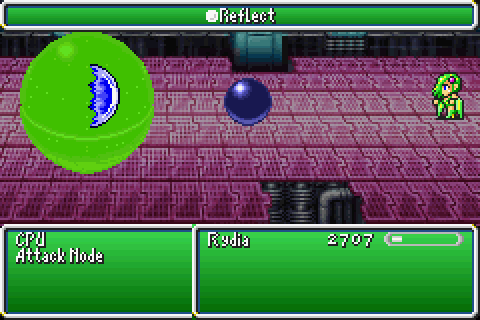
It counters with Reflect. It will do this even if you don't target the CPU initially. We could use something that both pierces and triggers a counterattack but that's too dangerous.

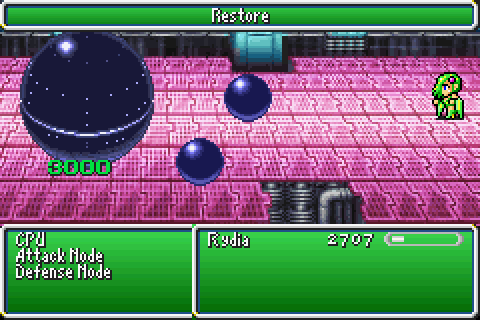
If the Attack Node is killed, then the CPU responds with an unavoidable, unblockable, fixed 9999 damage. Naturally we don't want that to ever happen.
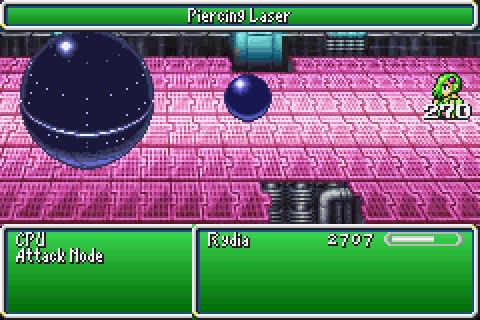
Meanwhile, if the Attack Node is left alive all it can do is deal 10% of Rydia's max HP. This sounds like it should matter, but it doesn't. To win, therefore, we need something single target that ignores Reflect. We have just the thing:
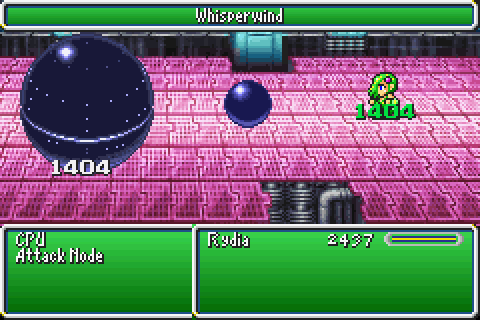
Sylph is wonderful. Not only does it do what we need, it takes it a step further and lets us heal too. This fight is literally impossible to lose so long as I have MP.
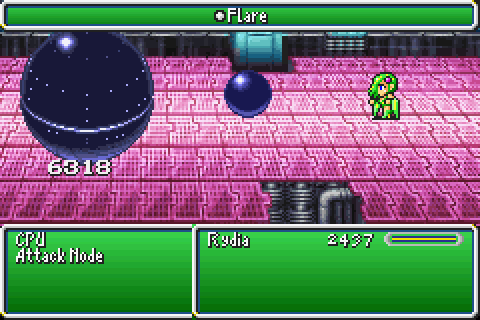
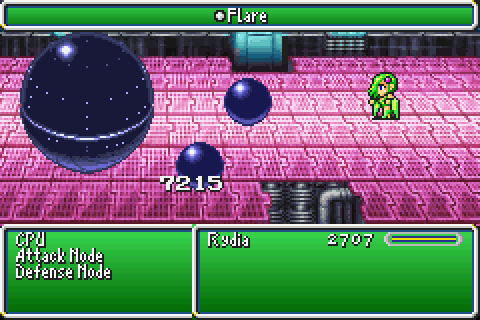
It takes a while doing it that way, though, so it's a good thing that Reflect wears off at least once during the fight. That lets us sneak in a regular Flare eventually.
Another thing that ignores Reflect is the Bestiary. Good for checking on the CPU's remaining HP because once it's low enough we can just do this:
Bahamut easily takes both out. How simple this fight is just makes it all the more weird and surprising CPU is essentially the penultimate boss fight. There's more that we can fight between now and the final boss but they're all optional.
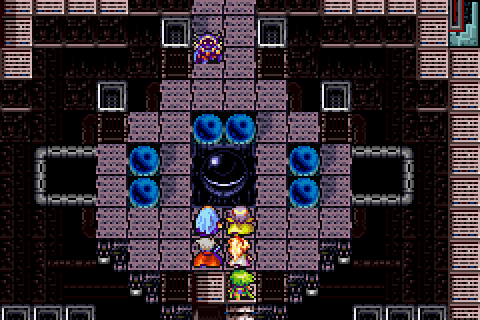
Now that we've beaten the CPU, Golbez turns up again as does a giant chunk of plot. This time he basically gets pissy that we destroyed his giant world destroying robot.
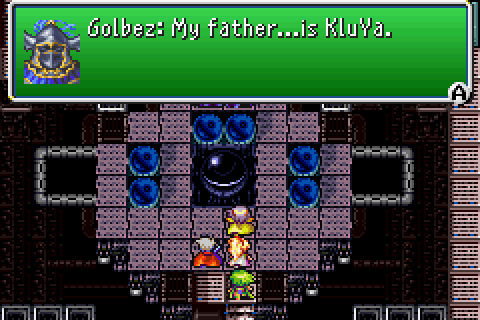
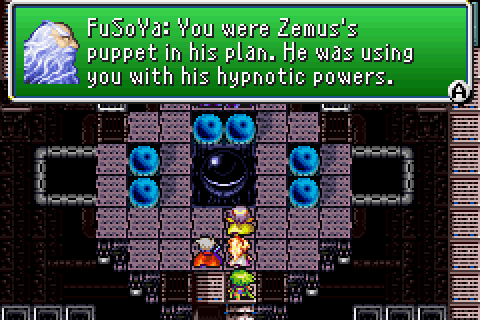
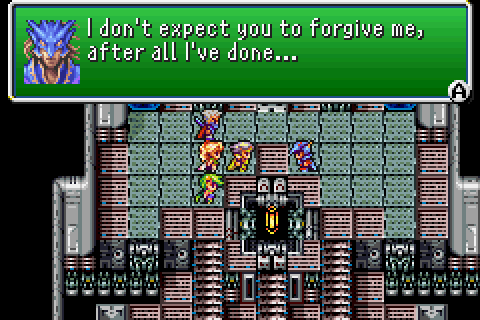
FuSoYa uses his moonman powers to remove Zemus' moonman mind control power. This makes Golbez remember things he probably didn't even remember before the mind control.
Since Golbez is not the final boss, and this revelation comes immediately before the final dungeon, it looks like Zemus is.
Since Golbez and FuSoYa are off to the moon to get their butts kicked, we should probably follow them. First, though, we need to leave the Giant and apparently following them to the obvious warp out immediately to the north is too difficult.
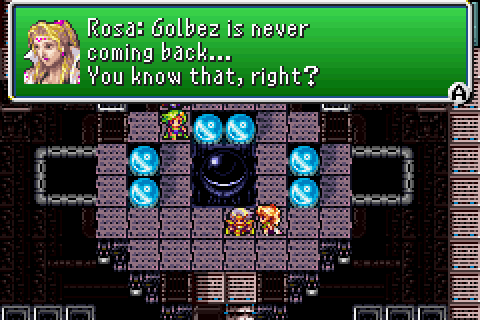
This means Kain needs to come bail us out, there's more talking about things we already know for Kain's benefit. He decides to come with, bringing with him a full set of Genji gear (that he's taking to the void).
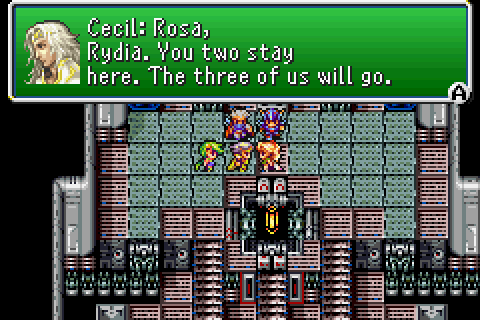
This prompts Cecil to be an oddly sexist jerk out of nowhere, and even if his dumb plan here worked it wouldn't last long in this particular case.
Of course, it doesn't work anyway. I don't know why he thought it would either.
So, now we're back on the moon and have just one thing left to go do...
Next time: I'unno, beating the game I guess?

[Video: Vs. The Elemental Lords]