Part 19: Finalia
17. Finalia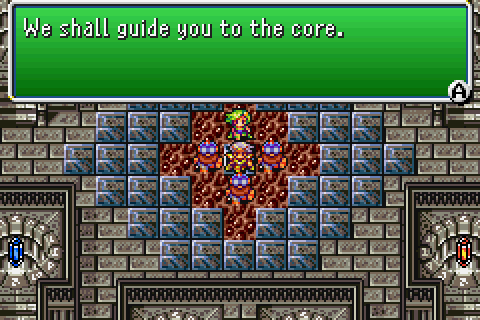
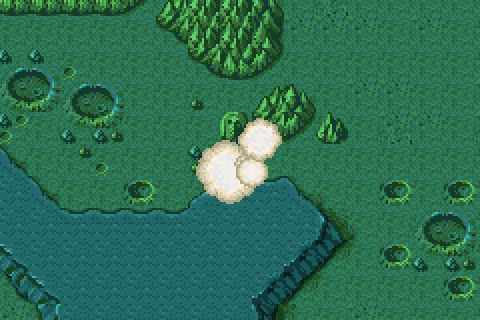
There's nothing left on the moon for us, other than the final dungeon. Let's go!
[Music: The Red Wings ~ Orchestral]
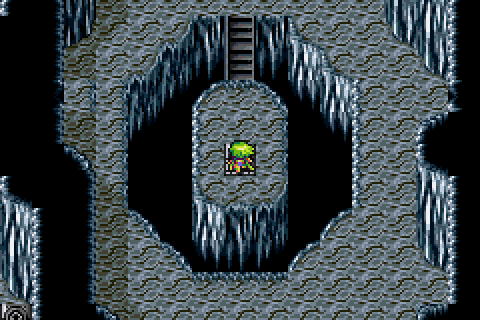
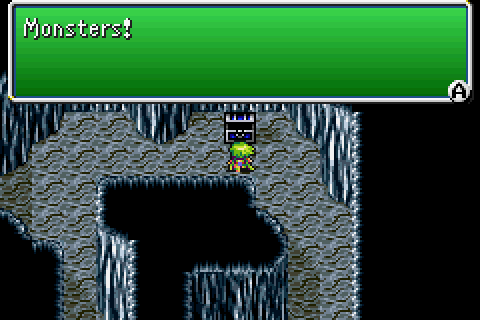
The Lunar Subterrane is an incredibly long dungeon, filled with several optional bosses, lots and lots of various treasures to find and a whole bunch of strong enemies.

And some that are shared with Bahamut's cave.
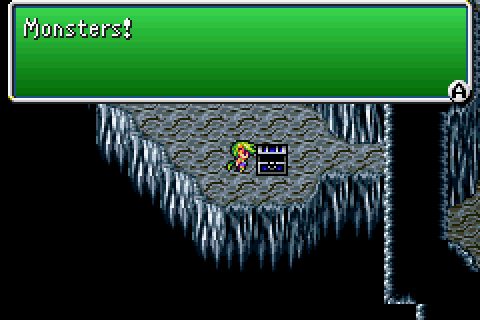
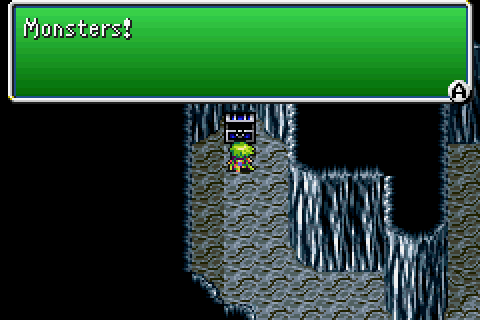
Lots and lots of the chests have monsters in them. Most of them, of course, aren't worth bothering with since they're guarding things that Rydia can't use anyway. This one has some armour for Edge, so we'll ignore it.
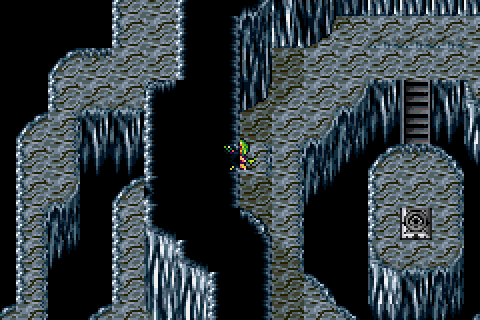
Instead, we'll head on over here. The only significant reason usually to come over here is for a sword, again for Edge.
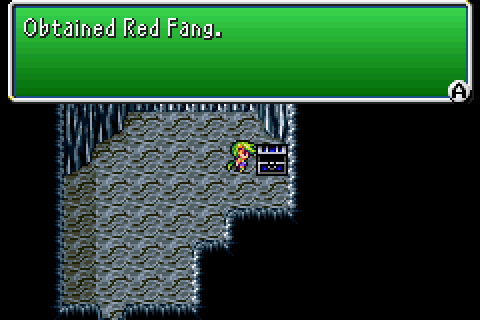
We're more concerned with this, however. This chest is trapped and will prove useful eventually.
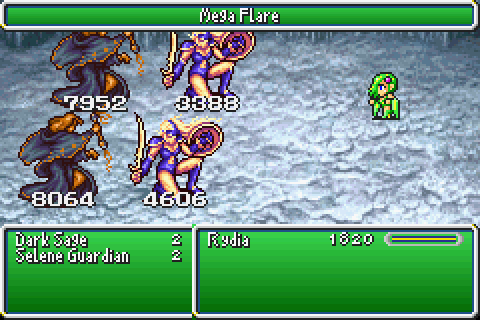
The enemies inside are not worth really bothering with at this point. They're all incredibly simple.
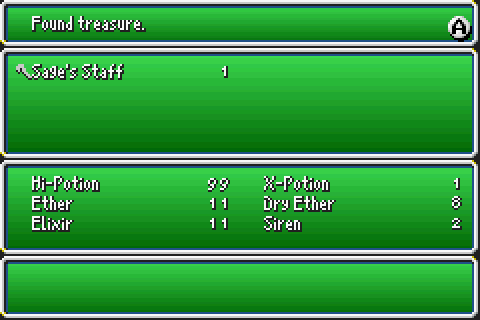
The Sage's Staff is effectively the best, since it grants +15 Spirit. There's two others that do the same, however Rydia cannot use them in any circumstances. The Rune Staff from way back when granted only +10, for reference.
Naturally we cannot use this now, but we'll probably be putting it to use later.
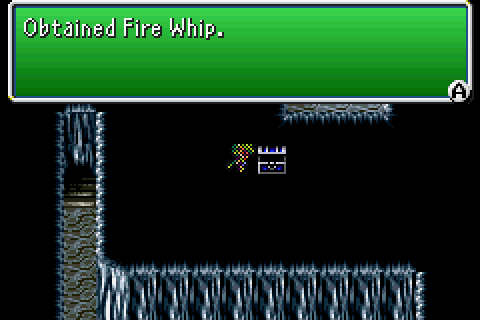
We'll ignore the boss over here altogether, and head back to the main path. On the way there, we can get the second best main-game whip. It's not particularly exciting, but it's Fire elemental (of course), has okay attack, and comes with a +5 Agility benefit. At the cost of a -5 Intelligence penalty.
Despite what you might expect, it does not cast Firaga sometimes when attacking nor when used as an item.
[Music: Battle 1 ~ Duodecim]
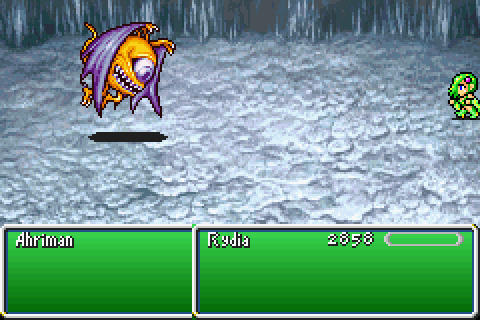
Around about now new enemies start popping up, and the Ahriman is my least favourite of the bunch. It only really does one thing, but it has 25,000 HP and takes a while to die. Possibly even longer than we have depending on the start of the fight.

It only starts the fight by casting fucking Doom. This gives us 10 seconds to kill it or escape from the fight. Should we fail to do either, we die no questions asked. And, of course, the Ribbon does not grant immunity to this. Wonderful.
Needless to say, if we get Ambushed by this thing then there's no chance of it dying first. At least not yet.
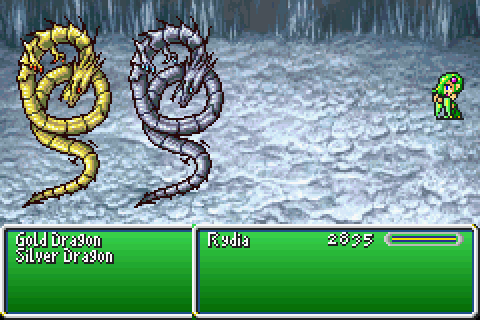
The Gold Dragon is nowhere near as annoying, or dangerous. It has a relatively weak physical attack, and sometimes uses Blitz (a mild Lightning attack). It doesn't always die in one hit, which is... something, I guess.
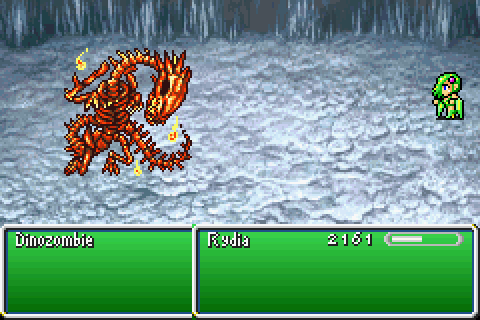
The Dinozombie is more of the same. It's fairly bulky but not threatening; it's weak to Fire, and doesn't counter with Blaze which is nice. It does, however, have a not-awful magic defense so Firaga won't deal a ton of damage. It does still take it out in two hits, though.
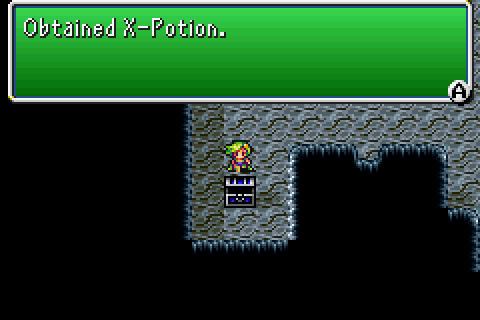
Getting an X-Potion is never a bad thing, considering how hard to find they are. These will come in very handy quite soon, so this is very nice.
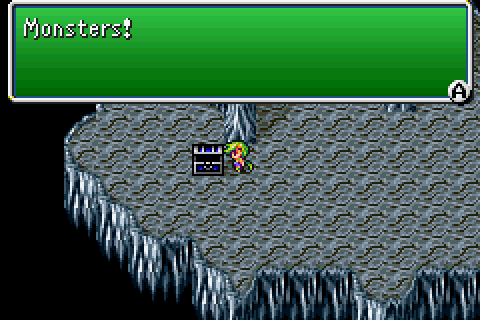
Along the main path, there's a chest in plain sight. Naturally, therefore, it's trapped.
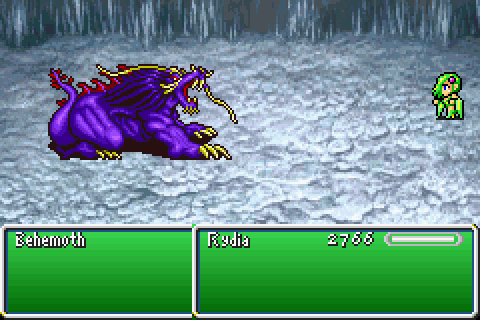
It's just another Behemoth but points for trying, I guess. If we hadn't beaten up Bahamut beforehand this might be threatening. As is, we know they're pretty easy all things considered.
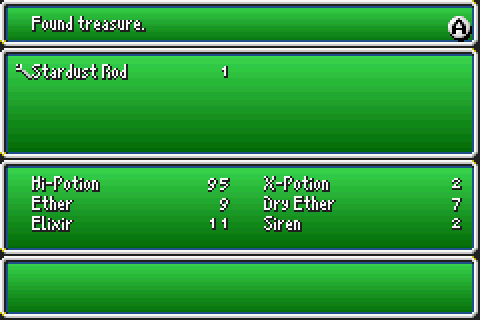
We can, easily, though. It was guarding a Stardust Rod which is fantastic.
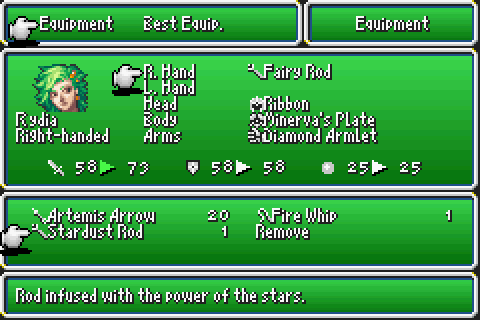
It casts Comet when used as an item (which we're not likely to do now though) and is a wonderful boost over the Fairy Rod. It also increases Rydia's Intelligence by another 5, giving a total of +15 over her base stat.
A little bit further ahead, we find yet another amazing piece of equipment in plain sight. This one isn't even guarded!
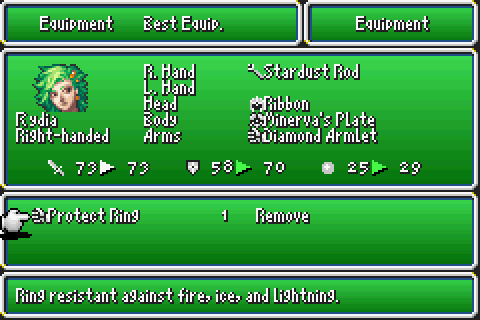
Not only does it boost both defences by a not-insignificant margin, it grants the same Lightning resistance as the Diamond Armlet but also adds Fire and Ice for good measure. It also grants +15 Stamina, just in case you weren't sure if it was great on its own or not.
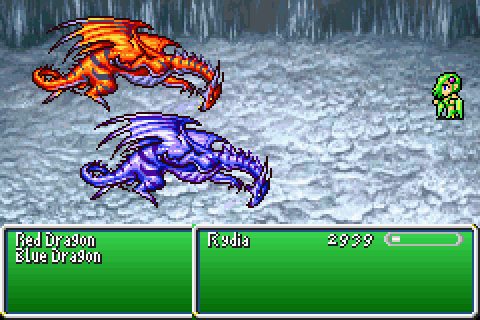
This lets us take on a few more enemies than we would otherwise, without worrying about it too much. The Red Dragon is the only one of the two with a weakness, and I trust that you can figure out what it is on your own. The Blue Dragon absorbs all 3 main elements, but they're both relatively low on HP so 2 Bahamuts takes them both out.
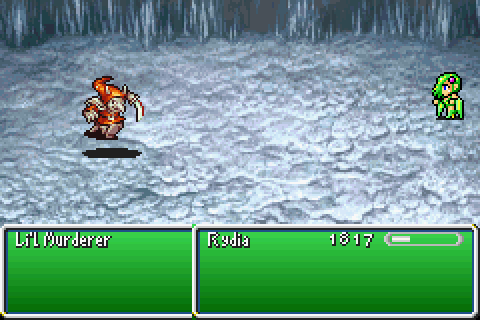
The Li'l Murderer is an enemy that tries so hard to trick you, it's not even funny.
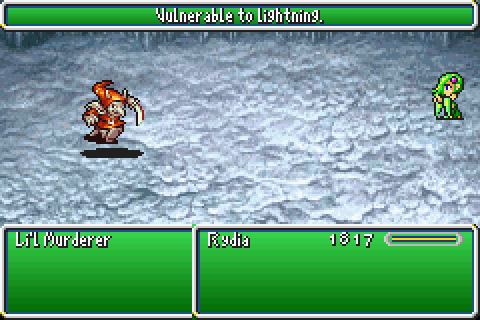
The only thing it does, is cast Scan on itself. This reveals its weakness in an attempt to get you to cast a Thunder spell on it.
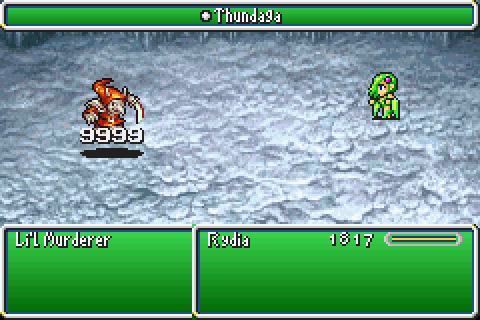
Let's pretend for the sake of argument I do so. It has 12,000 HP so it'll survive one Thundaga, if I don't do anything else to it first.
Needless to say, this concept ends quite badly. That 5,000 is with Lightning resistance too. It could easily be 9999 without it.
So, rather than do that hitting it with basically anything else that can deal 2001+ damage first basically makes it a joke. It can never fight back that way.
So, next, we're going to enter what is arguably the most important room of the dungeon.
At face value all it contains is a worthless attack item, however this room is... special. Under normal circumstances it contains a fight that only has 1/64 chance of occuring.
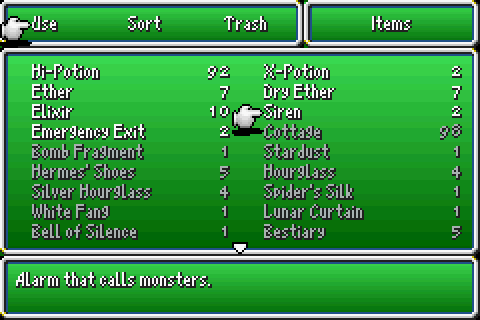
Of course, we have an item that claims to summon a fight. What it does, is summon the rarest enemy formation wherever you use it. In this room, that fight is...
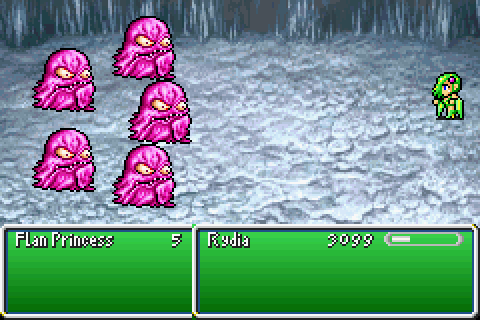
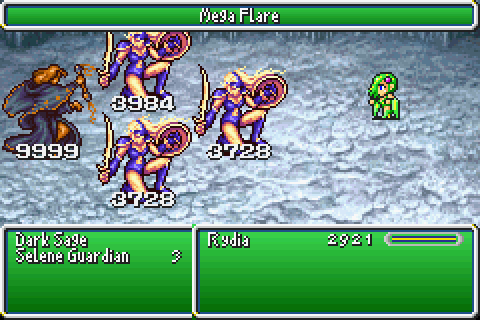
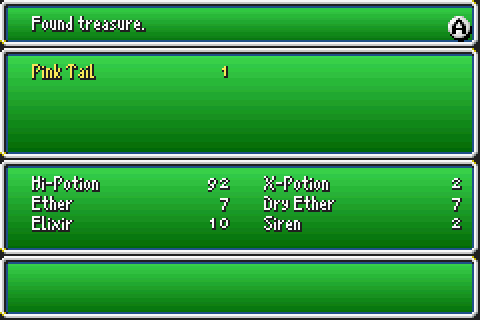
One of the most iconic of the game, if not the entire series. The Flan Princess is so infamous for being a 1/64 fight with a super important 1/64 drop. Given how we fight 5, it's a bit more likely to drop than the usual rate implies but it's still not exactly going to happen very often.
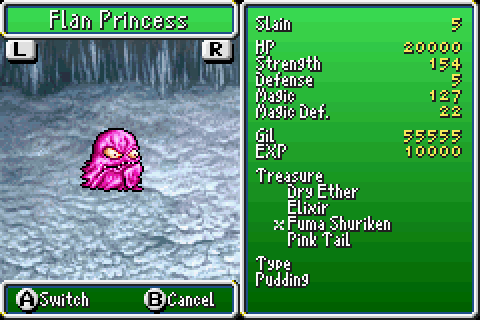
They also have just enough HP to take 2 whole Bahamuts and survive. Not something most regular enemies can lay claim to. They're also a good source of free Elixirs, were it not for the fact that a single fight lets you buy 2. 2 fights let you buy 5, 3 fights let you buy 8, 4 fights is 11 and you get the idea.
Oh, and their 1/64 drop is the Pink Tail which becomes the inarguable best armour in the (main) game but you already knew that.
Back along the main path, we come to a chest that we don't really need now.
It contains a fight that is completely uninteresting and feels weirdly out of place as far in as it is.
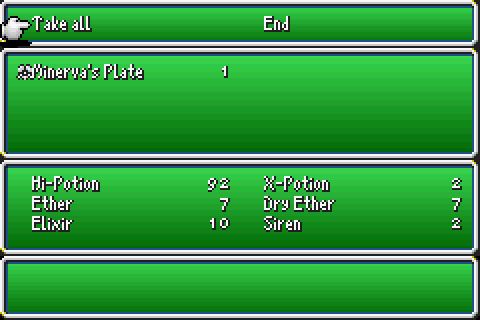
This Minerva's Plate is from the chest itself, which is nice and means we could've gotten one quite quickly anyway. We already had one though, so whatever. If we didn't have the Stardust Rod already, then this would make it pretty easy to backtrack for it.
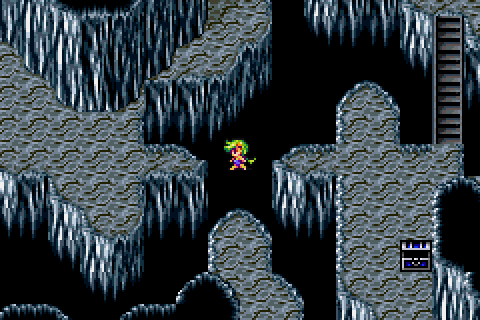
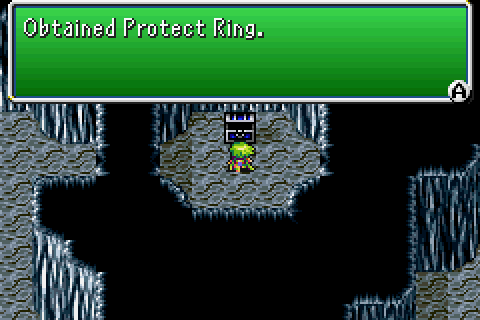
We'll backtrack a little to get to this incredibly obvious hidden passageway.
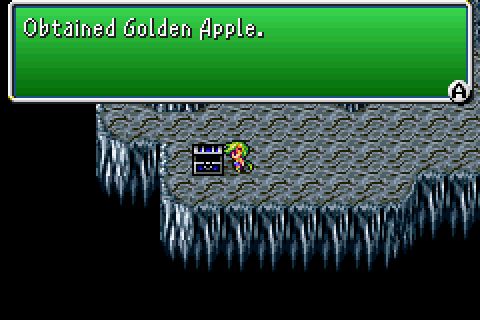
It leads to a Golden Apple which is conspicuously unguarded. It also eventually leads to a second Protect Ring (albeit this time in a chest with a Behemoth) and another boss fight, but we'll deal with that one later as well.
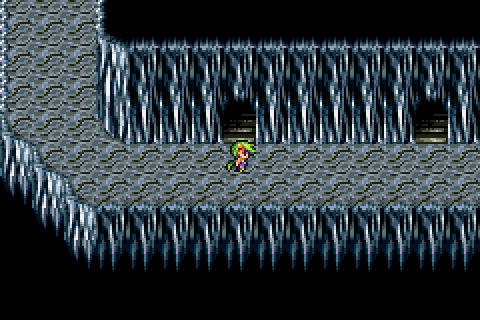
Once we're very nearly done with this part of the dungeon, we come to a hallway with three doors. The second and third contain boss fights, but the first one is nicer than that.
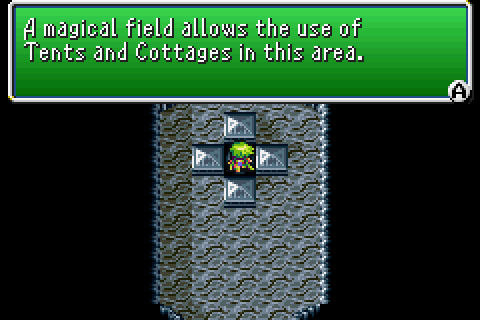
It contains the only save point in this place. There's a spot later that looks like it should have a save point, but it doesn't. Still, I'm not one to look a gift horse in the mouth especially because it comes right before...
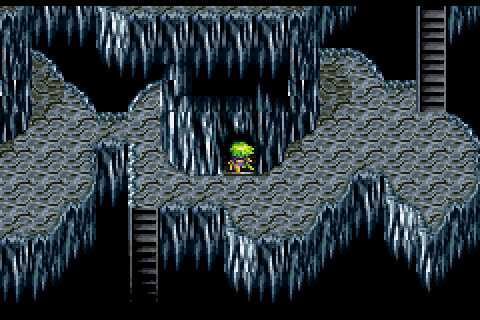
[Music: Giant's Dungeon]
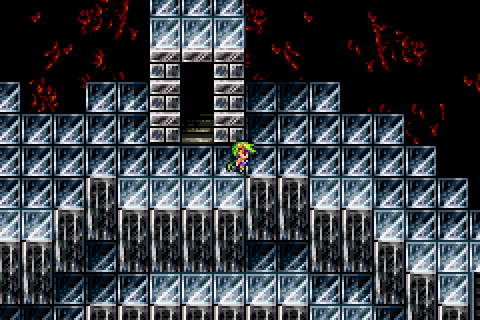
The deeper recess of the Lunar Subterrane. This area's incredibly straightforward and simple; there's not really any major areas hiding off to the side or anything. That said, there is yet another optional boss near the end of the first screen.
That being a real boss. Every single fight in this area has the boss music play, rather than the regular battle music. Since we can find some incredibly powerful enemies down here, that's rather fitting.
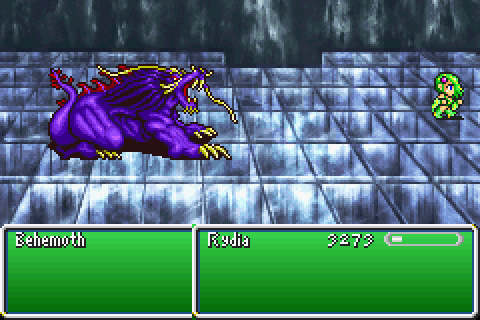
Case in point, we can now find Behemoths just chilling out. They're on the easier end of the scale for this area, as you might expect. We'll see the more difficult encounters in a bit more detail later. The boss music in some cases is not for show...

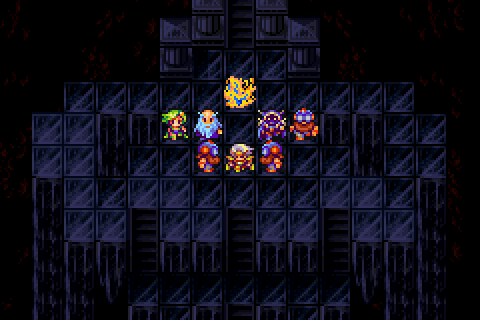
We can also get fights that are a weird mish-mash of enemies. Also, Cecil's suddenly back out of nowhere. He's there for a reason, don't worry!
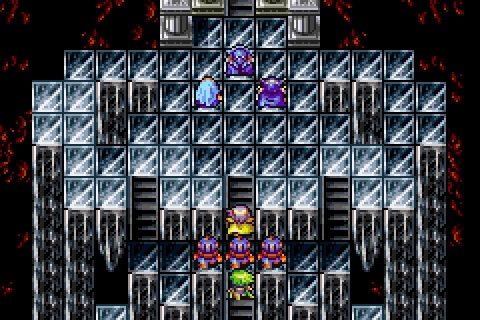
And that reason is that we're right at the final boss, now. We're just in time to see FuSoYa and Golbez do all the hard work though.
[Music: Battle 2 ~ Boss Battle]
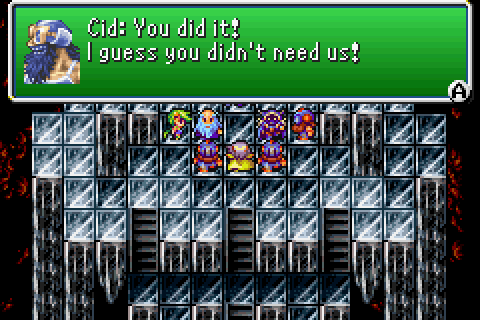
Turns out that those Cid sprites aren't just arbitrary and for show. They're merely arbitrary. Go figure.
Anyway, as for the general plot stuff Zemus got his ass handed to him, but that's not the end because he's the final boss of an RPG. Golbez and FuSoYa just beat up the first form, for us. We've still got at least 1 to go!
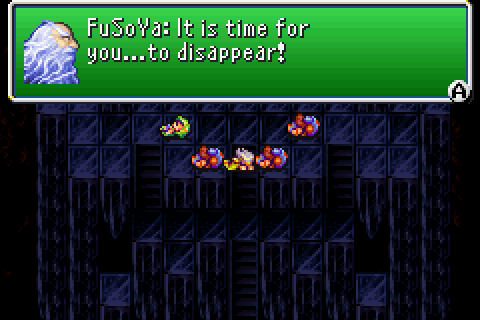
Of course, we don't get to fight just yet because that'd be too easy. Instead, we get beat up in a cutscene and then FuSoYa and Golbez do the fighting stuff again.
[Music: Dreadful Fight ~ Orchestral]
[Music: Prologue ~ Orchestral]
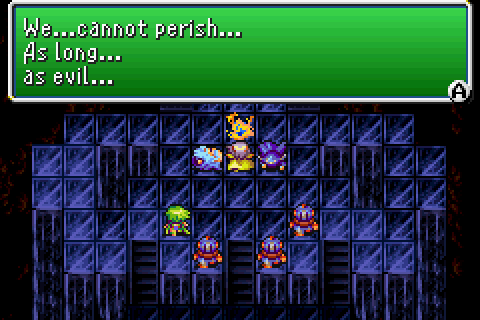
This time around, their plan doesn't go quite as well as they'd have liked. This means we need the power of
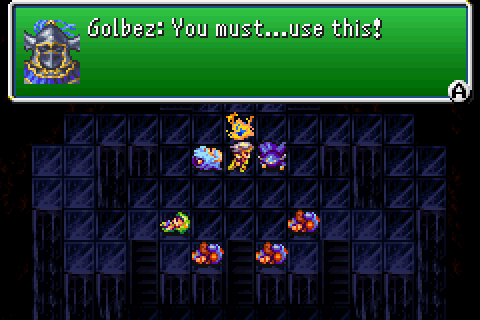
Golbez also hands us the Crystal he tried, and failed, to use previously. This is also the sole reason we need Cecil around for this. He's the only person who can use it.
And so begins the fight against the final boss.
During this entire section, the Red Wings theme keeps playing. It doesn't stop until we use the Crystal.
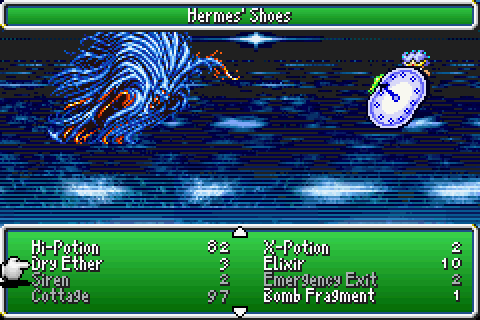
Zeromus also doesn't do anything for the moment, so I take the opportunity to use some Hermes' Shoes. I still have exactly 1 Spider's Silk lying around, but that can sometimes miss here.
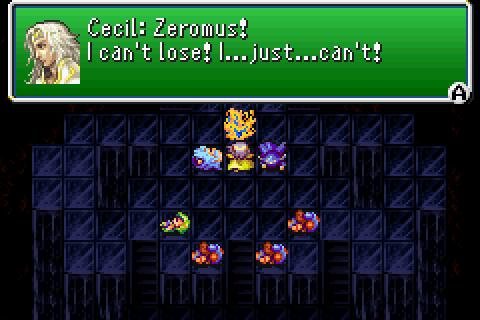
That done, it's just a matter of using the Crystal and then the fight begins for real. I'm sure it's obvious but Zeromus is not easy, even in theory.
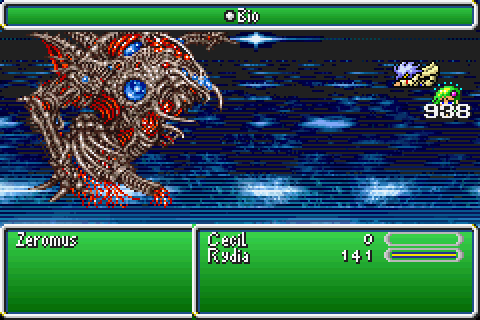
[Music: The Final Battle]
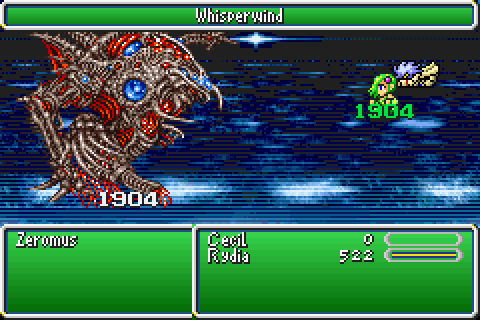
Right off the bat, we have Cecil smack himself to remove him from the fight entirely. Next, we throw a Bahamut at Zeromus and it deals pretty good damage. This, of course, triggers a counterattack because Zeromus counters everything you do to him.
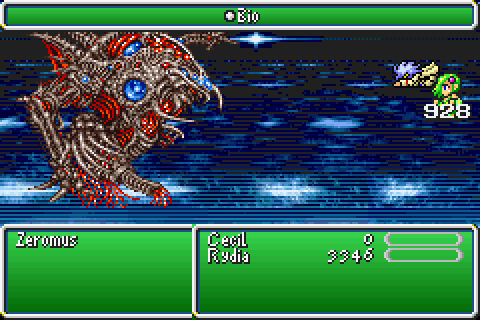
In the case of summons, it's meant to be Bio. This hurts a fair bit, of course.
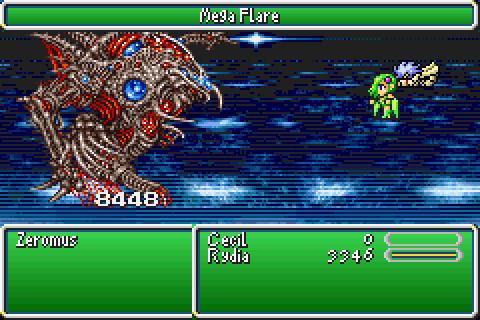
Now, Zeromus' AI runs in a strict pattern. In this case, however, it's not cyclical. For this first segment, he does nothing twice in succession then he uses his unique attack.
This deals a lot of (magic) damage, and it even inflicts Sap. Big Bang is kind of a big deal, and is the single reason why some people who got to Zeromus still never beat the game.
Of course, following this we're going to want to heal immediately. Sylph does a good enough job at healing us whilst slipping some damage in too and it's a summon so he should counter with Bio.
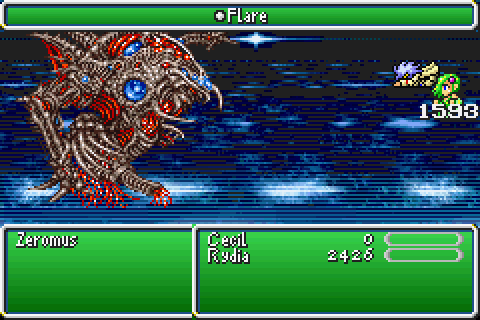
Should, being the key word. For whatever reason, using Sylph makes him counter with Flare - and this counts for all future summons too! So if we use Bahamut again next, he'll throw a Flare at us. That's... very not good, to say the least.
Now, Zeromus has used Big Bang once already. That means his AI Script changes slighty. He does nothing twice in succession, again, and follows it up with Big Bang for the second time. Surviving through it now, though, means that he does something a bit different. After the second Big Bang, he uses another of his unique skills.
The description following Black Hole is a bit vague, but what it means is that all buffs and debuffs have been cancelled. This does not remove all ailments, however, so things like Sap stick around.
After this, he does nothing twice more in succession followed by a Big Bang again. If you're still somehow alive, then you're probably going to win.
If not...
You get used to this happening. Needless to say, this happened a lot during this fight. The worst time, though, was when I survived to this point in his pattern and he had about 7,000 HP left (give or take a couple hundred). That was when he opted to use the next move in the second phase of his pattern:
Bio. I got chumped by a Bio that I forgot was coming. After this, he'd throw up a Black Hole, then repeat the nothing, nothing, Big Bang, Black Hole before cycling to the start of the second phase again. He should be looping this one forever, because it gives you the most attack opportunities whilst not being an implicit "you messed up."
Y'see, he HAS two other AI script phases but he needs to get a turn when he has less than 16,000 HP but more than 12,000. Because of the sheer size of the numbers you should be inflicting, though, he'll go flying past that range without even entering it.
If he stays in it? His HP silently gets restored to full. To give you an idea of how bad that is...
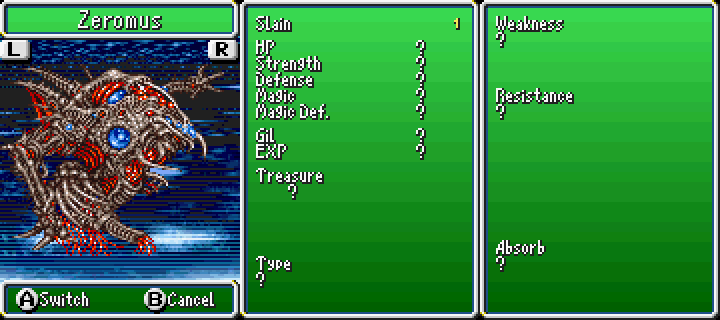
The game doesn't tell you his stats for whatever reason but he has 65,498 HP, 174 Strength, 39 Magic, 3 Defence, 38 Magic Defence. And a 35% chance to evade physical attacks on top of all that.
So, yeah, you don't want him to enter that range for very long, if ever!
...And, of course, Zeromus is absurdly hard so I might need something to tip the balance in my favour. So, hypothetically, let's say I went and did something stupid.

Something like, say, fighting Flan Princesses for the better part of more or less an entire day.
Something that involves getting the Pink Tail after many, many hours of fighting 2 fights, resetting, running back to one tiny room and trying over, and over and over again.
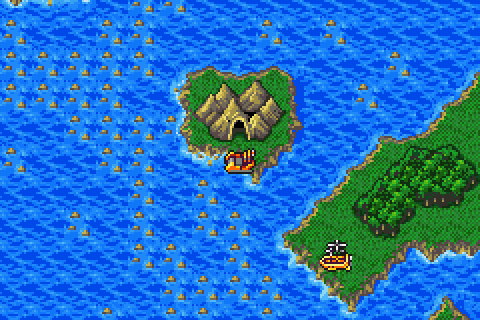
Something that then has me leave the entire dungeon, fly off the moon, head to the Enterprise over by Eblan and take the hovercraft to a cave by Mythril.
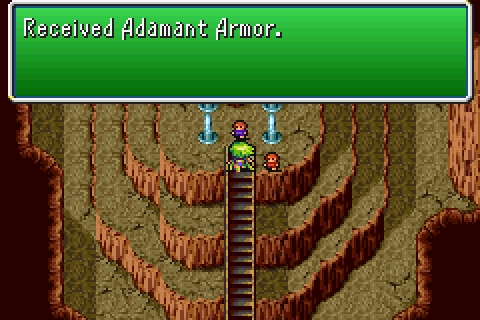
If I were to then trade the hypothetical Pink Tail to the guy here, he would then be kind enough to give me the Adamant Armour.
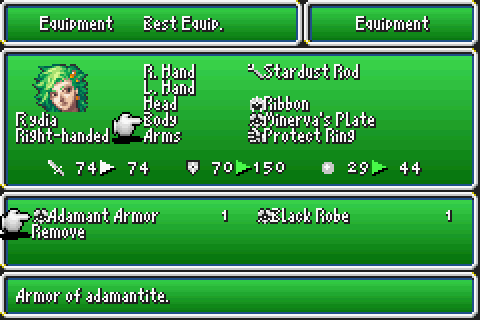
The Adamant Armour would then give me a total of +100 physical defence over Rydia's base stats. Along with that, it give an extra +20 magic defence and +12 magic evasion. It would then also give +15 to Strength, Stamina, Agility, Intelligence and Spirit. If that wasn't enough, it would then also protect against everything the Ribbon does too with the bonus of adding Paralysis for good measure. The other 5 that a Ribbon doesn't grant immunity to (Doom, Critical HP, Sap, Slow and Berserk), the Adamant Armour wouldn't either.

The use of the Adamant Armour would then enable Rydia's Flares to consistently deal 9000+ damage, frequently erring closer towards 9,999.
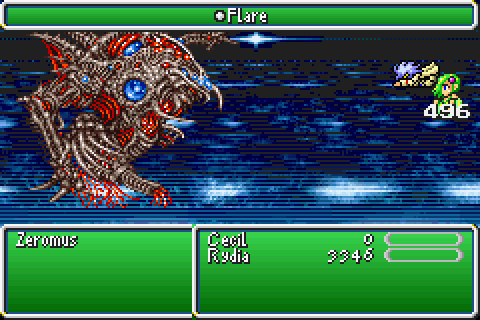
It would also, on the flip side, make the damage of Zeromus' own Flares and Big Bangs much more reasonable and managable. They wouldn't be absurdly weak, just noticably more to the point that they can be healed without getting bogged down doing it.
So, uh, yeah. I got my ass handed to me repeatedly when using Minerva's Plate. Like, far more times than I'd care to admit. The entirety of the final dungeon took around 2 and a half hours. I reached Zeromus at about the 40 minute mark.
...Yeah. Not an easy fight! I'm sure I could have eventually beat him without it (and for the eventual and inevitable refights I'll keep trying to do so), but I just got tired of getting about halfway done and then wiped by an attack that dealt about twice as much as I was expecting it to. Smacking my face against that wall again and again would've probably been quicker, though.
[Music: Ending Theme (Part 2)]
Still, I'd much rather have a difficult fight than a complete joke. Feels more like an accomplishment when you finally do win.
The ending does try and do some kind of "where are they now," kinda thing. It... mostly works, though one stands out as being ridiculous.
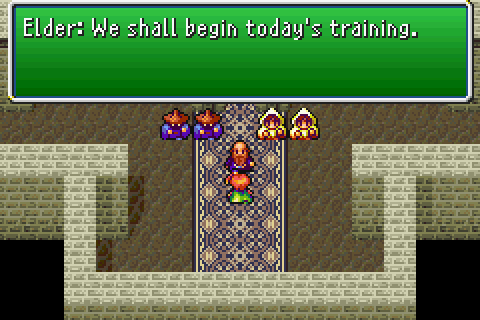
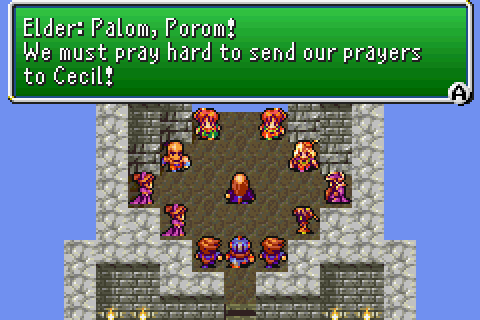
Palom and Porom are meant to still be training, on account of that "being 5" thing. The writers seemed to forget that bit, though, because Porom certainly takes it seriously...
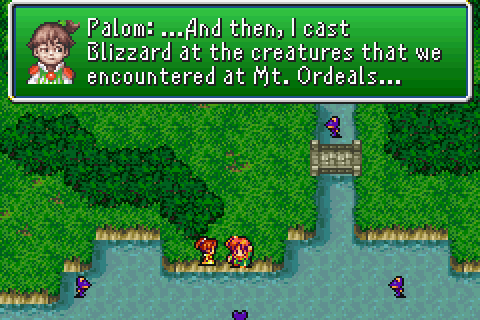
But Palom makes stuff up wholesale to try and pick up girls. Sometimes it's best to not ask about these things, I guess.
It's at least fitting for Edge, since that and "ninja" are basically his two whole personality traits. He's also still arbitrarily called the prince, despite being the only one left.
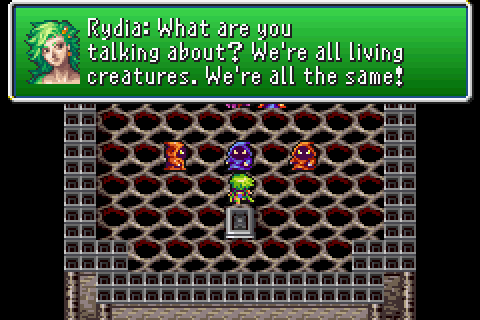
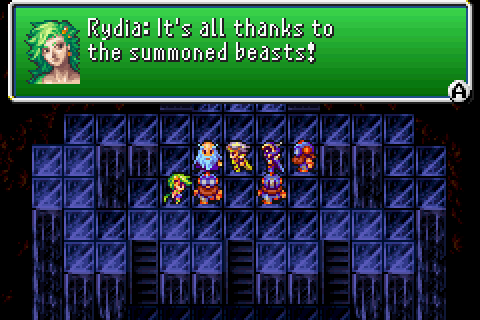
Rydia meanwhile is busy being back in the Land of Summons. Apparently the creatures there are all racists. This probably surprises approximately no one.
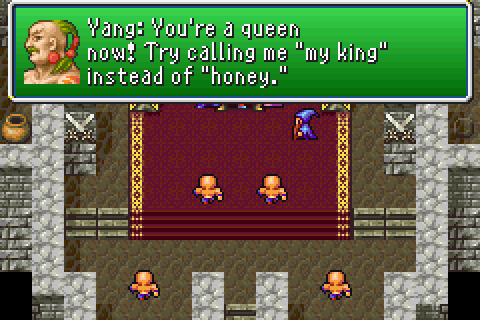
I always thought it was weird that Yang just happens to get made King of Fabul here. Everyone else's conclusion fits to a point, but this one makes no sense. The old King's still around, and Yang was just a dude who was good at his job.
Sure, Cecil was too, but the King of Baron was dead and replaced with an imposter before the game even began. That one could at least be justified (to a point).
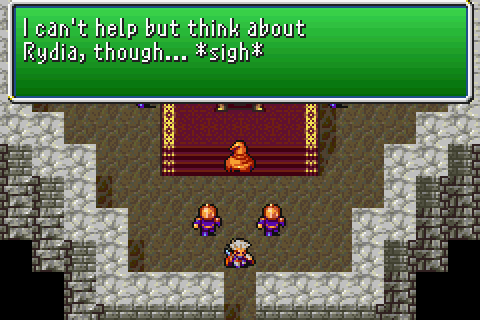
Edward's busy being Edward. Not much else to say there. At least he's gotten less whiny which is something, I guess.
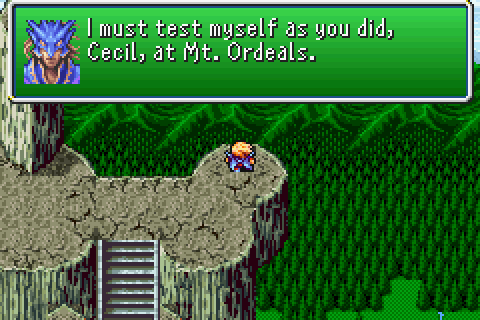
Kain's setting up inevitable sequel hooks and has finally taken his helmet off. His sprite looks weird like this, though. Perhaps because we can only see the back of his head.
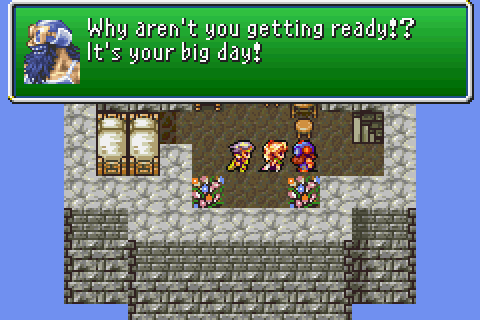
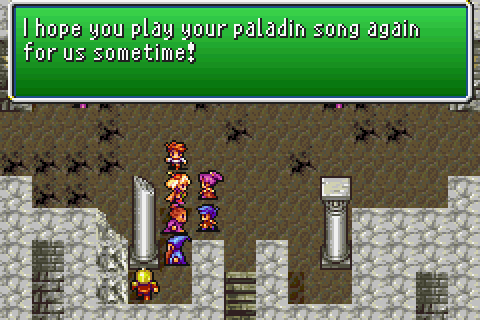
Everyone else is at Baron. Cecil and Rosa taken over, finally getting married etc. etc.
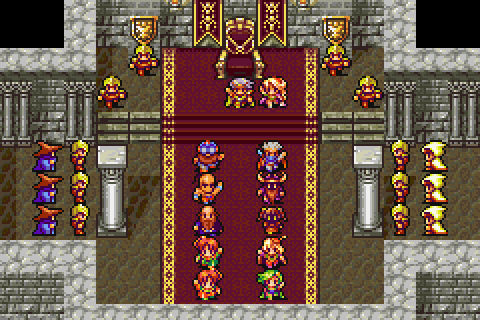
And that, as they say, is that.


[Video: Vs. Zeromus] - I assure you, this was not even close to as easy as it may look. Also I greatly dislike the scrolling parallax background.
Next time: there are still 25 actual bosses left alive, as well as some... special enemies we have yet to see. We're gonna have to start somewhere!