Part 20: Celestia
18. Celestia
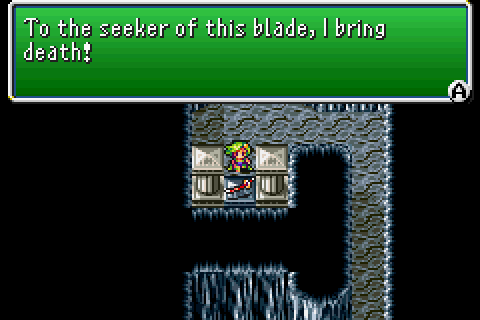
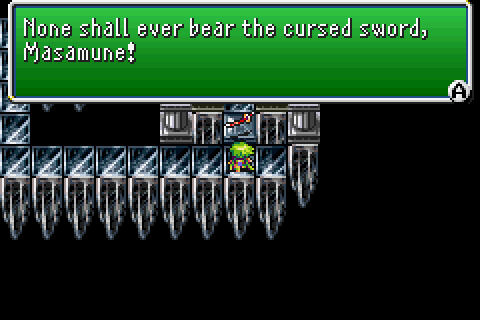
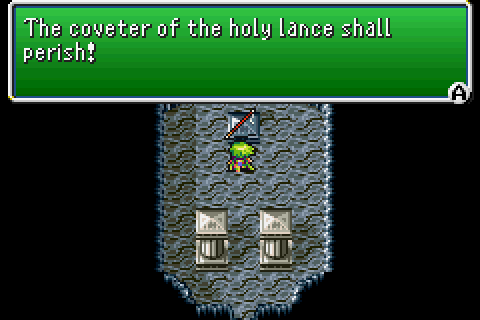
So, within the Lunar Subterrane there's 5 optional bosses. They're each guarding end-game equipment for the final party... kind of. There's 4 weapons, and 2 ribbons up for grabs this way. The weapons are for Edge, Cecil, Kain and Edge in that order.
So, yeah, we can't use them. We're gonna get 'em anyway... if we can. I have no doubts in my mind that at least 4 of them are possible. The fifth is a different story.
[Music: Battle 2 ~ Culex Battle]
We're not tackling the bosses in the order they appear, because that'd get screwy and involve bouncing around a fair bit. We're mostly doing them in the order I did. That means the first 2 were done before even reaching Zeromus.
Not a single one of these bosses has a unique sprite which is kind of a shame, but so it goes when you have SNES limitations.
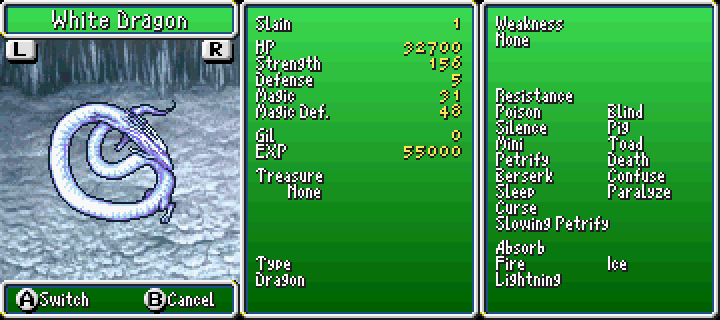
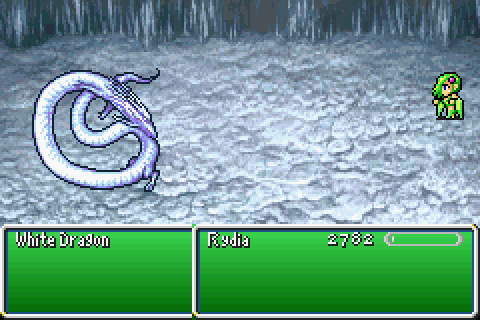
The White Dragon has the least HP out of any of these fights but that doesn't mean it's the easiest. That it absorbs all three primary elements is annoying, but considering the general strategy for most fights is "use Flare and/or Bahamut" that's not really a problem.
What is a problem, is that they don't deal much damage. Remember, I did this fight when I first entered the Lunar Subterrane. I was about level 62 at the time.
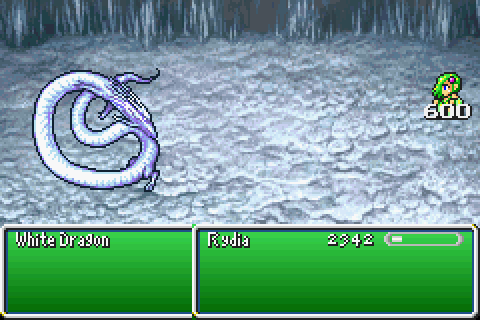
The dragon itself primarily relies on physical attacks, save for in a few cases. It's quite fine as is, though, because its attacks are quite effective. This might warrant using Asura if only you weren't relying on the whim of the RNG to get that Protect in the first place.
Bahamut didn't fare that much better than the Flare either, for the extra MP. That's not the worst of it, though; the White Dragon has counters for most things you'd do to it.
Hitting it with a summon makes it respond with Earthquake. If we could float this would be a non-issue, but we can't. It's not quite as potent as a regular physical attack but our primary method of healing now is Sylph. Which also triggers this.
The worst part, though, is that it occasionally will use Maelstrom. If you have an attack queued up, then an immediate defeat following it is almost inevitable.
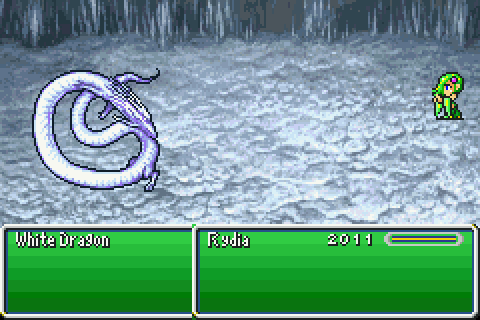
If not, then you can probably fight back and eventually win. It's not a quick fight, but it's possible after a while. It just takes some tenacity.
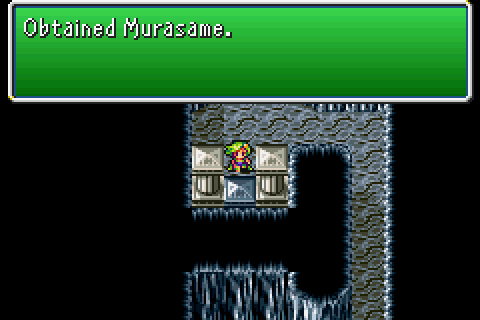
And our reward is a ninja sword we can't use. It sells for a not-terrible amount, though, so it has that going for it at least.
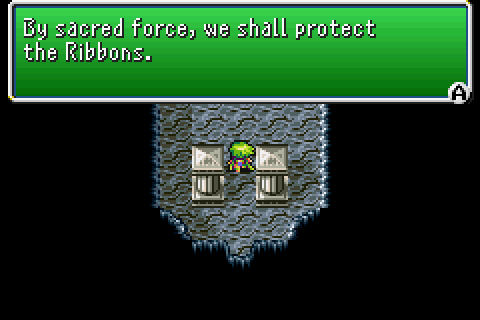
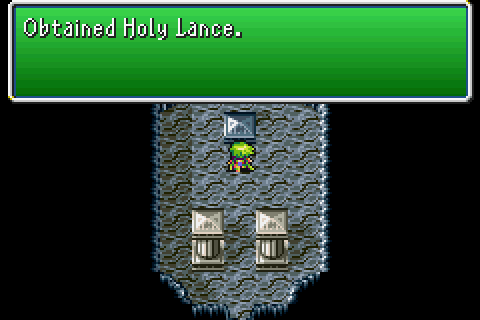
The second guardian we'll be facing is right at the very end. At the hallway of 3 doors, we're after the third this time around. The reward for this fight is the only one we can use, and it'd be good to collect if we didn't have one already.
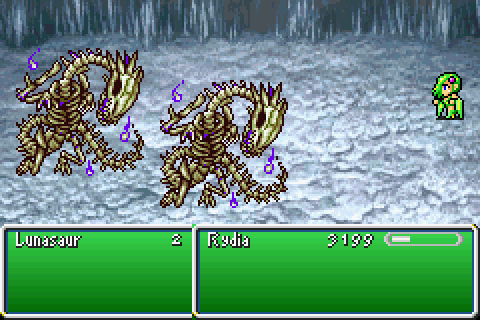
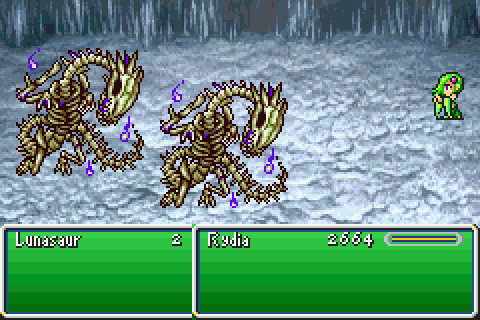
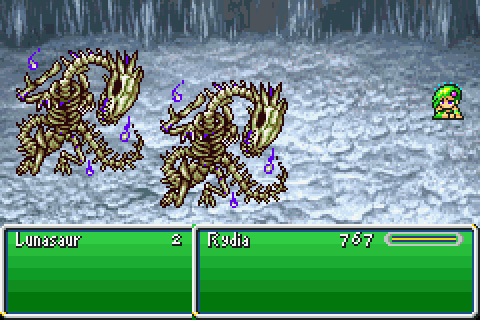
The Lunasaurs are the only fight here against more than a single opponent. That's probably for the best, because one Lunasaur would be too easy.
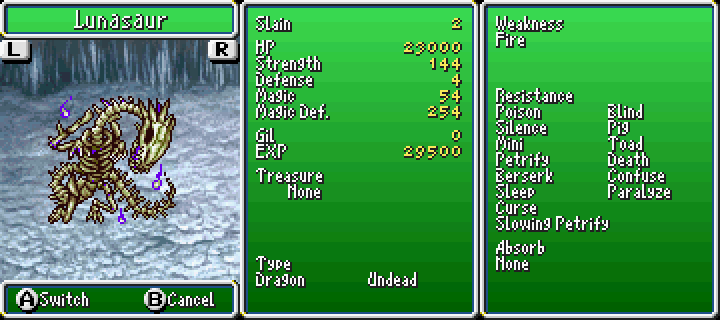
Their Magic Defense helps greatly mitigate their weakness to Fire. A Firaga on a single one would only deal about 5,000 damage give or take a couple hundred.

Their strength, meanwhile, seems rather impressive on paper. In practice, it's significantly less so. They can err closer towards a whole 300 points of damage but it doesn't happen very often.
They also frequently use a simple Fire elemental attack that's a bit more effective than their regular attack. It's the only thing you should really have to worry about, though.
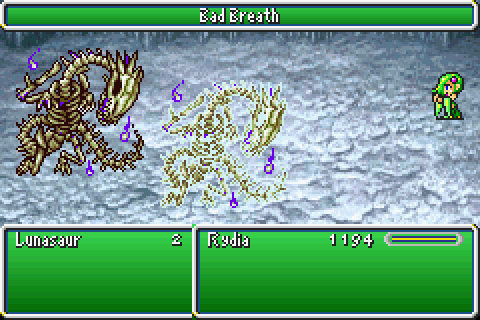
In what is painful irony, they can also use Bad Breath. Because they're guarding Ribbons which would be useful against this, you see.
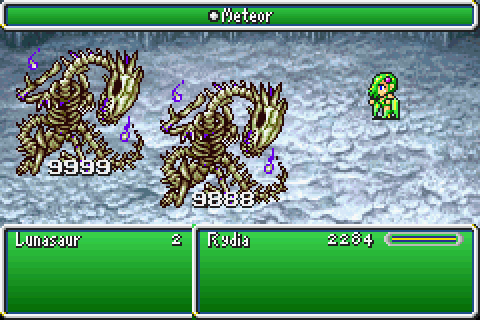
That there's two Lunasaurs means we should aim to kill both at once. If we don't, the surviving one becomes more aggressive and gains the ability to heal. For convenience, we want to avoid that. Due to their low HP, we can win in 3 turns with Meteor.
Like I said, its uses are niche but multiple enemies with max magic defence are a damned good example of what to drop meteors on.
Of course, after 2 Meteors they'll have almost no HP left at all so anything multi-target will work well here. I just picked Bahamut because why not?
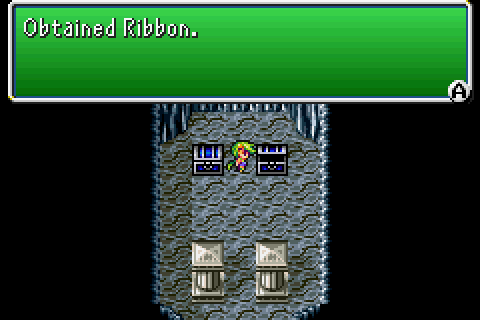
And we get 2 more Ribbons for our troubles. Unlike the Murasame, they don't sell worth a damn on top of being superfluous now. Still, it feels nice to have spare Ribbons.
With the Lunasaurs dead, we are now firmly in the post-game. Every boss from this sword onwards were beaten after Zeromus. I will attempt to avoid using the Adamant Armour wherever possible, because it would make things a bit too easy.

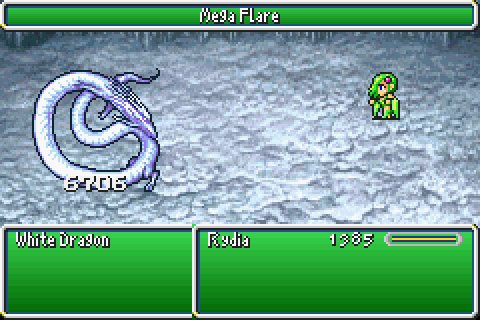
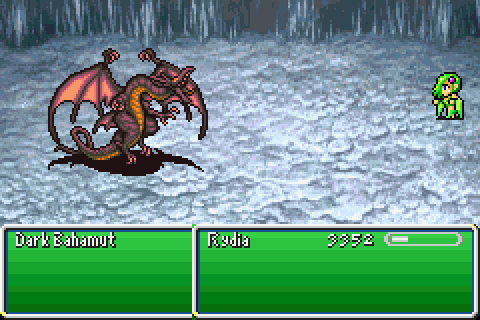
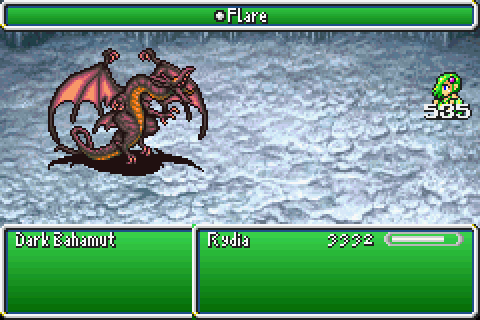
Dark Bahamut is a fairly tricky fight, even at level 69, but he is not insurmountable.
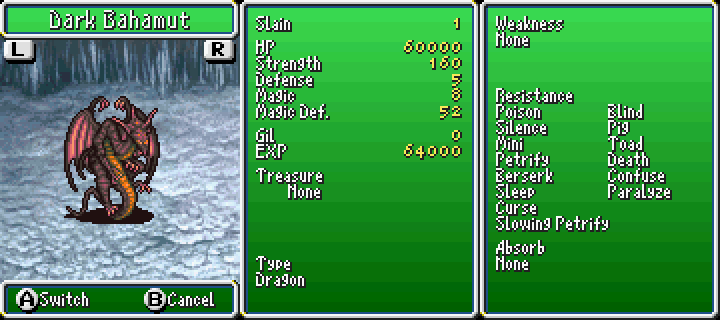
As you would expect from an evil version of one of our eidolons he's incredibly powerful. Much like regular Bahamut, reflect plays a role in this fight. Unlike then, however, I have no curtains left.
In some ways, this doesn't really matter. On the one hand, his Mega Flare is woefully underpowered compared to the original. Further, the first Mega Flare is effectively unreflectable because it happens almost immediately.
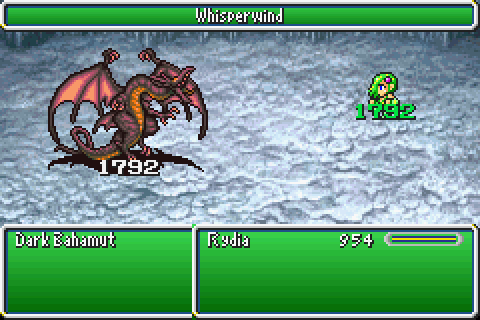
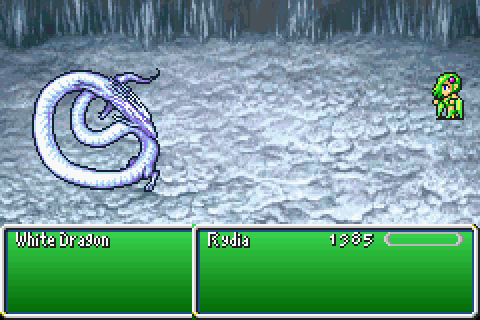
On the other hand, it makes the fight much more drawn out and prone to a potential defeat. We can heal well enough to survive barring any extreme circumstances, which is nice.
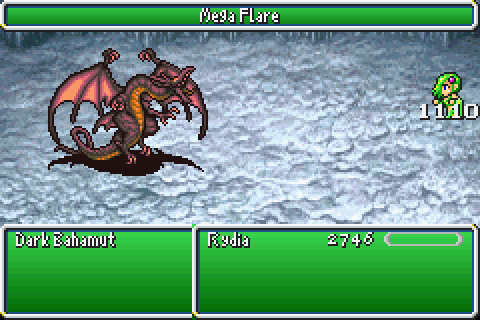
The issue is that he counters almost everything with Mega Flare. If we could utilise Reflect, he would trash himself effortlessly.
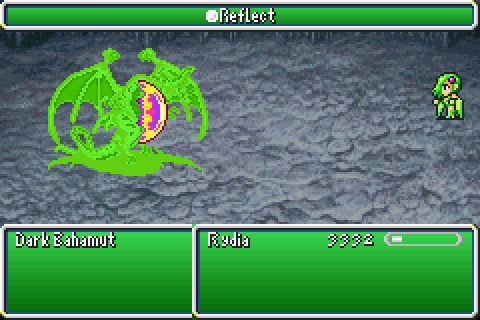
He's also reasonably smart enough to put up a Reflect of his own early on in the fight. He'll then proceed to put it back up whenever it wears off; there's no tricking him into blasting himself with regular Flares I'm afraid.
Oh yeah, he does those too. Just bounces 'em off himself. They're no match for Zeromus', or our own, and this is with the Minerva's Plate. They also miss fairly often, though this is not something to rely on.
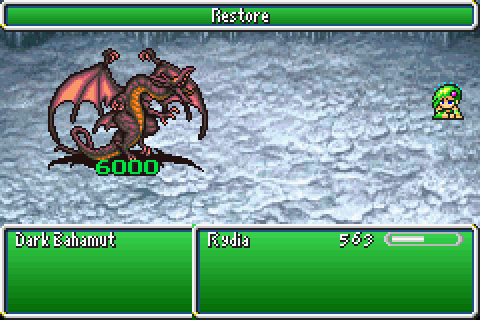
Every so often, he'll also just heal himself. Restore is kind of a nuisance, since it restores a flat 10% of the target's MAX HP. Were it used by something with a lot of HP it could be a problem.

As is, it kind of delays the inevitable. Of course, since this triggers a Mega Flare in kind, we can get stuck in a loop of using Sylph to heal up... just to need to immediately Sylph again. And if that keeps up long enough, he might be able to heal more than he loses.
Though, that kind of scenario is very much an extreme situation and arguably warrants using an Elixir just to get out of it. They're not that special now; we can buy the damn things, after all.
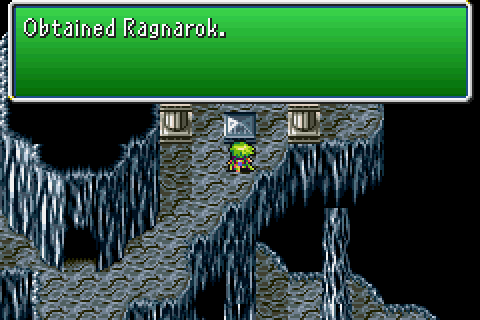
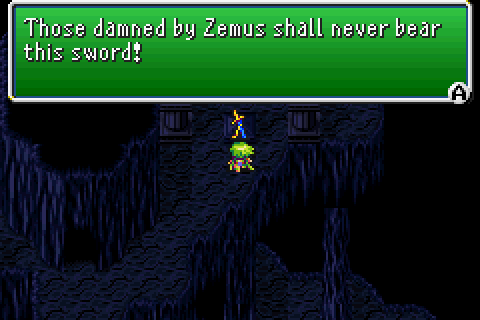
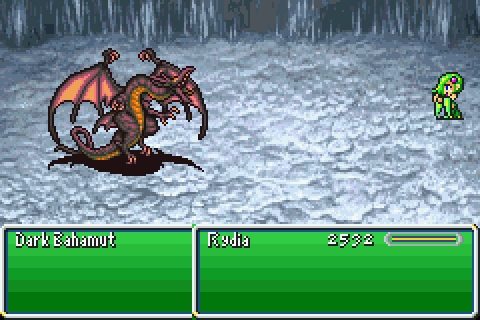
And our reward for doing so is a sword we can't use because we're not Cecil. It doesn't sell for very much either, so I guess we'll stick it in a chocobo later or something.
Next, we'll skip all the way to the end of the dungeon and examine a sword hiding on the first screen there.
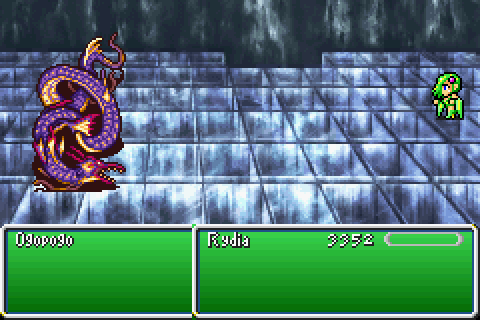
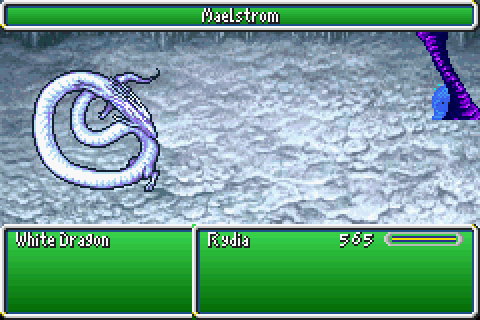
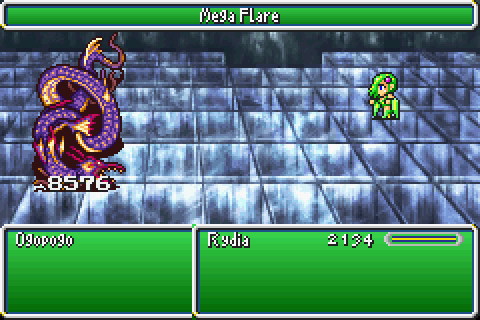
Much like Dark Bahamut above, Ogopogo being a reskin of Leviathan is thematically relevant to his fight.
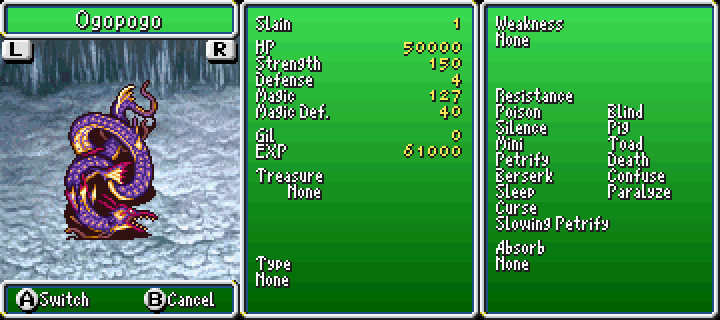
Unlike Dark Bahamut, this thematic relevance is not in a means of how to beat it easily. Ogopogo is not weak to Lightning, and his sprite (and being named after a Canadian lake monster) are an evil misdirection.
Like all good bosses, Ogopogo runs on a strict pattern. He opens with a double Tidal Wave and will spend his next 3 turns on regular physical attacks. Afterwards, he will use a single Tidal Wave then 2 more regular physical attacks. At this point the pattern repeats.
This is all well and good, but knowing this means there is no excuse for losing this fight. Tidal Wave deals fixed damage; look at the damage the double wave dealt and compare that to Rydia's remaining HP afterwards.
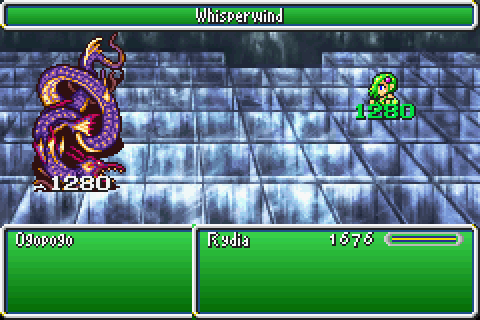
Tidal Wave deals damage equal to 25% of the max HP of whoever it hits. The double, therefore, deals exactly 50%. Damage that works like this is all nice and easy to deal with, because there's no doubt and it sets a clear margin for error.
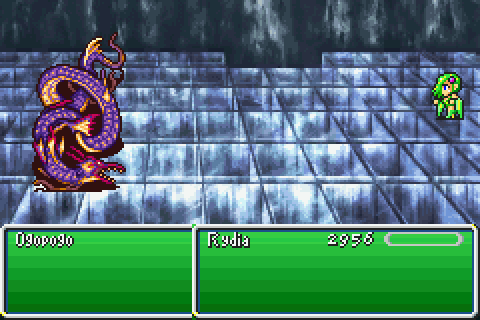
Of course, Ogopogo isn't that simple. If he were, this fight would be far too easy. So he counters things; most spells, and summons, get a simple Blaze. Relatively tame damage, no big deal.
Note, however, that I said "most" spells. Lightning ones are special. Not only does he take neutral damage to them, using it is a suicidally bad idea. He has a unique counter exclusive for them.
Whirl is not particularly fun, being yet another Tornado variant. Unlike Maelstrom, which was multi-target Tornado, Whirl's big advantage is that it will basically never miss.

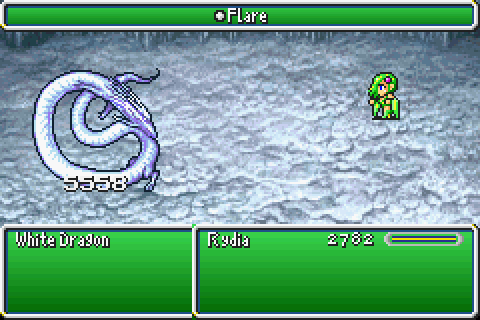
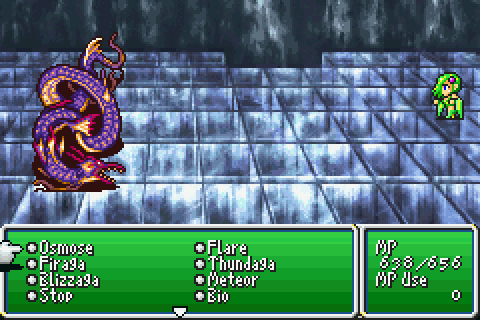
So, Flare and Bahamut it is then? Well... almost. Flare doesn't really err towards the useful in this fight. It deals a fair bit less than you'd expect.
Bahamut though? Nah, he's fine. A bit more MP intensive, especially with having to throw Sylph in occasionally, so we need to deal with that problem.

You probably noticed a while ago now, but I haven't used Osmose in a while. That's because come the end-game it's completely worthless. Everything just gives 1 MP if we're lucky.
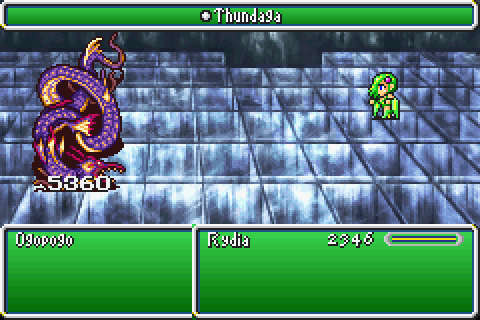
At that point, I was vaguely curious how close to dead this thing was so I used a Bestiary.
To my surprise, it countered this with a Blaze too. I didn't expect that one.
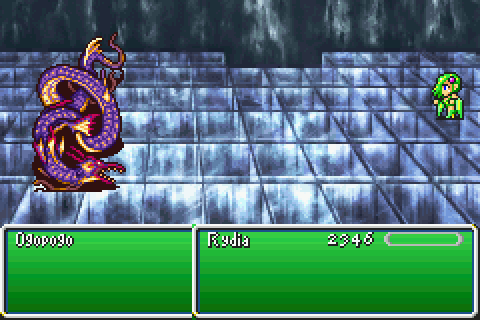
And, let's be honest, the only way to kill a snake is with a cooler snake. So I had Leviathan do the honours.
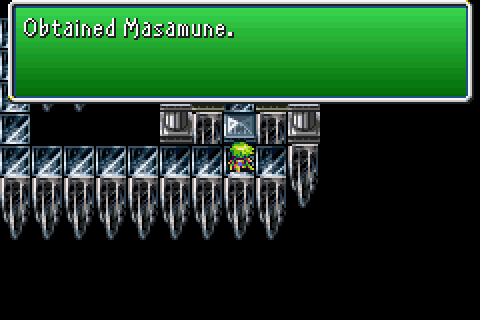
This nets us Edge's second sword from this little section. It sells for, uh, more than the Ragnarok which is something I guess.
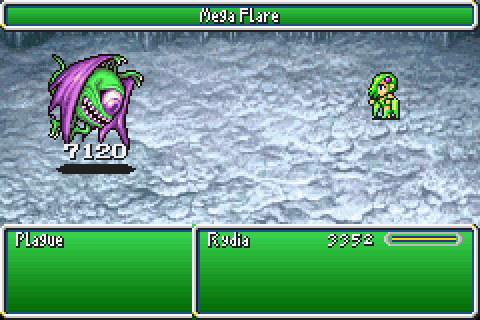
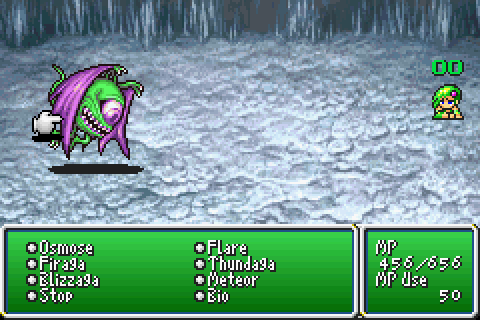
For better or worse, it also leaves us with just the one boss left to fight. The simplest, and yet the hardest. The one I hate the most.
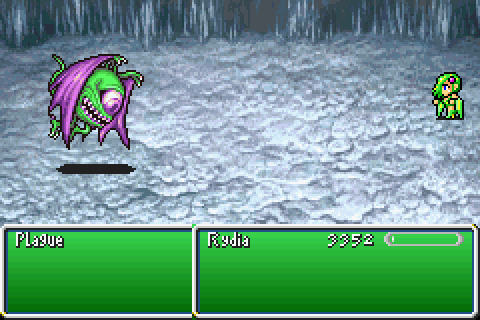
Plague does exactly one thing. It is all he needs to do.
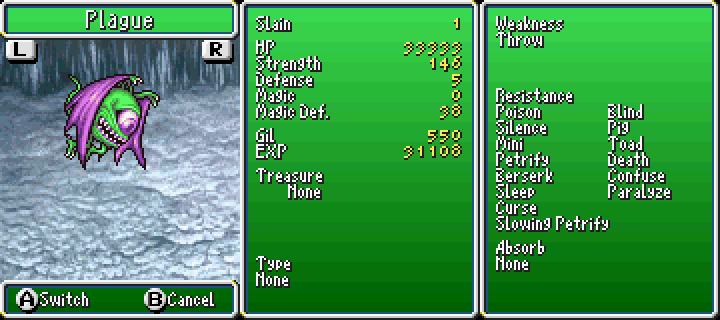
Now, on paper, Plague doesn't seem to be very powerful does he? His attack stat is nice, but his defense is awful and he comes with a weakness to arrows?! That sounds amazing, doesn't it?
...We are not using arrows. The fight might appear to go easier if I did, but he has 33,333 HP. Rydia is not capable enough to cut through that in time, especially with how often arrows love to miss.
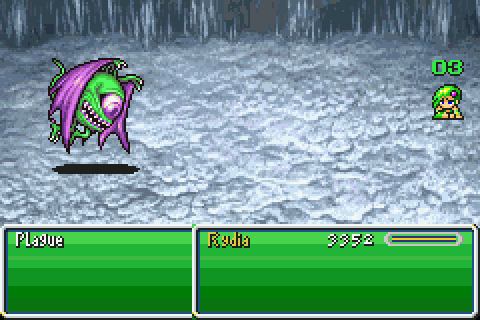
At the start of the fight, Rydia's quick enough to get in an attack before Plague. This is important; without that, the fight would be impossible. Even with it...
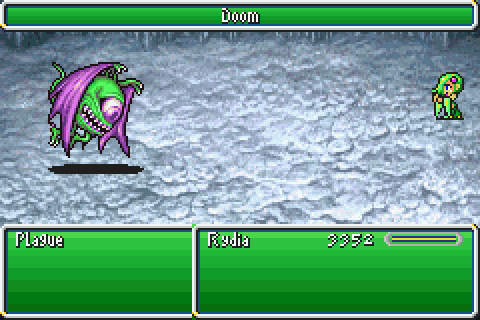
Doom is the one attack Plague does. It is unblockable, it is unavoidable, it gives you a time limit of 10 seconds. It then kills you. No questions asked.
Now, I told myself at the start that unless it became absolutely necessary to advance I would never grind. Clearly, I am incapable of resisting that temptation because I have implicitly done it several times albeit for items, summons, weapons... various times, never letting myself get too overlevelled in the process.
Plague almost made me reconsider it. With a full party, he's no hassle because he has low HP and an innate weakness to Kain and getting hit a lot. With just Rydia... it's a lot trickier.
I'm teetering on level 70, and from that point on I can manipulate my levels to get absurdly overpowered. I nearly did it, just for Plague.
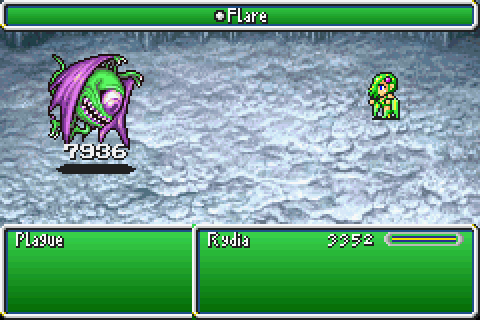
...Then I looked back over a few things. The issue with this fight is speed. The first attack wasn't enough in itself. I was still 1 shy, even with that. Haste, then, is the obvious solution. Sadly, it doesn't work; it takes a turn to setup after all. Instead, we'll look at the Fire Whip. Without it, Rydia has 47 Agility.

It gives an extra +5, pushing Rydia over 50. It sounds like that should make her quick enough to handle this problem, but of course that creates a new one in its stead.
Damage. The Fire Whip not only removes the Intellect bonus of the Stardust Rod, it also carries a -5 Intellect penalty with it. This coupled with the Intellect penalty of the Minerva's Plate is enough to completely destroy any potential damage output.
It also leads to an unfortunate scenario where I run out of time immediately after inputting an attack.
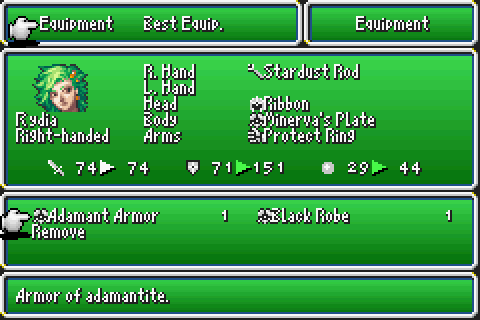
The solution, then, risky though it might be is to trade speed for higher damage output. Plague doesn't attack, so the giant defense boost is irrelevant. The stat boost, on the other hand, could make all the difference.

And, well, it does. We don't need that extra turn thanks to this. In a sense, that's because the damage it would deal is effectively broken up and distributed amongst the turns I get normally. The Adamant Armour on its own effectively increased damage output by over 2,000 points per attack.
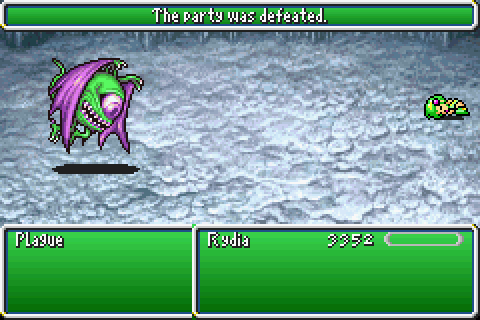
For what it's worth, I did try 2 other similar methods first before jumping straight to "Adamant Armour." I opted for no armour at all (he has no attacks, and it removed the penalty) to no avail.
I then opted to try the Black Robe, which has an Intellect bonus, but that led to a scenario where I picked the last attack needed to kill Plague. Then time immediately ran out before it could go through. This happened multiple times.
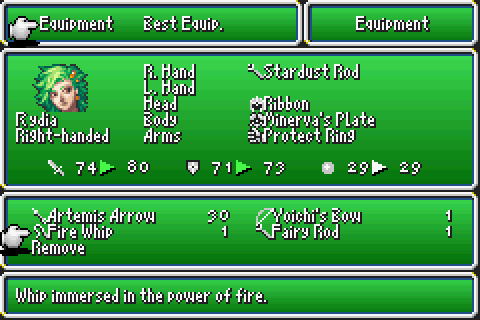
Now, before we continue with any other optional areas beating the 3 I had left to beat pushed Rydia over to level 70 (a.k.a So High You'll Never Get There Normally).
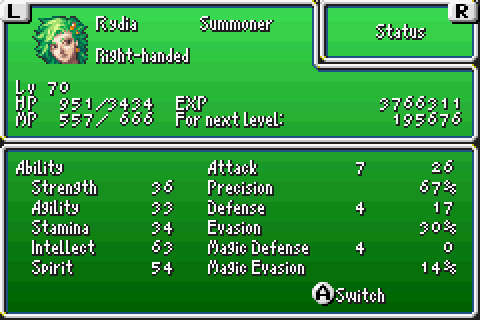
These are her stats at level 70 with no equipment. These will always be her stats at level 70 with no equipment. When we reach level 71, the same cannot be said then...
Next time: putting off the really hard stuff! A return to Mt. Ordeals.
Optional Bosses Fought: 9 If you really need to ask, the other 4 are Asura, Leviathan, Odin and Bahamut.
Optional Bosses Killed: 9
Success Rate: 100%