Part 22: Bossia
19. Bossia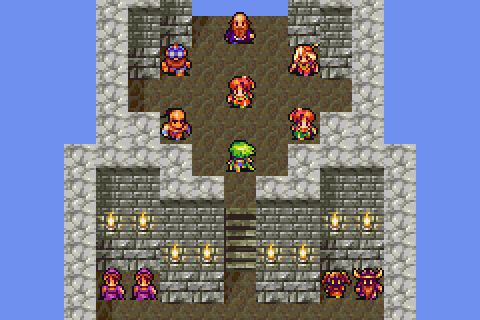
So, this time around we're going to be doing something a bit different. First up, I sneakily added back in the rest of the regular end-game party.
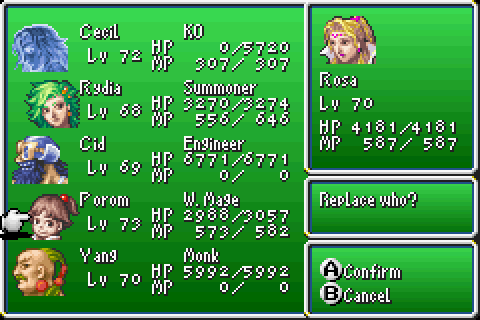
Then I replaced 3 of them with the other people at Mysidia. It's not really necessary to do it this way, of course, but it streamlines it a fair bit. Either way, we do need to head back here.
Oh, and Rydia's level 68 here because this is a pre-Zeromus save file. No real reason for that, other than being a slightly lower level. It doesn't really make a difference though.
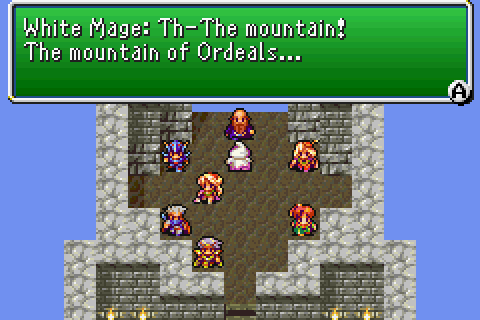
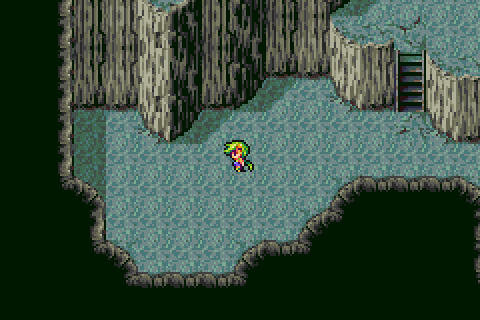
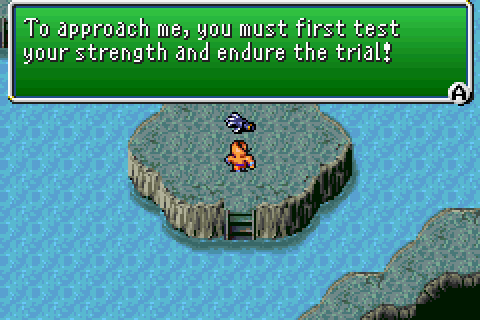
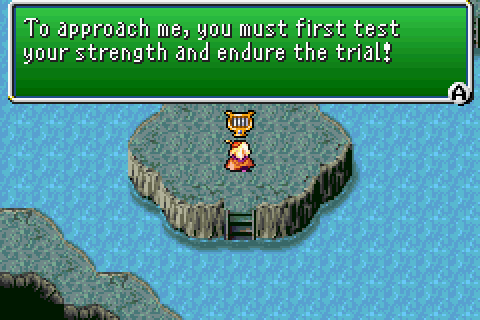
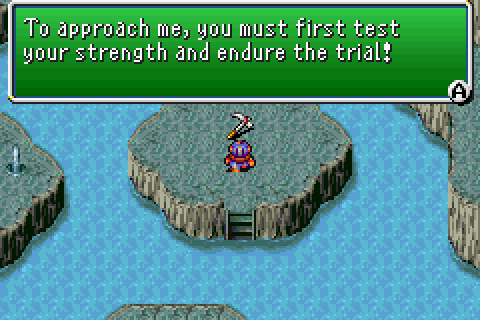
Once we try and leave, we get told that an optional dungeon at Mt. Ordeals is more or less opened up by now.
We'll just skip all the way over there, and that's exactly when the dungeon itself decides to open. I guess it can't do it unless a protagonist is looking or something.
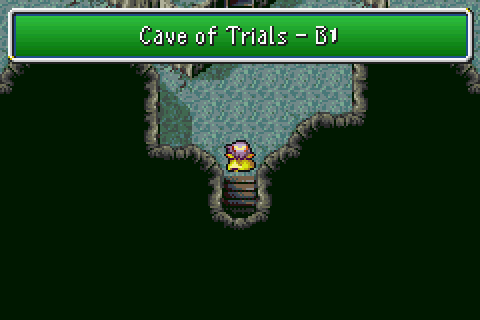
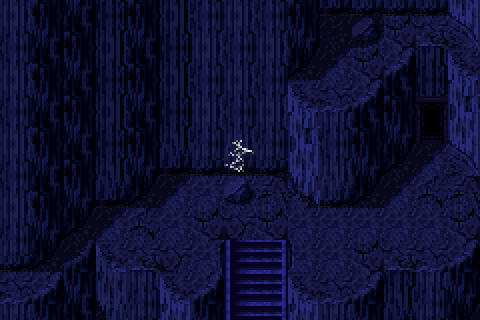
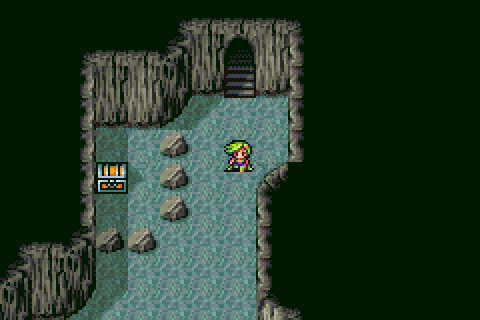
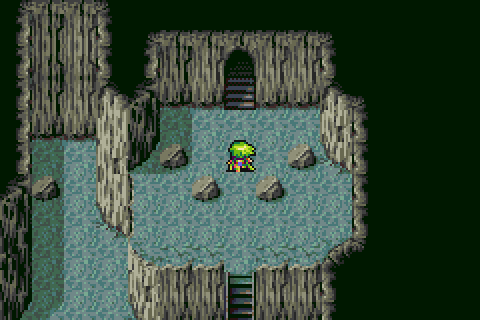
So... the Cave of Trials. I get why they decided to make this, and all, but it's really not worth the hassle. It's sole purpose is to give the 5 characters that aren't the regular end-game party some new weapons and armor.
It's just a shame, then, that the cave itself is incredibly bland and uninteresting. It has some neat treasures, but they're few and far between.
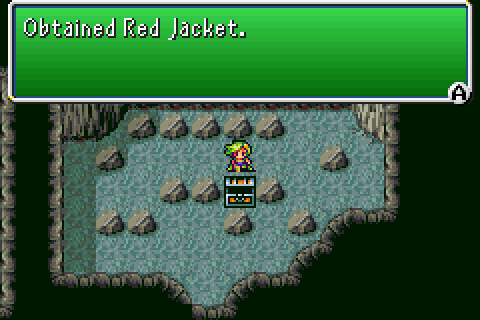
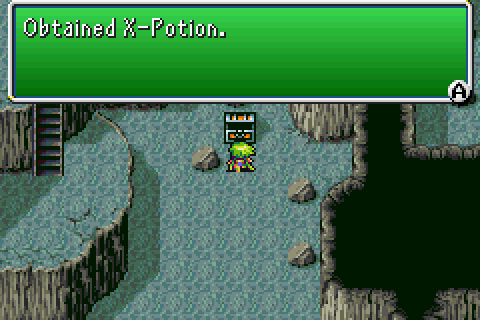
Most of them are pieces of equipment, though. They seem like they should be usable by several characters but nope. Every piece of equipment here can only be used by exactly one character and that's understandable but kinda dumb.
This one's for Edward, for whatever it's worth.
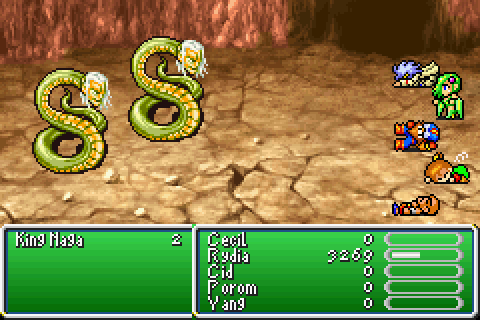
The fights are... just as uninteresting. They are almost all taken exactly from the Land of Summons, Sylph's Cave and the Sealed Cave. None of these repeats are particularly interesting ones from those areas, so fortunately there's a whole 2 new enemies added to this cave.
Both of which are obscenely rare and you'll never, ever see under normal circumstances. Isn't that fun?
The cave goes on for far too long, has too many arbitrary dead ends and a hell of a lot of things look way too same-y.
It also has a lot of hidden passages. I guess that makes sense, because visually it's basically identical to the Eblan Cave. Some of them are kinda painfully obvious.
...Others are not. But for running into every alcove, there's no way to know where some of them are.
And, of course, some others that look completely identical are not even hidden passages at all. I just kinda wish that there'd be some consistency with it is all.
Despite the end of the cave looking incredibly similar to the end of the Mist Cave, there's no boss fight just yet. Not even a forced regular fight or anything.
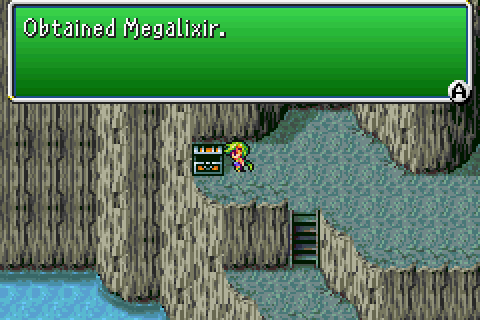
Bizarrely, we get 2 Megalixirs right before the boss arena. There's no functional difference between these and regular Elixirs for our purposes, but it's a nice gesture all the same.
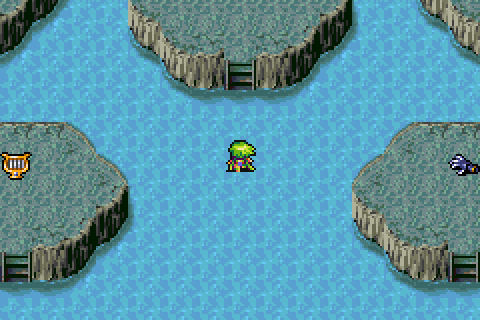
The fights here are awful similar in their setup and premise to the ones from the Lunar Subterrane but somehow not quite as good. That they're just in one giant chamber at the end is kinda uninteresting compared to finding them while exploring the dungeon. At least it is to me.
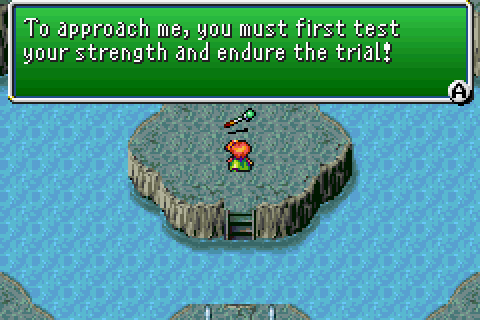
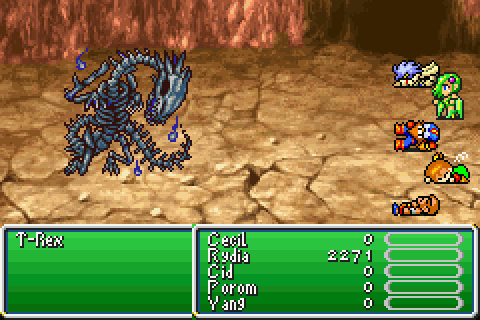
We'll (more or less) be going clockwise through all of these, so might as well start at the very, very top. We actively cannot do this fight without having Porom in the party, unsurprisingly.
[Music: Battle 2 ~ Boss Battle]
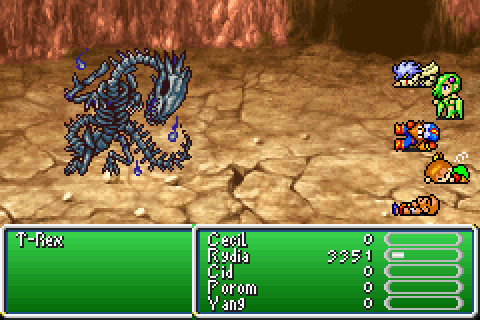
The T-Rex is probably one of the more interesting fights here. It's not difficult, but it's not all that simple either.
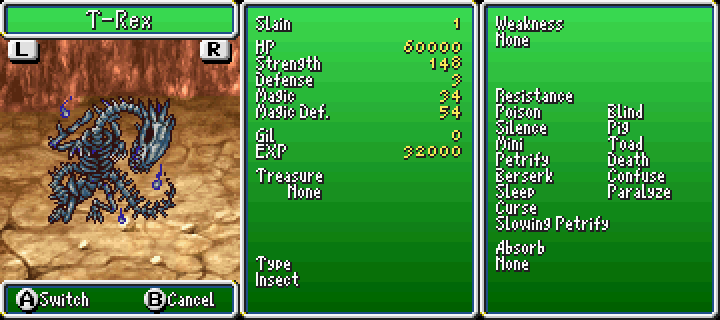
It has the most HP of every fight here, it's got a not awful Strength stat, it's even counted as an Insect because why not. And it has no weakness.
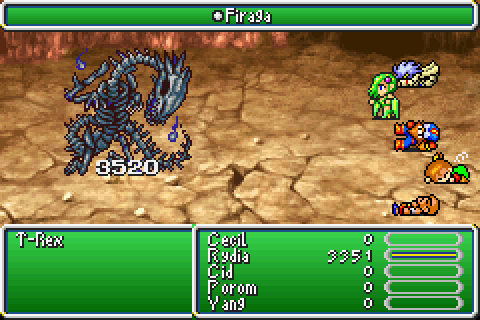
In spite of that, I'm still going to hit it with a Firaga. This is sort of to help demonstrate the point that if you're not hitting a weakness, against bosses the -aga spells aren't that useful any more.
But mostly because the T-Rex hates magic and will counter some of it with this. And by some of it, I mean 9 spells and 3 summons (as far as we care). It counters all Fire elemental stuff with Flame.

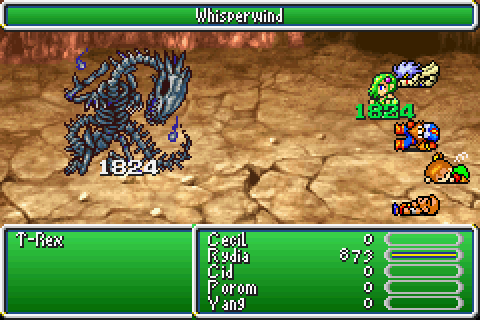
It stands to reason then, that Lightning is a counter to all Lightning elemental stuff. And, of course...
Ice Storm for all Ice related things. Generally, they aren't overly powerful but they can add up over time.
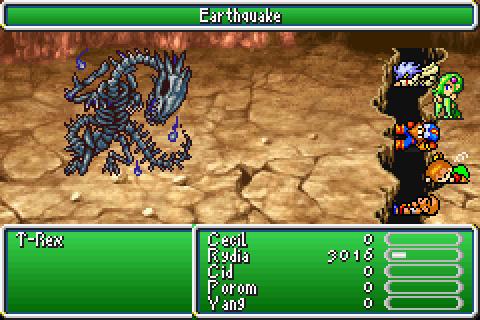
His other "big" move is that he can use Earthquake which is something I guess.
Of course, it's not Undead so we can still quite easily heal.

It also has quite a fair bit of Magic Defense so it can survive for a bit longer than you might expect it to.

On the other hand, Meteor outright ignores Magic Defense so that's a good fallback option if you really want to.
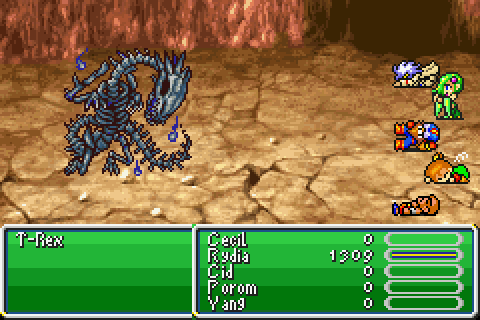
Though, there's nothing quite like beating something with an attack that it uses.
Much like all the equipment in the dungeon itself, the weapons we get here are exclusively usable by people that aren't Rydia.
Next up, we'll tackle Yang's fight, because why not.
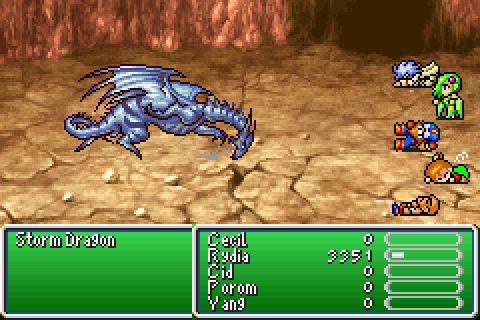
The Storm Dragon is probably one of the easier fights here, honestly. Not quite THE easiest but it's a good contender for 2nd place.
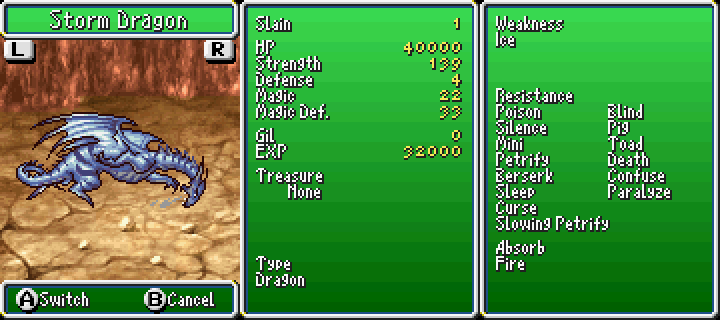
It's biggest noteworthy attribute is that it's the only boss out of all 5 to have a weakness. And it's one we can exploit. Needless to say, we'll be doing that.
Also it's the only boss here that doesn't have 34 Magic. I guess that's something?
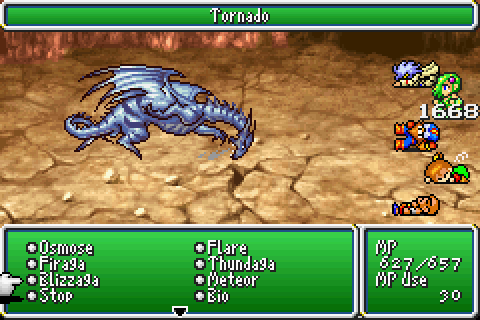
Irritatingly, it has a regular ability called Tornado. This one just deals a significant amount of damage; if you're not paying attention, you might panic and think it's the spell Tornado.
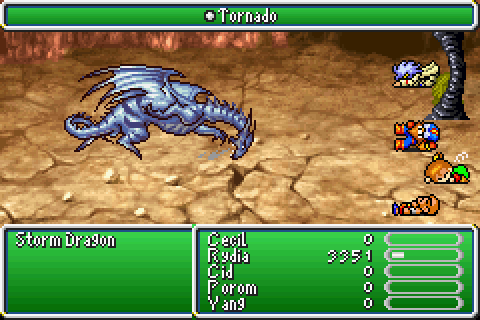
...What doesn't help, is that it has that one too. There's two obvious differences between the two; the regular ability Tornado has a different coloured animation, and it doesn't have an icon in the name bar.
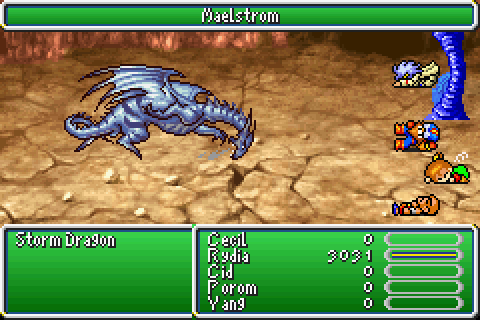
Not satisfied with that, though, the Storm Dragon also has Maelstrom. Because why not.

So, of course, this means we're going to need to heal quite a lot. So, in theory, the Storm Dragon should be hard solely due to its reliance on these cheap gimmicks to try and eke out some difficulty.
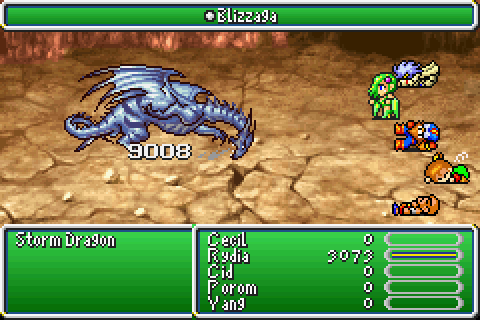
On the other hand, it's hilariously weak to Ice. I should remind you at this point that Minerva's Plate has an Intelligence penalty. This is less than we'd deal normally.
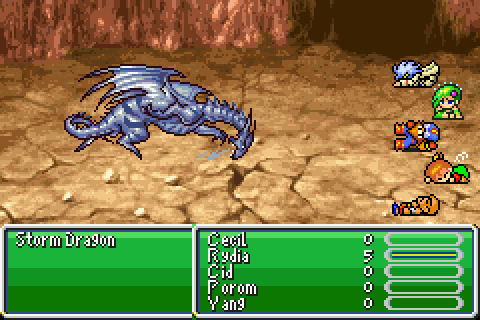
I can't help but giggle a little bit whenever a boss gets killed by Sylph. It's just... that should not happen. It's a nice bonus when it does, but that always comes off as something you'd need to explicitly aim for.
After a spontaneous change to our party loadout, we now have Edward and Palom along for the ride. As a result of that, we can now take on the next two bosses.
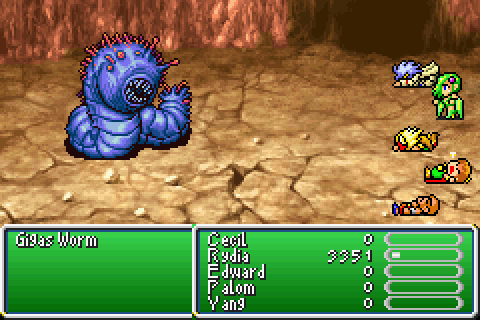
Speaking of which, the Gigas Worm is next. Appropriately enough, he is the chumpiest chump that ever chumped.
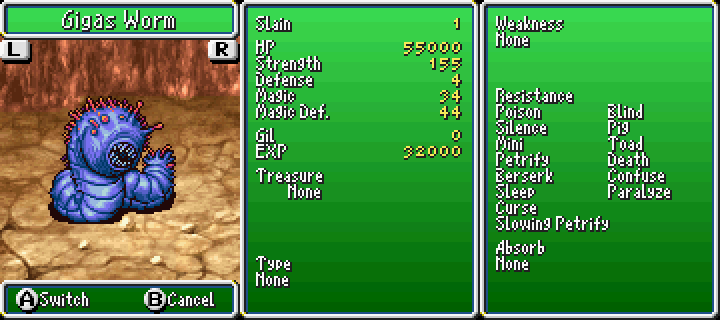
It has a lot of HP, and... that's about it really. There's nothing particularly interesting or significant about that. It's just tanky.
It also has pretty okay magic defense, which doesn't really help matters much either. It's just a way of delaying the inevitable.
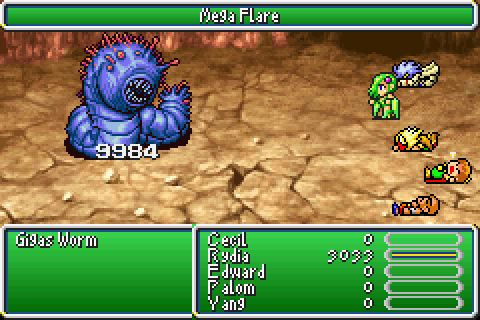
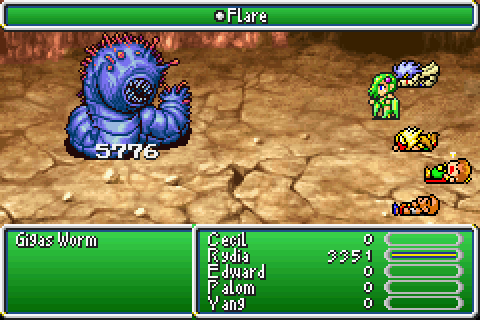
Oh, wait that's just Flare rolling low damage. The worm is really a gigas pushover.
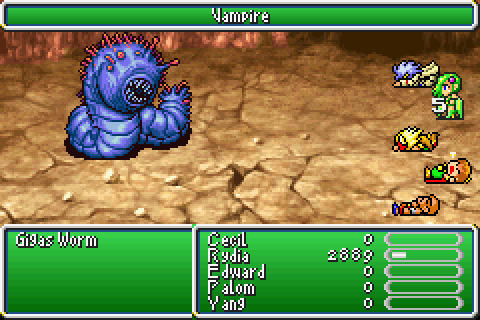
Other than majorly underwhelming physical attacks, this is the only thing it has going for it. It will sometimes use Vampire. Big whoop. It deals marginally more damage than the bats that do it (this is 51 damage, not 5) but that's all.
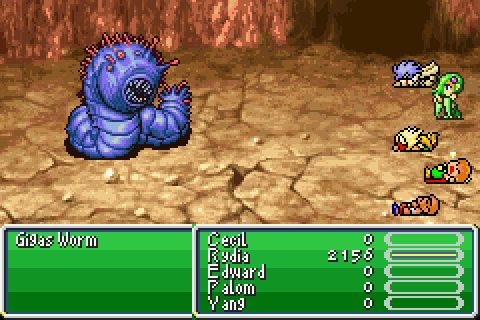
In conclusion: Gigas Worm, you suck. Go away.
So, this dagger is next. It would be vaguely nice to have if we could actually use it, since it casts Flood when used as an item (that way I don't have to spend MP on Leviathan, you see). Alas, it's Palom only.
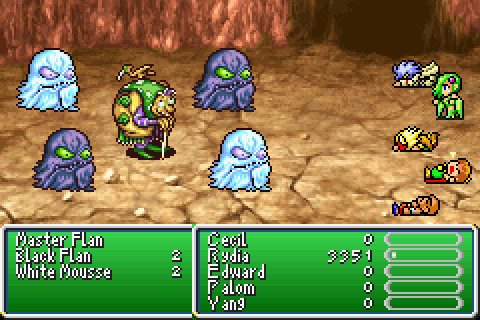
The Master Flan is vaguely interesting if only for the fact that it's untargettable right now. This isn't the only fight to use this gimmick, but it does it the best.
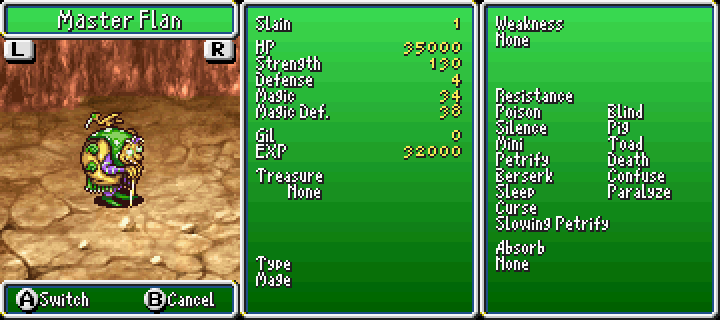
As you'd expect, it's the squishiest of the bunch by virtue of being primarily a spellcaster. It's also remarkably threatening!

It fights in a way that should be familiar by now. It starts of by casting Reflect on itself.

Then it bounces three spells off that Reflect. It only does three, and it does them in a set pattern. First off, it uses Thundaga which is pretty good but managable.
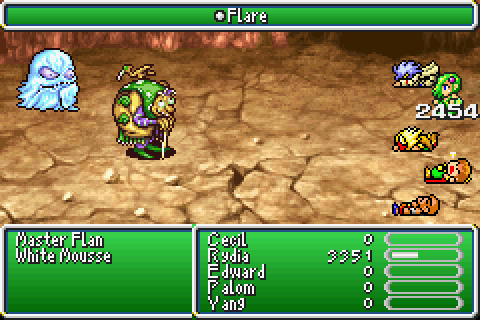
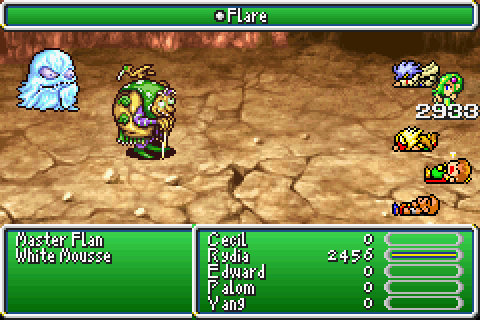
Then it uses Flare which really hurts here! It can go up to a little under 3,000 a pop with this so it's not to be taken lightly.
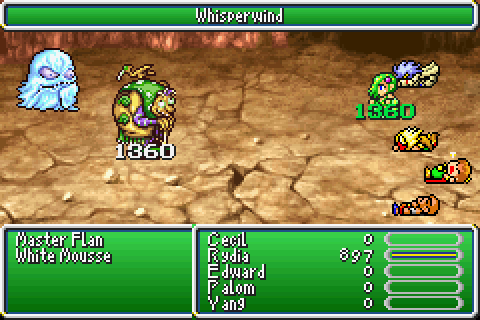
It's also a lot more than we can reasonably heal with a single Sylph, which is why it's nice enough to give us a turn's reprieve.
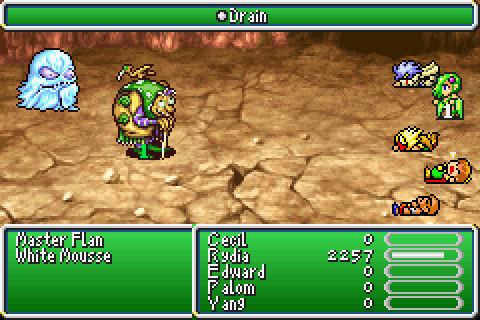
It's third spell is Drain. This is as unremarkable and pointless as it sounds.

We don't really want to kill all the regular flans here. Sometimes it will revive all of them if we do. It doesn't always do it, but it's an annoyance if it happens. So, for decent single target damage we can use Sylph to try and survive of course. We can also use Bomb which generally scales pretty poorly, but will deal a little bit more than you might expect.
It also deals more damage than Sylph which is nice too.
...Of course, if it pops a Flare that rolls high when you're charging Sylph then there's not much you can do about that.
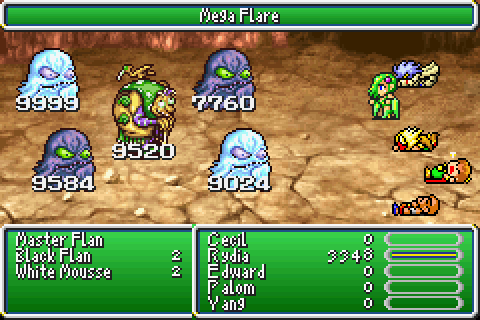
So, we'll just throw all that out the window. We want to deal a lot of damage in a minimal time frame. Bahamut's good for that, of course. We really need high damage spells that ignore Reflect. Other than Bahamut, do we have something like that?
Yeah, okay, Meteor can do that really well. It's not something to rely on a great deal during the fight because of its slow charge time though.
Lastly, we're going to go and deal with Cid's weapon fight.

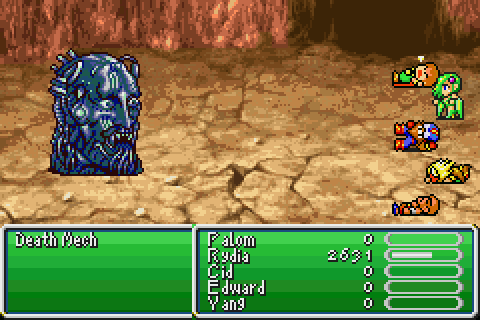
The Death Mech is to this set of fights what Plague is to the Lunar Subterrane. He needs to die fast, or we cannot win.
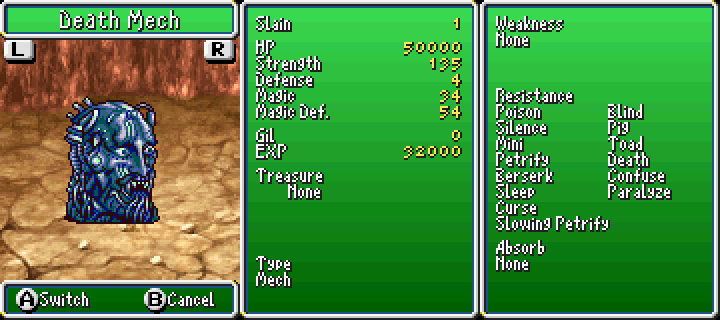
Unlike Plague, however, we have a set amount of its turns to kill it so the timer is less rigid. To make up for it, the mech has much more HP.
Unfortunately, the issue here is that it also attacks. It only has 4 that it uses in a set pattern, but it should only ever get to use the first 2. If you're not dead by then, then the Death Mech will be. If he somehow isn't, then he'll be very nearly dead.

And this is why. It's second move is always Laser. As you may remember from Lugae, this is kind of a problem. It's single-handedly the reason why this fight is so absurdly difficult.

And since it's based on how much HP it has remaining that it comes so early is problematic. It's not 10% of its remaining HP either; I don't know the exact way it works just that it's significantly more than what you'd expect.
If you somehow survive that, then you've probably won already. Should it get another turn, it's next attack is proportionally based on your HP this time. Piercing Laser is a wonderful reprieve between its second and fourth attacks, since it only deals 10% of the target's max HP.
It's final move is goddamned Globe 199. Unlike CPU's version, this one doesn't deal a fixed 9,999 damage. Instead, it's just a lot of non-elemental damage that's easily going to murder someone anyway.
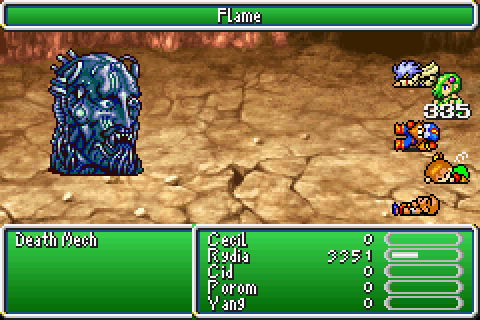
So... we need to weaken it enough to survive Laser. There's only one real way we can manage that;
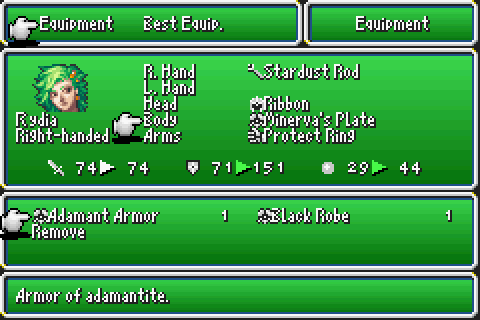
The Adamant Armor, again. The Black Robe is almost good enough to manage it, but Laser still deals a little over Rydia's max HP at that point.
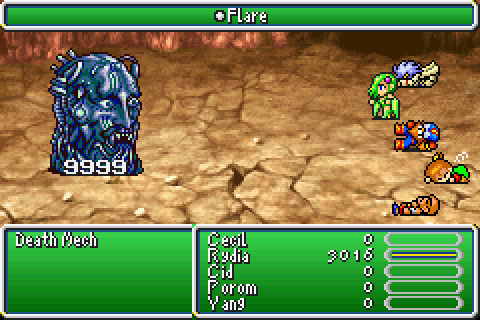
With the Adamant Armor, our damage output is boosted enough to deal a somewhat consistent 9,999.

That makes it absurdly easy to survive its Laser. Remember: this is more than 10% of its HP, so it has less than 7000 left.
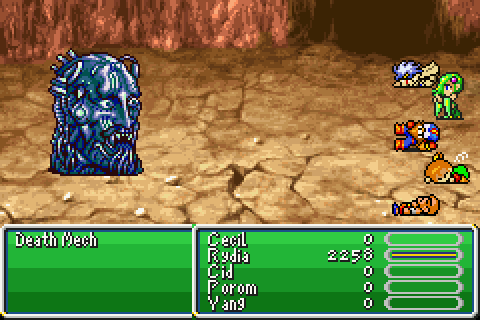
So, let's drop a Bahamut on it.

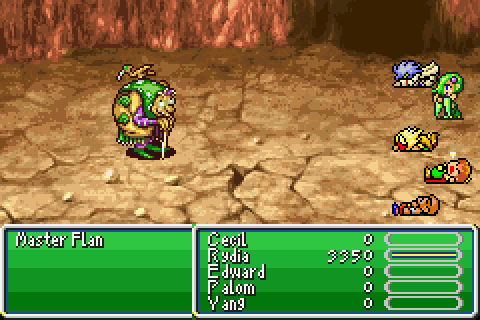
And with that, we've managed all 5 of these guys too. Still haven't gained anything we can use, though. Oh, sure, Rydia hit level 70 this way too but that's all.
Next time: Still putting off the Lunar Ruins! We've had a variation of the Peninsula of Power, so why not WarMECH too? and a couple of other things because why not
Optional Bosses Fought: 14
Optional Bosses Killed: 14
Success Rate: 100%