Part 23: Diversifia
20. Diversifia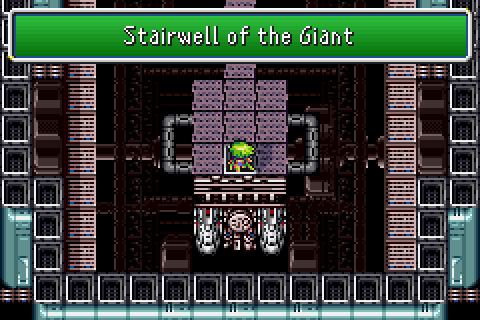
So, at the start of this little excursion we're going to jump way, way back to the Giant of Babil. In particular, we want this room where we fought the four fiends. We're after an enemy that appears here... and only here.
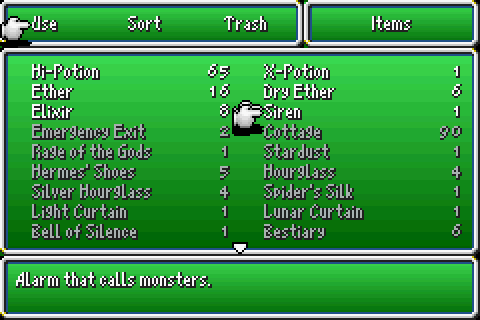
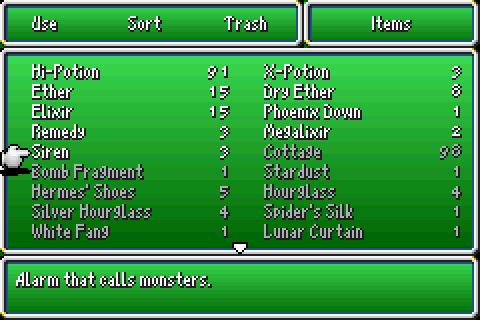
It's incredibly, incredibly rare so you might think that getting it to turn up will be easy. All we have to do is use the Siren the game is kind enough to give us and...
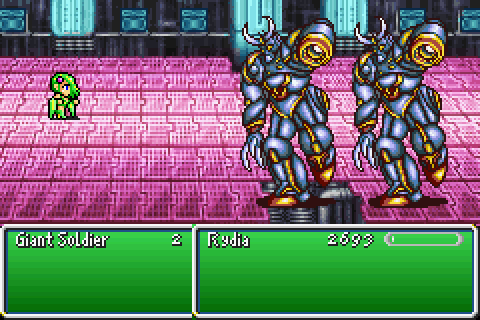
We get back attacked. By the wrong enemy, no less! Yeah, see, the thing that we're after can't be spawned like that. It does not occupy the rarest fight slot, bizarrely. It just happens to be obscenely rare, only spawning on this one screen and borderline impossible to come across under normal circumstances.
[Music: Battle Scene]
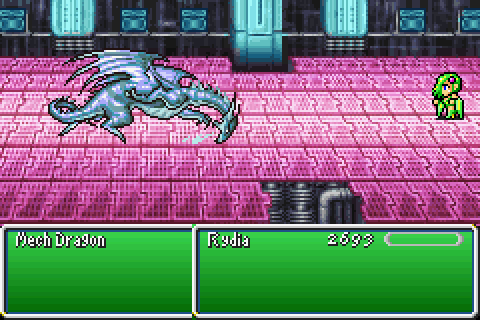
So, the Mech Dragon is basically WarMECH but not as powerful for one reason or another.
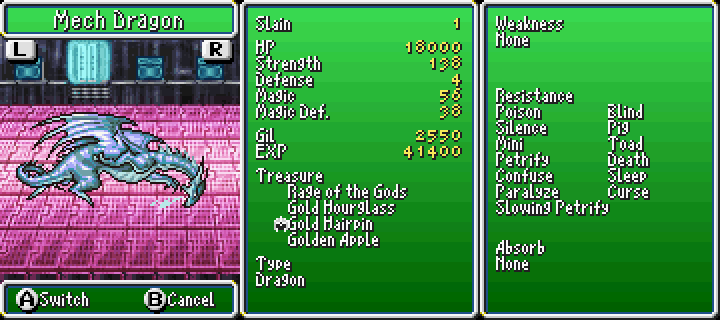
Despite its name, it's not actually a mechanical enemy sadly. Compared to everything else in the area it's pretty tough though! It'll take more than a single hit to kill, has some sweet ass drops and spawns absurdly rarely.
On a single screen. That's a giant bridge. At the end of a cool-in-concept dungeon.
Unlike WarMECH, it doesn't regen 5% of its HP every turn. This is probably a good thing. And in the DS/iOS ports, it was given a Lightning weakness which is nice I guess.
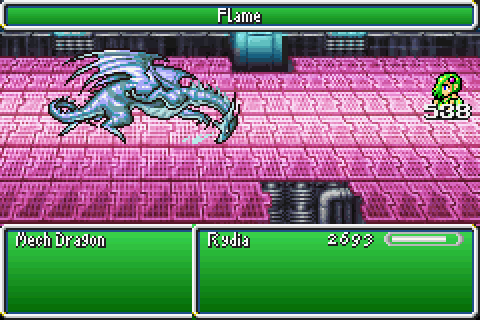
The Mech Dragon only has two attacks at that. It spends a lot of its time spamming Flame, which considering its quite fast can deal a lot of damage rather quickly.
Not so much that we can't outheal it, but we need to be a bit more cautious with how we handle it than usual. I wouldn't go so far as to call it a mini-boss, though.
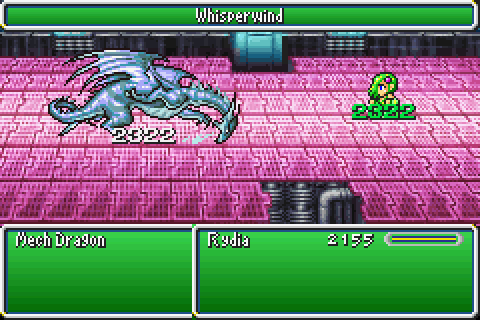
It also has a regular physical attack which also hurts quite a fair bit to say I'm in the back row! It can even deal up to, and beyond, 800 a pop too.
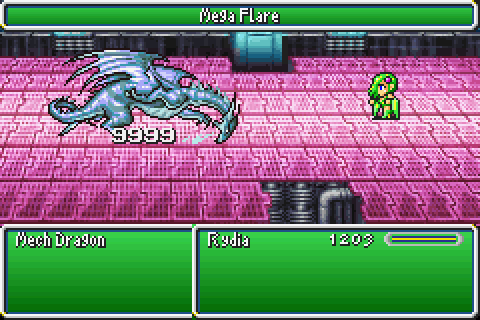
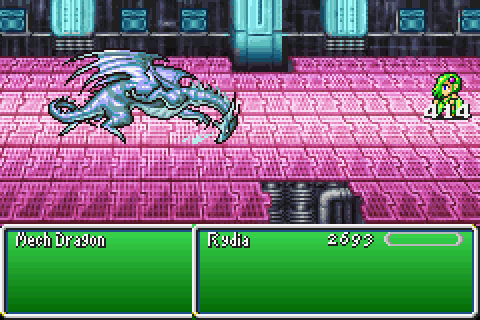
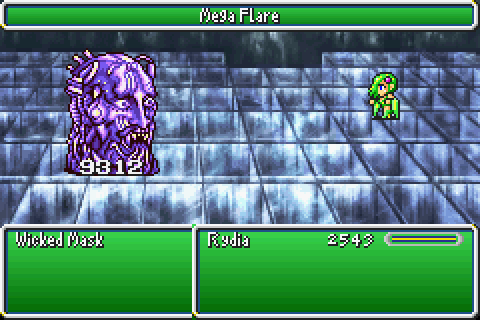
On the flipside, two Mega Flares will hopefully take it down. Y'know assuming you get the chance to pull two off in the first place.
[Music: Battle 2 ~ Boss Battle]
Now let's jump all the way back towards the bottom of the Lunar Subterrane. There's three things down here we're particularly interested in.
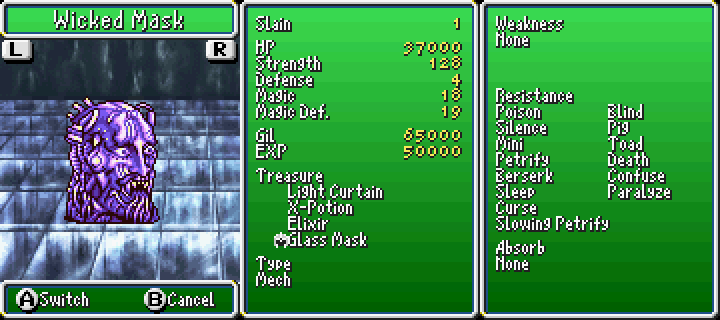
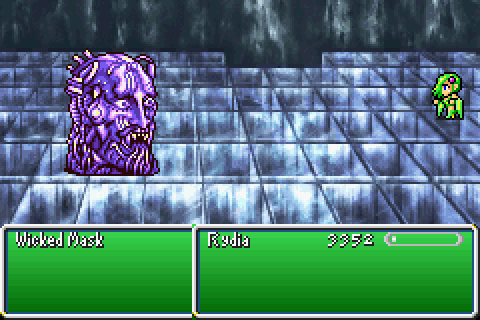
The Wicked Mask is the first of those, and by far the only one which is actually threatening. Also that Glass Mask it can drop? Yeah that's really, really good. Like, better than the Ribbon good. And this guy is the only way to get it outside of the Lunar Ruins.
I'm not farming one, sorry. I have other plans.
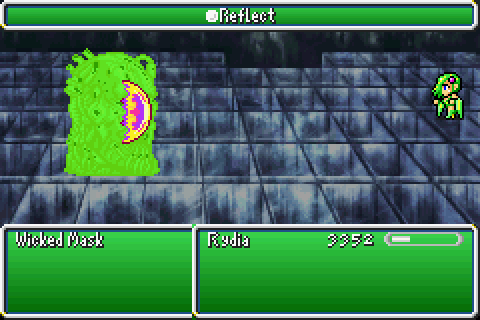
Like many that have come before, the Wicked Mask decides to open up this fight by casting Reflect on himself. It's obvious why he does that: the guy throws out spells like they're going out of style.
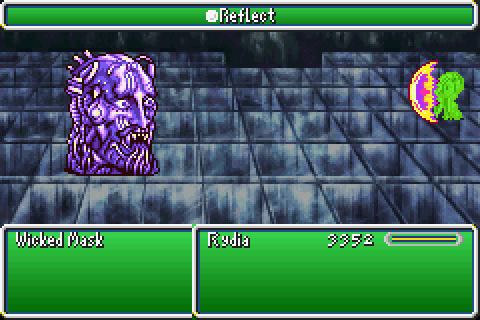
In a shocking twist, though, he does not bounce a Reflect. No, the Wicked Mask is smart enough to actively cast it on us instead!

He only has three attack spells, but arguably they're all he needs. Holy looks underwhelming, though that's just luck. He can roll REALLY high with this.
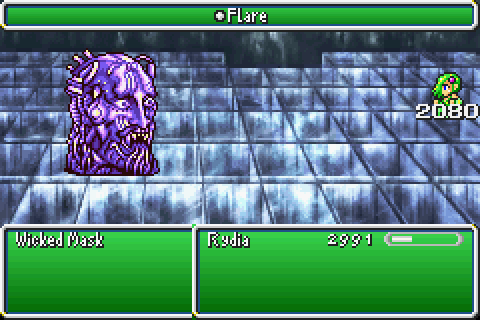
...As his Flare followup will demonstrate quite nicely. It's very possible for the damage values of these two to be switched though they're usually somewhere in the middle.
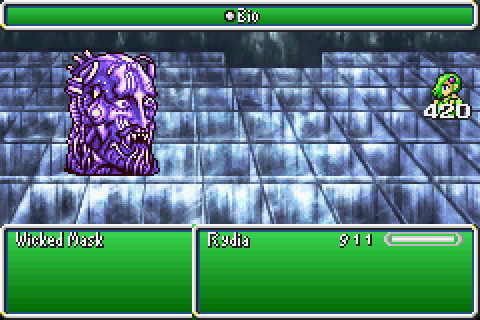
Also he has Bio, though unlike Zeromus' his kinda sucks.
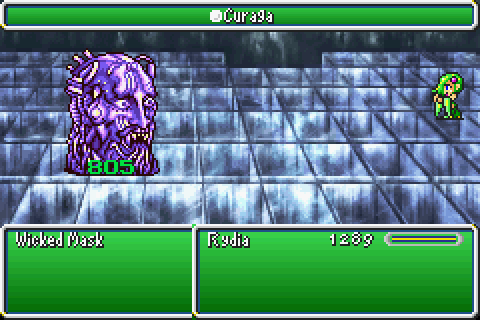
He did cast that Reflect on us for a reason, though! He can use that to heal, though his Curagas are completely underwhelming. Especially after we had to put up with Asura's.
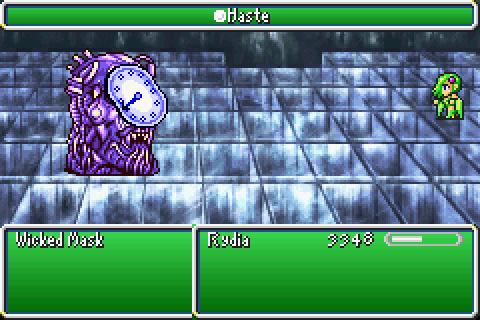
Oh, and he casts Haste too. This is a double-edged sword; he hits us quicker, yeah, but his AI doesn't compensate for the other effect it has.

It makes time-limited (de)buffs wear off faster. So he will glady proceed to still target himself with his spells and never realise something is wrong.
If we were to hit him with a regular ol' spell he might realise something is off and do something about it though. Rather than let that happen, we'll keep hammering at him with spells that completely ignore Reflect anyway and only hit him with our own Flare once he drops below 10,000 HP.
The next two enemies are... weird, to say the least. Like the Mech Dragon they only appear on one screen. Unlike the Mech Dragon, neither is particularly rare. In fact, they're the only things that turn up.
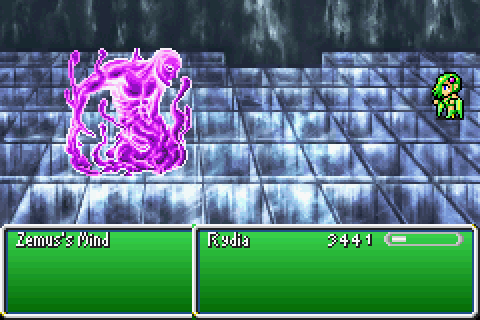
Zemus' Mind/Malice is, well, not quite what you might be expecting from an enemy literal seconds away from the final boss.
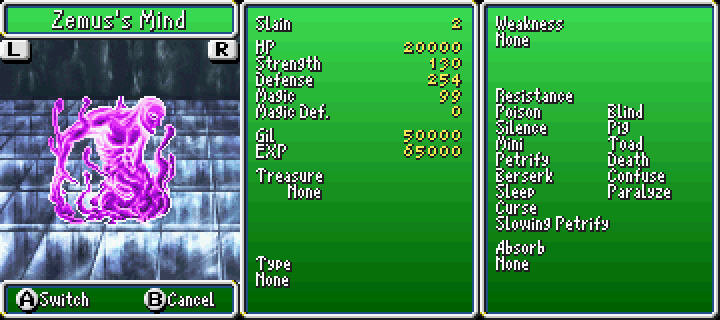
It has barely any HP, takes a ton of damage from magic (but not that much from physicals) and yet it spits out tons of EXP and Gil anyway.

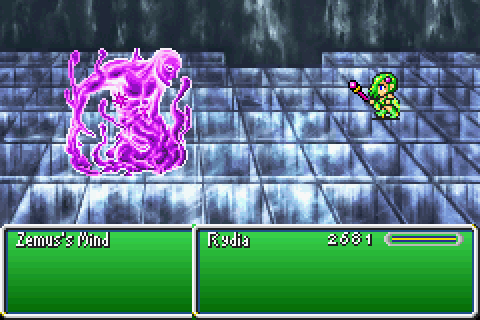
All it ever really does is a simple physical attack. This is about as high as it's ever going to get (and I'm using Minerva's Plate for this of course).
...So, why does it even exist?
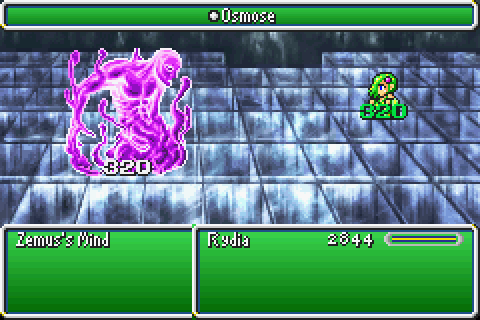
It's essentially an MP recharge station. This thing has 65,535 MP and you can actually drain a fair bit of it. It's a pretty stark contrast to everything else in the dungeon thus far, so you might not even think to do it though.
If you weren't interested in that, though, and you somehow decided it would be a good idea to smack it?
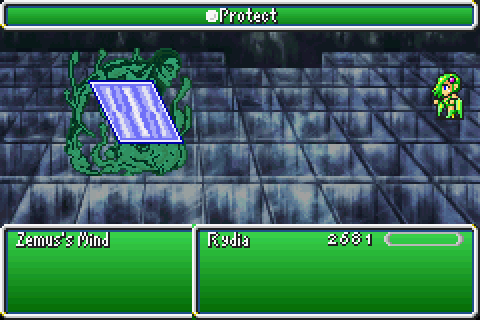
It counters with Protect. You might be expecting it to counter magic with Shell. A perfectly reasonable, and sensible, expectation to hold.
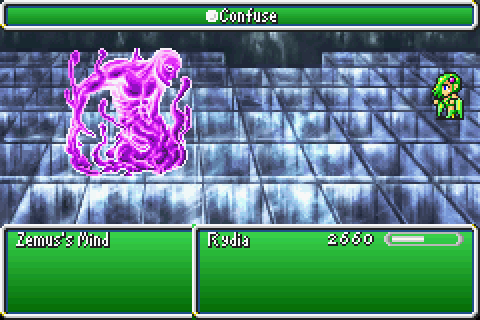
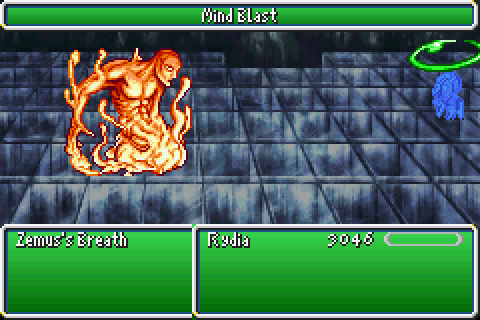
That's possibly why it's completely wrong. Hitting him with a spell causes it to start using Confuse.
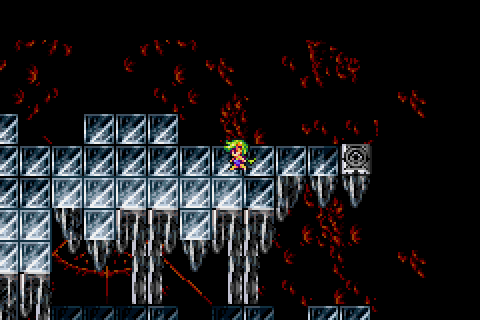
It has a pretty nice death animation at least. Reminiscent of each of the four fiends.

The only other enemy down here is Zemus' Breath and this one is even more underwhelming.
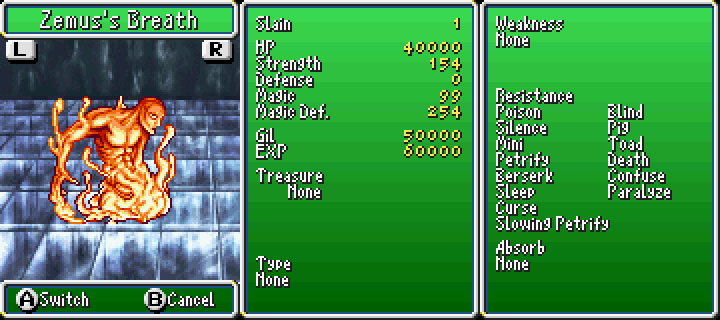
On paper, it's not too disimilar to Malice but Breath is the bigger pushover. He has more HP and tanks magic instead of physical attacks but thats all.
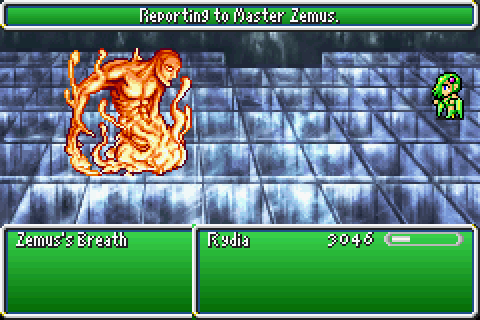
Breath's deal is that it will only ever do one particular thing. This nebulous "reporting" thing is super vague and even now I have no idea what it's meant to mean.
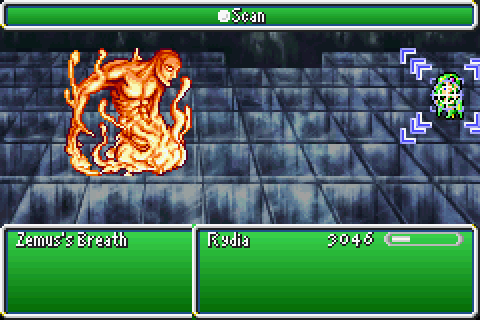
See, it only ever Scans your party which implies that its sending your stats to Zemus but nothing comes of it. The fight isn't harder if this happens, nor is it easier if it doesn't.
It'd be cool if this caused different permutations of the final fight based on who had been Scanned and who hadn't, but with SNES limitations that'd have taken up way too much room probably. This one letting you use almost everyone (legitimately) in the fight would've made it even worse.
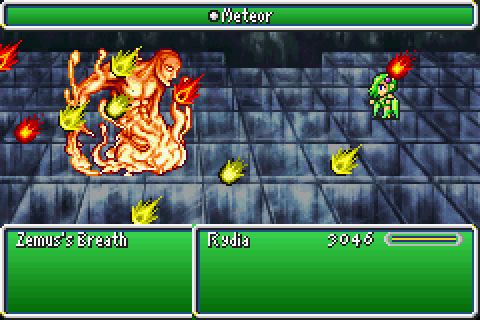
So, he has a lot of HP and max magic defense too. He also never attacks, and is roaming around with an MP recharge station in the vicinity for good measure. Sounds like a good place to cast Meteor don't it?
Naturally, he has a counter for Meteor. And only Meteor. Fortunately we're protected against it in this instance, but if you're not thinking this could catch you off guard.
...When I said "only Meteor" I meant it, by the way. He counters absoutely nothing else at all. Weird.
He has the same death animation as Mind. Also I didn't even mean to kill it with a physical attack; it just... happened.
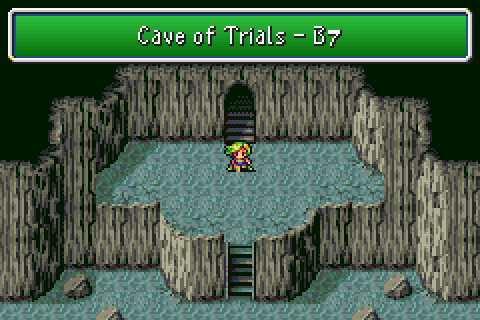
For our last two fights, we're off all the way back to the Cave of Trials. We specifically want either B5, B6 or B7 and two absurdly rare fights. One of which has the Mech Dragon problem.
We're not dealing with that one yet, because I don't hate myself enough to run around to get one enemy to spawn at random. Especially when I can get the harder one first and without even moving.
[Music: Battle 1]

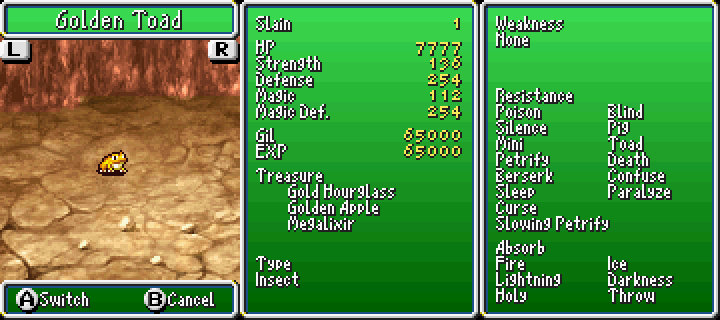
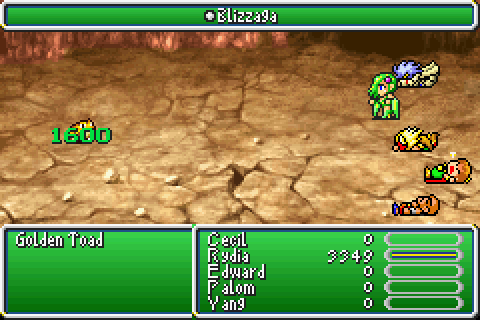
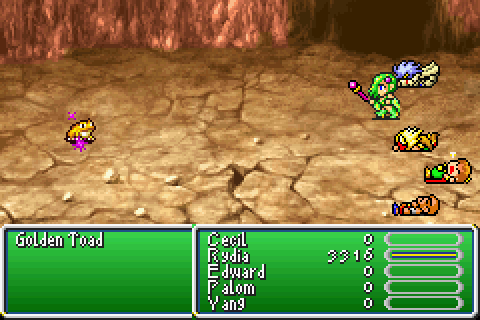
The Golden Toad is an absurdly rare enemy. And it hates you.
Yes, you reading this right now. The Toad has a vendetta against you personally.
It does not want to be fought by you. Trying to fight it fairly is a fool's errand. Trying to fight it unfairly is still a fool's errand.
It only has 7,777 HP but that's the hardest 7,777 HP to remove in this entire challenge thus far!*
It might just be one of the hardest enemies we've ever had to fight. Killing this toad is really, really goddamn difficult!
Why? Well, let's just hit it with a random spell to see why.
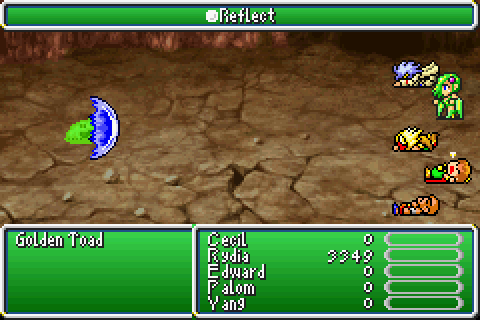
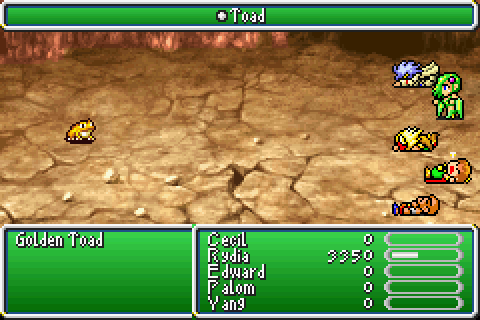
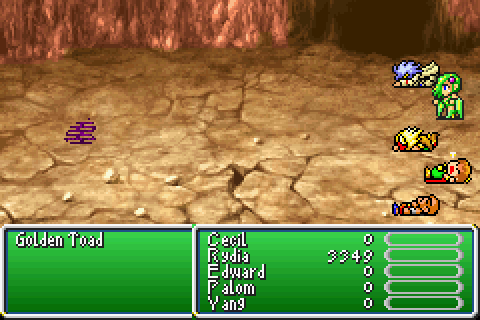
It counters being hit with magic by putting up a reflect of course. Things that don't trigger this either take too long to go off, or don't give enough time to follow up.
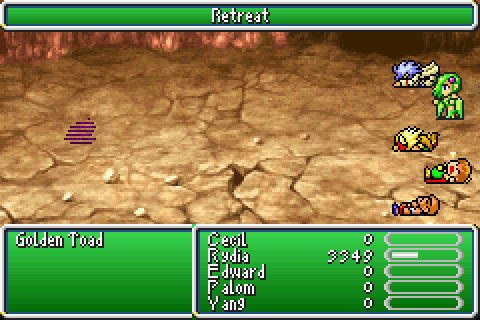
And on its third turn it runs away. It always runs away on its third turn.
Also it's faster than you.
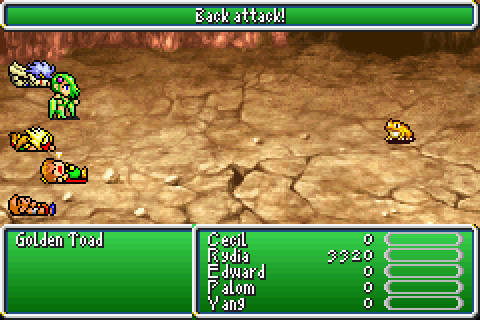
To make matters worse, the vast majority of the time it gets a back attack on you. This gives it an even bigger turn advantage than usual. Whenever this doesn't happen, it normally ambushes you instead.
Getting the chance to fight it under normal circumstances is the exception, not the rule.
So, of course, we want to stack the deck in our favour. We'd want to stack it further in our favour if possible but that requires the Lunar Ruins.
Remember, though, this toad has 254 of both defenses so it's still not going to go down easily. Meteor would solve the problem nicely, but it takes far too long to cast. The Toad'd be out of here before it's even a quarter of the way done.
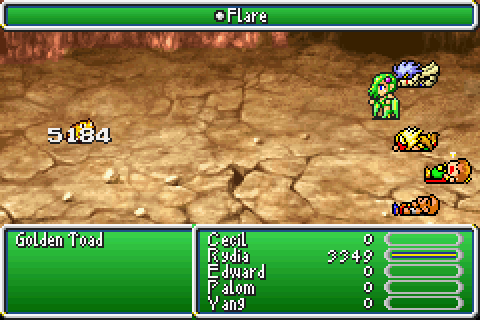
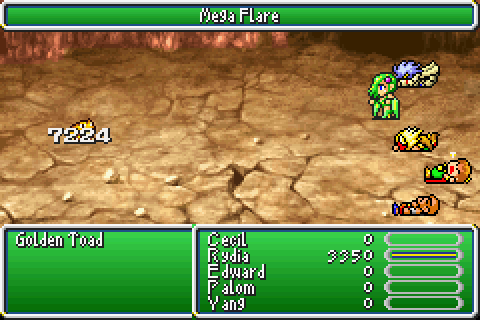
Our quickest and most efficient spells aren't enough on their own to pull it off either. You cannot reliably get enough chances to throw them both either, but that doesn't mean it can't happen.
If it does, it's incredibly glorious to say the least. You get 65,000 EXP AND Gil for killing it. Not easy, but possible... eventually. There are few things that give that much of each, fewer still that are worth the time for it. Even actively cheating gives you less per fight.
Oh, and if you're curious, yes it has a counter for physicals too. Not going to come up often but he has something absurd like 90% evade on top of his 254 defense.
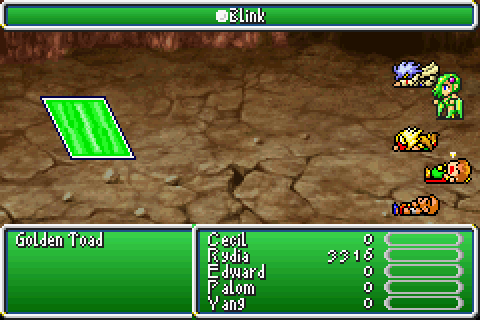
Naturally, it compounds that further by countering regular attacks with Blink. There is not enough time to remove that and kill it even with a full party.
You need to stack the deck because the Golden Toad comes in with one that he already stacked... and there's a worse one still to come. Fortunately that one only turns up randomly in the Lunar Ruins. Needless to say, I am pre-emptively dreading it.
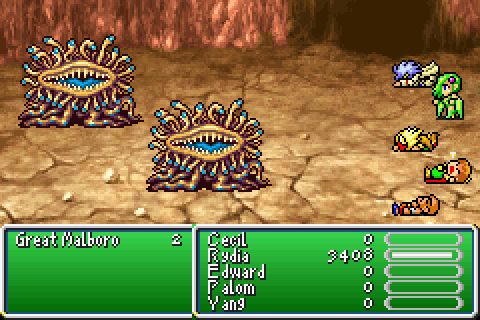
The other new guy in the Cave of Trials is a Malboro. Pretty sure this particular battle formation in here is not natural, but even the Final Fantasy Wiki doesn't care enough about this dungeon to list more than like 3 fights. 5 of which are bosses.
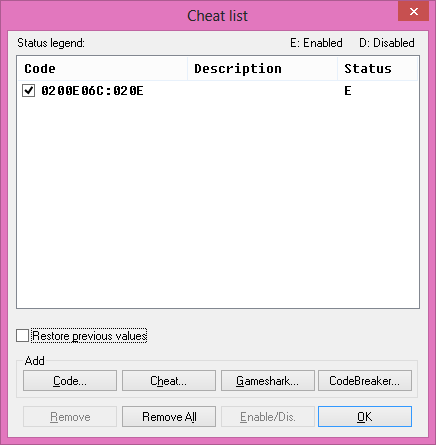
I spent a short while trying to get it to spawn before giving up after spending way too long with the same situation in the Giant of Babil. This code forces this particular encounter to always spawn; there's one for every potential fight, including bosses and Developers. Encounter tables just draw random hex values from specific areas (0200 onwards is the Lunar Ruins for reference) - this just removes the random chance and lets you pick what you fight at will. If you know the Hex value for any given fight, you can spawn some really out of place stuff if you want to.
There's a lot of "filler" ones, though, that just spawn a single Goblin. Nothing like skipping through the moon's surface encounter tables and then getting a Goblin instead of something more fitting.
Other than idle curiosity, there's never really any need to bother with this though. I just used it here because it's more interesting than running around inside the blandest cave for several hours.
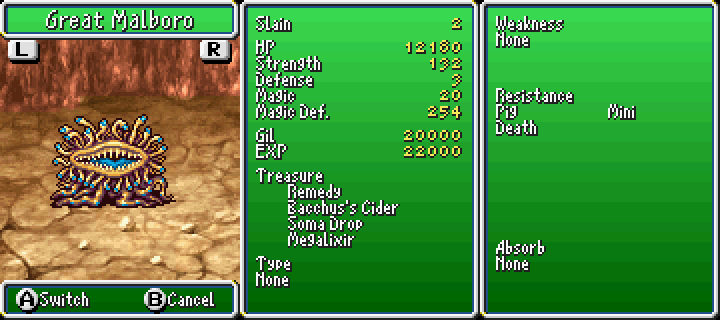
More importantly, the Great Malboro itself just isn't that interesting on the whole. It's not even close to as resilient as anything else we've fought recently nor is it much beyond "a Malboro but technically harder."

Sure its magic defense is nutso and makes Mega Flare deal inconsistent damage. Even without that, it can surive more than one but that's all.
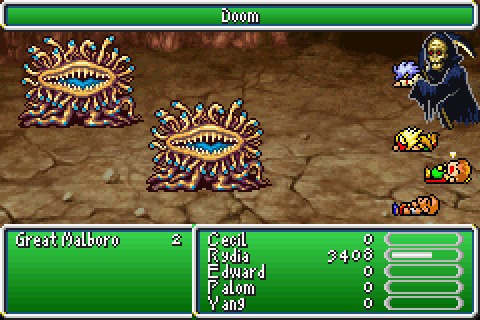
It pretends to matter by casting Doom on the second turn. This is in no way actually, legitimately threatening because you'd have to actively let the time run out.
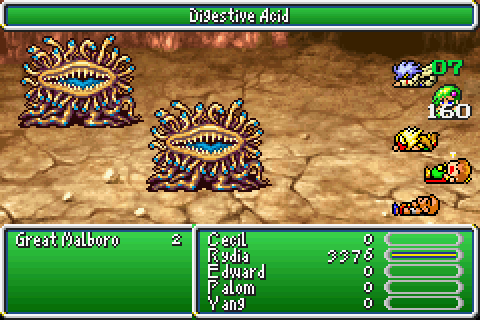
It's only other real attack is just a shittier version of Bio. It deals almost no real damage and inflicts Sap.
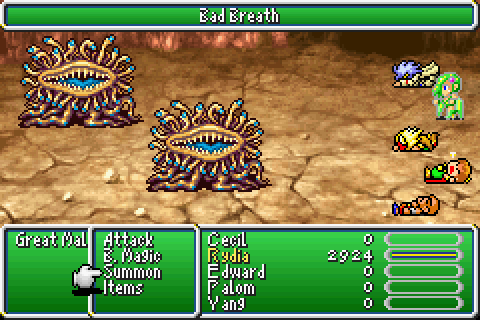
Sure, they use Bad Breath too but this late that's basically a contractual requirement. It's not even really trying.
What an underwhelming and pointless waste of everyone's time. The third tier of Malboros (spoilers theres a better one) can be found easier, is a fair bit tougher and is arguably worth fighting to boot.
*We're not quite done yet, though! Gonna go back in time once more just to help alleviate the issues That One Guy is going to have eventually. Also to prove the point from the Golden Toad. This last bit is not difficult; it is merely unnecessarily tedious and time consuming.
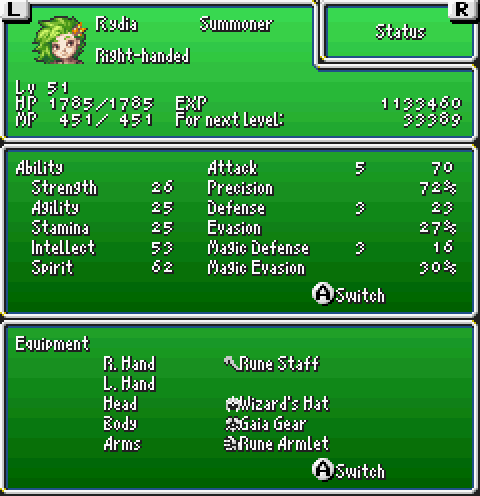
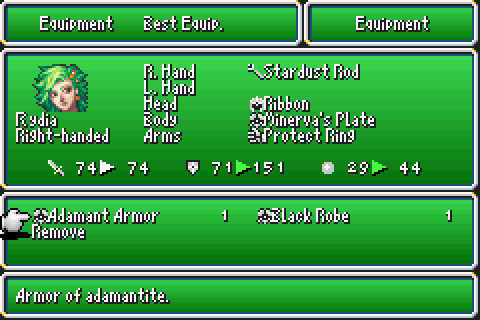
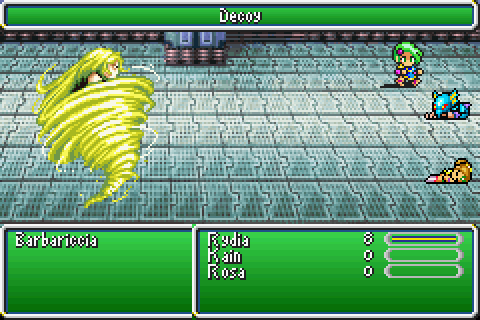
This is Rydia's stats and equipment loadout for something. Note the level. Now, note the equipment. We're firmly in the Tower of Zot and that is around the level you need to grind to if you want to "legitimately" beat Barbariccia.
Even at this low a level to pull it off you need some degree of luck. And by that I mean many, many Decoys.
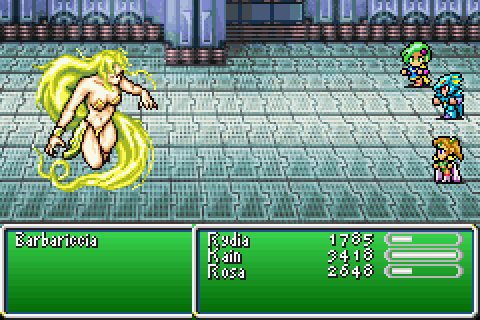
We've been over the myriad ways this fight sucks before, so I won't bore you with all the details. Again.
If you can get a spell to connect at the start, it can save you a few minutes wittling down ~2k+ but don't count on it. Even in her non-tornado form, Barbariccia is still really dodgy when spells are involved.
At least she's kind enough to help expedite the killings of Kain and Rosa. I'm not even sure why I left them around, to be honest.
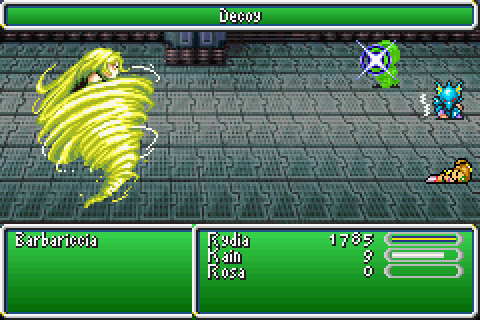
I probably just couldn't be bothered to remove them manually, because I didn't think I would be able to win in this run and was just seeing how close I could get. I'm throwing out a few buffs because they're sort of necessary; the Decoys stop the fight from descending into "hit then heal ad nauseum." That's good, because that's a pattern we cannot win from.
You'd think then that with this benefit we'd be able to win at a more sensible level. Sadly, you would be wrong.
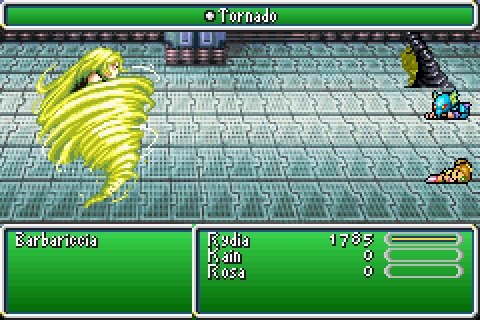
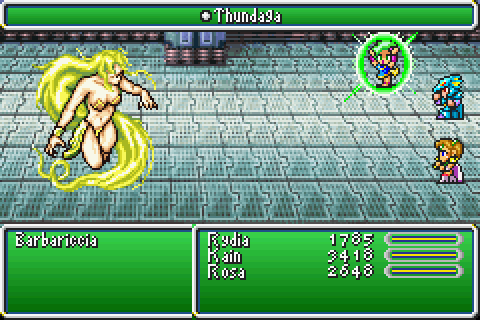
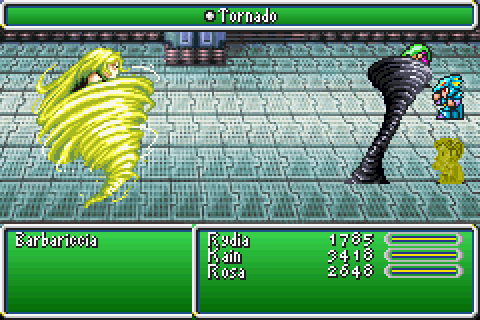
See, the Decoys are good because they stop this leading into an inevitable instant death. So long as I have Decoys there's no need to worry about her one actual attack. The Gaia Gear stops Ray from ever being an issue (and in this fight I'm damn sure that its use is mandatory if you want to win), and Tornado's just her trying to speed up a game over.
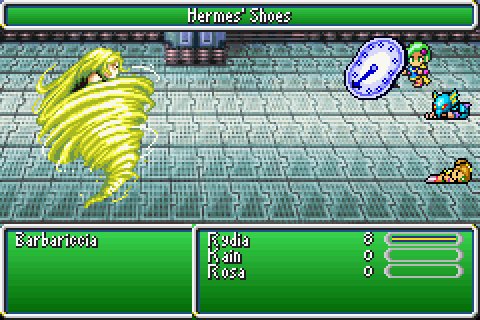
Speaking of speeding up, we might want to throw a Hermes' Shoes down in this instance. Since I wasted the one chance I had to slow her, I had to opt for this instead.
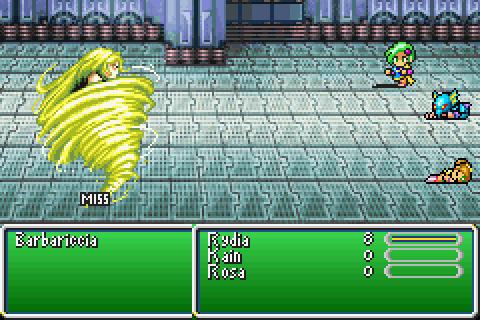
Even still, we're going to miss a lot. Barbariccia gets super-super dodgy in her tornado form, and the Rune Staff doesn't exactly have an award winning hit rate. A more sensible person may consider using the Dancing Dagger here instead.
A more sensible person would die trying. The Dancing Dagger is better on paper (it hits a bit more often, you see), but it deals significantly less damage when it does hit. Enough so that it doesn't average out as better.

The Rune Staff can deal a fair bit, to say Rydia's a mage smacking her with a stick. What helps is that I opted to get crazy and stick Rydia in the front row for this fight.
I still burn through well over 10 Decoys, though. So long as Blink is up after a Tornado, there's no risk of ever dying. HP can go down from subsequent Tornados, but it will never drop below 1.
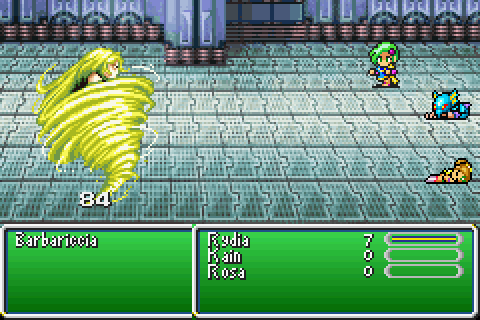
Of course, even in the front row Rydia is still a mage. Her physical damage isn't phenomenal and sub-100 is to be expected.

But she can still make it count every so often. It's really, really good when it happens because it saves so much time.
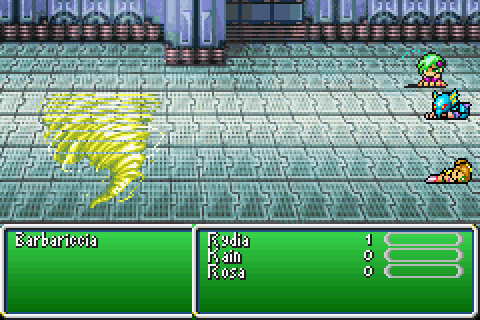
And that's how you beat Barbariccia the "legitimate" way. Through lots and lots and lots of grinding. It's not as interesting to do, it's not as exciting to watch. It's kinda boring and Jumping Rydia was way cooler.
Now let's pretend this never happened, because it hyperinflates the hell out of your level. That's another reason why I never bothered originally. Remember: level 51 to pull this off. That's still probably underlevelled for this fight.
...No, really. The only other guy I saw who actually did this was throwing Flare out at the start. And even had Meteor for some reason.
Next time: enough procrastinating! To the Lunar Ruins we go!