Part 59: The Lunarians' Challenge Dungeon - Part 2
The Lunarians' Challenge Dungeon - Part 2Hell yes! The final challenge dungeon! You don't know how happy I am that I don't have to put up with this crap anymore.
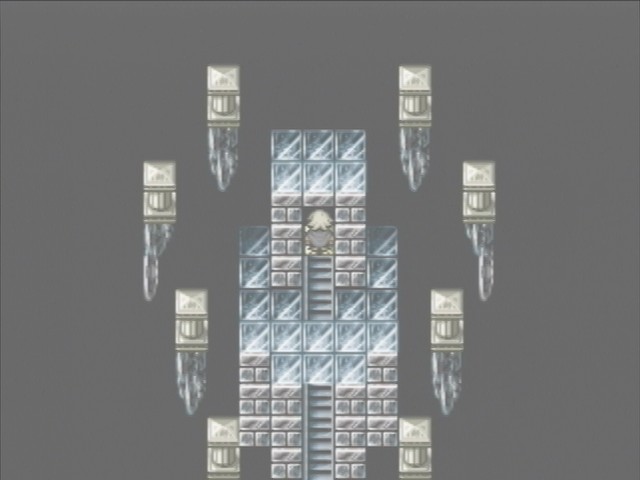
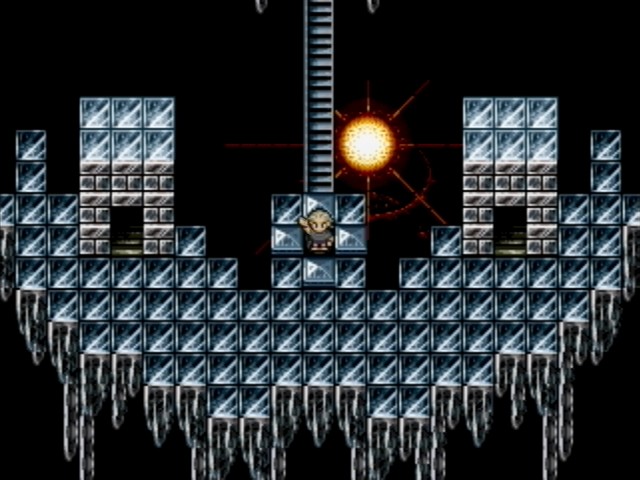
Unlike every other challenge dungeon, you don't talk to Namingway to go there. You have to find the face on the moon.
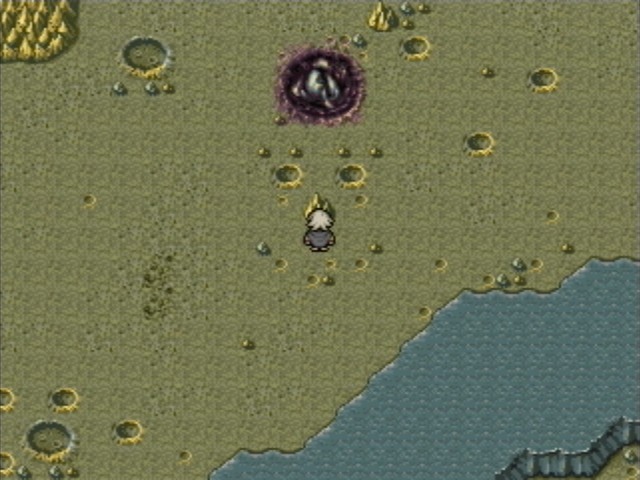
Not that face, as it took me so long to find out.
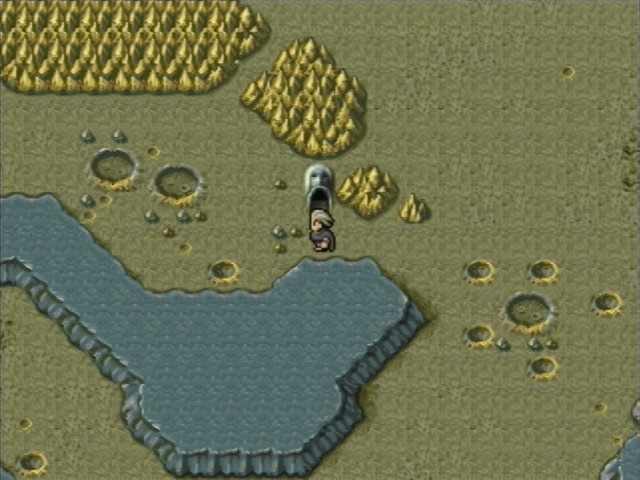
This face.
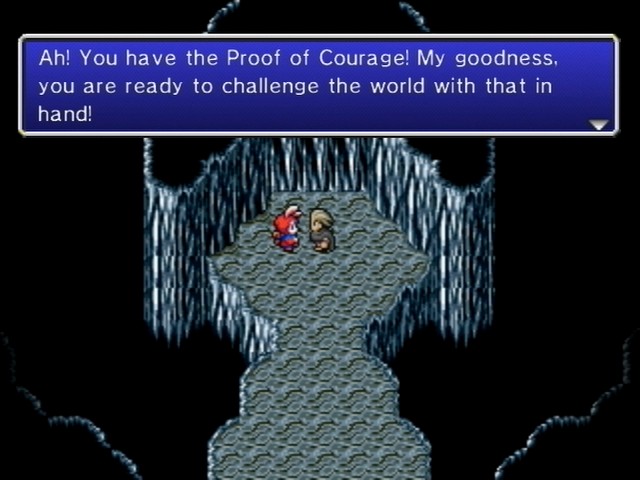
Show Namingway your Proof of Courage, and he lets you in. Make sure you exploit the RNG for a good item, because fuck playing fair with this game.
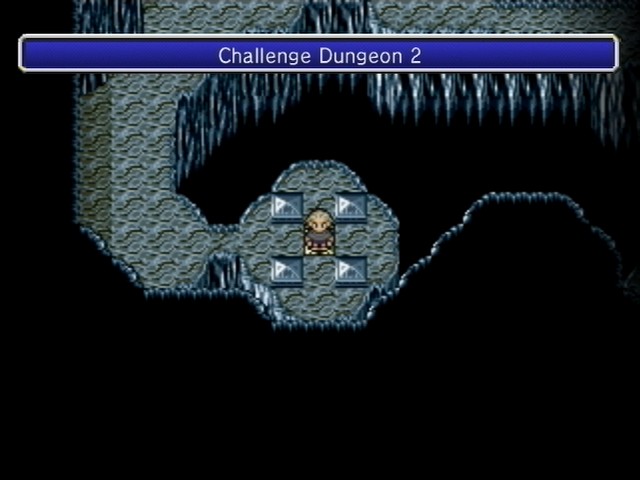
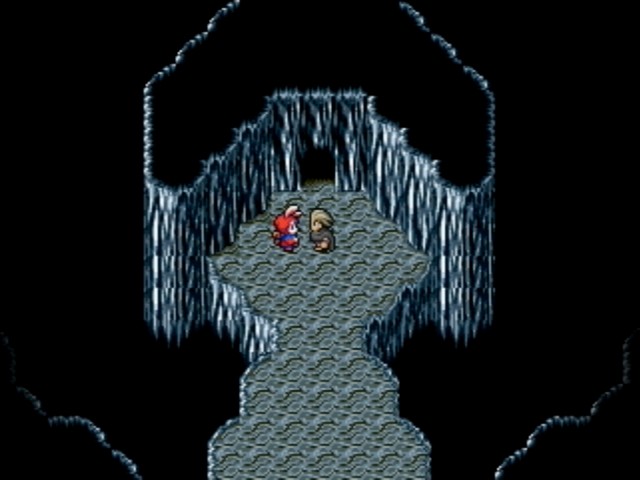
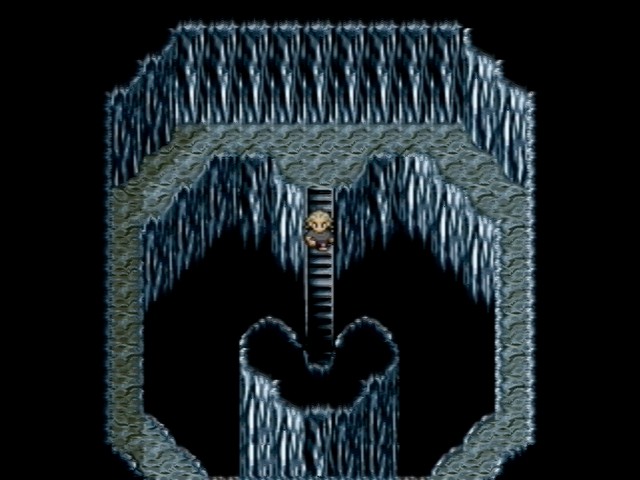
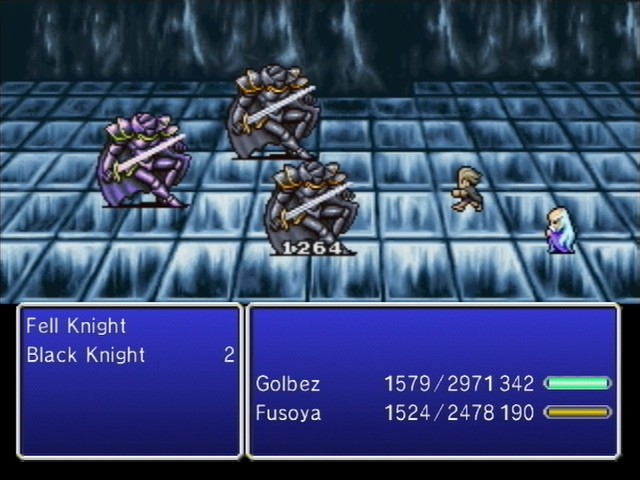
The first part of the dungeon is, well, pretty much the same as the other one.
Same layout, same fondness for twisting paths leading to consumables, same enemies. Again, not really much to say.
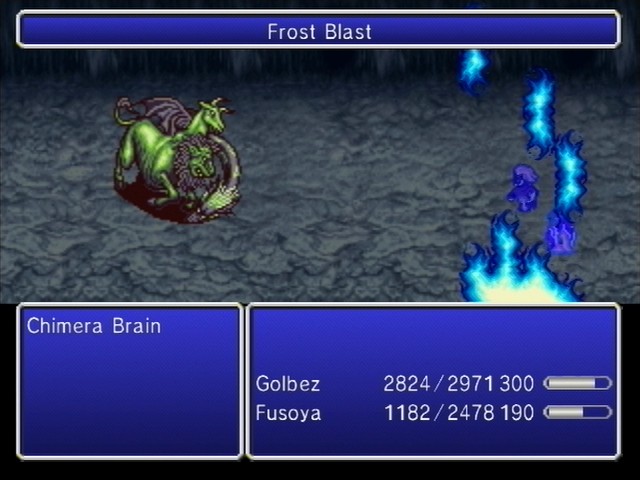
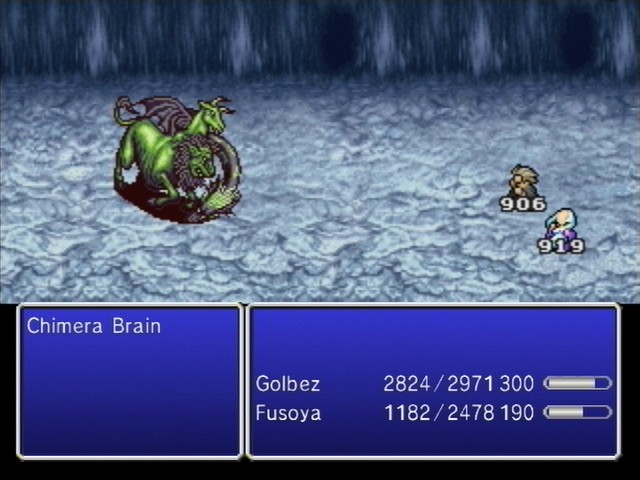
Other than fuck Chimera Brains, of course.
Suck it.
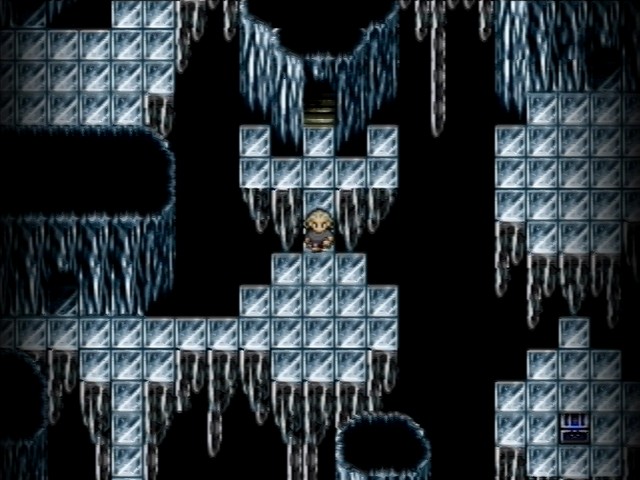
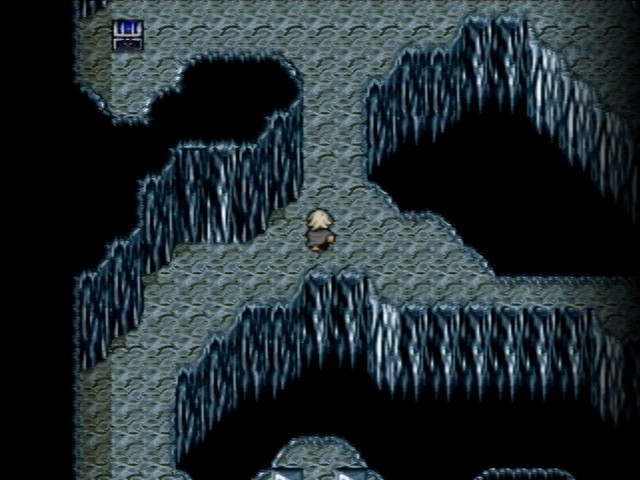
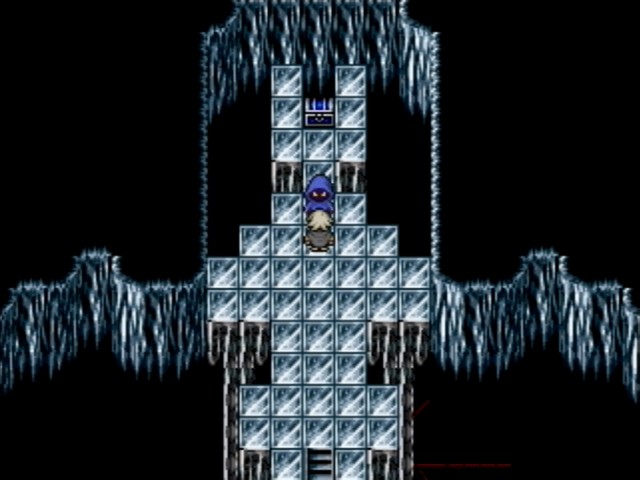
The second part is different in that the layout is randomized each time.
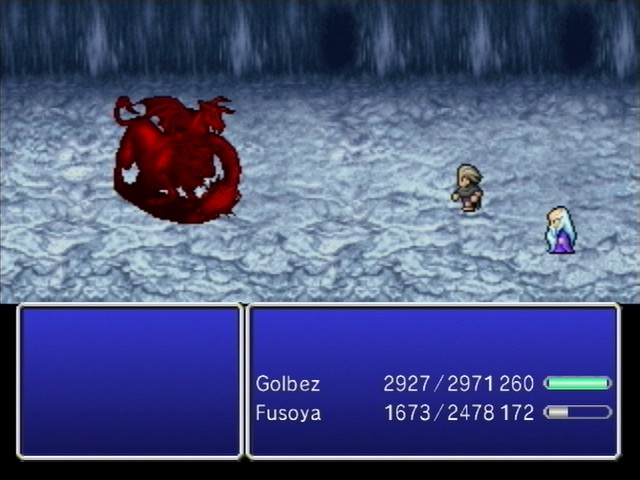
The enemies are also tougher, resembling the monsters in the area before Zeroromus.
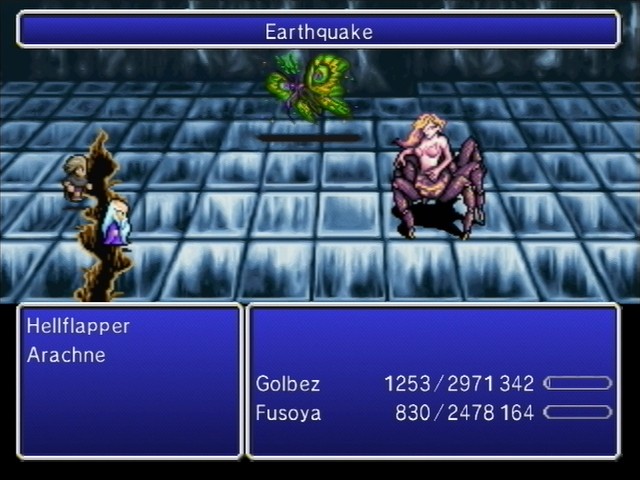
It's not a bad idea to have Float in this area.
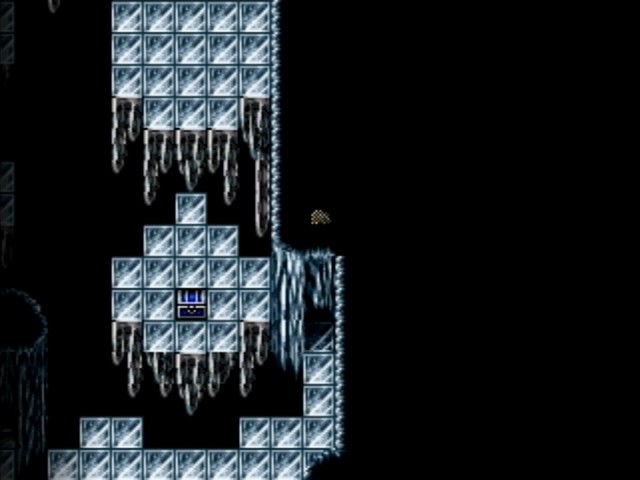
The annoying part about this place is that sometimes treasures are inaccessible due to the randomization. Fun. It's probably just another damn consumable anyway.
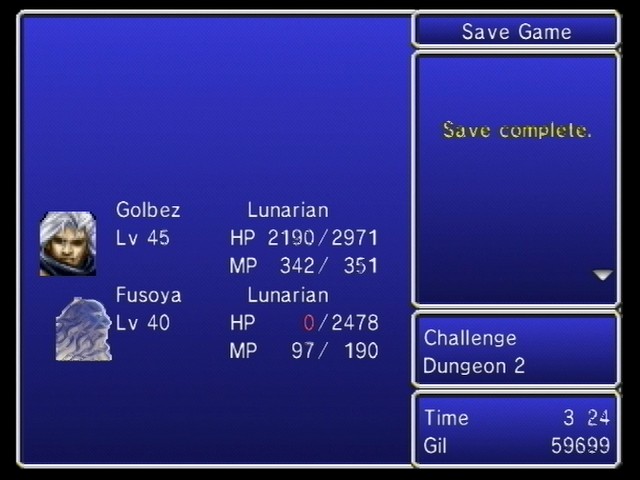
In this tale, Golbez's maximum level is 50, while Fusoya is set at 40. Give Golbez a Blood Sword and he can efficiently solo some areas. Which is nice if you're into grinding everyone to the max, but I like a challenge.
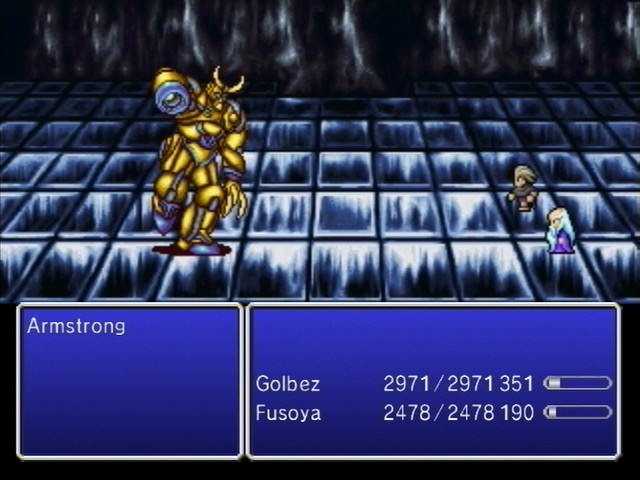
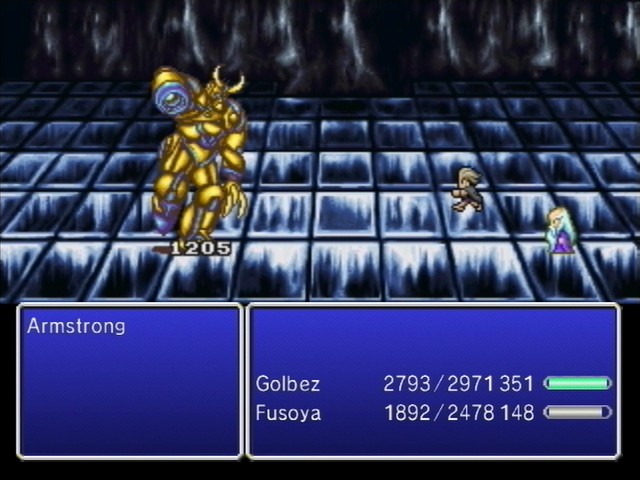
Meet Armstrong.
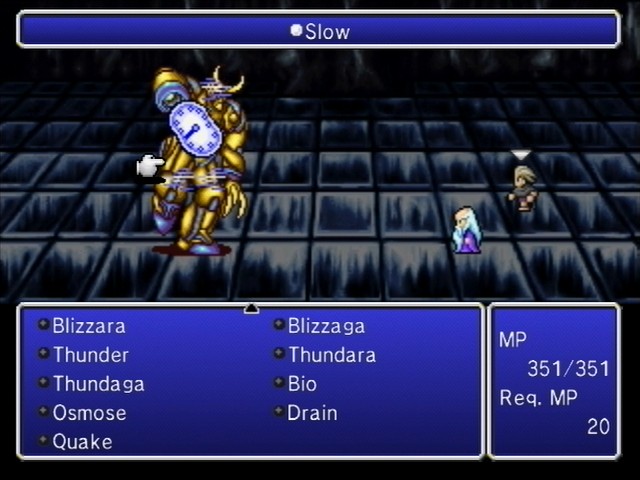
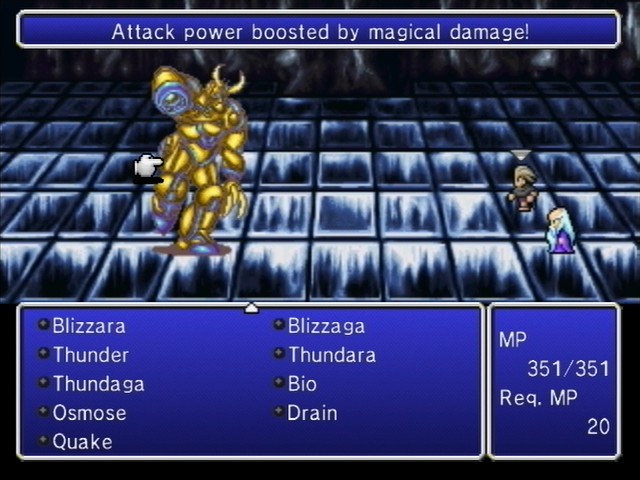
Instead of countering with Holy, he simply boosts his magic.

This move scared the shit out of me, making me think that this guy may not be a pushover after all.
I was wrong, of course.
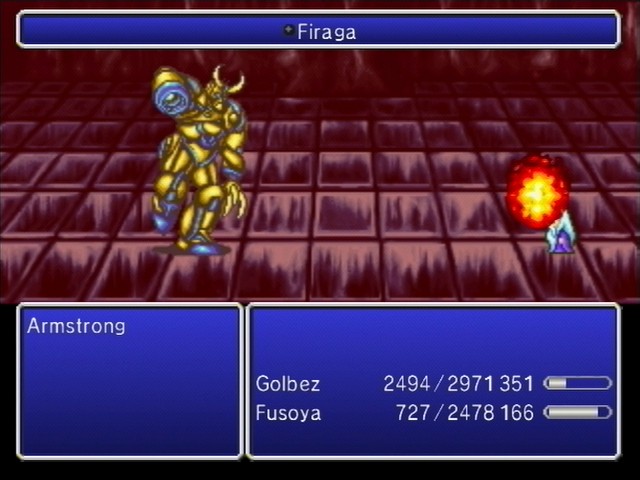
He never used Penetrating Laser again, instead opting for Firaga for the rest of the fight. Shell helped a bit.
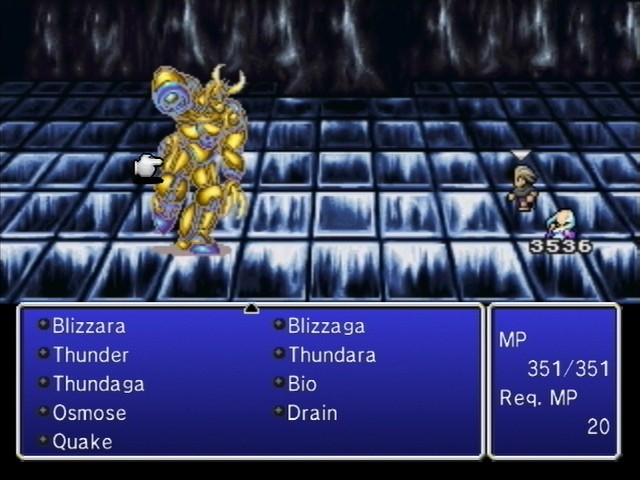
Now, the safe way to do this battle is just attacking.
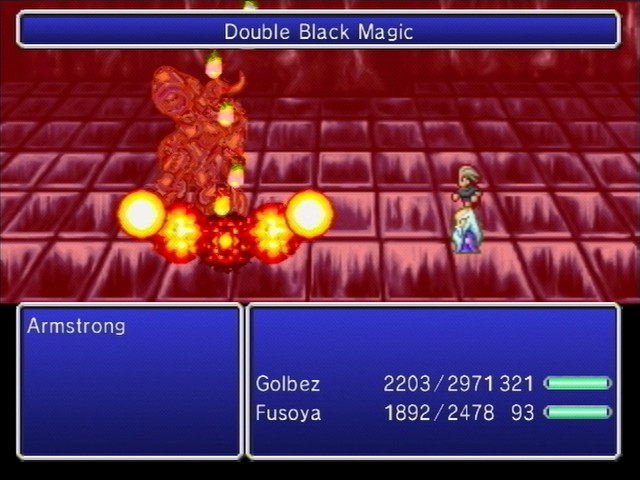
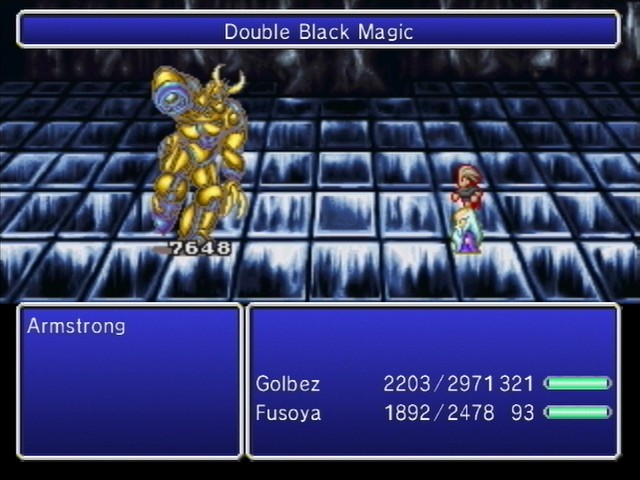
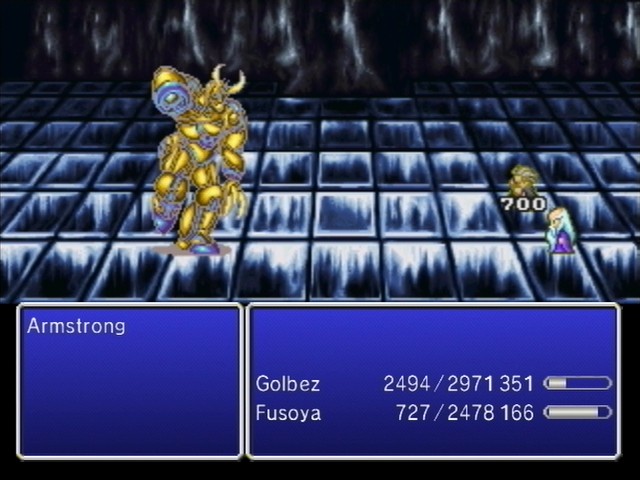
The smart way to do this battle is just spam the shit out of Double Black Magic so the fucker falls before he gets to do anything. It's not like his boosts actually increase that much, as post-Shell Firaga kept doing around the same amount of damage to me no matter how many times I boosted his magic attack.
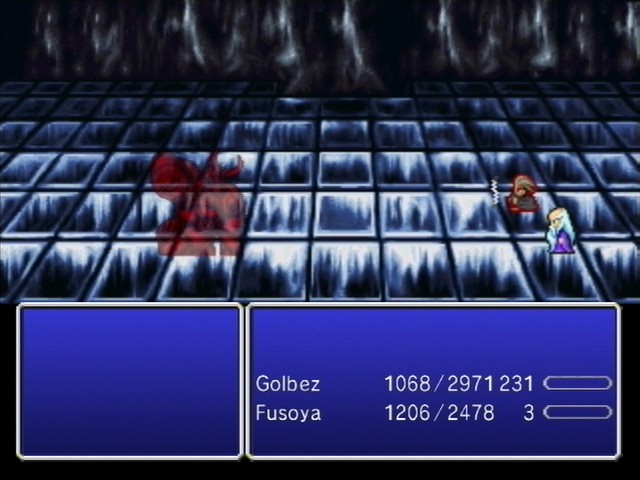
Which wasn't many, considering how quickly the DBM band took him down.
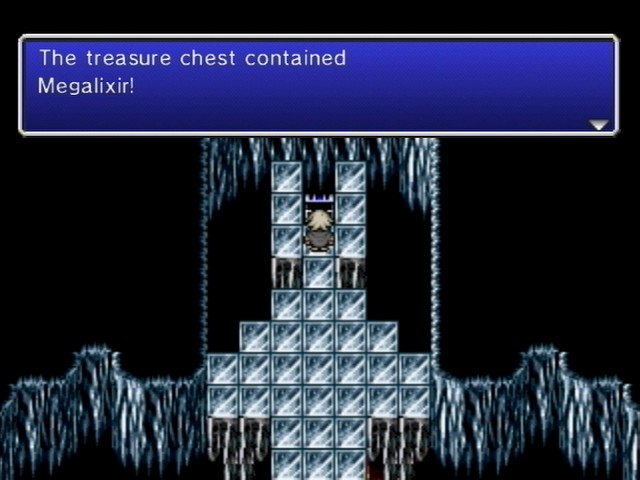
So of course, upon finishing the final challenge dungeon, it makes perfect sense that my reward would be the King of Consumables. I'd rather have had the Defender, Rare Band, or Adamantium, personally.
So next time, we cover any odds and ends, and finally, finally, finally start the end game. There's still plenty of game left, though, so don't get too excited.