Part 96: Bonus - The Complete Collection Superboss
Superbonus Awesome: The Complete Collection Superboss
Hello again, everyone! Welcome back to the Complete Collection section. Now that the main LP has finished the story, today we'll be looking at the
 suuuuuper secret superboss added into CC's updated After Years!
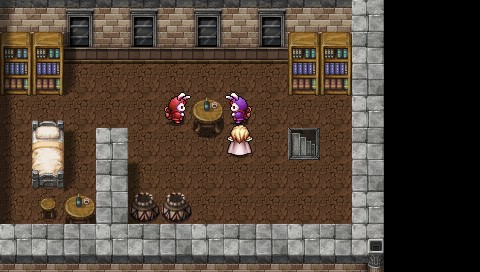
Upon beating the game, you'll get the usual chance to save your data, and thus be able to grind through the moon's interior to your heart's content. Isn't that great?!
Additionally, if you wander into the second story of the Developer's Office building with the adamantite trader, a new Hummingway will have appeared; this guy is your access to where we'll be going.
...er
Well, at least the important part is there. Sign us the fuck up!
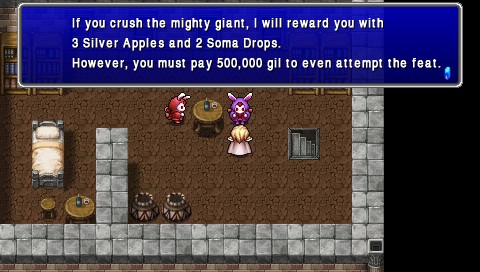
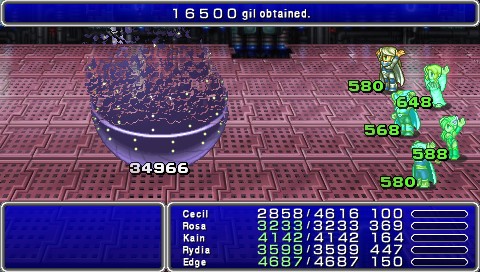
So yeah. Half a million gil for what amounts to 150 max HP and 20 max MP, provided you kill a rather fun boss. Personally, the reward isn't that great, but since you'll probably have more money than God by now with no other reason to spend it, things aren't looking so bad.
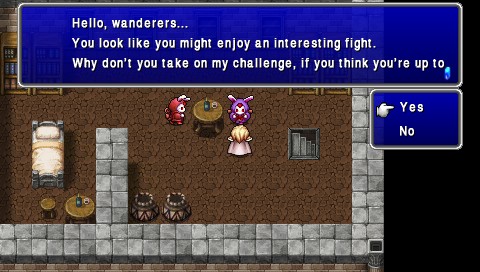
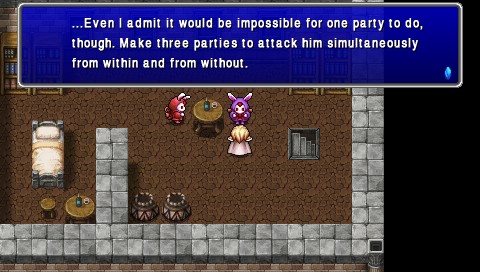
Hummingway: Do you know how to form your three parties to really show off your true strengths? The farther you go, the worse it's gonna get.

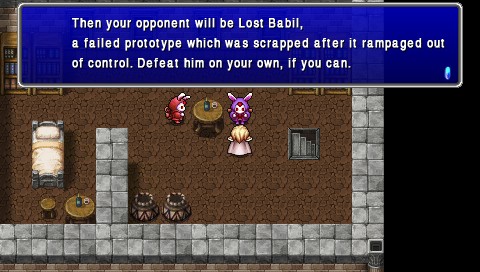
As he said, you'll be fighting with three separate parties in a chain of three battles against Lost Babil. This isn't like FF6's final fight, where fallen characters will be replaced by others - it's do or die.
Interestingly, the save that I downloaded to bypass virtually half of the game after Palom's Tale came with some crazy inventory hacking, specifically in regards to dummied-out items and tester-use equipment that is outright ridiculously powerful and served me well in hacking effortlessly through the Depths to get this far. Seeing the potential for ruin this could cause, I determined that I would give the game a fair shake and disallow the use of these tester items, so I might actually get some semblance of challenge.
Do keep in mind that fair does not mean merciful.
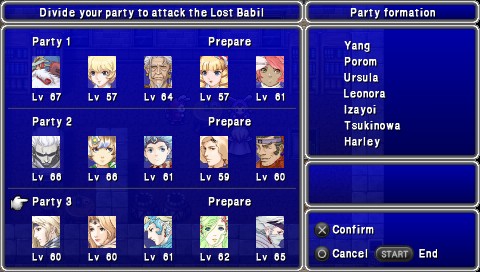
Rather than give you guys three days to debate over where I should be strategically dicked over, I've made my own teams for the occasion. Suck it, audience participation!
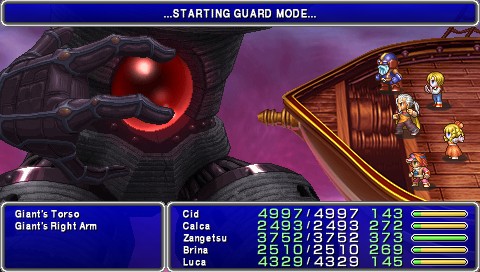
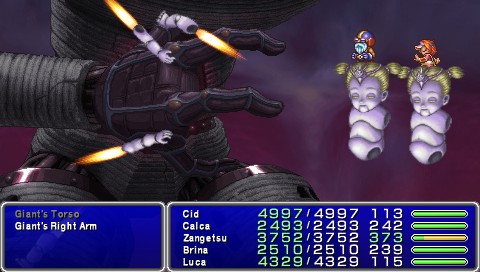
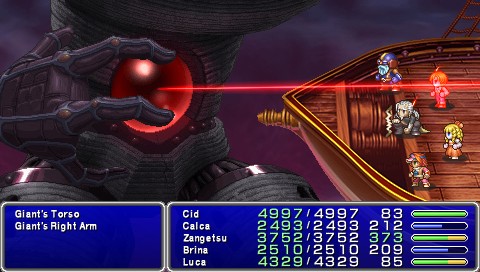
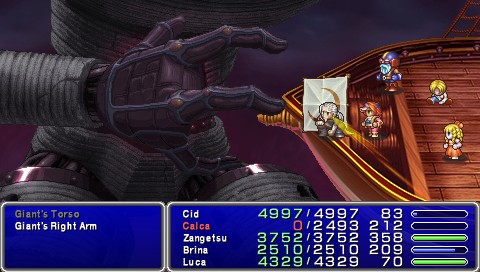
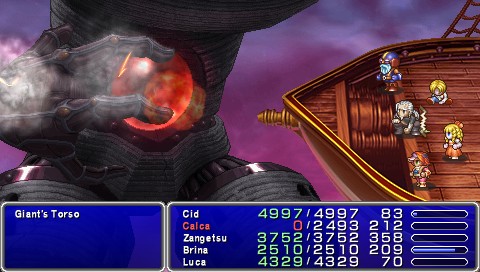
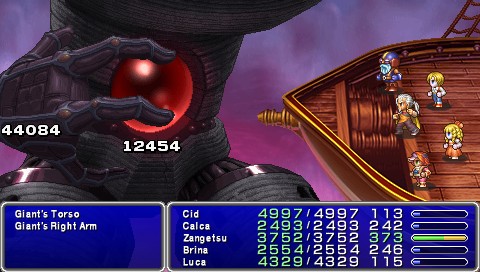
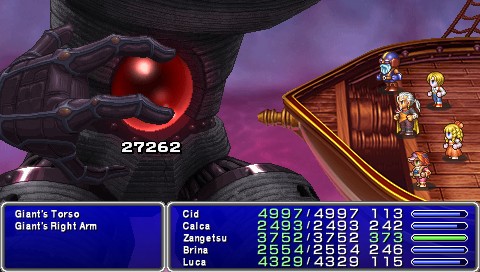
Our first squad is Team Robot Awesome, consisting of Cid, Luca, Calca, Brina and Zangetsu as the comedy option. While the engineer team is far and away the star of this battle, Zangetsu can still wreck surprising amounts of house when sufficiently leveled, especially with Mecha Kite.
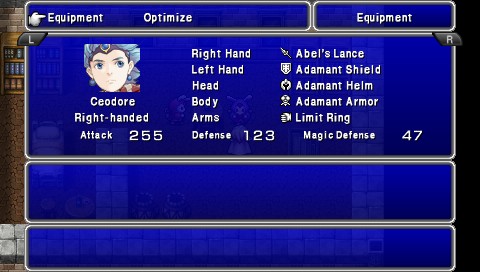
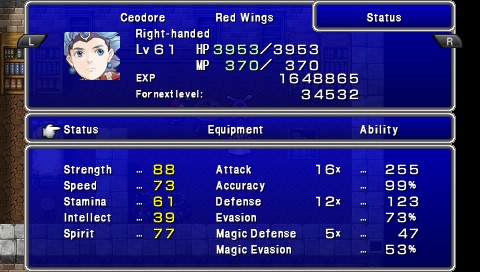
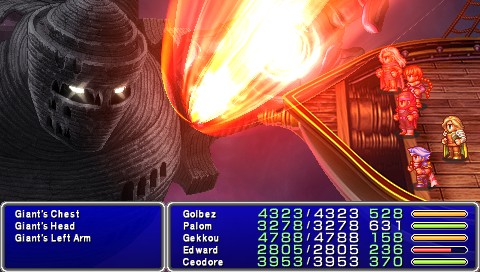
Our second squad is Team Characters I Actually Like (Plus Special Guest Ceodore), with Golbez, Palom, Ceodore, Edward and Gekkou. This team probably could serve better as the first-battle squad, but still makes a solid performance.
The third squad, Team Final Fantasy, is more of a style points option than anything, but proves that the old guard is utterly terrifying in the amount of ass it kicks.

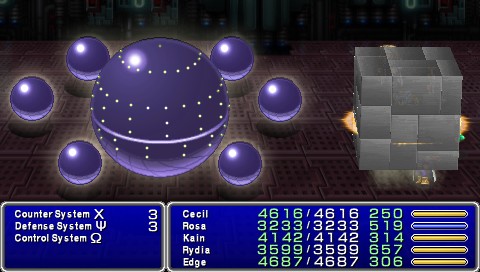
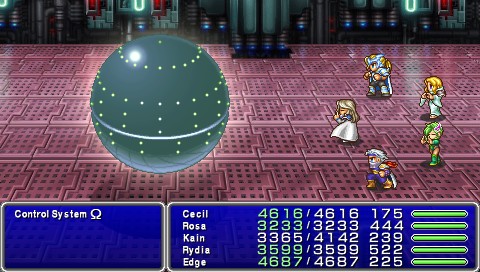
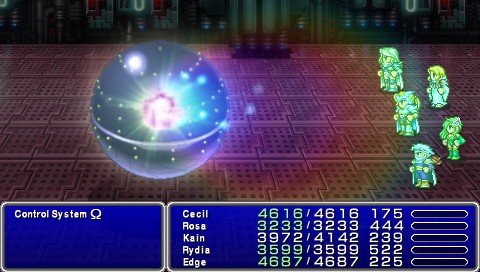
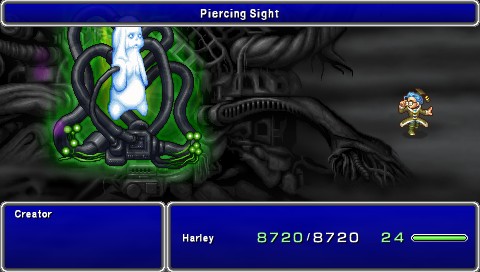
After two "ARE YOU SURE YOU WANT TO DO THIS?" confirmations, Hasshinway summons up Lost Babil...
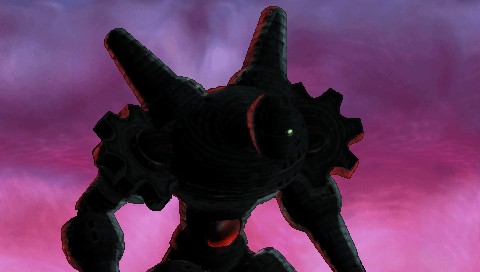
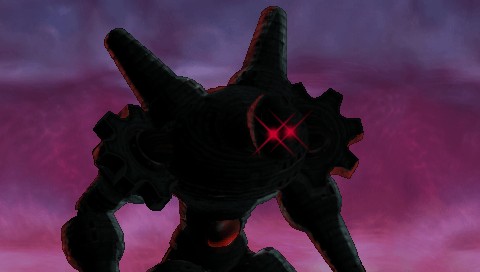
Really, it doesn't seem to be that threatening from the looks of it. It's like... a clockwork EVA, or something. Far from being proto-Alexander that the original Giant of Babil was.

With airships from nowhere and Team Final Fantasy eschewing standard transportation to instead shoot into its core in a blazing inferno, the epic battle begins!!

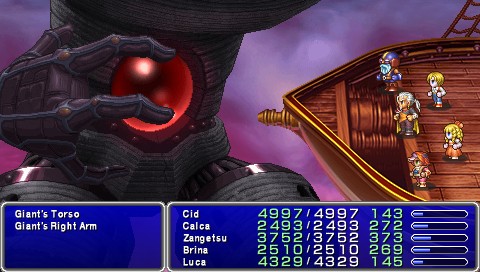
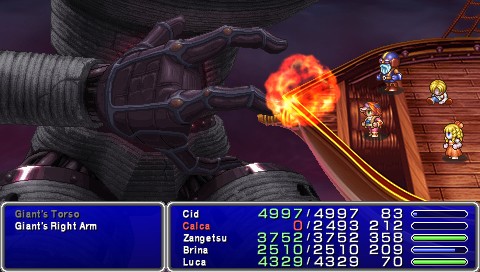
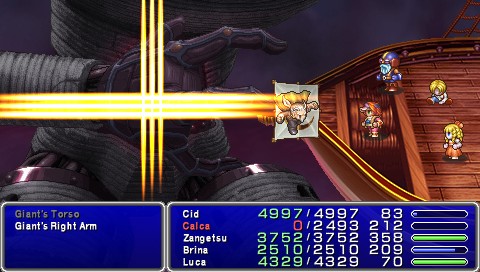
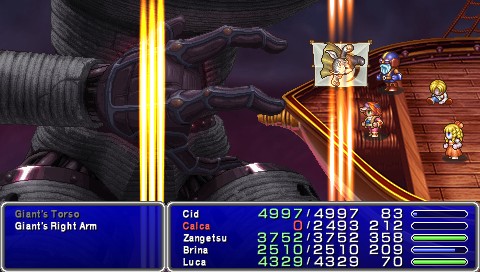
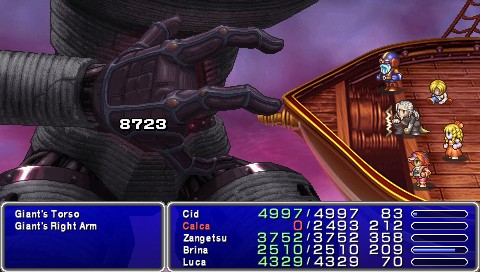
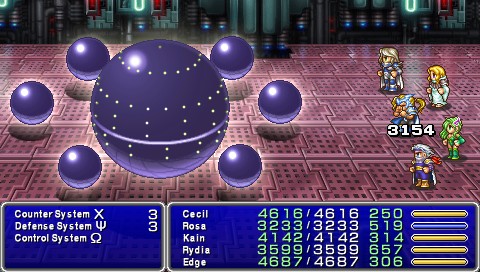
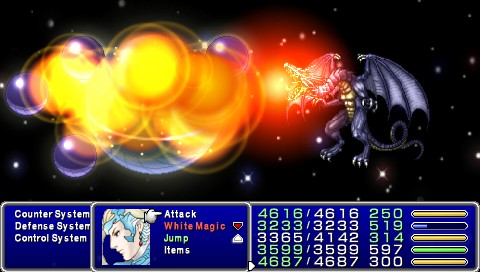
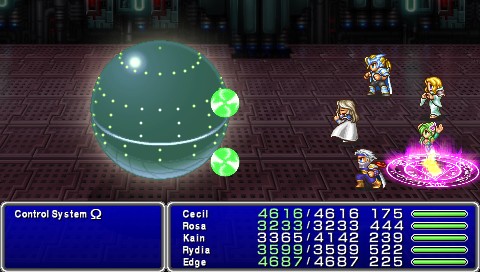
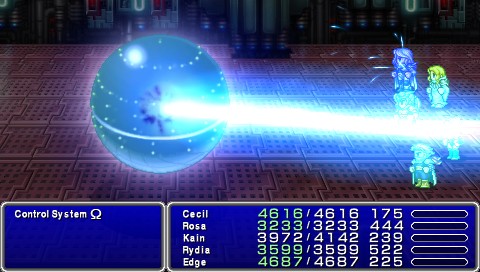
The first fight pits Team Robot Awesome against Lost Babil's death laser core and its right arm.
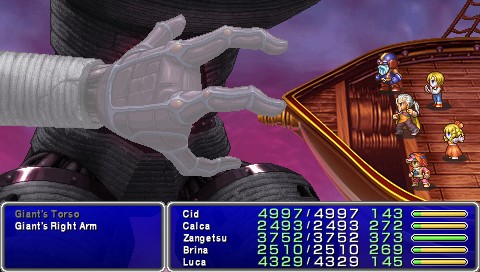
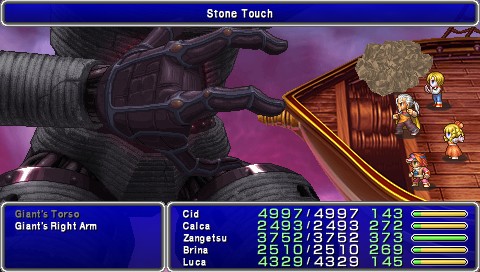
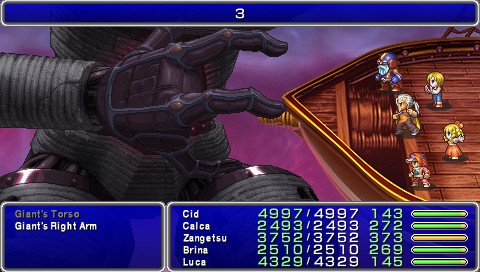
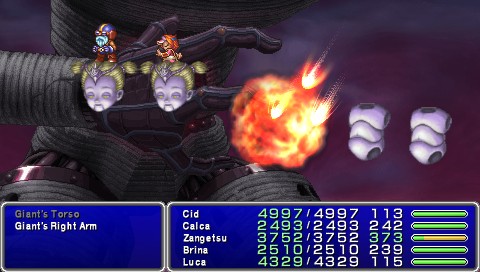
The gimmick with this section of the fight is that the arm will cover the core and render it untargetable and invincible, which is what makes me wish I'd swapped this team with the second-phase party. Once the arm is covered up and close to the party, it will start up with liberal application of Gradual Petrify in an attempt to slow you down.
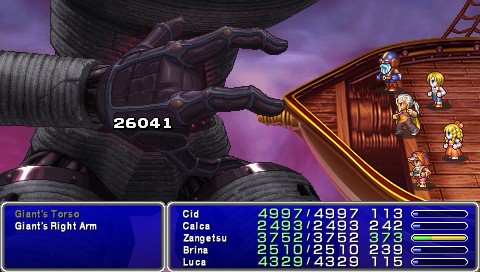
Oh right, and in Bahamut-esque fashion, there is a countdown until the death laser core finishes charging its death laser and unleashes it on you. If you deal enough damage to the arm, you can knock it away and make the core vulnerable again, at which point the countdown will restart.
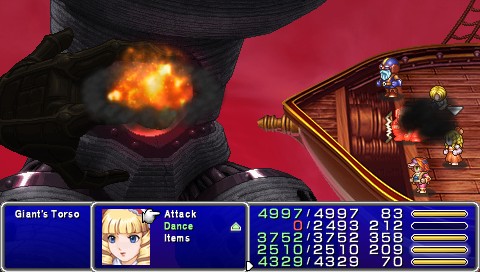
ROCKET PUNCH!!
HEAD BOMBER!!
HOT BLOOD HAS NO DAMAGE CAP

Admittedly, I'm at an unfair advantage to hell and back - I've seen successful runs of this with the majority of party members in their 40s, while most of mine are in their high 50s and 60s. No less than ten suits of Adamant Armor and several dummied-out weapons left over from FF4 Advance's inventory code might be skewing things a little, as well.
Bwahaha.
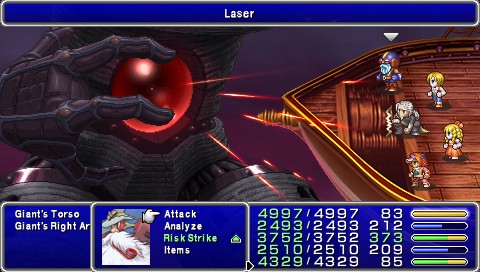
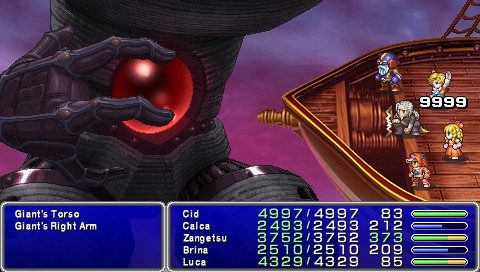
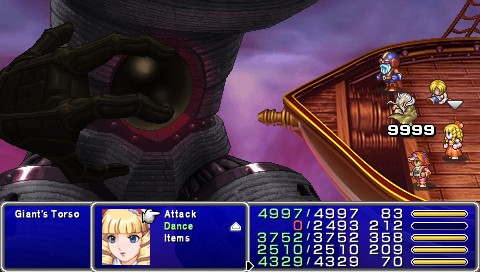
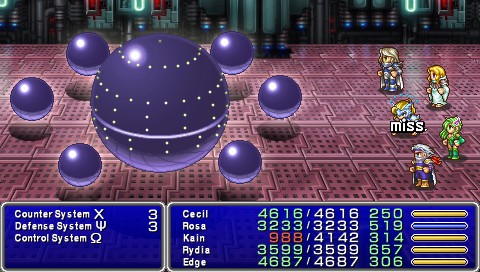
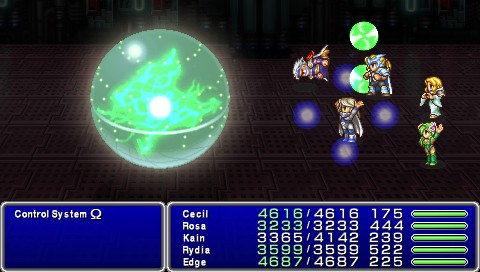
Yeah, the death laser core's death laser hurts, and you want to stop it as much as possible.
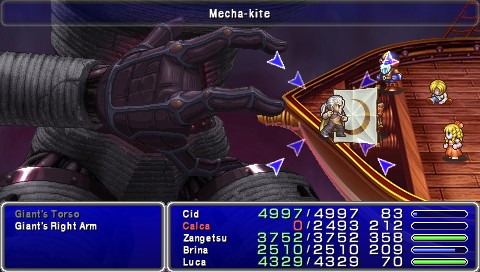
Man would it be hilarious if Mecha Kite had a random chance of failure where Zangetsu gets blown the hell up instead.
Not nearly as good as Final Calcabrina for rather obvious reasons, but it's good for when one of the other three get incapacitated, like what just happened.
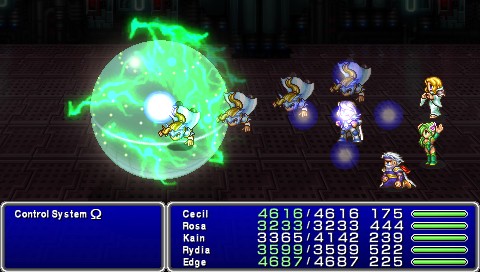
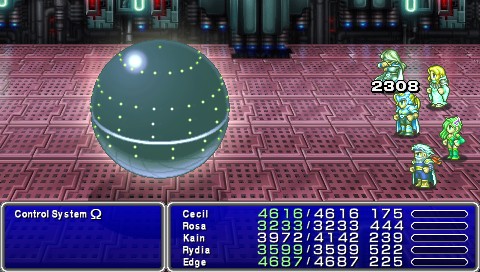
With enough violent application of volcanic sledgehammers, beam swords and rocket-powered air cavalry, the right arm blows up...

...and so does the core, though not on terms we'd care for. If Gradius bosses made a habit of this we would be screwed.
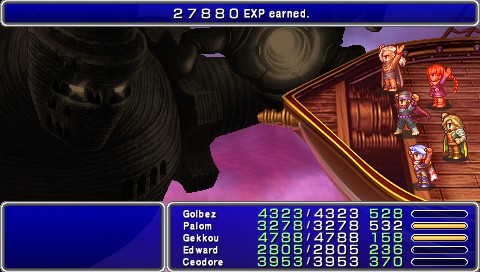
 ? One down!
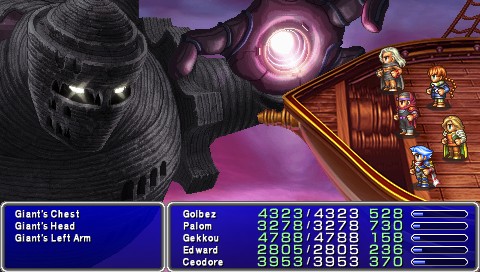
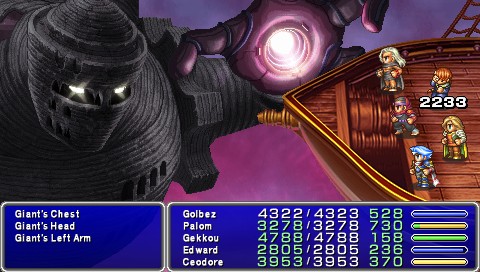
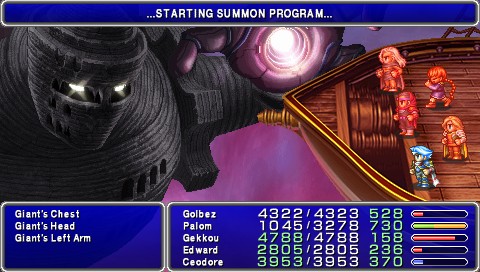
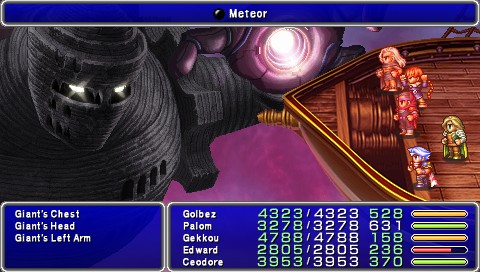
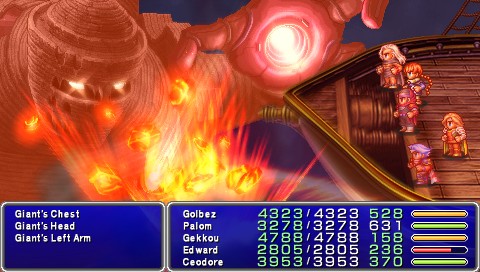
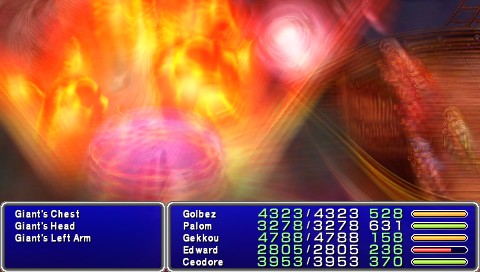
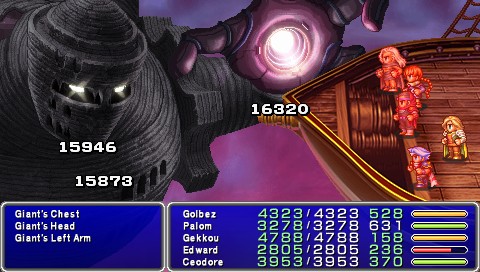
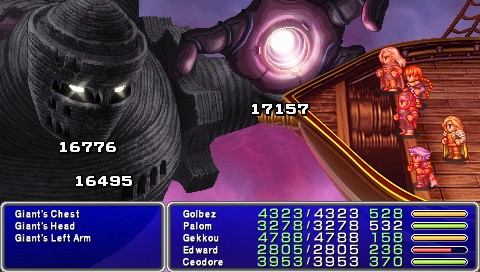
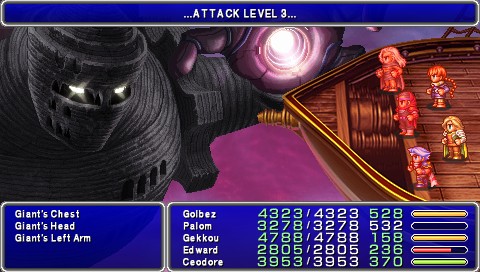
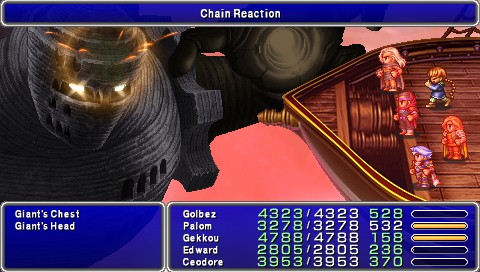
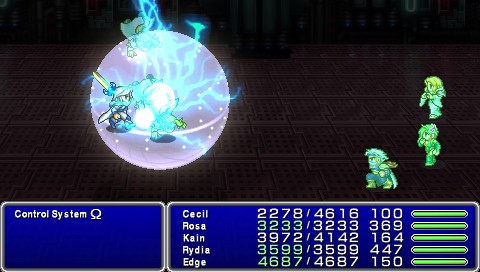
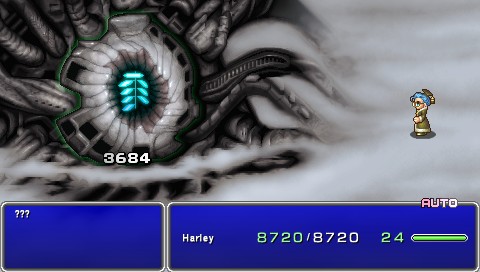
Round two, with Team Friends and Ceodore against Lost Babil's head, upper torso and the other arm. One of the parts (I can never seem to catch which) just loves to spam Holy, and in general tends not to fuck around.
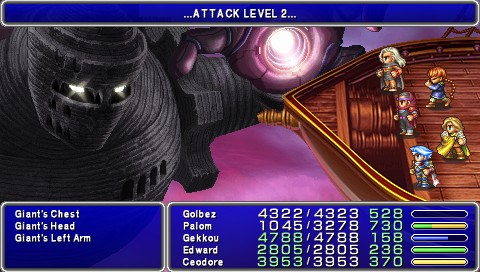
Occasionally the second-phase giant will ramp up its attack modes, to at least Level 4, though I can never see any real difference in any of them because it dies too fast for me to tell.
Edward presses the Break Everything Button and ensures that my report on the giant's attack patterns will never see the light of day.
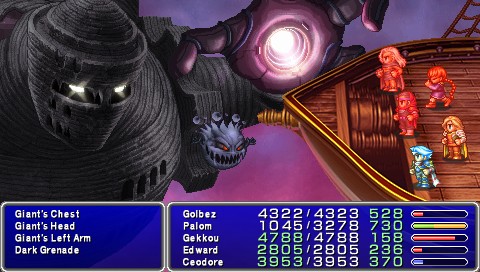
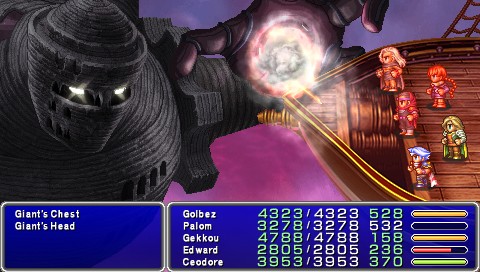
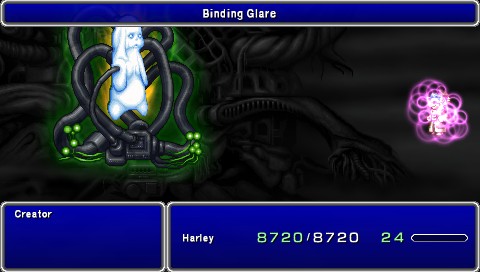
The most threatening thing I've seen the giant pull is summoning, a few turns in. Reportedly it can also summon Wild Bats from Edge's Tale or an Optic Blaster from the original game's Giant of Babil, but I've only ever seen Dark Grenades.
Dark Grenades can ruin your day, as Lost Babil is all too happy to cast Curaja on the fucker when it's sufficiently weakened, immediately followed up by a Self-Destruct that nearly hits the standard damage cap.
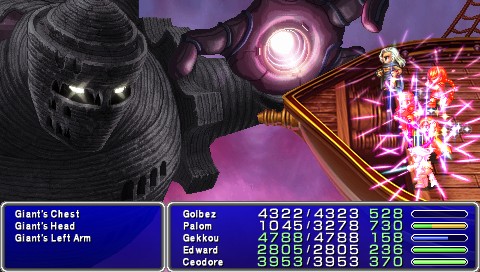
Incidentally, guess who I gave Doublecast to.

Yeah, this guy never had a chance.
Wait, how the hell are you still alive? Holy crap.
Oh, you're just exploding. Never mind then.
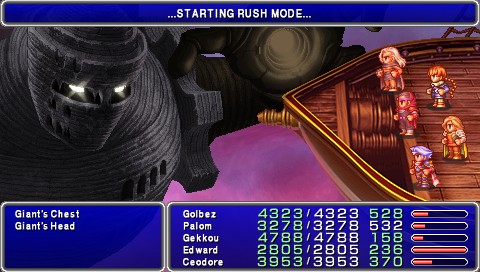
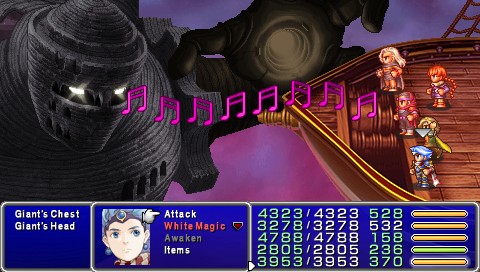

Lost Babil immediately enters Attack Level 4 afterwards, and declares Rush Mode; I honestly have no idea what the hell Rush Mode is because Edward literally melts its face off with his sweet jams. The chest section follows suit, and if the arm were still active it would've gone at this point as well. All you need to destroy in this phase is the head, but usually the arm will go first because it doesn't seem to have as much HP (though it has a Reraise maneuver anyhow). It even auto-destroys any monsters it may have summoned!
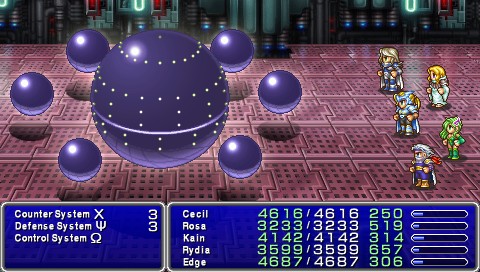
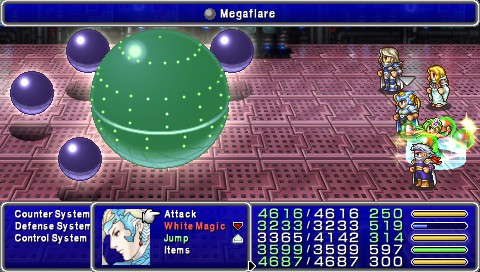
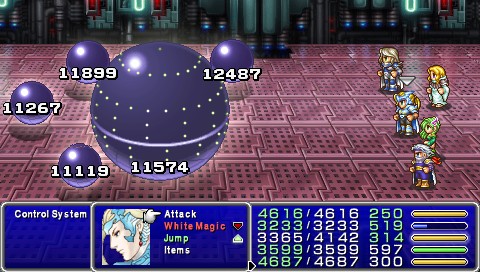
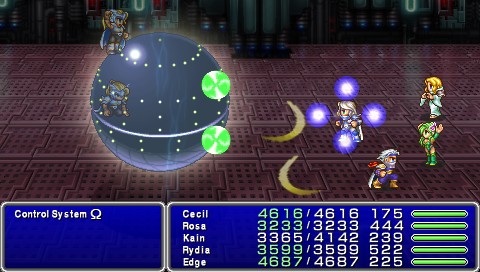
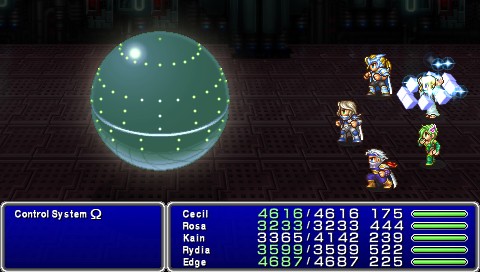
The final match! Team Final Fantasy goes toe-to-toe with the central core, and--
--oh that's not good
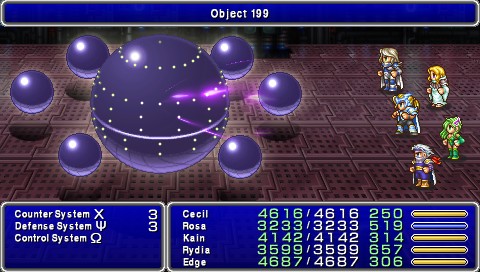
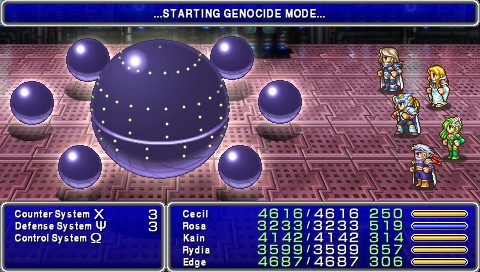
I... think this is actually supposed to simply kill you, given that the Control System opens the battle with two of these in a row, though the vast majority of the time the attack misses outright.
Yeah, see? The Control System's Object 199 double-combo is triggered by Genocide Mode; normally, you're able and supposed to interrupt the countdown it produces, but it always counts too fast for you to react the second the fight begins.
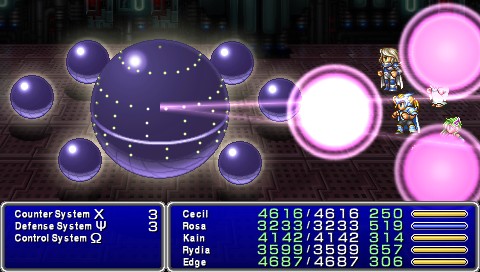
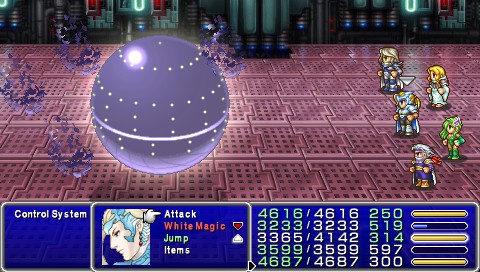
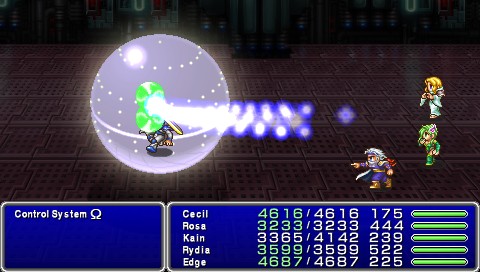
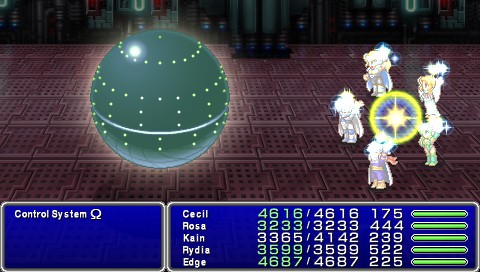
Directly attacking the Control System will result in it countering with Heal, which will heal itself for roughly 4000 HP or one of its nodes for a little over 1000. The Defense Nodes are capable of pulling out Heal at will, as well.
Guess what deals more than 4000 damage?
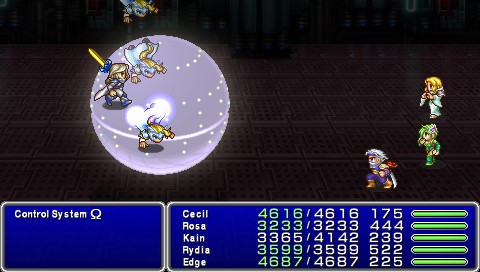
Limit Rings are the best.
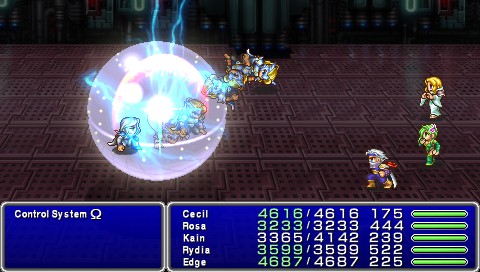
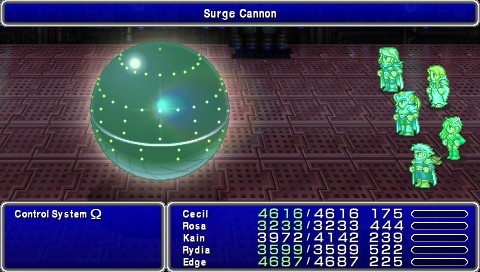
Once the Control System is alone, it'll start counting down to its Object 199 spam again, begin countering attacks with Surge Cannon, and will constantly use Heal on itself for the duration to repair any damage.
Guess what else deals more than 4000 damage?

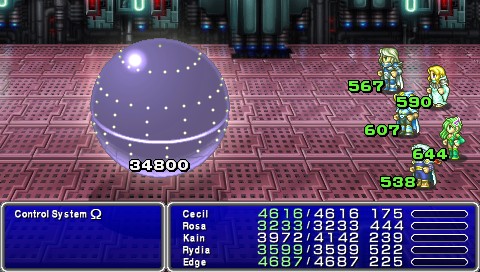
Fuck yeah.
wait what

Yeah, Surge Cannon could probably wreck your day if it were multi-target, or if you didn't have high-damage Bands to abuse to high hell.
Except we do.
So it's not a problem.
At all.
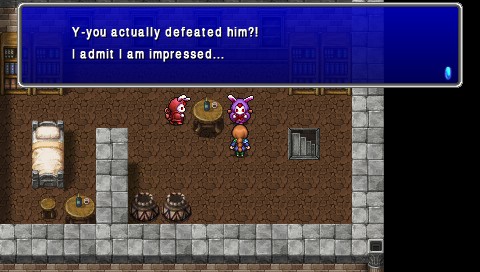
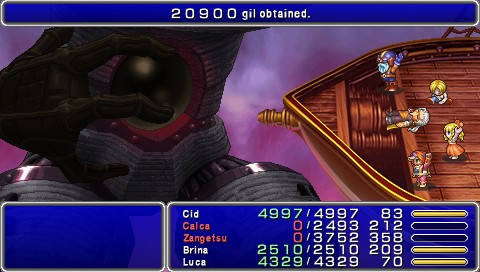
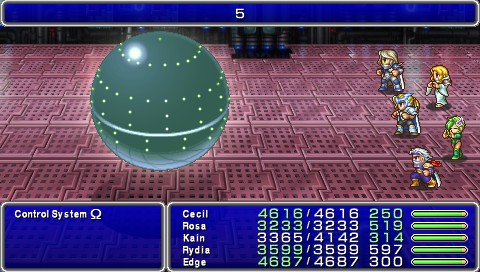
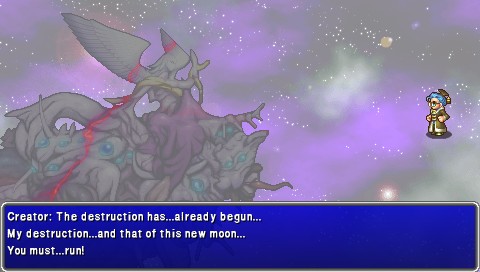
Once Lost Babil is thoroughly trashed, we're teleported back to the Developers' Office, where we're handed our three Silver Apples and two Soma Drops, then invited to fight it again, should we dare. Don't mind that Edward is now Palom - I had to refight it to get better shots.
Speaking of refighting, remember back when I said that my save had a bunch of tester equipment hacked into it?
Yeah.
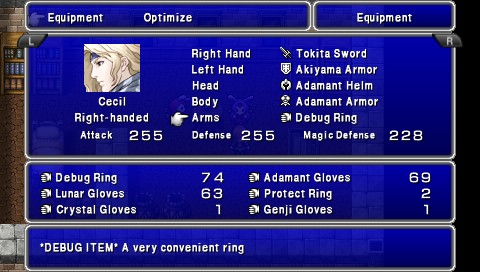
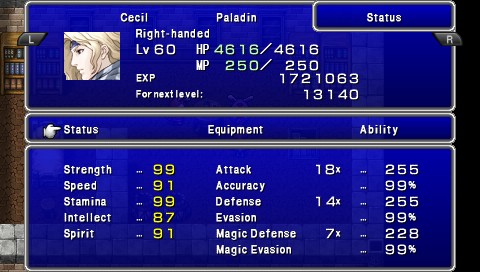
The Tokita Sword, named after After Years's producer Takashi Tokita, is a universally-equippable sword that inherently breaks the damage cap. The Akiyama Armor, likewise named after Toshio Akiyama, the game's director, is a universally-equippable shield that nullifies virtually all attacks and status effects. The Debug Ring doubles experience gain, allows breaking of the damage cap, and is the primary reason why my characters are so high-level after a single trip through the Depths. All three items grant the wearer 'maximum' stats.
Final Calcabrina.
Human Kite.

Final Fantasy. Unfortunately, the phase 2 fight didn't produce any particularly spectacular numbers, as Double Palom Meteor was already under the influence of near-max Intelligence. Needless to say, Lost Babil gets effortlessly ripped apart anyhow.
However, simply wailing endlessly on the superboss of the game can get boring.

What we need is something different.
Something worth using these godlike pieces of equipment for.

Something amazing.
This has been Shaezerus, finding reason to delete his copy of Complete Collection from his PSP.
I'm going to go play better games now.