Part 33: Cecil Fights Bad Breath
Chapter 33 - Cecil Fights Bad Breath (I'll probably fix this later).
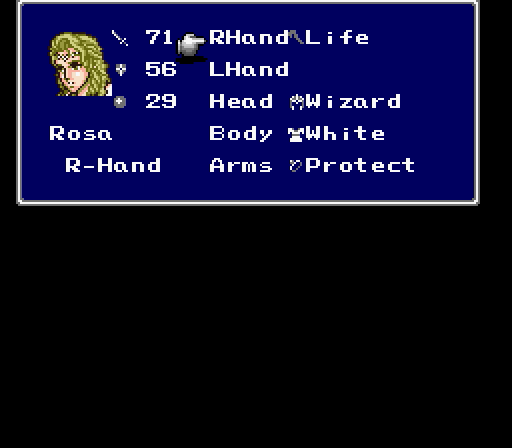
First thing I do is give Rosa the Life staff to boost her Will to 96, making her a healing machine. Her piddly little bow isn't going to do much good from here on out, plus I have White if I want to be offensive with her. I mean, she's already kicked Wyvern's ass and all.
I also double-checked the Murasame, and it has odd boosts all around, gaining Edge five points in Strength, Vitality, and Wisdom while penalizing him five points in Agility and Will. Alright, then.
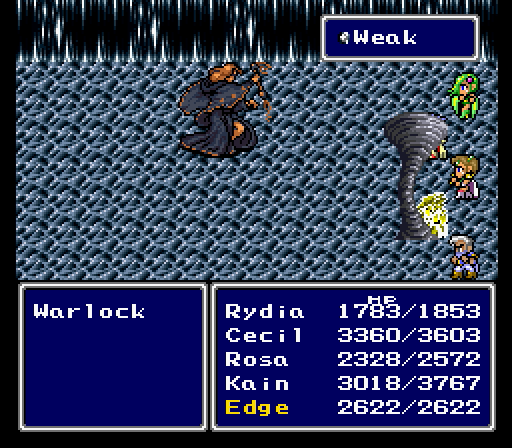
Huh, didn't know these guys cast Weak too.
Before I go any further, I've forgotten the last set of Crystal armor.
Much better. Now Cecil is decked out in Crystal gear.
Cecil + Crystal Sword = Redead undead.
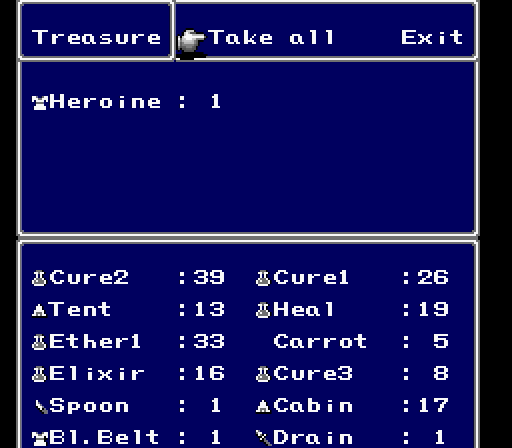
This chest has the Heroine robe, a robe that only the women can equip that reduces magic stats but boosts physical ones. It's better known as the Minerva armor in other games, and it sucks here since Rosa and Rydia are too weak physically for the armor to really help them. I guess it could help Rosa, but even then she's not going to keep up with the guys.
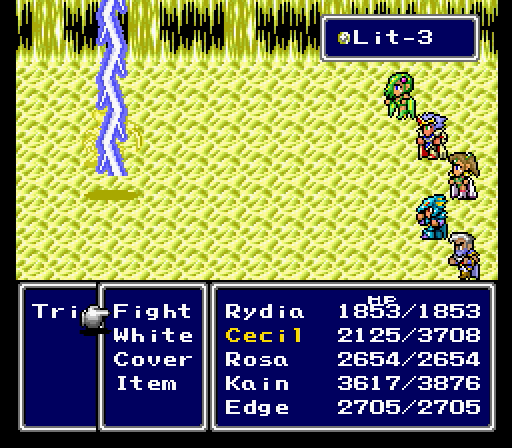
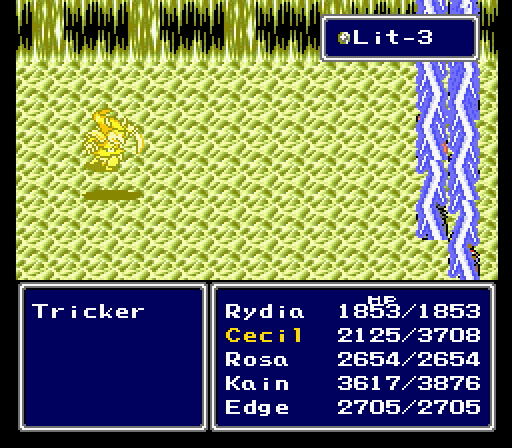
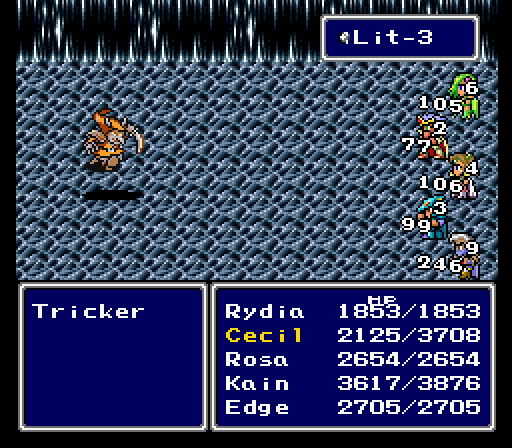
What happens if you electrocute Tricker. That said, he really is legit weak to lightning, as Rydia knocks off 9999 HP from Lit-3.
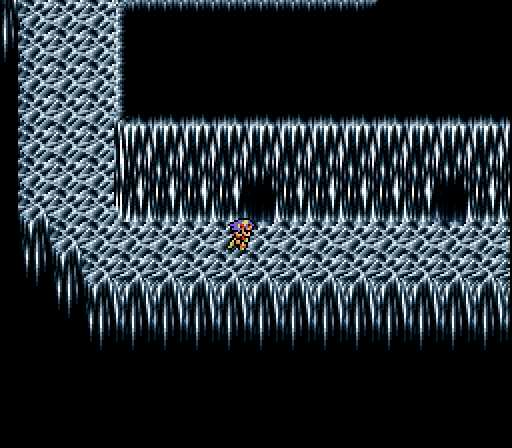
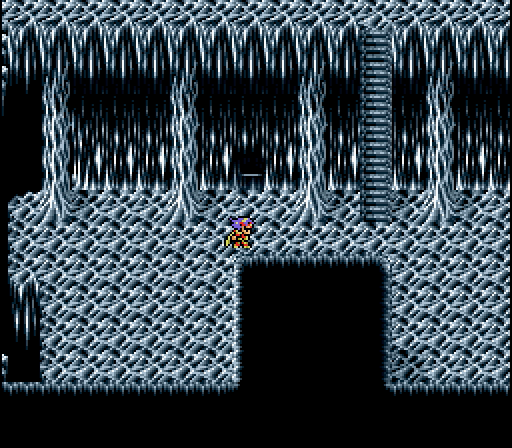
We're close to the end, and this area has three important rooms here.
The first room is a save point. Hell yes.
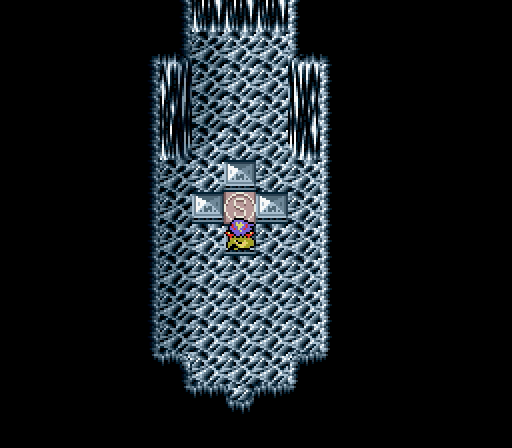
The second room has Kain's ultimate weapon.

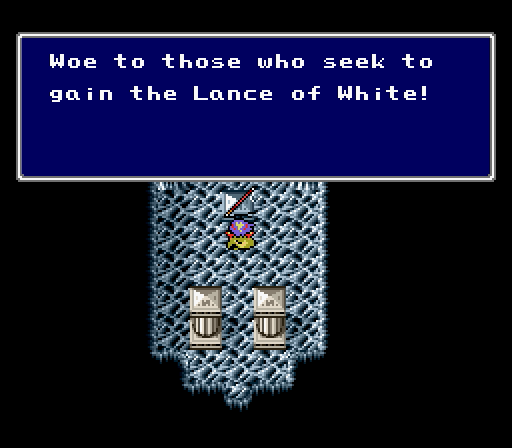
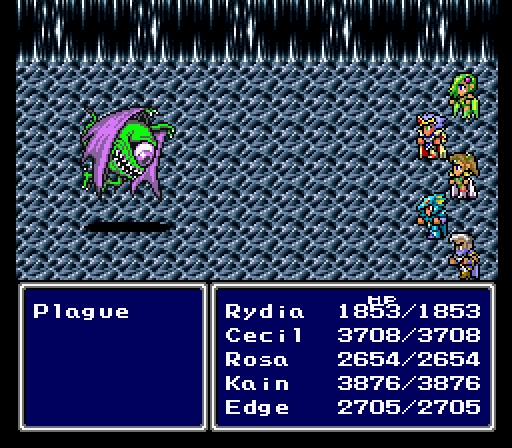
The next weapon guardian is Plague.
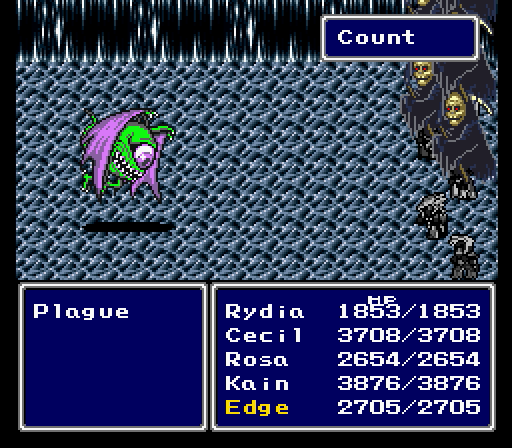
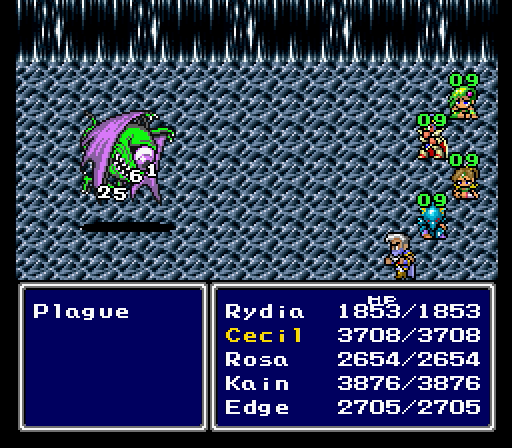
He sets everyone to Count status, which means once again it's a race against time.
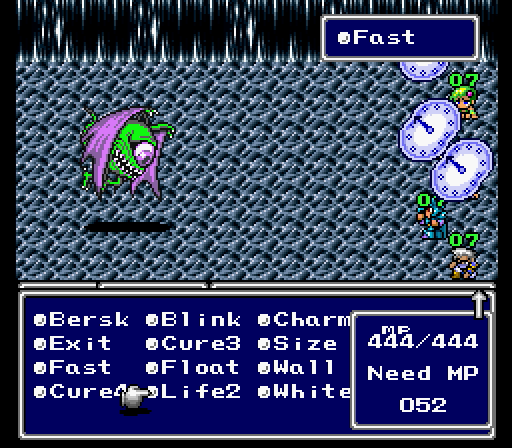
Fast and Slow don't actually affect this status, as everyone will die at the same time regardless, give or take a second.
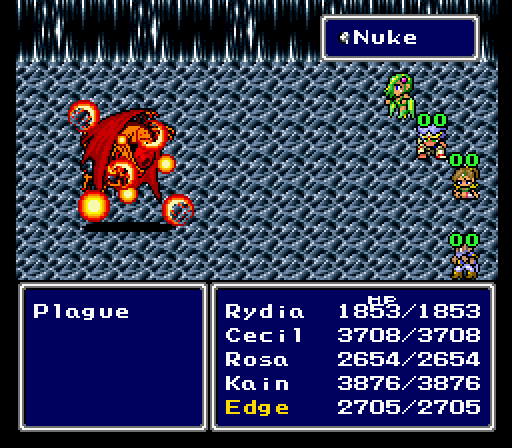
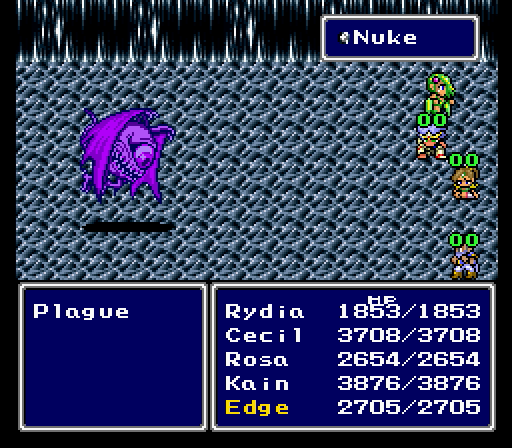
I died my first attempt, but I just got him here.
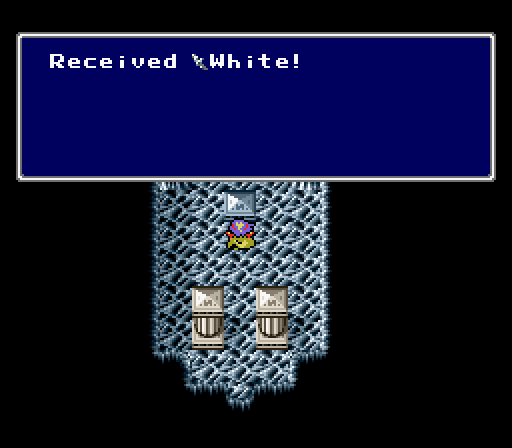
The White lance is Kain's best weapon, giving a nice holy-elemental attack boost. He's no Cecil with it, but it's still nice. Plus he can use it to cast White, which kinda sucks but hey, it's a spell Kain can use.
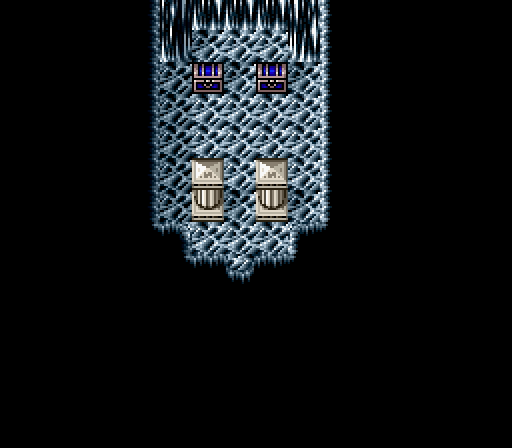
The third room has these two chests.
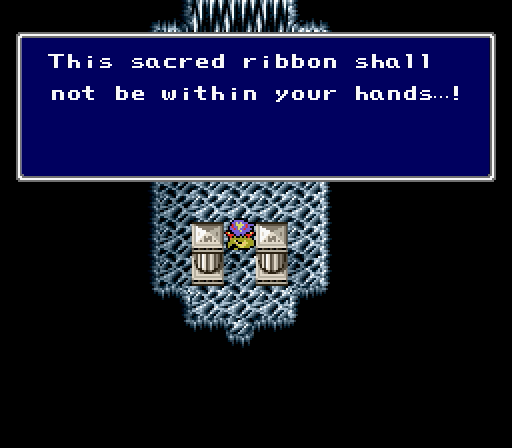
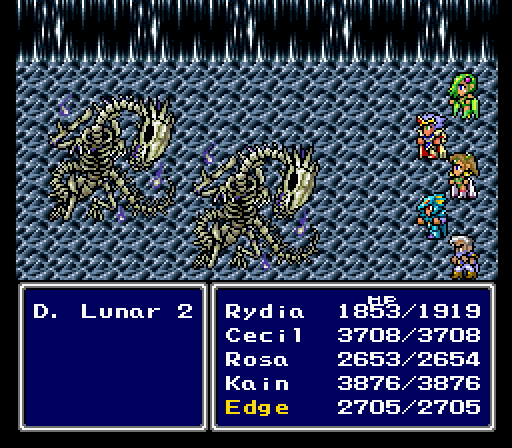
Likewise, it has these two bosses.
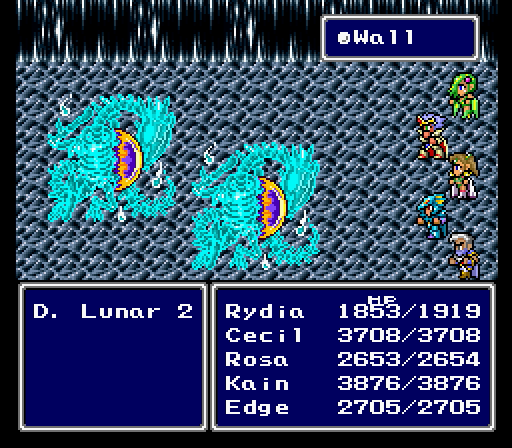
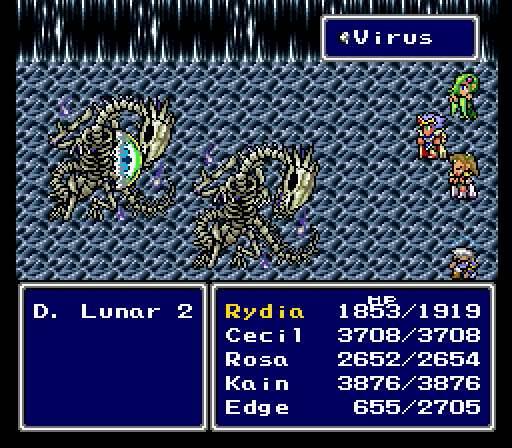
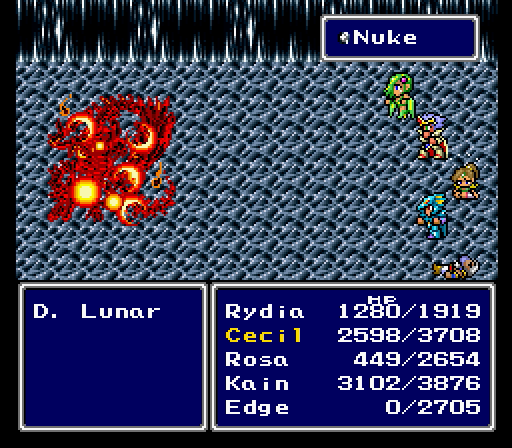
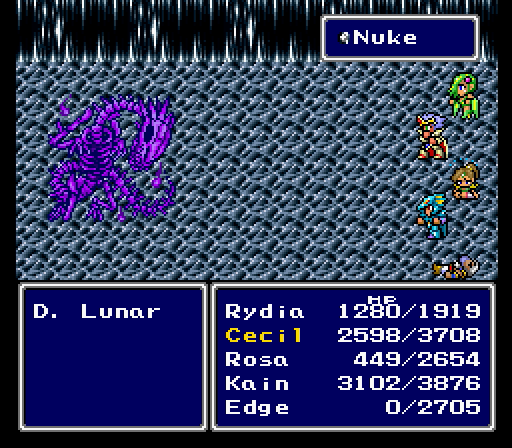
They also have "bounce spells off themselves" gimmicks, which pretty much all spell-casting foes have at this stage of the game.
Kill one, and the other gets stronger.
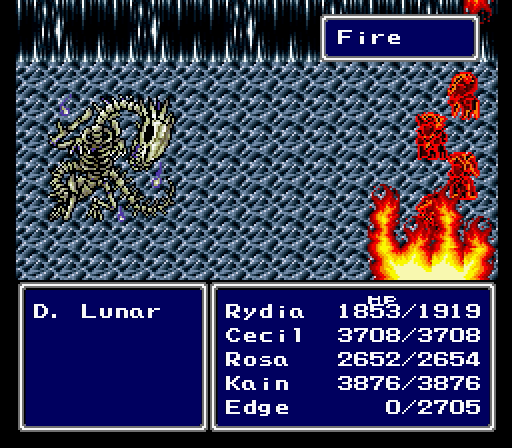
It uses more attacks, though Fire's pretty pathetic on everyone besides Edge.
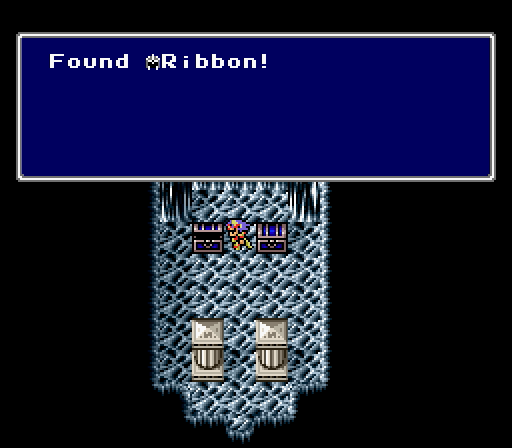
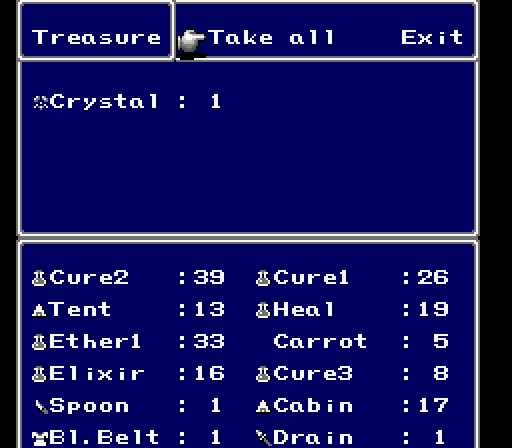
The reward here is two Ribbons, which as always prevent status effects and I think also give elemental resistence. My mages get them.
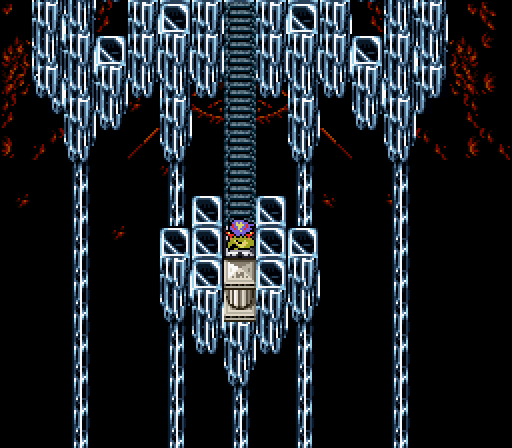
Once we go through that door...
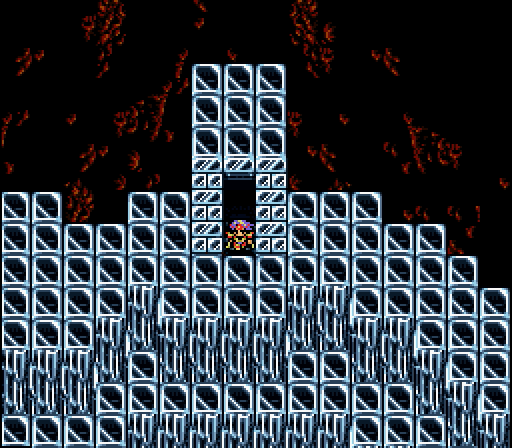

...things change quite a bit. First off, the layout changes dramatically. Second, the music changes to "Within the Giant."
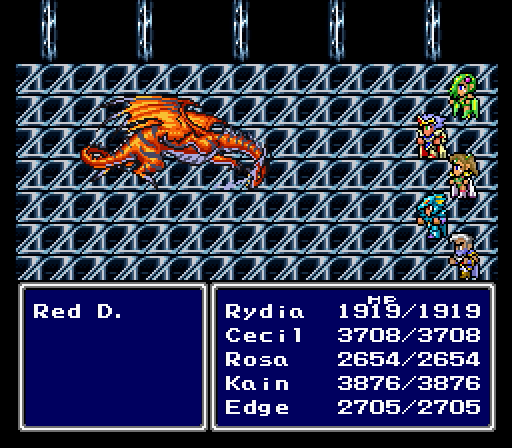
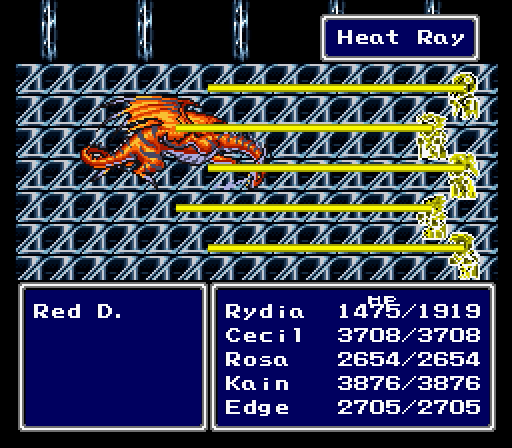
Third, the enemies become very powerful. Red Dragons can hit hard, hit multiple times, and attack with fire techs. It's important to note that every single random encounter has the Boss music.
This is the game telling you that shit just got real. You're almost at the end, the game gives you this gorgeous area to set the stage for the finale, and it's going to throw everything it has at you to stop you from reaching it.
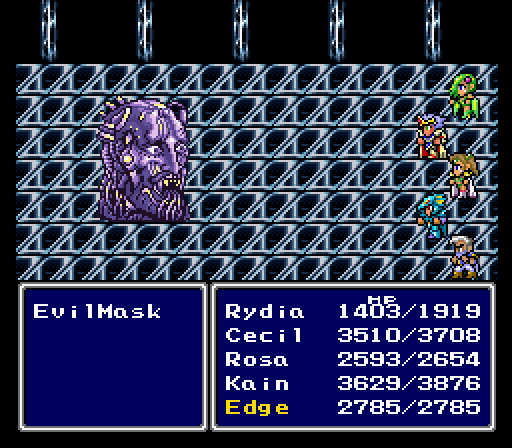
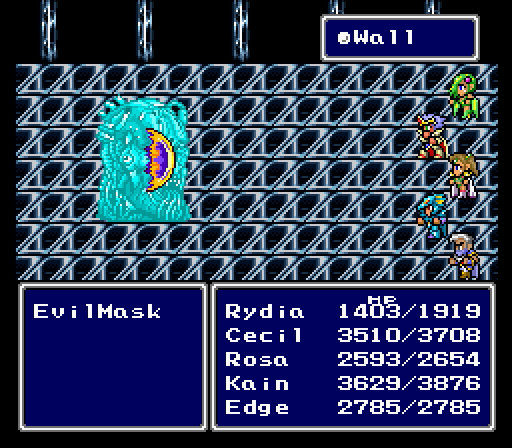
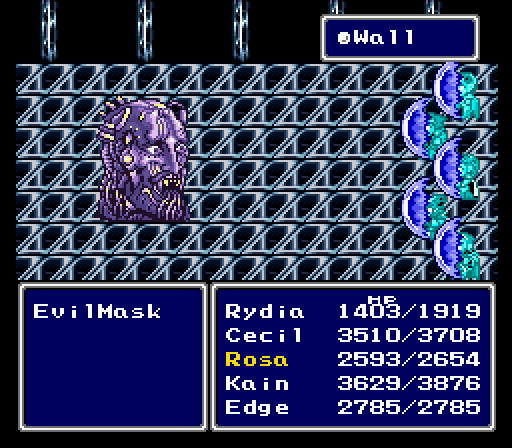
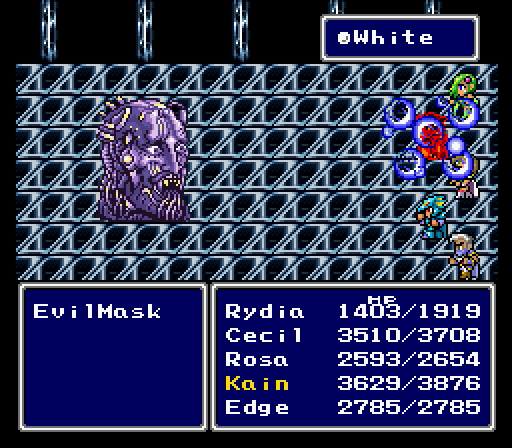
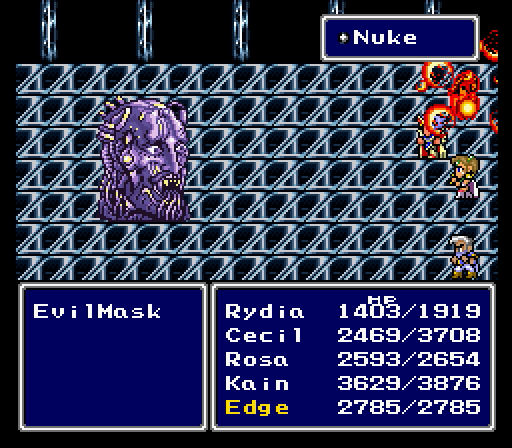
EvilMask is a nightmarish foe that really loves bouncing spells off itself. It's kind enough to use Wall on your entire party so you can bounce Nukes and the like off yourselves. It likes to use high-end spells to do the same.

On the first floor of this area is our last ultimate weapon.
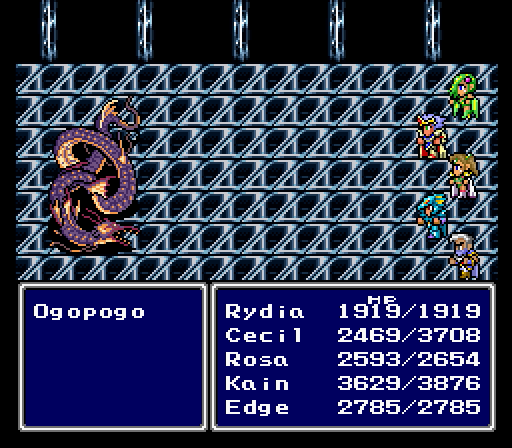
Ogopogo is the last boss we fight before the final boss.
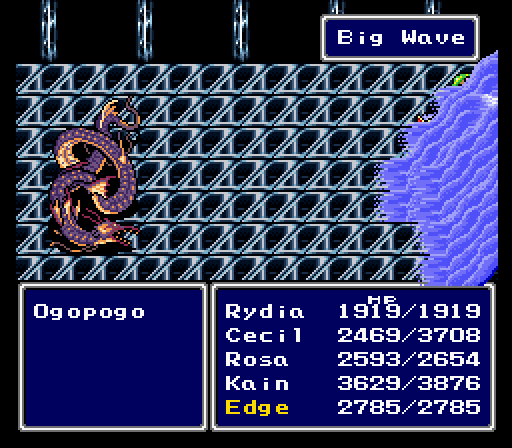
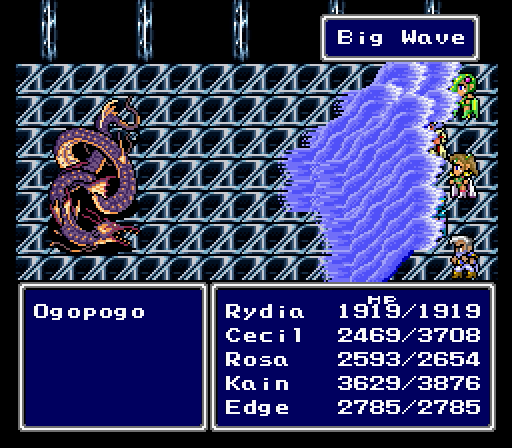

It's opening move is to use Big Wave two consecutive times, dealing major damage to your team.
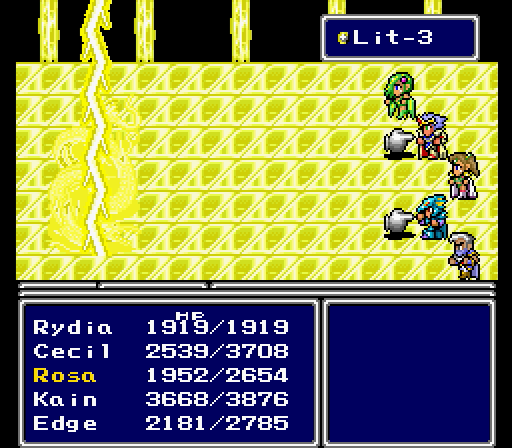
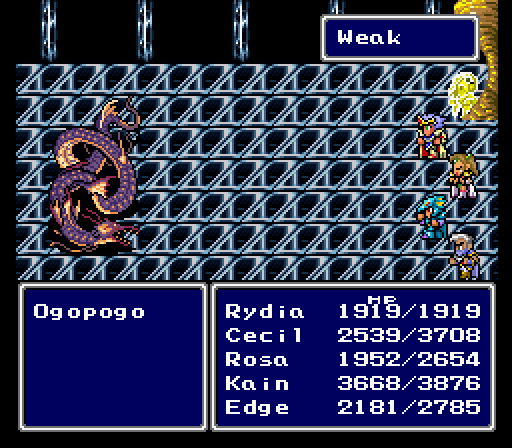
It will counter spells with Weak.
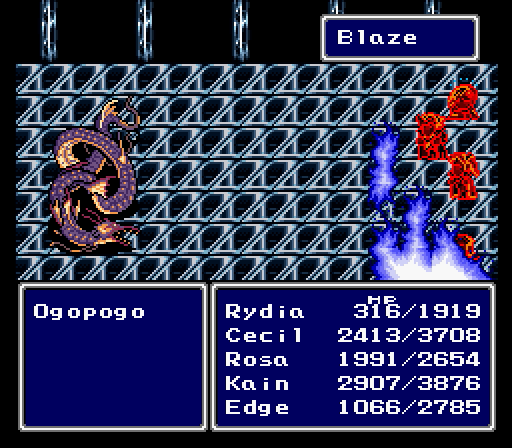
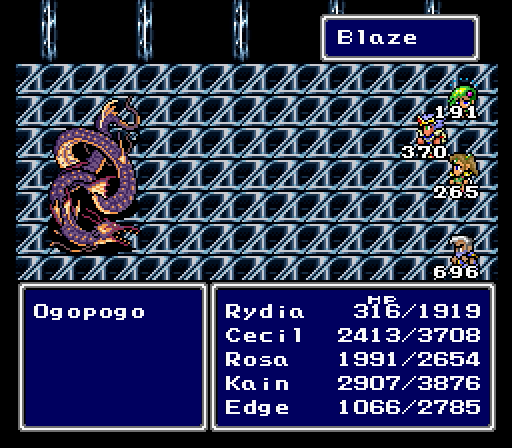
It will also use Blaze, which can be scary if it's at high health since Blaze's damage is based on the current HP of the enemy using it.
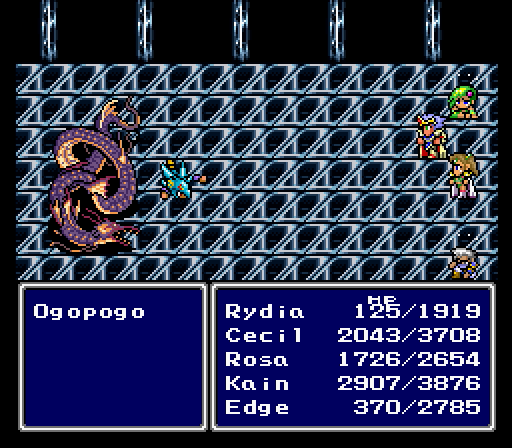
It's pretty weak here because Ogopogo's one hit away from death.
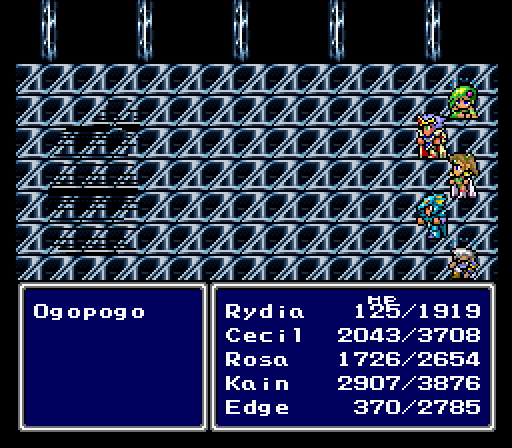
Like so.
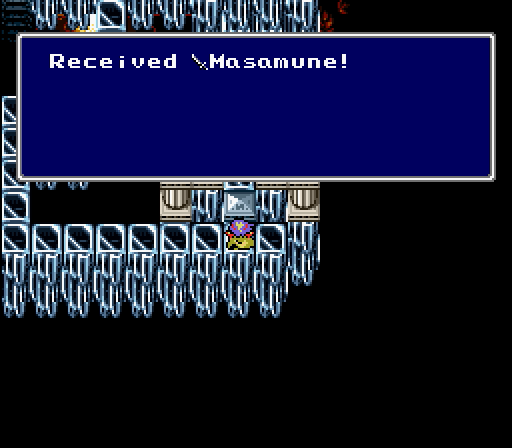
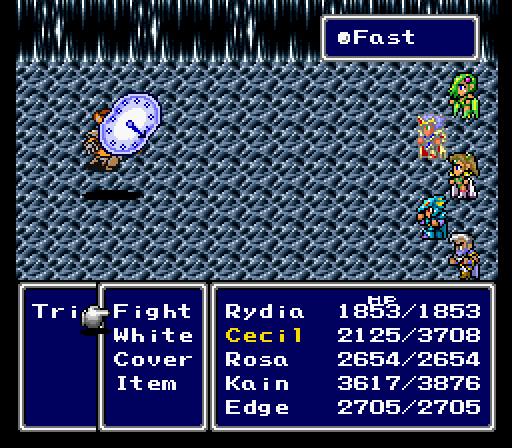
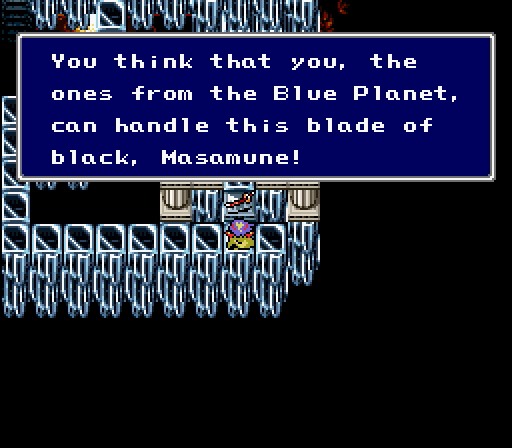
The Masamune is Edge's strongest weapon, giving a minor Agility boost. I believe it also casts Fast when used as an item, but time manipulation has turned out to be useless in this version since the ATB system's kind of crap and everyone always has turns instantly, plus you can't skip turns.
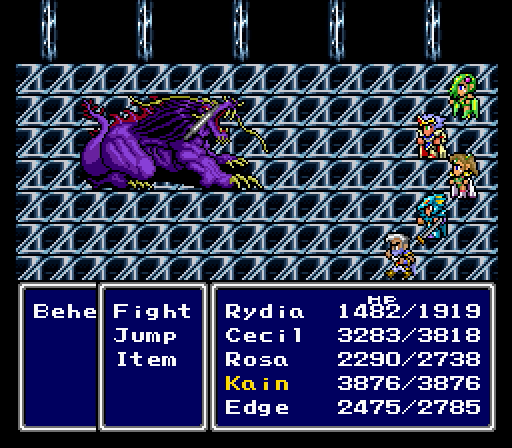
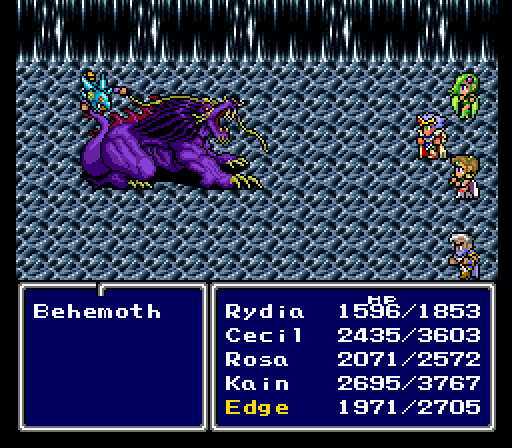
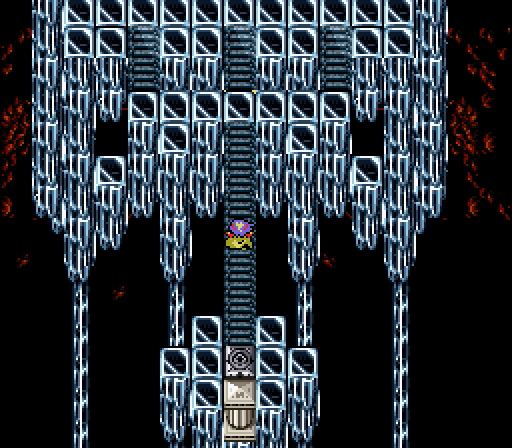
Behemoths, those scary things littering Bahamut's Cave and chests in the final dungeon, are regular enemies here.
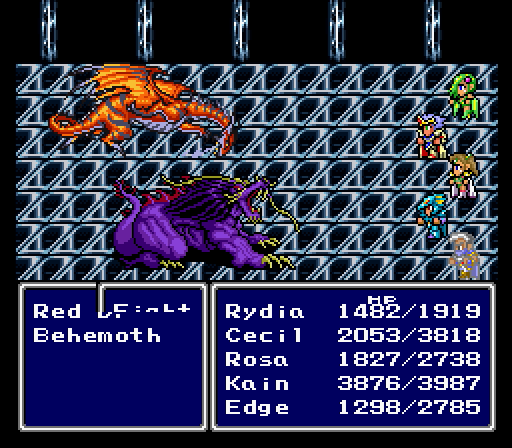
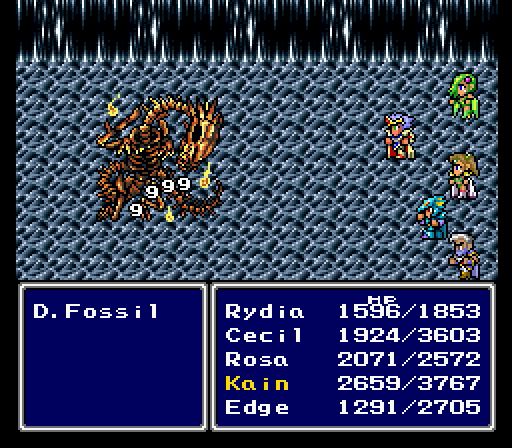
Eventually, you get combinations of these enemies. I'm pretty sure there's even one encounter where you meet three Blue Dragons layered on top of one another, though I didn't run into it here.
It looks like there should be a save point here, though I hear one may have been removed for making the game too easy. EasyType may actually have a save point here, now that I think about it.

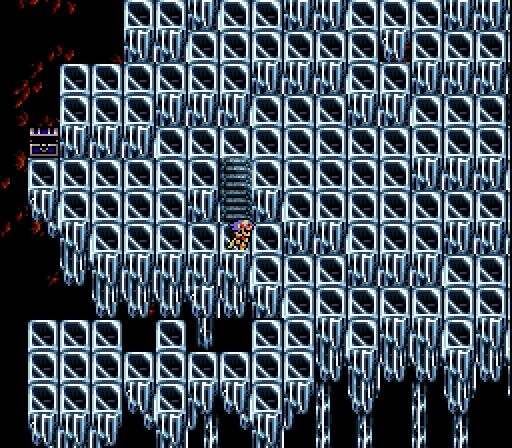
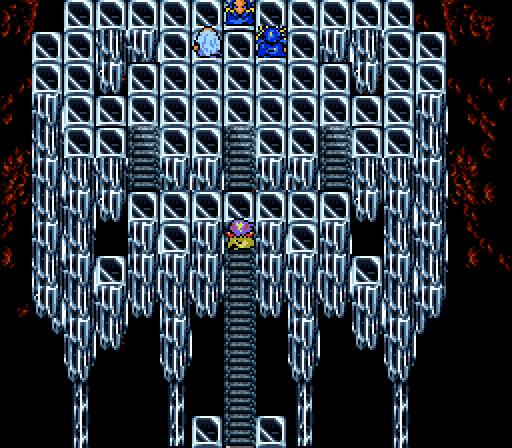
This is the final floor, which is home to two unique enemies.
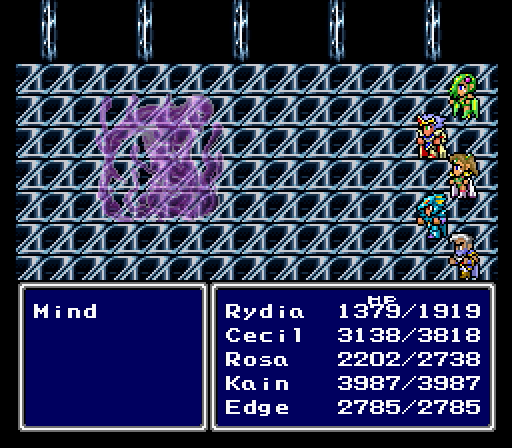
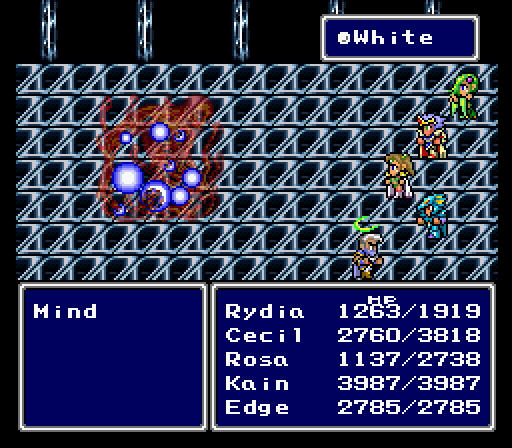
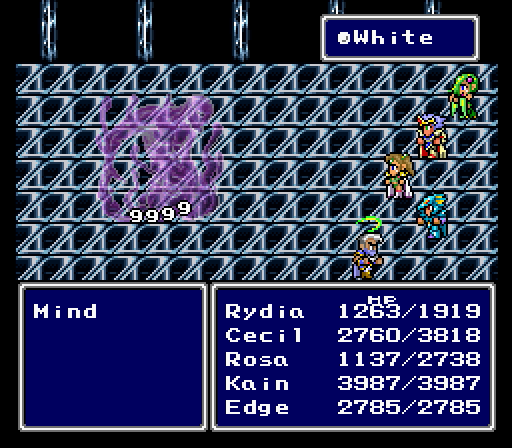
First is the Mind, known in other versions as Zemus's Mind.

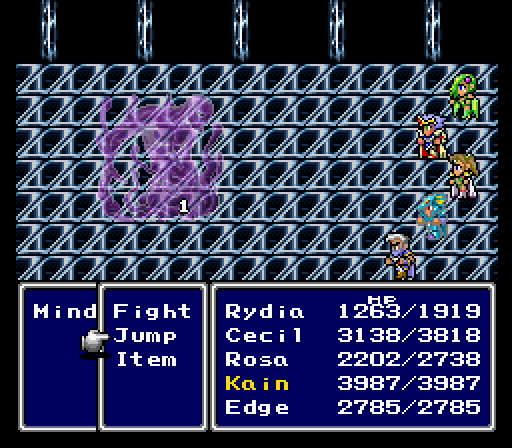
Mind is very resistent to physical attacks, though magic hurts it just fine.
The Mind also has one very interesting characteristic.
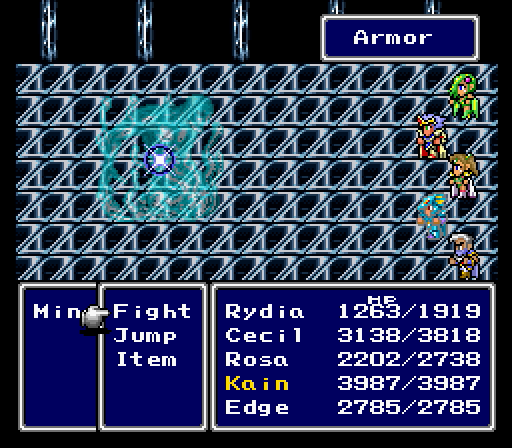
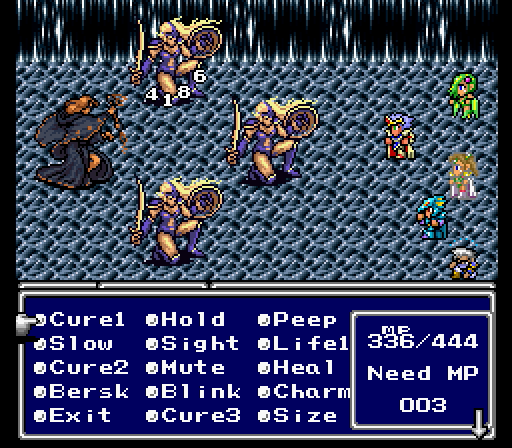
It's the only thing in this version that can actually cast Safe (Armor here) and Shell. You know, two spells dummied out of this version for some reason. Thus outside of glitchery, this is the only way to see these two spells here.

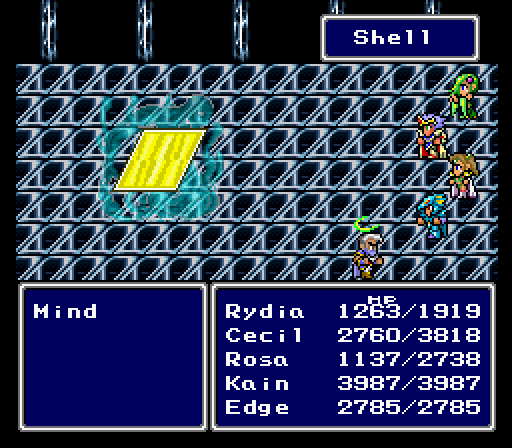
Gotta say, it's kind of interesting to see Shell translated here as it will end up being in future FF games.
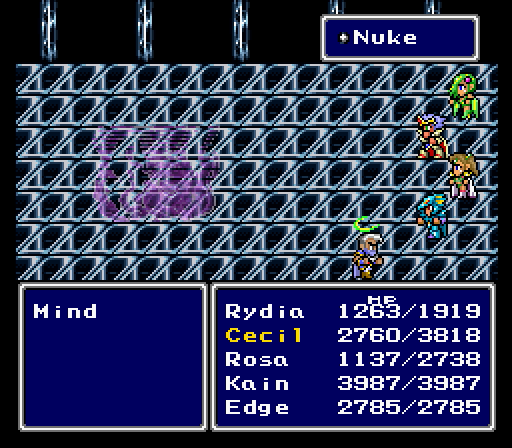
Mind even dies like a boss.
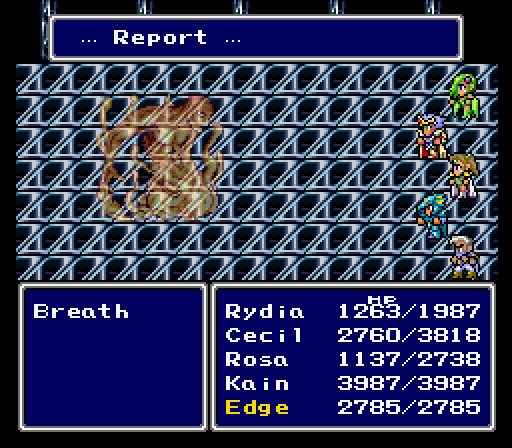
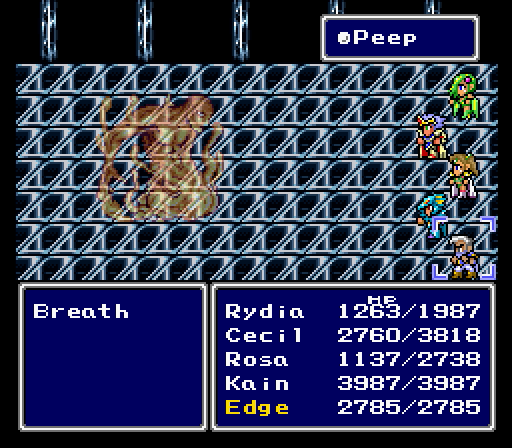
Breath is the other enemy here, and it's pretty damn easy.
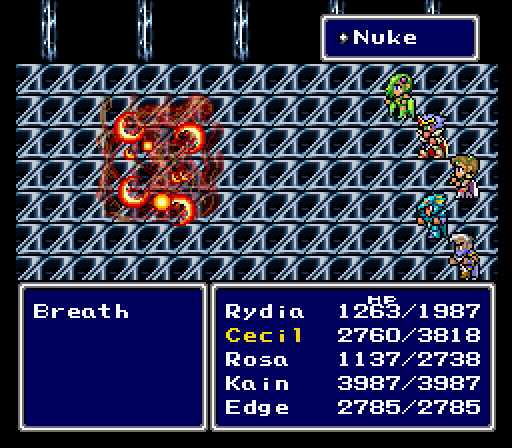
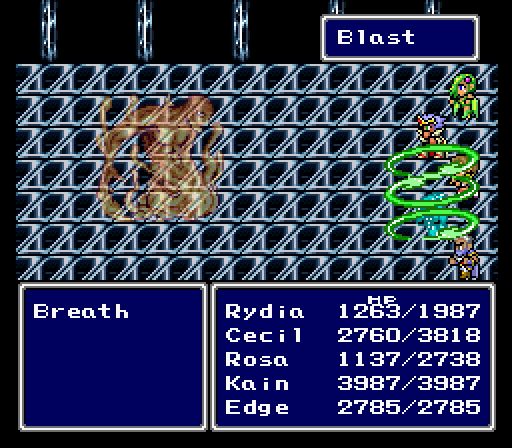
It counters magic with Blast, which paralyzes or instant kills. Other than that, physicals work well on Breath, and all it does is cast Peep on your party. It's not so much an enemy trying to stop you as it is a scout to send information to Zemus about the people coming to stop him.

Next time, we save the world.