Part 32

RAIN SOUNDS
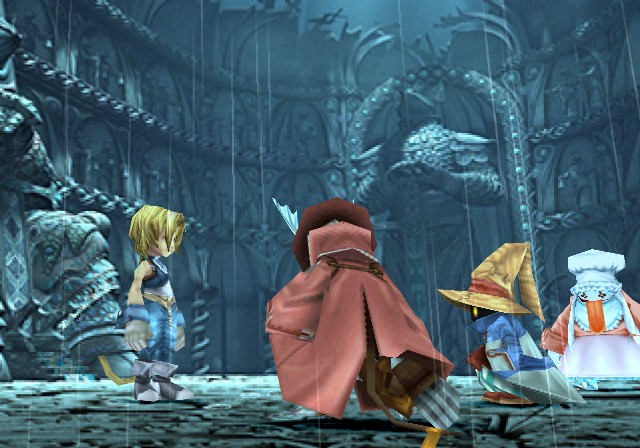
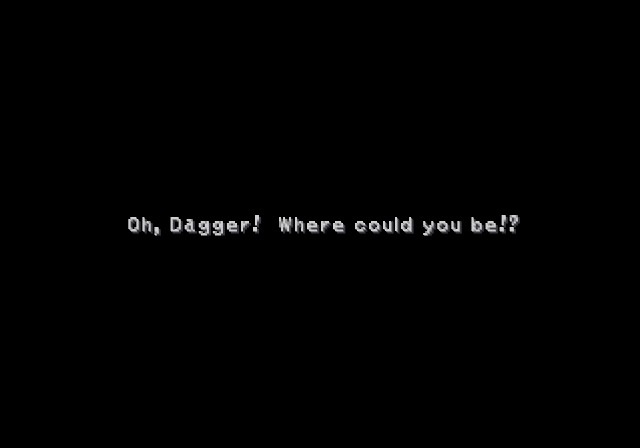
For the first time in Disc 2, we're back to Zidane and company, post-Beatrix defeat. At least they seemed to have regained their wits.
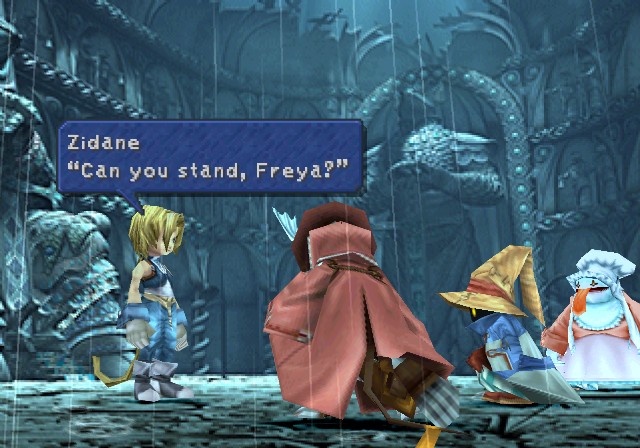
 It is nothing.
 Take it easy, okay?
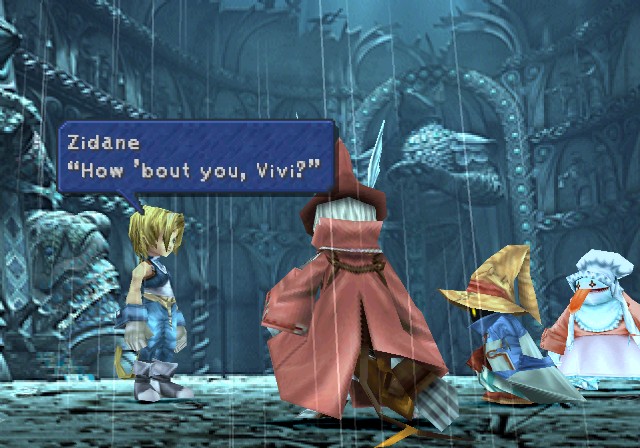
 Y-Yeah, I'm alright...
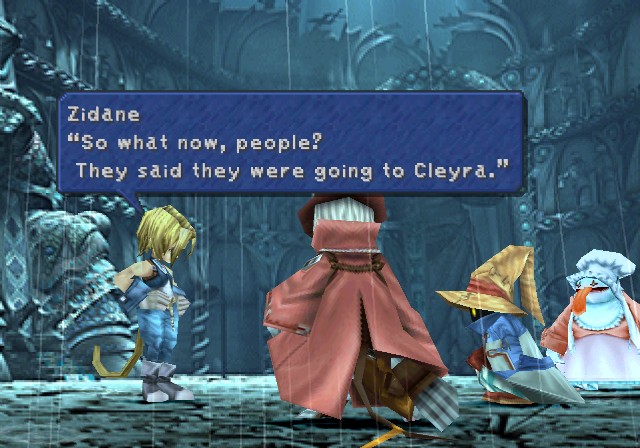 We have no choice! We must go to Cleyra, too! I knew you'd say that! You coming, Vivi?
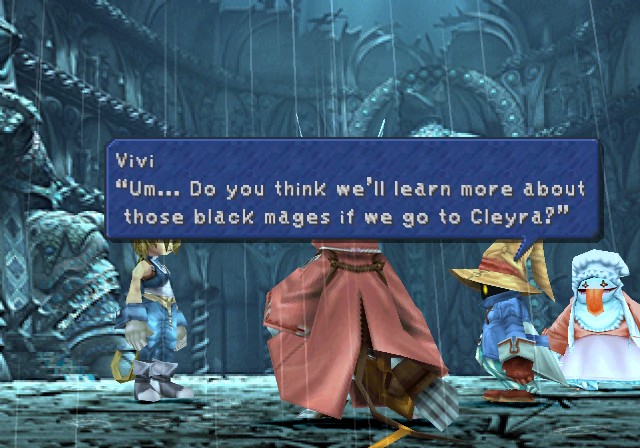 Yeah, I'd say we'll learn a lot about them as long as we follow Brahne and that Kuja guy. Then I'm with you!
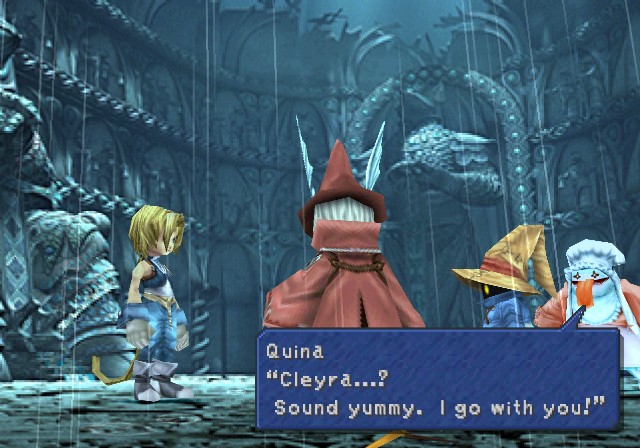
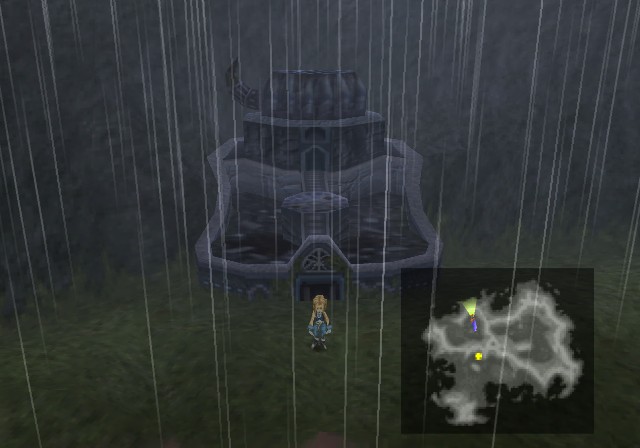
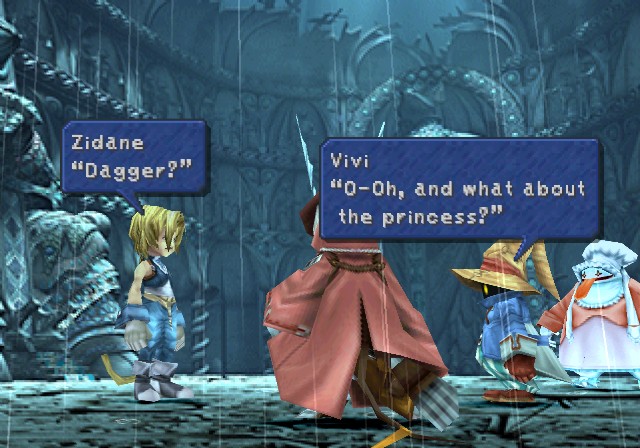 I'd never forget about her! She might not be here in Burmecia, but I know we'll find her soon.
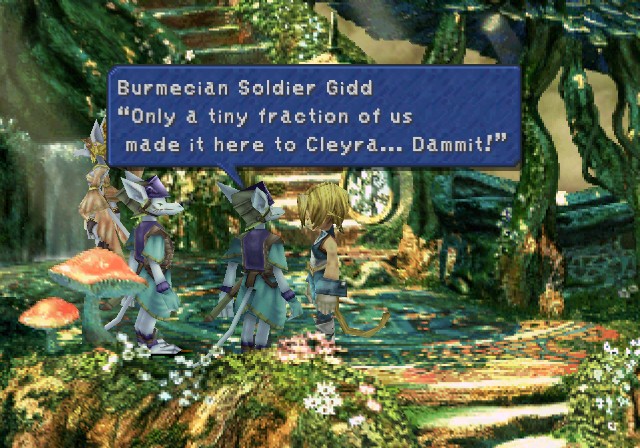
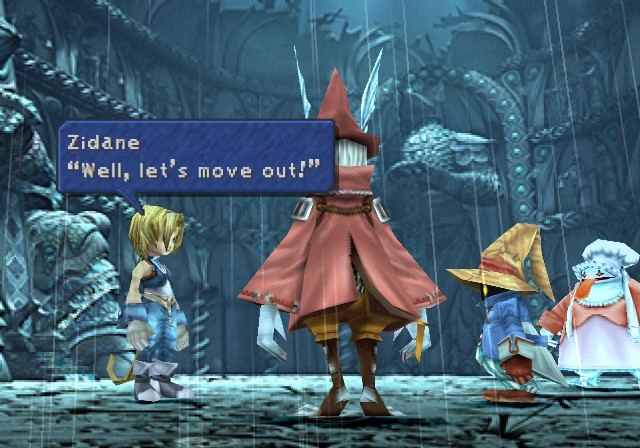 Some say it lies in the desert west of Burmecia, but I know not whether we can enter the town itself. Brighten up a little! We'll figure it out when we get there!
Oh Zidane, ever the optimist.

Anyway, this is the point where I've finally started playing again since the hiatus. So whatever equipment I had I redistributed. Honestly it's a bit overwhelming going over all the abilities everyone learned, and also I end up having issues actually opening up the menu during the next dungeon so it was a bit difficult keeping track of all the abilities the party learns. Luckily you probably don't care, so it's all good.
I think only interesting notes are me giving Zidane the Reflect Ring to learn Distract, though Auto-Reflect is also nifty to have, and giving Freya the Cachusha for Ability Up.
I also trade in a Kupo Nut since we'll get another one shortly.
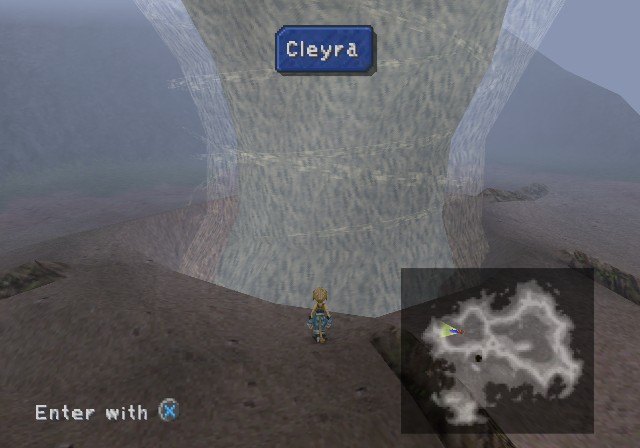
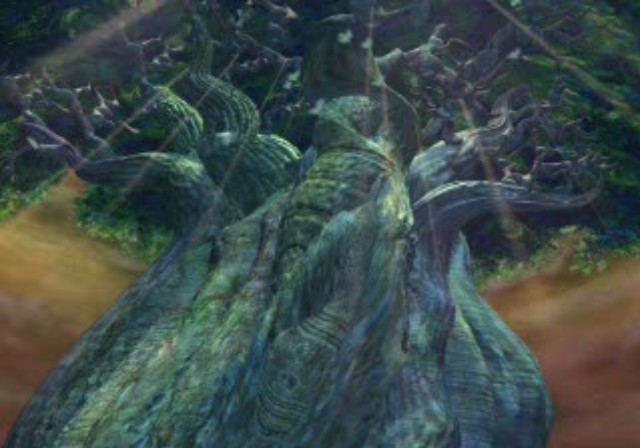
Not far from Burmecia is a massive sand tornado. This is our next destination.
SANDSTORM NOISES
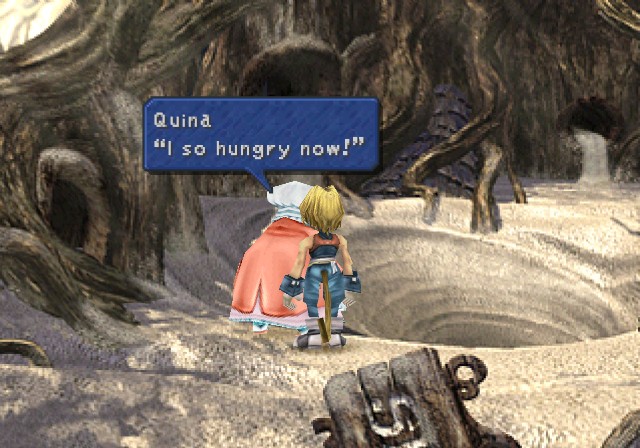
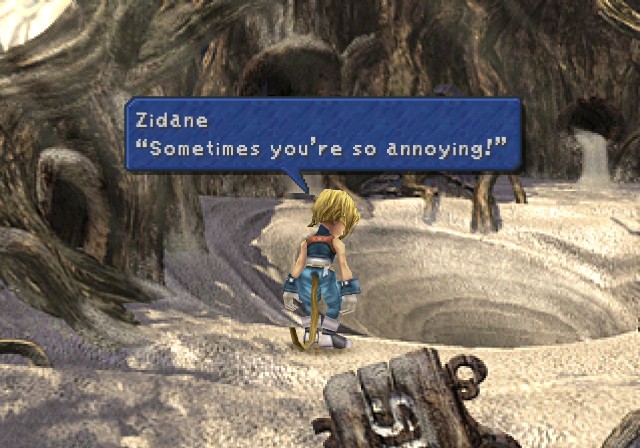
 By the gods! C'mon, let's go while we can! Indeed. Let us press on.
 Must hurry. Must find yummy-yummies!
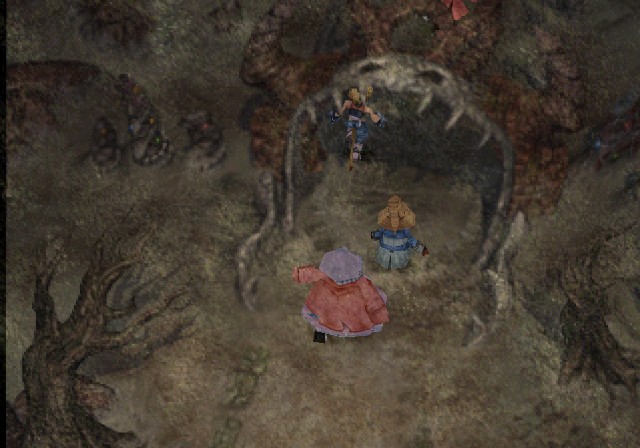
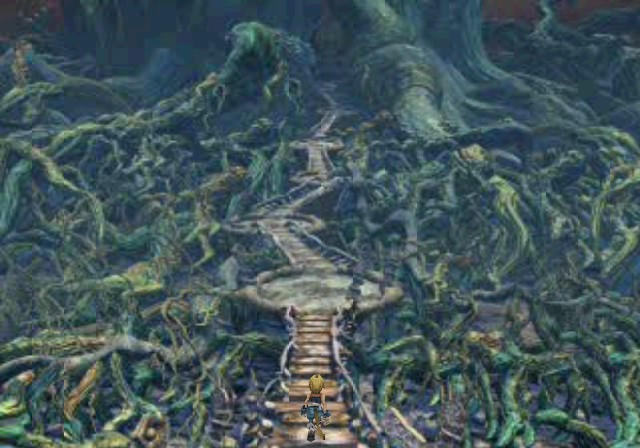
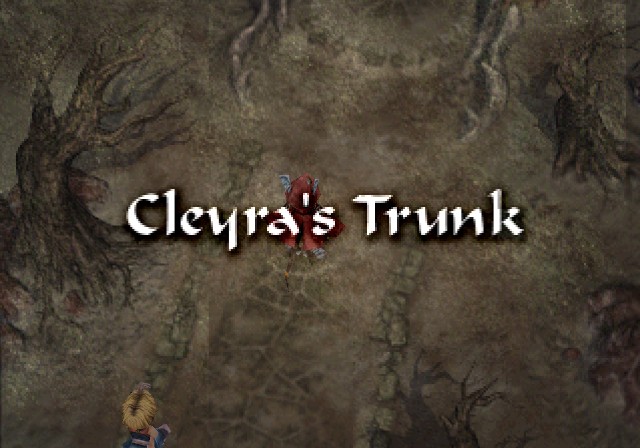
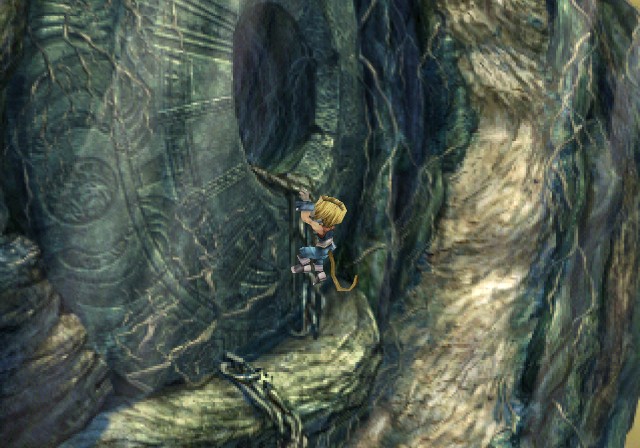
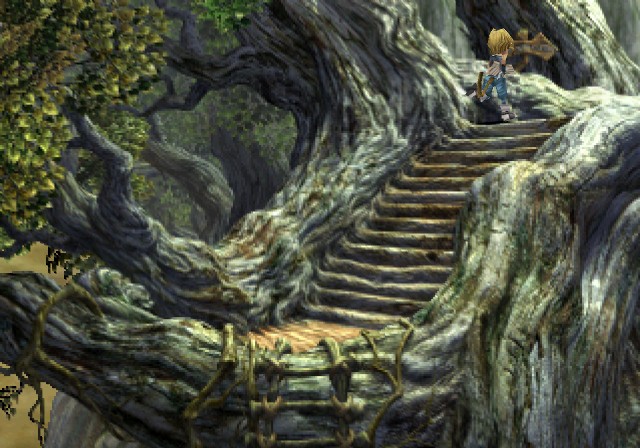
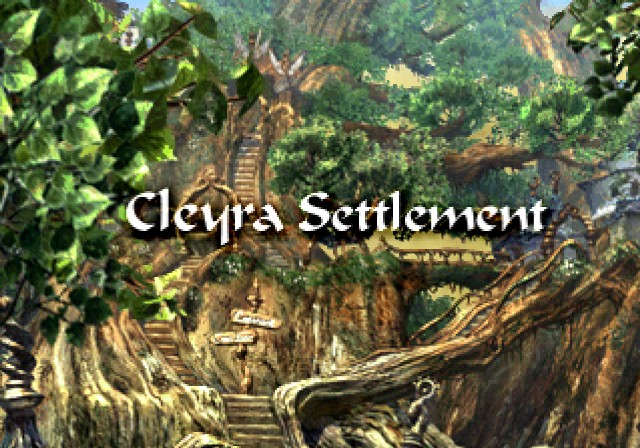
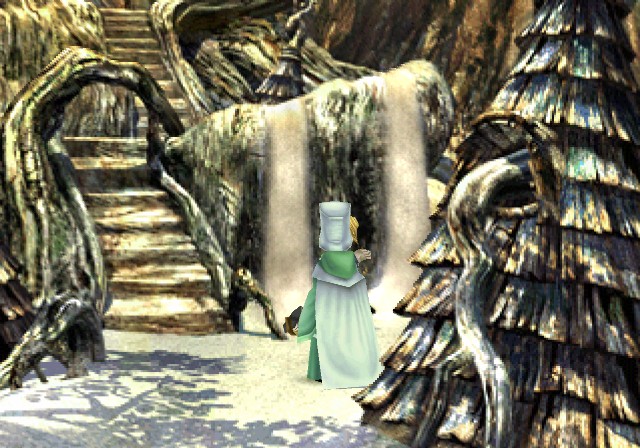
Then a mini-FMV transition-to-gameplay. After this screen, the dungeon begins.

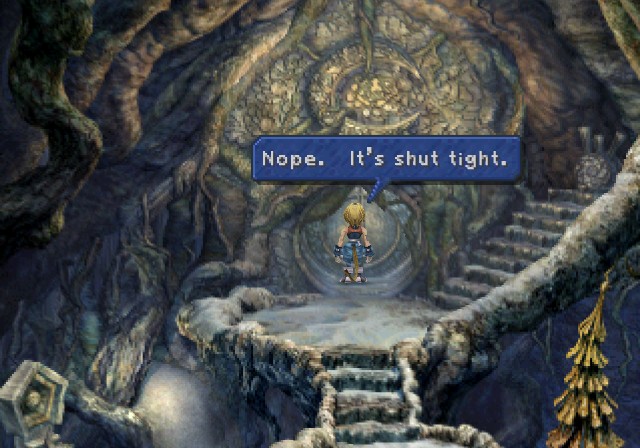
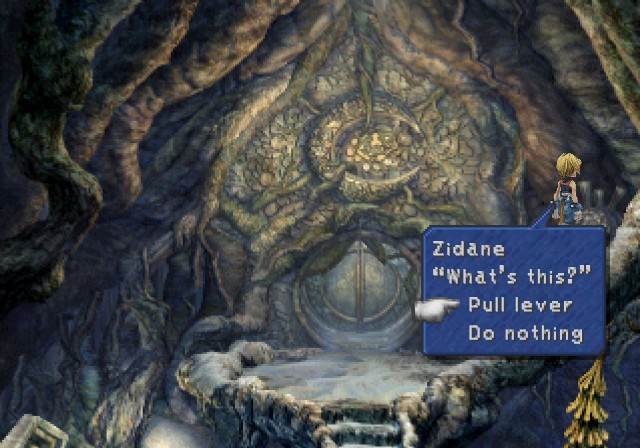

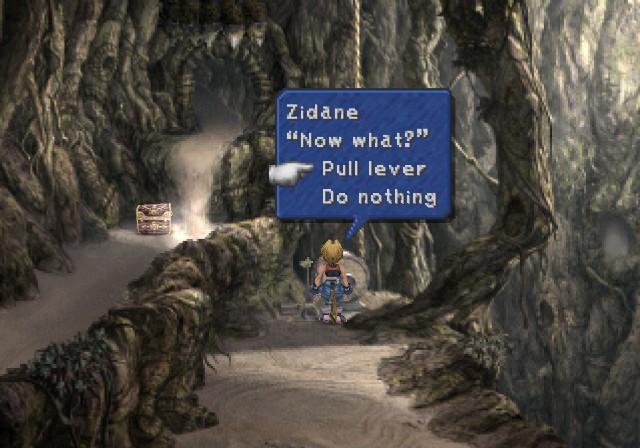
I honestly don't know why this is a puzzle. The door is closed, so you walk five steps to the right, pull a lever, and open it. At least the other methods to advance in this place are more clever.
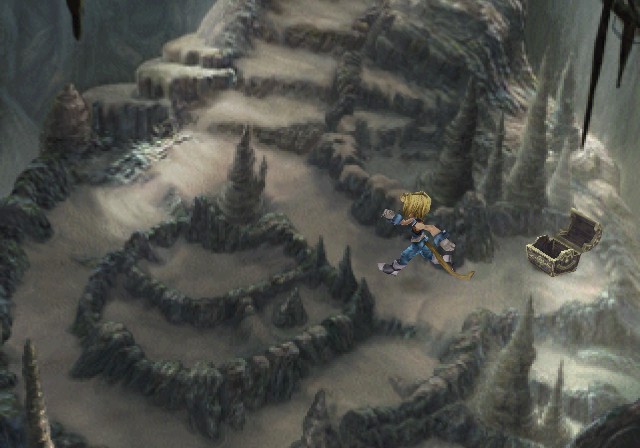
Lots of sand, lots of treasures. During this dungeon, my menu button would not work, functioning maybe one out of fifty times. It made juggling abilities and equipment fun.
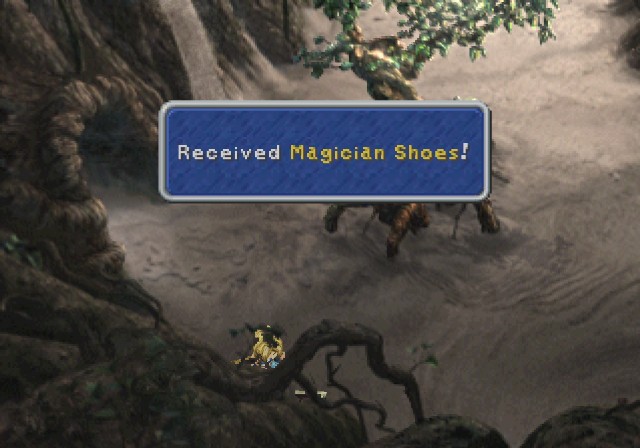
These teach Blind (spell for Dagger), Clear Headed, and MP +10%. The +2 Magic is alright too.
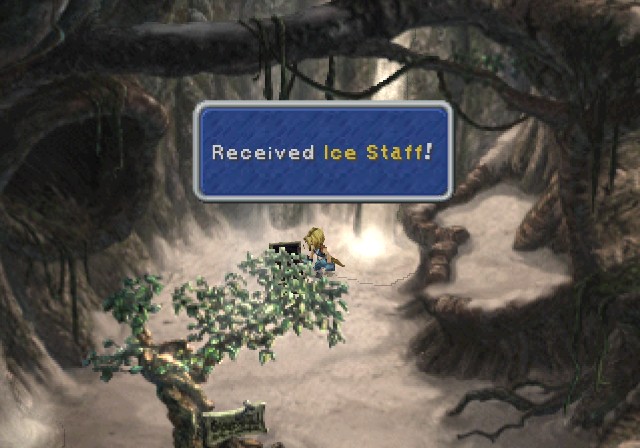
Another Ice Staff if you didn't get one earlier. Kind of hard to notice.
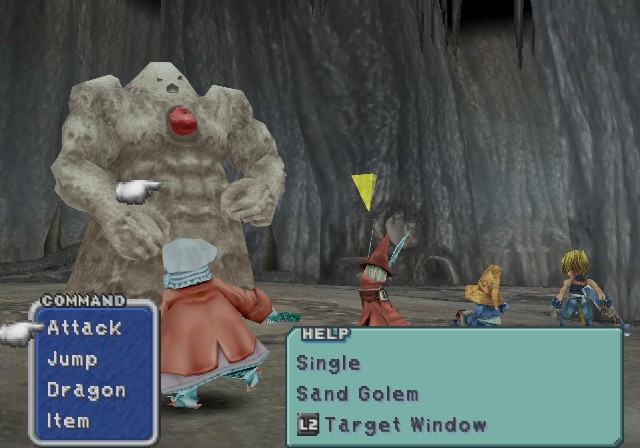
There's a handful of enemies here, the Sand Golem probably being the biggest pain.
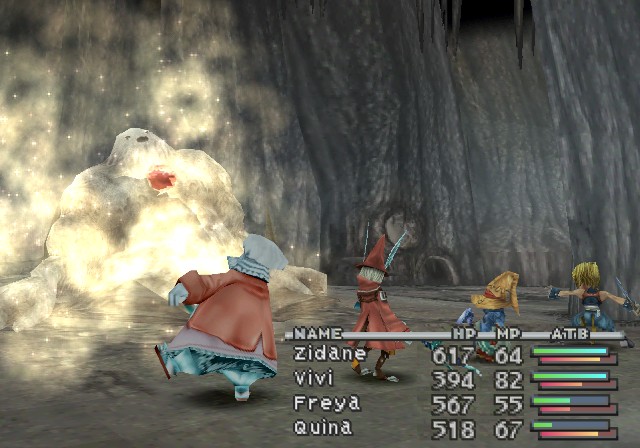
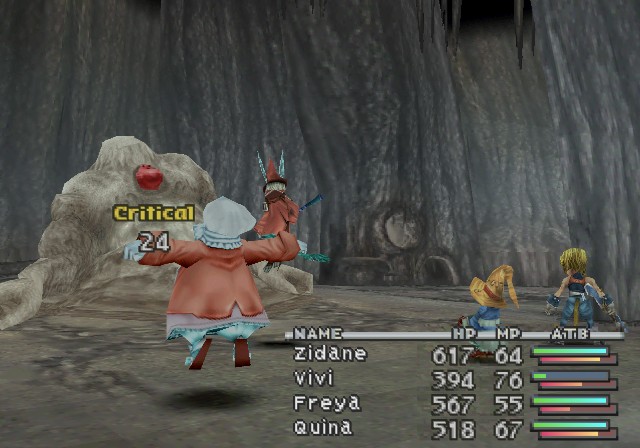
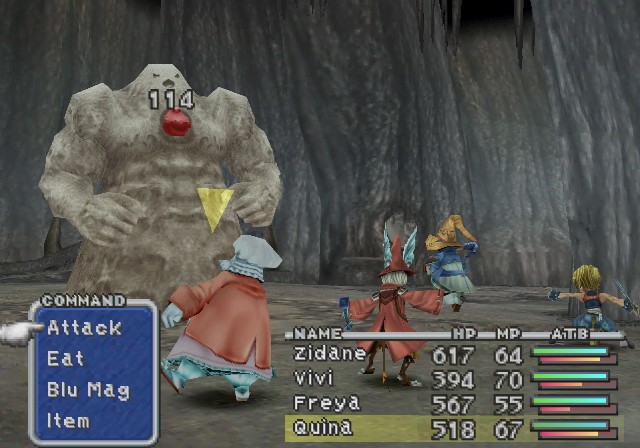
Basically it has two forms. If you attack the main body a couple times, it'll collapse and have sky-high defenses but cease to attack. To get it to stand back up, you have to attack its core a couple times.
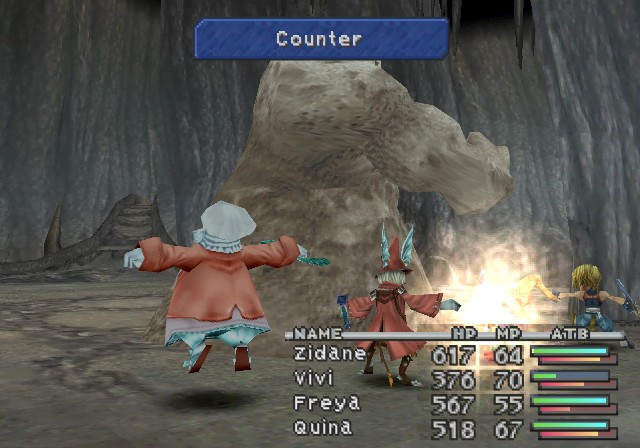
Attack its core while it's up however causes a counter attack.
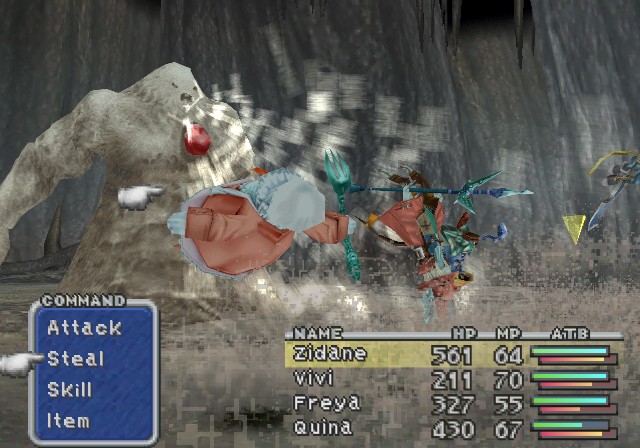
It can also cast Fira and cause a sandstorm for minimal damage.
The best strategy with this guy is not to bother with him. His animations for collapsing/reanimating are long, he has a lot of HP, and the rewards aren't that great.
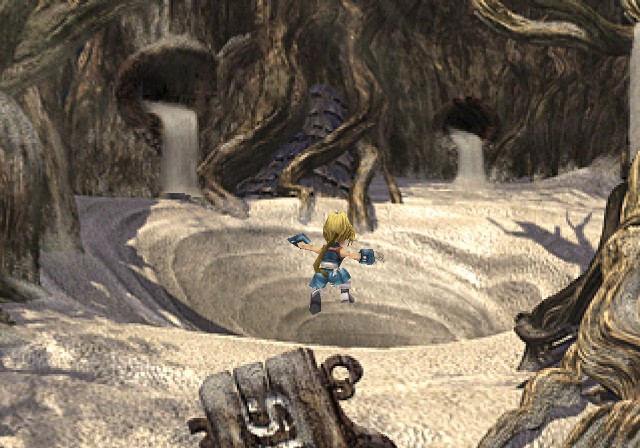
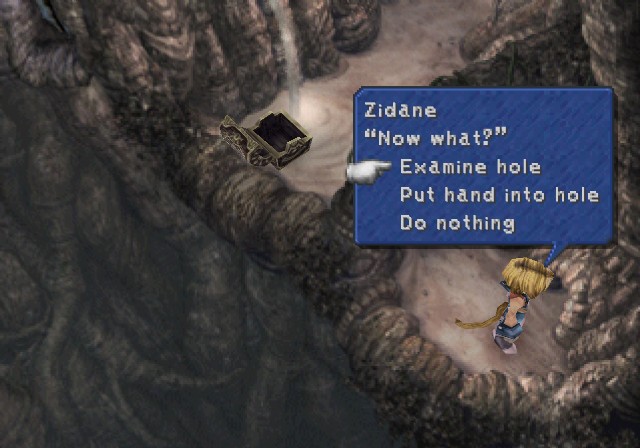 So dark, I can't see a thing.
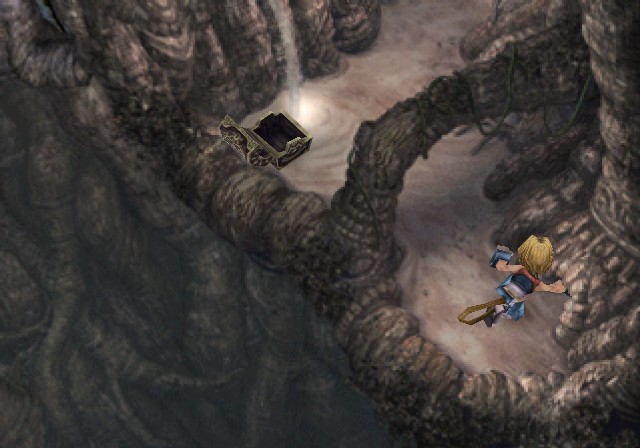
Let's stick our hand in the hole. What can go wrong?
Nothing for us since we're not the ones doing it, Zidane is.
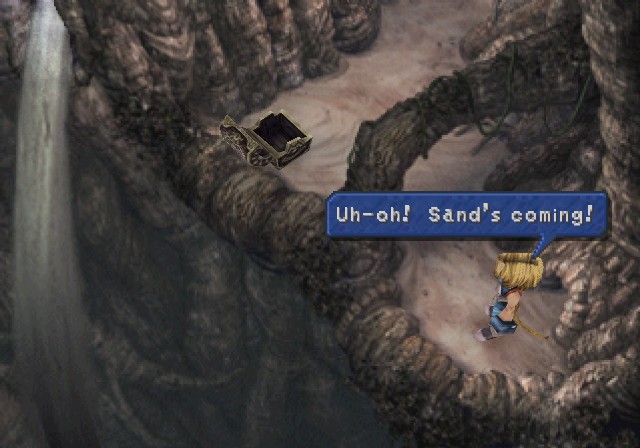

What is does is flood the previous room with sand and let us continue the path to Cleyra.
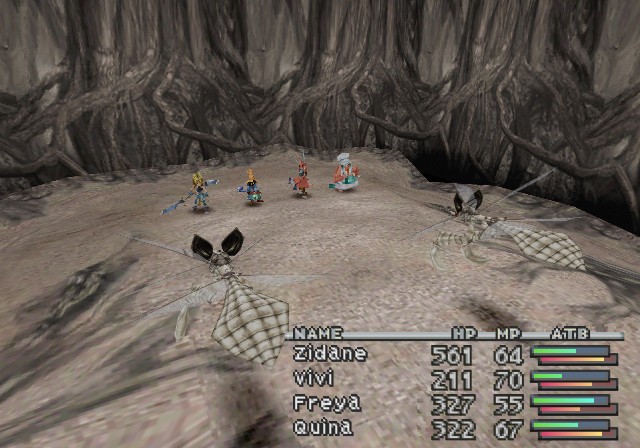
The Dragonflies from Gargan Roo are here as well. This is nice because they have a new Blue Spell for Quina.
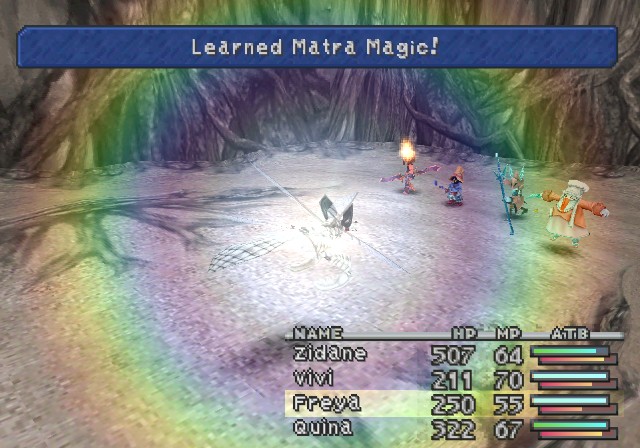
Matra Magic will reduce an enemy to 1HP. It has a miserable 20% accuracy though and obviously doesn't work on most bosses and certain other enemies. It's kinda handy for eating specific enemies, I guess?

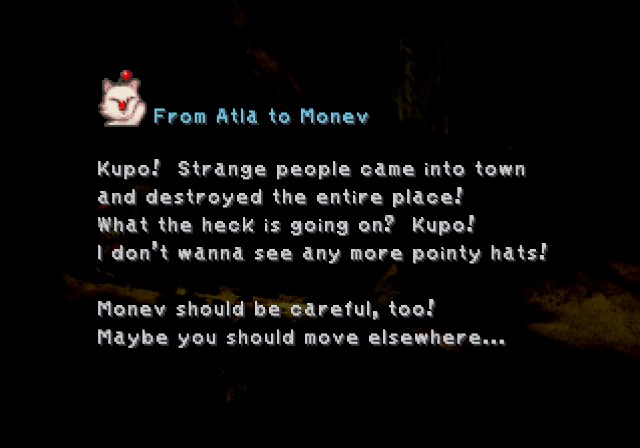
 Things are terrible in Burmecia! Kupo! Are we gonna be okay here? Kupo?
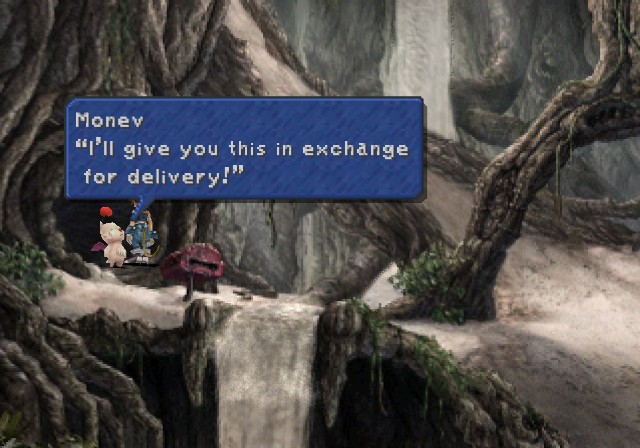
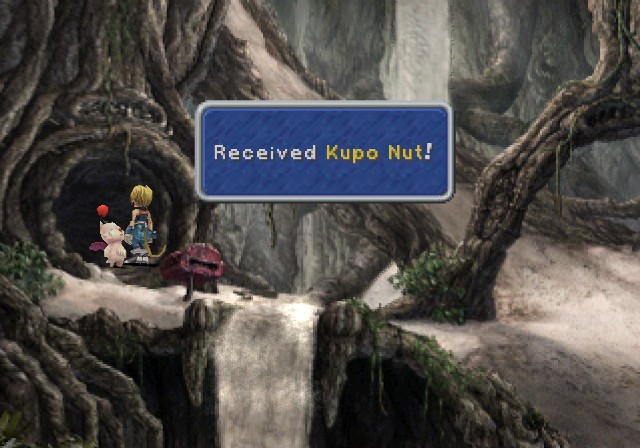
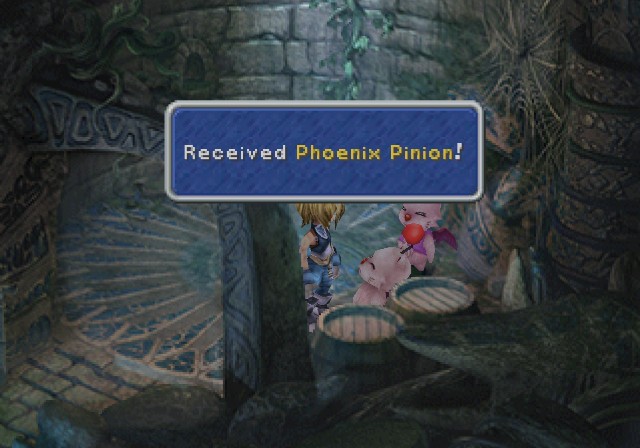
Halfway up the path to Cleyra there's a save moogle we can deliver a letter to and get a Kupo Nut in return.
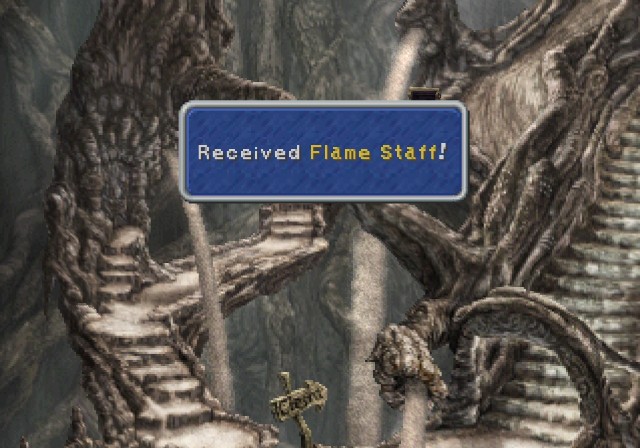
If we didn't get a Flame Staff earlier, we'd get one now. Even though I'm just now finishing up the Flame Staff.
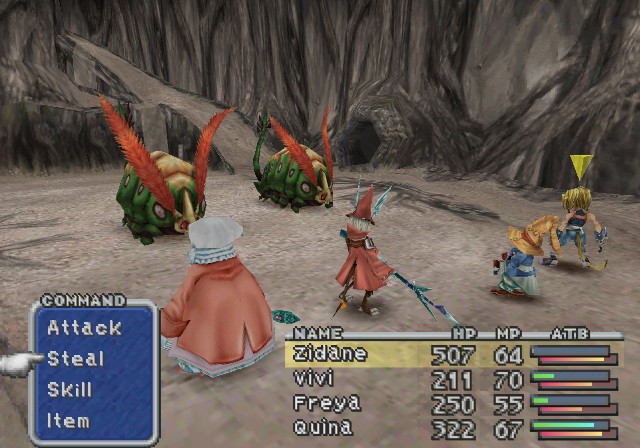
Carrion Worms aren't very threatening. They have weak attacks and a weak Drain spell.
And Fira, but what enemy here doesn't have Fira?
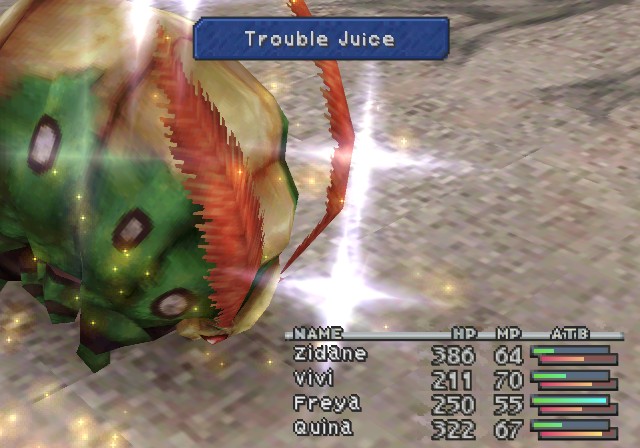
Their big thing is inflicting the Trouble status on someone. This causes all physical attacks targeting that person to spread half the damage to the entire party.
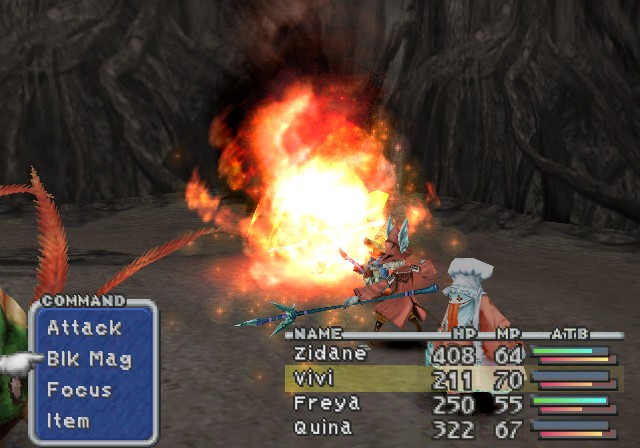
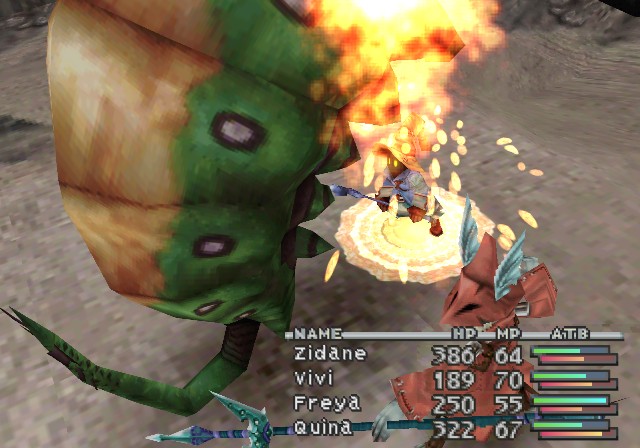
Oh yeah, and Zidane wasted a Trance there as you probably noticed.
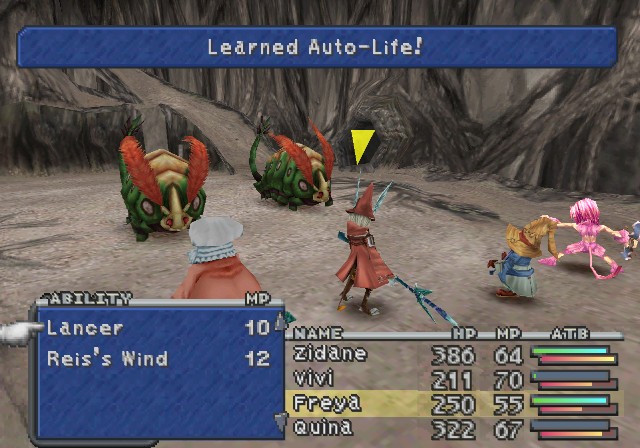
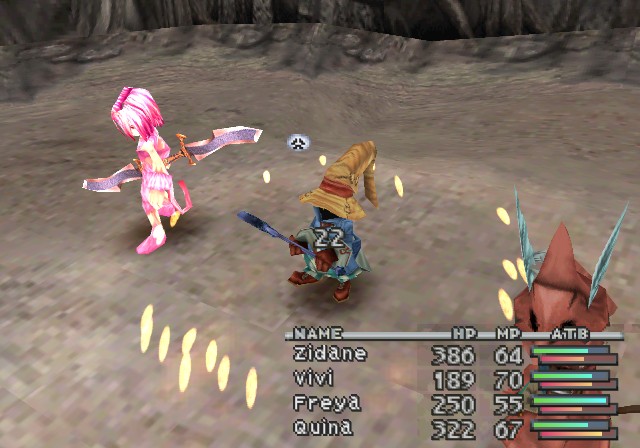
They do teach Auto-Life, a very key Blue Magic spell for Quina. When cast, if the target gets KOed, they will immediately be revived with 1HP. The 1HP part is key since Quina just so happens to have a spell that does 9999 damage if Quina should be at 1HP. Yep!
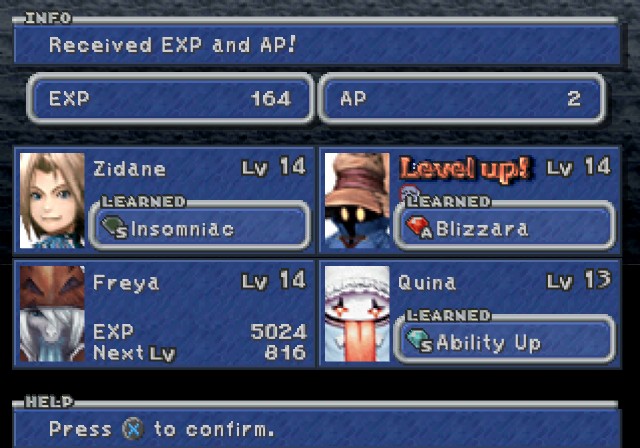
Get a couple nice abilities too after that one, namely Blizzara.
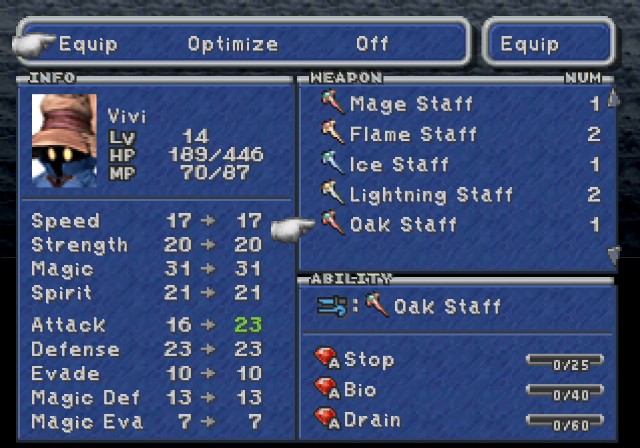
After mashing Triangle three hundred times I finally get the menu up and jump right to the Oak Staff, if only because if I try to learn Thundara first then by the time I actually learn it I'll probaby get an Oak Staff normally and thus waste the time advantage of getting it early. Plus Stop, Bio, and Drain are all very handy spells to have.
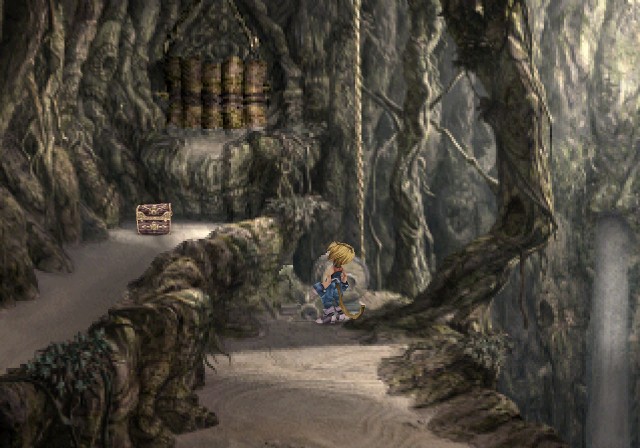
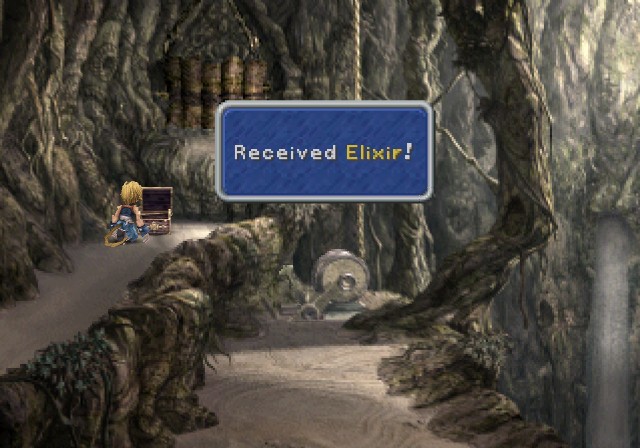
The lever opens a path to an Elixir.
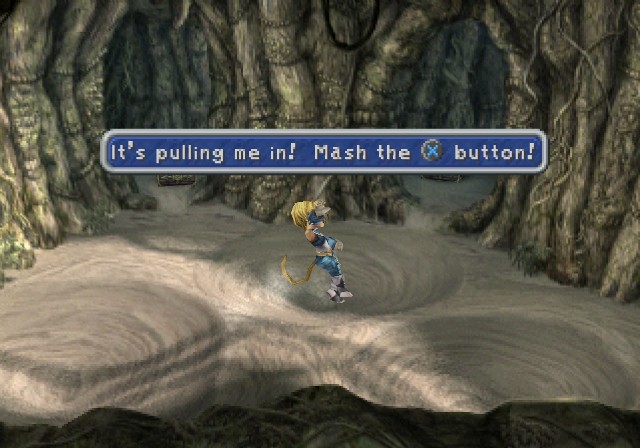
There's a slightly annoying minigame here where if you walk near one of these, you'll spin around until you either fall below to an earlier level or, if you mash successfully, jump out in the direction you were facing when you escaped. There's two chests here, I get them later but neither of them are important anyway.
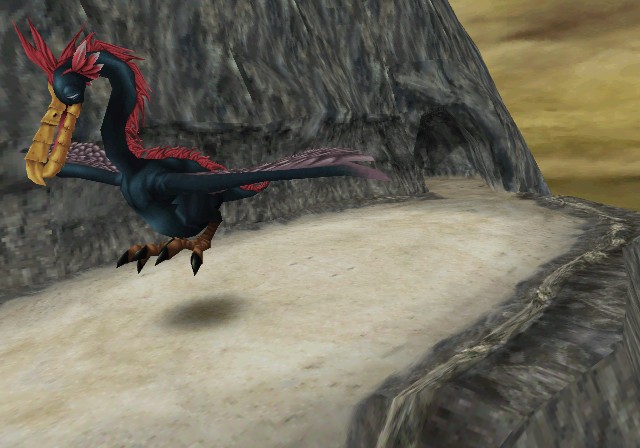
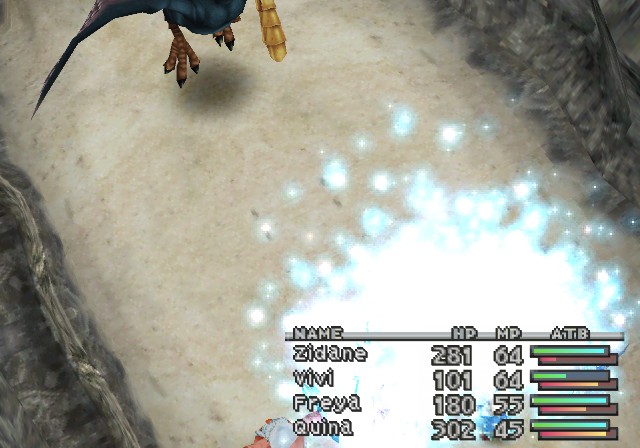
The last new enemy to show off is another FF staple, the Zuu. It can cast Aera, but more importantly...
This jerk will straight-up eat your party.
Here's Matra Magic in action. Big surprise, it missed.
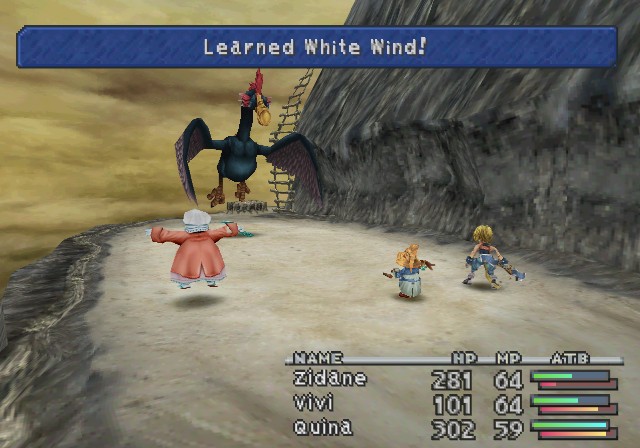
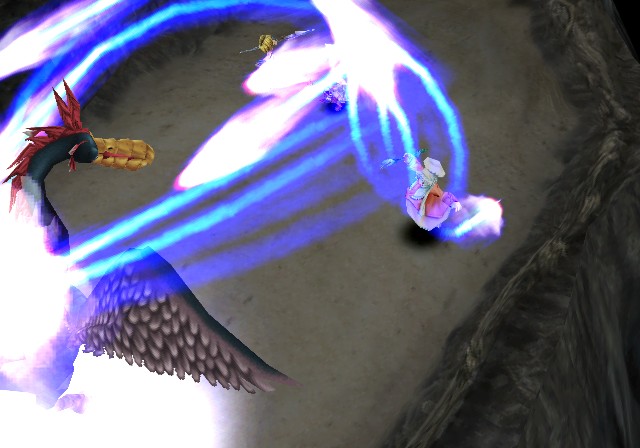
It also houses another Blue Mage staple, White Wind. This game's version of the spell works differently than past games, though. Rather than cure the party for Quina's current HP, it instead cures the party for 1/3 of Quina's max HP. Thus it's now more reliable when you need it but not as powerful as standard White Magic. It's pretty much the only multi-target healing spell you get that isn't White Magic, though, so it still has its uses.

And here it is in action.
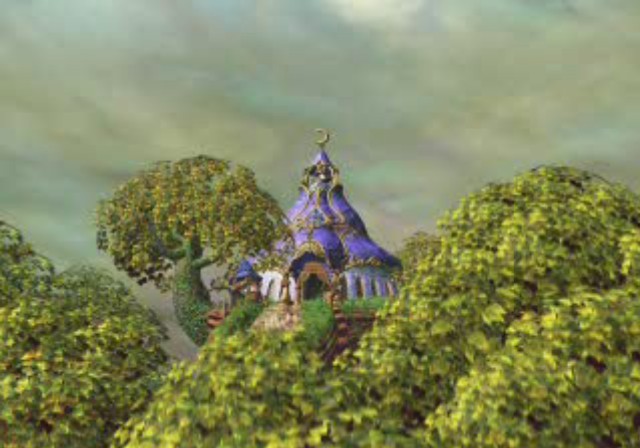
And with that, we're finished with the dungeon. No boss to deal with! Yet...

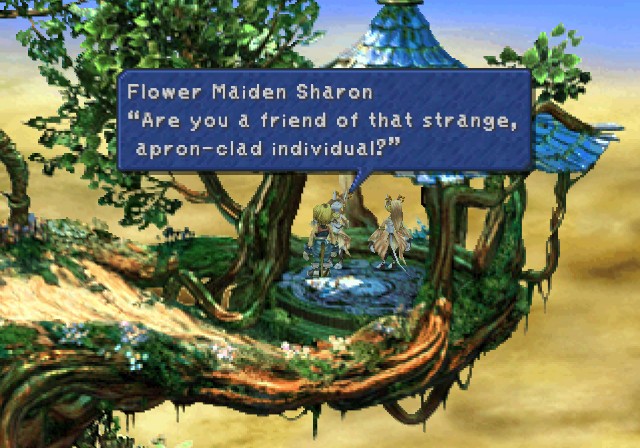
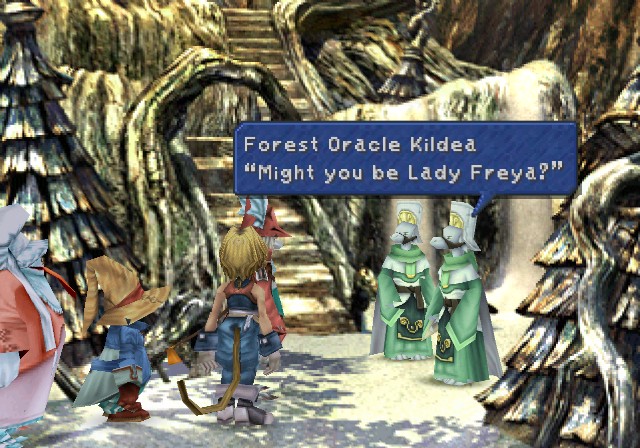 Indeed, I am.
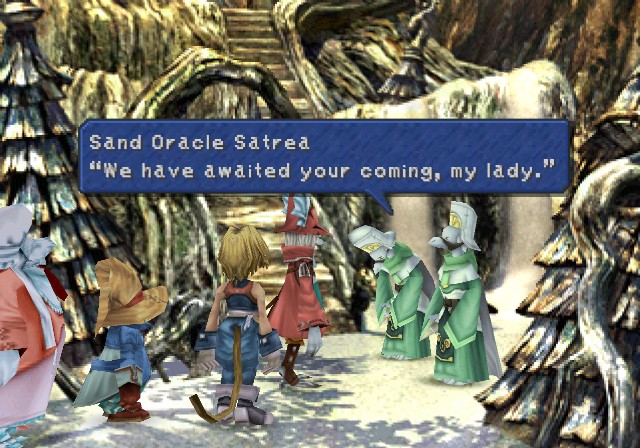 How did you come to know my identity?
 The king of Burmecia has requested that we guide you to him.
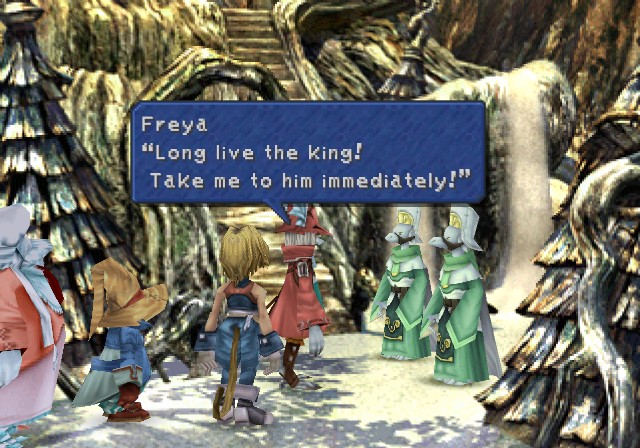 At once, my lady.
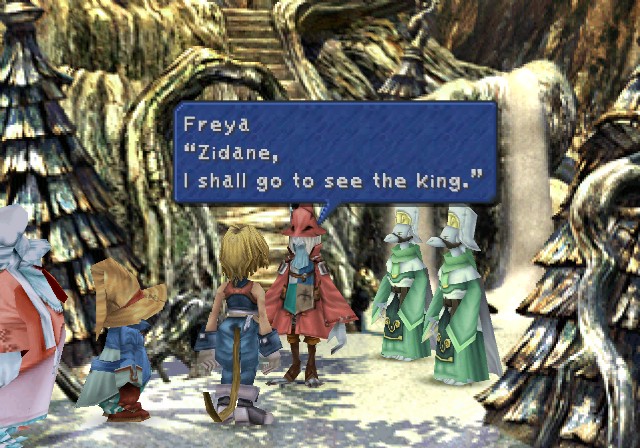 Why not take this chance to rest? Yeah, good idea. This way, my lady.
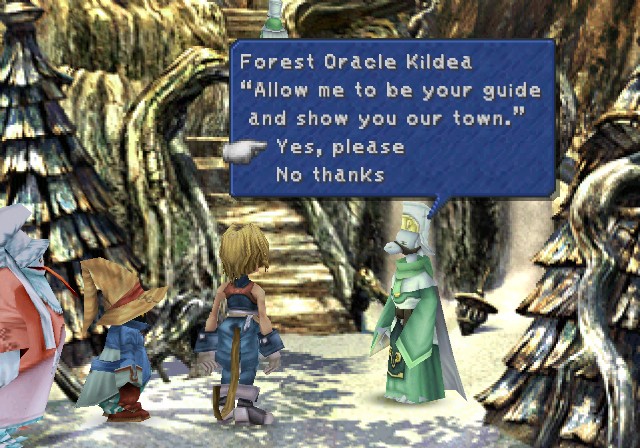
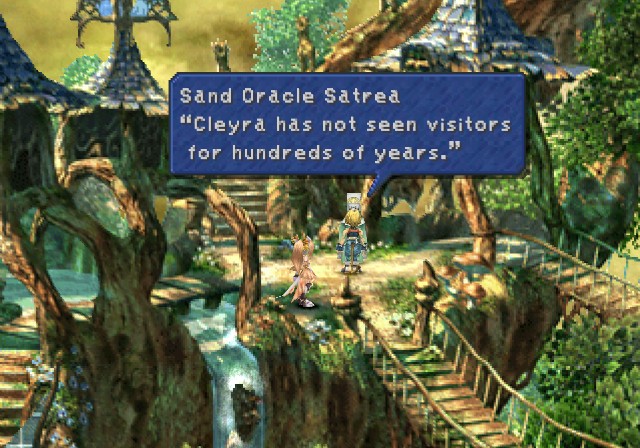
Now we can choose to take a tour. It's not required, but this LP is informative so let's do it.
Please walk this way, sirs.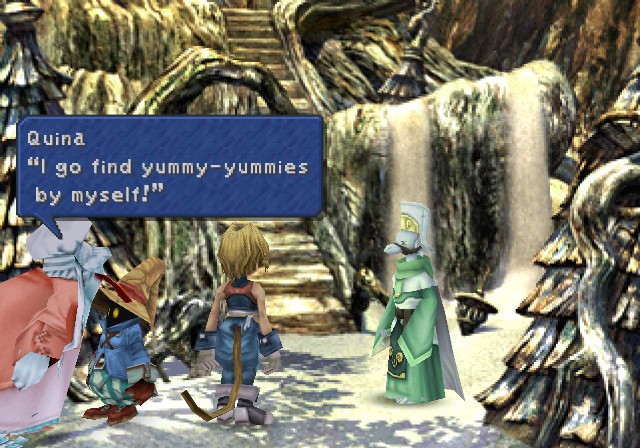
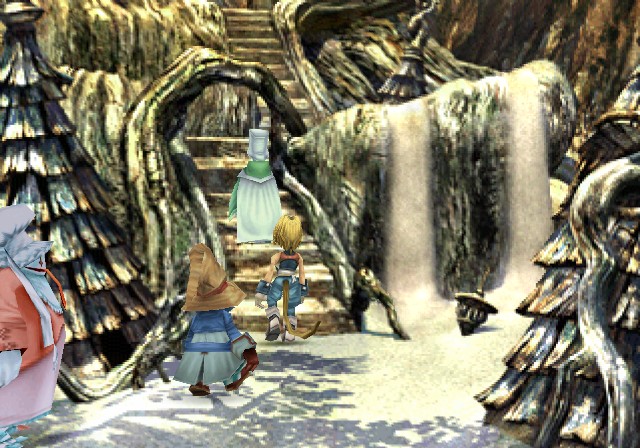
Only Zidane and Vivi take the tour, of course.
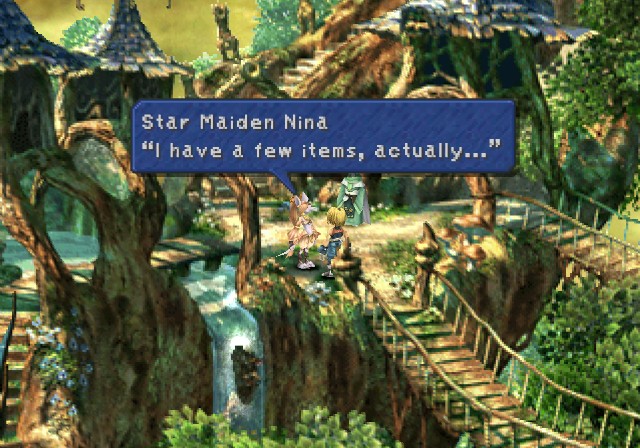
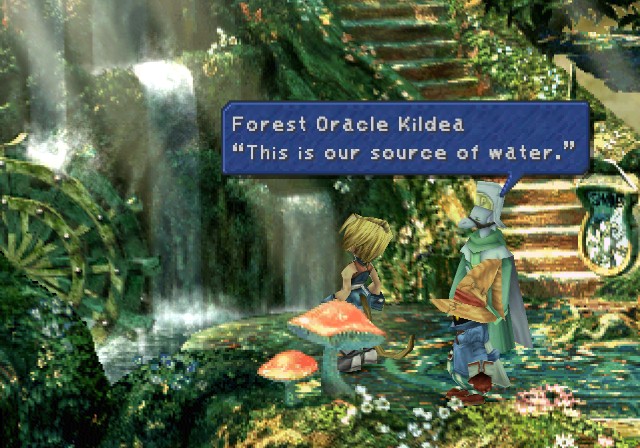 I shall elaborate later on how we have water up so high here. Now for our next stop.
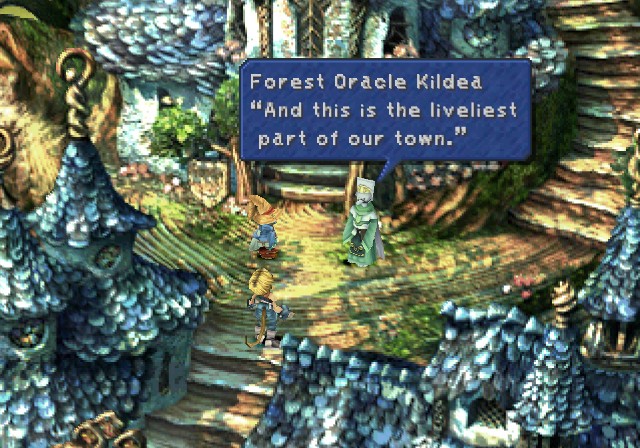 But there's no market today, so the usual crowd is gone... Let's move on.
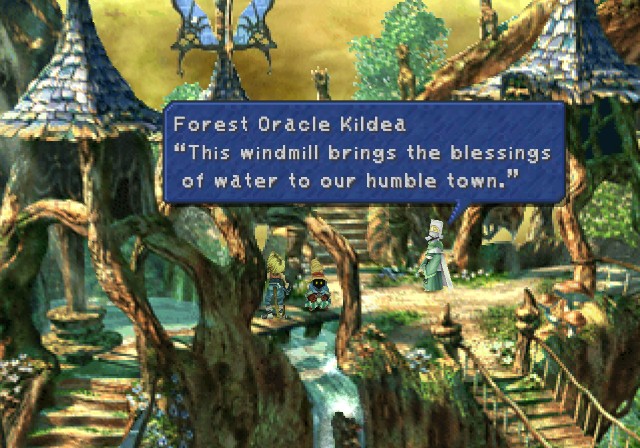 It uses the power of the sandstorm to pump water up from the ground. Come. Next, I shall show you the observatory.
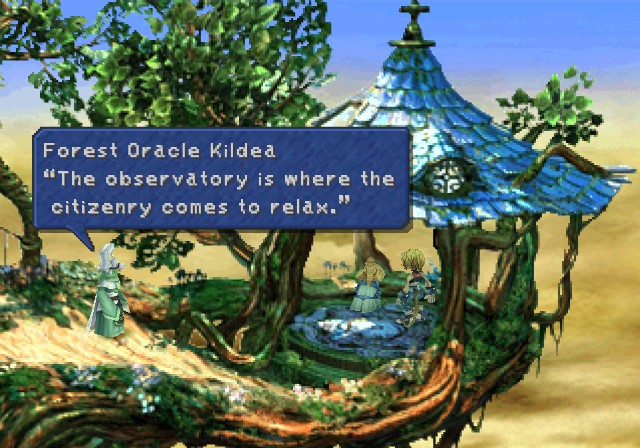 Here, we observe our protector, the sandstorm, and here, we pray to it. Next is the cathedral, the last stop on our tour.
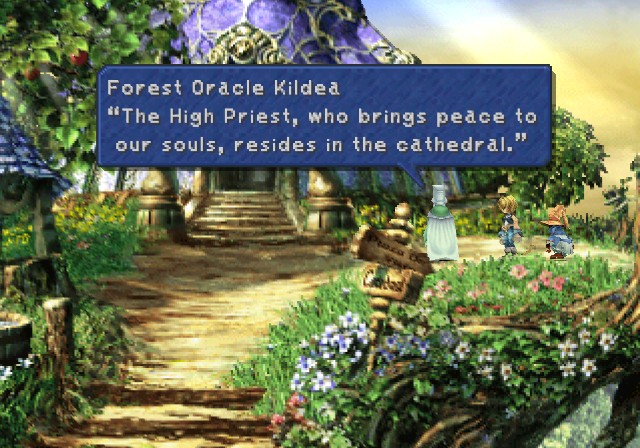
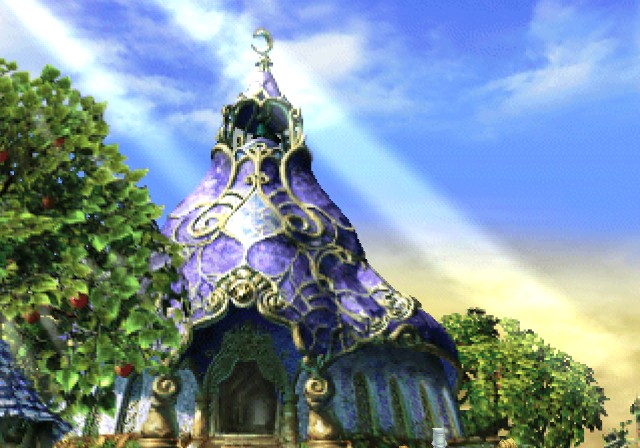 The king of Burmecia and Lady Freya are meeting inside this building. It also houses the harp whose magic stone powers the sandstorm. Let us make our way back.
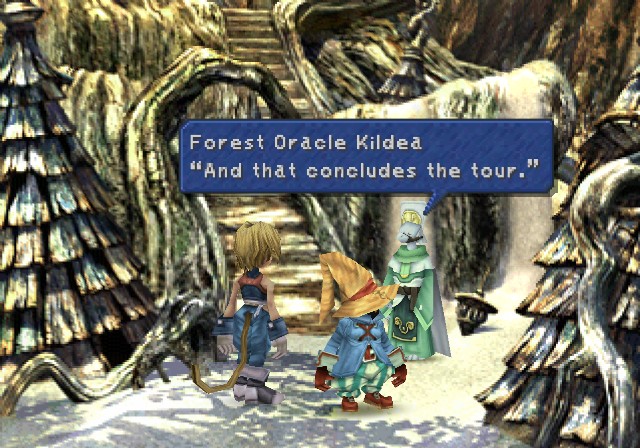 Thanks a lot!
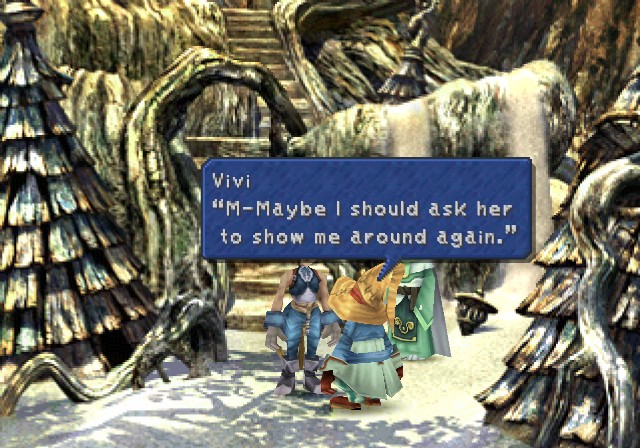
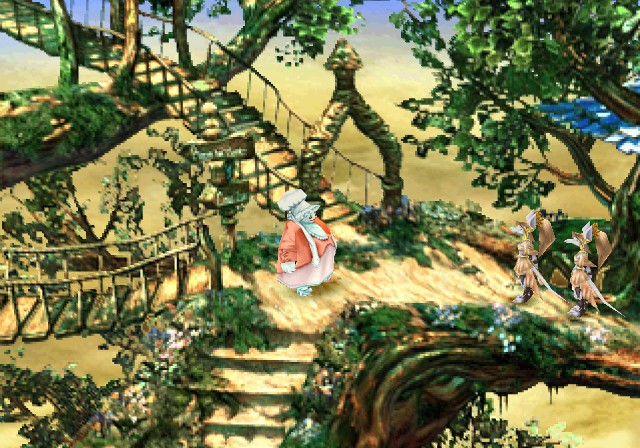
At this point, we just control Zidane and are given free reign to explore.
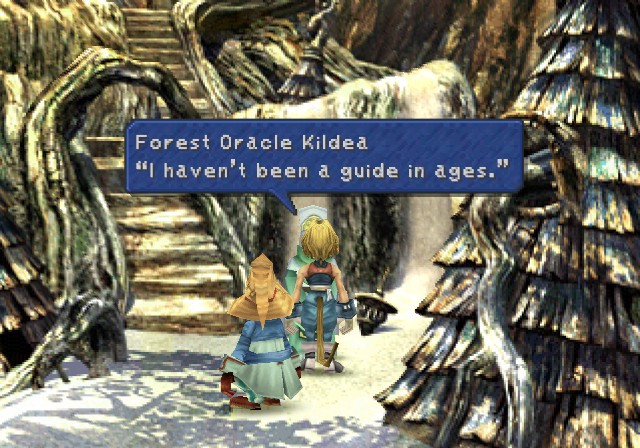
Talk to Kildea again...
Behind me lies the lair of antlion, a foul beast. It has been quite tame recently, but I do not recommend provoking it.There's a callback here, but I'll get to that when it becomes relevant.

As usual, there's garbage all over the place.
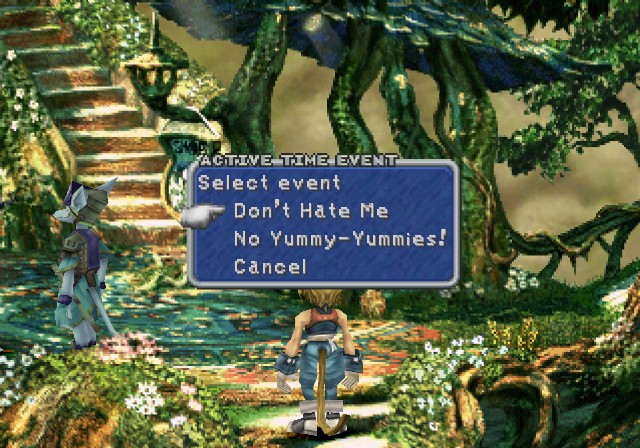
There's also a few ATEs to check out. Let's start with Quina.
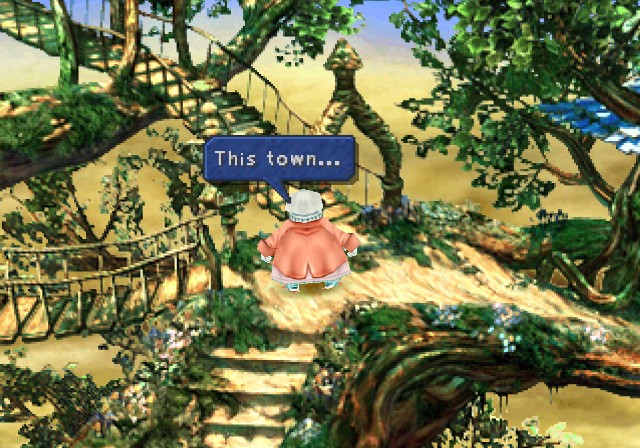
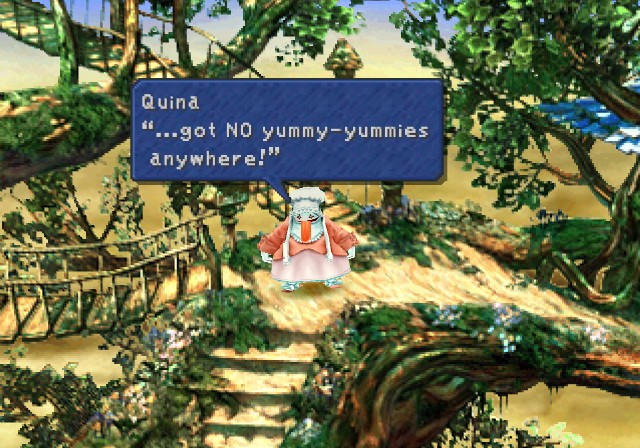
Quina's Quina, as usual.

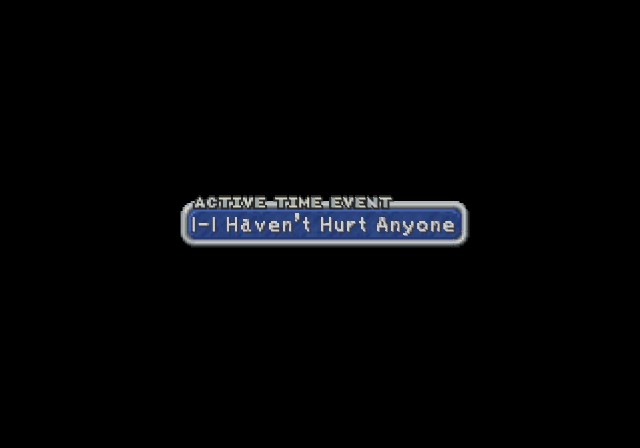
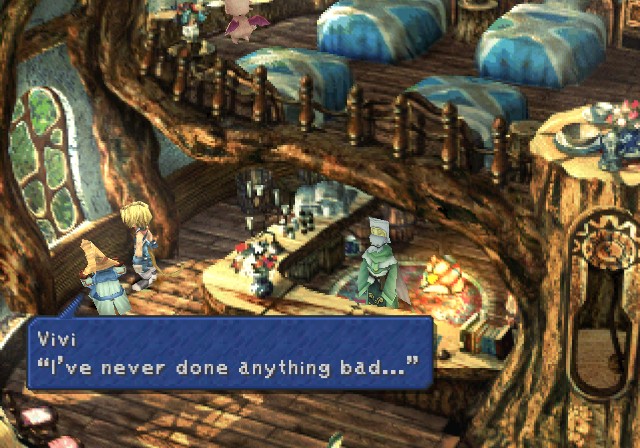
That's pretty much it. Let's check out Vivi instead.
...Welp. Let's try again with a second Vivi ATE.
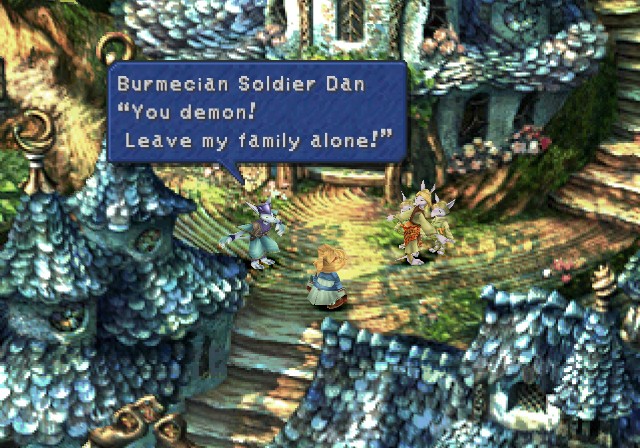
 You bastard! You killed my father!
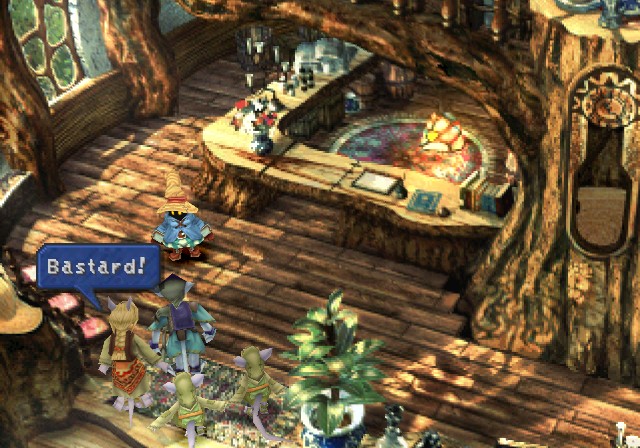
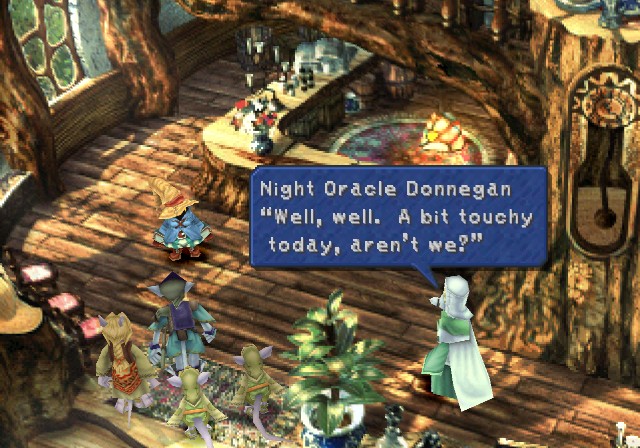 He's one of the demons that sacked Burmecia!
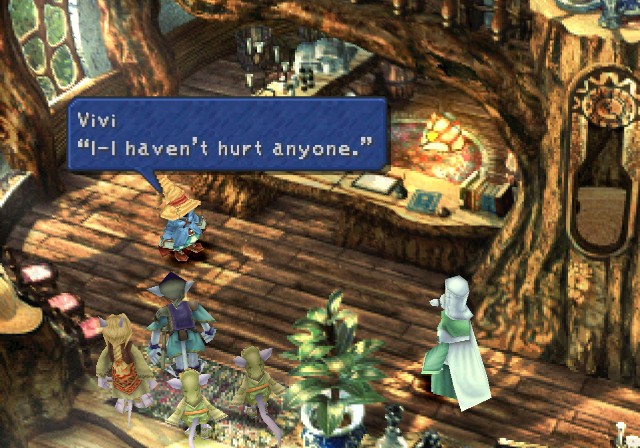
I'd say Vivi would be traumatized by now if he hadn't already been traumatized five times over.
Glove upgrade for Steiner and Freya. Teaches Add Status and Devil Killer. And of course boosts thunder-elemental damage while halving thunder damage taken.

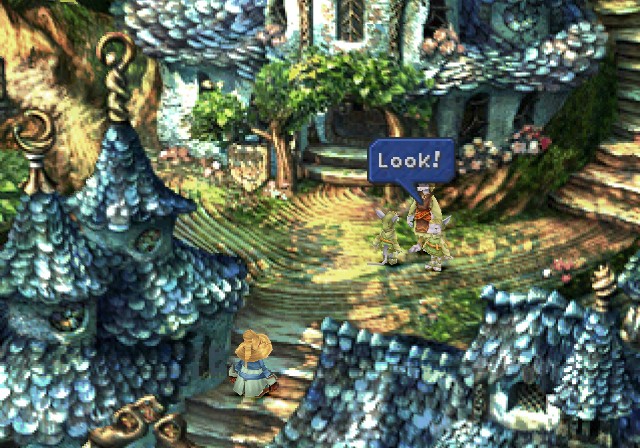
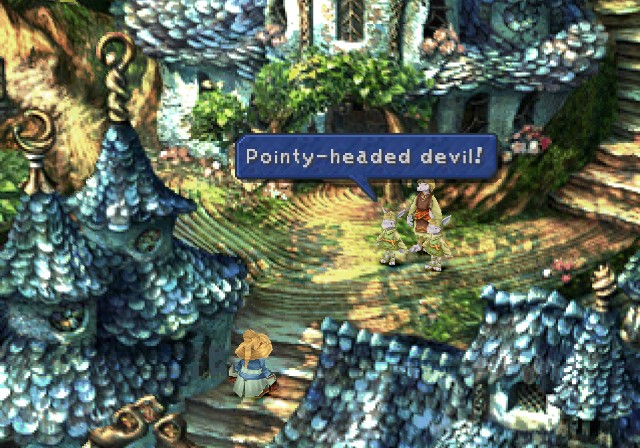
We can check in with the family that broke Vivi again.
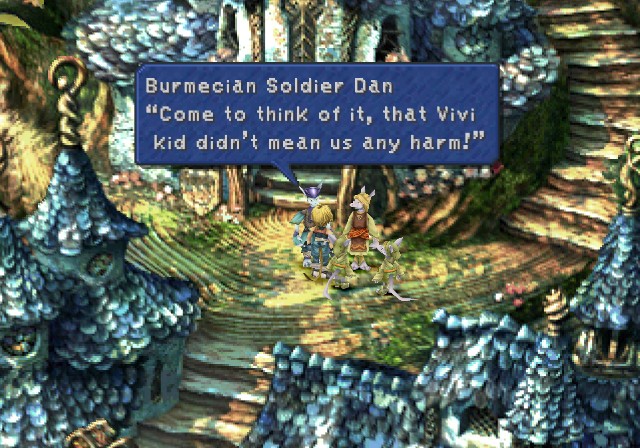 I guess we got carried away...
 I don't think that kid was a pointy-hat demon. I don't think that kid was one of the pointy-hat demons anymore.
 Will we ever see Burmecia again...?
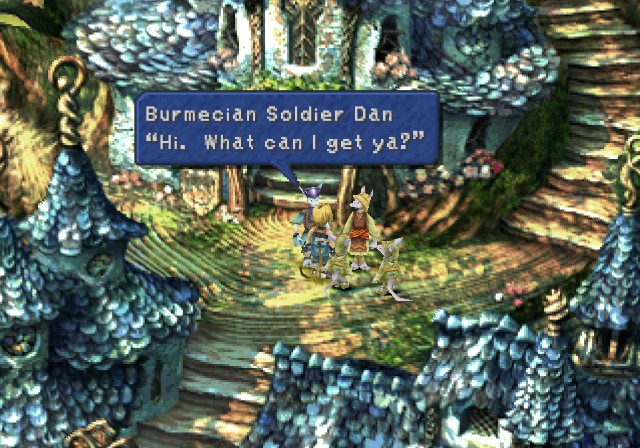
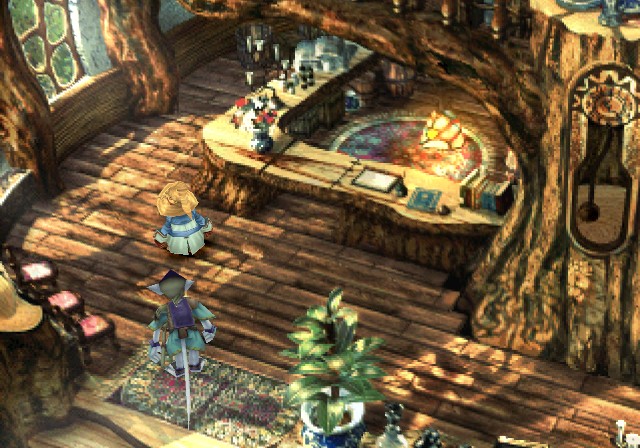
Oh yeah, this guy also sells some new equipment.
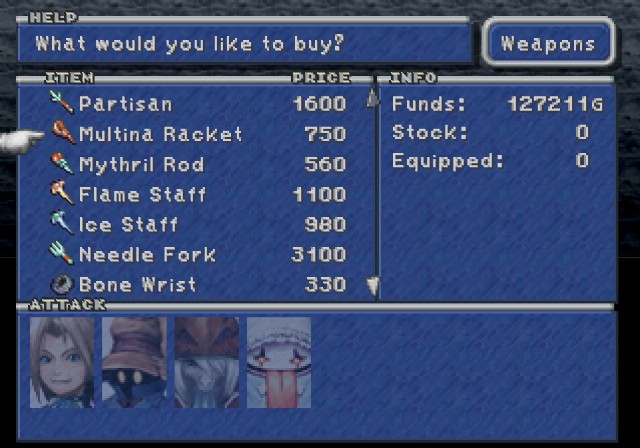
Weapon-wise, there's the Multina Racket I forgot to get at the start of Dagger and Steiner's side-adventure. For our team, the Partisan is the next step up for Freya, teaching High Tide and Lancer.
For Light Armor, Mythril Armlets teach Bug Killer, Bandanas teach Insomniac and Man Eater, and the Mythril Vest teaches Auto-Potion while halving water damage. For Heavy Armor, the Mythril Helm teaches Antibody and Insomniac and boosts Holy damage, while the Mythril Armor teaches Jelly and Cover and also halves water damage (the new heavy armor gloves are the Thunder Gloves we got earlier).

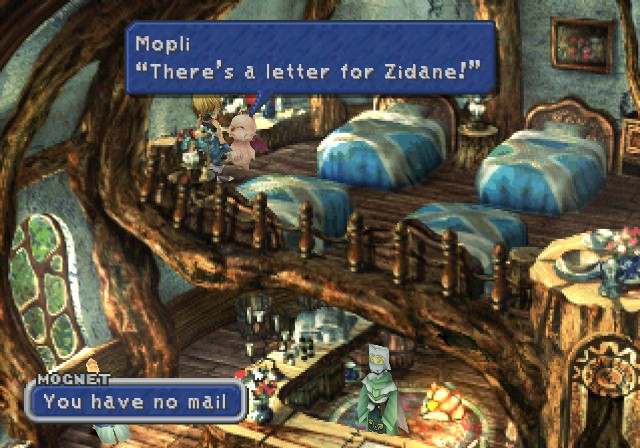
Anyway, another moogle, another letter (though not one we need to deliver at least).
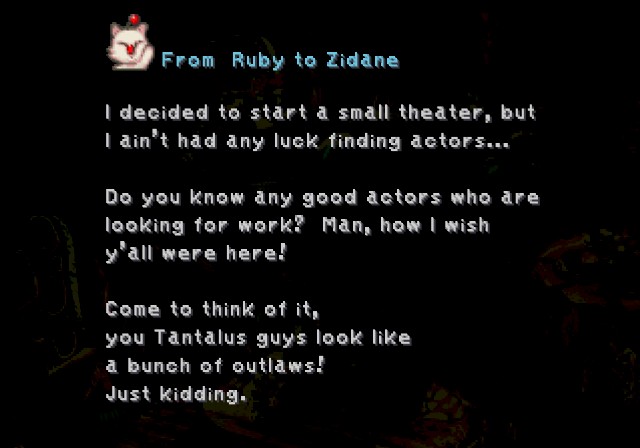 Kupo! Is she looking for actors? I want to become an actor...
Alright, one ATE left, also for Quina.
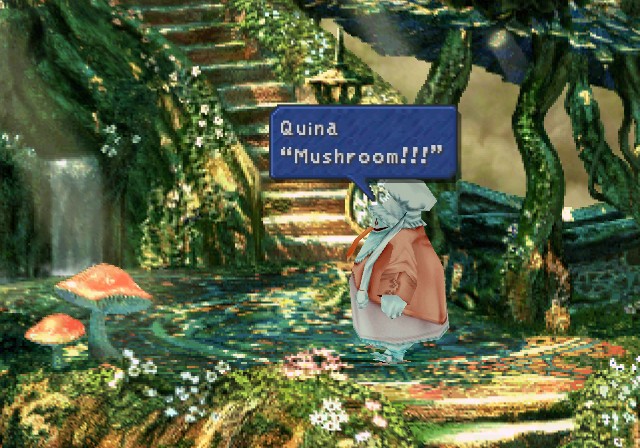 I never see this kind mushroom before! I hope it edible.
And...that's it.

This woman sells regular items.
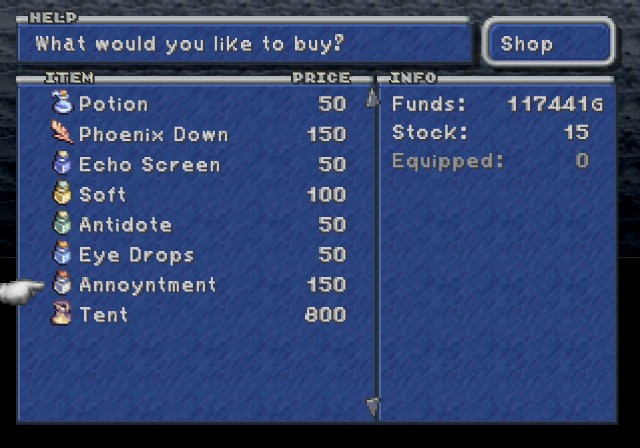
Annoyntment is new. It cures Trouble, and I managed to steal a few on the way up here. I buy a few more because I broke money.
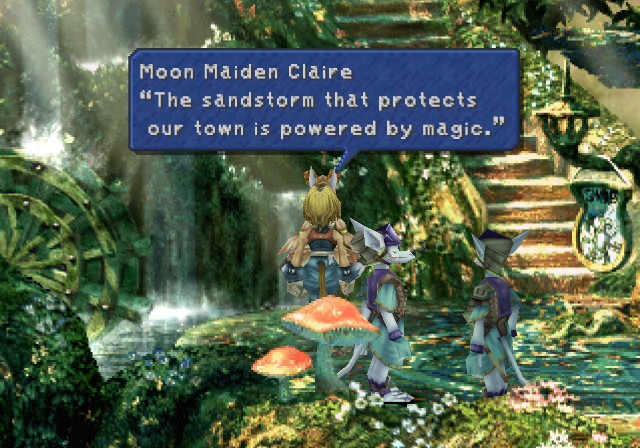
 To keep the storm in motion, we perform a sacred dance to the melody of a harp adorned with a magic stone.
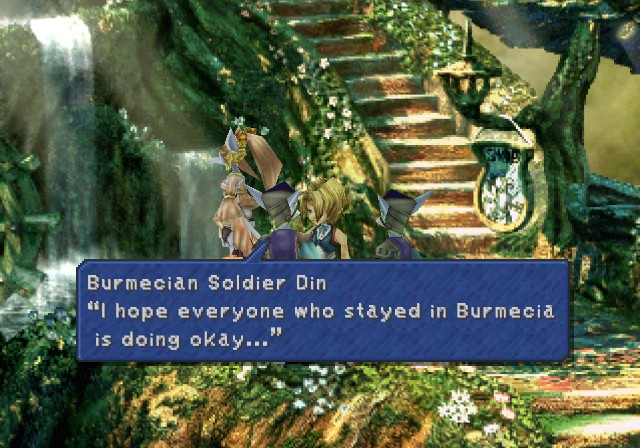
To progress, we need to go up to the cathedral where Freya is. However, after viewing Quina's ATEs, it's best to come down to the Antlion area first.
 Even spiral here start to look like ice cream...
Next time, things start picking up rather quickly.