Part 40

There's not too much to do back here. No new Chocographs to deal with for now.
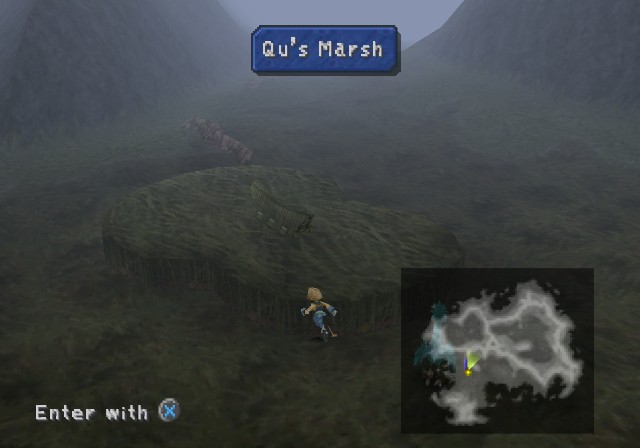
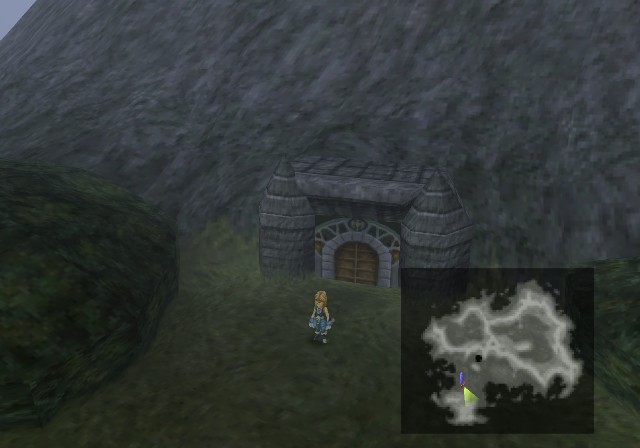
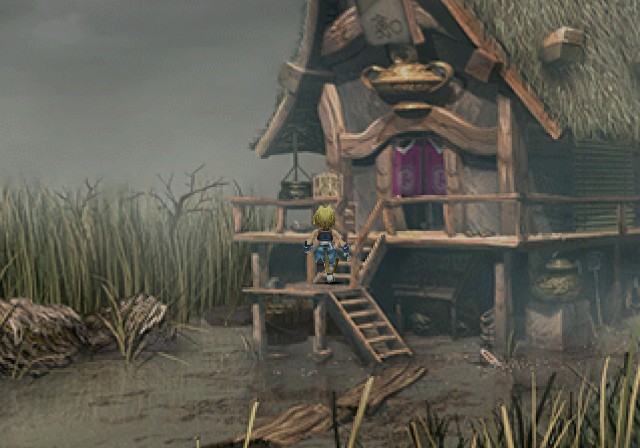
So let's jump right to the Qu's Marsh for a bit.
MARSH SOUNDS
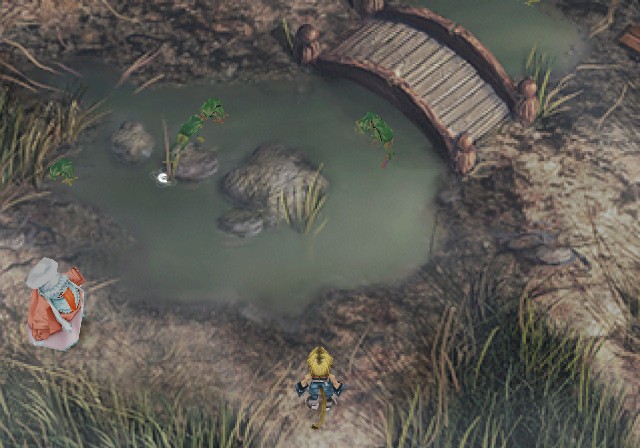
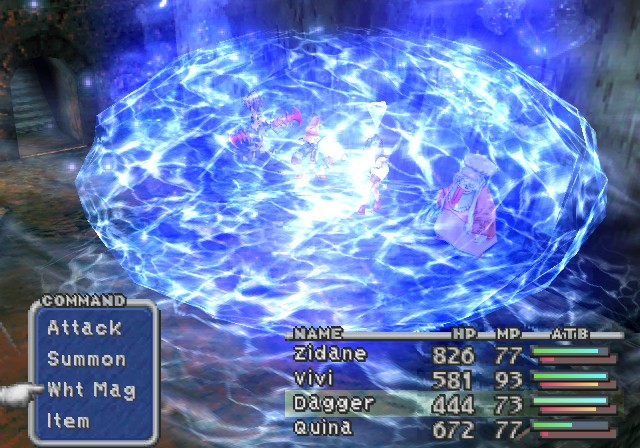
Oh, would you look at that. Looks like Quina didn't die after all!

 Long time no see, Zidane. Much trouble, coming back from Cleyra alone.
 Do you know a way to the Outer Continent? I heard there was an entrance somewhere around here... Outer Continent... Maybe I find more delicious frogs.
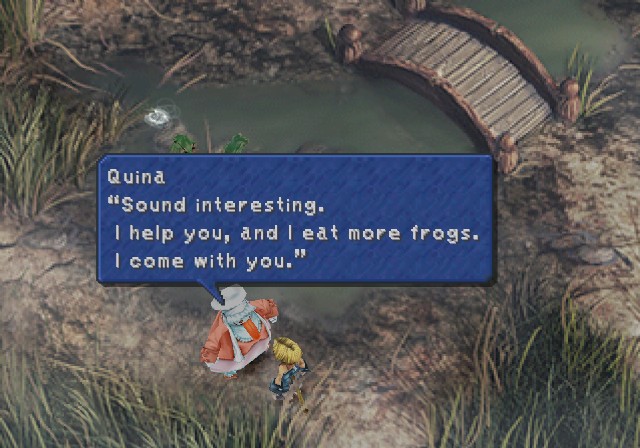
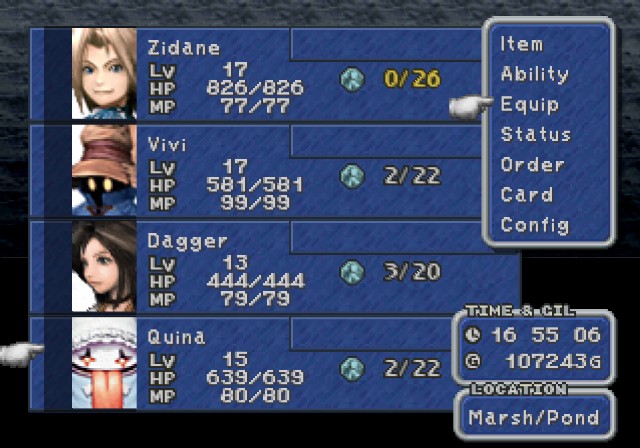
And with that, Quina rejoins our party. Unlike last time, Quina is mandatory to continue the plot. Not that I'm complaining about having a fourth member, of course.
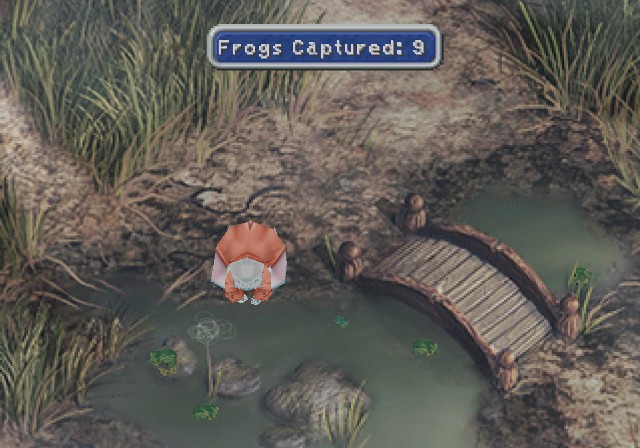
Since we're going to a new continent, it will be a long time before we return here, so it's not a bad idea to completely clear the place out.

Fifteen frogs nets us an Elixir from Quale.
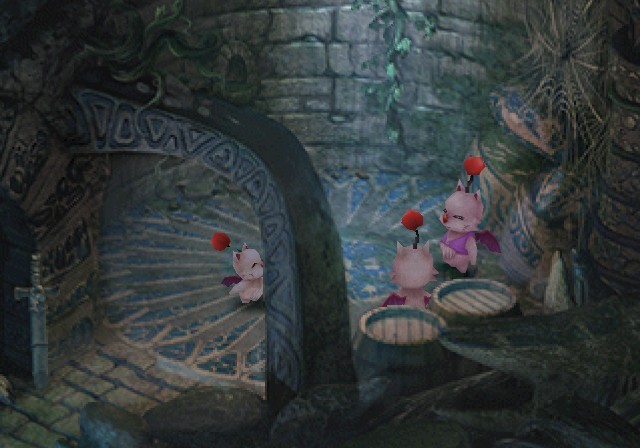
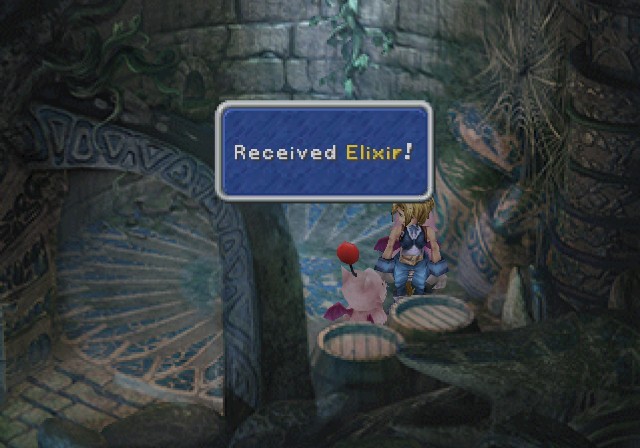
Before we progress the plot, I turn in a Kupo Nut for an Elixir. The newlywed couple are also sparing no time in starting a family.
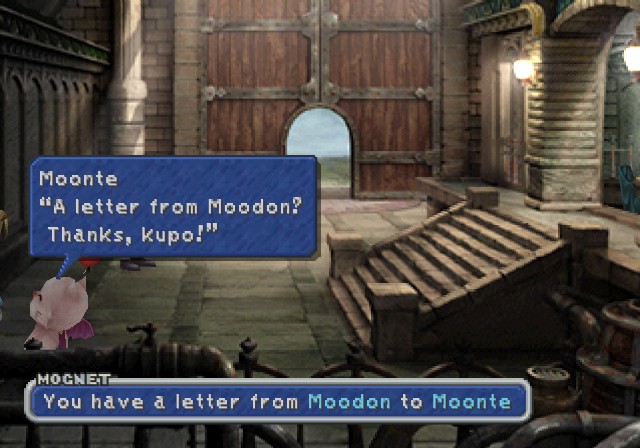
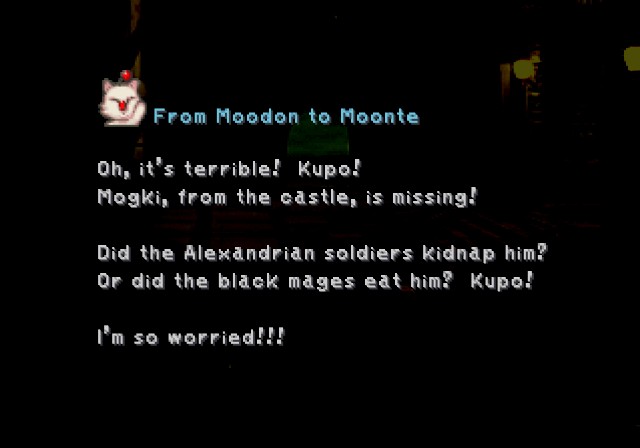
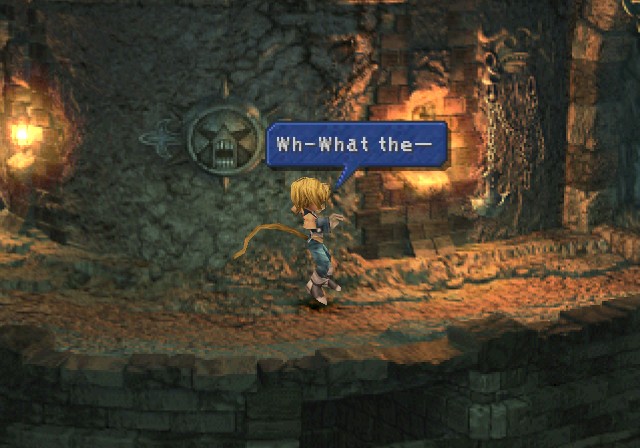
 Wh-Wh-What's going on!? Kupo!?
Then he gives us another Kupo Nut, which I take back off-screen for a Tent. Hooray.
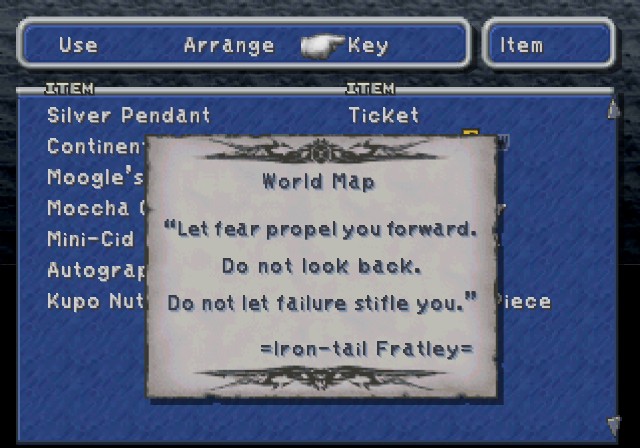
Also, here's the text for our world map.
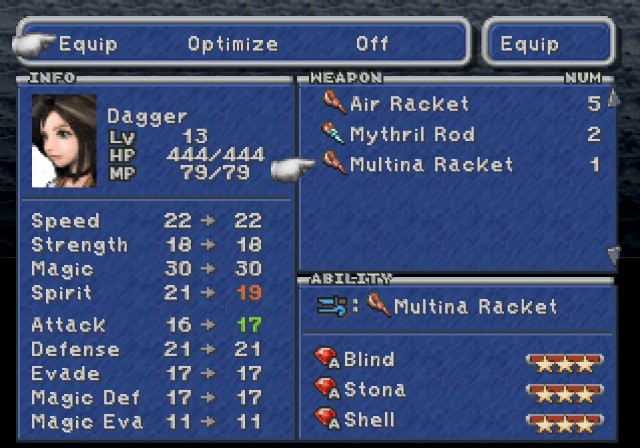
I master all of Dagger's weapons and thus switch to the Multina Racket. The rackets aren't bad weapons, not great but certainly usable.
Let's check in with Quale to see if we can get some info on where to find this excavation site.
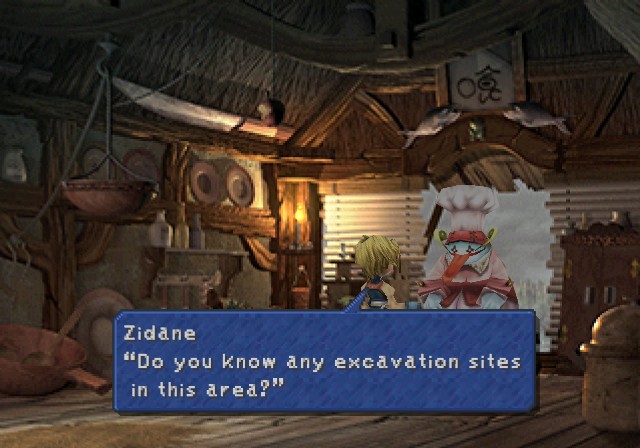
 Excavation site? Hmm... Maybe I hear about it... Maybe not... Maybe. What do you mean, 'Maybe'!? I only hear about excavation site around this area. This marsh road covered in brush. Maybe there road to excavation site hidden somewhere. Quina might know. Hidden in brush, huh? Well, thanks anyway.
It's on the right area. We can actually just go right from Quale's Hut to find it.
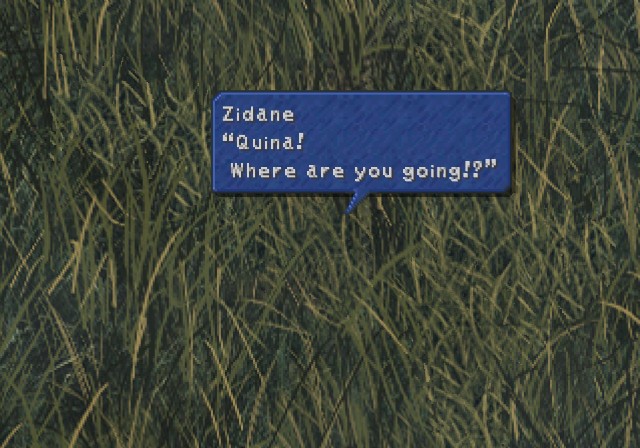 I smell! I smell frogs! No, we have to look for the entrance to the Outer Continent!
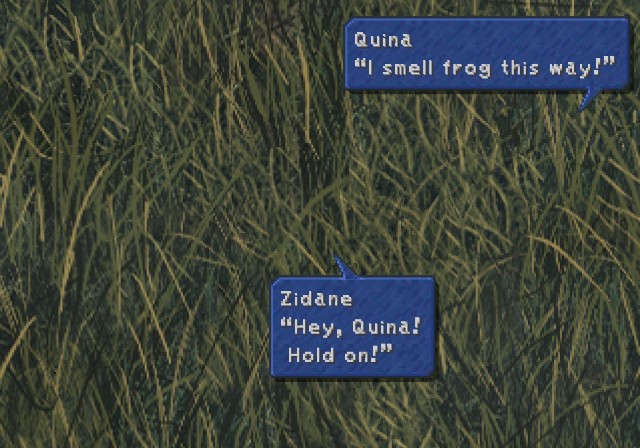 Darn it...
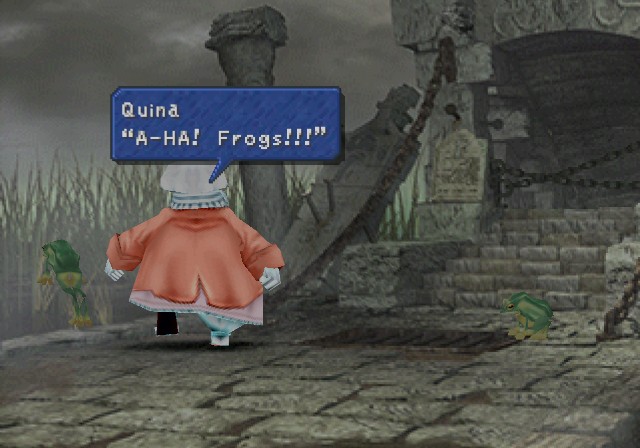
 Hold!
Hold!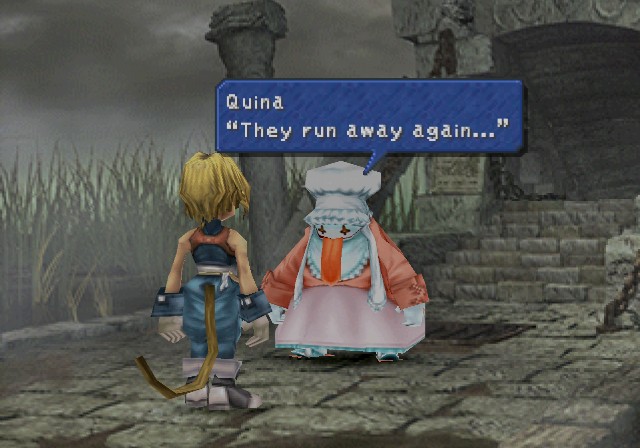 Wait a minute, Quina. Check it out.
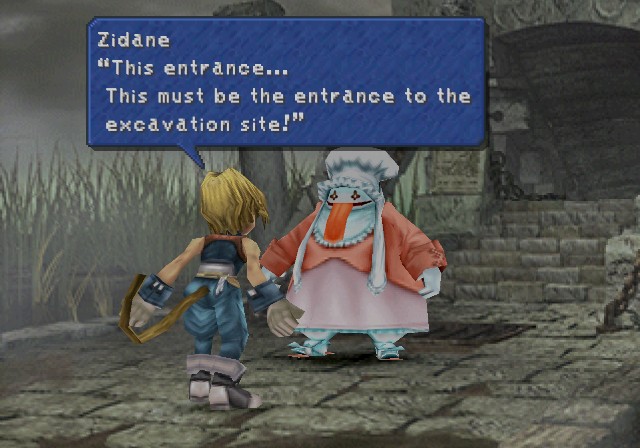
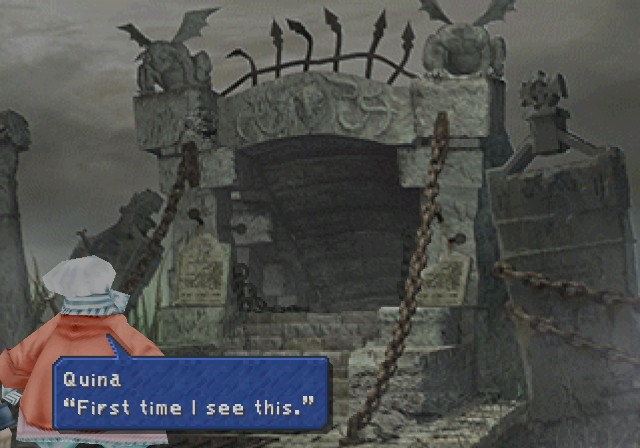 Zidane, we going inside? Of course we will. It might lead to the Outer Continent. Let's go!
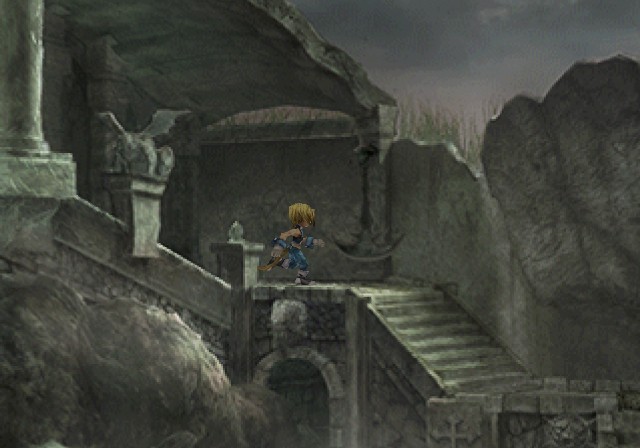
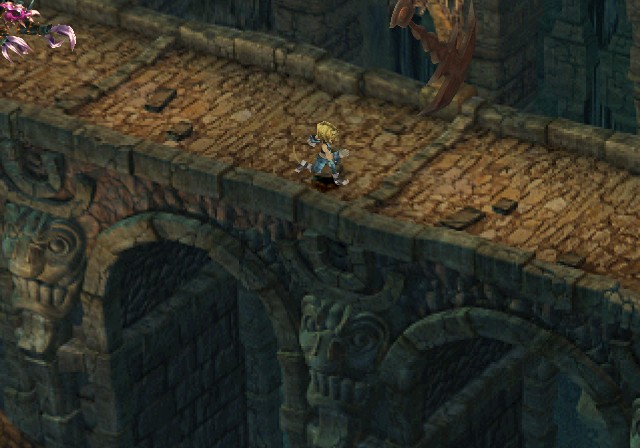
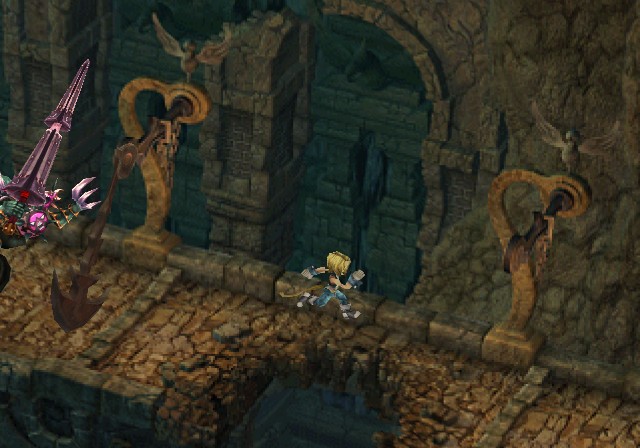
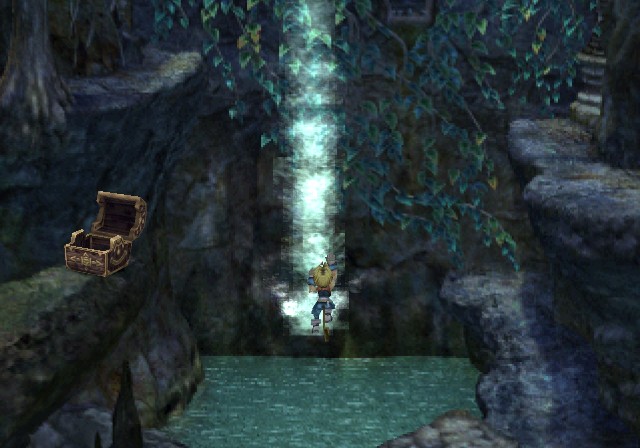
One more stairway leads us to...


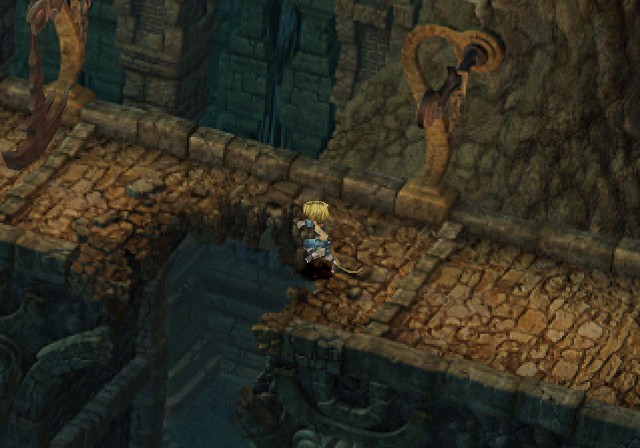
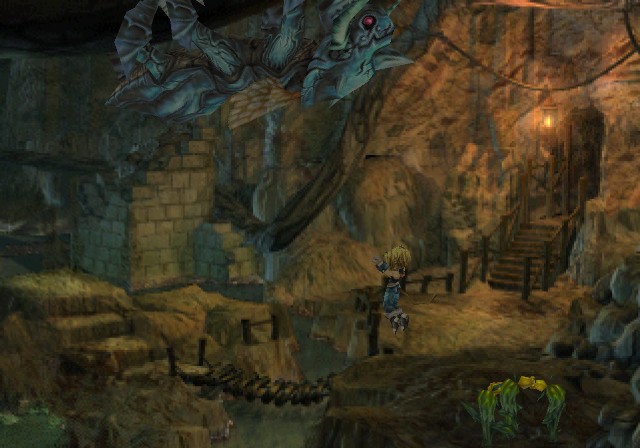
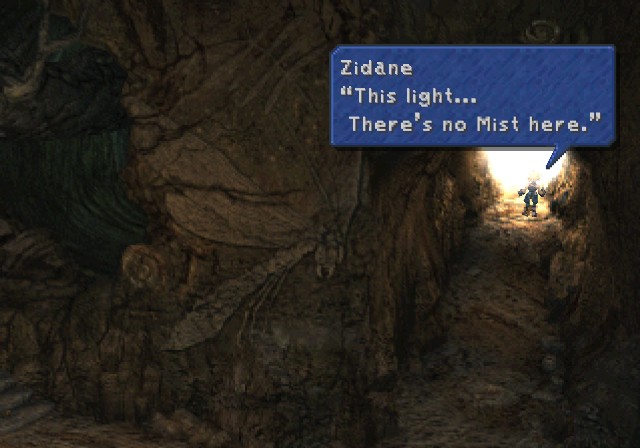
Welcome to Fossil Roo.
Anyway, first order of business is to-

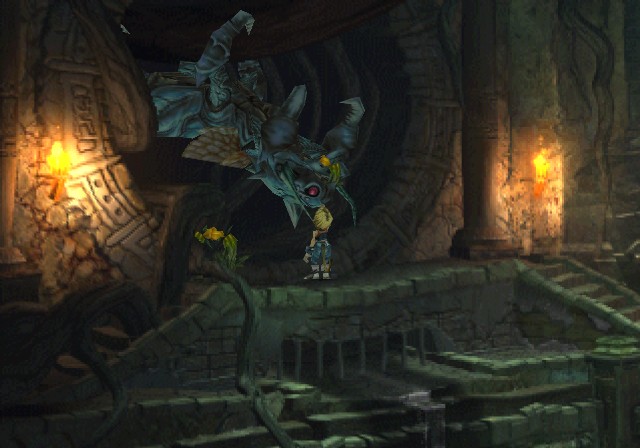
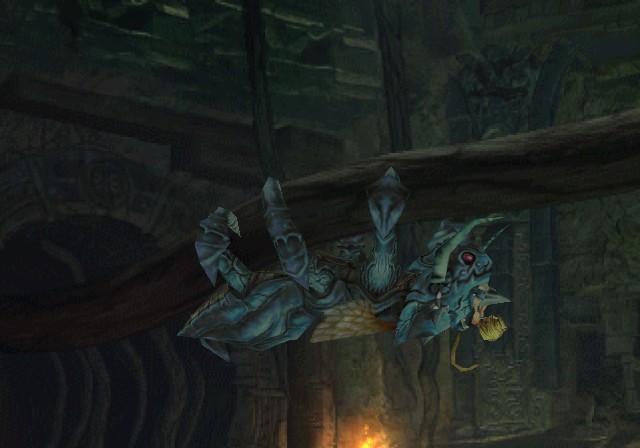
CHASE SEQUENCE
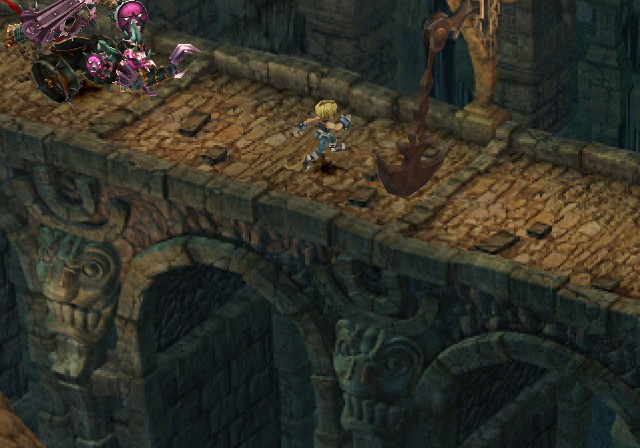
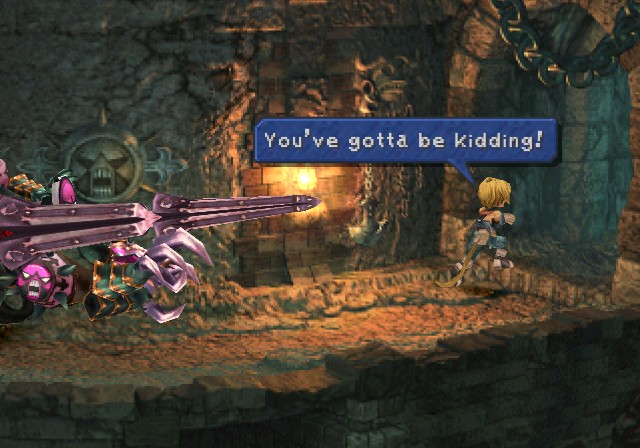
We're getting chased by this creature while pendulums swing back and forth. Getting hit by them does no damage, but it does knock us back, letting the creature catch up to us.

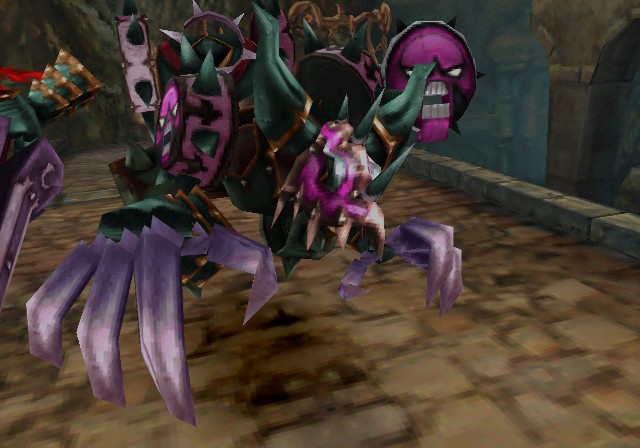
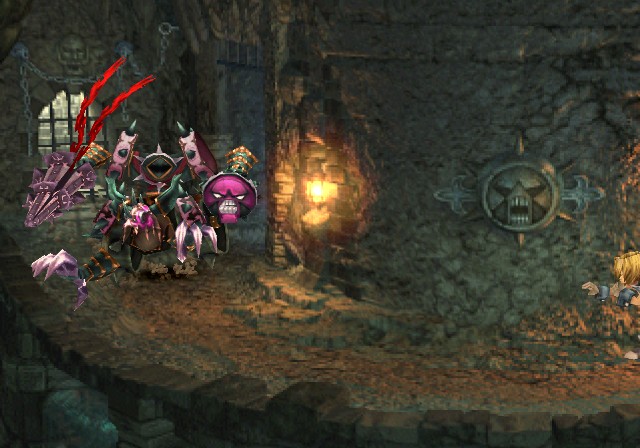
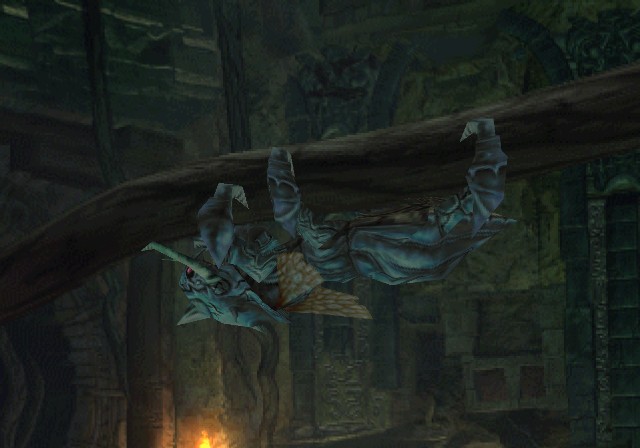
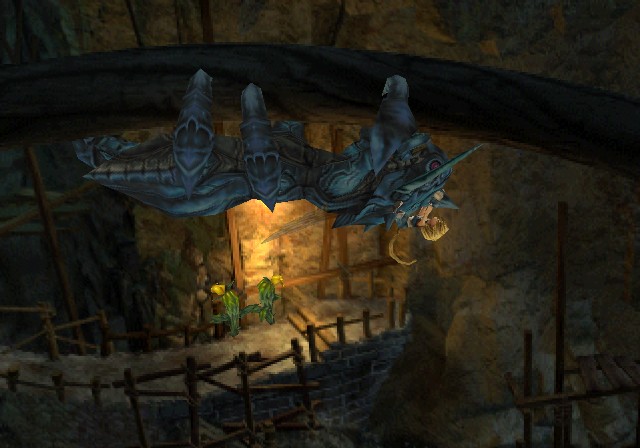
This is Armodullahan, an armored version of an enemy that makes a few FF appearances. There is no reason to fight this creature since it has no rewards for beating it.
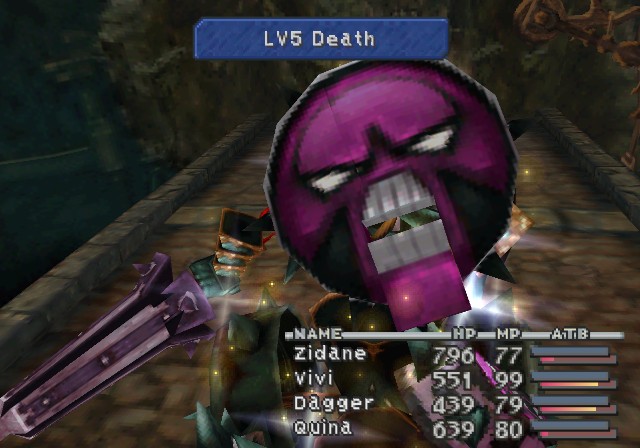
It does cast a very scary-looking L5 Death, but fortunately none of my characters are a multiple of 5.
It doesn't take much to damage it enough to stop it, but you can't actually defeat it through battle. It'll just go back to chasing you.
There's a few corridors like these we have to run through.
Until finally, Armodullahan is thwarted by its greatest nemesis, a hole.
CAVE SOUNDS
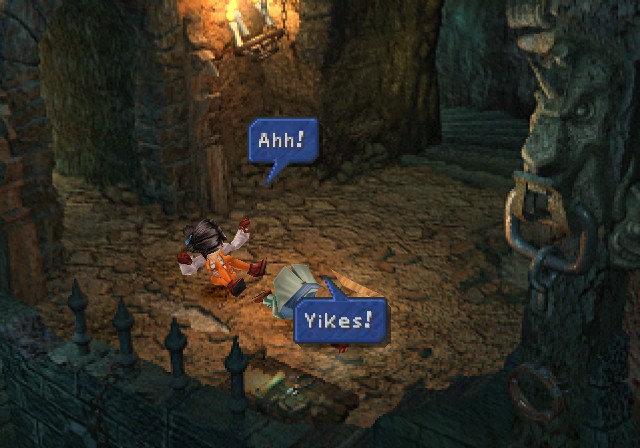
 Sorry, Vivi. Are you okay?
 Yeah...
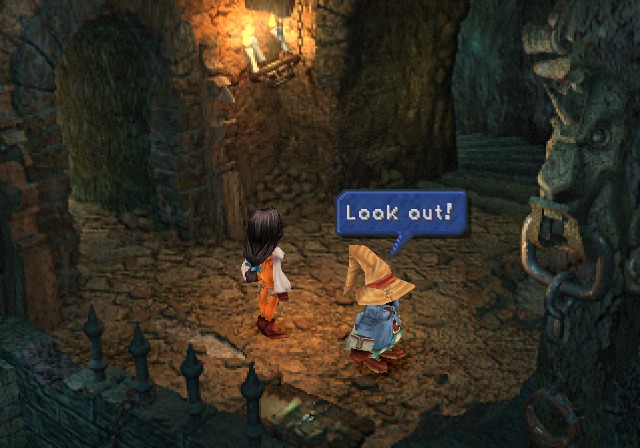
 That was a close call.
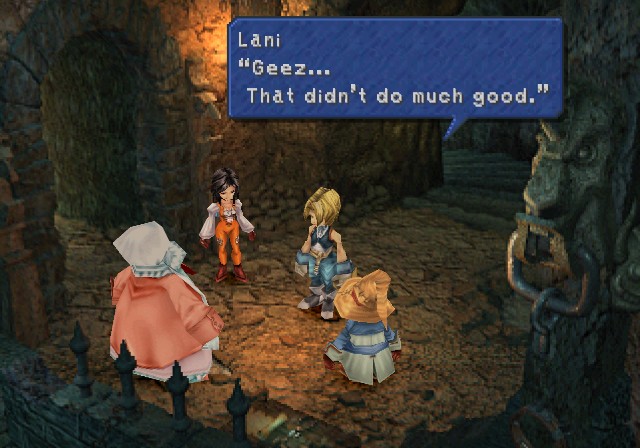
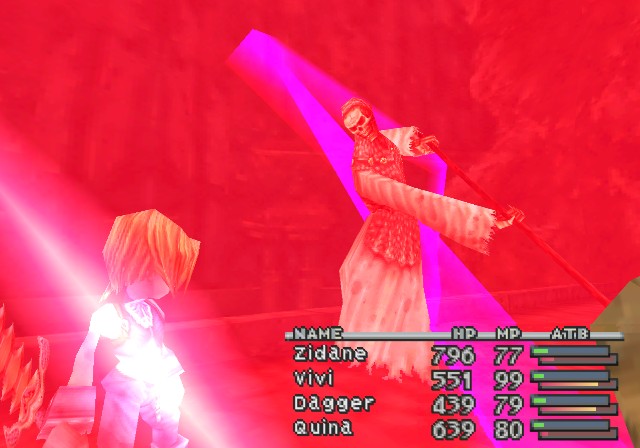
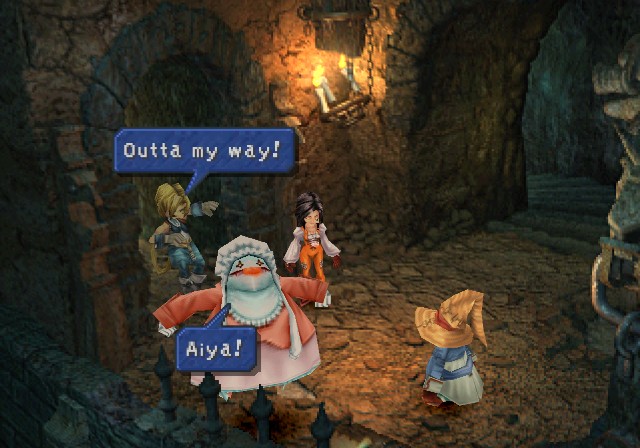
Remember that woman that chatted with Brahne a few updates ago? Seems she caught up to us.
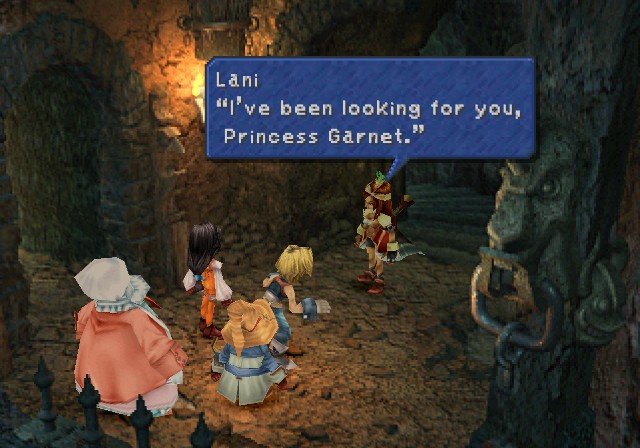 H-Have we met?
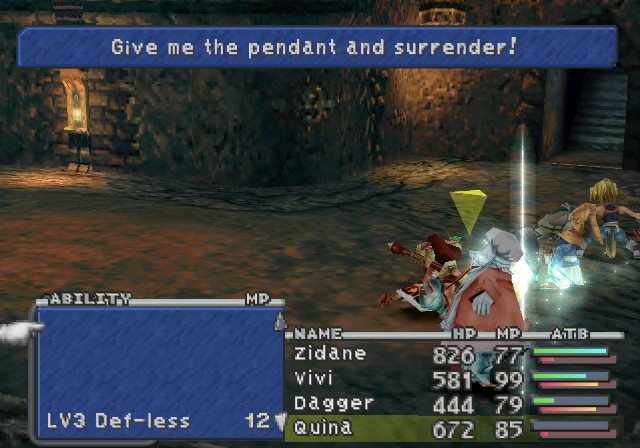
 I'm Lani. I'm under order by the queen to find you, Princess. My mother? What does my mother want with me? I am not returning to Alexandria. I've got bad news for you, Princess. It's not you I'm after. What do you mean? The pendant. Does that sound familiar?
 Let's have it back. It belongs to Queen Brahne. ......
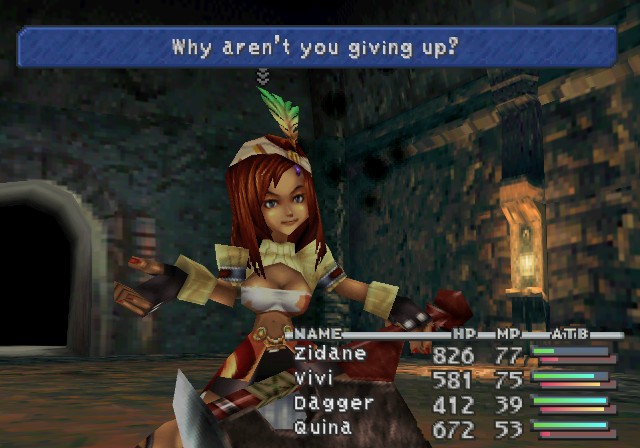
 You escaped unscathed from the monster, but you're not gonna be so lucky with me. Hand over the pendant right this minute. Are you the one who set that monster loose?
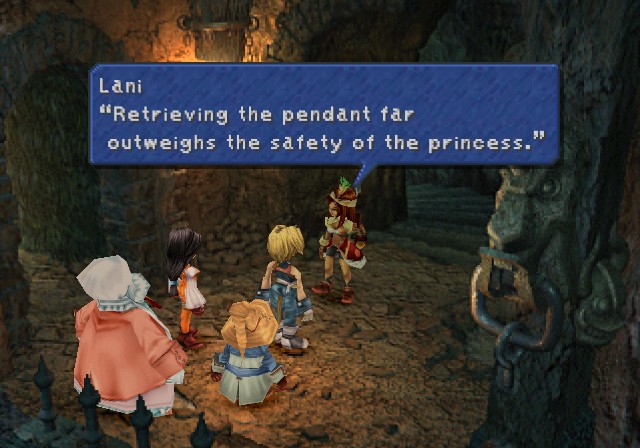 ...What do you mean by that? I meant exactly what I said.
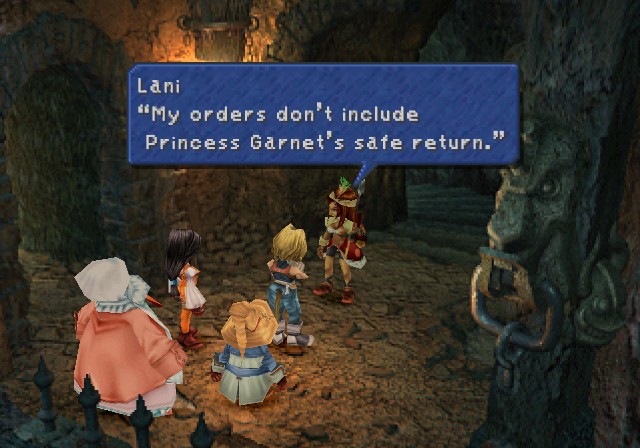
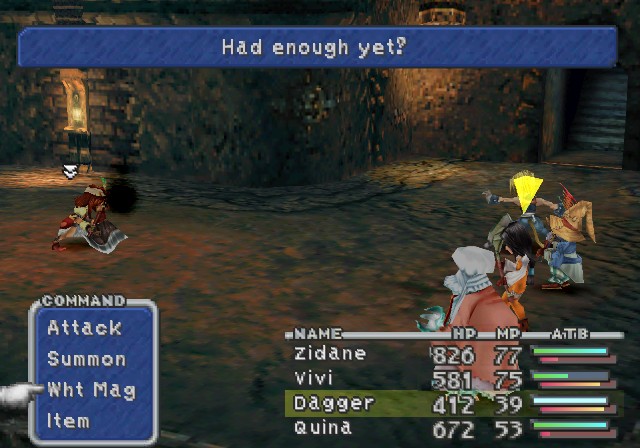
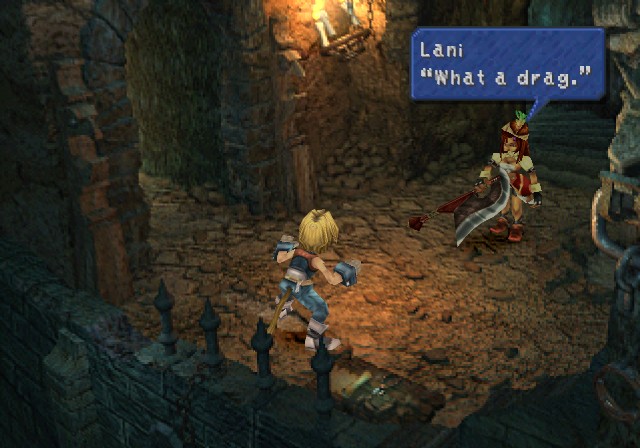
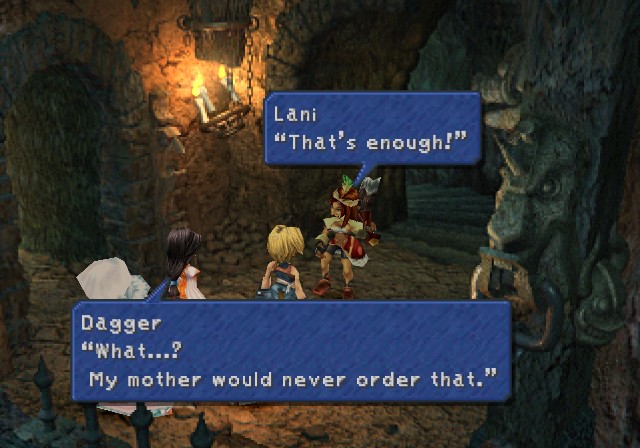 Give me the pendant! You're trying my patience! Hmph. What if we refuse?
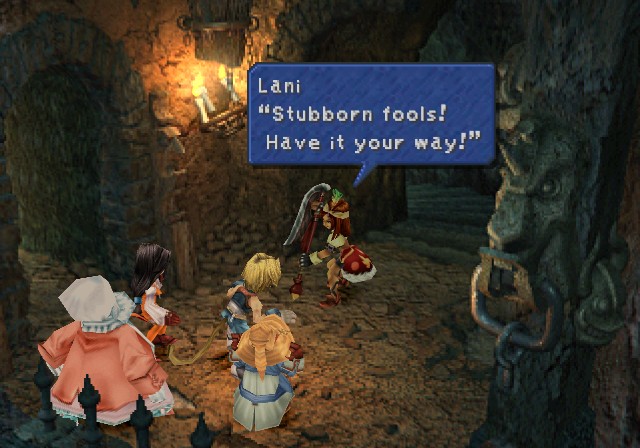

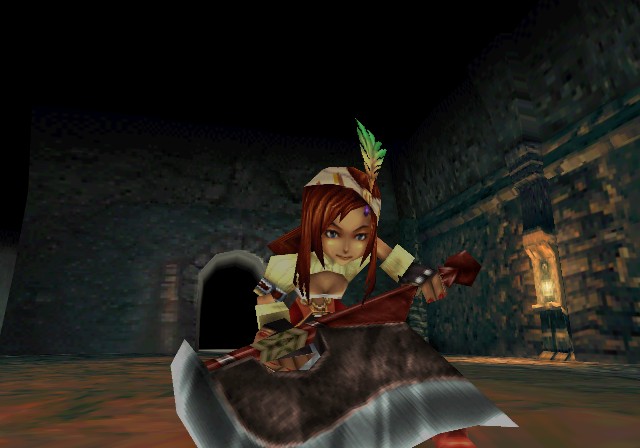
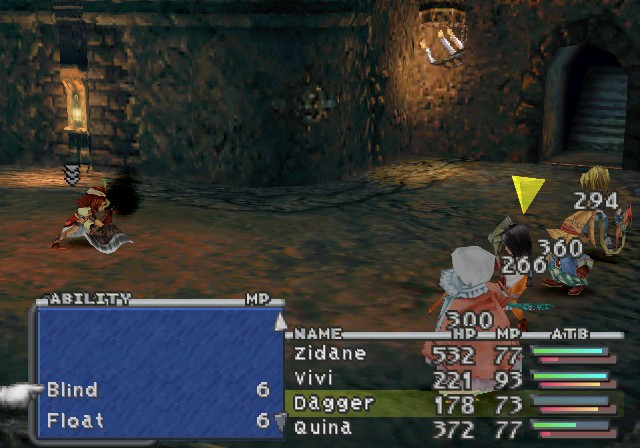
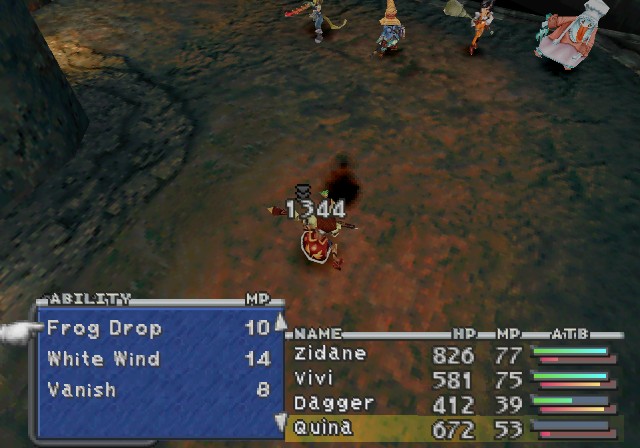
The actual boss fight here is against Lani.
Lani's AI tends to focus on Dagger, hitting her with most of her ST attacks. If Dagger gets KOed, then Lani switches to Vivi. Of course, Lani has some MT spells as well.
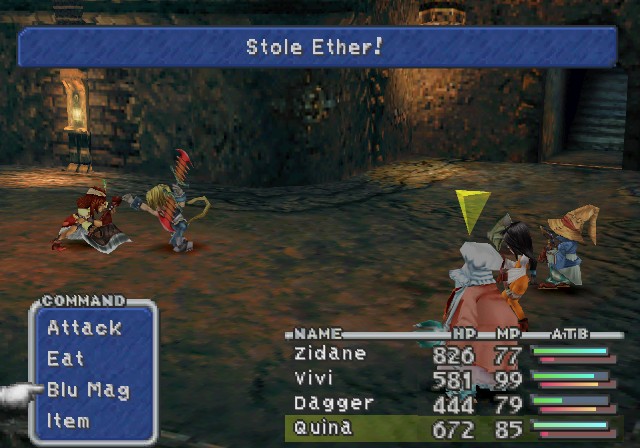
As usual, you'll want to drag out stealing since she has some nice items.
The key is to protect Dagger from Lani's onslaught of attacks. She can hit hard and she's very fast. One method is to Magic Hammer her MP away to stop her spells, but I never did pick that spell up. It'd make things too easy anyway.
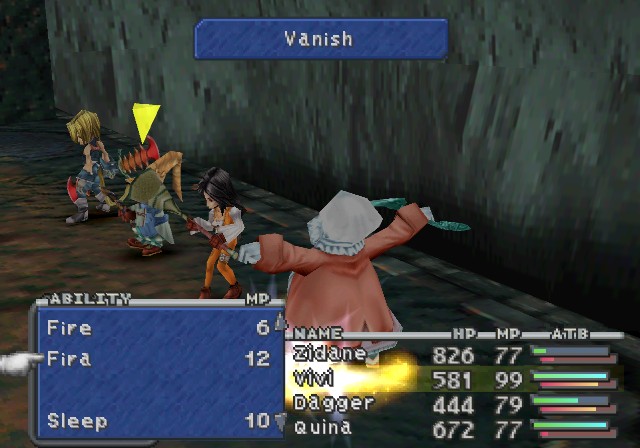
Vanish isn't too shabby. Won't protect against magic and wears off quickly, but it will stop physical attacks.
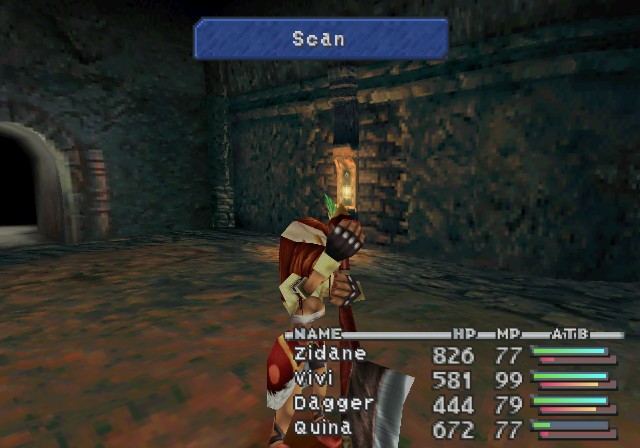
Sometimes Lani will cast Scan for...reasons.
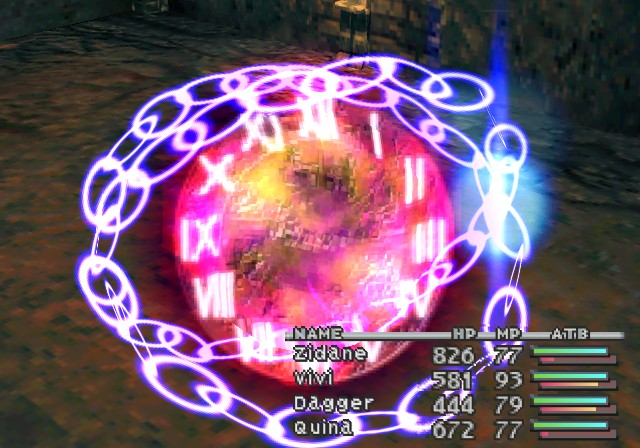
Slow and Blind are pretty much staples for boss fights now, since most bosses are vulnerable to those two status effects. Lani is certainly no exception.
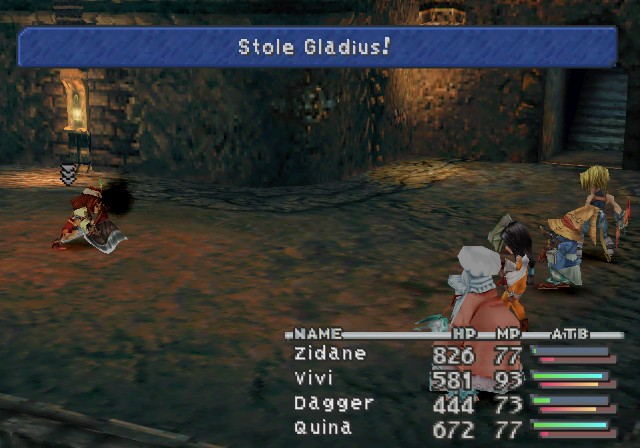
The Gladius is another set of daggers for Zidane. They have a 35% of inflicting Slow with Add Status and teach Lucky Seven and Annoy (inflict Trouble on an enemy with 50% accuracy, meh as fuck).
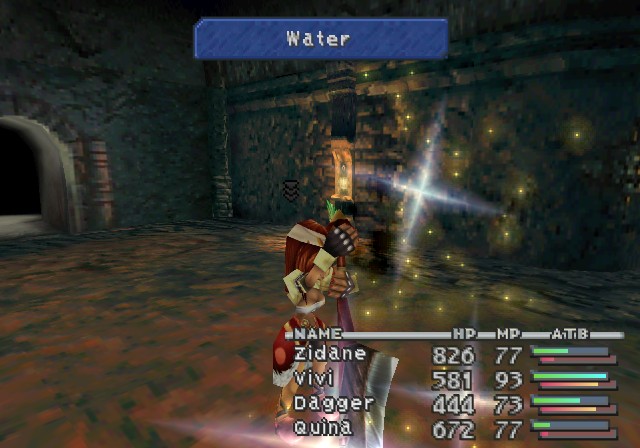
Lani has a variety of -ra spells and the multi-target Water. They hurt.
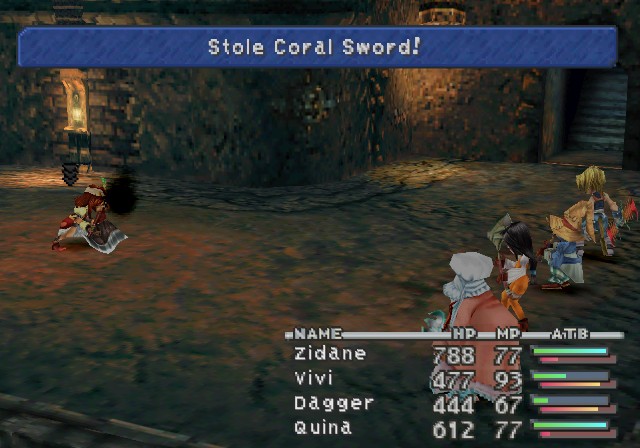
Her Semi-Rare steal is the Coral Sword, a lightning-elemental sword upgrade for Steiner that teaches Charge!, an ability that causes all critical HP party members to use physical attacks. Again, very situational. I don't even know if you get Steiner back before you can actually buy one, but I guess we'll see!
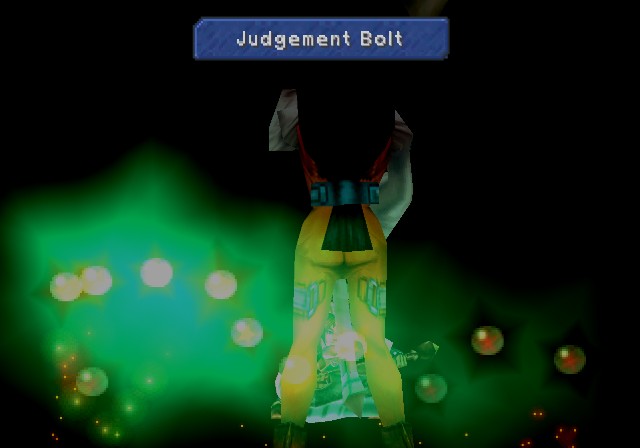
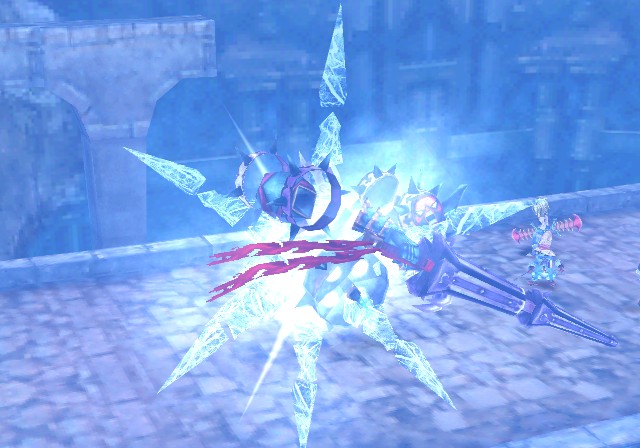
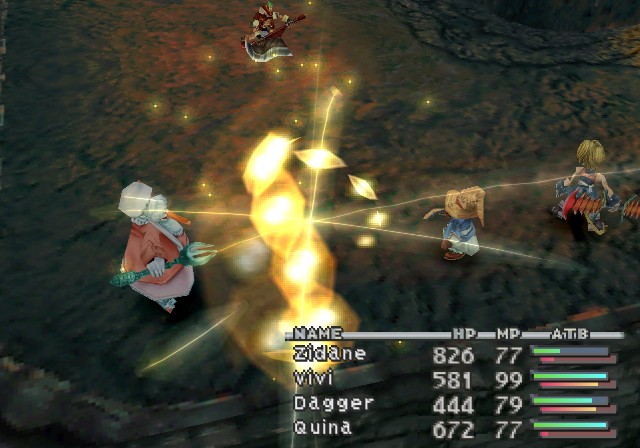
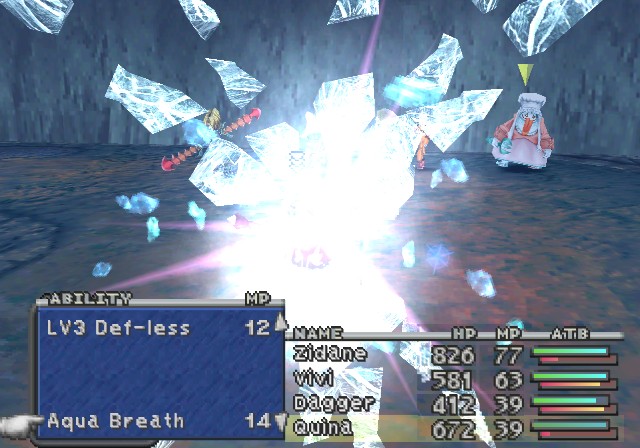
Hey, let's check out Dagger's new summon while we're here!
https://www.youtube.com/watch?v=tcz9A5rKRrQ
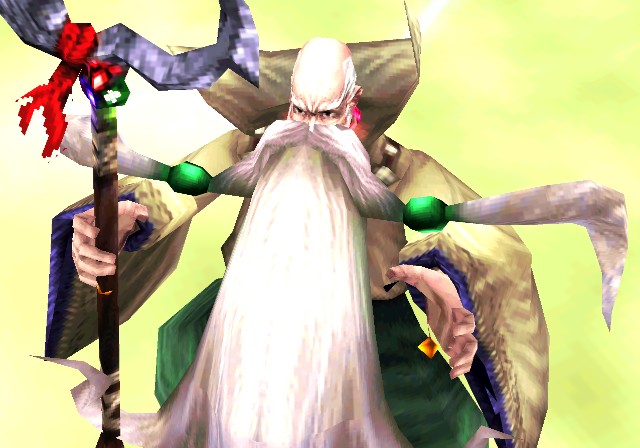
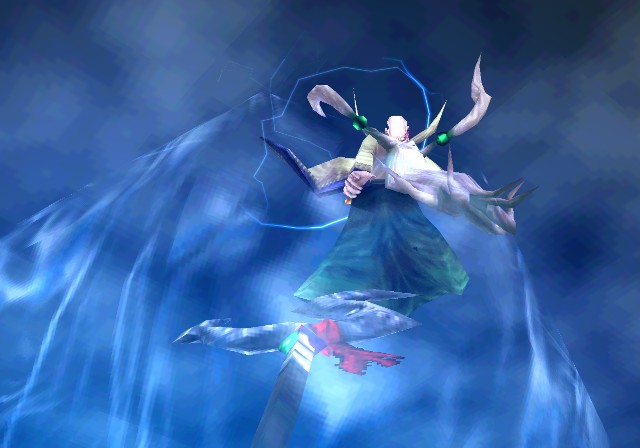
Ramuh simply hurls his judgment staff into the arena.
The damage is...very lackluster.
The summon damage formula is pretty complicated. First off, after the first time you use a summon there is a high chance that you'll see a shortened summon animation, which sounds cool except this also means damage is reduced by 2/3's. There is an ability Dagger can get later that will guarantee the full animations will always play for summons, though.
The other thing is damage is boosted based on how many of a specific gem you have. For instance, Ramuh's magic power is 32 + the number of Peridots you have. Right now it's a measly one, but we'll start getting more from random monster drops in this dungeon. At any rate, Ramuh's not really that stellar a summon but later summons are pretty sweet.

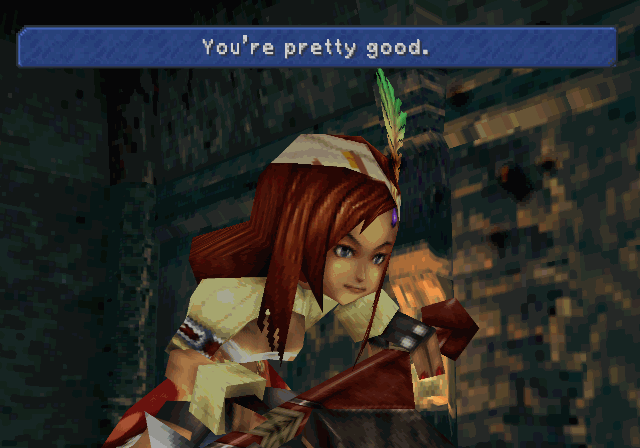
Vivi meanwhile just rips Lani apart. She has a large chunk of HP to burn through.
As you beat her up, she makes more witty retorts.
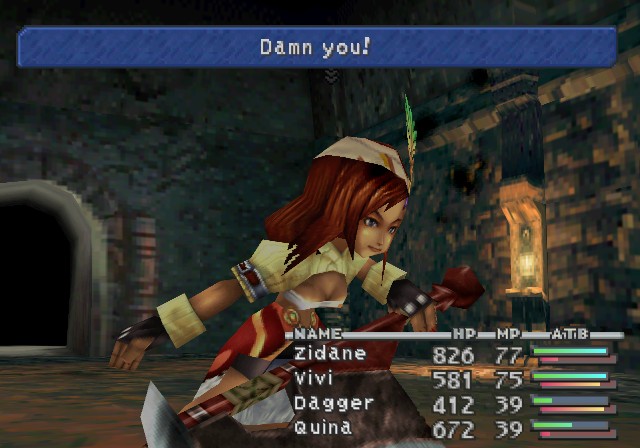
She's pretty boorish.
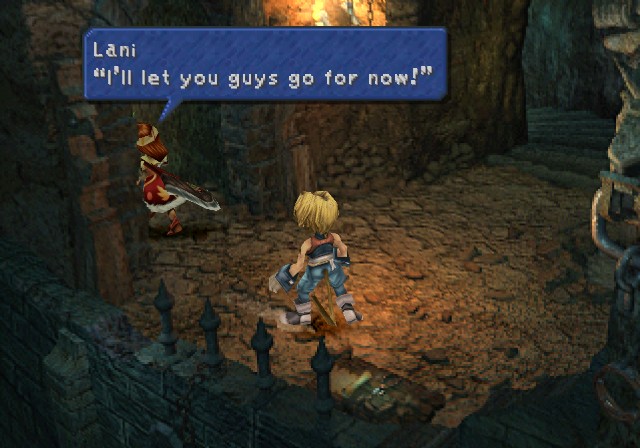
After a bit more ass-kicking...
CAVE SOUNDS
With that, we can start exploring.
First thing, let's backtrack to where Armodullahan was kept.
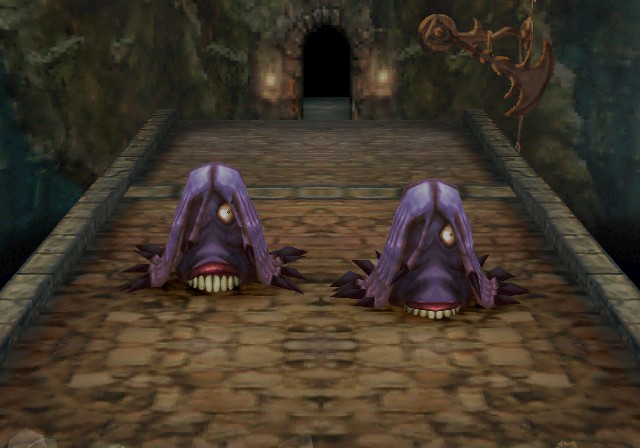
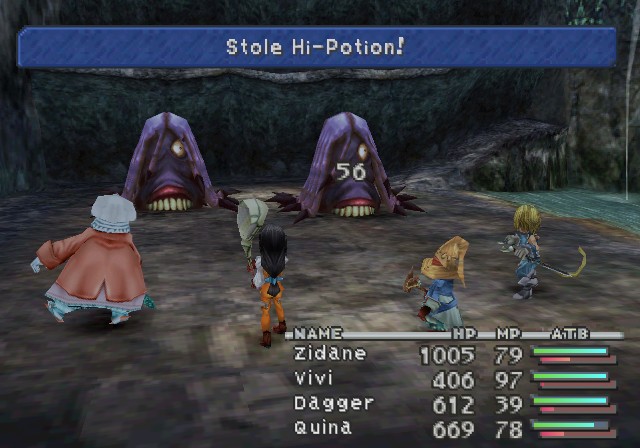
These lovely creatures are Abominations.
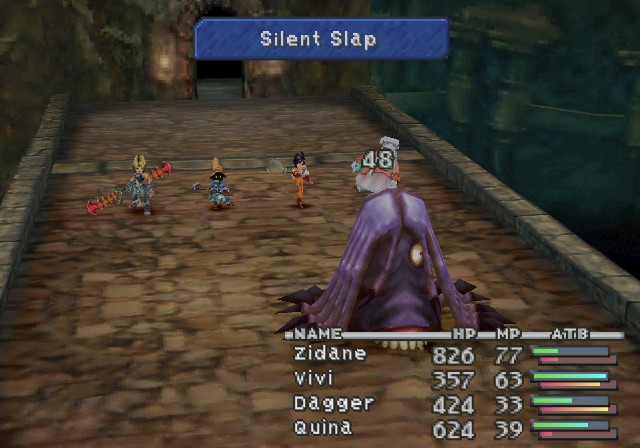
They'll cast Fira and inflict Sleep and Silence. Nothing too terrible other than how hideously ugly they are.
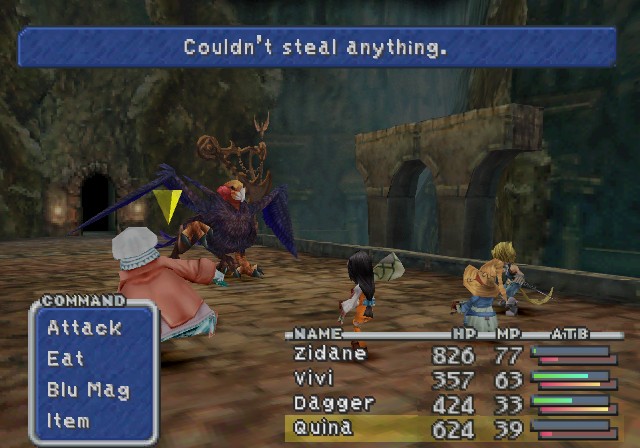
Remember when Steiner fought a Griffin in Treno? They're here now as well, and interesting enough they're always guaranteed to drop a Peridot.

Otherwise, butt attacks and Aera.
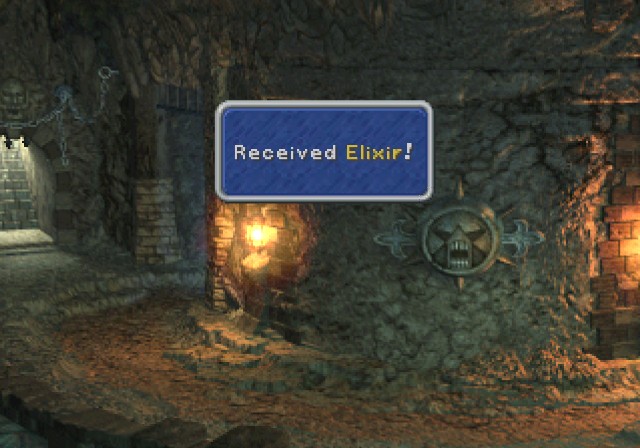
Anyway, the trek back nets us an Elixir.
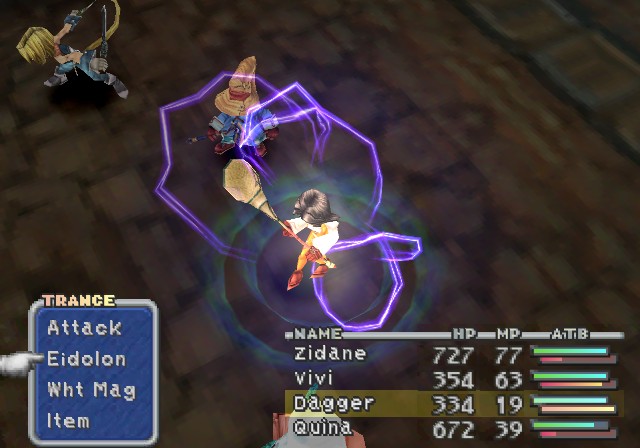
Also, this is actually the first time so far that Dagger has entered Trance! Of course, it wasn't useful until now, since her Trance ability has to do with summoning. Eidolon at first works as normal, except after she summons a monster that monster now has a random chance during the battle of reappearing again. These attacks are much weaker than normal, but they also cost no MP and, if you let Dagger do nothing while still in Trance, will pretty much keep popping up for the rest of battle. It's decent, I guess.
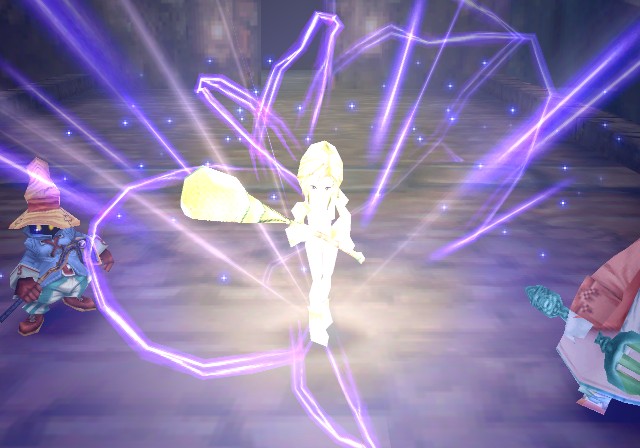
And here's the best screenshot I could get of Trance Garnet. Honestly not that much of a difference compared to someone like Steiner.

Anyway, let's get started on the dungeon proper, finally.

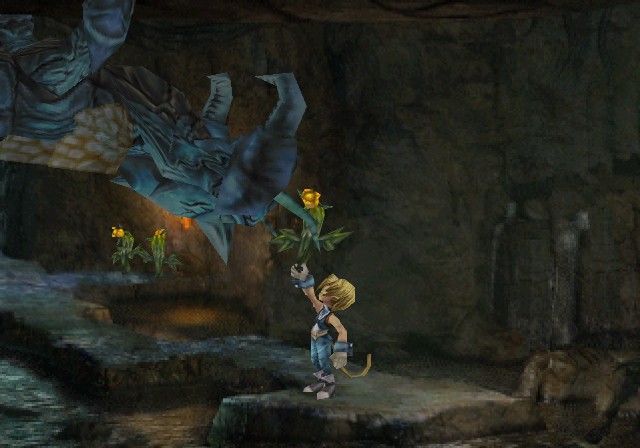
So, you may wonder to yourself, "How is our party supposed to reach an entire continent by walking underground? The difference by sea must be pretty long, after all!" It comes down to our old friend, the gargant.
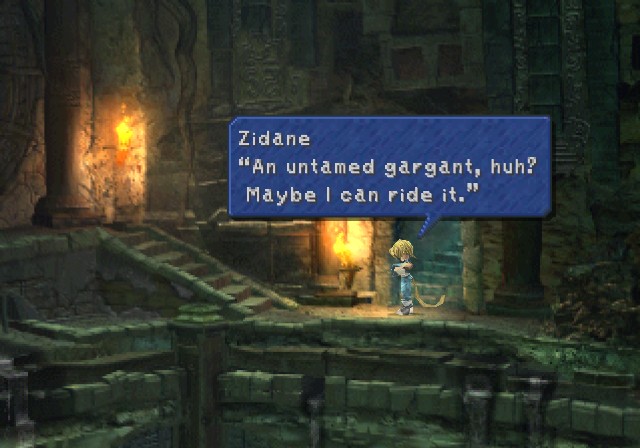
The concept is simple. Hold up a flower in a certain spot, and a gargant will come.
Then you ride to your next destination.
There we go!
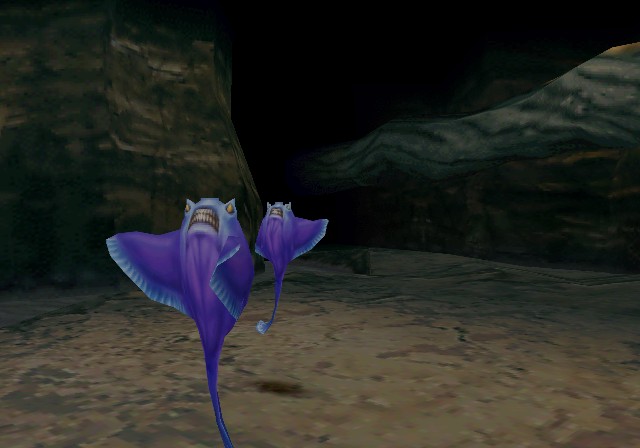
Feather Circles rely on "strength in numbers," mainly sticking to physical attacks and inflicting Trouble.
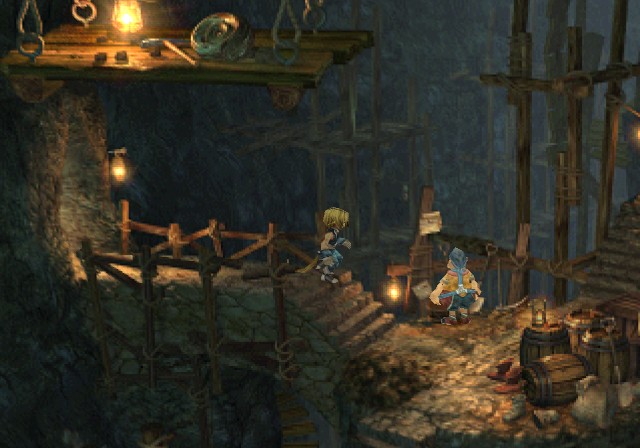
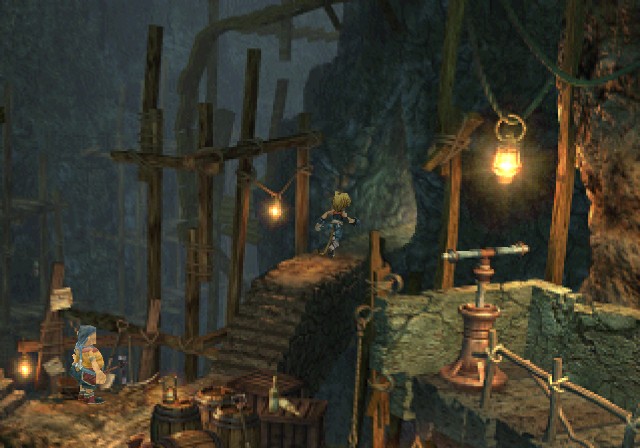
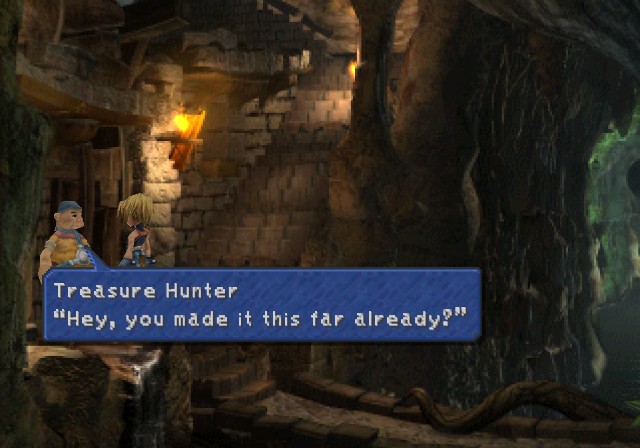
This is an excavation site, so of course there's actually people wandering around here.
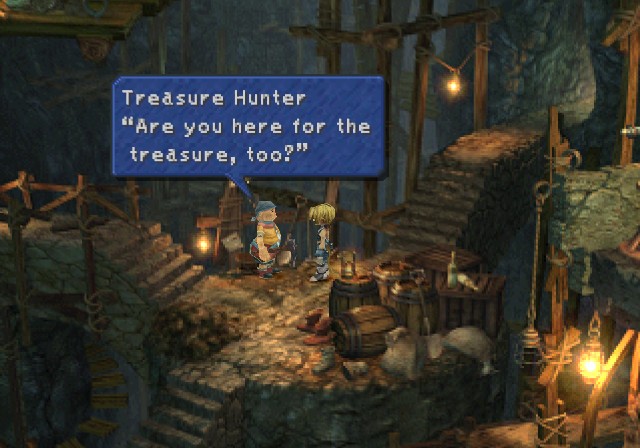 Treasure? What are you talking about?
 You don't know? This excavation site has tons of treasure and rare fossils. You're not here to steal them? No, we're not treasure hunting. Does this tunnel connect to the Outer Continent? The Outer Continent? You're trying to go outside?
I love the little steal/treasure hunt interplay here, since in FF6 there's a character called Locke who's essentially a thief yet insists to be called a treasure hunter.
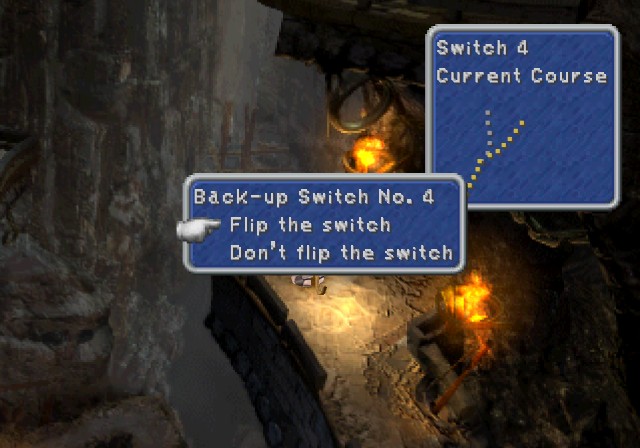
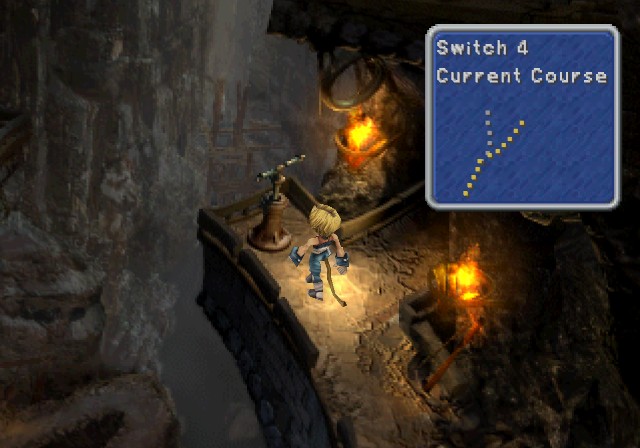
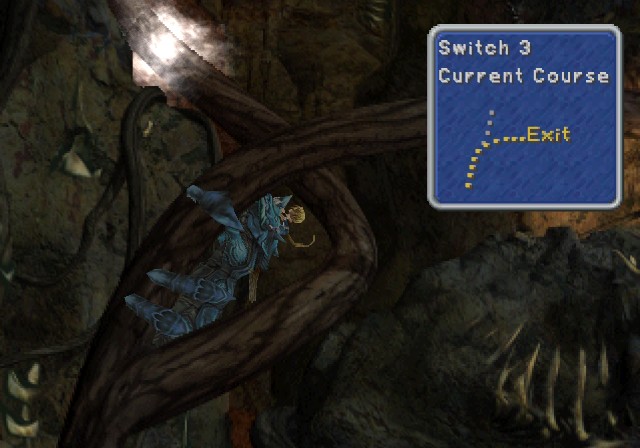
Huh... This tunnel's like a web. I don't even know how far it travels.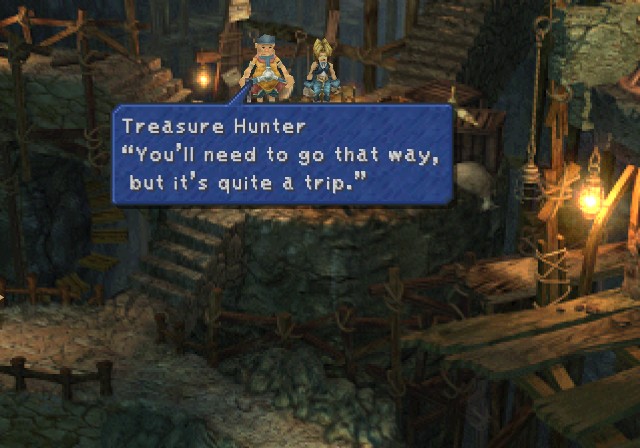 The only way to go further is to hitch a ride on the gargant. But it'll lead you to a dead end if you let it go wherever it wants.
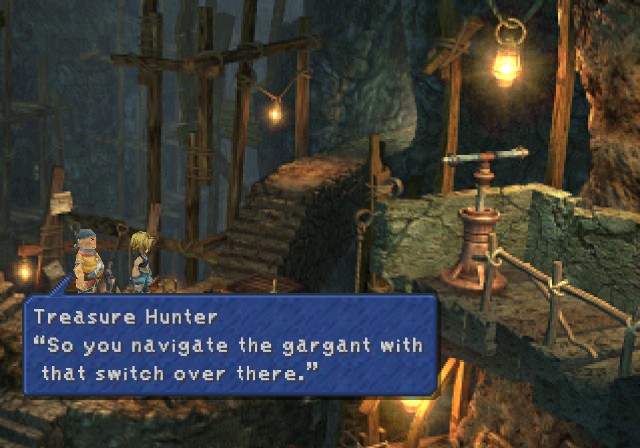 What's the relationship between the switch and the gargants? The switch changes which fountain the water comes out from. Gargants hate water. You can block off the sections you don't want to go to by activating the fountain with that switch. That over there is the No. 2 switch. You'll need to trigger it to go over to the other side. I see... How do I get there?
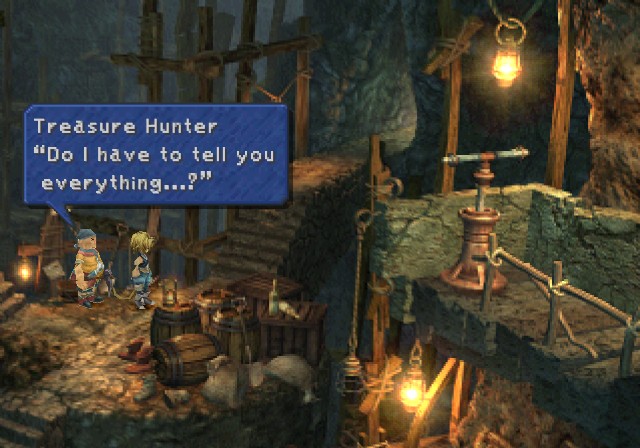 You can get there on a gargant, but...you'll need to trigger the No. 1 switch to do it. I see. Thanks for the info. The northern side leads to a dead end. There's open road to the southwest. If you're going southwest, follow the numbers on the switching system. No. 1 is at the deep end of north side.
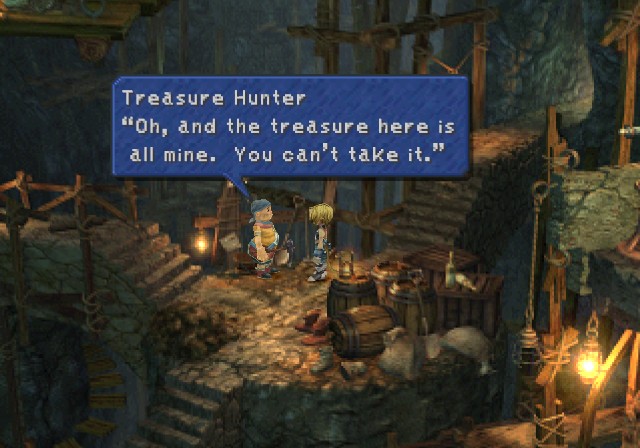
So yeah, this dungeon isn't as complicated as it sounds, but if you're not paying attention or using a FAQ or whatever it's easy to lose track and end up running around in circles. It's still pretty long and arduous though.
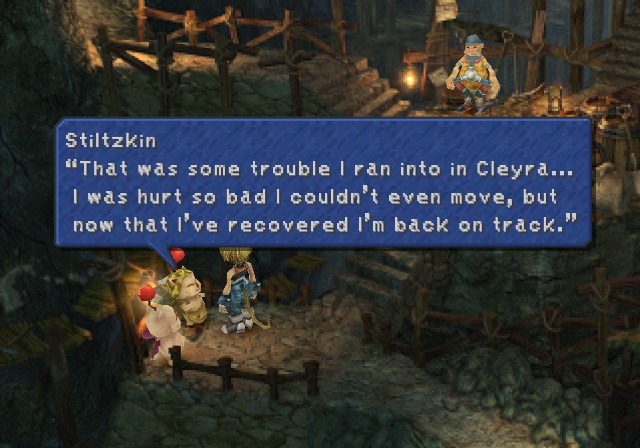
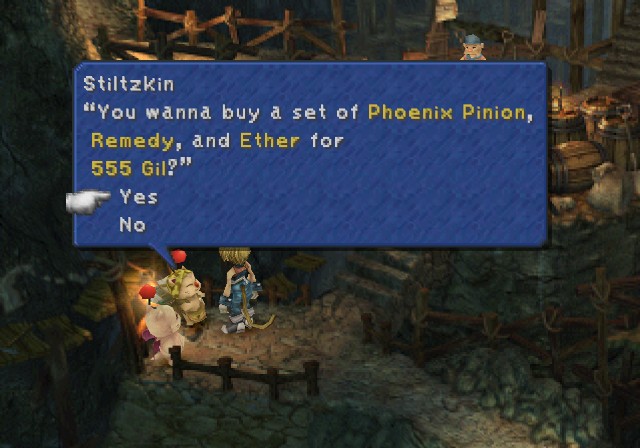
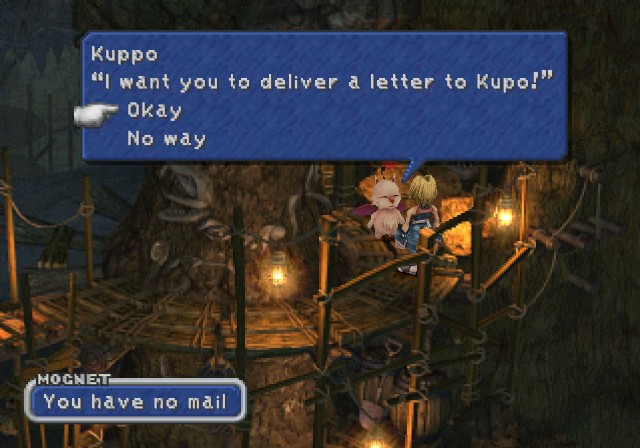
Another Stiltzkin appearance. He always has the good stuff.
 Thanks to you, I can continue my journey.
And if you talk to him again...
What the heck is this place!? It's like a maze!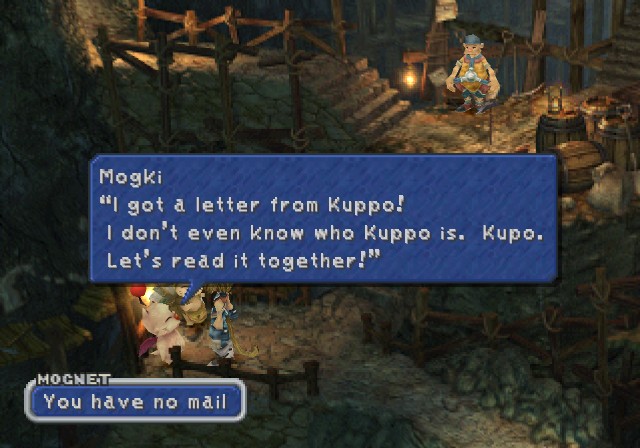
 What a carefree moogle! Kupo! I fled from Lindblum with my life...
Mogki also sells basic consumables if you need to restock.
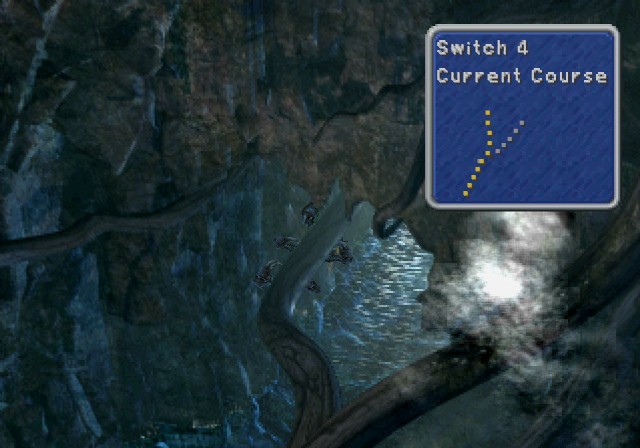
Anyway, we're going southeast first.
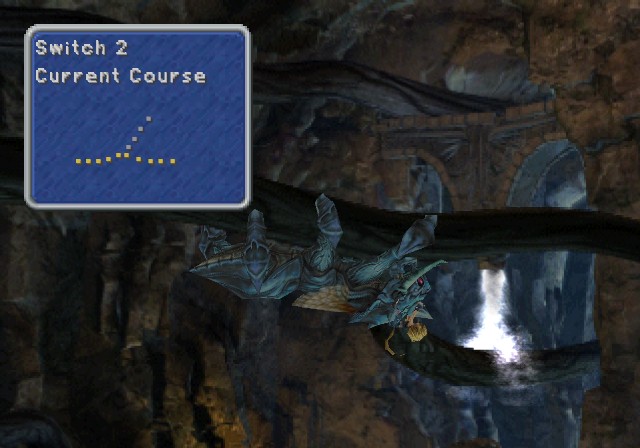
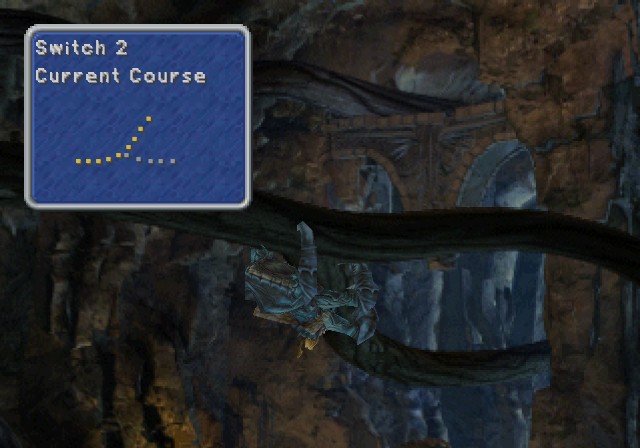
This is the Switch 2 path, so it'll lead us to a dead end.
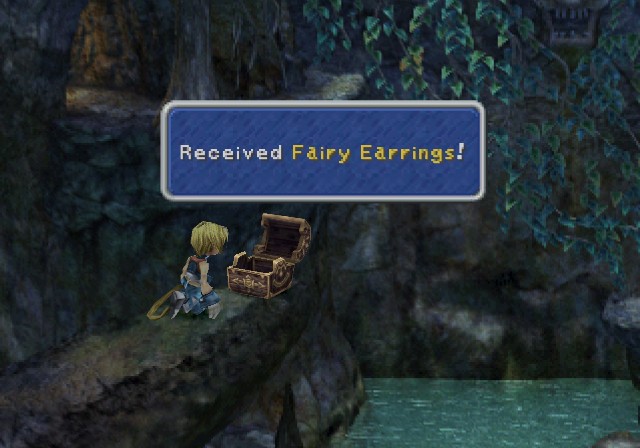
But that dead end has Fairy Earrings, so might as well take it now! If you don't buy them at the Treno auctions, then this is your first chance to grab them.
Now we need to head back and go northeast to actually progress.
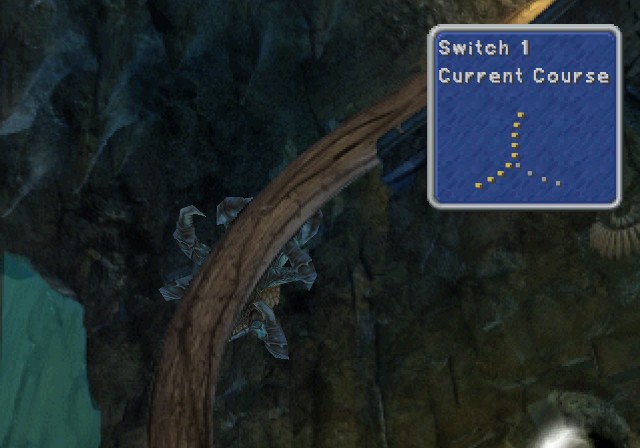
The Switch 1 path leads us to Switch 1.
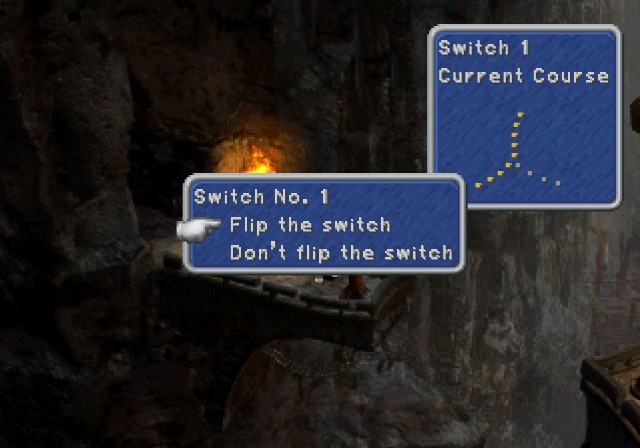
We need to flip this to lead us to Switch 2.
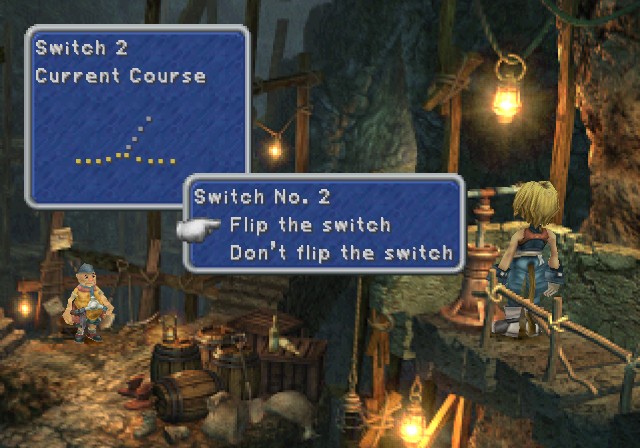
That way, we can switch Switch 2 to proceed.
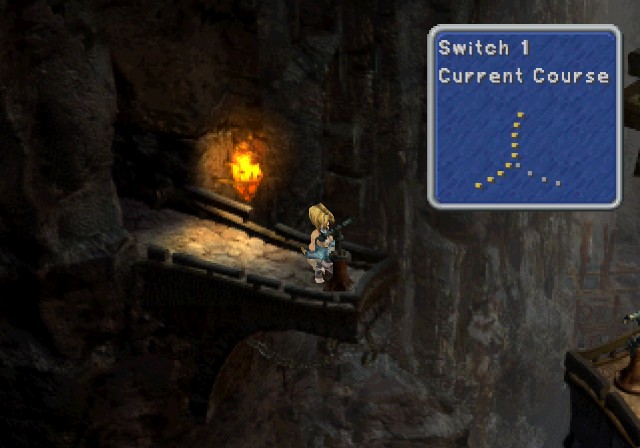
And then we go back to Switch 1 and switch it back so we can go back and take the other route for Switch 2.
This is fucking stupid.
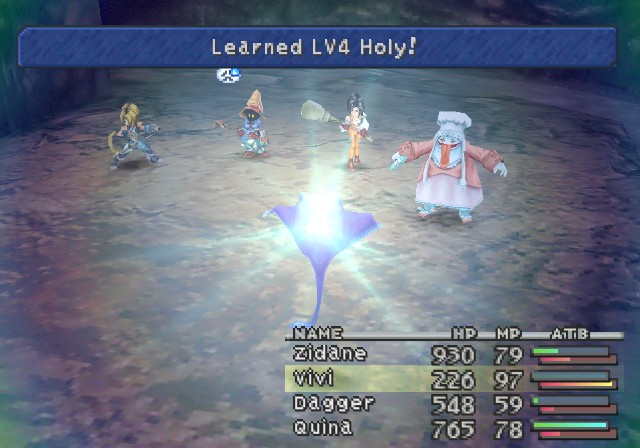
Meanwhile, Quina eats a Feather Circle and learns L4 Holy. It's pretty damn weak for a spell that won't even work on most enemies. Meh.
There's another
 You wanna buy something?
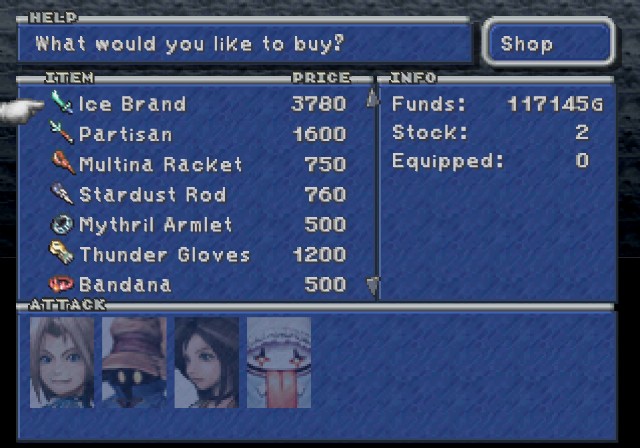
Some basic equipment in case you missed some earlier.
For this switch, you'll actually be progressing forward if you don't flip it, but you want to flip it first to get treasure.
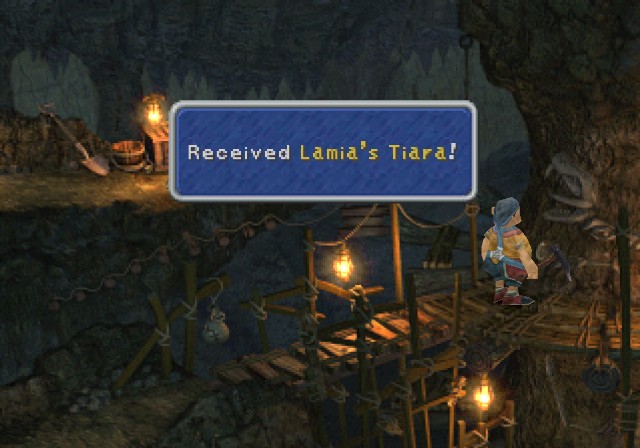
The Lamia's Tiara is a hat for Dagger, Freya, and Quina that halves Wind damage and teaches Clear-Headed, Float, and Confuse. Confuse is new for Dagger, so might as well give it to her!
Alright, now to go in further.
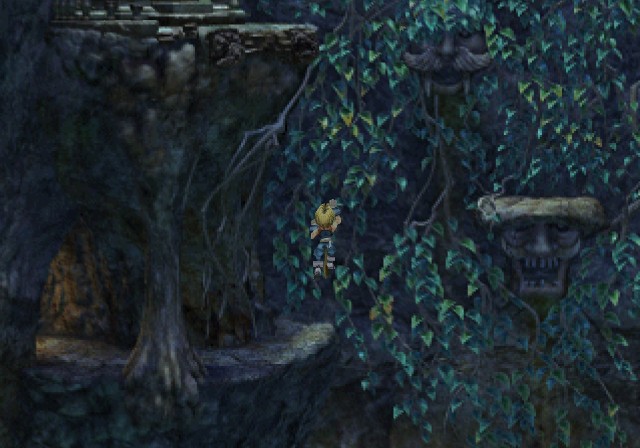
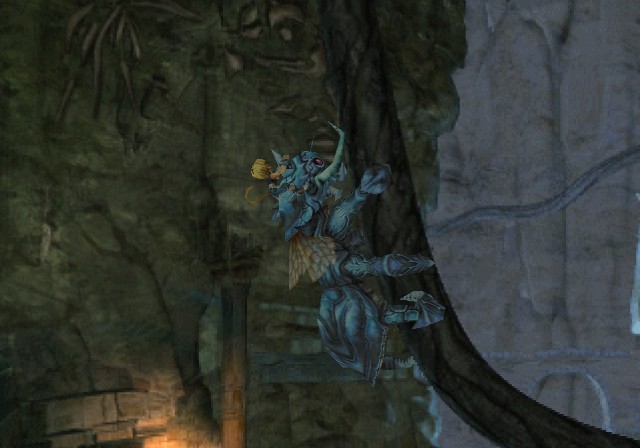
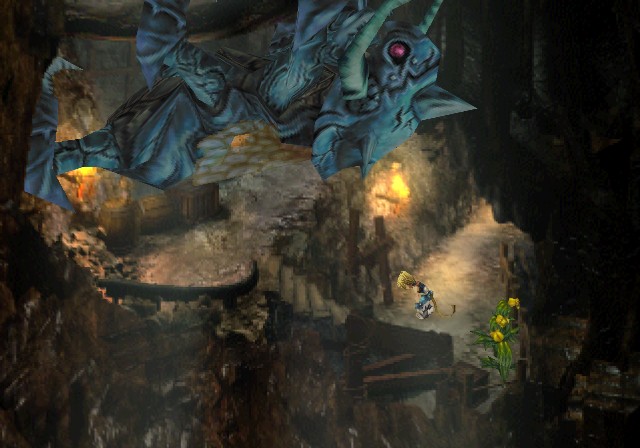
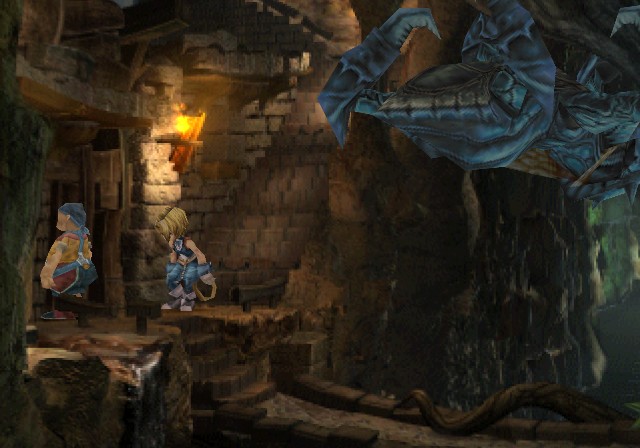
This next part has you climbing vines.
Sometimes water spouts knock you into the lake below.

Luckily Zidane can do a wicked-sweet backflip.
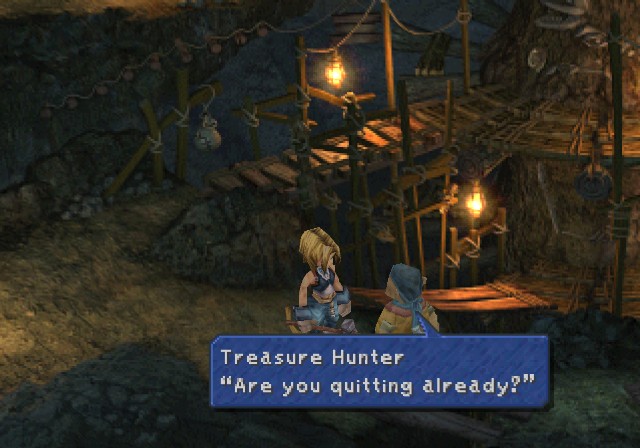
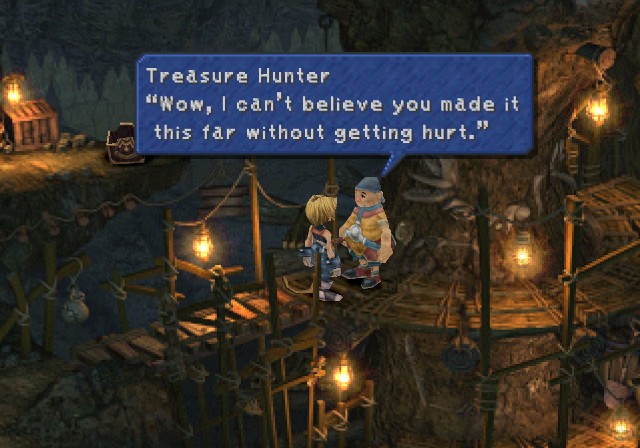 This is my territory. Go dig somewhere else.
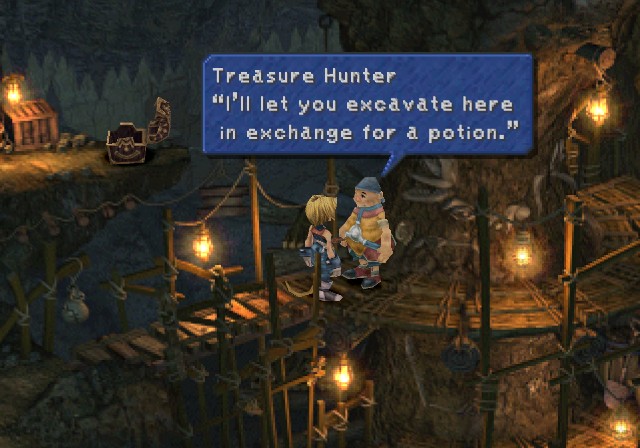
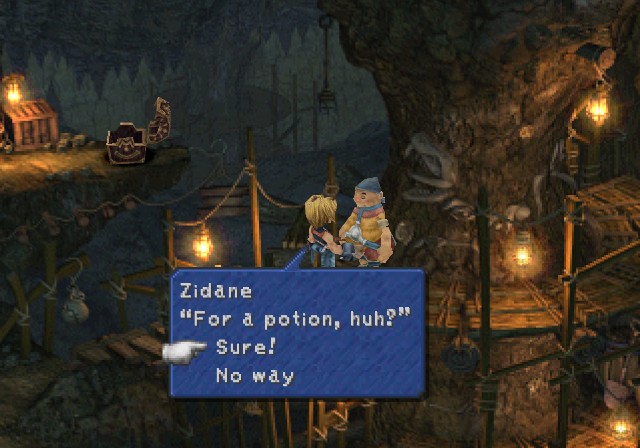
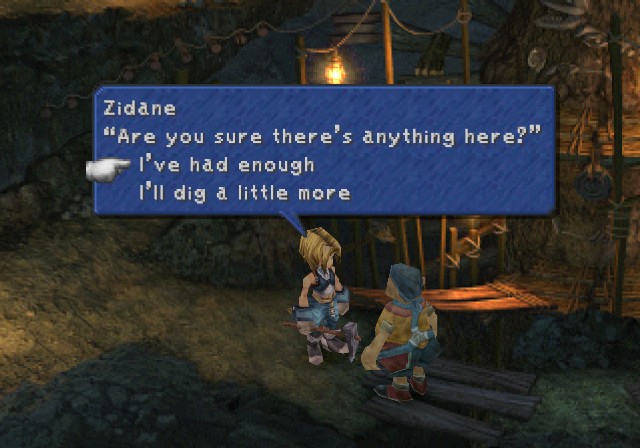
No reason not to!
Thanks, buddy!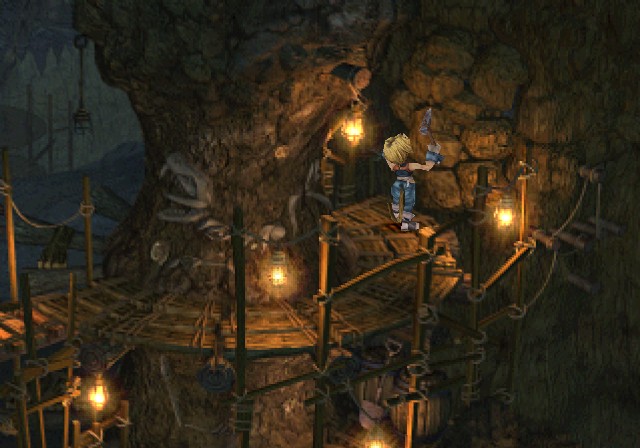

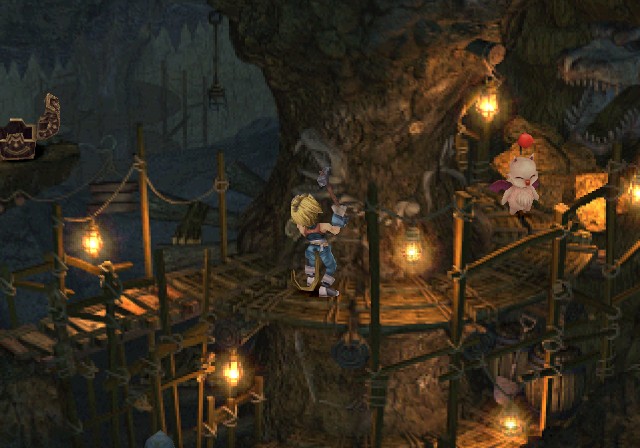
After whacking these rocks a dozen or so times, we hit paydirt.
It's a letter request.
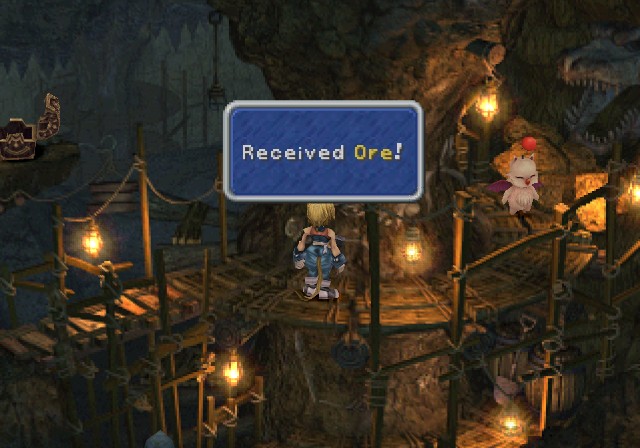
We can whack this middle column as long as we want. You can get Potions and Ores, but there is a small chance of getting a Madain's Ring, your first chance to get one if you didn't buy it from the Treno auction.
Yeah, this game sucks.
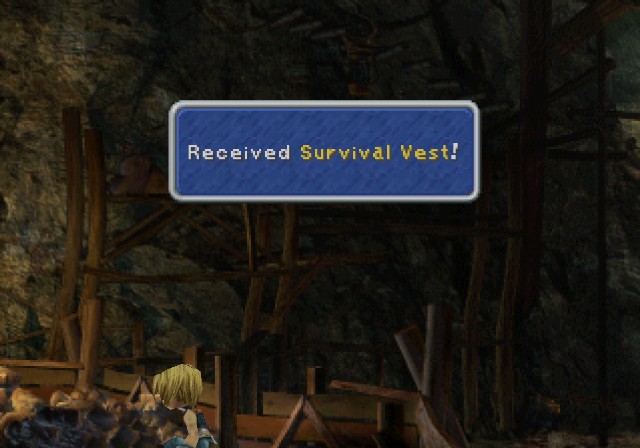
And buried over here is the Survival Vest, an armor upgrade for Zidane. We could've stolen one from one of the Beatrix fights, but effort.
It teaches Antibody, Locomotion, and Mug. Mug, like other FF games, is essentially Steal that does damage.
Unlike other FF games though, Mug doesn't do the same damage as a physical attack. The damage is terrible based on my one use, don't know if it's largely random or if it always does crap damage. Either way, pretty disappointing since Zidane always wants to be stealing anyway.
Anyway, to advance we climb the vines to the top-left to flip the final switch.
And we are finally done with this dungeon!
Next time, the Outer Continent! What mysteries and adventures will we discover here?