Part 31: This Update Is Mostly About Sentient Rocks
Update 31: This Update Is Mostly About Sentient RocksIn This Update:
- Meet interesting people!
- See beautiful sights!
- Make FFXII references!
---
Welcome back. Today's update is about catching up on Adelle's Heritor quests and resolving the Stone With No Name quest line.
It's basically filler. Sorry. But I promise it won't be too boring.
I actually completed this quest back around Update 27, but that update was already long enough. And then it didn't fit in with any of the Bonga Bugle quests, obviously.
Fortunately, the clan doesn't change much between updates these days. Someone picks up a new ability, maybe swap some jobs around, that's really it.
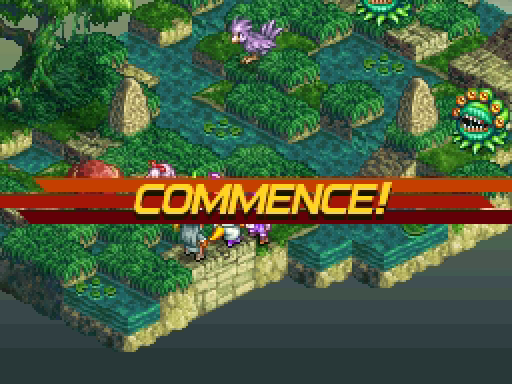
Anyway, on to the battle.
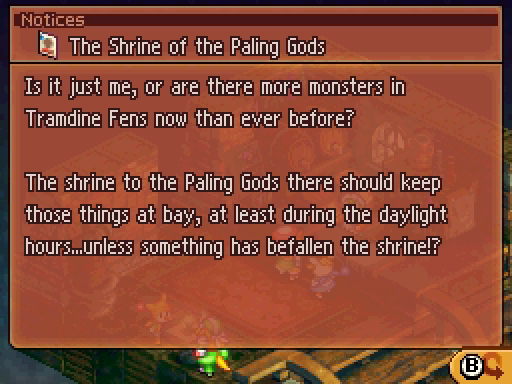
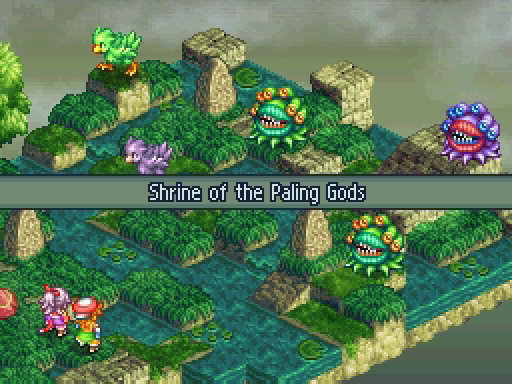
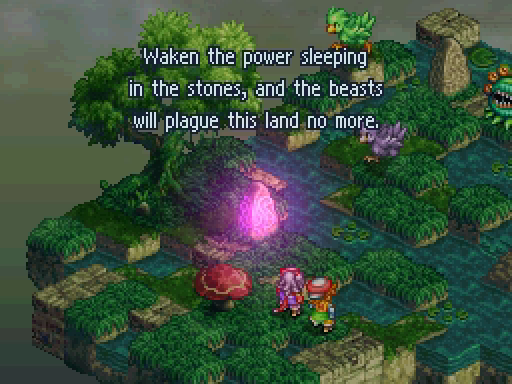
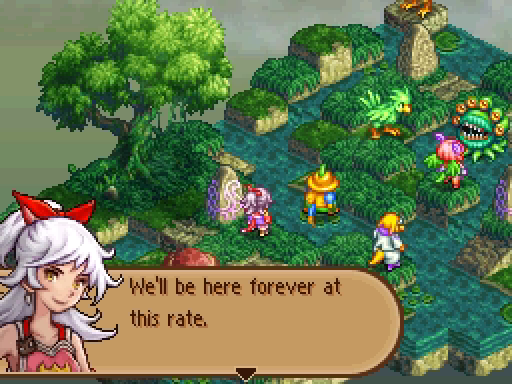
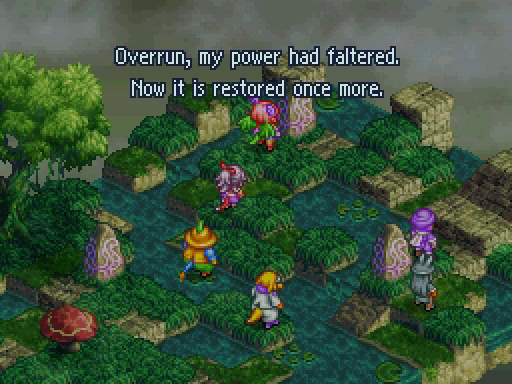
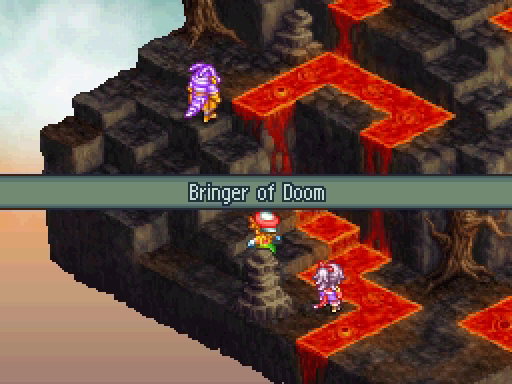
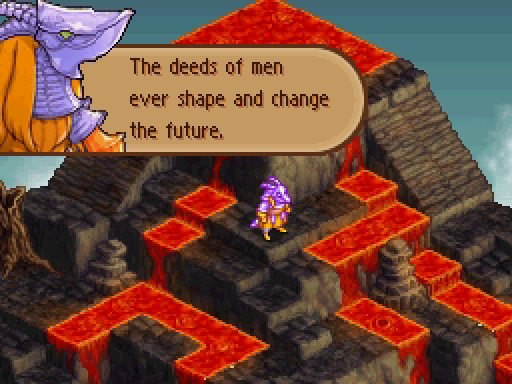
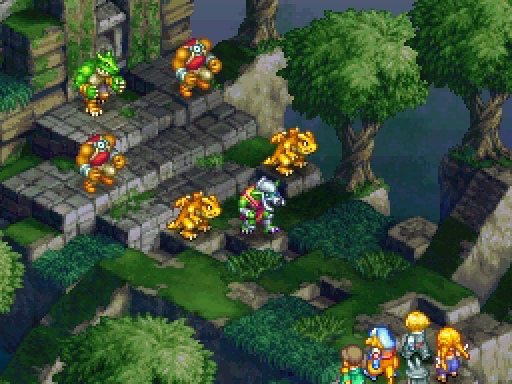
 : I suppose this is a bit much even for the Paling Gods.
 : Hey, Adelle. What are all these pillars for?: Monuments honoring the Paling Gods, I'd imagine.
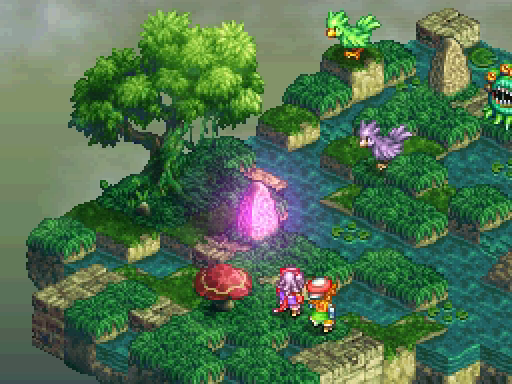
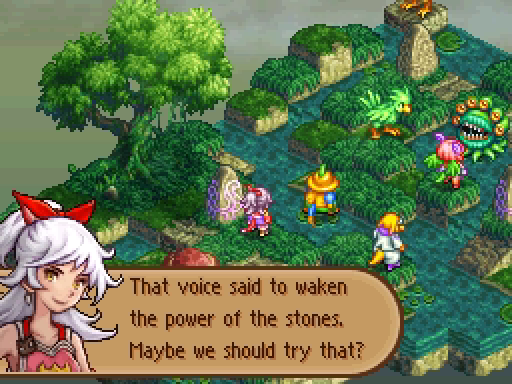
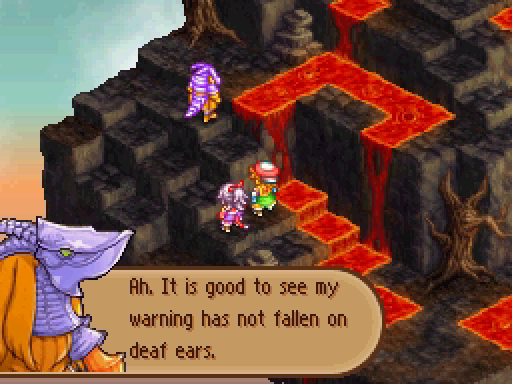
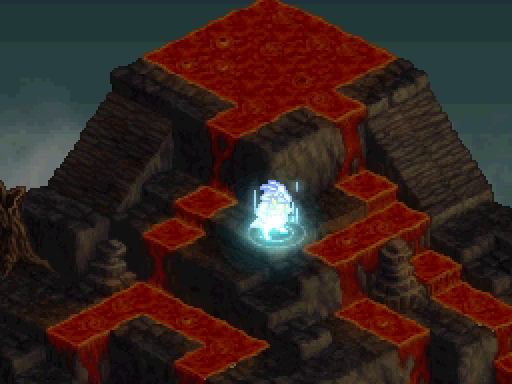
The monument nearest us starts to glow.
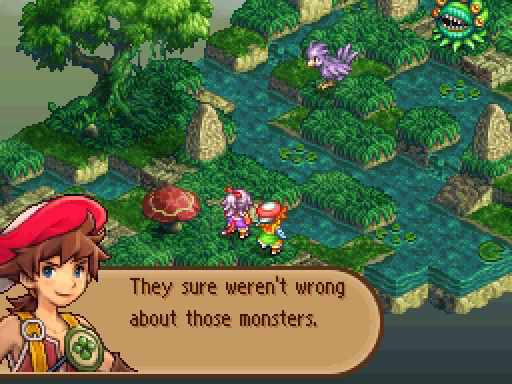
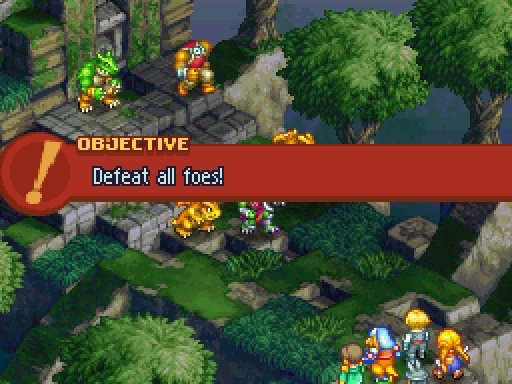
 : Did you hear that?: Hear what?: The stone glowed, and there was a voice. You didn't hear it?: Um, no.: ... Anyway, we need to do something about these monsters.
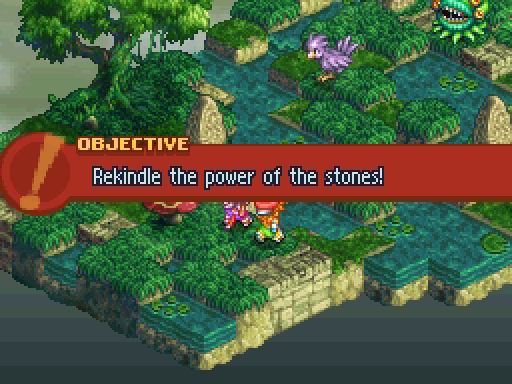
Your standard "walk around and investigate objects" battle.
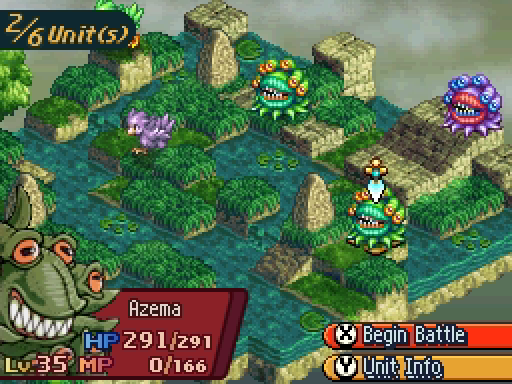
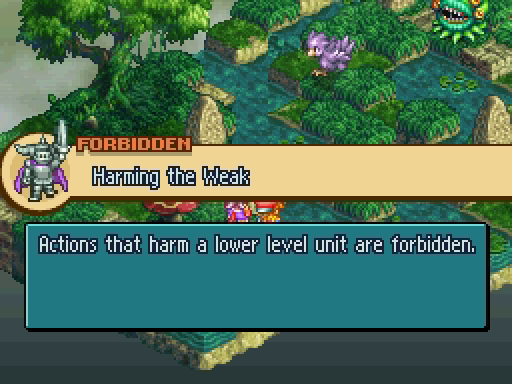
I'm pretty sure the monsters here scale with the clan's level. Everyone is around level 35, so we should have no problem with the law.
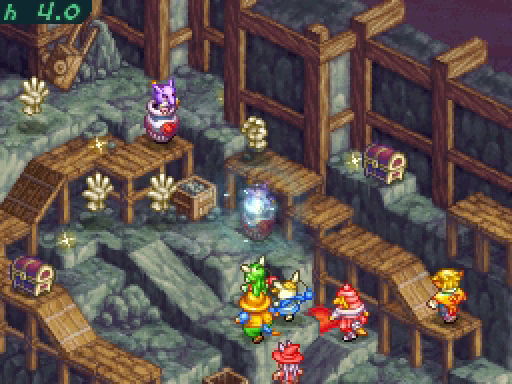
For once, I didn't take a clear shot of the team. We have Adelle, Tsing, Leed, Jalia, Lian and Zoe.
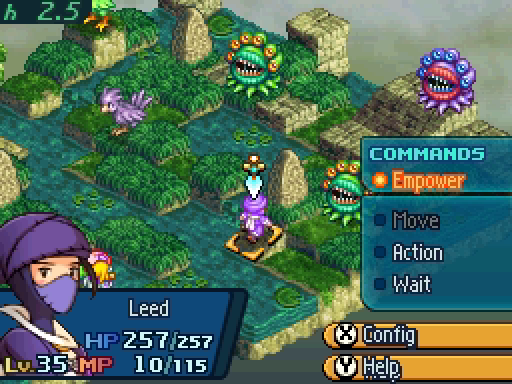
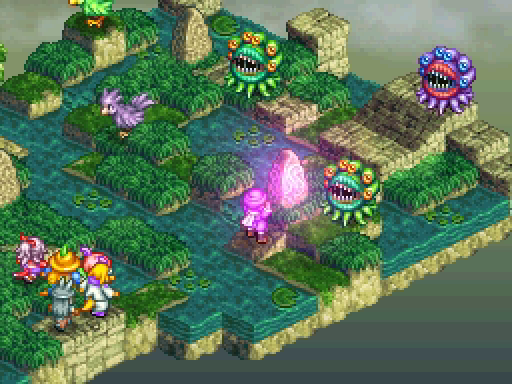
Might as well hit the first stone. You can see the other two stones in these pictures, at the far left and top of the screen.

Besides the glowing and Adelle's commentary, nothing happens after touching the stone.
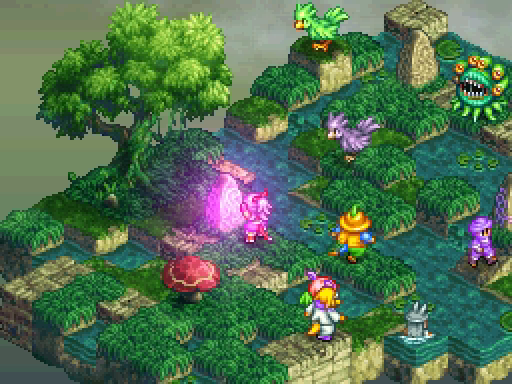
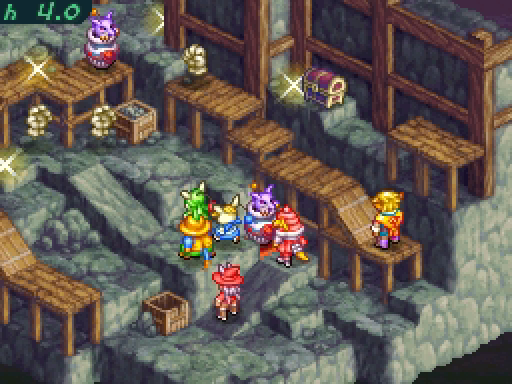
Adelle activates the second stone.
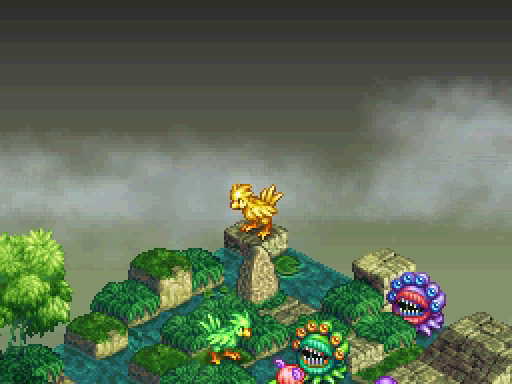
The monsters aren't any special. I suppose you could capture the Chocobos or pick up a couple Blue Mage abilities from the Malboros. Killing them just summons a new monster to take their place.
And Adelle just reminds you about your actual goal.

Zoe reaches the last stone quickly, thanks to her wings and the Ninja Tabi.
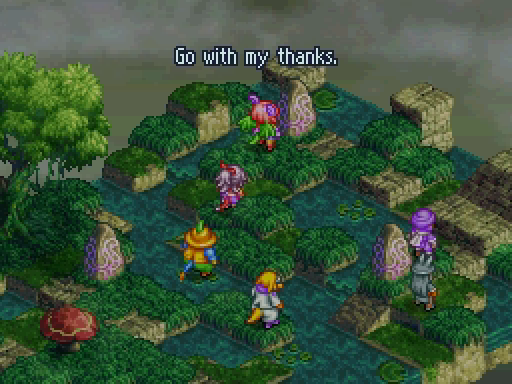 : The voice of a Paling God...?
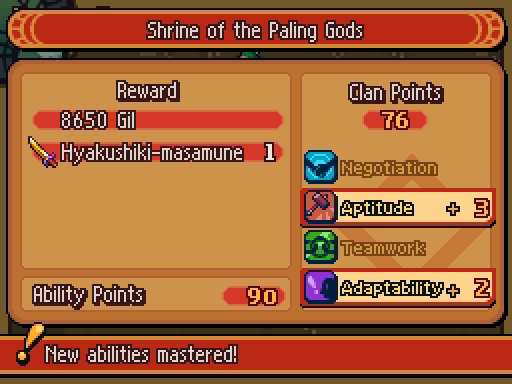
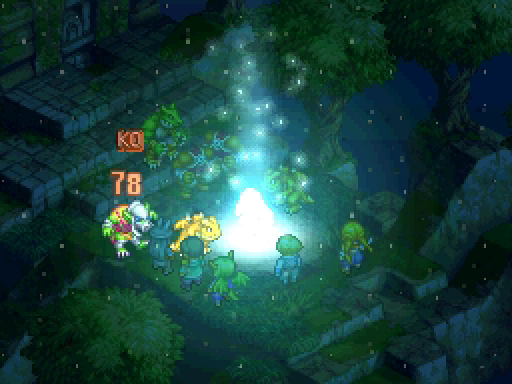
We get a new katana for our troubles.
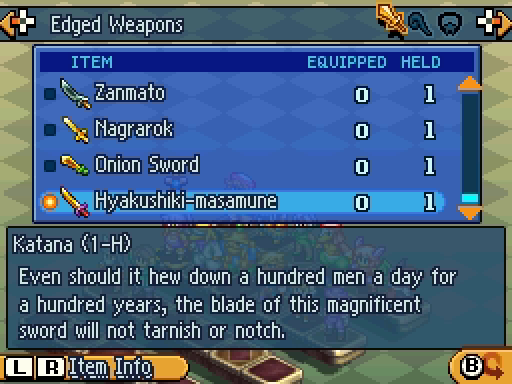
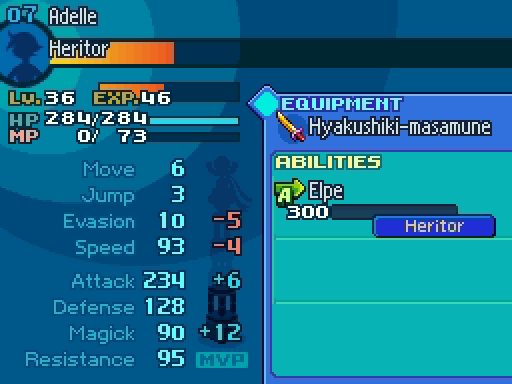
The Hyakushiki-masamune is tied for the strongest weapon in the game with an enormous 78 Attack. Adelle currently wields The Fallen Angel, the strongest Knightsword in the game. Hyakushiki-masamune gives another +6 Attack and a total of +15 Magick Power.
Now, The Fallen Angel has an advantage over the Hyakushiki-masamune: it's really easy to get multiple Angels, making them a better choice for dual wielders. On the other hand, Parivir has the strongest single-hit attacks (besides Ultima abilities) and uses katanas. Samuel is going to love this sword.
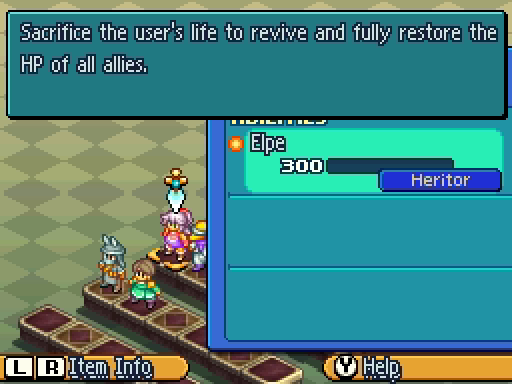
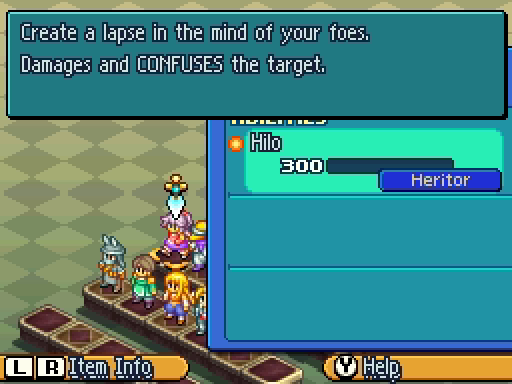
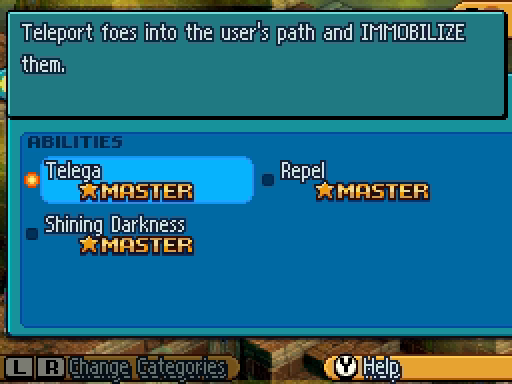
The Heritor ability it teaches is a little less impressive.
It's really good if you find yourself in a rough situation, where losing one unit is worth getting a few more back. There's definitely been a few fights (not so far in this run) where half my team is knocked out, at low HP, or bogged down by too many conditions to do anything useful. Elpe is the perfect ability then.
Or you could be more careful and not get into that situation in the first place. Good equipment and some tactical thought will keep you out of trouble for most battles.
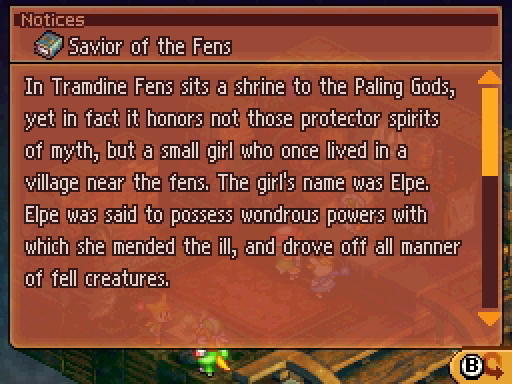
Savior of the Fens posted:
In Tramdine Fens sits a shrine to the Paling Gods, yet in fact it honors not those protector spirits of myth, but a small girl who once lived in a village near the fens. The girl's name was Elpe. Elpe was said to possess wondrous powers with which she mended the ill, and drove off all manner of fell creatures.
Once, a great horde of demons most foul descended upon her village, and so Elpe bestowed her own strength upon three standing pillars of stone, sacrificing herself to keep the demons at bay.
Since that day, the stones have been known as the Shrine of the Paling Gods, and not a day goes by that the descendents of those villagers do not bring fresh flowers there in rememberance of their saviour.
-Excerpt from "The Traditions of Ivalice"
---

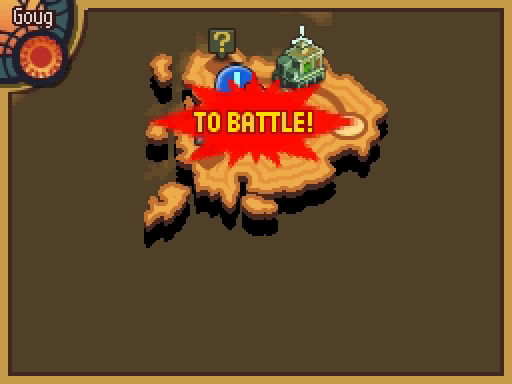
Adelle mastered Elpe during all those Bonga Bugle quests, so it's already time for the next quest. Let's go save Goug!
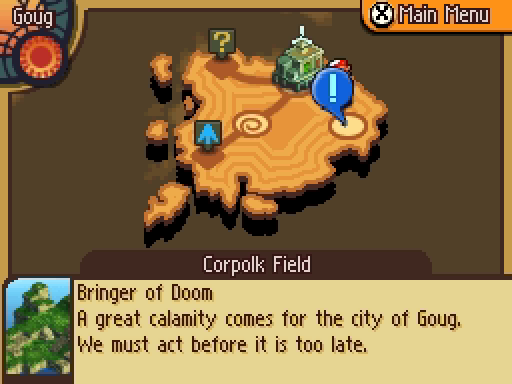
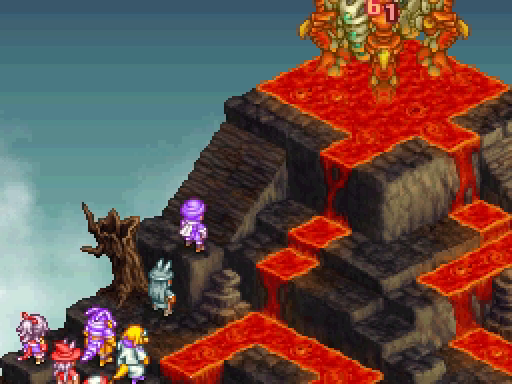
This quest actually unlocks a new area, which is cool.
There's no music playing, just the murmur of the wind through the burnt and twisted trees.
: So you're the Prophet Hilo?Hilo nods.
: Have you been waiting here all this time? Why? : I will fight alongside you. I have no intention of fiddling while Goug burns.
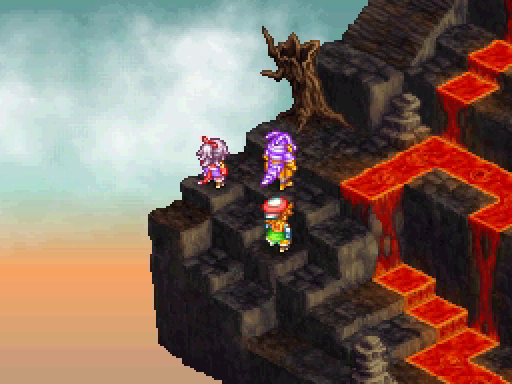
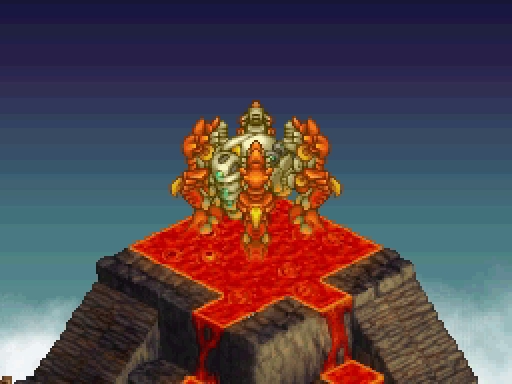
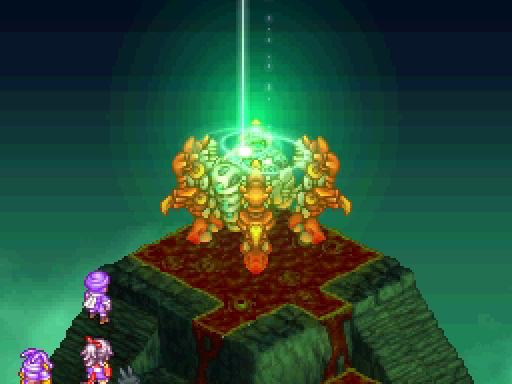
Samuel and Adelle come to stand next to Hilo, and our enemy is revealed.

The music shifts into "The Confronted Ones," which I believe is also the FFXII boss battle theme.
I don't often link music. (Mostly because this game's OST is hard to find.) This one is definitely worth clicking.
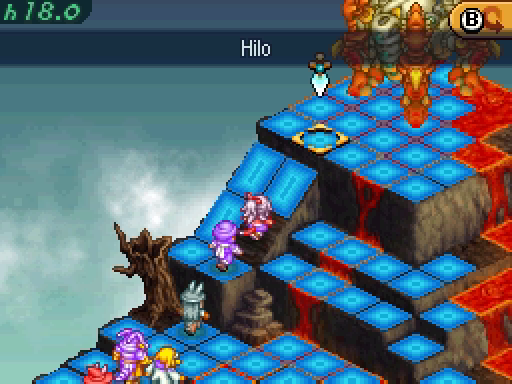
: What in blazes is that?: Whatever it is, it's standing in a pool of lava. We'll never be able to reach it there.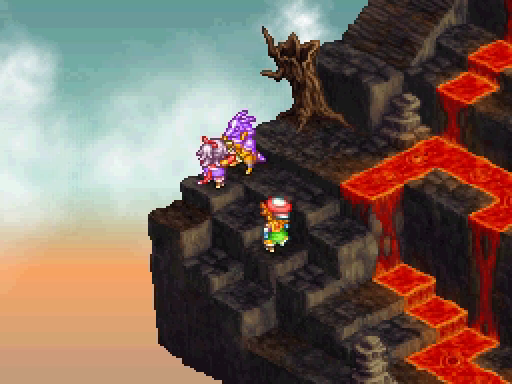
Hilo turns to Adelle and hands her a sword.
: This blade is called Chirijiraden in the Eastern Kingdoms where it was forged. The power it holds will enable you to strike even distant foes. Take it.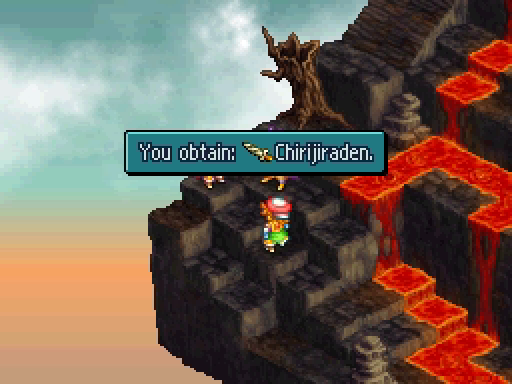
You may recognize that tongue-twister of a name from FFXII!
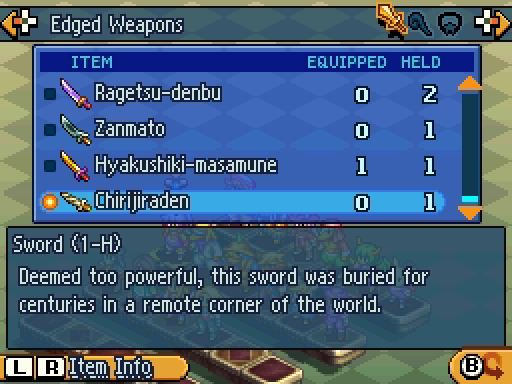
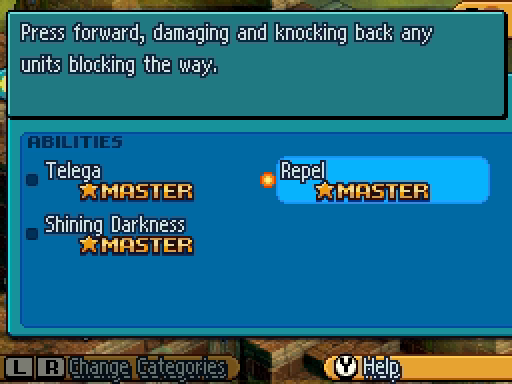
Chirijiraden is the most powerful Sword in the game, but the second weakest Heritor weapon. Hilo is a pretty good ability though.
: Hey, how come -she- gets the cool sword?: I have looked on the face of the one meant to wield this blade.: What's that supposed to mean?: Then... you saw the outcome of this battle?: Do you truly want to know?: What, and ruin the surprise? No thanks!: Hrmph.: That's just like you, isn't it? Well, enough talk. We've got a monster to stop.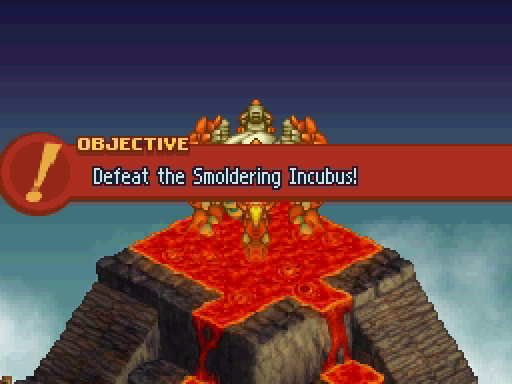
Let's see what exactly we're facing.

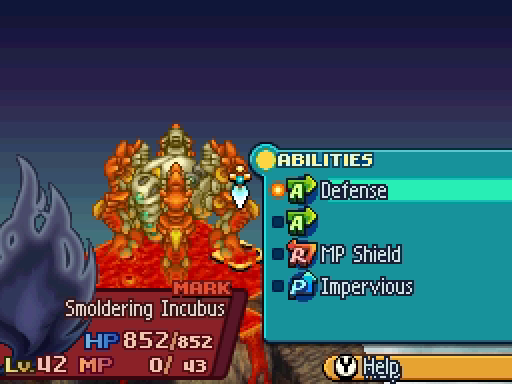
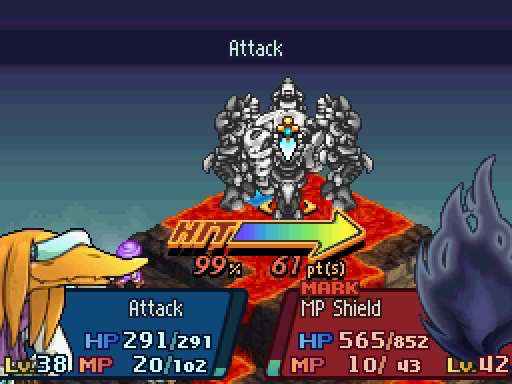
No equipment, MP Shield for a little extra tankiness, and Impervious because of course bosses can't be affected by conditions.
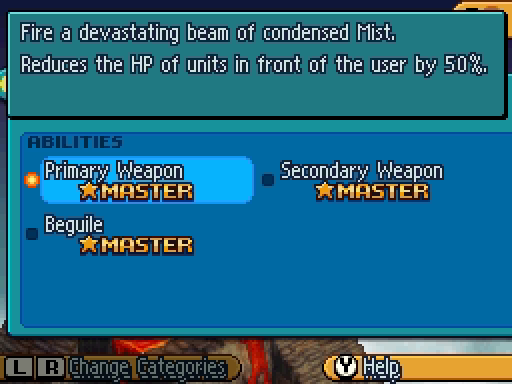
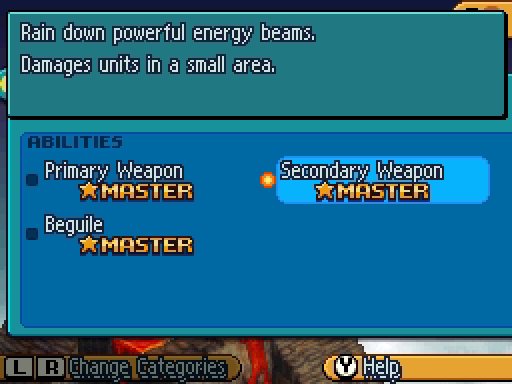
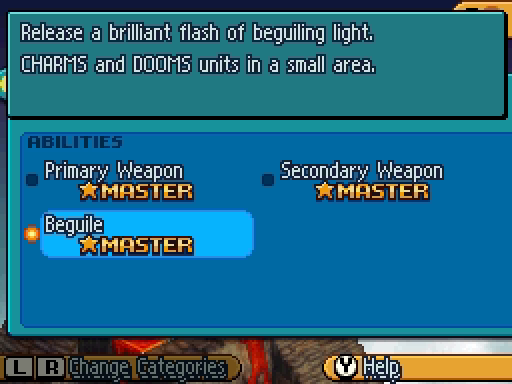
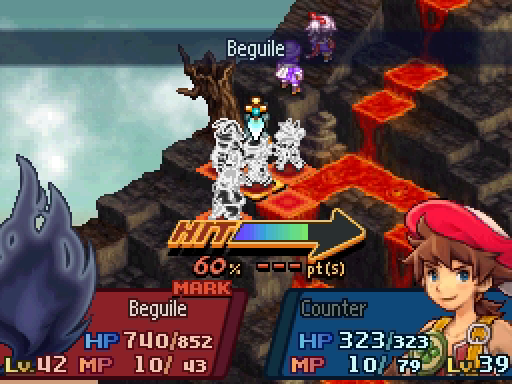
Only three attacks. I can see they're going for an "ancient defense system" theme, but where does Beguile fit in?
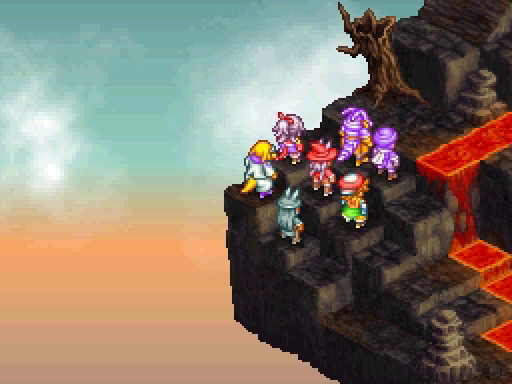
Here's our team for this fight. Mostly ranged damage -- even Samuel does alright on that front with Parivir's Wind Slash.

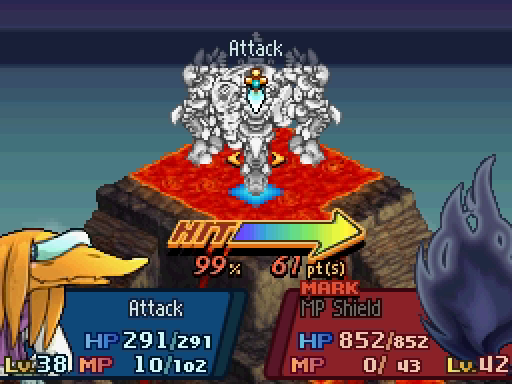
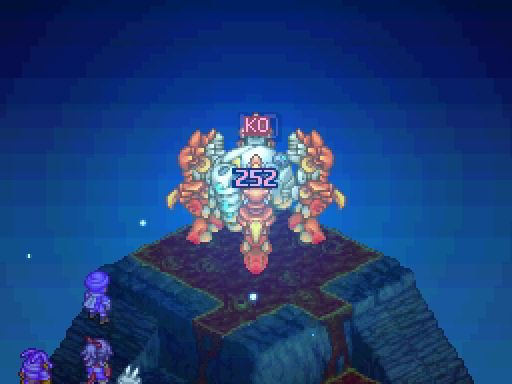
852 HP? Is that a lot?
(Not really.)
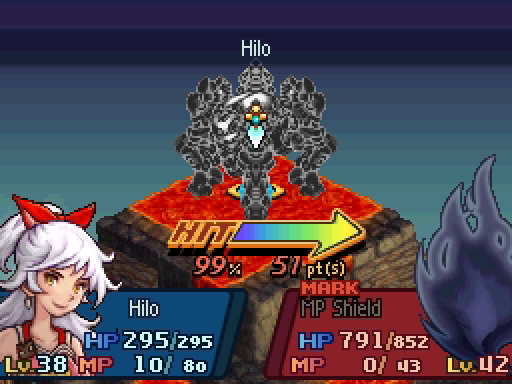
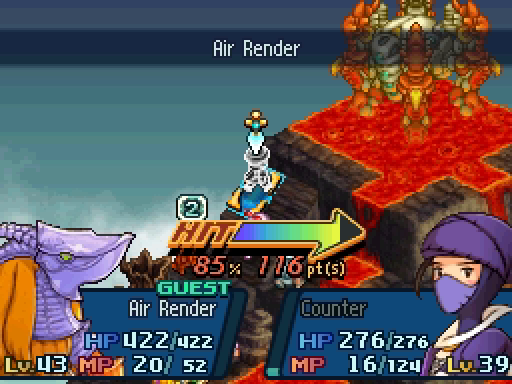
Adelle equipped Chirijiraden before the battle started. Hilo does the same damage as Wermut, but has a huge 6-square range. Her other abilities only go up to 4!
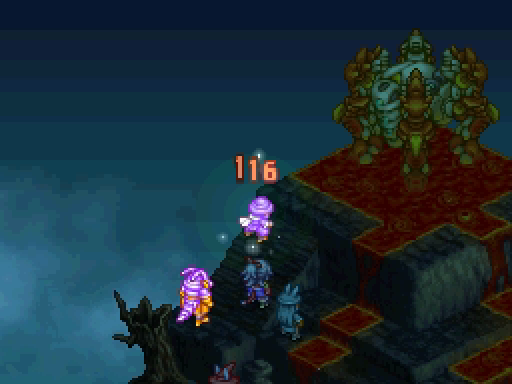
Its animation is a little underwhelming.

I really should have prepared better for this.
Samuel and Leed are Doomed, but only Hilo is Charmed. Charm is easier to block, since more accessories block it than block Doom.
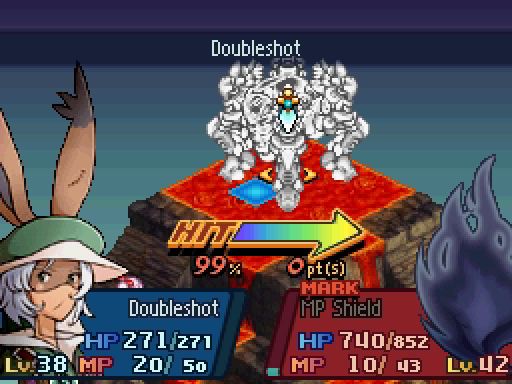
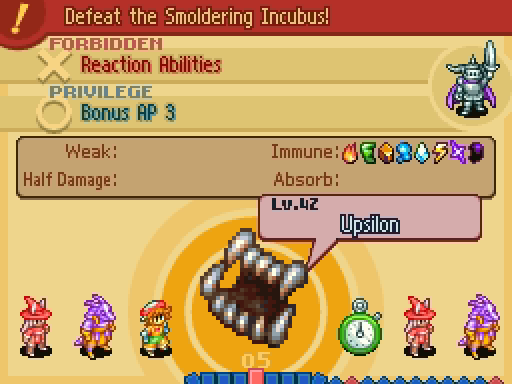
One deficiency of this game is it does not show you a unit's innate elemental resistances before the battle starts. This is especially annoying for Snipers, because their best weapons deal elemental damage that many enemies resist. In this case, the Incubus is immune to all elemental damage.
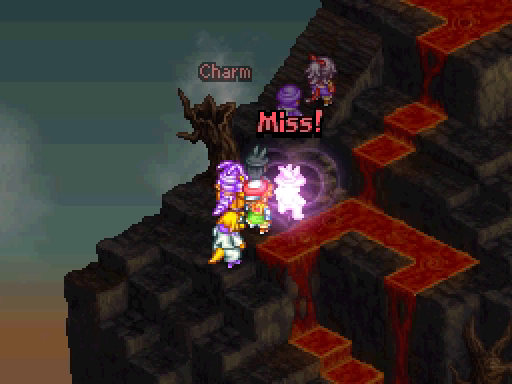
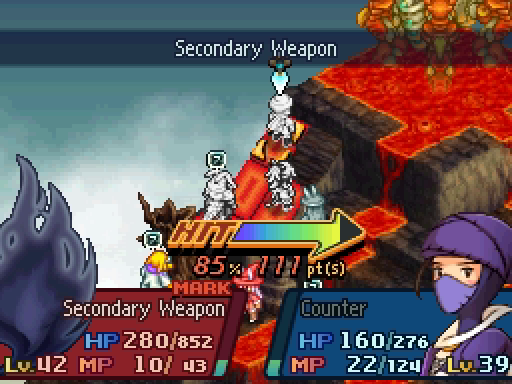
The Incubus fired off another Beguile, which fortunately only hit Leed. Hilo, who himself is still Charmed, snaps him out of it.
One round and we've cut its health almost in half. Leed's Magick Frenzy did over 150 damage alone!
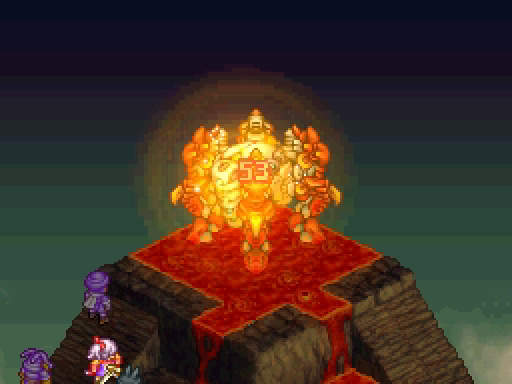
Of course, it doesn't take this beating lying down.
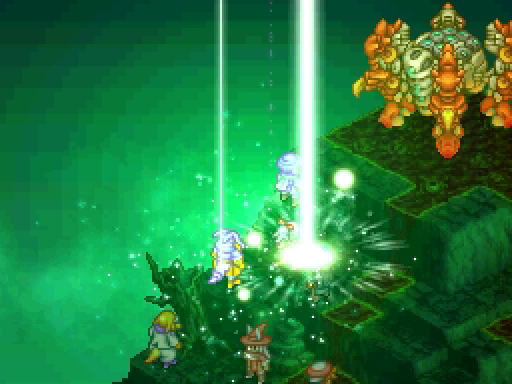
Not gonna lie, that's an awesome attack.
Let's end this with an appropriately awesome attack!
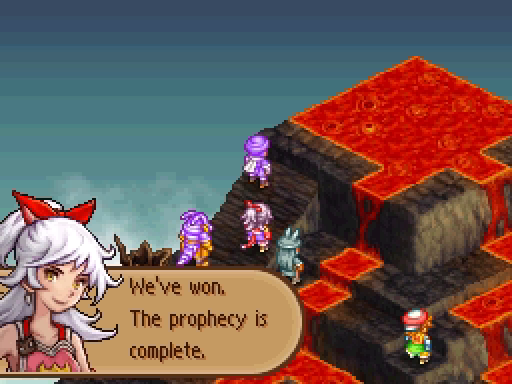

Later, after the battle:
 : What a relief.: For us all.: So, your gift is to see into the future... I never knew the Gifted Ones had so many different powers.: I sense a great power sleeping within you. A power that will soon awaken. The time draws near.: ...: What this power is, you must see for yourself.: I will. Well, I should be going. What should I do with the sword?: Keep it. It's yours.
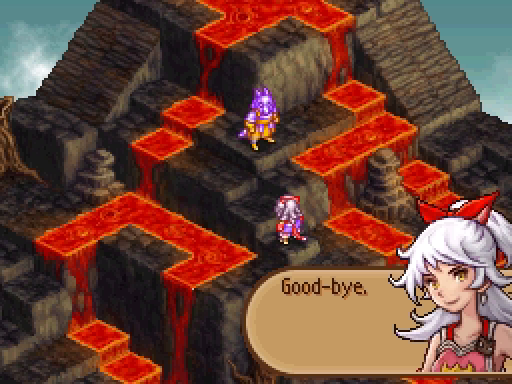 : Thank you for your help.
Adelle leaves.
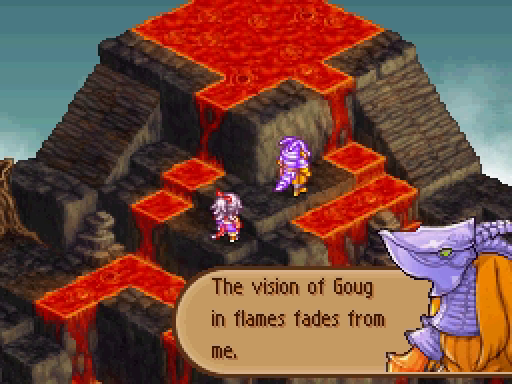
 : It is time I left as well. Too long have I dwelt in this borrowed flesh.
...what?
He teleports away.
---
Well, that's us caught up on Heritor quests. We only have a few of those left!
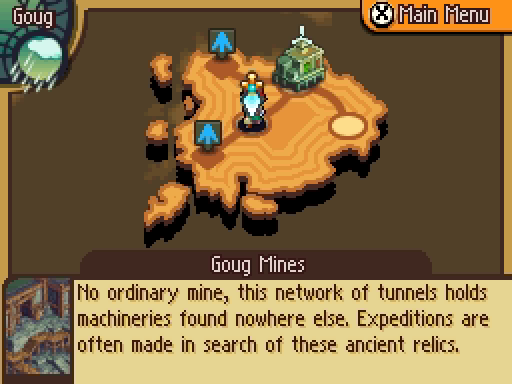
While we're in Goug, let's take care of a quest that can only be found in that city.

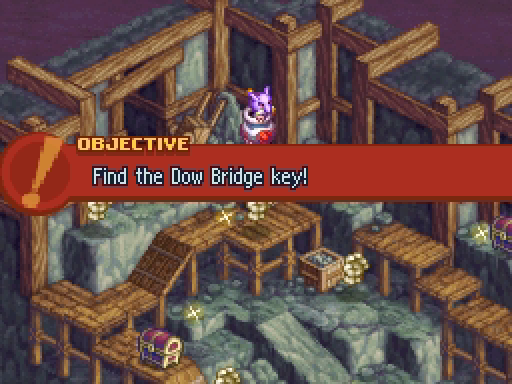
- Tchipo, Dow Bridge Operator
Now, you may be thinking this is just another item finding quest. Look at some glowy spots, dodge some enemies, the usual.
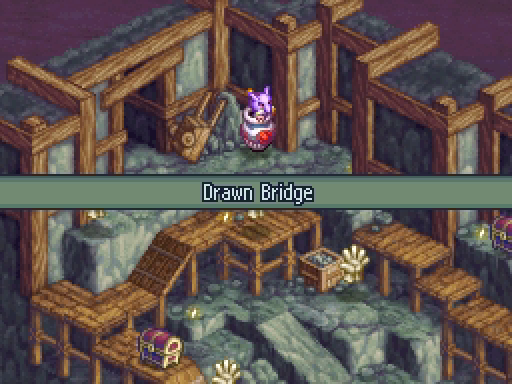
And you'd be right! Except these enemies are... special.
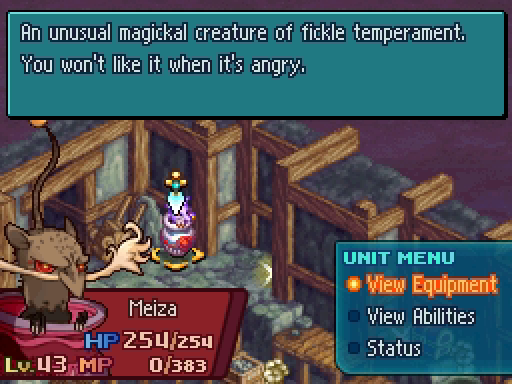
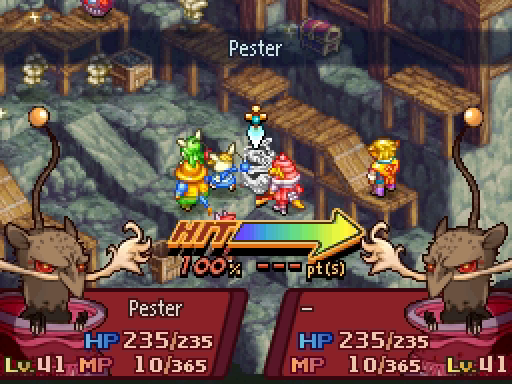
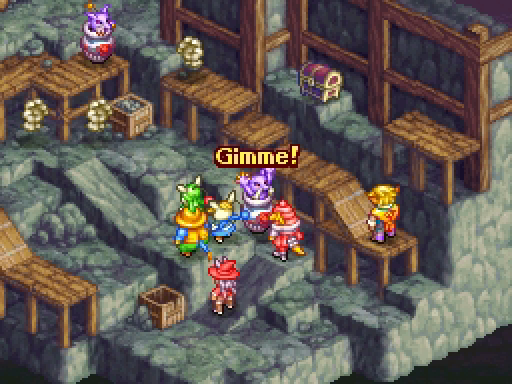
This here is a Magick Pot, an enemy that we have never seen before and will never see again.
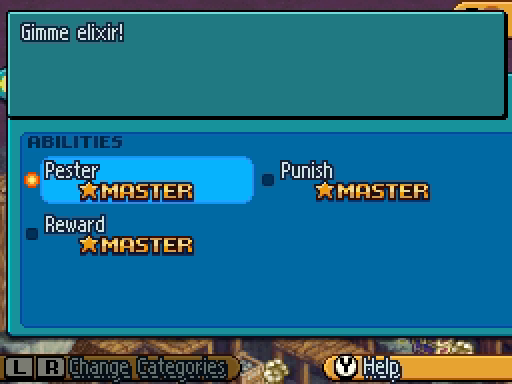
They have 3 abilities. Pester makes them ask for an Elixir. Punish ("No loot for you!") and Reward ("Thanks!") do exactly what they sound like, and which one you use depends on whether or not you give them an Elixir.
Also, there are a bunch of Mimics here.
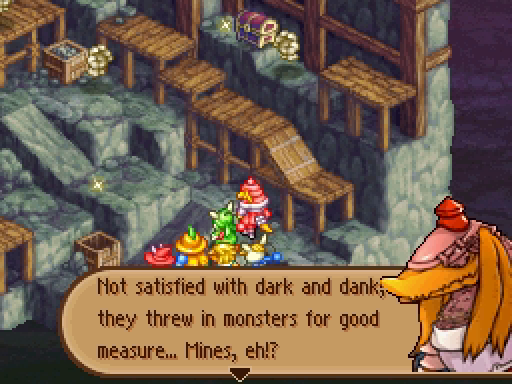
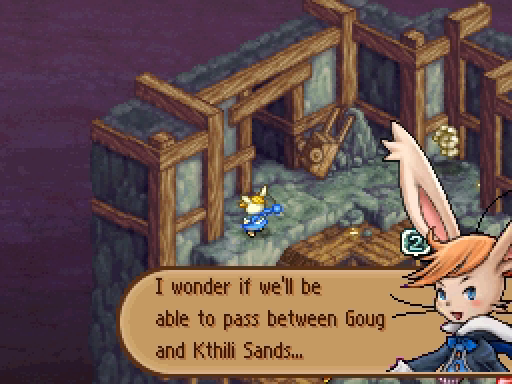
 : Why is it things never seem to get lost somewhere brightly lit?
That is a really good question, Henri.
 : Let's find that key and be done with this.
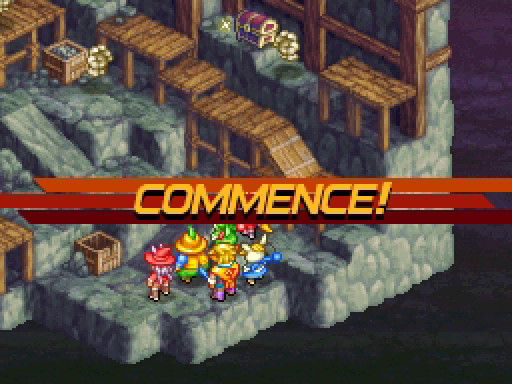
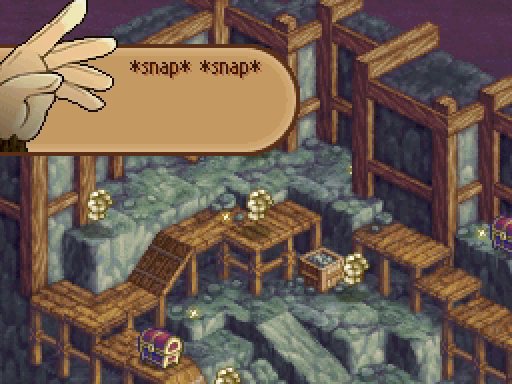
So here's what Magick Pots do:
First, they teleport around.
Then they use Pester and beg you for an Elixir. Yes, the rare, hard-to-find and incredibly useful Elixir.
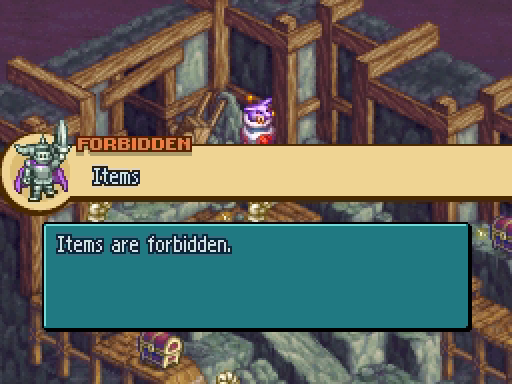
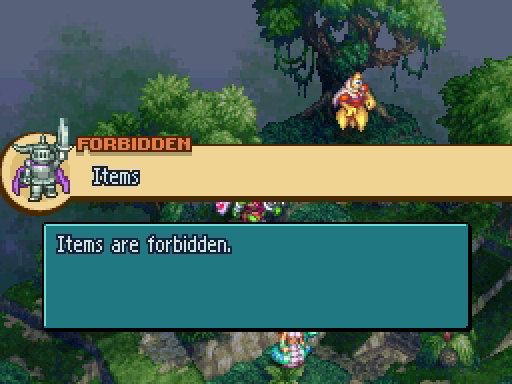
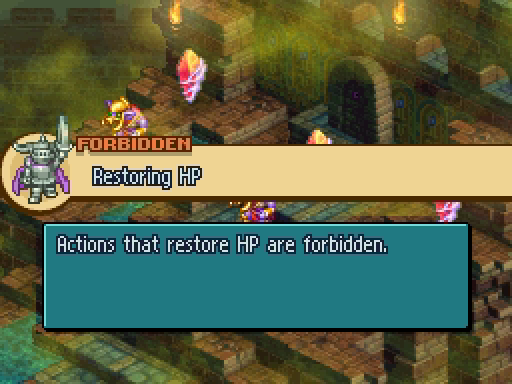
Oh, and remember the law forbids Items.
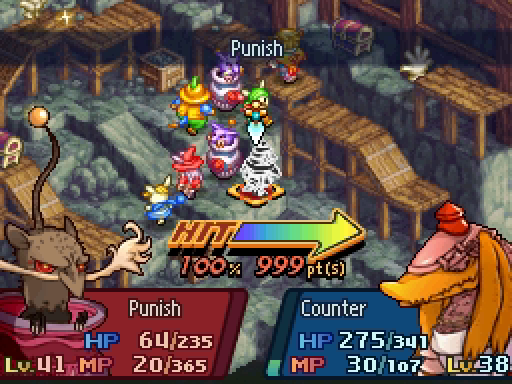
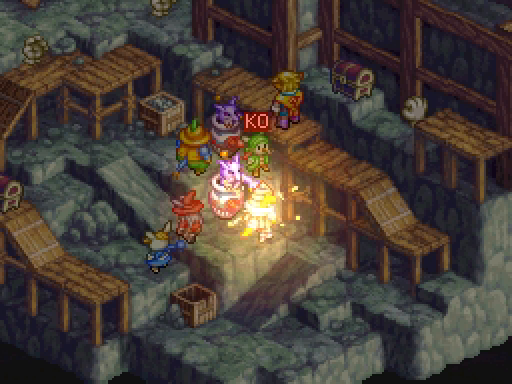
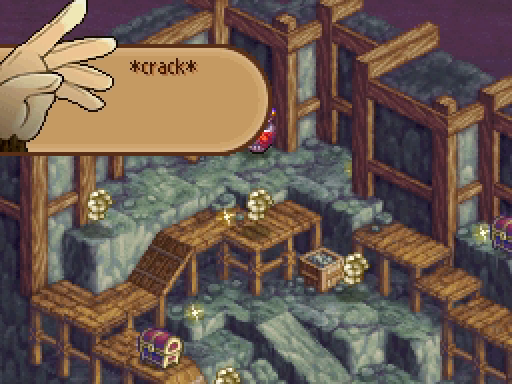
If you don't give them an Elixir, they use Punish to immediately kill one of your units.
What happens if you give them an Elixir? Well, they'll use Reward instead, which causes them to give you a piece of loot and then kills the Magick Pot.
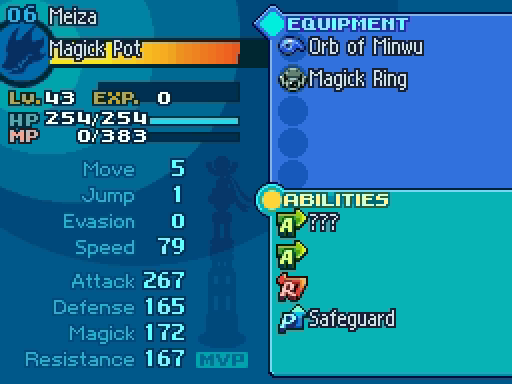
At level 41, this Magick Pot has 235 HP. It has no elemental weaknesses -- in fact, it absorbs all elements -- but fairly weak defenses. Don't bother with the Elixirs. Just kill them.
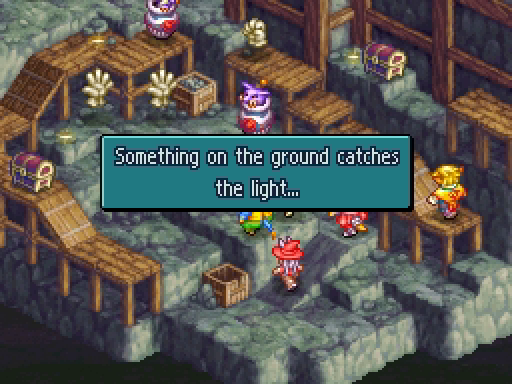
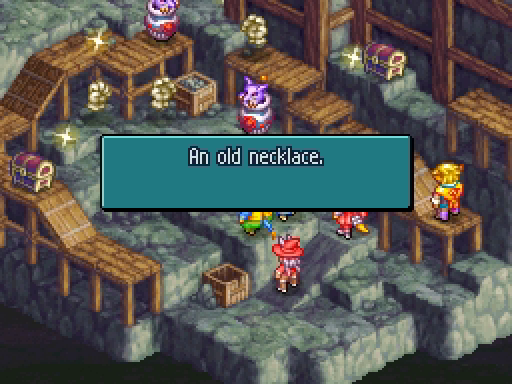
Anyway, our task here is to investigate the shiny objects. Most of them are garbage. The actual bridge key is the one furthest away from us, because it always is.
We kill a few Mimic and Pots along the way, but there's an infinite number of them. Which actually makes this a great quest for farming loot, if you can be bothered.
Can you see what's wrong with this screenshot?
Lenolia isn't wearing her Holy-absorbing robe. I do not remember to fix this.
This exposes one weakness with Blood Price: Low HP means you can't cast any spells, which means you won't be able to heal.
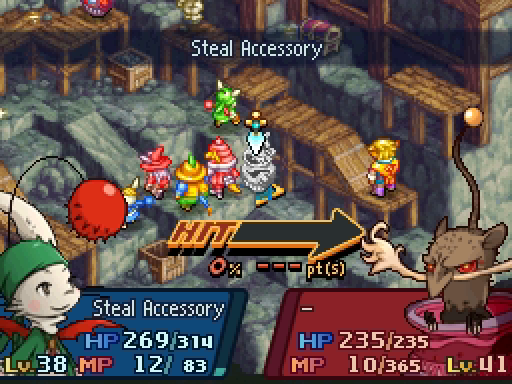
The Magick Pots have some sweet equipment: an Orb of Minwu (which prevents many conditions) and a Magick Ring. Frustratingly, we can't steal them.

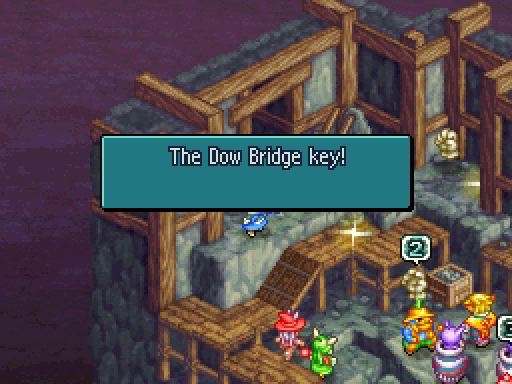
Several turns and dead Mimics later, Hurdy finally walks up to the correct shiny spot.

This key opens the passageway between Goug and Kthili sands. It's not very useful as shortcuts go -- it doesn't shorten the distance from Fluorgis to Goug.

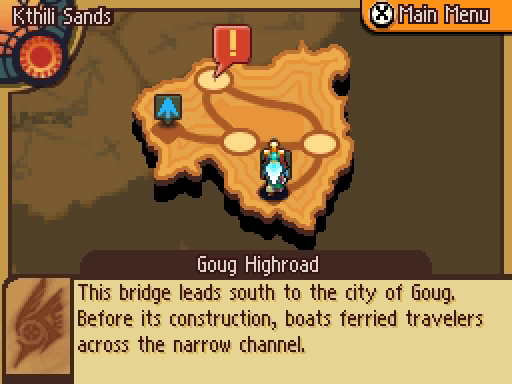
Still, it's nice to have helped.
---
Two more quests to take care of!
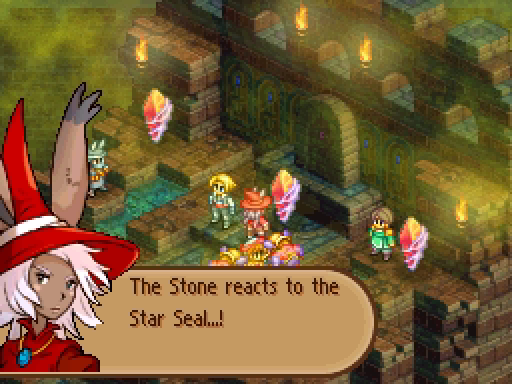
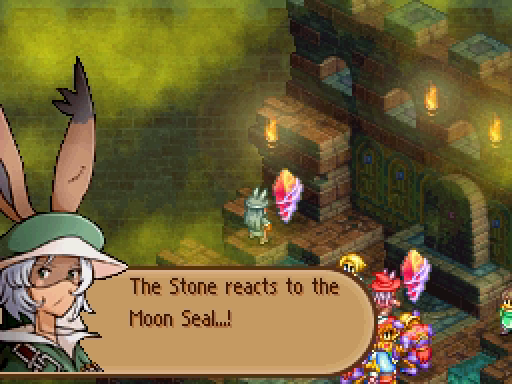
You may remember way, way back in Update 6, we did a quest called The Star Seal, in which we uncovered a hidden area in Targ Woods by pressing the Star Seal to The Stone With No Name. We opened another area in Camoa by doing the same with the Moon Seal in Update 11.
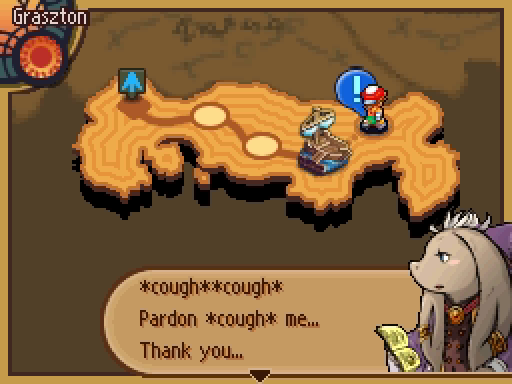
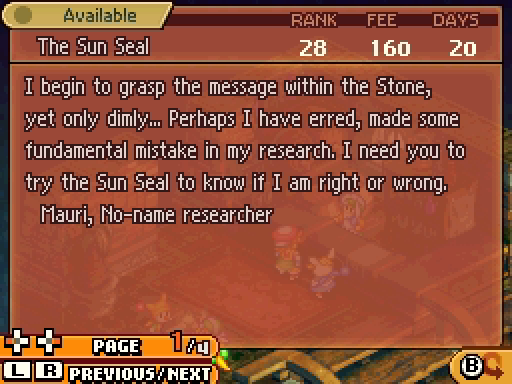
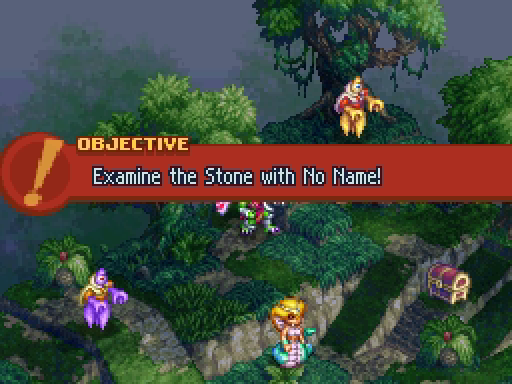
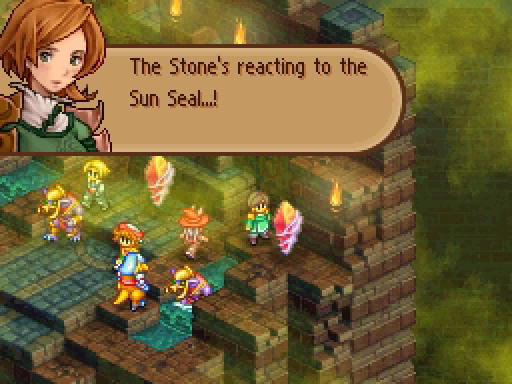
Well, here we are again, bringing the Sun Seal to The Stone With No Name.
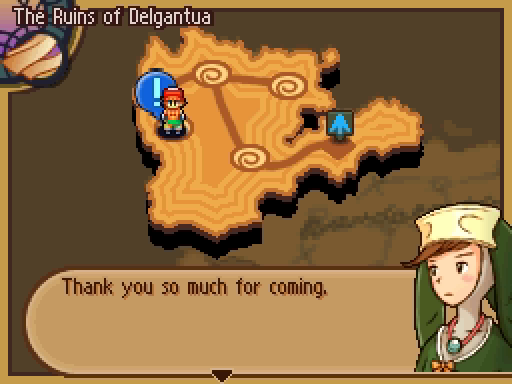
 : Please, press the Sun Seal to the Stone with No Name... discover its true nature.
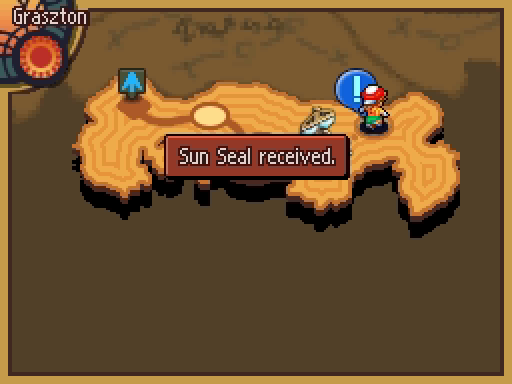 : You don't seem too well... Maybe you should rest while I check out the stone.
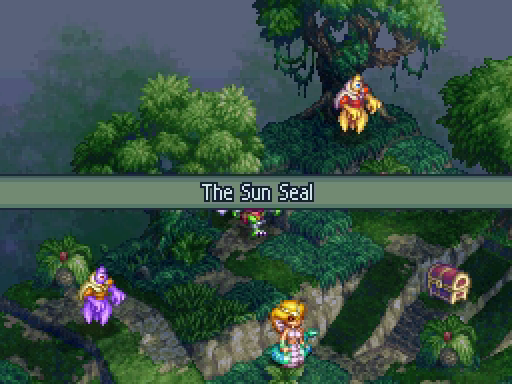
We find ourselves in Shadeholme, the area we unlocked during the Bonga Bugle quest line.
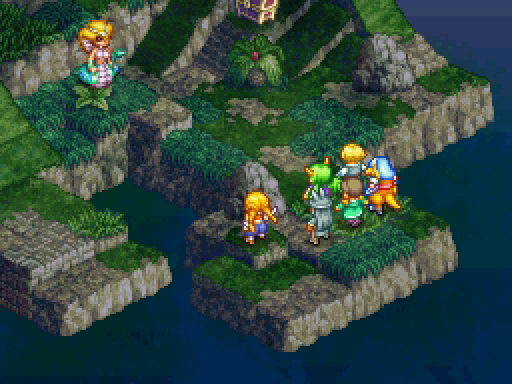
These guys are falling behind a little in XP. Samuel is basically guaranteed to always be ahead, and he's at Level 40 while the rest of the clan lags around level 38.
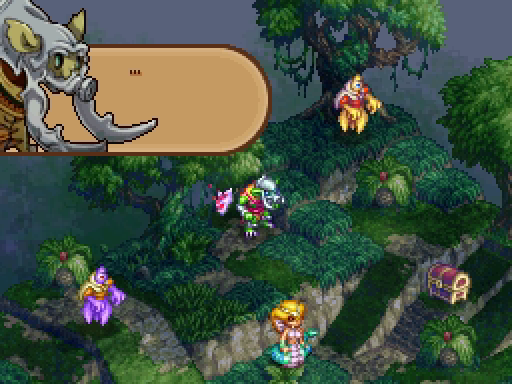
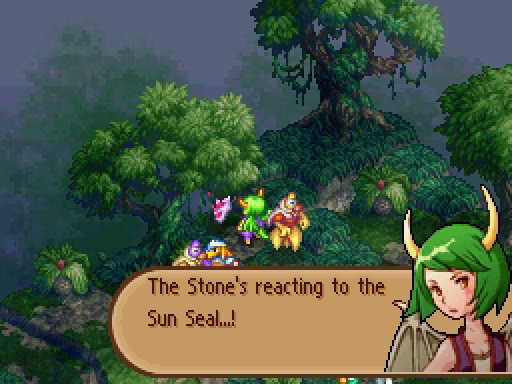
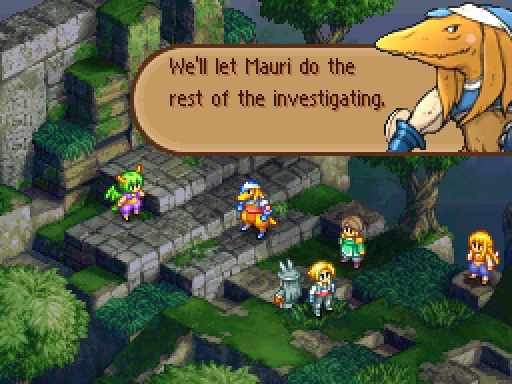
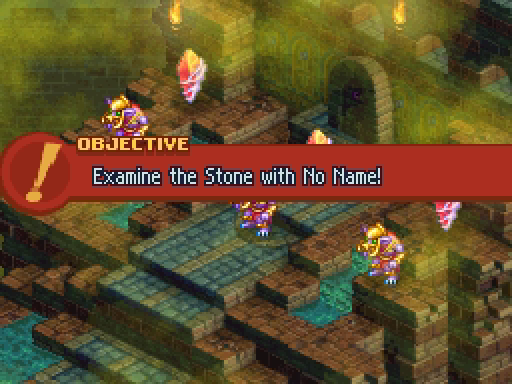
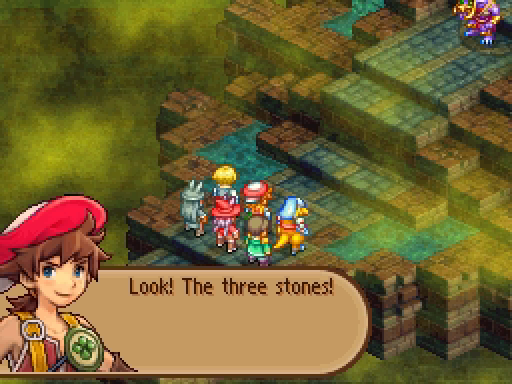
 : There's an odd-looking stone by that monster... The Stone with No Name and its guardian, as always.
 : An odd choice for a guardian. Heh. Well, let's get closer and try the Sun Seal.
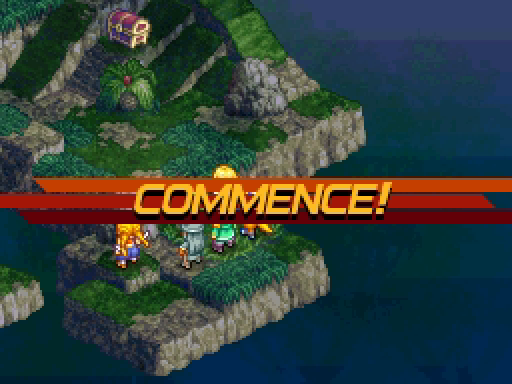
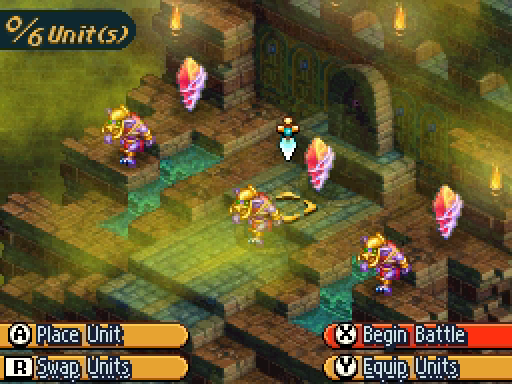
Sorry, but you're in the way.
That's pretty much all the screenshots I took for this battle.

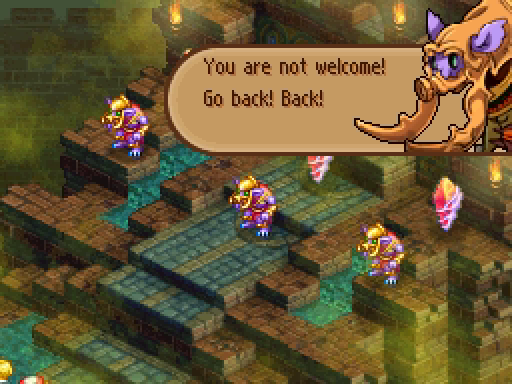
As usual, we're teleported to a new area.
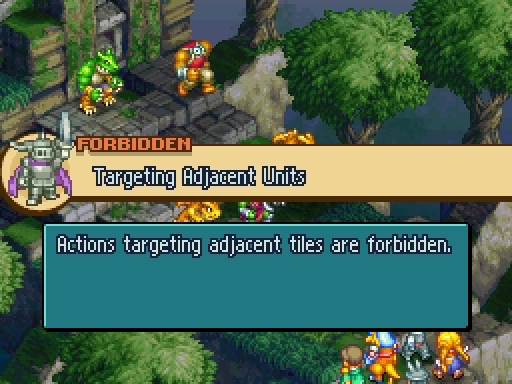
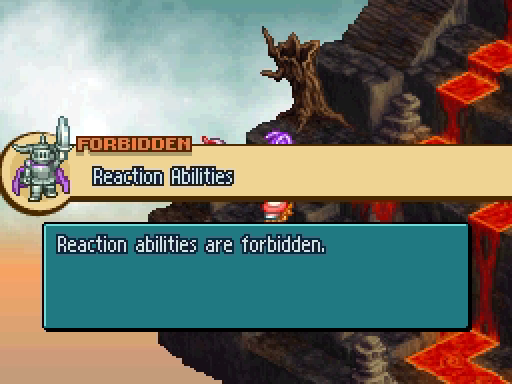
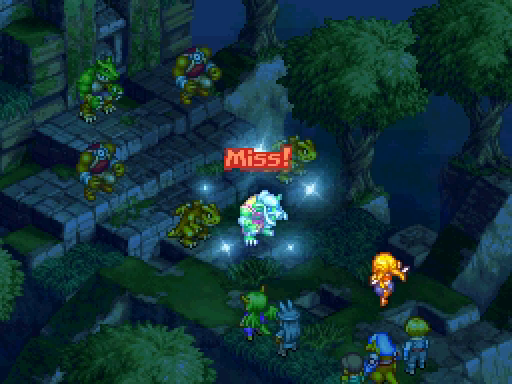
Well that's an annoying law! Fortunately, everyone in this party has at least one ranged attacked. Except for Vaan, but who cares about him anyway.
: Whisked away to yet another place. The hidden land over which the guardians watch, no doubt.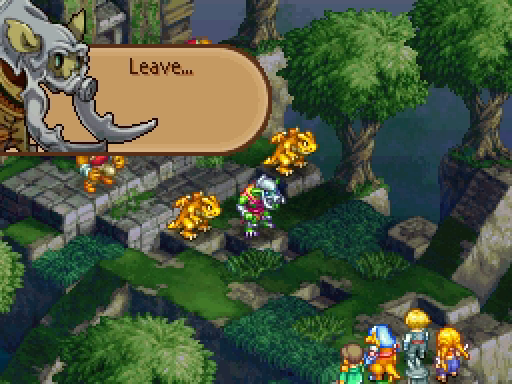 : I'm guessing these are the real guardians.
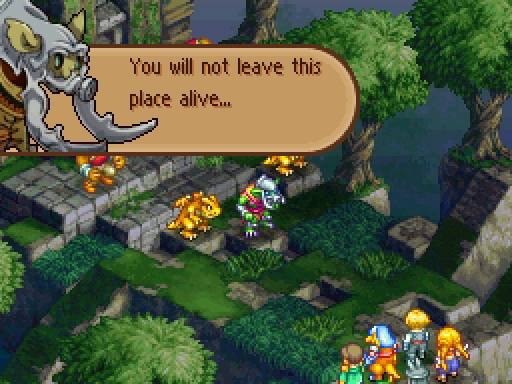 : Let's deal with these monsters, then worry about where we are.
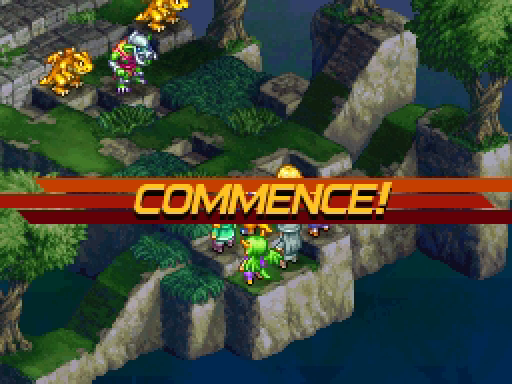
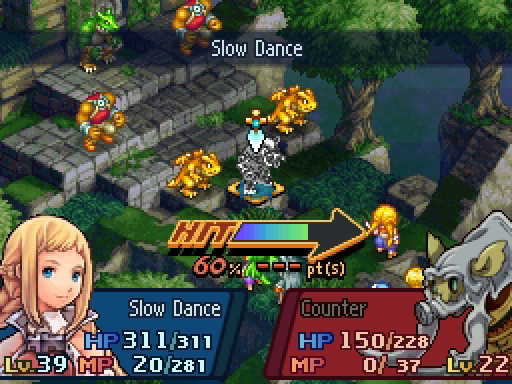
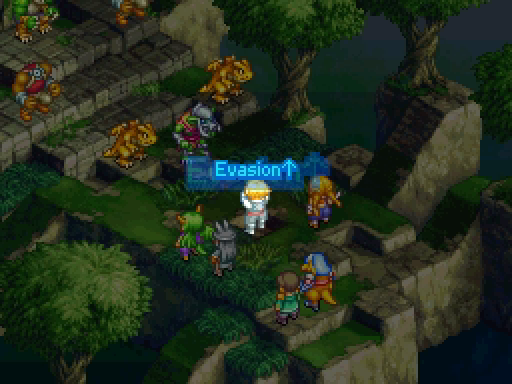
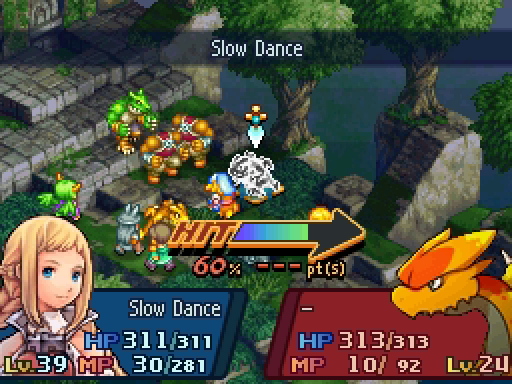
Penelo's never really had a chance to shine. Dancer isn't a bad job, since it can Slow with good range for 0 MP.
Well, theoretically it's pretty good.
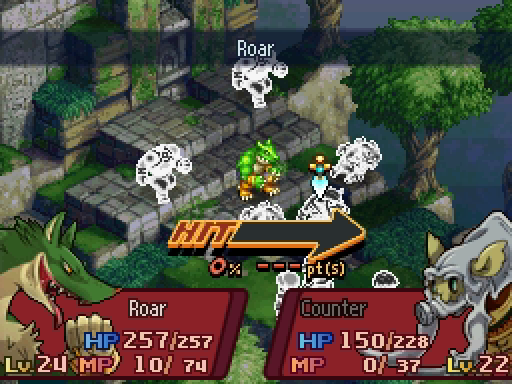
Vaan isn't completely useless either. The Werewolf will waste a turn to Roar away Vaan's self buffs.
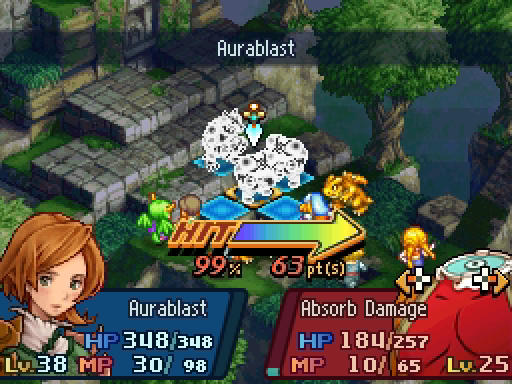
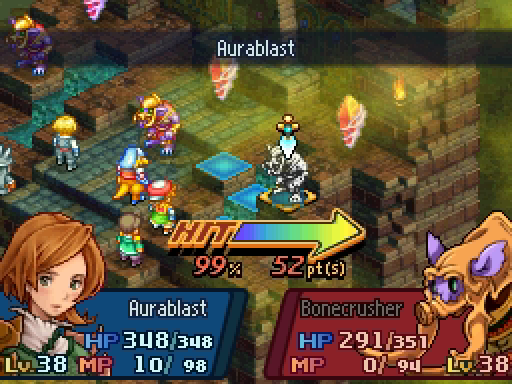
On the other hand, everyone else is dropping Aurablasts and Double Shots and actually making a difference on the battlefield.
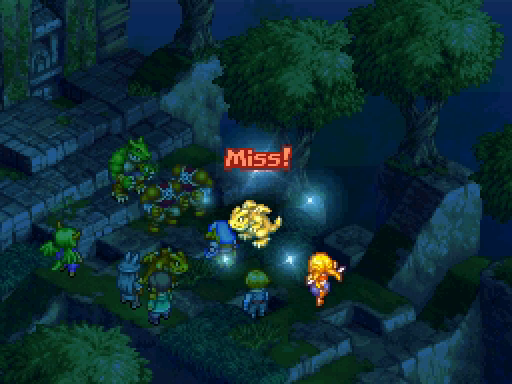
You tried, Penelo. You tried.
Did I mention Frimelda is training as a Fighter right now? She's mastered Paladin already, and I really like having Pugilism as a backup skill set.
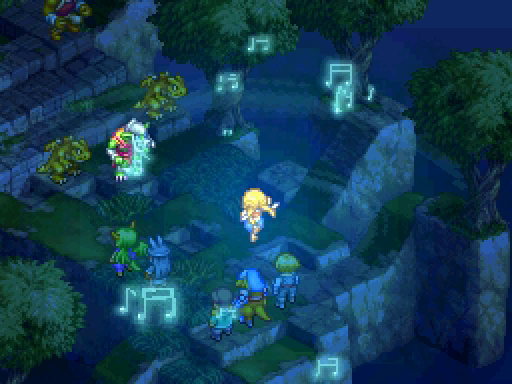
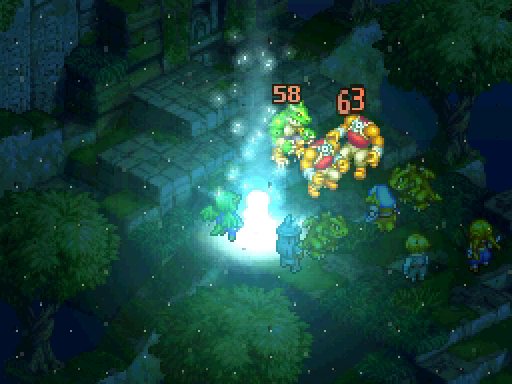
This battle is actually pretty fun. The small battlefield forces enemies close together, making it really easy to nail multiple targets with AoE abilities.
And with that, the last enemy falls.
---
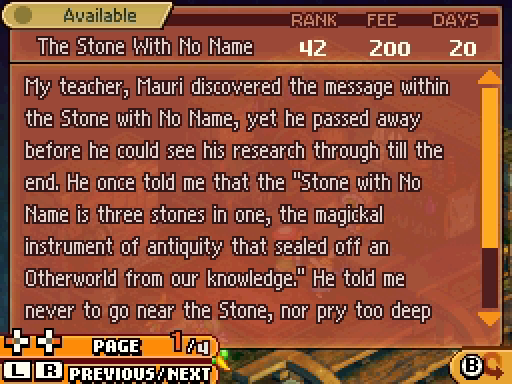
"...into its secrets. But... I would see his research completed. Taura, Favored pupil."
Back at the tavern, we find a new quest waiting for us. It seems poor Mauri succumbed to his illness before completing his life's work.
 : Mauri warned me against delving too deep into the Stone's secrets, but I cannot let his research die with him. You must help me uncover the truth behind his work.: Something tells me he warned you for a reason... but I'm kinda curious myself. All right, I'll do my best!
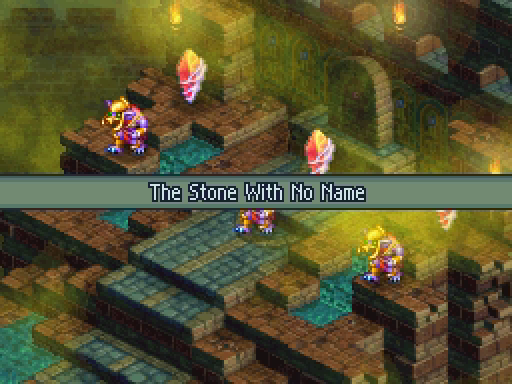
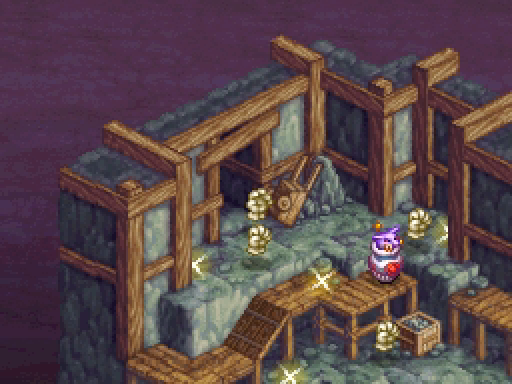
Oh look, more stones and guardians.
It should probably be the "Stones with No Name".
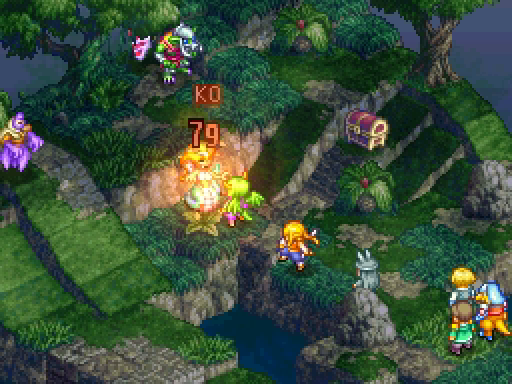
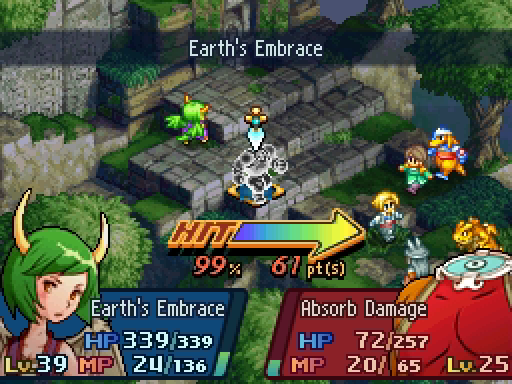
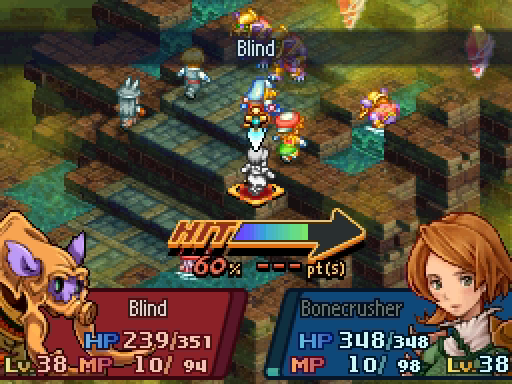
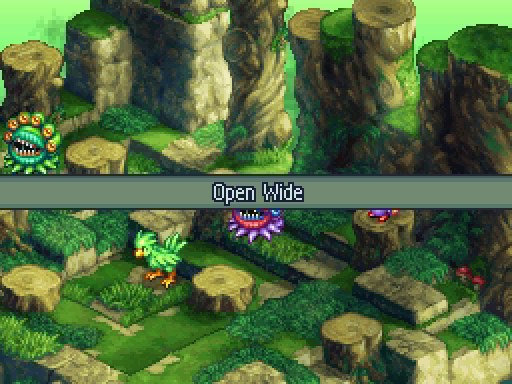
Our enemies are three Baknamy. Each one knows a Green Magick spell: Blind, Sleep and Tranq.
Honestly, I'd be really freaked out if one of them yelled, "Come here! Welcome to our humble abode!"

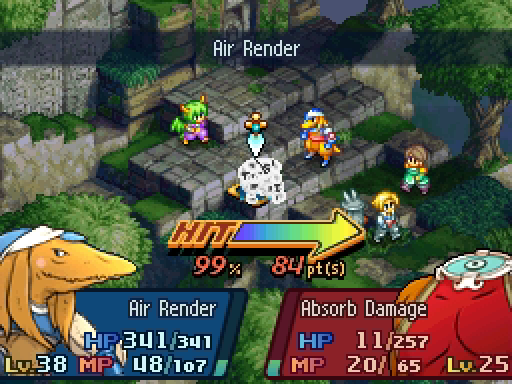
We squabble for a bit.
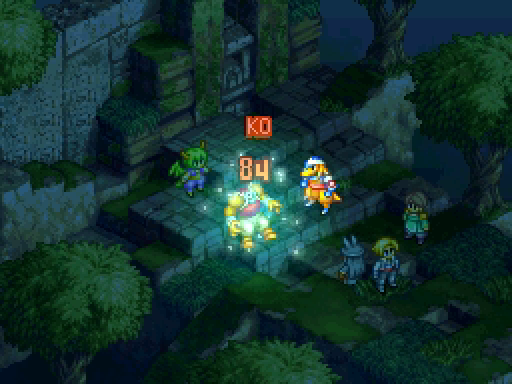
And even kill one of them!
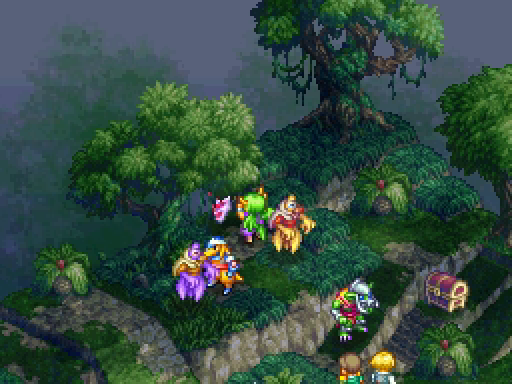
But we're really here for the Stones.
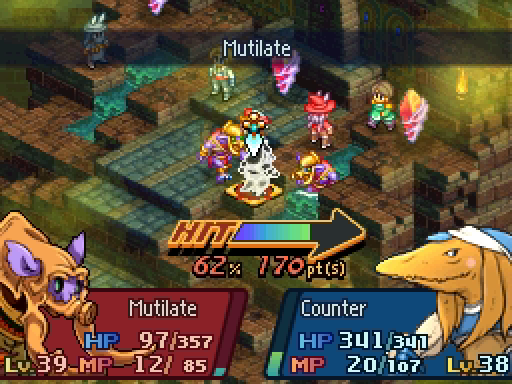
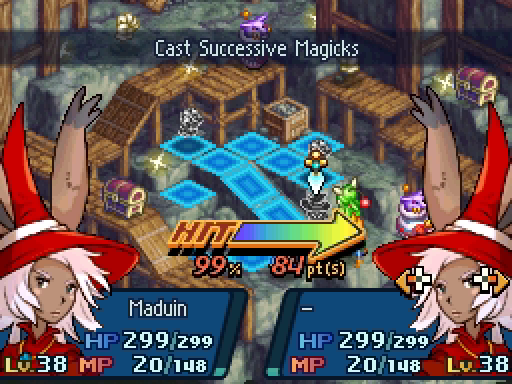
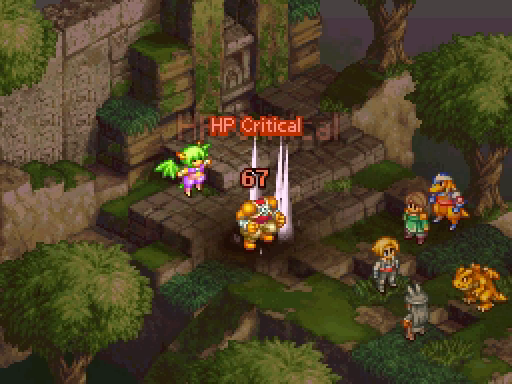
Where did that come from?! The other Baknamy does the same to Samuel next turn, too. And it heals the attackers for the damage inflicted!
That's the stones touched. What next?

Teleportation, of course.
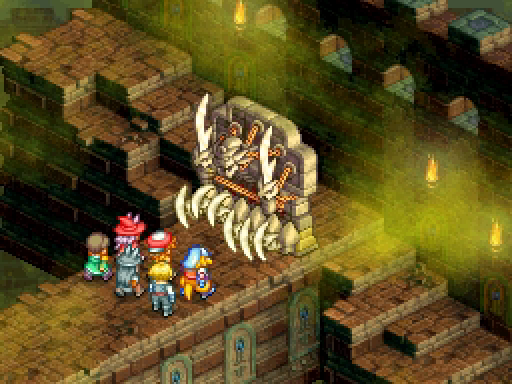
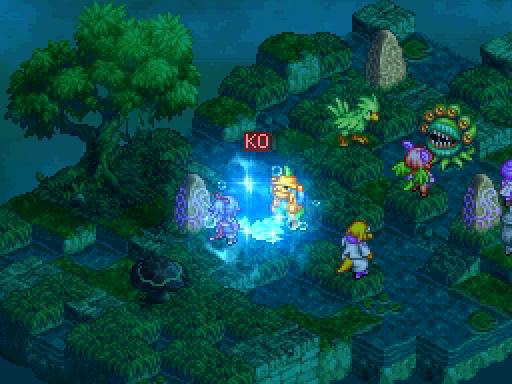
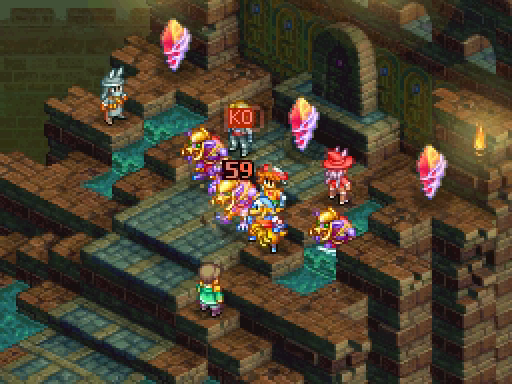
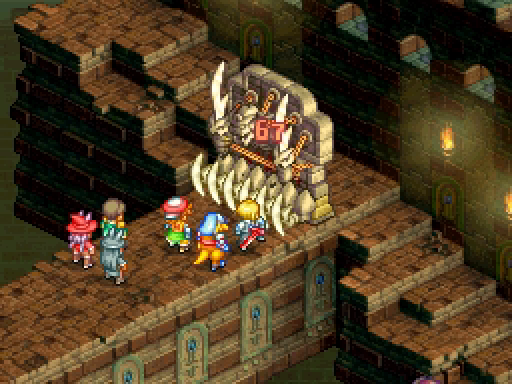
WHAT THE HELL?!
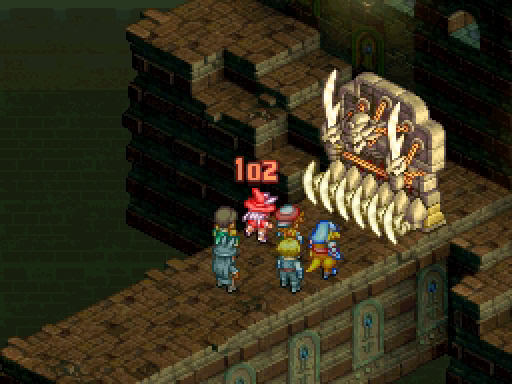
So yeah, we're trapped in front of a pile of possessed masonry.
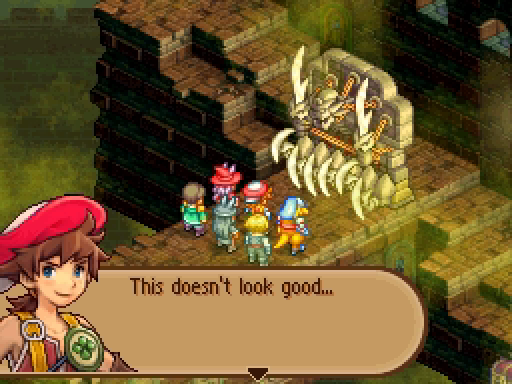
Samuel has a way with words, doesn't he.
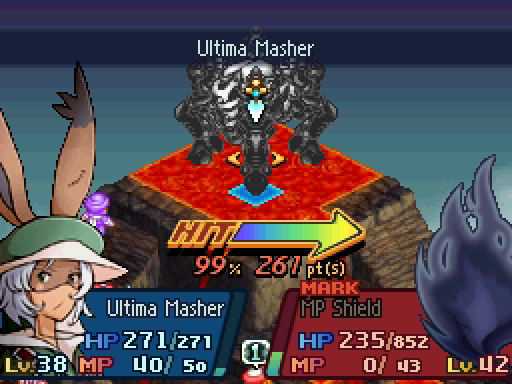
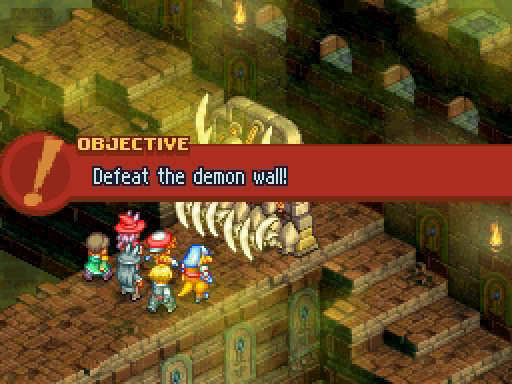
: We must have done something to wake it. Guess that makes it our job to finish it off!
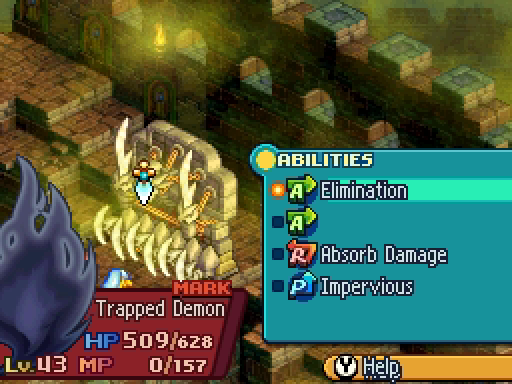
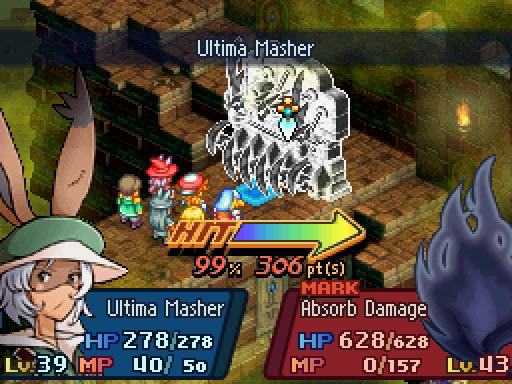
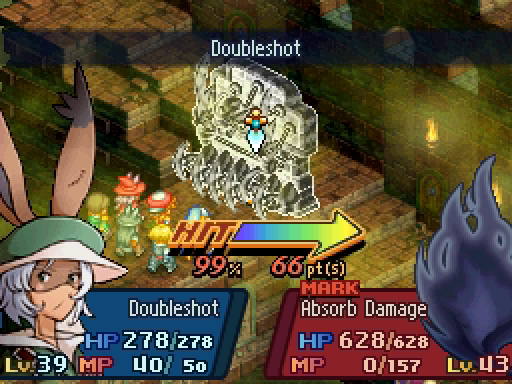
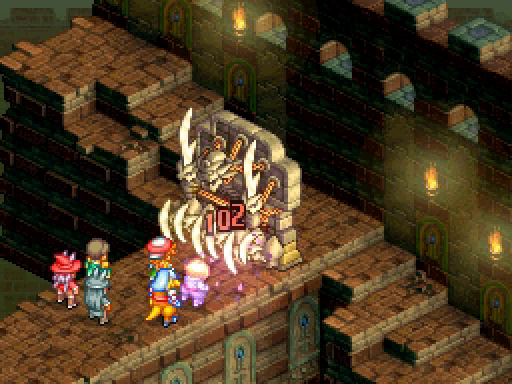
OK, this doesn't look too bad. We can burn through 628 HP pretty quickly at this point.
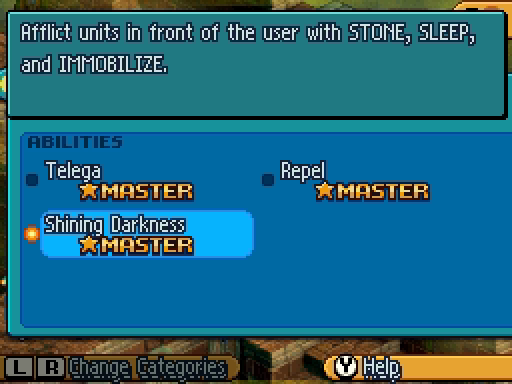
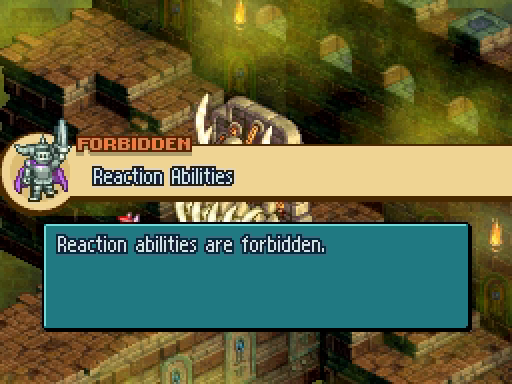
These abilities sound nasty though! Stone, Sleep and Immobile guarantee that any afflicted units will be eaten by the wall.
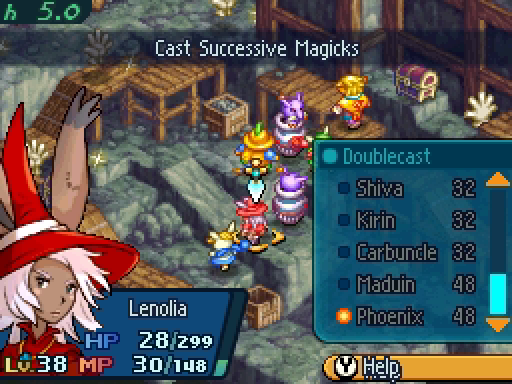
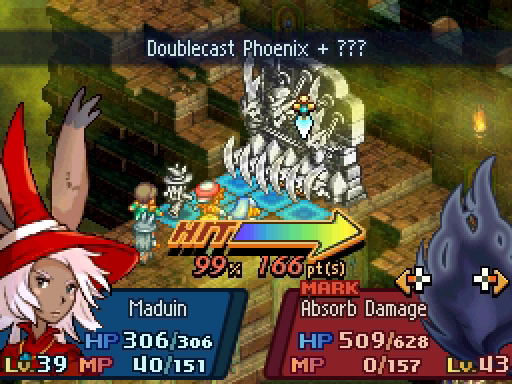
Fortunately, we have a stock of MP from the first battle.
But that's cheap. No Ultimas here!
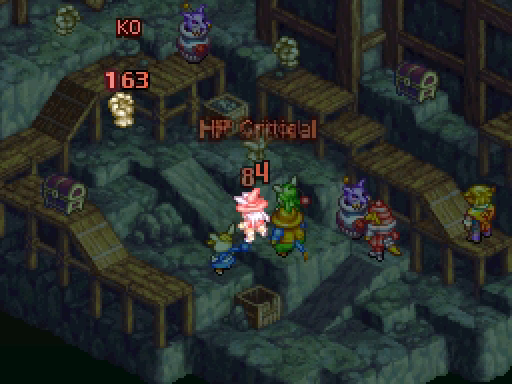
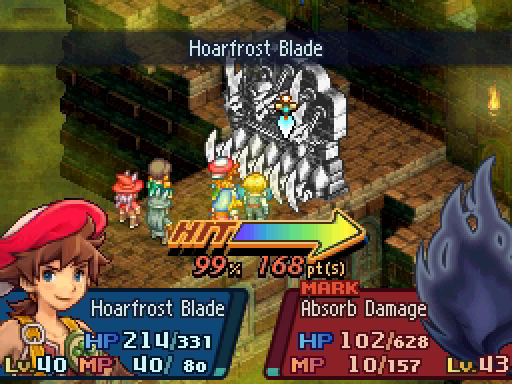
Samuel and Henri are still hurt from Mutilate, so Lenolia takes care of that and gets a good hit in. Except she still isn't wearing the right armor.
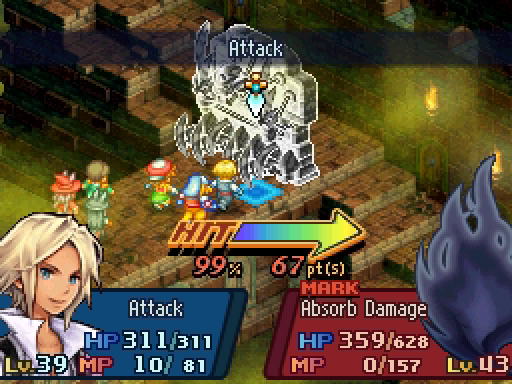
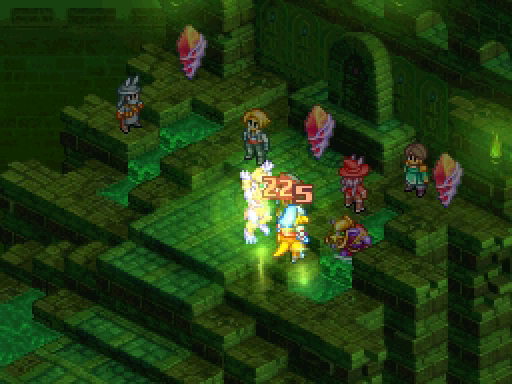
This battle will be boring if no one's in danger, right?

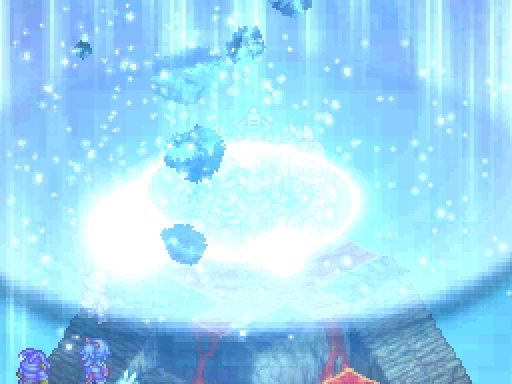
Unfortunately, this is the only attack the Demon Wall uses.
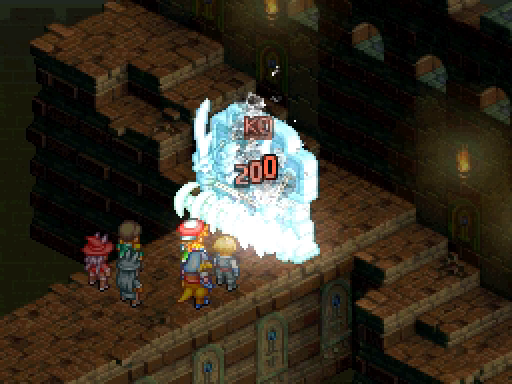
We kill it too quickly.
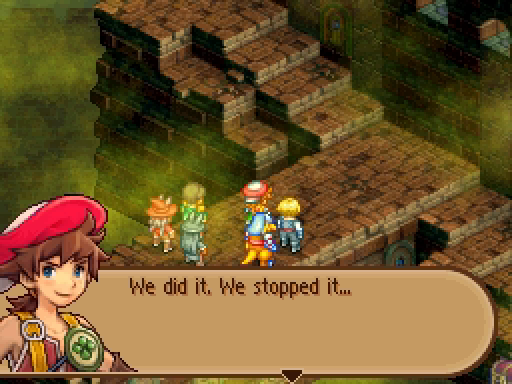 : "Three stones in one, the instrument that sealed off an Otherworld from our Knowledge". We should have taken Mauri's warning more seriously.
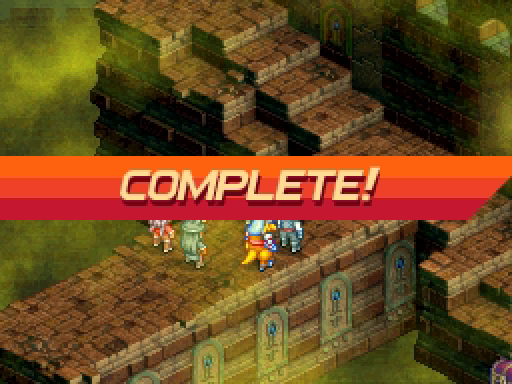
Seriously? Come on, Samuel, that was a fun battle!
---
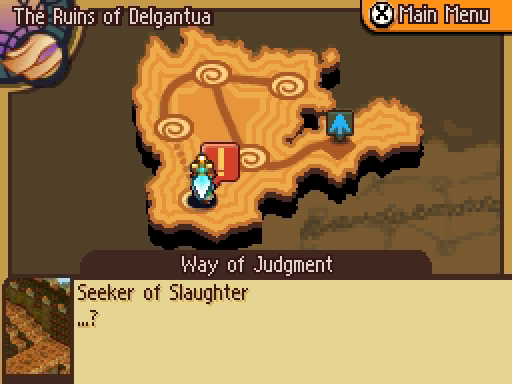
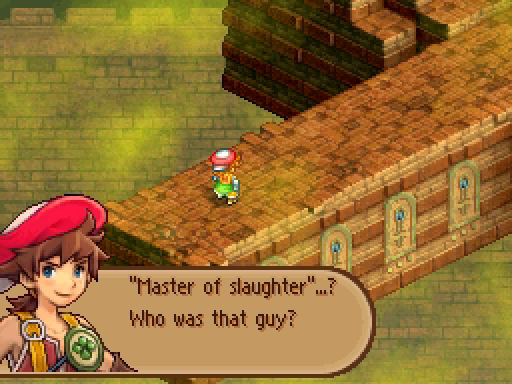
You may remember "Seeker of Slaughter" from one of the Bonga Bugle updates, which mentioned the Owner of the Bugle used to be in a clan with the guy who runs the Clan Mates quests and the Seeker of Slaughter.
He shows up in this area every Plufrost. In fact, here's the notice about him:
The Seeker of Slaughter posted:
You know the Seeker of Slaughter? He's a trader in... things. Thing is, nobody knows what those "things" are.
What's more, you don't have to trade him anything for 'em. Just information. Information about battles fought, battles won, battles lost...
He shows up in some ruins somewhere, every year around Plumfrost.
Not very specific, I know...but hey, you get what you pay for.
-Domis Streetears
Well, you can't spell "slaughter" without "laughter," so I can only assume the guy trades jokes.

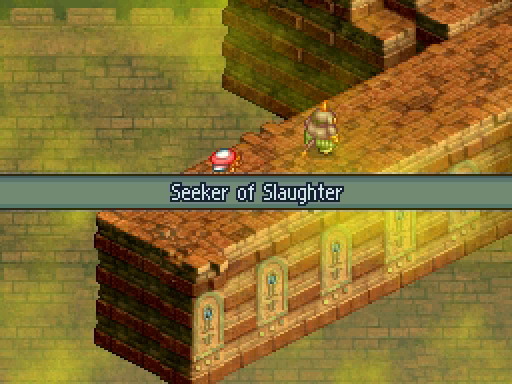
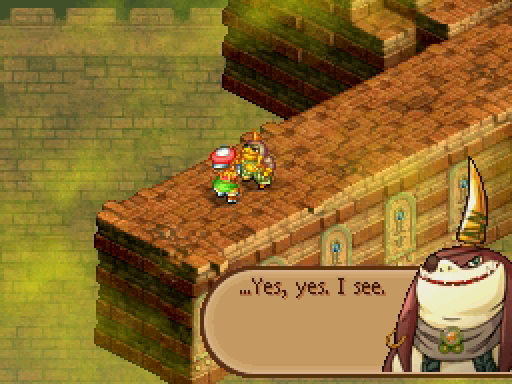
 : Hands above your head. If you move in any way, the deal is forfeit. Got it?
Samuel nods in agreement, because he's sane.
: ...Ah.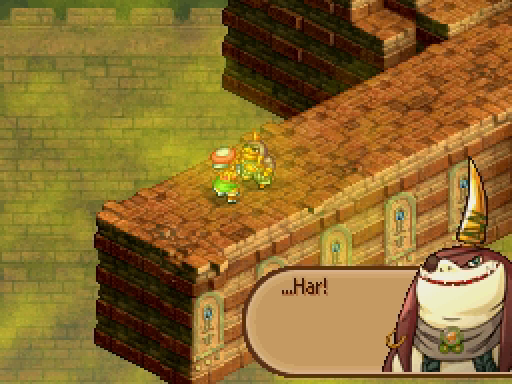
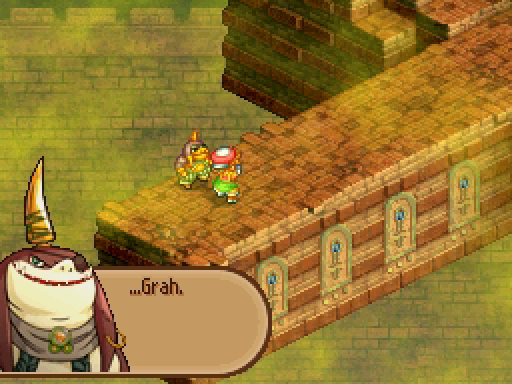
The Seeker then walks around Samuel, muttering random interjections to himself.
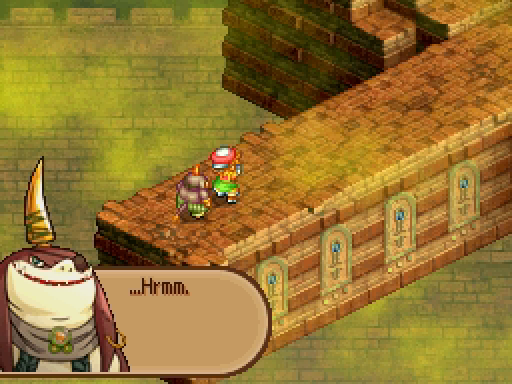
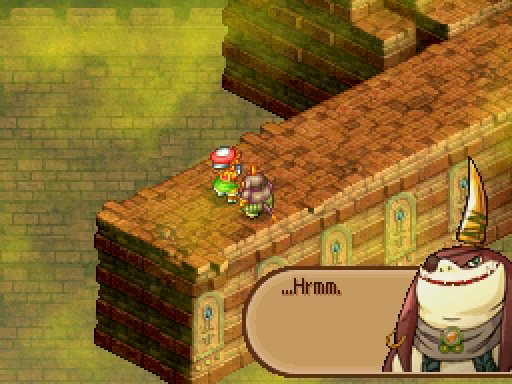
He finally backs away.
: Lower your hands.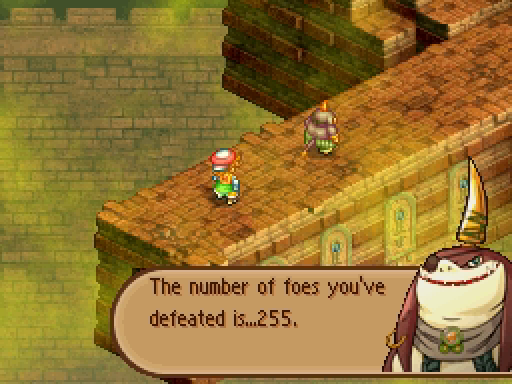
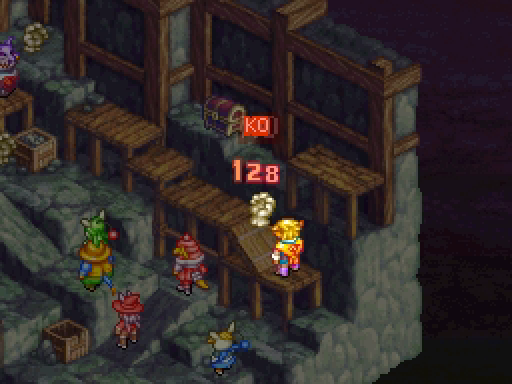
One away from a nice, round number.
I'm fairly certain this is Samuel's kill count, not the clan-wide kill count. 255 is actually the maximum value. Tonberries' Karma attack, which deals more damage based on how many enemies the target has killed, uses the same counter.
: Hrah! Didn't think your kind was around anymore. You done good. Real good.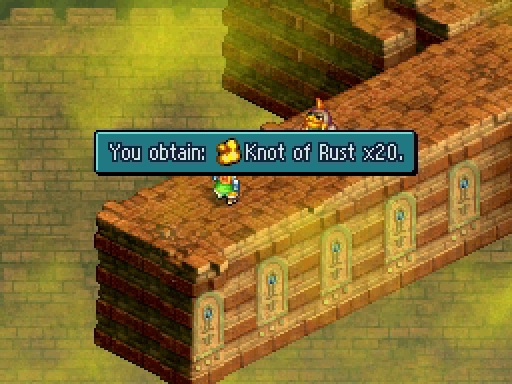 : Ah, yeah, you qualify for a bit of a bonus.
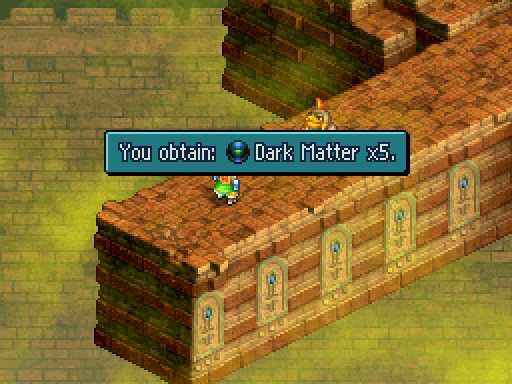 : Thanks. Now I'll have some memories to take with me when I go. This world ain't big enough for two masters!
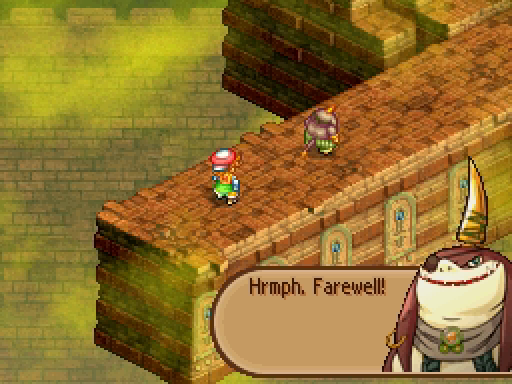
With that, he just... disappears.
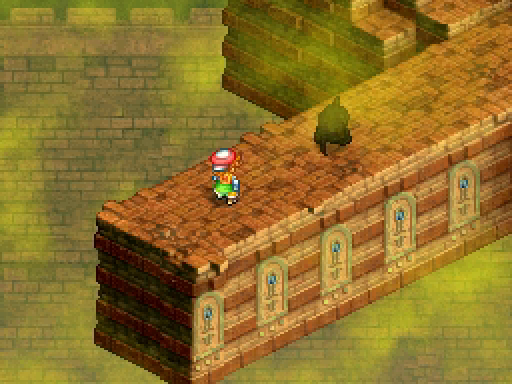
He comes back every year, apparently, so... where does he go?
I thought the reward from this quest was a bit paltry. But there's two upsides!
Dark Matter sells pretty well, at a few thousand each. Not that we need money for anything.
Dark Matter hits every enemy on the battlefield for some amount of damage. I thought it was a joke item, since the damage is really low. Turns out, using Knots of Rust increases the damage Dark Matter does! They can easily do 500+ damage to every enemy if you power them up.
Apparently they did the same thing in FFXII, but hey, I never played that game, how was I supposed to know?
---
Thanks for reading! Even though it's "filler" in a way, I really did like this update. Mostly because we saw some really unique monsters -- the spritework for the Demon Wall is awesome!
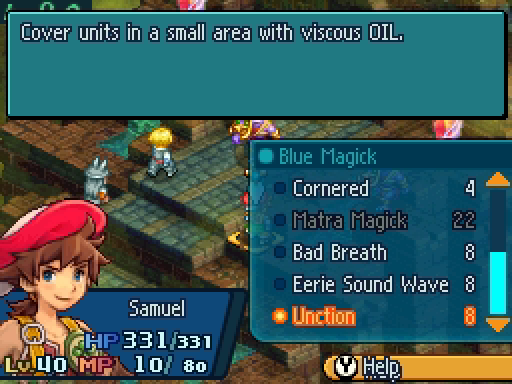
I've been spending some time off-screen doing a little grinding. Samuel's Blue Magick list is really coming along now, he has a lot of useful abilities.
We're also done with auctions. Clan Sawyer owns every weapon and armor piece that can be obtained from the auction house. We might still be missing a few of the accessories, but those aren't as important.
Not that we should stop visiting the auctions at all, of course. They're the most reliable way to find Ribbons, for example.
We've also passed 48 hours of playtime on this save! Based on my other playthroughs, we have something like another 20 hours left, minimum.
And finally: a trigger warning for FFTA2 veterans.

(No, we are not going to investigate this notice for a long, long time.)
'cause after all, you're my demon wall