Part 73: Brightmoon Tor: Third Watch
Update 73: Brightmoon Tor: Third Watch---
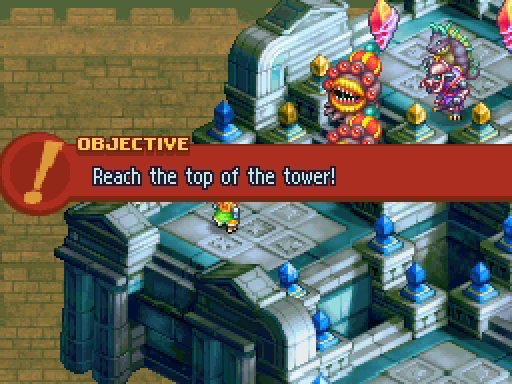
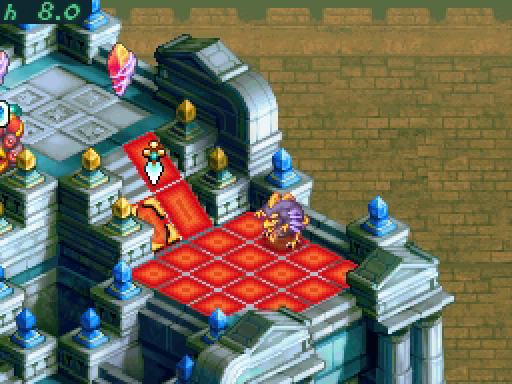
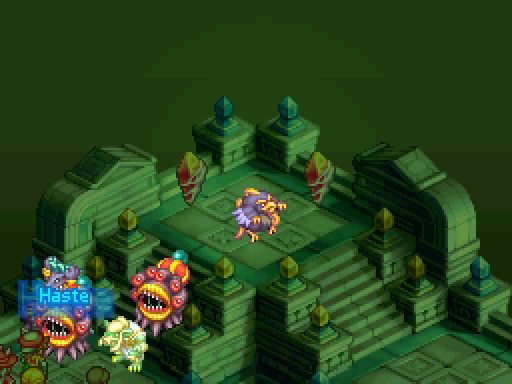
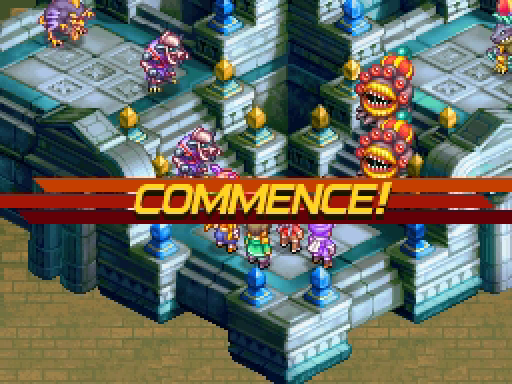
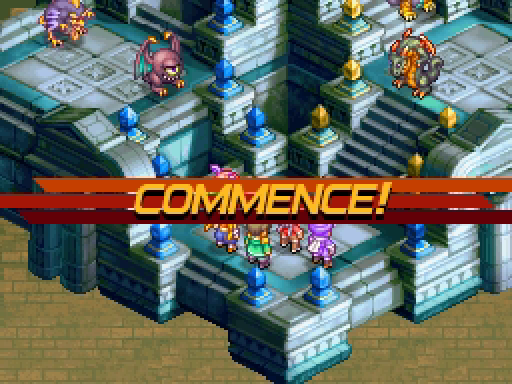
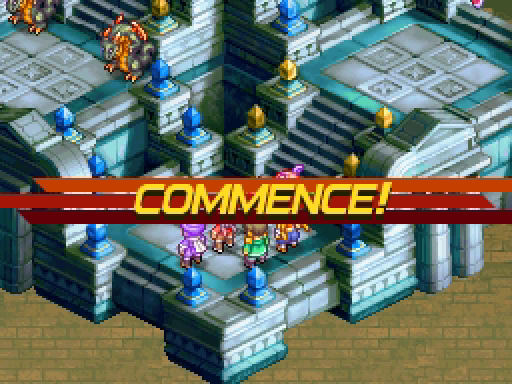
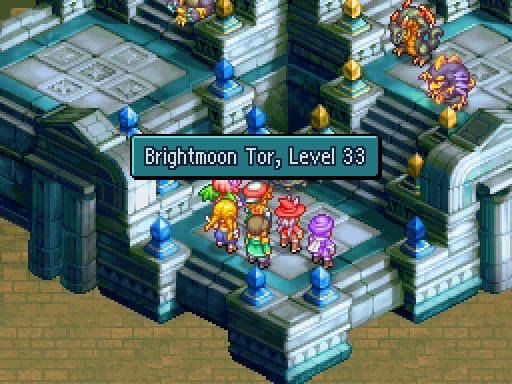
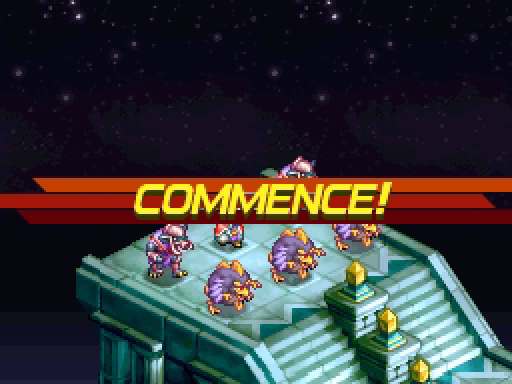
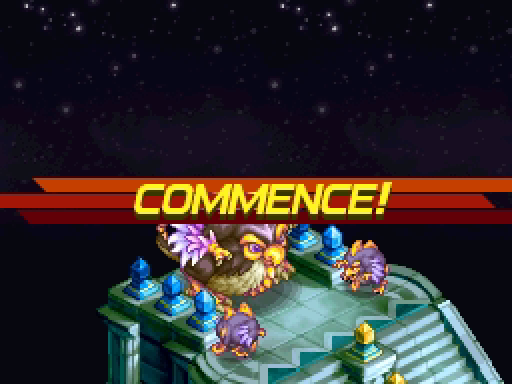
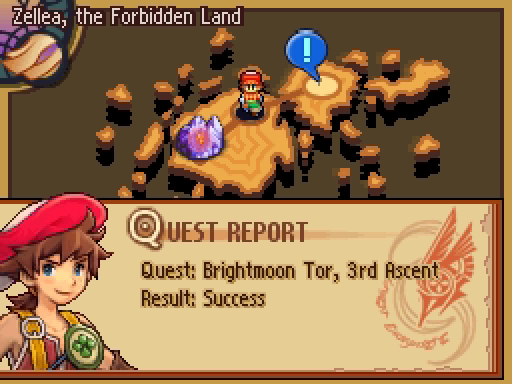
I couldn't stay away forever. It's time to climb Brightmoon Tor, one last time.
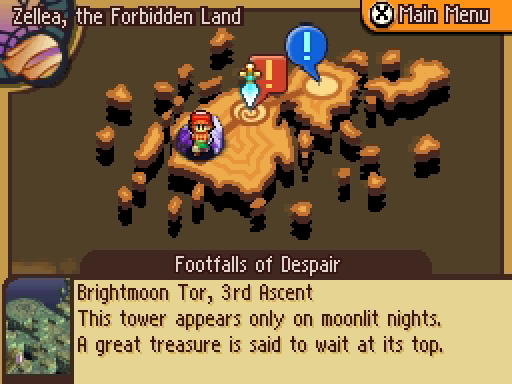
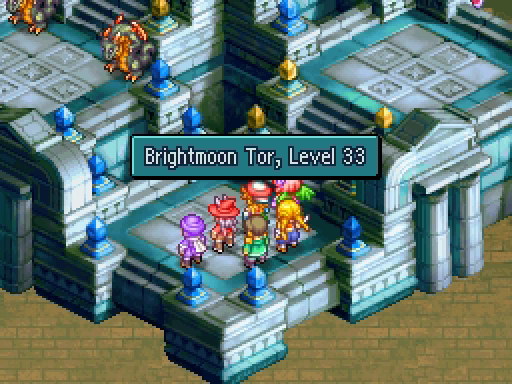
The Third Watch is in Jagd Zellea. Because where else are you going to put your hell tower?
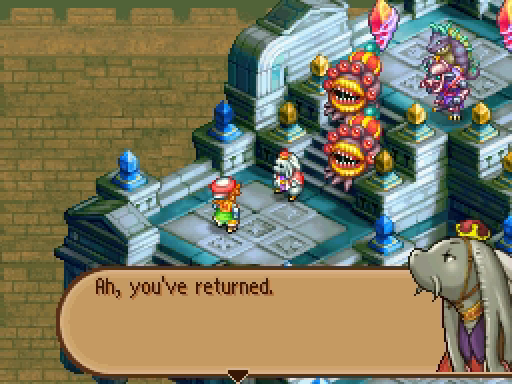
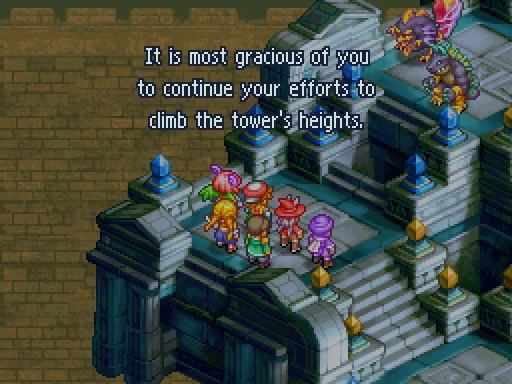
Once more, we're greeted by the mysterious keeper of the tower and his friends.
 : Welcome to the third ascent of Brightmoon Tor. There are but two ways to leave the tower: reach its top, or die in the attempt. The moonstones will guide you. Touch them and your way shall open. Now if you'll excuse me...
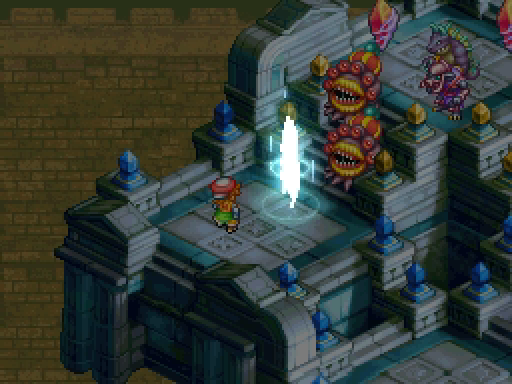
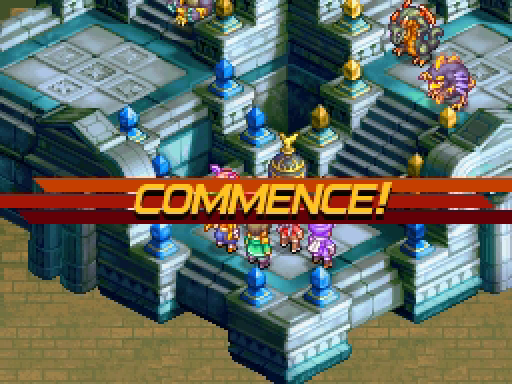
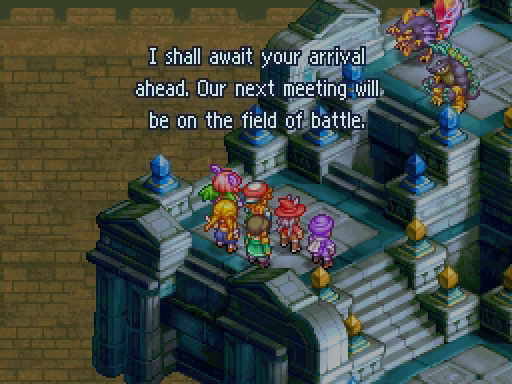
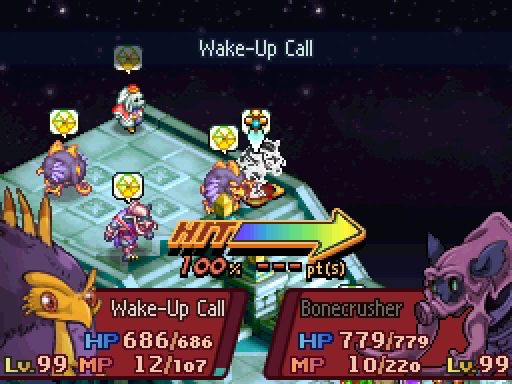
I guess there are only so many ways to say, "get ready for a marathon battle."
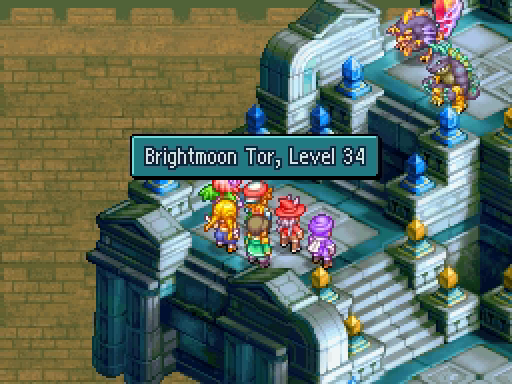
And truly this is a marathon. There are eight battles total. It took me 4 hours.
The law hasn't changed since last time and will remain the same throughout.
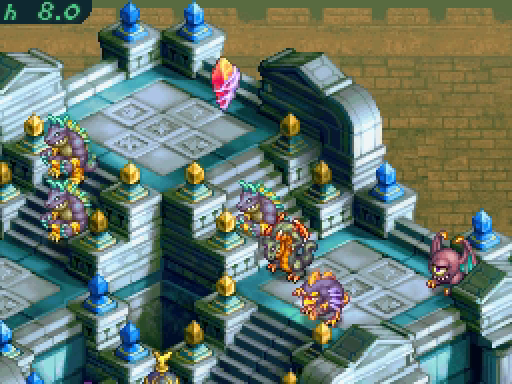
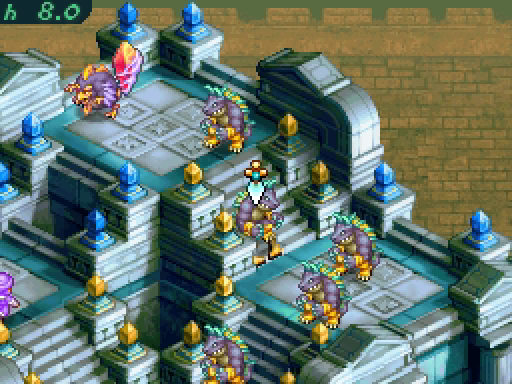
Let's take a look at our opponents.

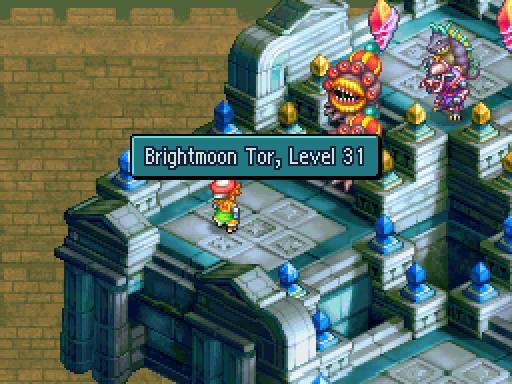
First of all, that level is a little terrifying. Our highest is 60.

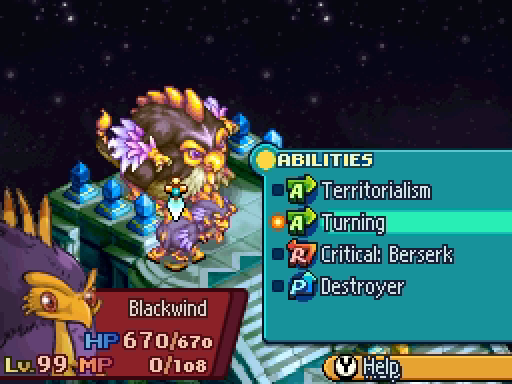
We don't be seeing any new Turning abilities or new monsters.
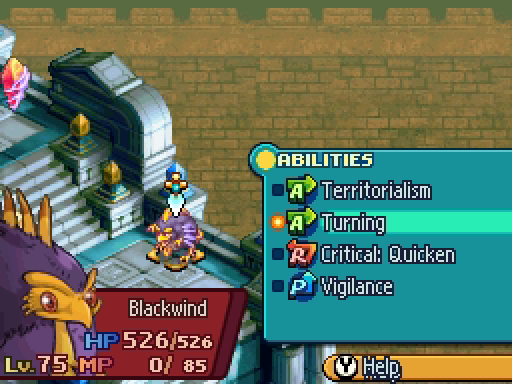
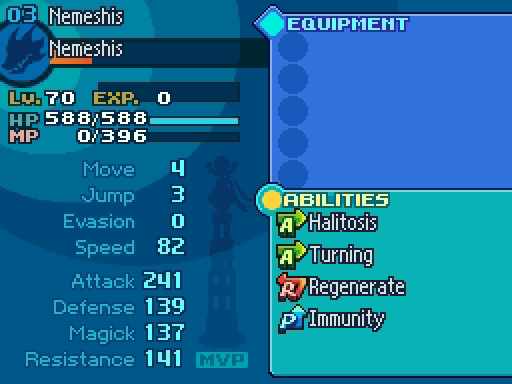
That's probably because the developers couldn't think of anything worse. Remember this guy?
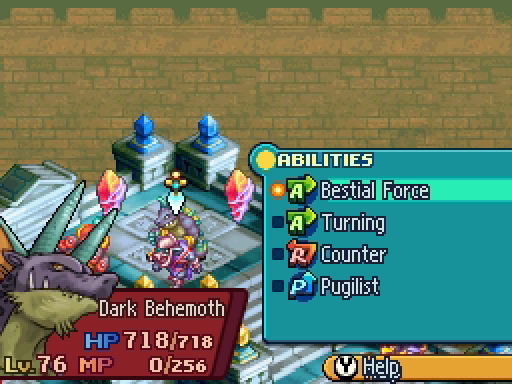
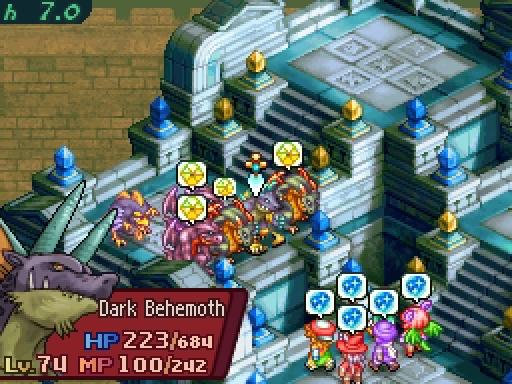
There are a ton of Behemoths here, too. More than any other monster, in the later levels at least. Also: level 76. Damn.
In response, I've brought one of the strongest teams I could muster. There are basically three components: the Ninjas, the Healers, and the Flyer.
The Ninjas: Samuel, Leed and Frimelda.
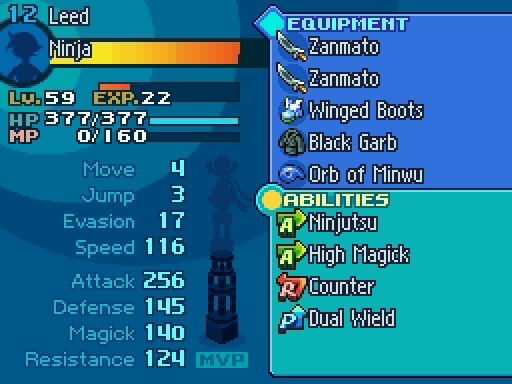
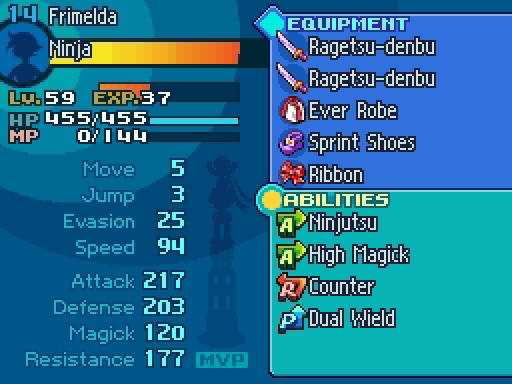

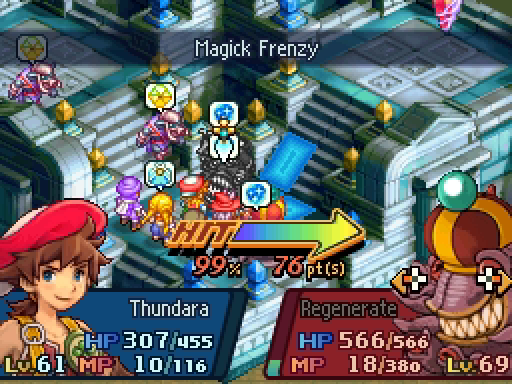
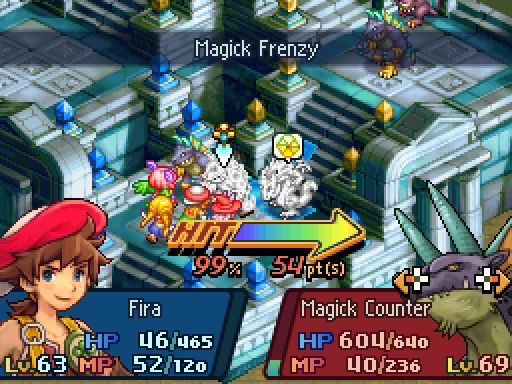
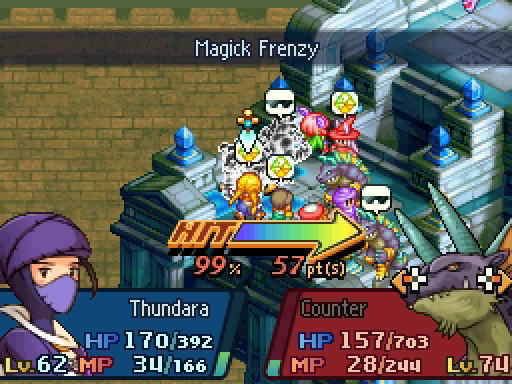
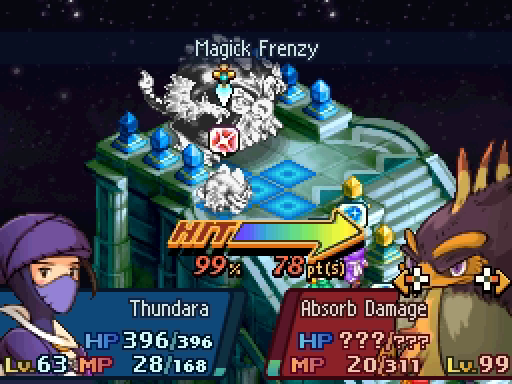
Seer's Magick Frenzy combined with Dual Wield lets Ninjas get in three attacks at tremendous range, as long as they have the MP to cast spells. Ninjas and Seers both have some utility spells that can be quite useful, too.
Ninja is arguably the least important component of this combination -- Frimelda as Paladin could have worked, and Samuel could have been even more valuable as a Blue Mage.
The Healers: Lenolia and Penelo.
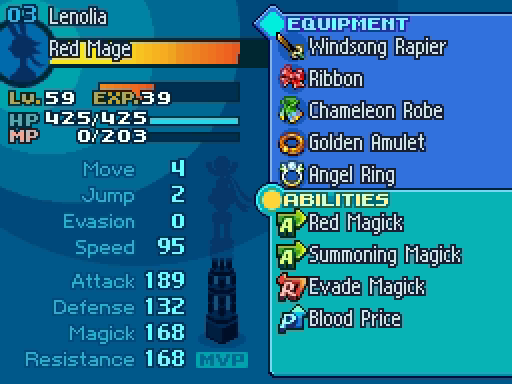
Lenolia is packing her usual Red Mage/Summoner kit. This update, more than any other, will prove how utterly broken Summoner is.
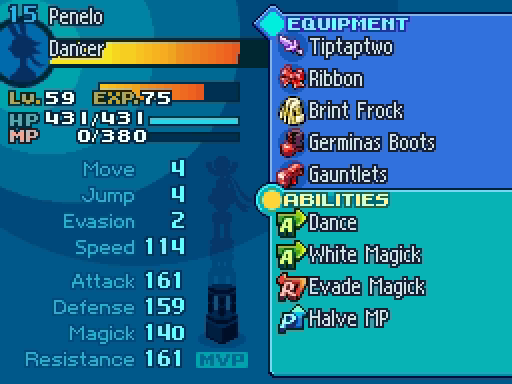
Penelo is the Cleanser. White Mage has Esuna and Refresh to remove any number of annoying conditions. In a pinch, she can toss out some powerful heals. Also, she has Dancer for some tasty debuffs.
Finally, The Flyer: Zoe.
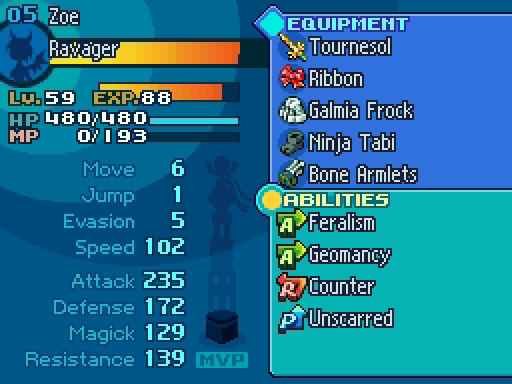
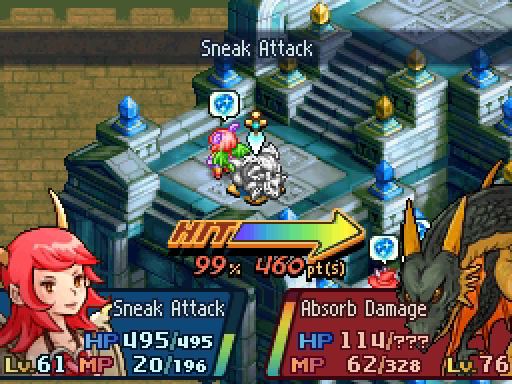
Always, always, ALWAYS bring a unit who can fly or teleport! Besides that, Zoe has those long-range Geomancer skills and Sneak Attack.
Looking back, I could really have benefited from a Time Mage. In a different run, I might have recruited a Chocobo Knight and loaded them with Time Mage spells. But all I have are Montblanc, Hurdy and Talf, and while I love them dearly, they would not have cut it here.
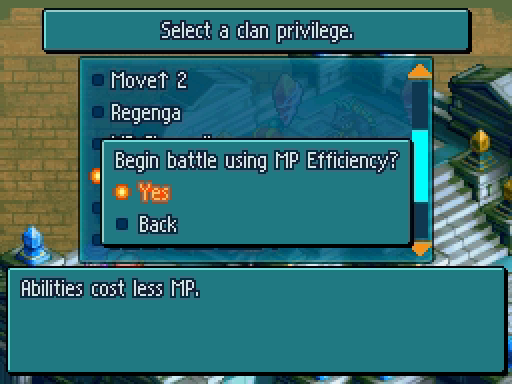
Between the Seers and Penelo, we need lots of MP. While Regenga would arguably be quite useful, we know from previous experience that we tend to get fewer turns than the enemy. So let's use MP Efficiency to make those turns count!
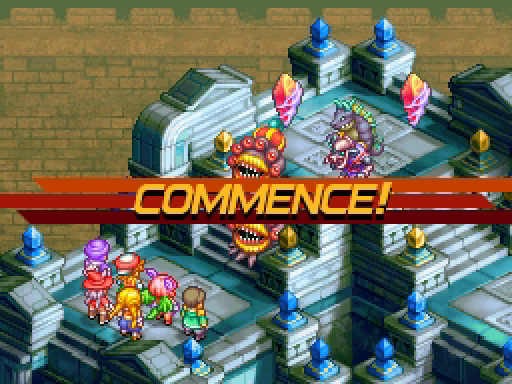
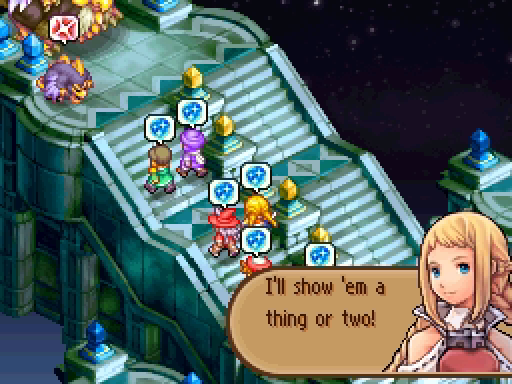
Grab a snack, get comfortable, because we're in it for the long haul.
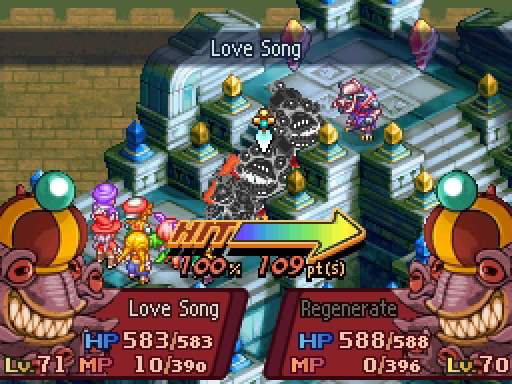
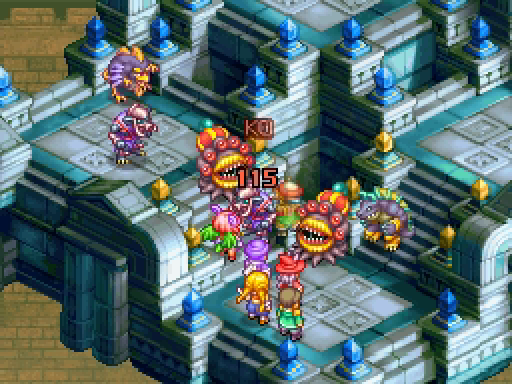
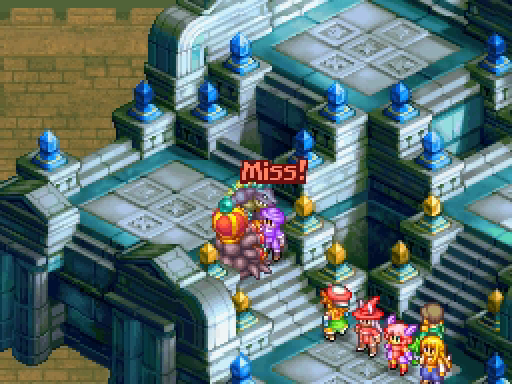
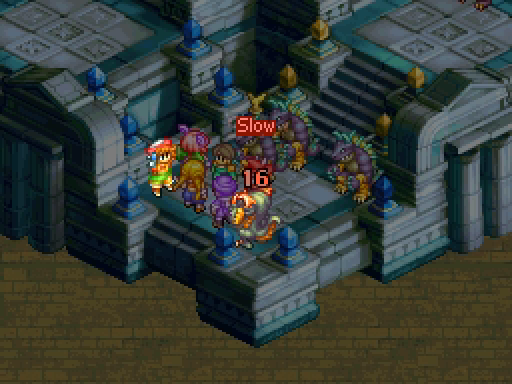
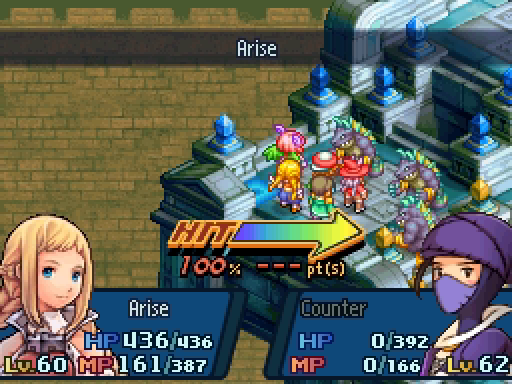
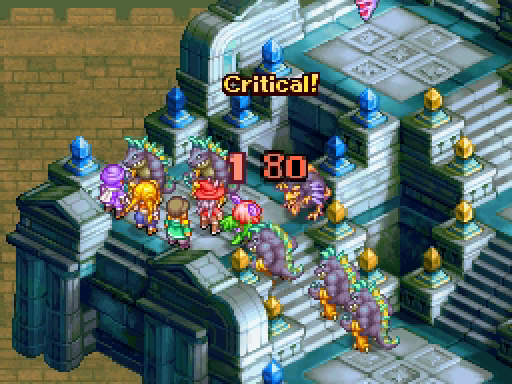
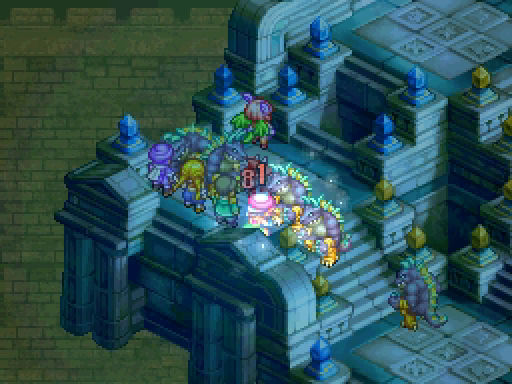
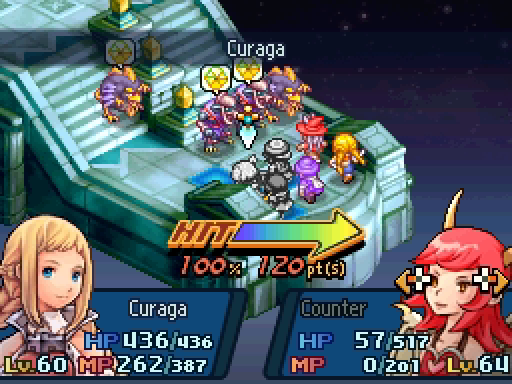
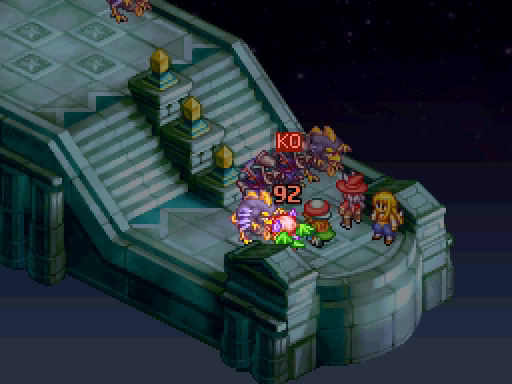
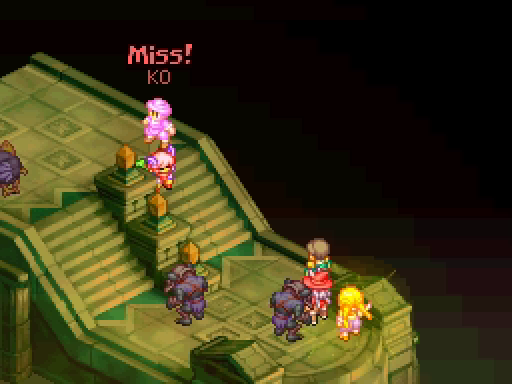
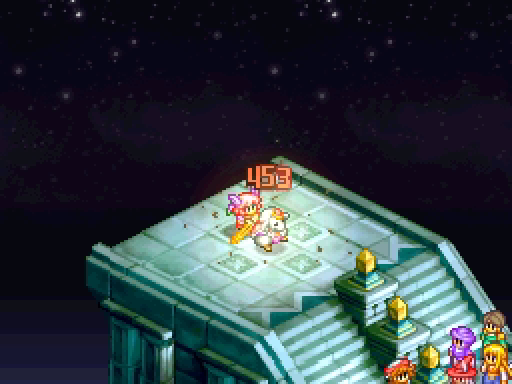
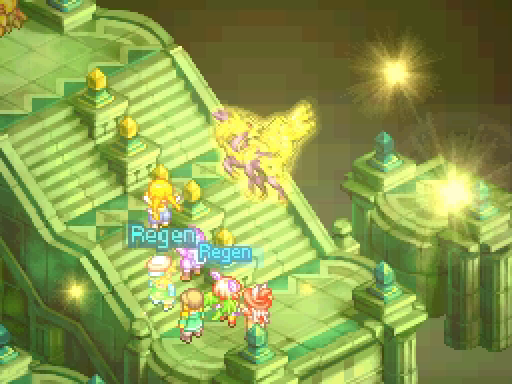
This battle starts with the usual Brightmoon Tor shenanigans: enemies going before you, buffing themselves, etc. (Love Song grants Defense Up and Regen, along with a small heal.)
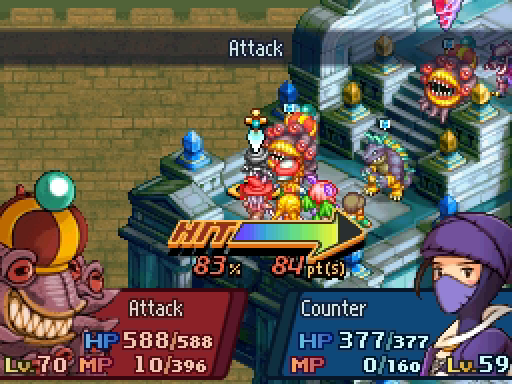
And, of course, getting some early hits in.
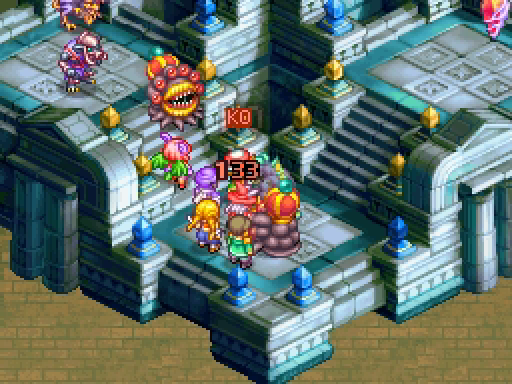
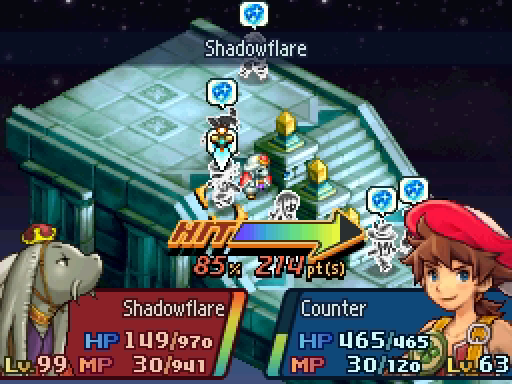
And then it's this guys turn.

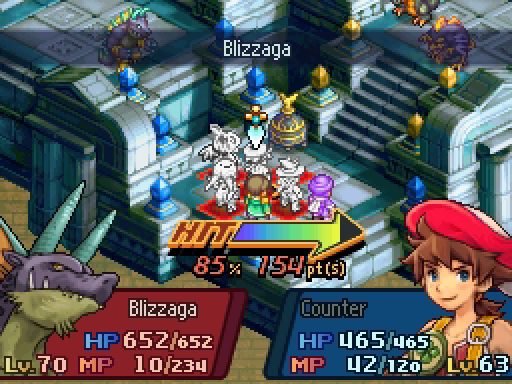
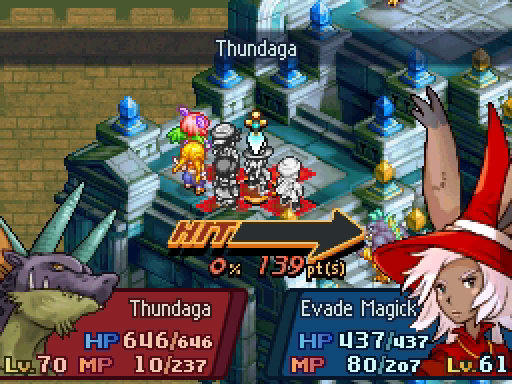
Remember him from our last ascent? Free Protect and Haste for all enemies! From a unit who almost always starts far away from your team and is much faster than you!
This is not a challenge, it is bullshit. Zoe, one of the strongest physical attackers in the clan, is doing single-digit damage thanks to Protect.
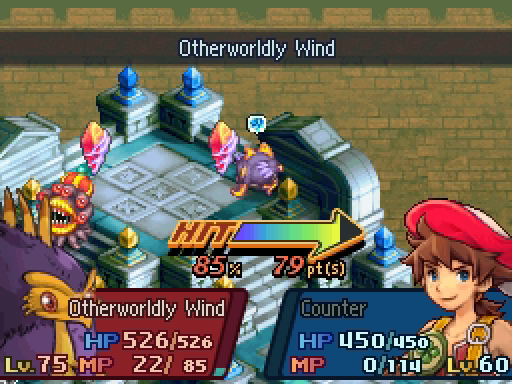
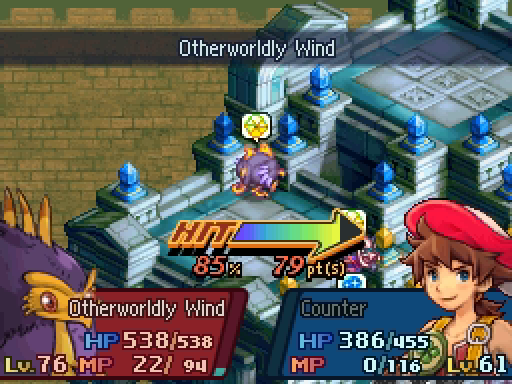
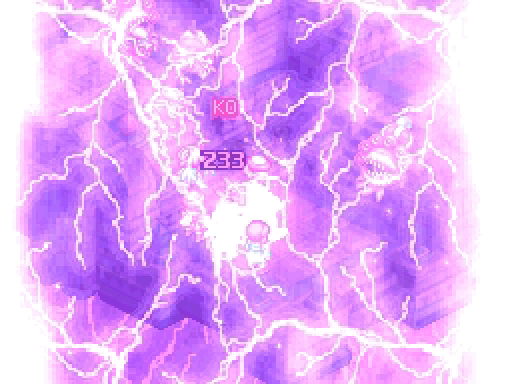
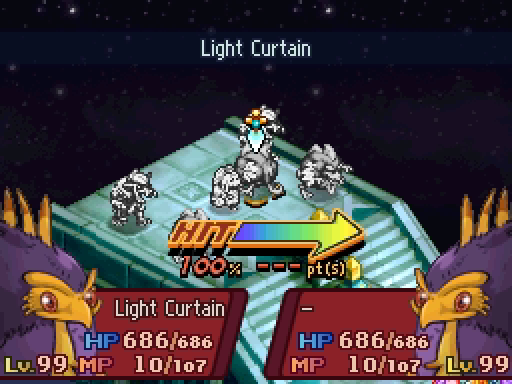
I'm sure you remember Brightmoon Tor's other Greatest Hits, like the team-wide damage of Otherworldly Wind.
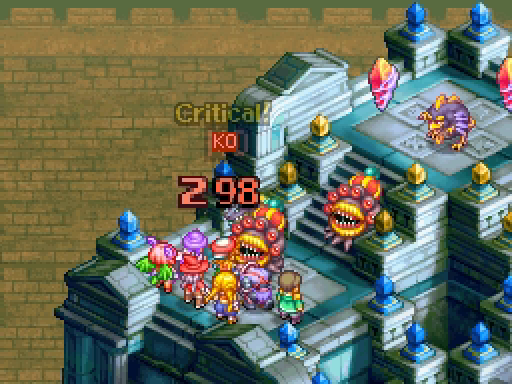
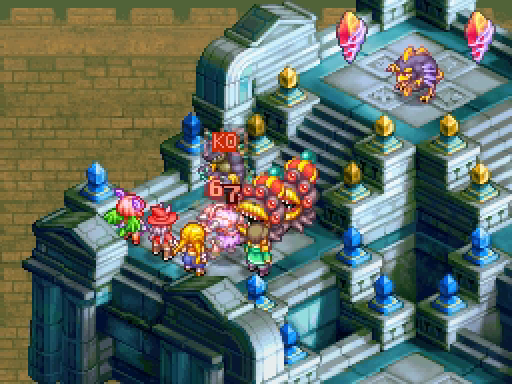
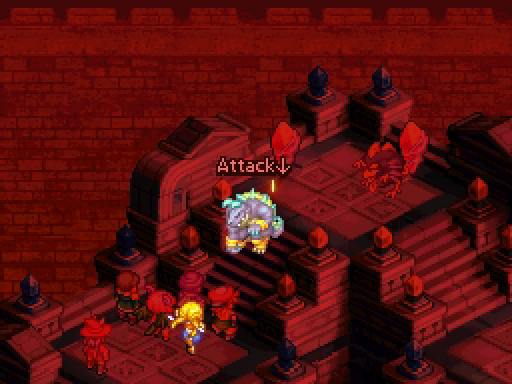
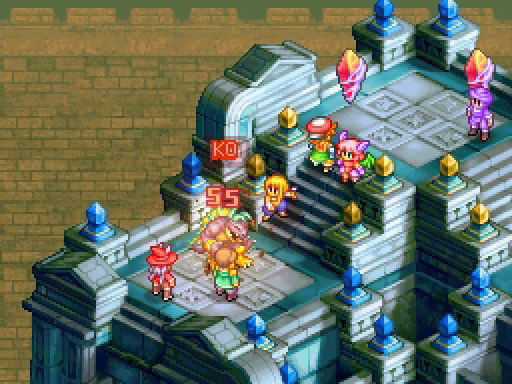
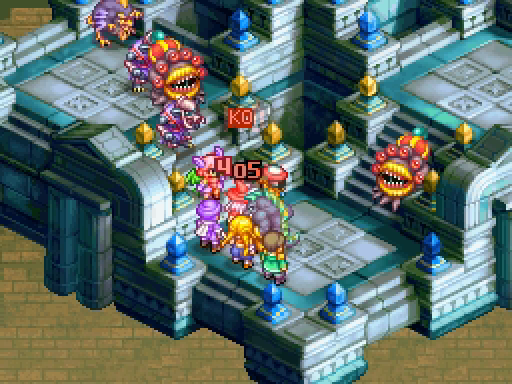
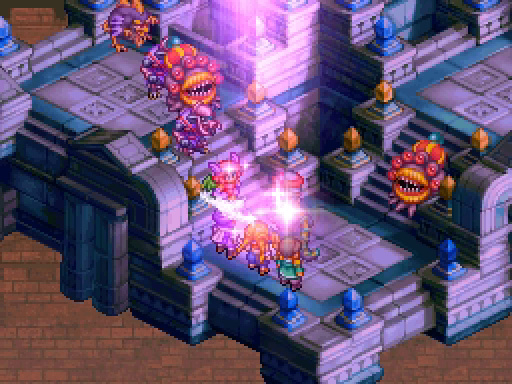
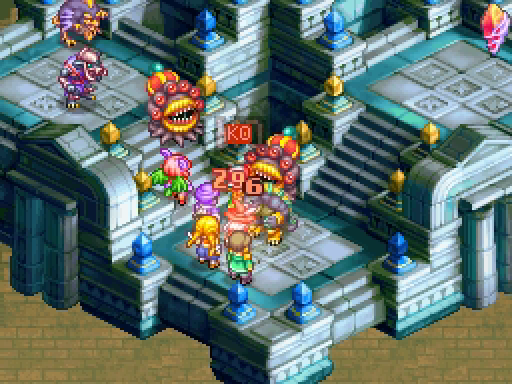
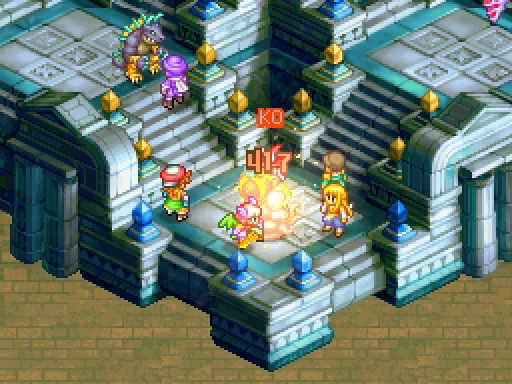
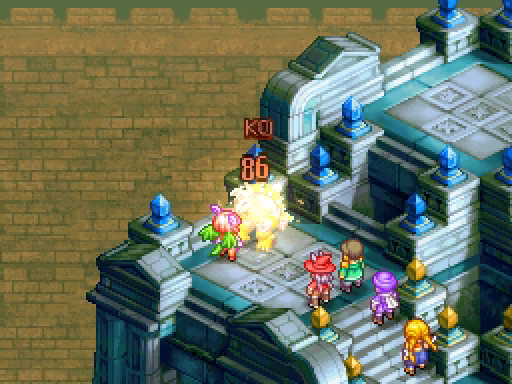
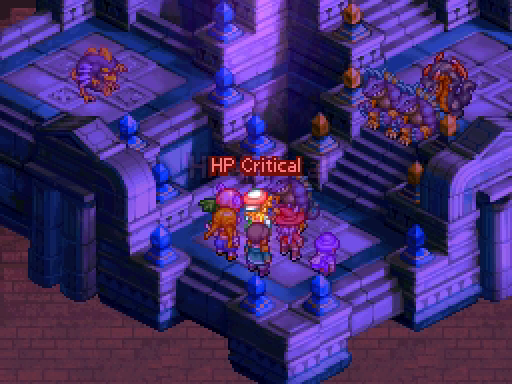
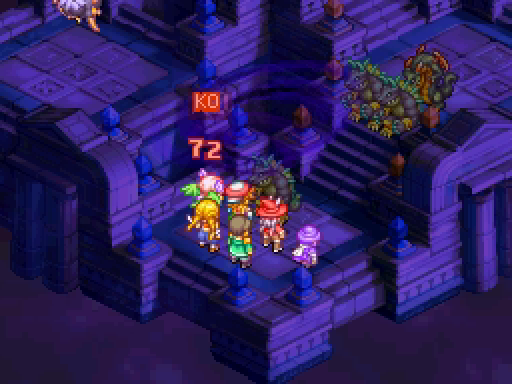
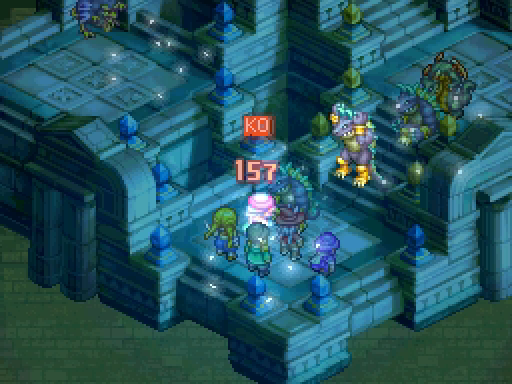
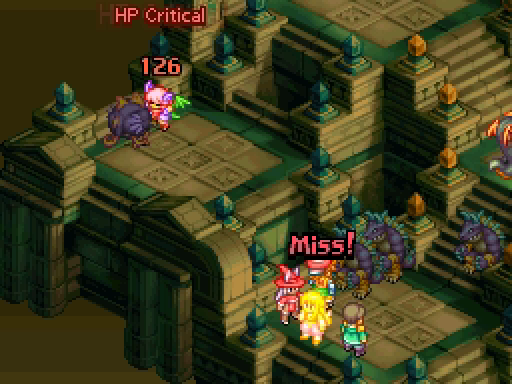
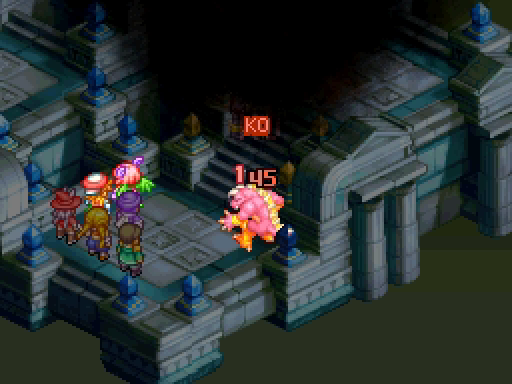
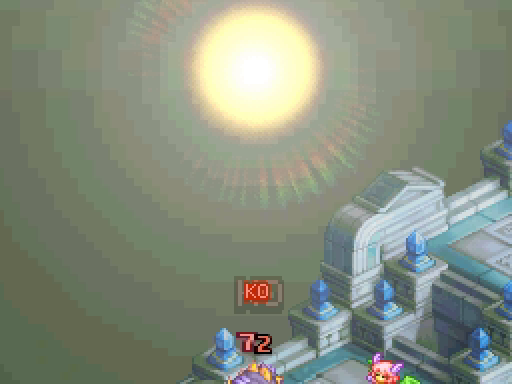
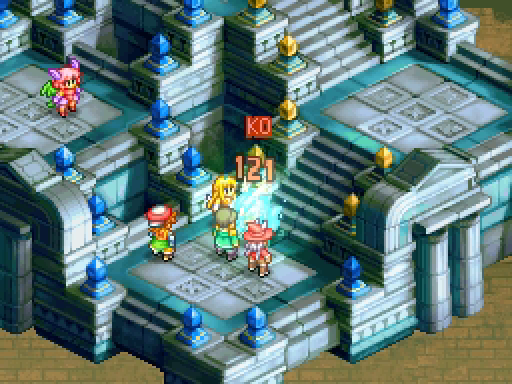
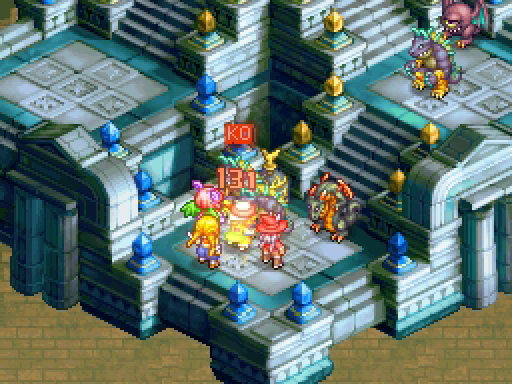
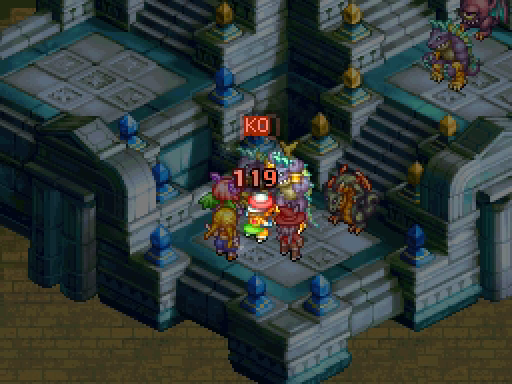
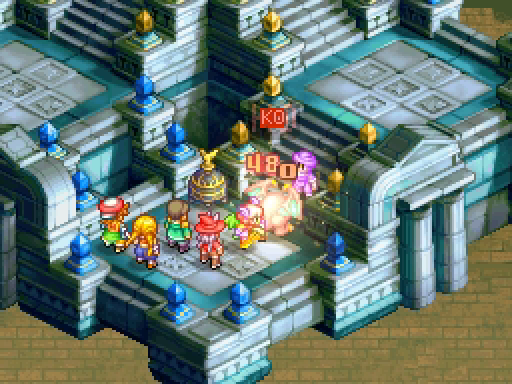
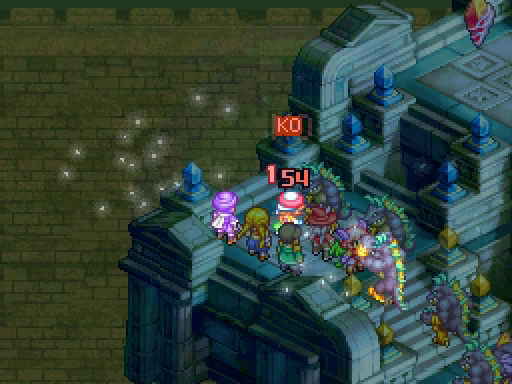
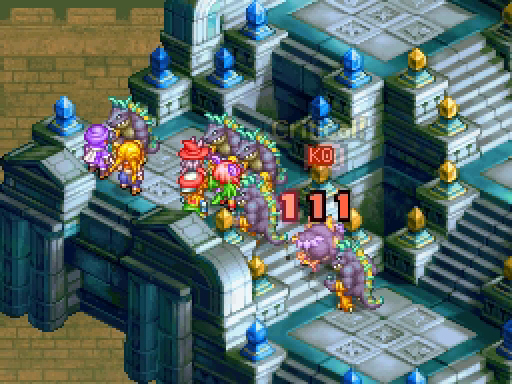
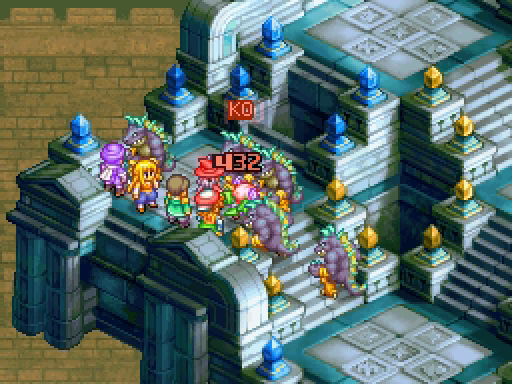
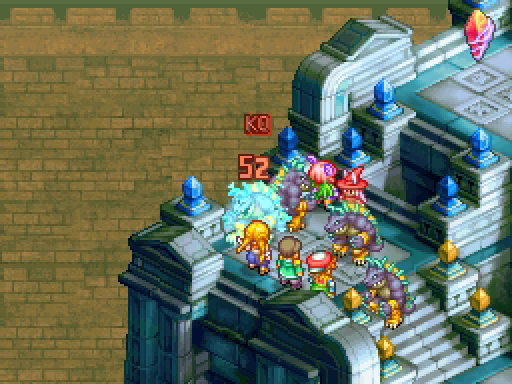
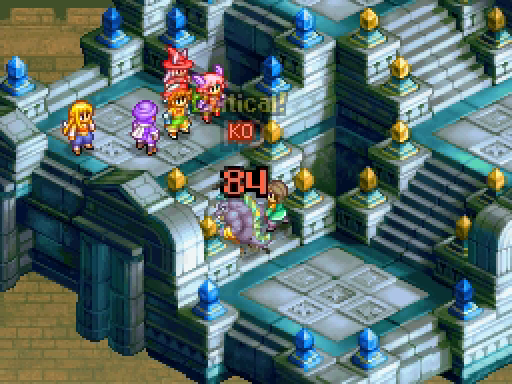
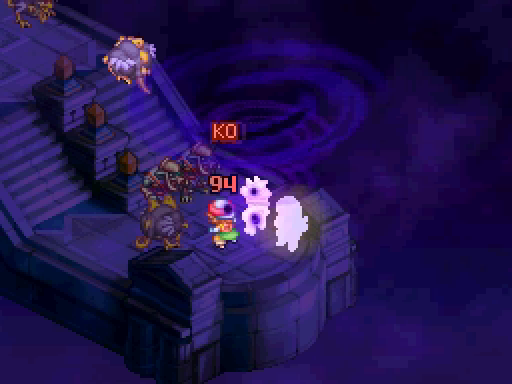
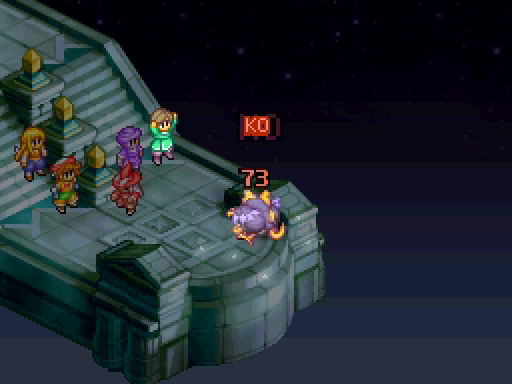
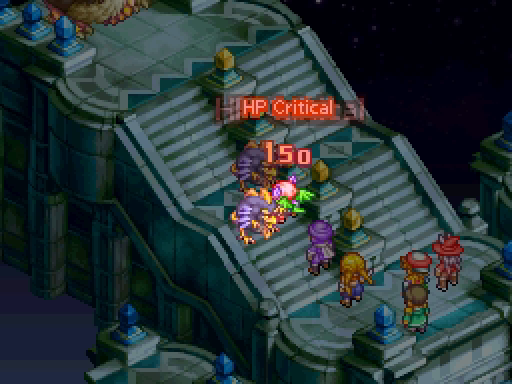
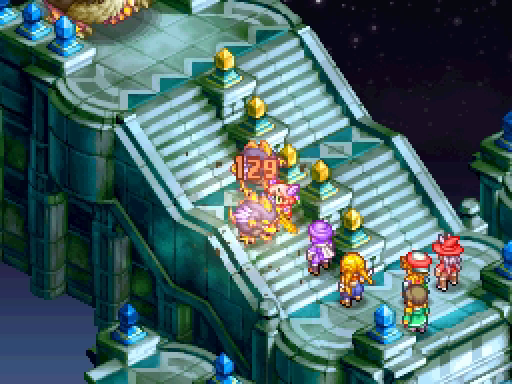
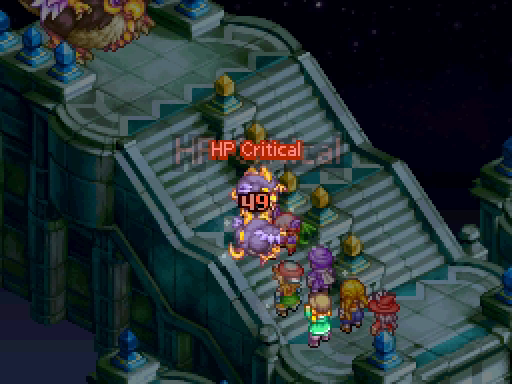
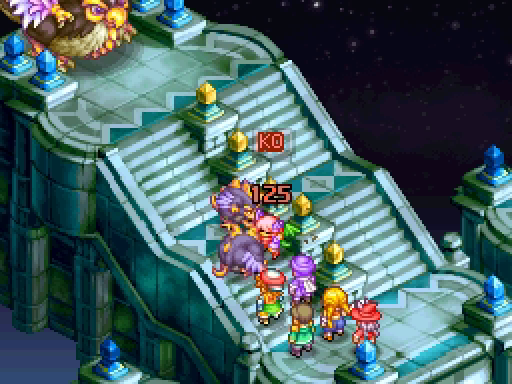
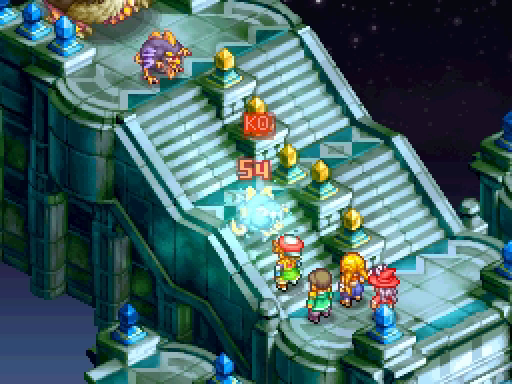
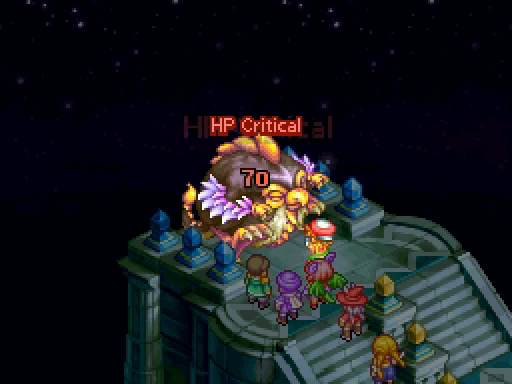
Look, our first death! Due to the length of this update, I'll be cutting out unimportant turns. I'll also only show the "attack" screen (the image on the left) and not the follow through (like in the image on the right) unless something notable happens, like a unit getting knocked out.
I'll also give summaries of the intervening turns. Let's practice!
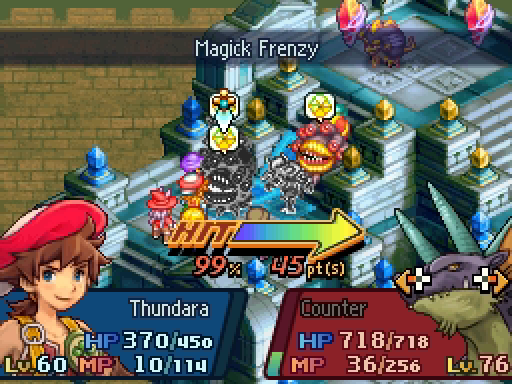
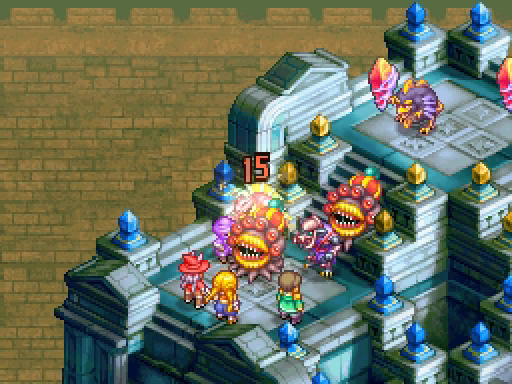
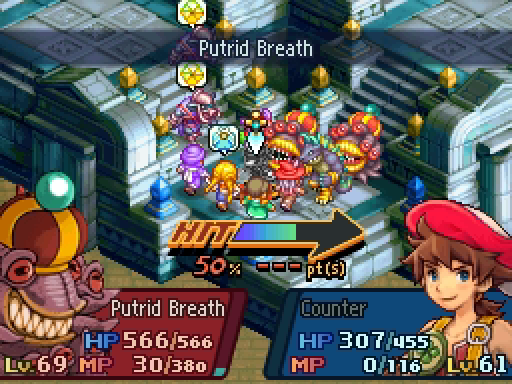
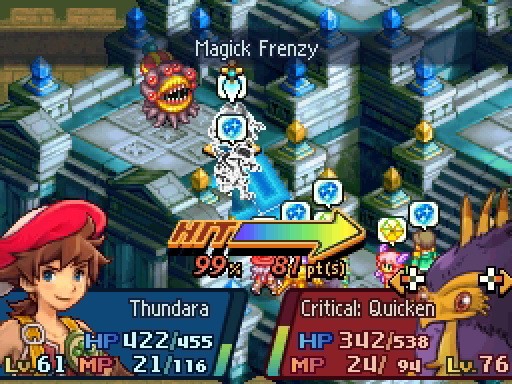
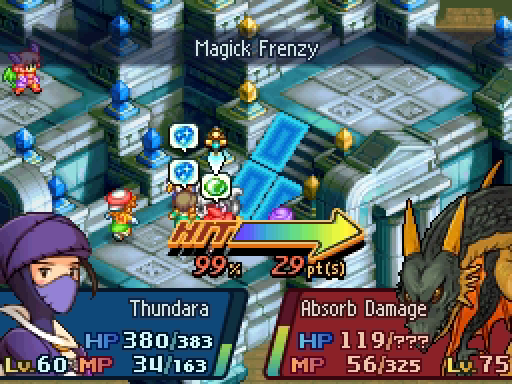
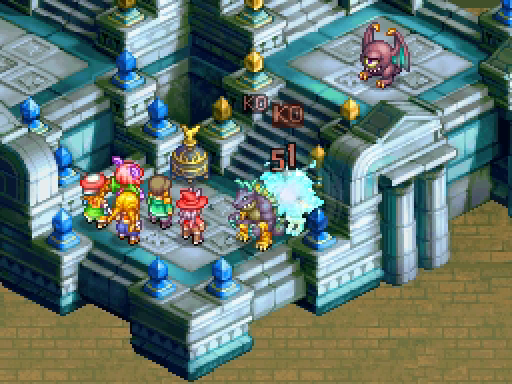
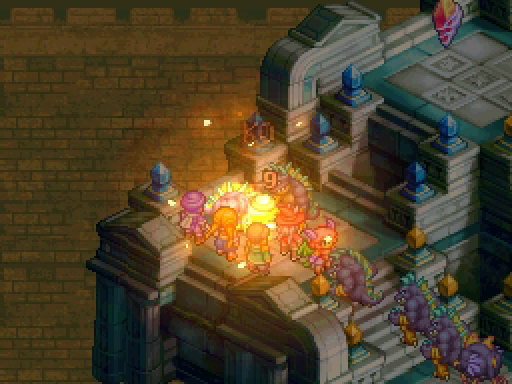
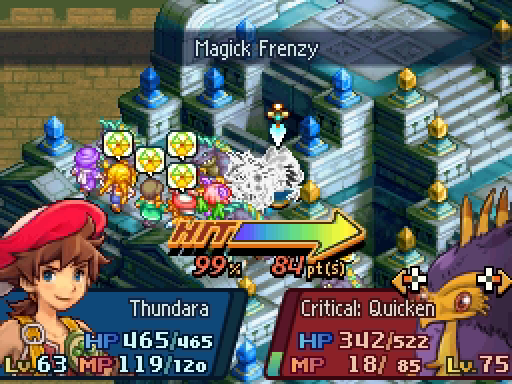
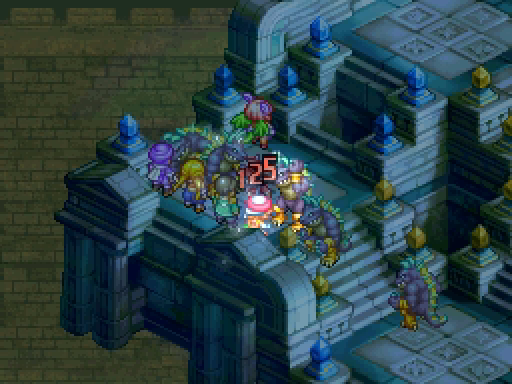
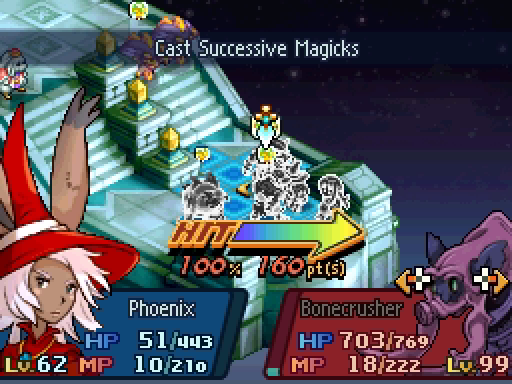
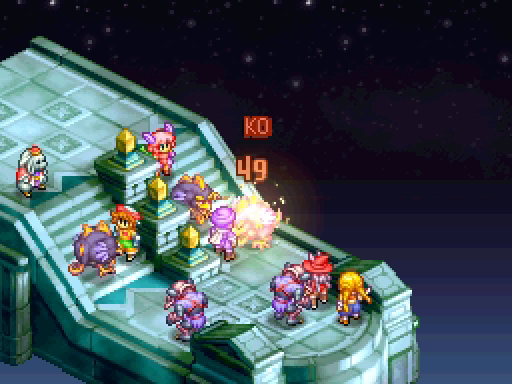
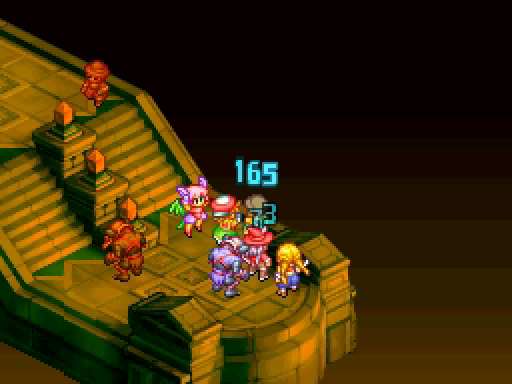
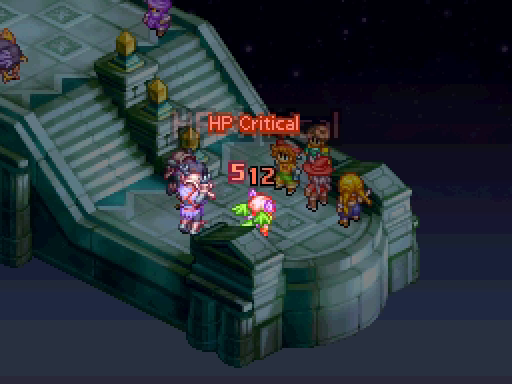
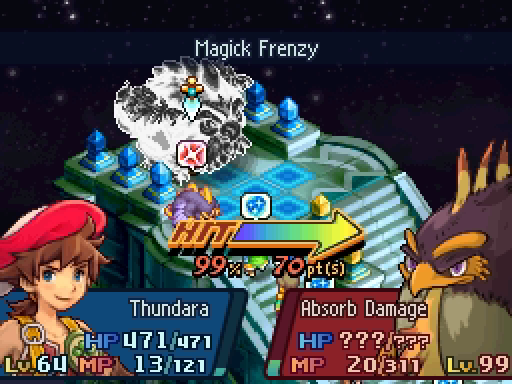
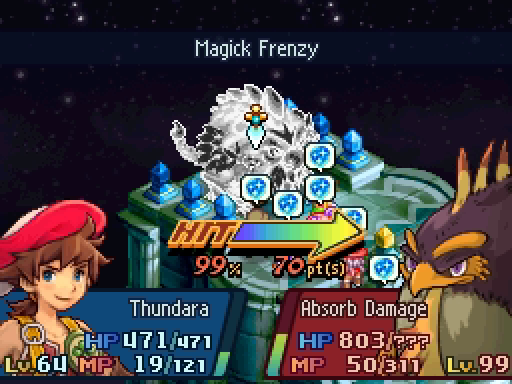
The enemies have charged in and generally beaten us up. The Nemeshis (the Malboros, that is) are particularly scary, since they can Doom us with Putrid Breath. Fortunately, Penelo can clear that. Samuel is doing the Ninja/Seer thing with Magick Frenzy. Peep that damage -- only 15! The Baknamy took a 150 damage critical though, so we're good.
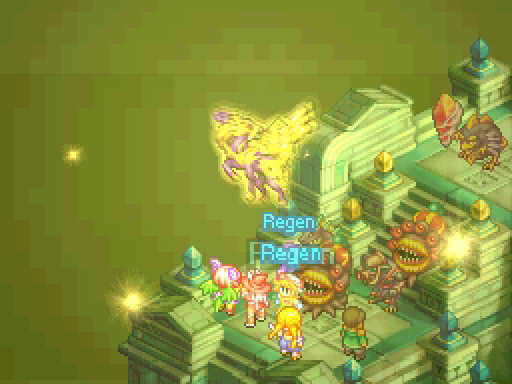
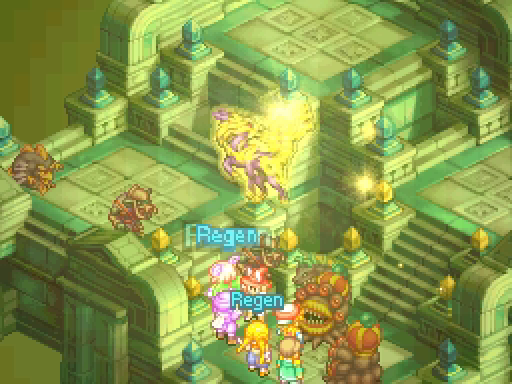
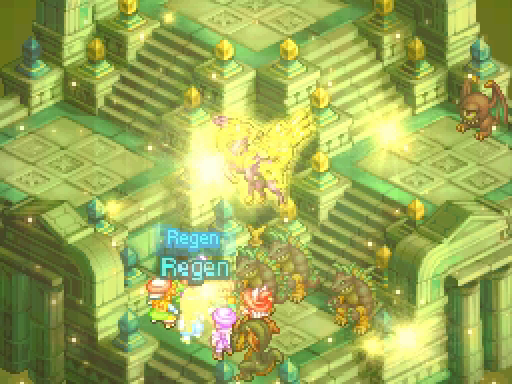
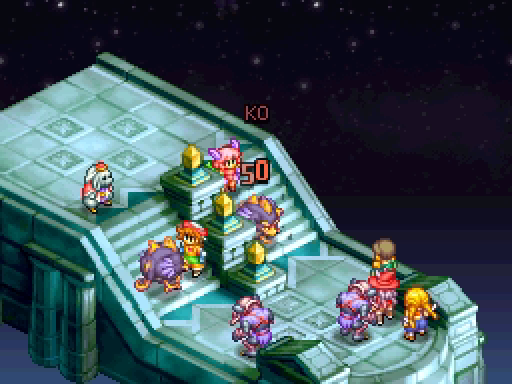
Lenolia revives Zoe and gives everyone Regen.
Don't bother Slowing enemies, the Blackwind will just Haste them again immediately.
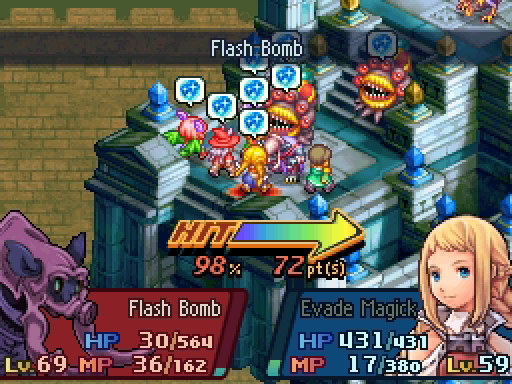
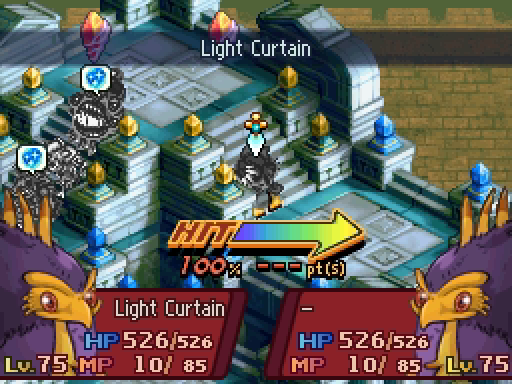
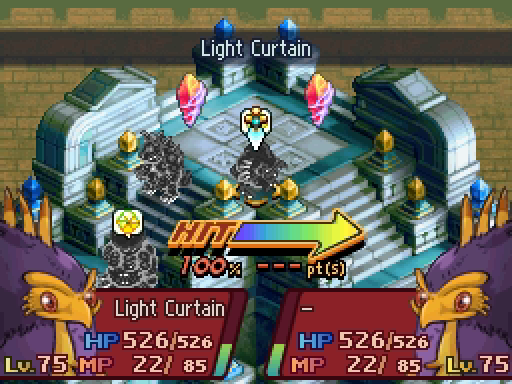
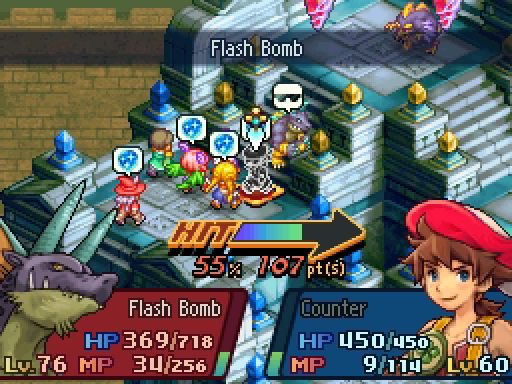
Flash Bomb is another returning Turning ability. It's just bypasses R-Abilities, which can be annoying.
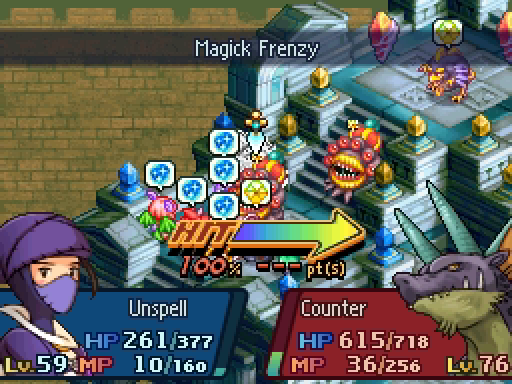
One trick is to use Ninja's Dispell to remove those buffs, since it can be used with Magick Frenzy. But it's a melee-range spell, so you might get your skull caved in. Sorry, Leed.
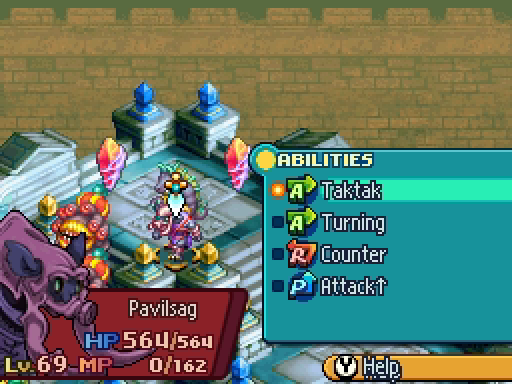
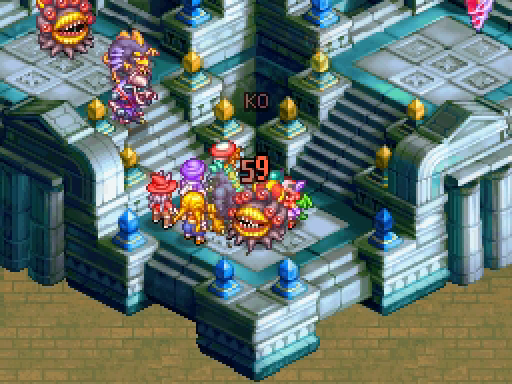
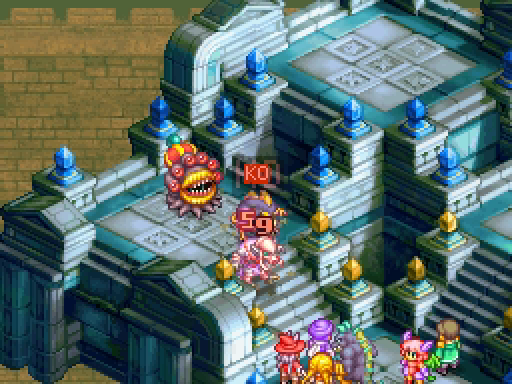
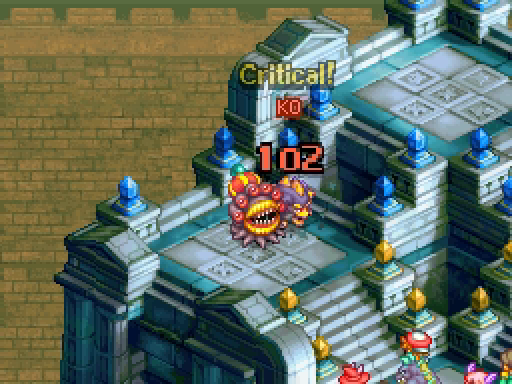
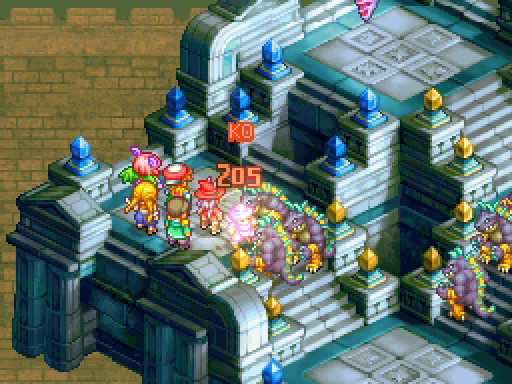
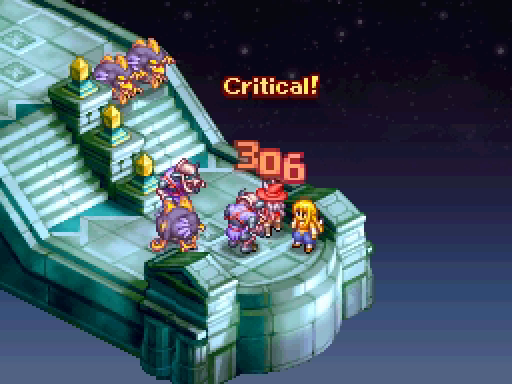
Good news, though: Samuel finishes off the Pavilsag and Frimelda burns out one of the Nemeshis.
You can't stop me! I'm on a roll and only three of you stand in my way!
Two of you, even! Samuel takes down the remaining Nemeshis.
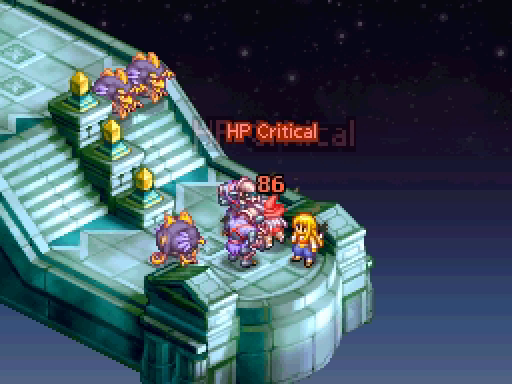
One of the Ninja Seers blinded the Behemoth, and Penelo nailed it with an Attack Down debuff. It's now merely "very" dangerous instead of "extremely."
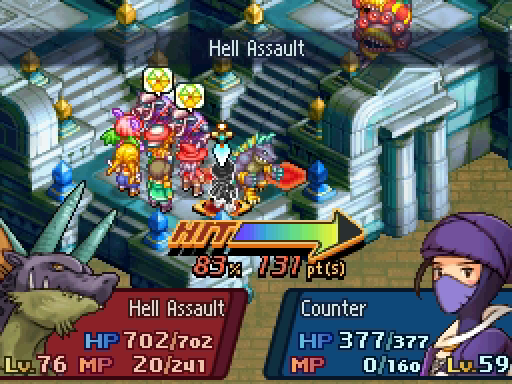
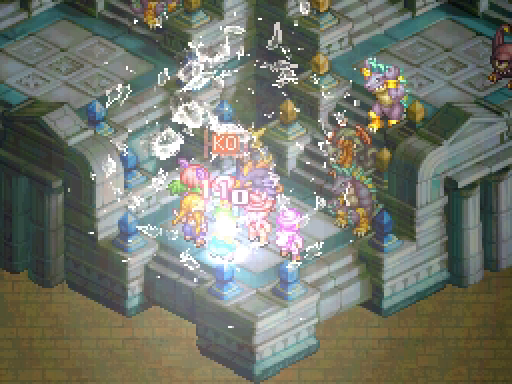
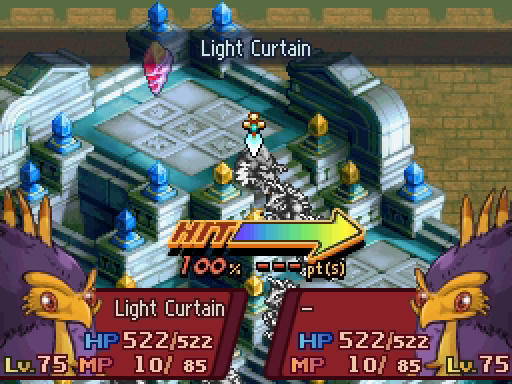
After a few more turns of Hell Assaults and Light Curtains, we kill the last two and the first battle is over.
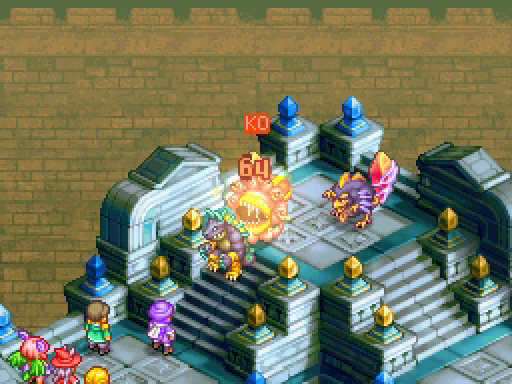
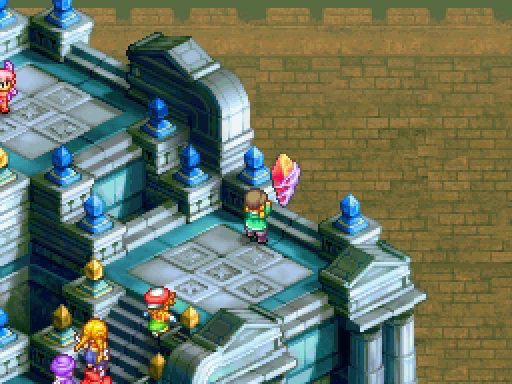
You may have noticed the two crystals in the northern quadrant. Ignore them and take the one that appears after defeating all enemies.
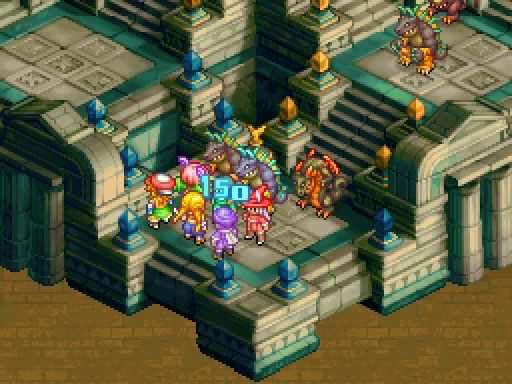
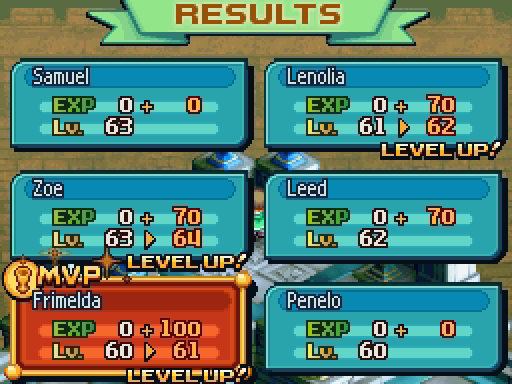
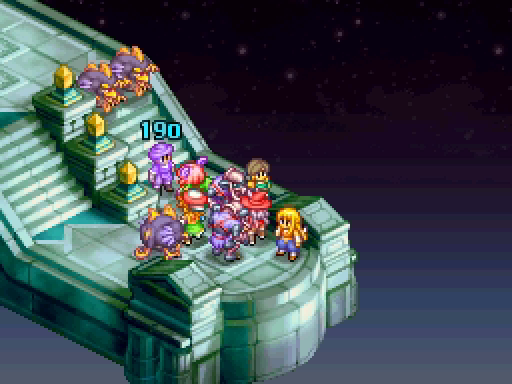
Also we're going to be gaining a lot of levels today.
---
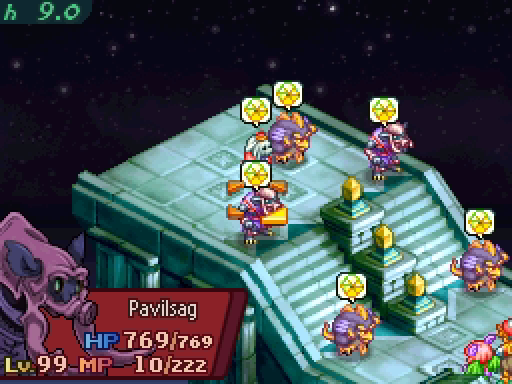
Level 32! Same goal, same law, same privilege. Basically the same fight as before but we're flanked and there's another Pavilsag. Let's go.
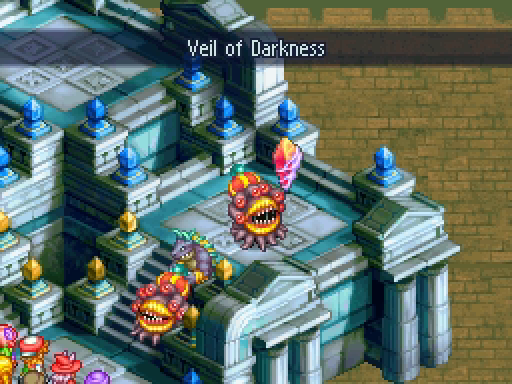
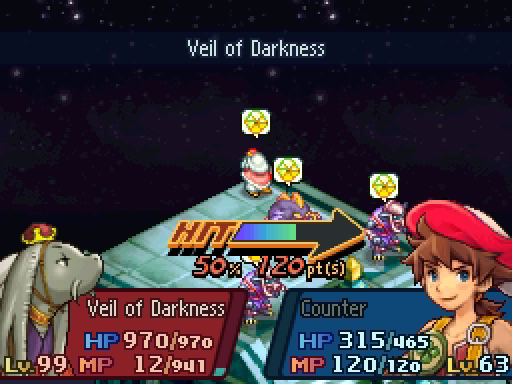
Veil of Darkness drains everyone's MP. That's not an issue for us, thanks to MP Efficiency.
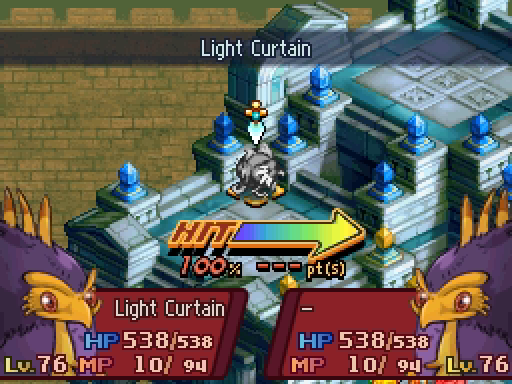
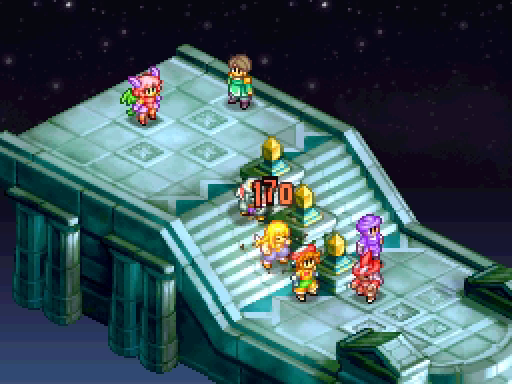
All the usual, the enemies have a few free turns to punch us in the face and buff each other. The Light Curtain comes out when we're only 2 turns away from being able to do something.
But I don't worry until someone's seriously injured.
And now that it's finally our turn--
Never mind. Putrid Breath inflicts Doom, so Penelo will have something to do when her turn finally rolls around.

Also, Zoe dies again. They really like targeting her.
It's finally our turn! The Ninjas start laying in with the Magick Frenzy, and Lenolia revives Zoe and blesses everyone with Regen.
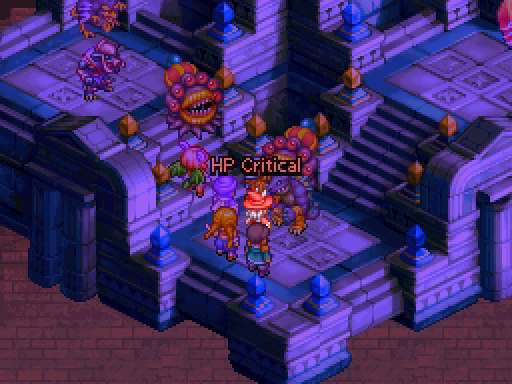
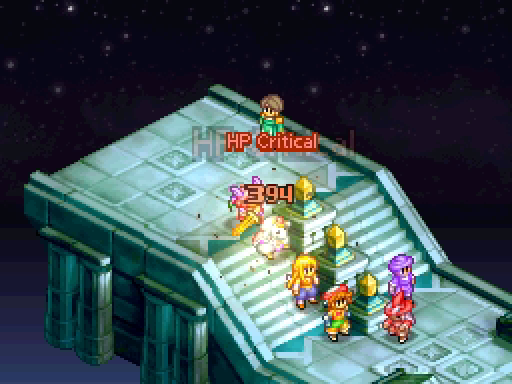
A few unproductive turns later, Lenolia is hit with the full force of a Behemoth.
She has an Angel Ring, thankfully, which brings her back for free.
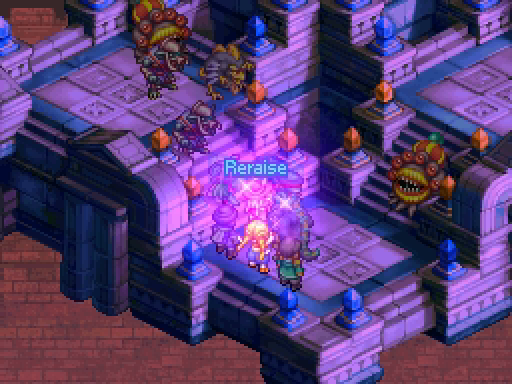
Penelo casts Reraise, which has the same effect as the Angel Ring.
Just in time, too, because the Behemoth is not ready to let her go. Reraise was a better choice than just healing her because Penelo could not out-heal the Behemoth.
But she's at such low health that she can't fully heal herself! Blood Price won't let you kill your casters, even though her first spell will heal her.
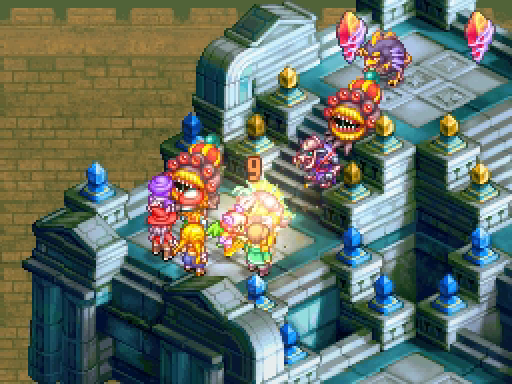
Samuel finally gets the first kill of the floor by dispelling the Pavilsag's buffs and landing two solid hits.
You can't keep a good viera down.
Unless you don't give me time to heal between attacks, I guess.
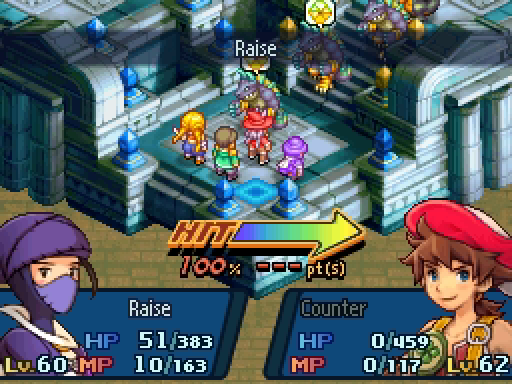
But that's what we have Arise for! It revives the target at full HP, letting Lenolia immediately start healing again.
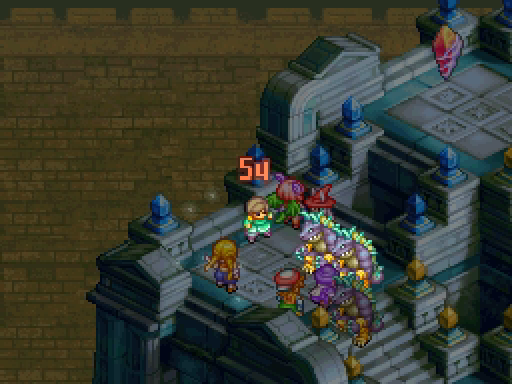
Frimelda clinches the second kill of the floor. A few of the other monsters are looking weak, but we have a ways to go.
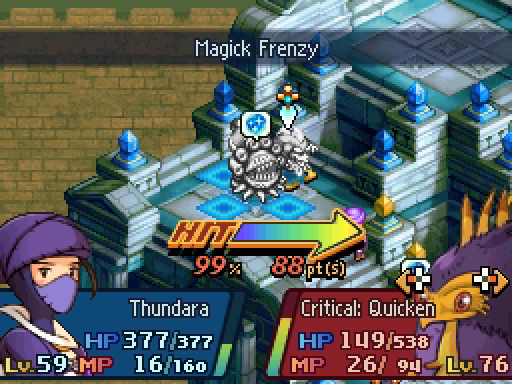
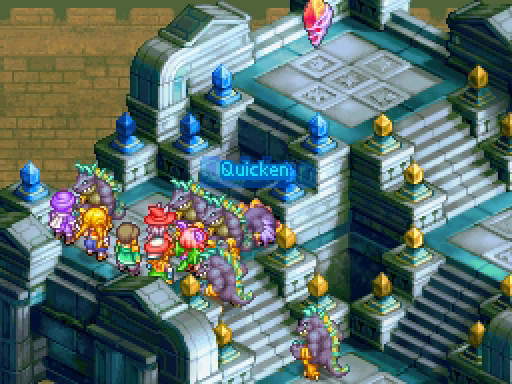
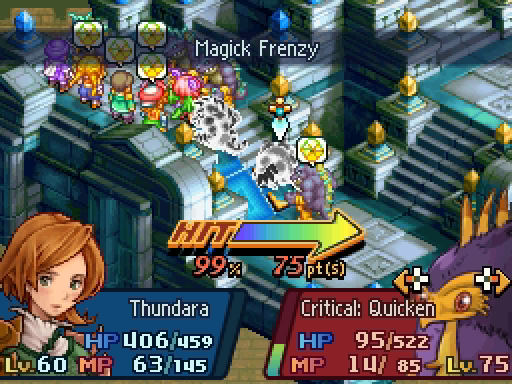
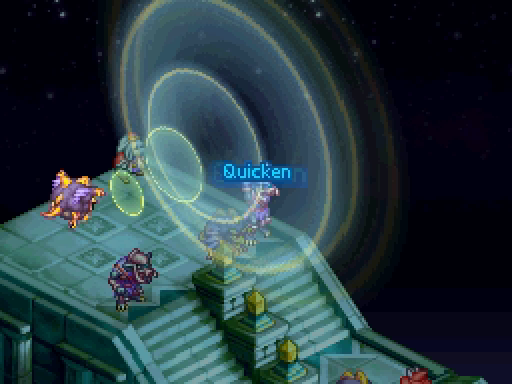
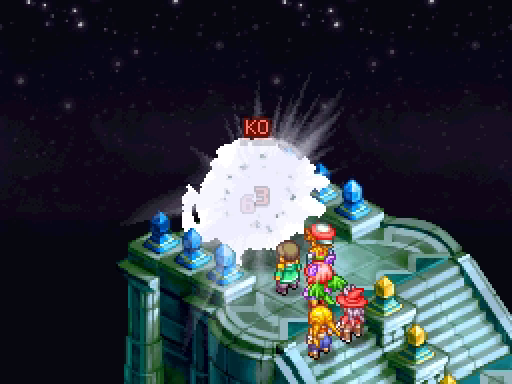
Samuel kills the second Pavilsag and critically weakens the Blackwind. This activates the bird's Critical: Quicken, but it just casts Light Curtain again.
Leed finishes it off. The Nemeshis and the Behemoth are still close to full HP though.

Between Blind and Ribbons, they don't manage to hurt us for a bit. Even better, Light Curtain is finally wearing off!
Targeting the Blackwind would be my main priority every battle, but it's nearly impossible to do. Thanks to Light Curtain, the Blackwind is always well protected and often surrounded by enemies.
With our numbers, we quickly wear down the remaining Nemeshis.
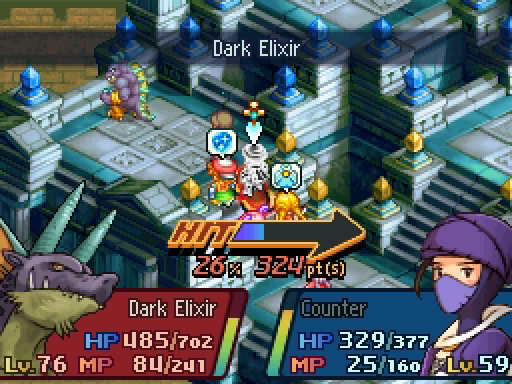
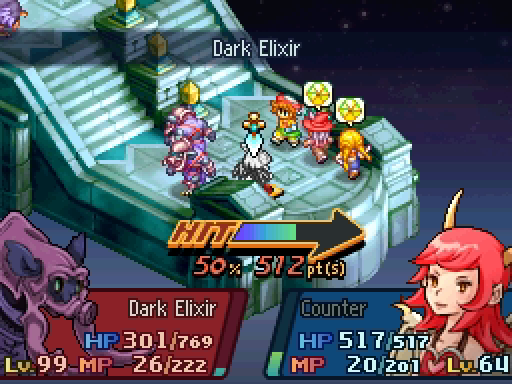
The Behemoth takes a lot longer, and it lands some solid attacks. Dark Elixir reduces the target's HP and MP by something like 99%, but it has low accuracy.
Samuel eventually finishes off the last monster.
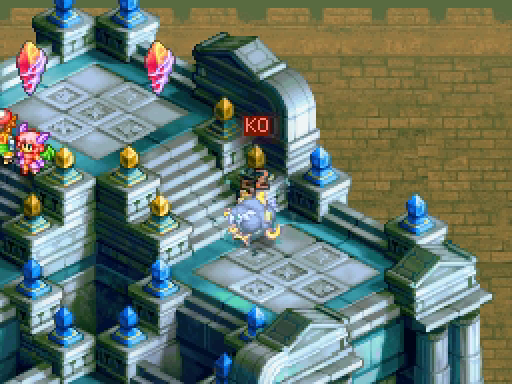
The only crystal on this floor appears after you defeat all enemies.
---
Movin' on up!
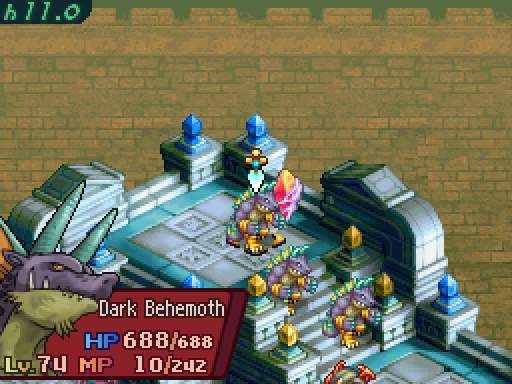
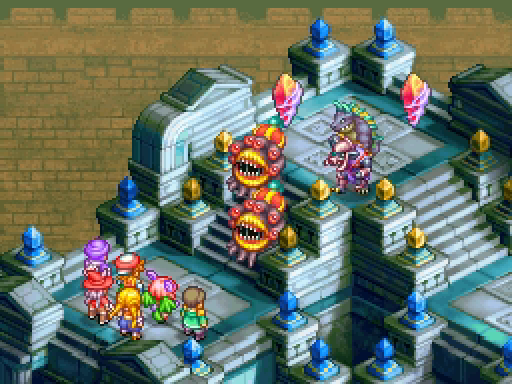
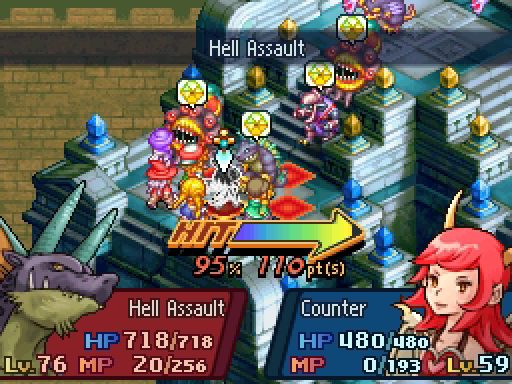
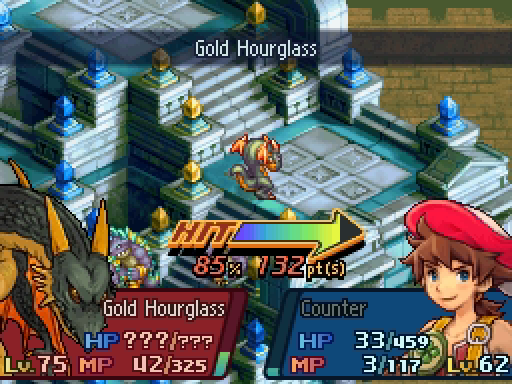
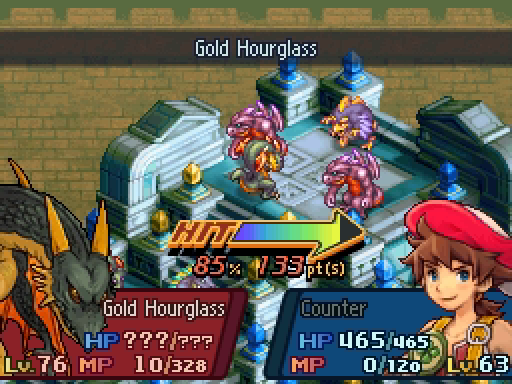
This one's fun! We have three Dark Behemoths, two of which are wizards, a Jormungand (the dragon), and an Evil Eye and a Blackwind.

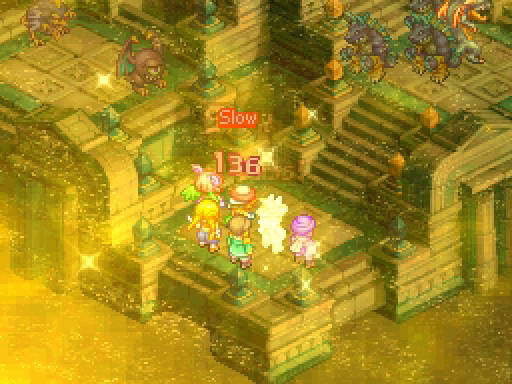
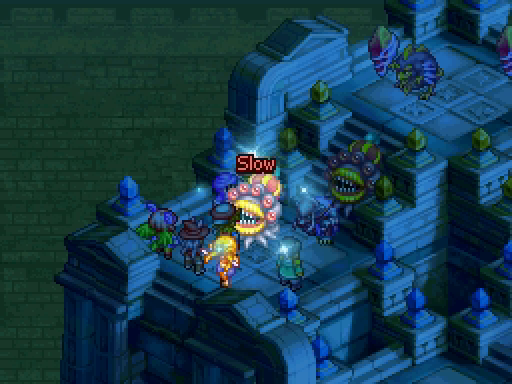
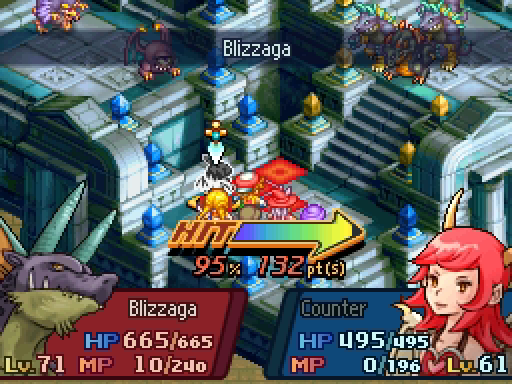
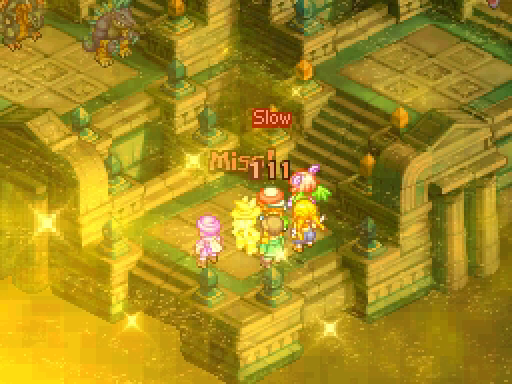
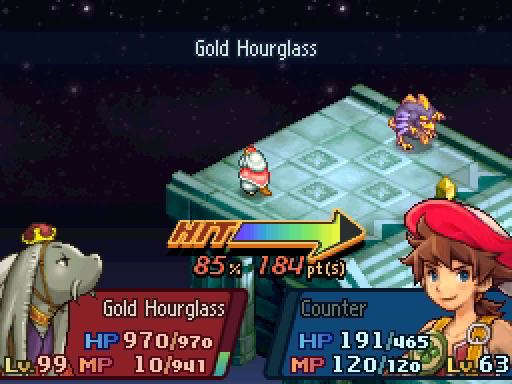
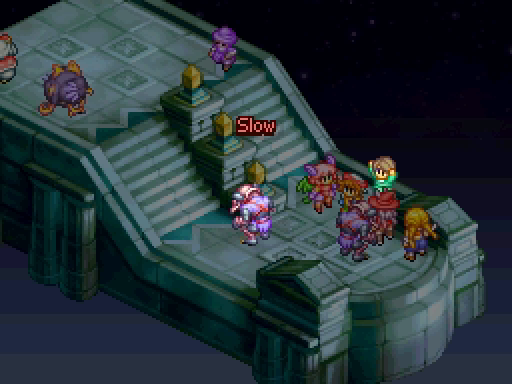
Gold Hourglass deals damage to the whole team and can inflict Slow. Yet another reason to bring a White Mage: Refresh cures Slow.
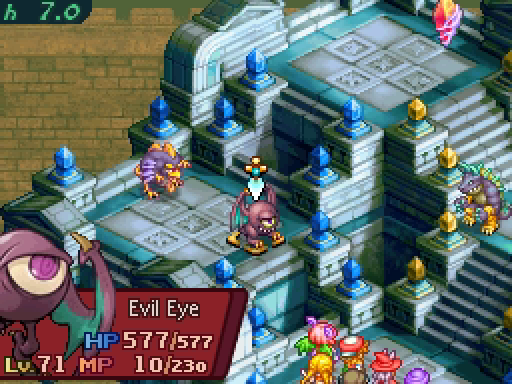
Also, the Blackwind and the Evil Eye are on their own disconnected quadrant. Of course, the Evil Eye can just fly over.
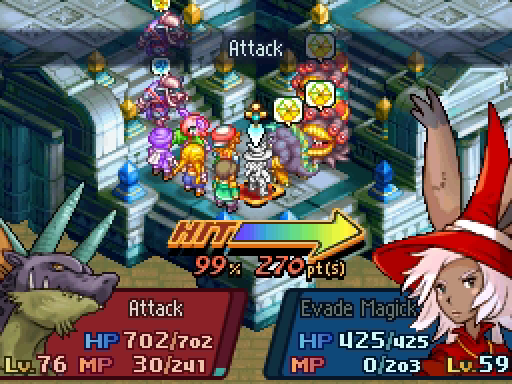
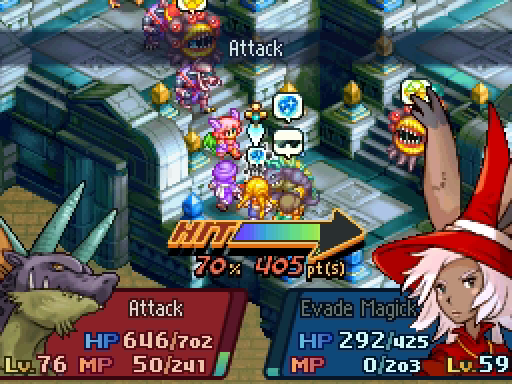
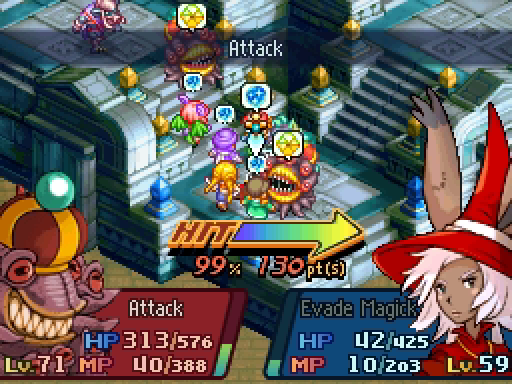
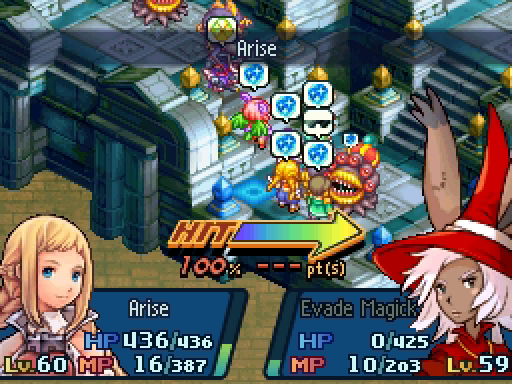
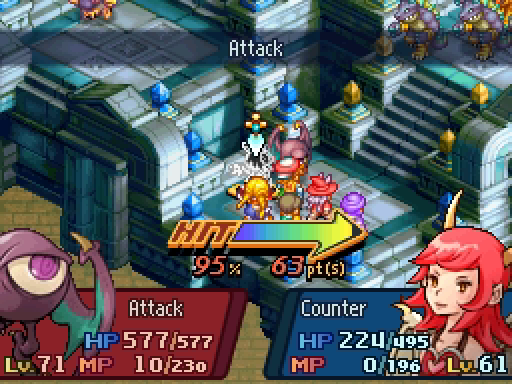
Evade Magick continues to prove itself the best R-Ability. It no-sells about 80% of the attack here, until punches start flying.
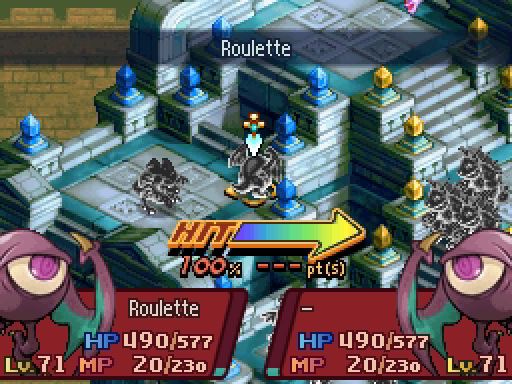

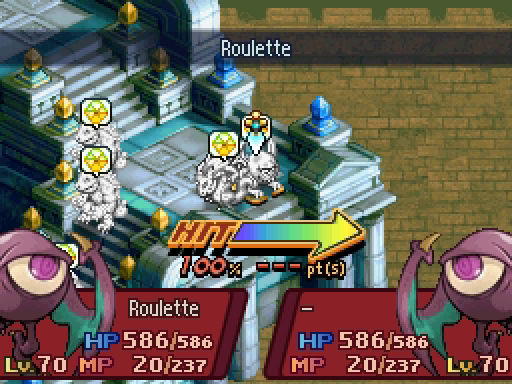
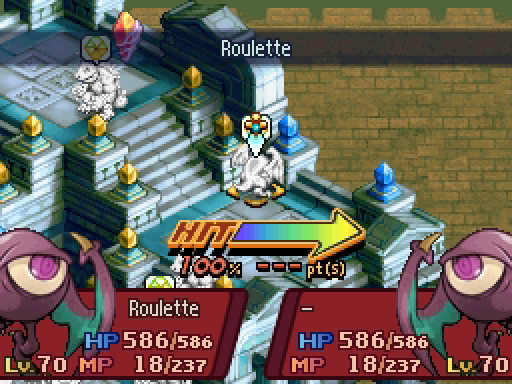
The main point of having Evil Eyes is to cast Roulette. They're much more aggressive about using it than regular Ahrimans are, I swear they'll use it every turn if they can.
Sometimes this backfires in the best way possible.
This is a blessed run.
Not everything goes as smoothly as that, but hey, Samuel's got an Angel Ring too.
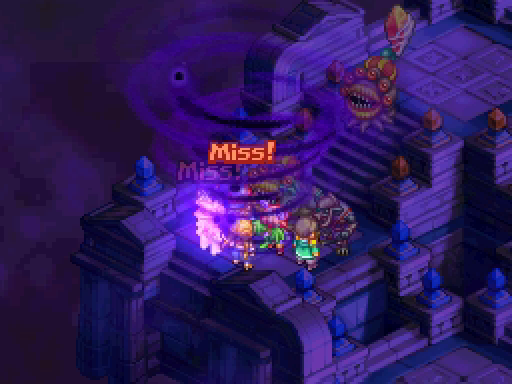
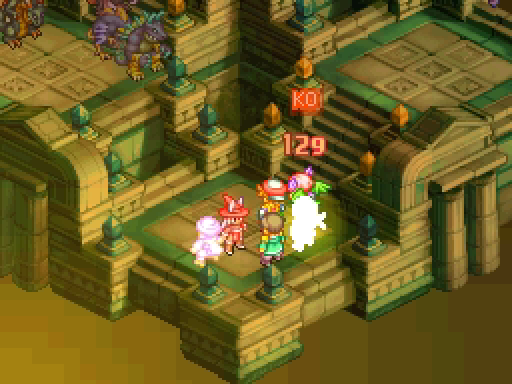
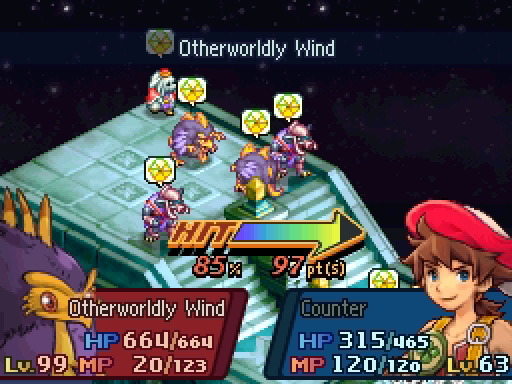
It's not very helpful. Poor Zoe is killed again by the Blackwind's Otherworldly Wind.
Leed can resurrect Samuel, and Penelo heals them both...
But that's not enough.
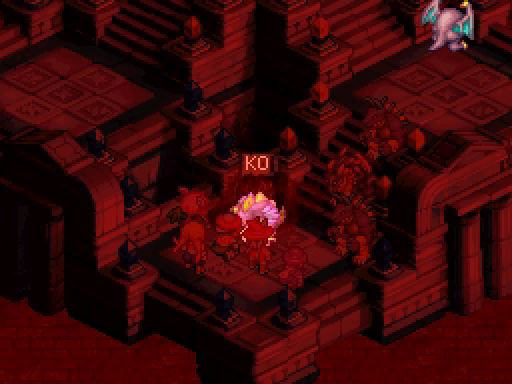
They're both dead a couple turns later.
Lenolia suffers another quick bout of death herself, but the Angel Ring brings her back just in time to cast Phoenix and resurrect the other three. Except Leed doesn't make it back because I miscalculated and there just wasn't enough room for him!
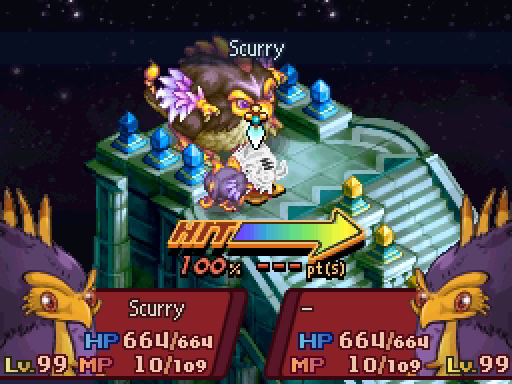
Zoe flees all and goes tête-a-tête with the Blackwind. This map finally gives you a chance to take out the Blackwind quickly!
That is, if you can take it down before the other monsters kill you from across the battlefield.
Penelo brings Samuel back, Lenolia weakens the Behemoths and Samuel finishes one off.

The next dozen or so turns are just a grind. Zoe returns to get some healing, the Ninjas generally crash into the enemies, who gladly return the favor. Penelo and Lenolia do what they can to keep everyone alive, but it's not enough to save Zoe.
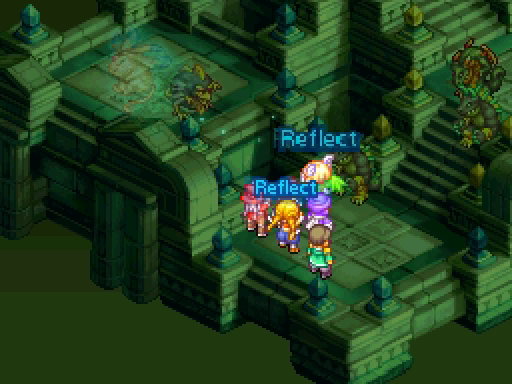
After raising Zoe again, I finally have everyone in the right formation to have Lenolia buff the team with Reflect.
It's very satisfying.
Very, very satisfying.
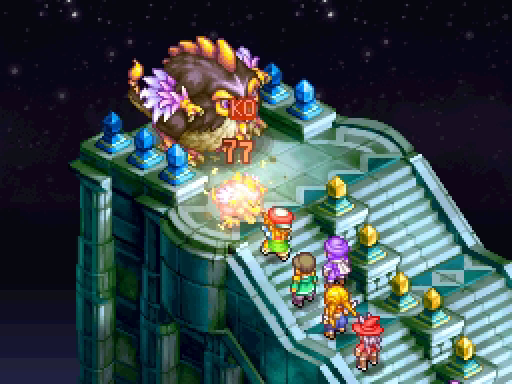
Zoe finally kills the Blackwind, too!
That just leaves these two. The team is healthy enough that I can let Lenolia cut loose without worrying about anyone dying.
The Jormungand falls quickly.

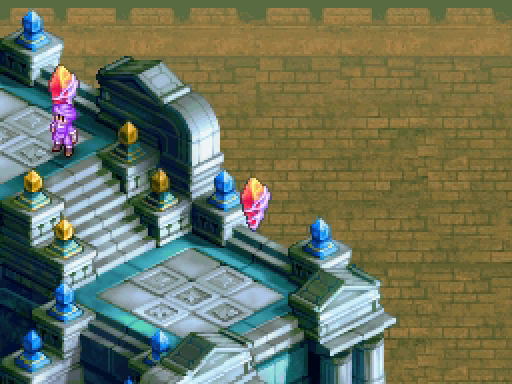
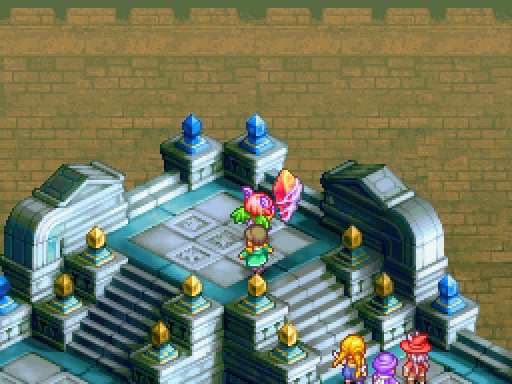
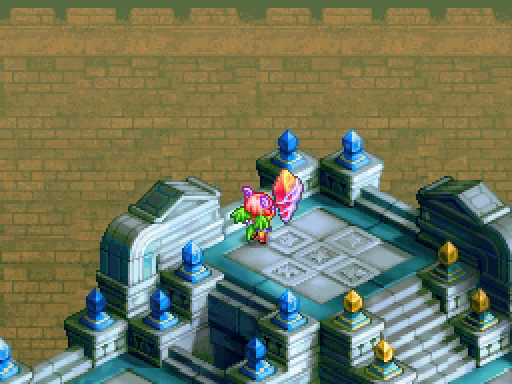
After all the enemies are dead, a moonstone will appear on the disconnected platform. Have your flier enter through it last!
---
Alright, this one is a bit silly. Look carefully at the battlefield. It's split in half, and all the enemies are on the other side.
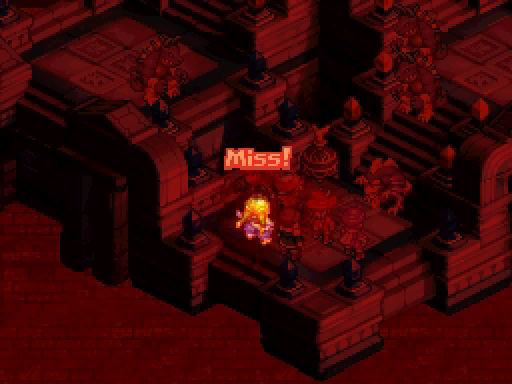
Sure, they can still hit you with their Turning abilities, but that's not enough to stop you.
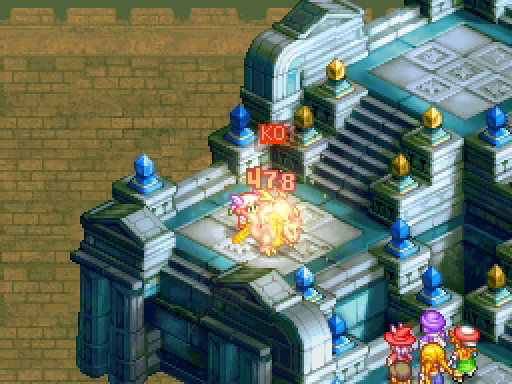
Ok, it still kills Zoe, who has a VIP pass to the afterlife.
I absolutely will not judge you if you head straight through the crystal instead of fighting the enemies. You might not have the resources to handle this battle quickly. You might want to just move on. I get it.
Personally, I had no problem grinding them down with Ninja Seers and Summons.

That's it for this floor.
---
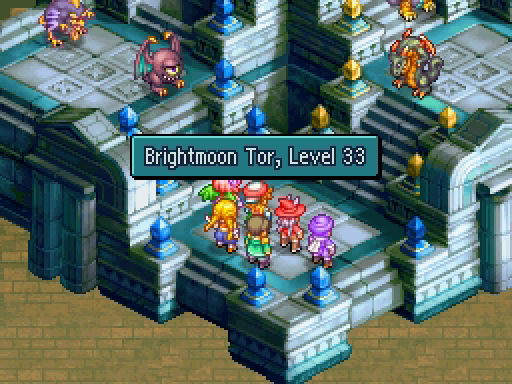
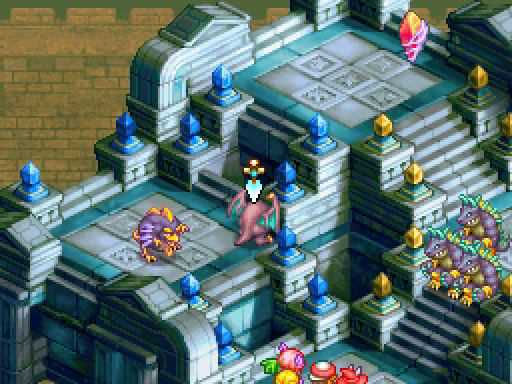
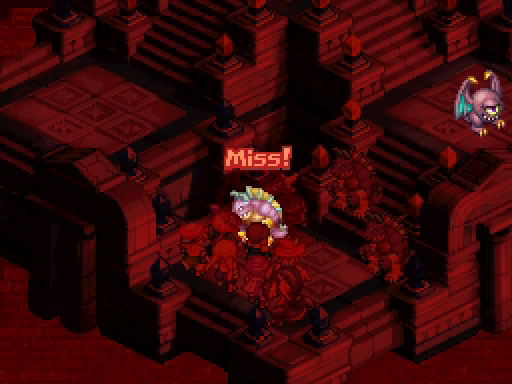
This is the last fight on floor 33. And look, a treasure chest!
Same as before, oddly: Three Behemoths, a Jormungand, an Evil Eye and a Blackwind. This is a U-shaped arena, so we can't get flanked.
Except magically, of course. But they don't linger here, preferring more direct attacks.
Not as much luck with Roulette this time, but fortunately Penelo is immune to Instant Death.
The Blackwind is brave enough to fight in the front lines, so maybe we'll take it out early. On the other hand, one of the Behemoths ruins Frimelda with Dark Elixir.
The other Behemoth finishes the job and nearly kills Leed and Samuel.
Suddenly this battle looks a lot more manageable.
These deaths can't hold us back for long! Especially since Samuel's Angel Ring brings him right back!
Though Magick Counter from the Behemoth puts him right back in the dirt.

Lenolia is carrying the team though, no worries.
Without the Blackwind to counteract it, Slow is fantastic here. Ninja's Earth Veil inflicts it.

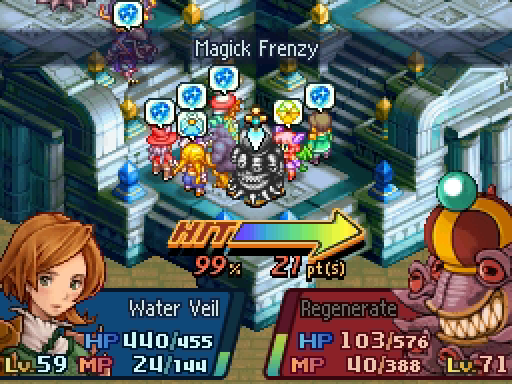
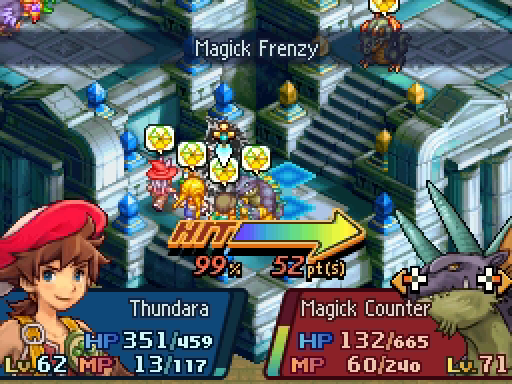
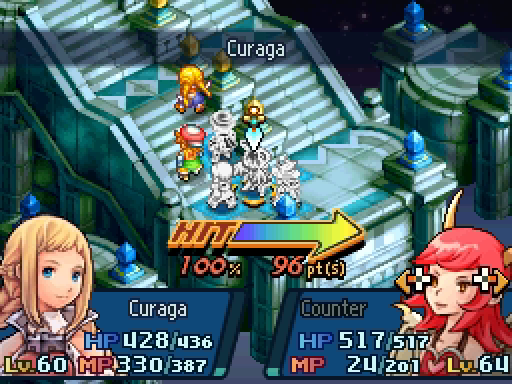
Lenolia is in a great position to buff the team with Regen and hit several enemies with Maduin, and Penelo nerfs their magick damage with one of her dances.
Sadly, the Behemoths are also immune to Roulette.
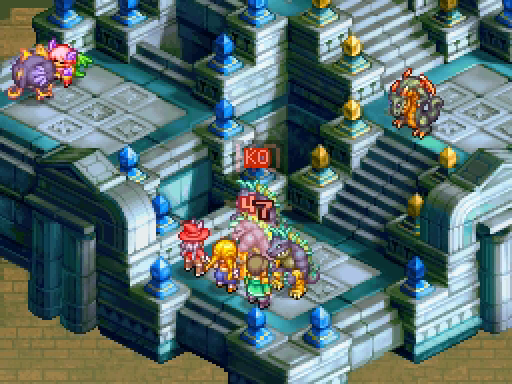
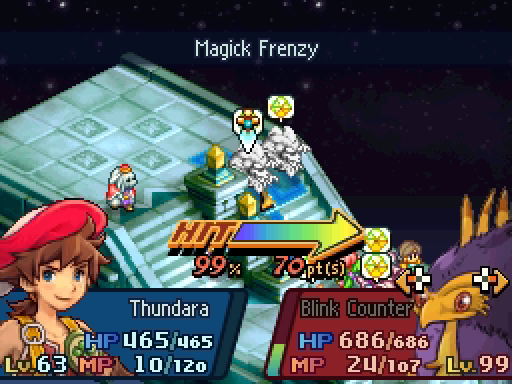
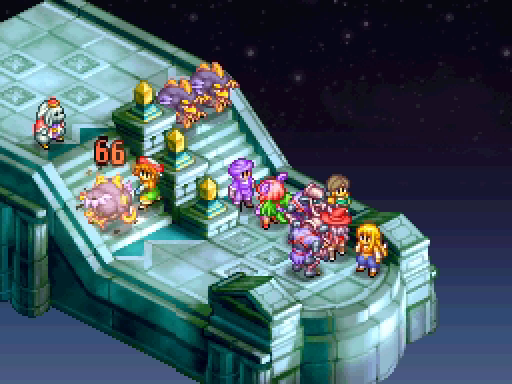
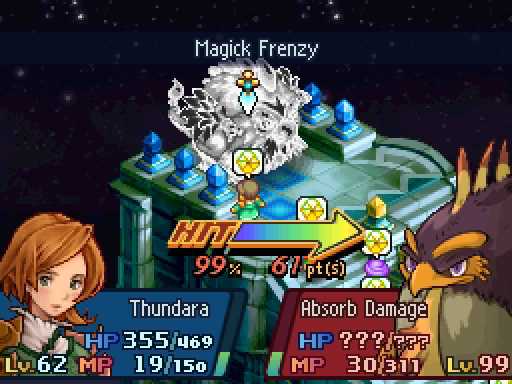
Several turns of back-and-forth ensue. Gold Hourglass slows Samuel, we blind one of the Behemoths, and Lenolia kills the Jormungand and a Behemoth. Not to be outdone, Leed kills the last two Behemoths with a single Magick Frenzy.
These battles are so much easier without the Blackwind messing things up.
The Evil Eye can't do much on its own, though I had hoped it would end things with another self-targeting Roulette.
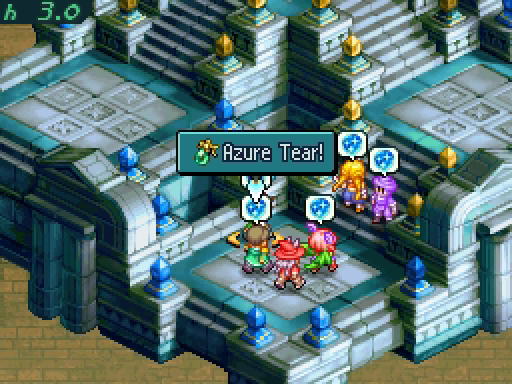
With the enemies cleared away, we finally obtain the last hidden treasure: Azure Tear. We'll take a look at it later.
No tricks here, head straight to the crystal.
---
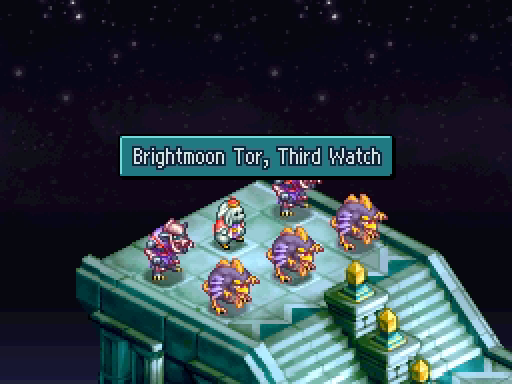
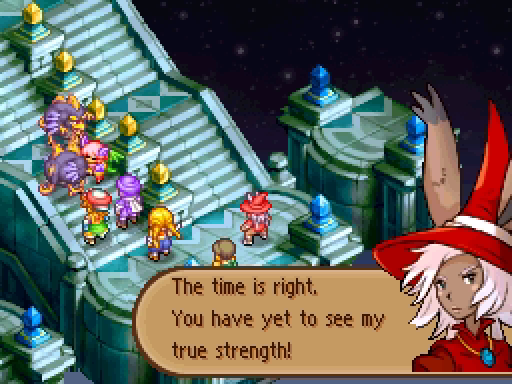
You know you're on the final floor when the Keeper talks to you again.
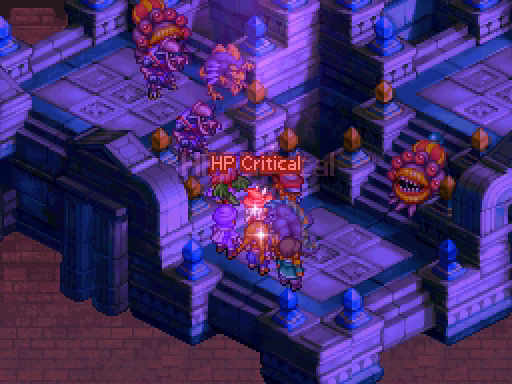
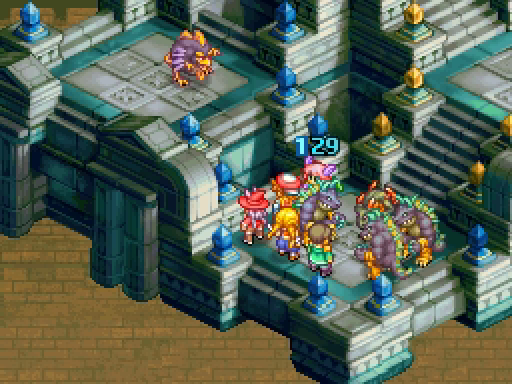
This battle is awful. The hardest one so far, for sure.
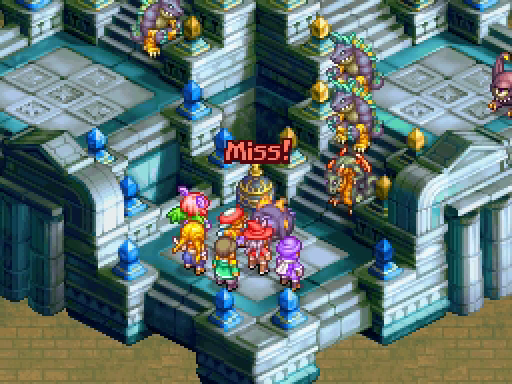
Five Behemoths and a Blackwind. Because of course there's a Blackwind. Some of the Behemoths are mages, others are fighters.
They will get many turns before you do, and that's before Haste kicks in.
Fortunately, Leed is the only one killed before we can take a turn.
Samuel's already burning through his Angel Ring. Those Behemoths' spells hit hard.
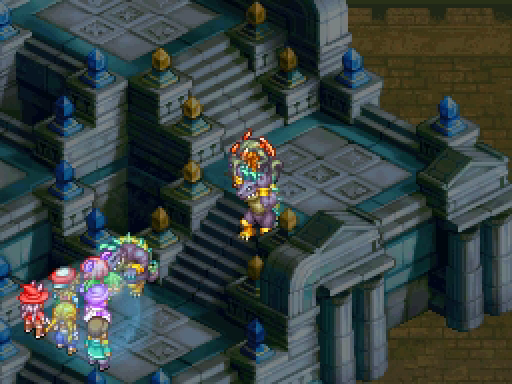
For some reason, the Blackwind moves into melee range with us. Eliminating it early might be the difference between victory and defeat.
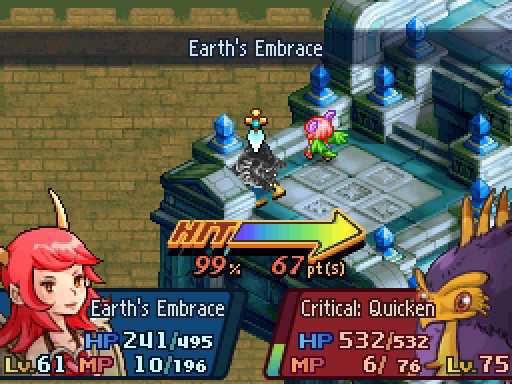
Lenolia brings Samuel back, and he promptly attacks the bird. Critical: Quicken activates, and it runs away.
But it does not run nearly far enough.
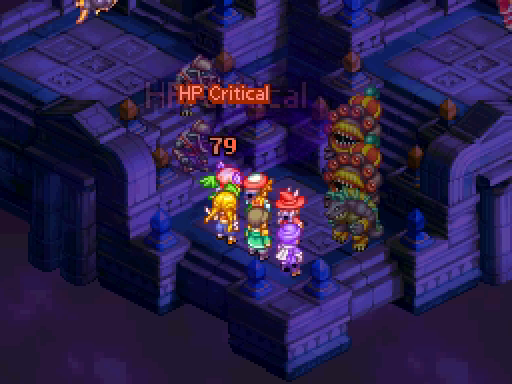
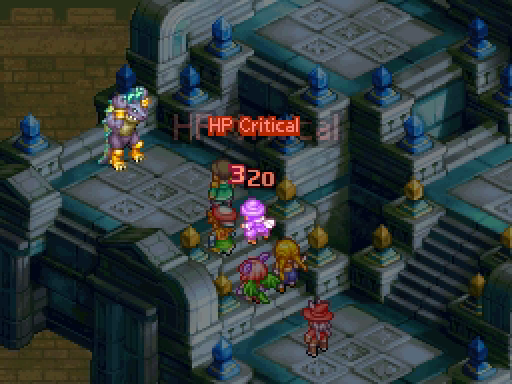
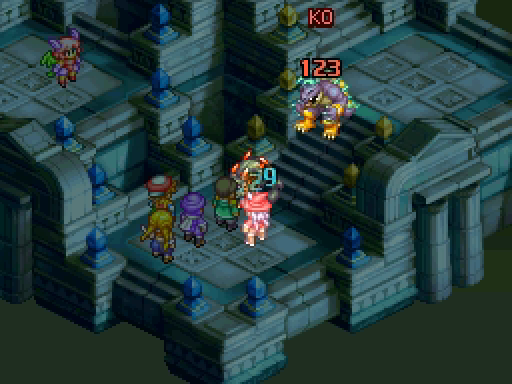
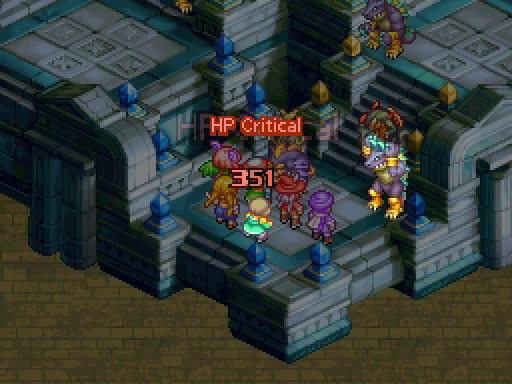
We still have to face down 5 Behemoths that really have no respect for our personal space. Our Ninjas have landed a few solid hits, but these are some seriously spongy enemies. Poor Zoe goes down again.
At least we manage to blind two of them. That'll slow them down a bit.
On the other hand, some of them are wearing Mirror Mail and the others have Magick Counter. It's a dangerous game for our mages.
But that doesn't stop Lenolia!
Sometimes eating your own lightning is worth it in order to kill an enemy and severely weaken another.
Or I just keep forgetting about the Mirror Mail.
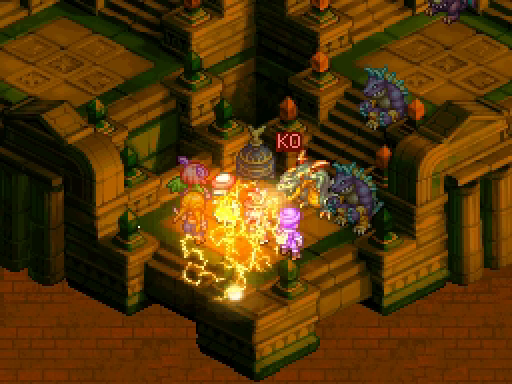
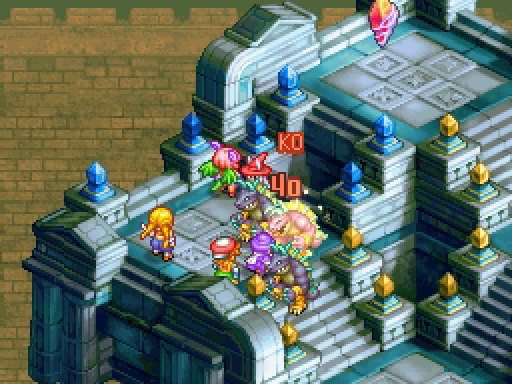
Another death or two later, the last of the Behemoths falls!
Again, there's only the one crystal.
---
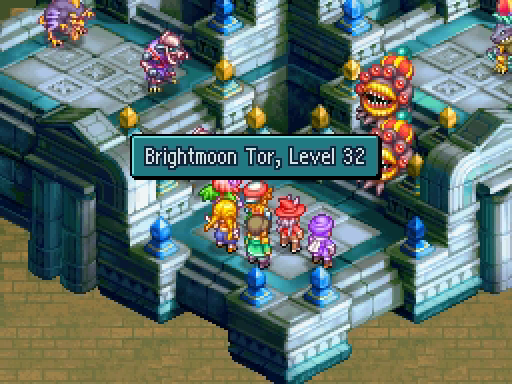
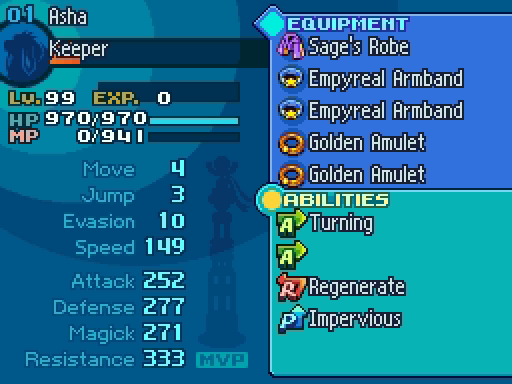
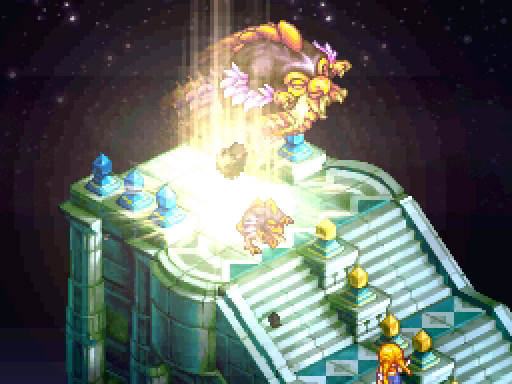
As promised, we've left the tower and are facing the boss: Asha, the Keeper of Brightmoon Tor.
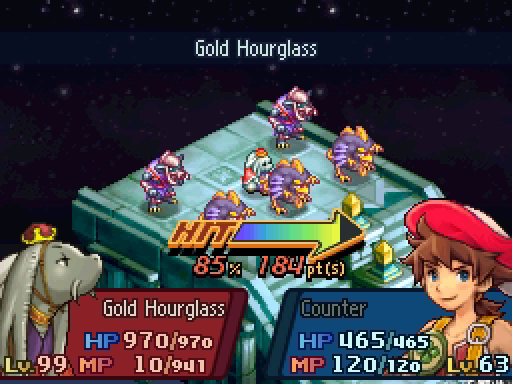
Asha is packing all of the Turning abilities, of course. Also, level 99. He packs a hell of a punch.
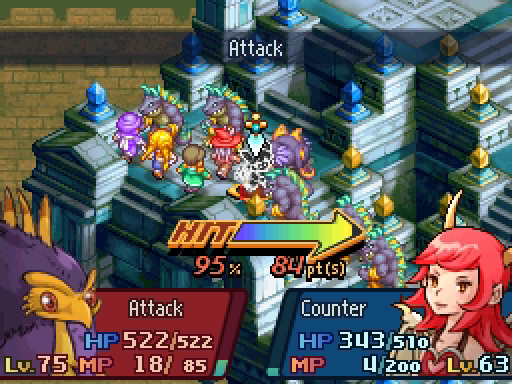
Compare these to our team's stats from the beginning of this update. Leed and especially Samuel have much stronger Attack, but otherwise he's stronger than any of us.
Unsurprisingly, his Blackwind has Light Curtain. But this is the only one who does, the other two only have Otherworldly Wind. Still level 99 though.
The two Pavilsag are the same as the previous ones: Magick Hammer, Dark Elixir and Flash Bomb. But being level 99 makes them a bit threatening.
Like the other two watches, our role is to sit here and let them beat us up for a few minutes. It actually feels less obnoxious than the previous ones.
This is actually a normal Cockatrice ability. Better than another Otherworldly Wind!
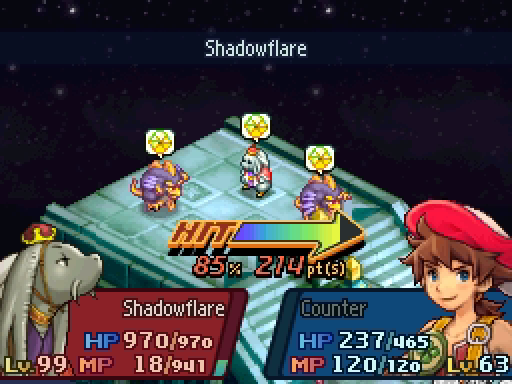
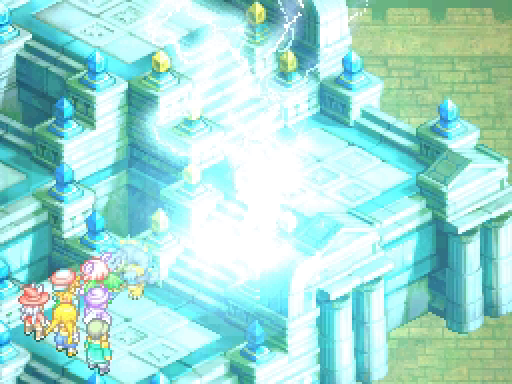
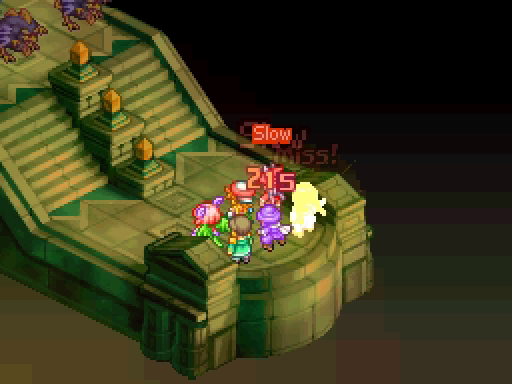
This is the one new Turning ability, which I think only Asha knows. It's basically Flare, but it hits everyone.
It's finally our turn, which we spend trying to heal some of the damage and maybe land an attack. Thanks to haste, only these two have a chance to do anything before the enemies monopolize the battle again.
Asha kills half the party with a single spell, though Samuel once again comes back thanks to his Angel Ring.
That doesn't last too long. Only Lenolia and Penelo are alive -- Evade Magick means they're completely untouched.
She only has 51 HP left.
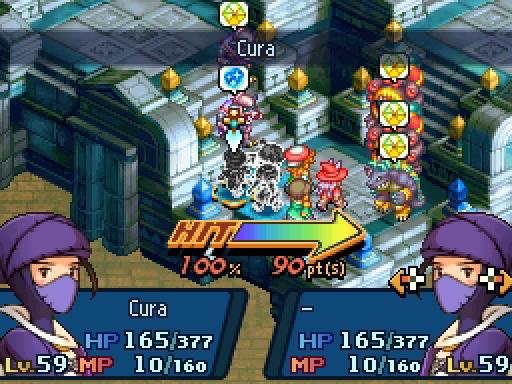
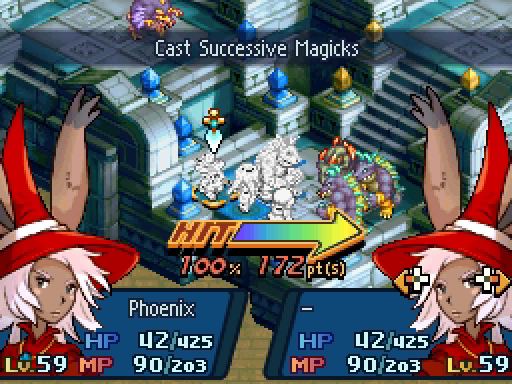
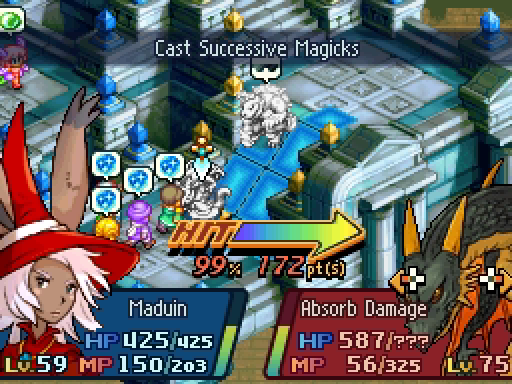
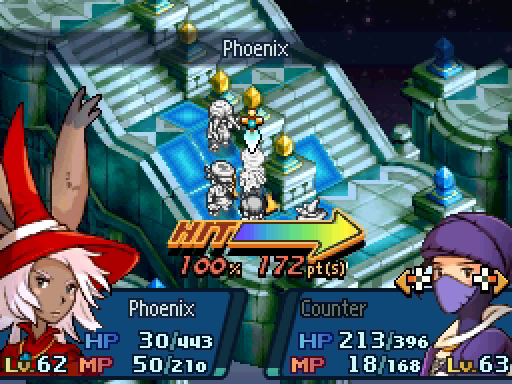
But that's just enough to cast Phoenix, fully reviving the rest of the team. Summoner is just the best job, it's broken and I love it.
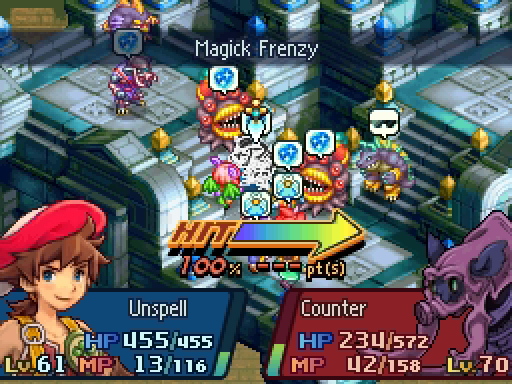
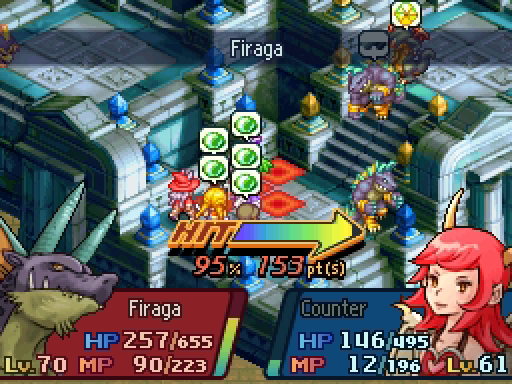
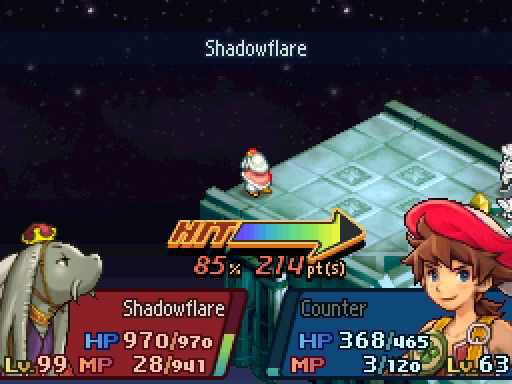
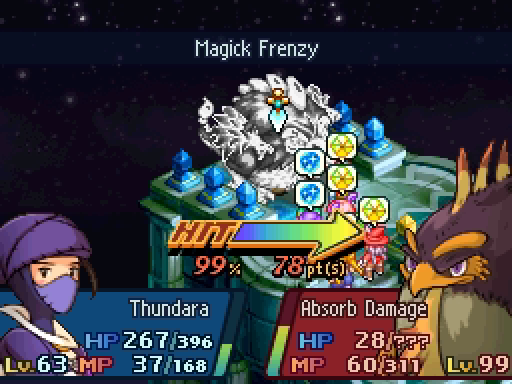
Our first priority is to kill the Blackwind with Light Curtain. (Samuel is standing beneath the "HIT" text. For some reason, the other Blackwind decides to cast Otherworldly Wind standing next to him. Free counterattack!)
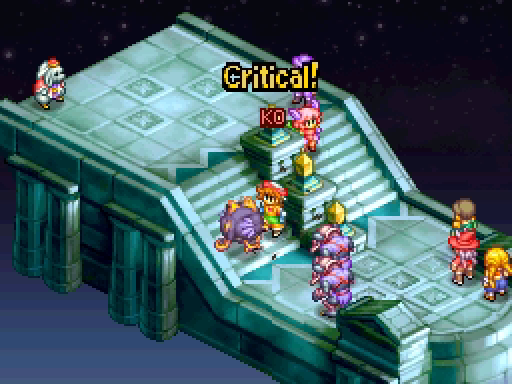
Frimelda and Leed work together to take out the Light Curtain Blackwind and its companion. Meanwhile, Lenolia and Penelo have been trying to heal the team, including the Pavilsag that's still standing on top of them.
Asha refuses to come anywhere near us.
A lucky critical hit lays out Samuel, Zoe falls to another Gold Hourglass, Leed is gravely injured, but Lenolia manages to dodge several attacks.
So she just brings them right back. (Poor Leed, too far away for healing.)
The two Pavilsag are closest, and we manage to greatly weaken them both. By now, the last lingering effects of Light Curtain have faded away and the enemies are vulnerable.
But they can get lucky, too.
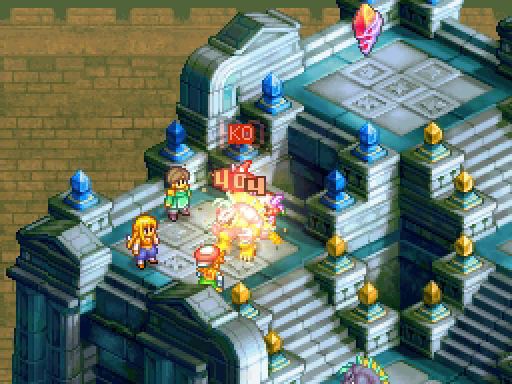
Samuel kills them both with a single Magick Frenzy.
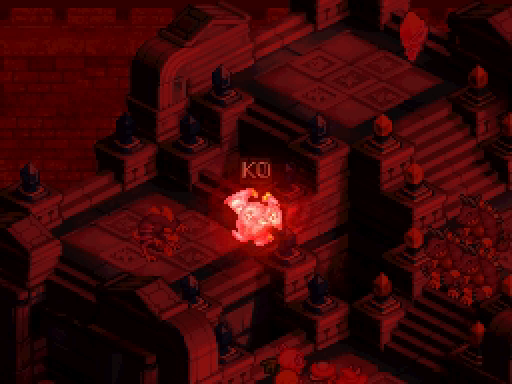
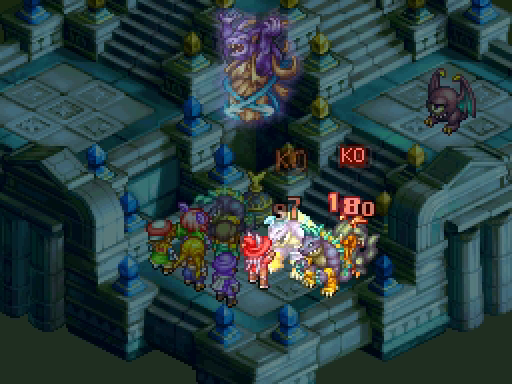
That just leaves Asha and the final Blackwind. They blast us, we attack them, they kill Zoe, Lenolia revives her, and so on.
The Blackwind gets a streak of luck that sees it dodge multiple Magick Frenzies, enabling it to attack Lenolia and nearly kill her. Frimelda fends it off, leaving just Asha.
Desperate, Asha forgoes the Turning spells.
But it's a big mistake to turn your back on Zoe.
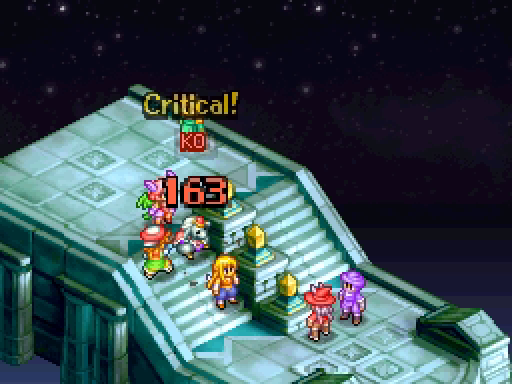
I had planned to let someone else kill Asha in order to spread the XP around, but he took matters into his own hands.
Well, here we are. Over 1000 screenshots later--
Oh.
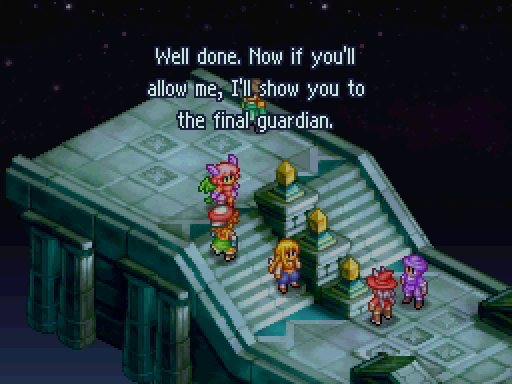
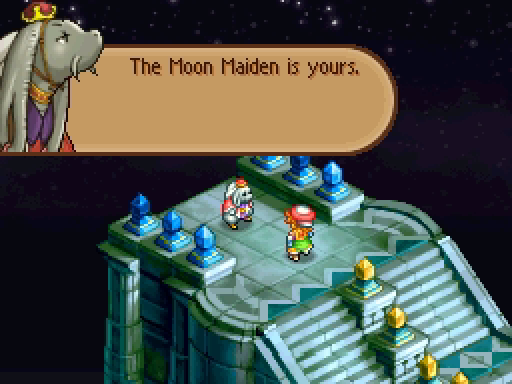
: Defeat the tower's final watch, and the treasure -- the Moon Maiden -- is yours. Let us hope you prove yourself worthy of so great a treasure.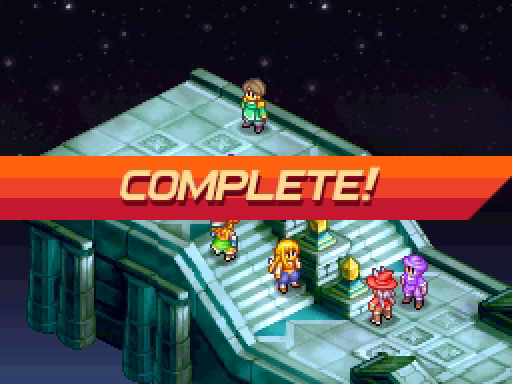
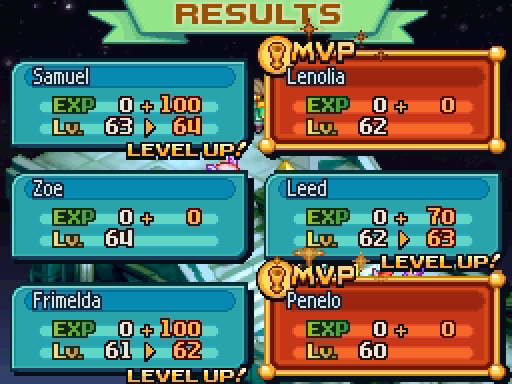
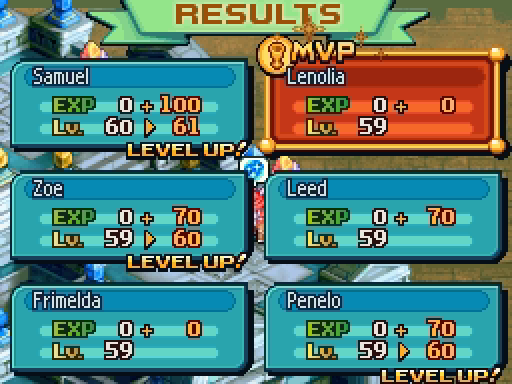
Agreed, those two were definitely the MVPs of this fight. Lenolia brought us back from the brink of defeat!
---
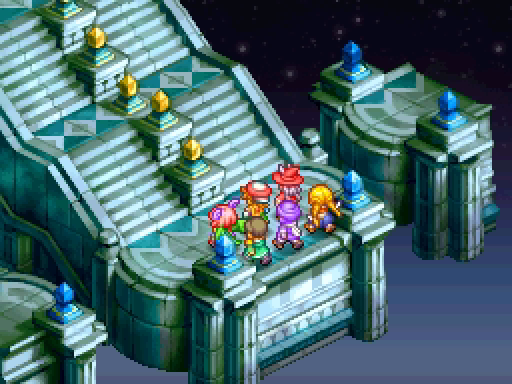
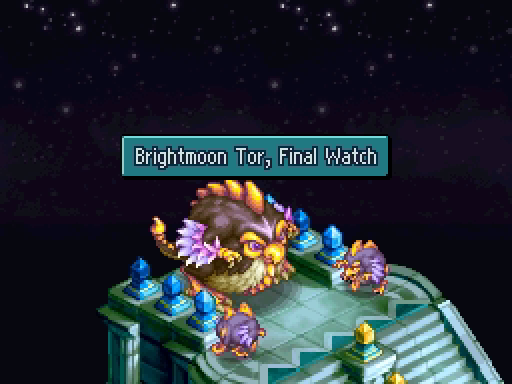
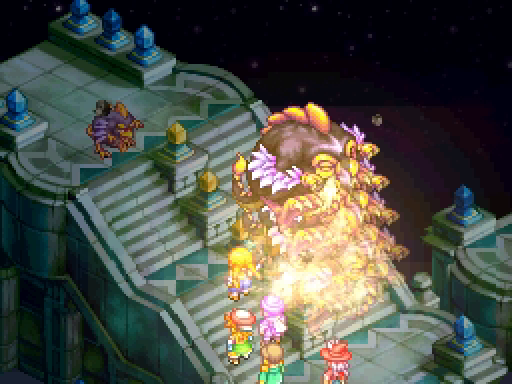
We find ourselves at the bottom of a staircase on the roof of Brightmoon Tor. Here, under the stars, we fight our final foe. What monstrosity do we face tonight?
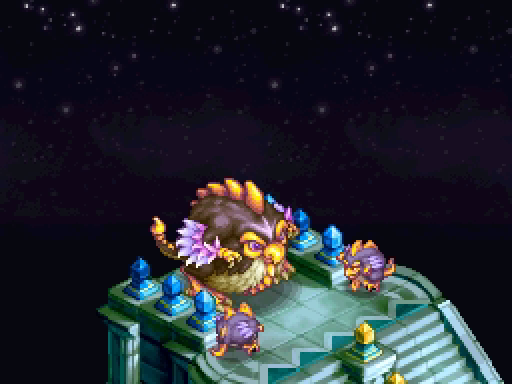
Oh god no. No no no, not this.
Hasn't there been enough bird-inflicted pain?!

This actually isn't that bad. The Blackwinds are just supercharged Cockatrices this time, packing Otherworldly Wind but not Light Curtain.
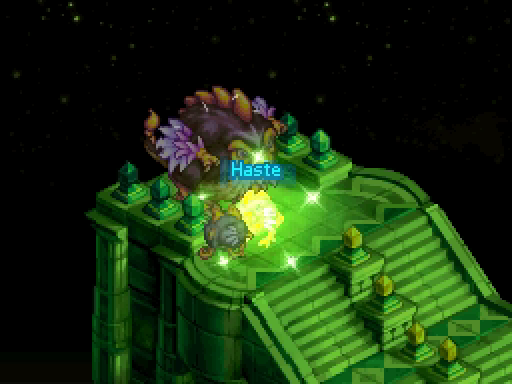
Sure, they have a source of Haste with Scurry, but that's almost quaint now.
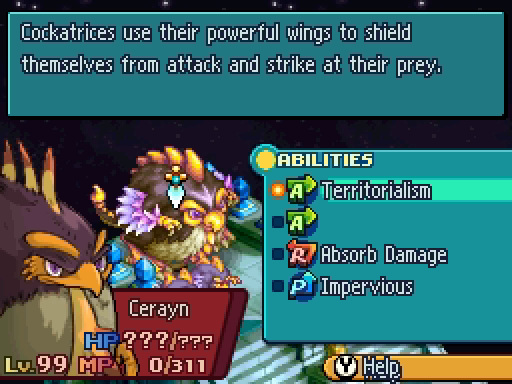
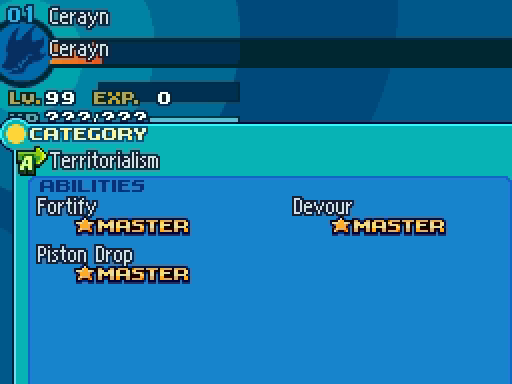
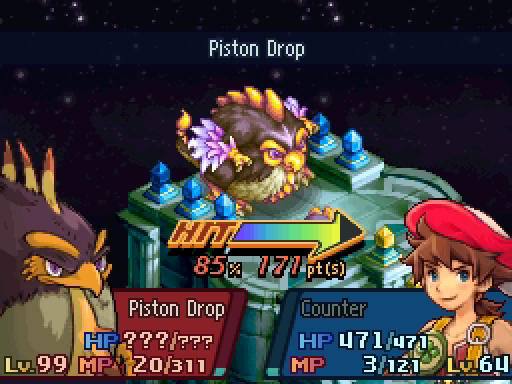
Cerayn, the ultimate Crushatrice, doesn't even have any Turning abilities. No Gold Hourglass, no Light Curtain, nothing. To be fair, it doesn't really need it, since Piston Drop is basically a Turning ability itself.
But look, look! The monsters only get a single free turn each before we can take our first turn!
Unfortunately, we didn't get a chance to heal before this battle started. But we'll be fine, I'm sure.
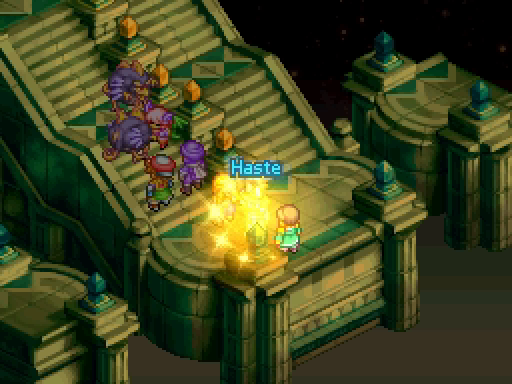
In a stroke of luck, Lenolia triggers an Opportunity Command, buffing herself, Penelo and Lenolia with Haste.
Thanks to the Blackwinds charging in, we've nearly killed one already. But they managed to finish Zoe before we can save her.
Leed kills the weakened one in vengeance.
Then it's Cerayn's turn.
It bounces around the battlefield, slamming into everyone. Since this doesn't count as a spell, Lenolia and Penelo are in danger for once!
So much danger indeed.
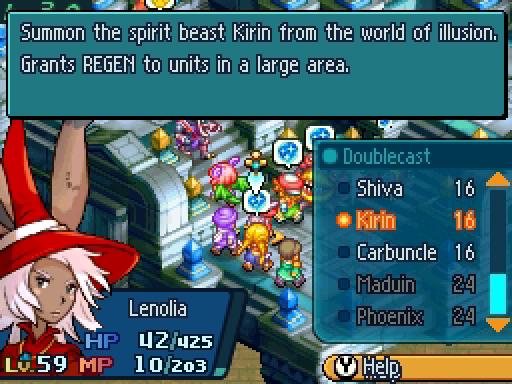
Lenolia's Hasted, so she has time to cast Kirin. Regen for everyone!
Penelo triggers another Opportunity Command, giving us even more Haste. I give it to Frimelda, Lenolia and Penelo again. Since Frimelda's our slowest unit and the other two are our healers, they benefit from it greatly.
The remaining Blackwind retreats to Cerayn, creating a good opportunity for our Ninja Seers.
The Blackwind suicides on Samuel's counterattack.
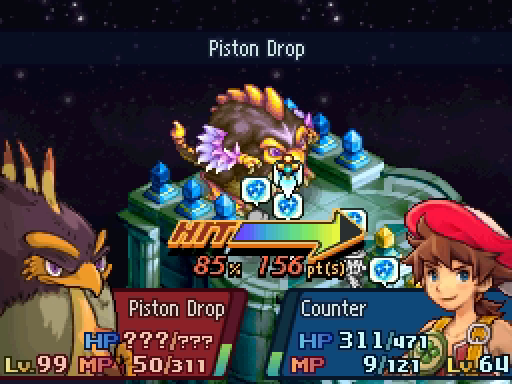
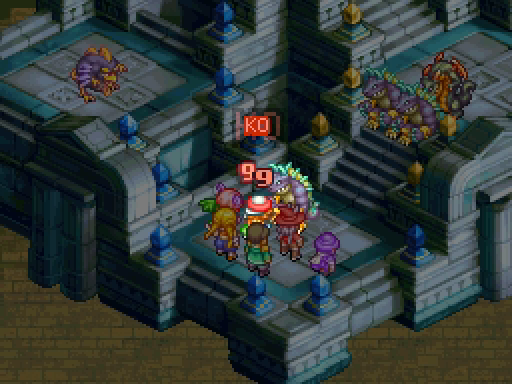
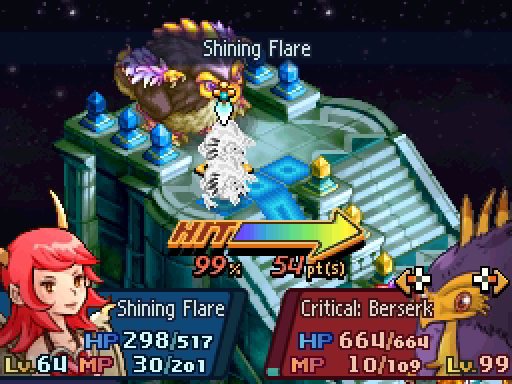
That just leaves us versus the giant, angry sphere-bird and its massive Piston Drops. It has at least 2,500 HP.
I'm cutting out a lot of turns here. You've seen this already: stand close enough that we can counterattack while being in a good position to let our healers top us up. We easily out-heal the Piston Drop attacks.


It's an effective strategy, though I'll point out we burned through most of its HP before settling into that pattern.
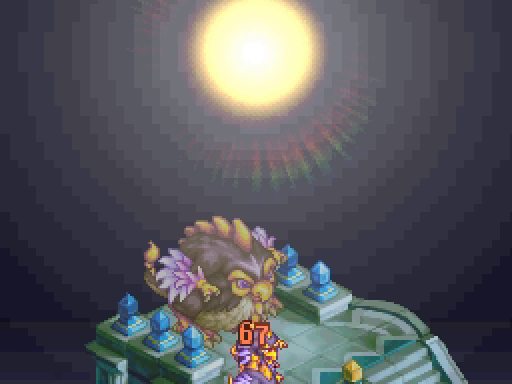
Before too long, Leed lands the finishing blow.
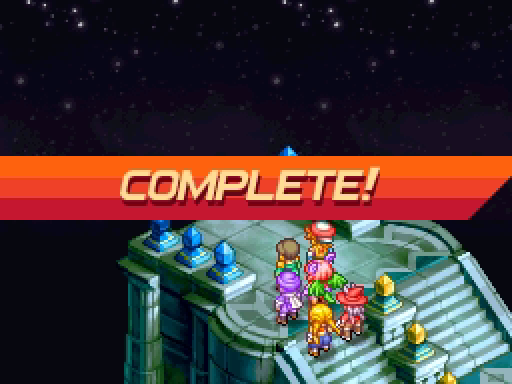
That's it. We're done. Brightmoon Tor has been conquered.
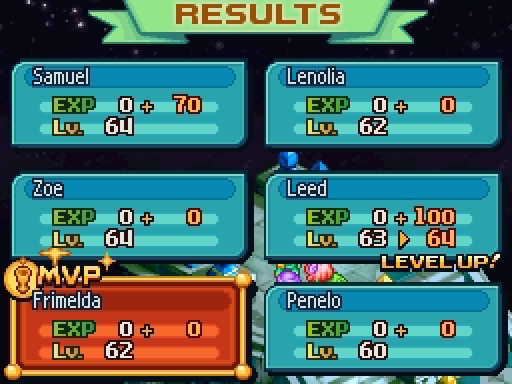
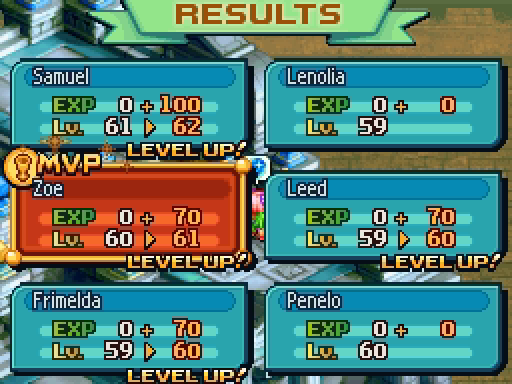
Samuel, Leed and Zoe put in a ton of work. Remember that XP gain is based on how many enemies you kill! Penelo and Lenolia should have been rewarded more though, they were the only reason we could finish this at all. Frimelda had fewer chances to shine due to her lower Speed, but still did very well.

Oh, you're still alive?
 : So, what's going to happen to the tower now? We've got the treasure. Is the tower just going to...disappear?: Men thrive on testing themselves. So long as this is so, the tower will stand. And so long as the tower stands, I shall remain here to welcome those who come.
As long as you don't turn off the game, the tower will stand...
---

Finally.
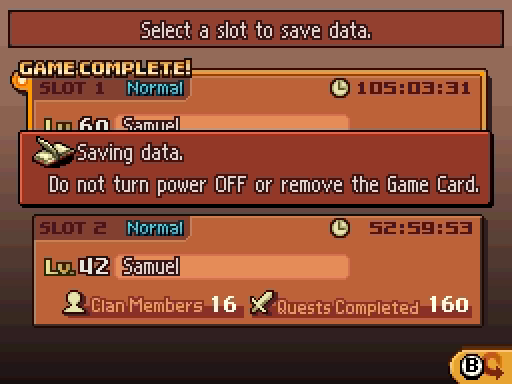
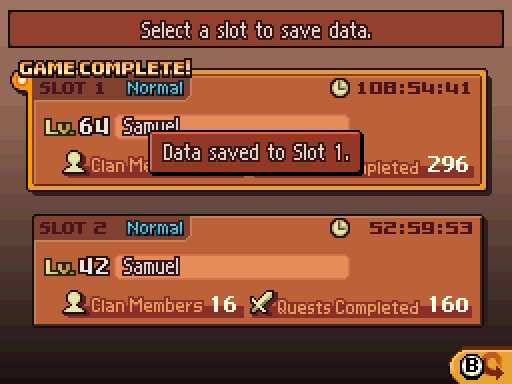
Nearly 4 hours of in-game time. Most updates are less than 1.5 hours of play time.
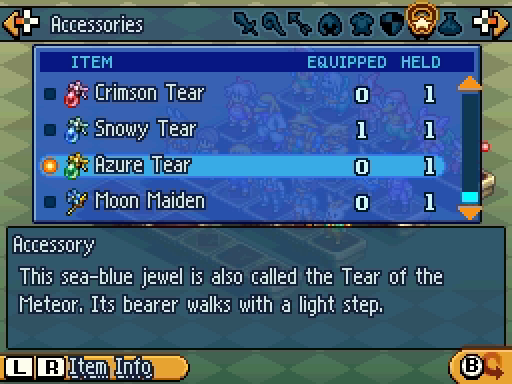
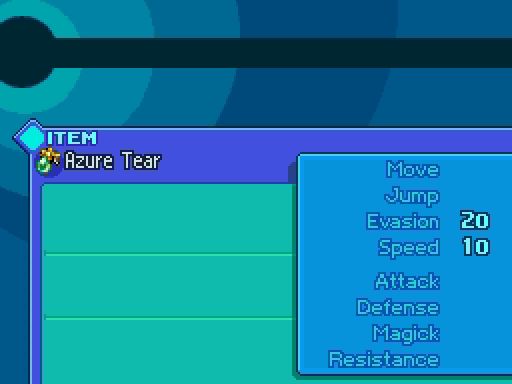
Here's the hidden treasure from the Third Watch. The Azure Tear completes the trio of tears, this time granting a massive boost to Evasion and Speed. I'll throw it on Cid and see how evasive he becomes.

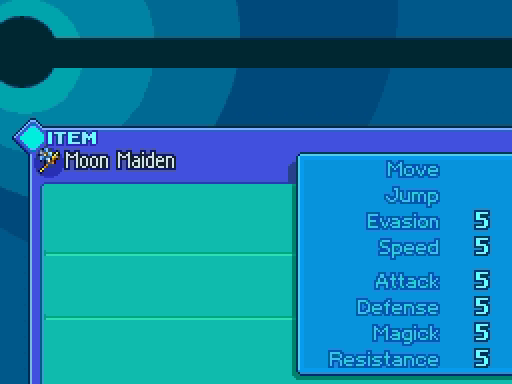
The Moon Maiden, the true treasure of the Tor, gives +5 to all stats. That's...well, that's about half a level to the bottom four stats. Maybe an extra point of damage, a percentage point or two of extra dodge chance. It's not awful, but a more specialized accessory will serve you better in most cases.
Unlike the Tears, you can earn more Moon Maidens by completing the Third Watch again. I will not be doing this.
Finally, there's one last piece of the story waiting for us in the pub.
The Hero Gaol posted:
Having received the favor of the gods, the knight Gaol began to travel the land with his companion, the moogle Lini.
One moonlit night, Gaol spied a tower limned with a strange light. Knowing his love, the Moon Maiden Evelyn, was trapped at its top, he strode toward that eerie spire and the trials that awaited within.
from "The Hero Gaol -- The Book of Tomorrow"
---
Brightmoon Tor is daunting. It is the epitome of post-game dungeons: grinding, grueling, ghastly, filled with the sorts of monsters that would have served as bosses in the first half of the game.
It's also a bit, well, dull. Yes, my team had three nearly-identical units and one whose basic loadout hasn't changed in over 50 updates, so maybe it's partly my fault. But even the most varied team would feel stifling after a five floors of watching them nearly die before it's your turn to move.
I think the game would have felt incomplete without this kind of final challenge, the out-of-story test that pits you against the worst the developers could dream up.
I just wish they had dreamed up something more interesting than a small, round bird with perma-Haste and Protect.
On the other hand, the final boss was a treat. Crushatrices: the most fearsome monster in Ivalice!
I thank you, dear reader, for coming all this way. I hope the journey has been worthwhile. Look forward to the next update, when we finally investigate the Lethean Draught!