Part 10: Treasure Hunting
Back when you goons first chose this party, I promised that I would show off at least one instance of pilfering high-level treasure from a dangerous area. Today, I fulfill that promise.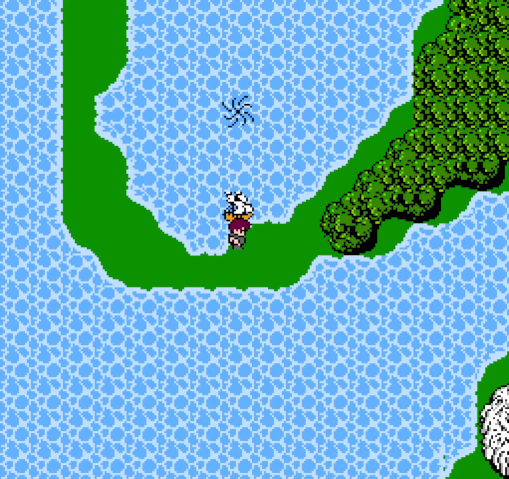
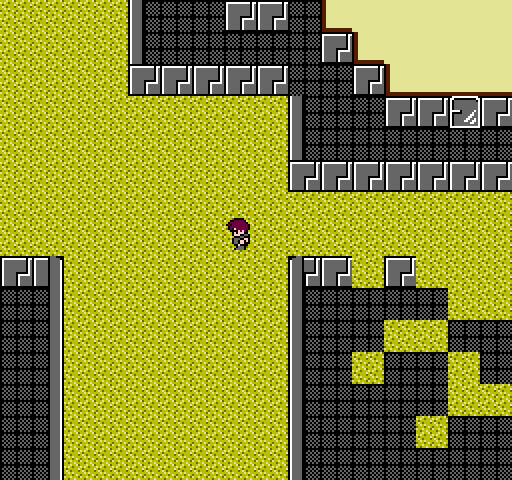
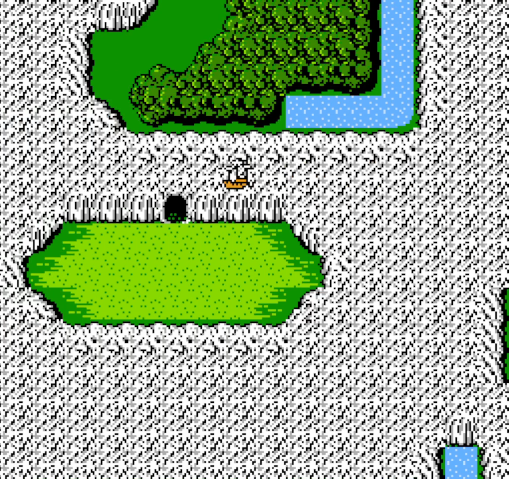
I don't want to show off the full world map yet since it might spoil a few surprises, but in the northwest part of it is this odd little sprite. This is the entrance to one of the game's four bonus dungeons: the Dark Cave.

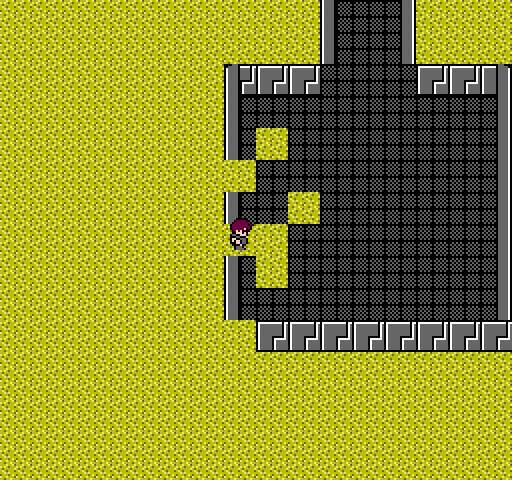
The gimmick is... pretty obvious. It really sucks to navigate if you don't know what you're doing.

We're after two particular pieces of treasure, found in a room to the northwest.
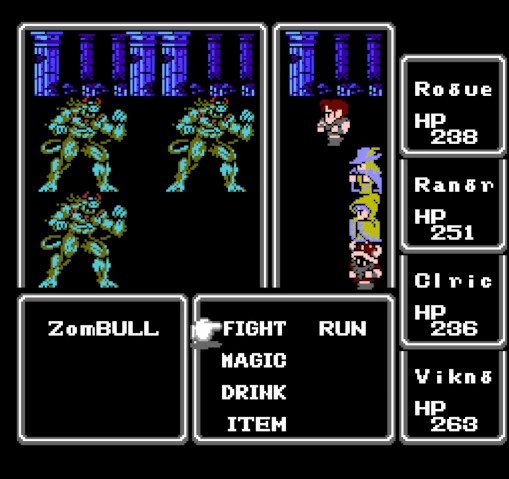
Along the way we run into some zombulls, which are probably the least dangerous things here. With Rogue, running from them is no problem.

Inside the room is a pair of chests.
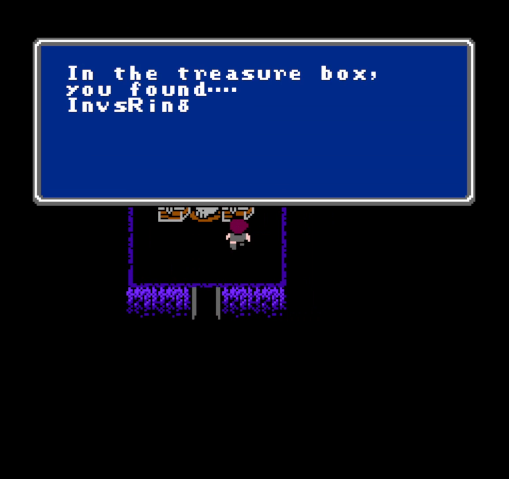
In the right chest is the INVS Ring, which casts its namesake spell when used. It's quite useful, but not what we're really here for.

No, what we're looking for is in the left chest.
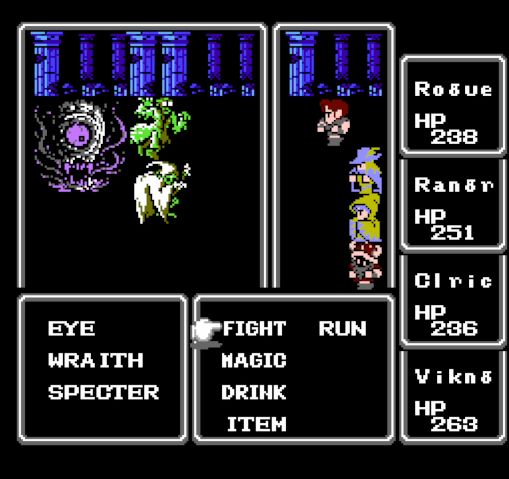
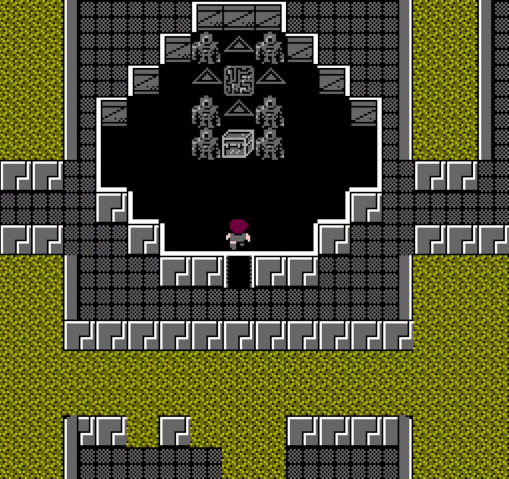
And naturally, it is well-protected. This fight can have either one or two of each of these enemies, and realistically, this version is the only one we can win. It helps to use a tent outside to facilitate quick return trips.
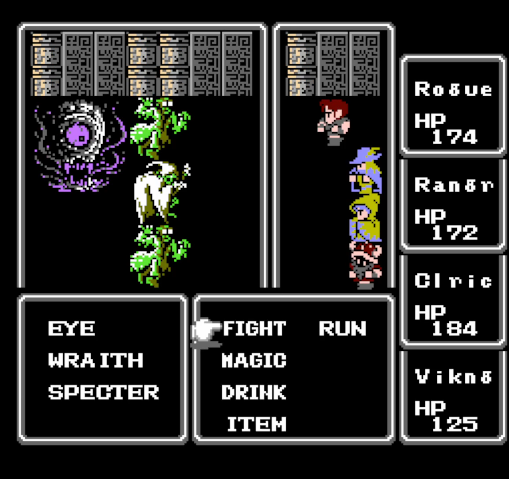
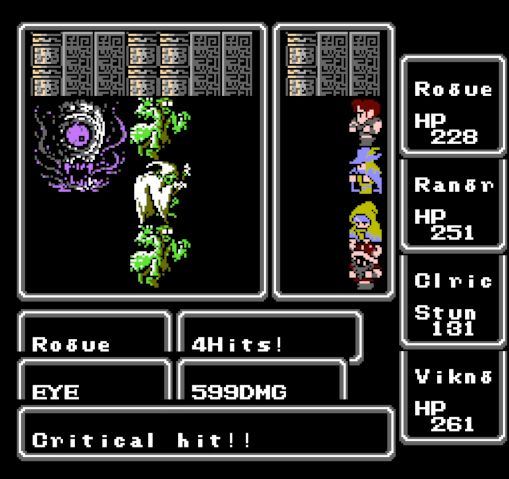
Spectres and wraiths are the next evolution of ghouls and shadows, respectively. Wraiths aren't too dangerous, but spectres hit like trucks in addition to their paralyzing touch. But it's the eye that's the real threat here.
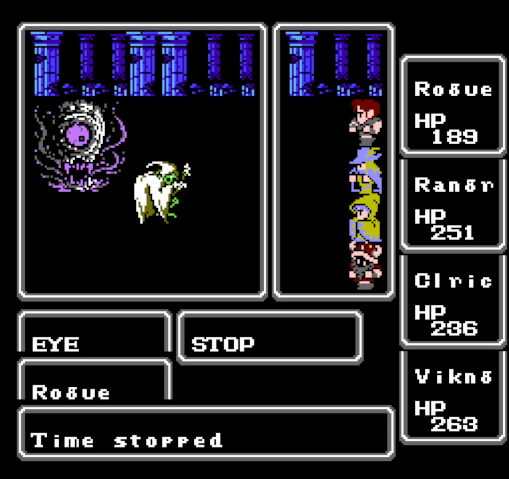

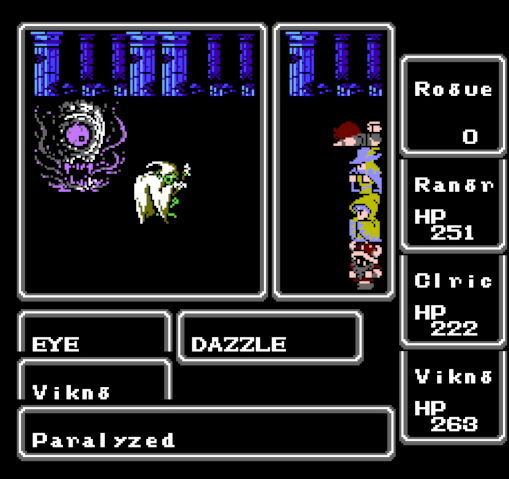
Eyes have a bevy of spells to cause status ailments, and are one of the few enemies with an attack that kills outright. Not shown here: their attacks can cause petrification.
Lol, okay.
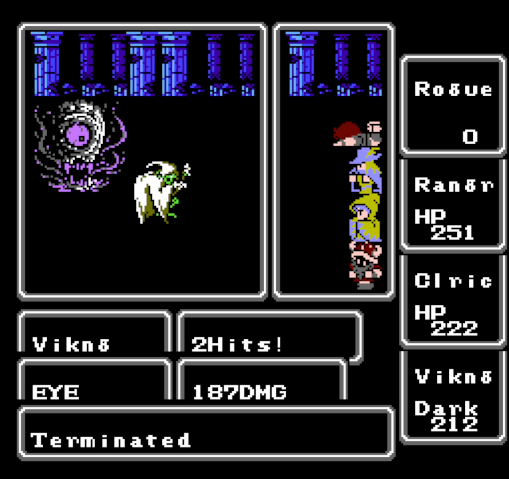
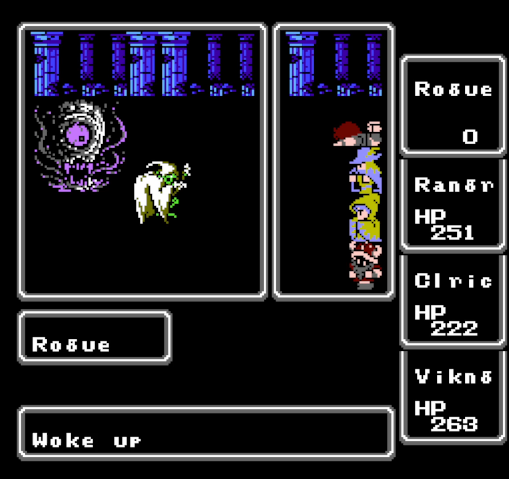
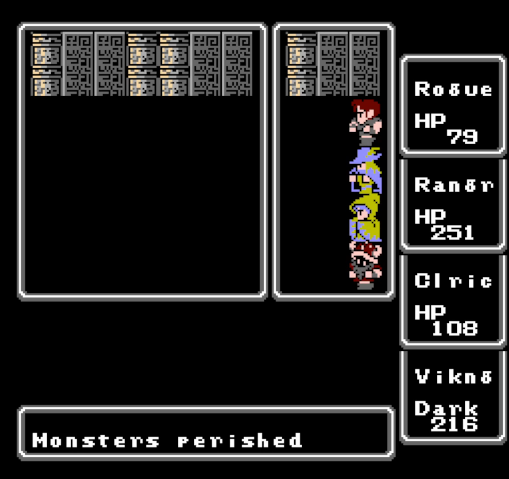
Viking lucked out and recovered from his paralysis immediately, then proceeded to crit the eye and kill it. After that, mopping up the image was a fairly simple matter.
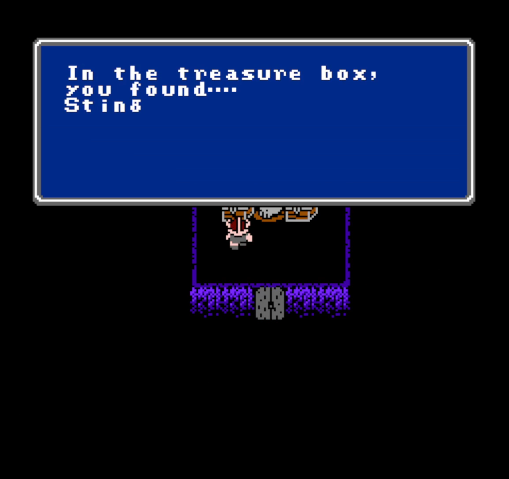
In the chest is Sting - Rogue's ultimate weapon. Its power, especially at this stage of the game, is considerable, and it will let him outdo Viking as our #1 physical attacker for quite a while.
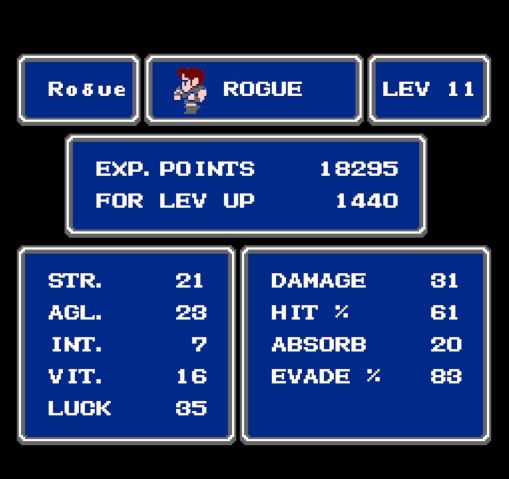
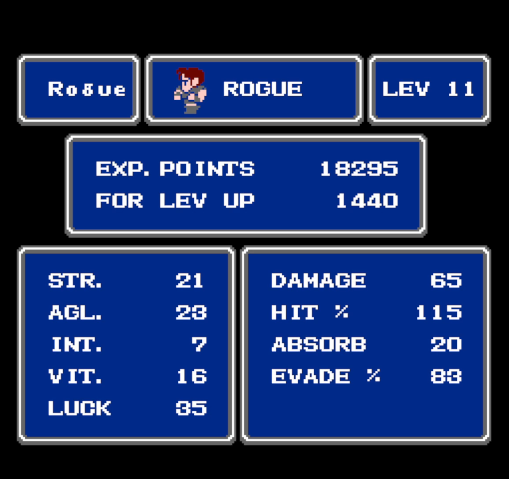
You can see the difference here between her old steel sword and her shiny new blade. Nearly double the attack power and accuracy, and the latter grants her more attacks, further increasing her damage output.
After a quick shot of LIFE and a healing spell, we head out of the dungeon, return to Melmond to rest up, and then head for Crescent Lake, to the west. It's actually just south of Pravoka, but not accessible until you get the ship out through the canal.
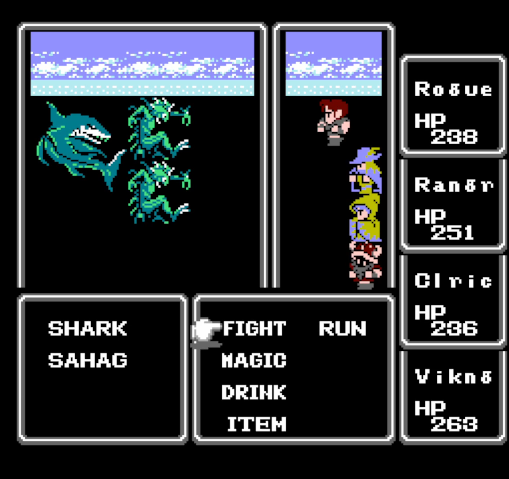
En route we run into this fight, which is the first shark I've encountered all game. They're no threat now, but when first encountered they hit pretty hard. They're also slippery fish with high evasion, making them a bit of a pain.
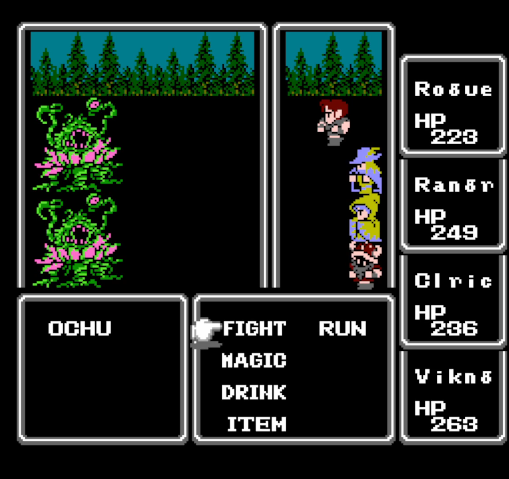
Closer to town we run into ochus, which are absolutely not worth fighting thanks to the many status ailments they can inflict.
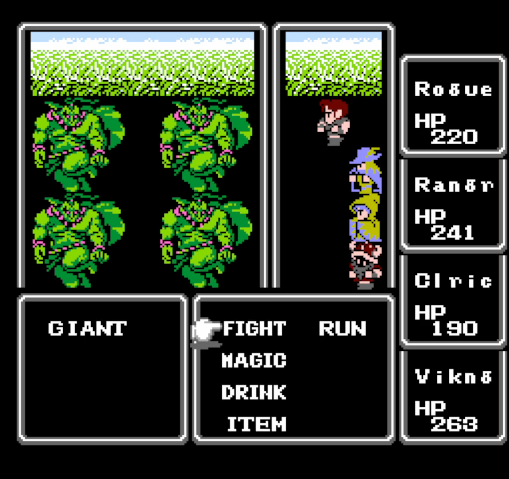
Giants, on the other hand, very much are, since they drop tons of gold.
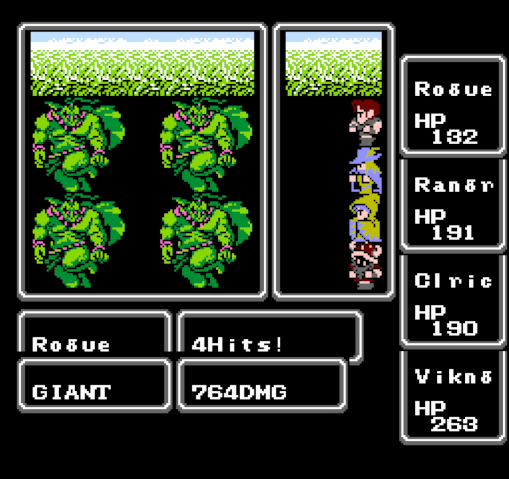
Doubly so, since Sting deals extra damage to them.
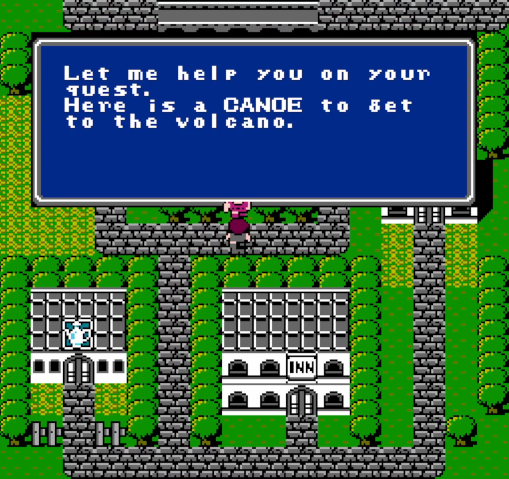
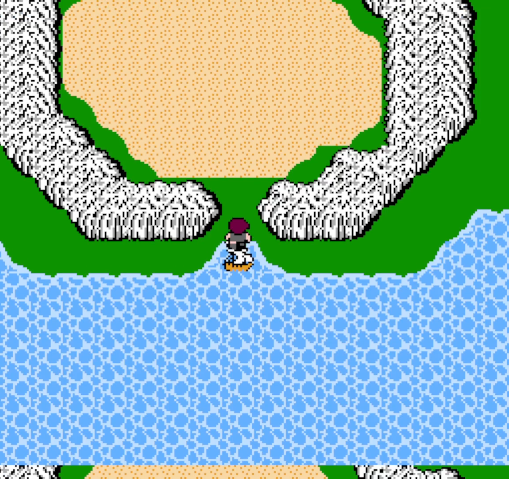
In Crescent Lake lives this man, who helpfully gives us the canoe. This lets us traverse rivers, and we're expected to use it to head for the Gurgu Volcano. We're not going to do that, though.
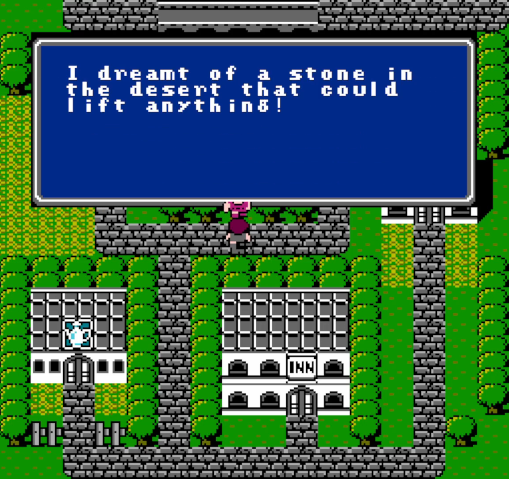
Because, you see, he now tells us of another a treasure, and with Sting in hand we can probably get it.
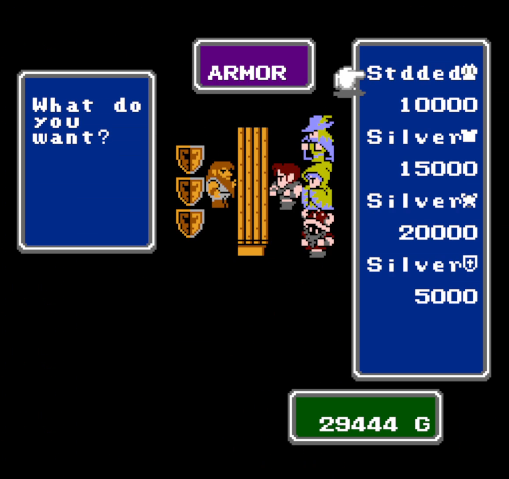
Crescent Lake sells silver equipment, and as usual I buy some silver mail for Rogue.
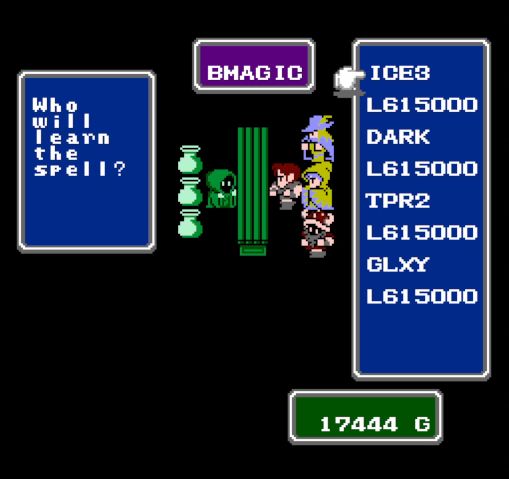
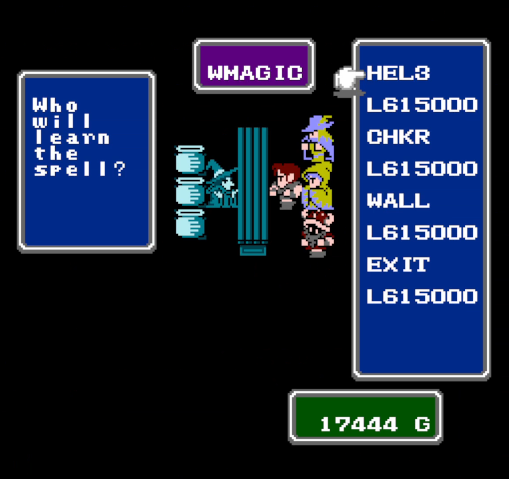
Can't use any level 6 magic yet, but there are some nice spells here, though they're getting very expensive.

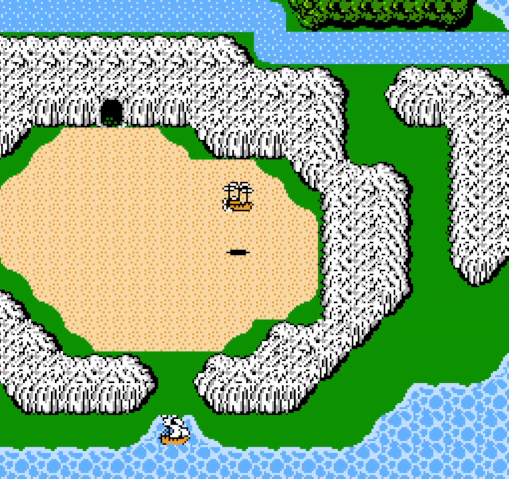
Our business done in town, we head back to the ship and sail around to the south. At the north end of the Ryukhan Desert is a cave, which was not in vanilla.
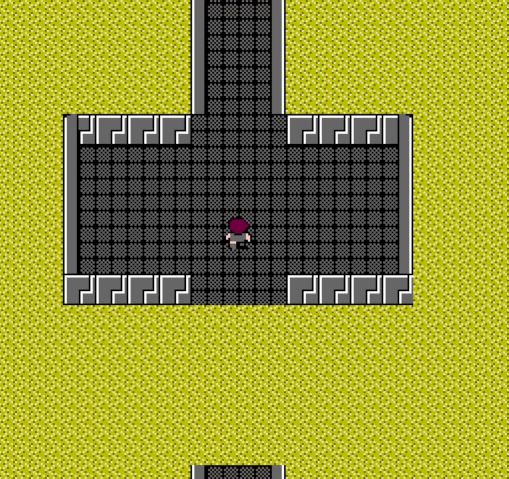
The inside suggests a once-high-tech structure that's half-buried in sand.
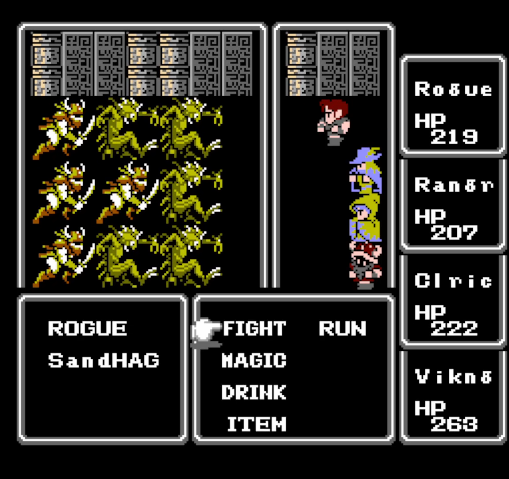
The monsters here are no joke. Sandhags and raiders are a very common encounter in latter parts of the game. They bring numbers, frequently ambush you, and sandhags have a special attack, Gale, that doesn't do much damage but ignores armor, so they can punch through tanks if you're not careful.
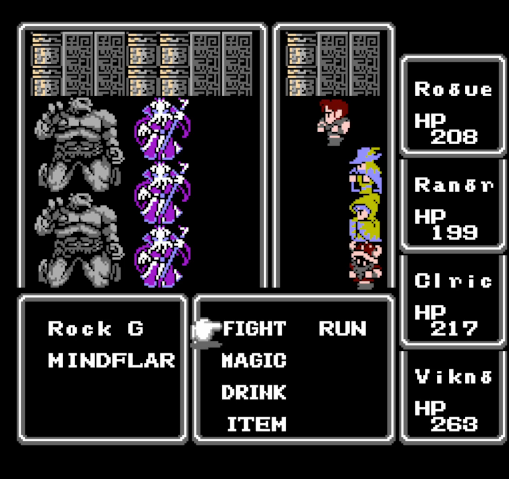
Mindflars are incredibly dangerous, able to inflict sleep, paralysis, blindness, and mute with their attacks. As members of the pisco family, they also can't be escaped. Encountering them at this level basically mandates a reload.

Priests and wizards are casters, obviously, and are, near as I can tell, immune to MUTE. Wizards are more warlock-y, focusing on damaging spells, while priests start off by healing themselves but eventually will hit the party with an 8th-level spell for massive damage. Luckily, running is an option.
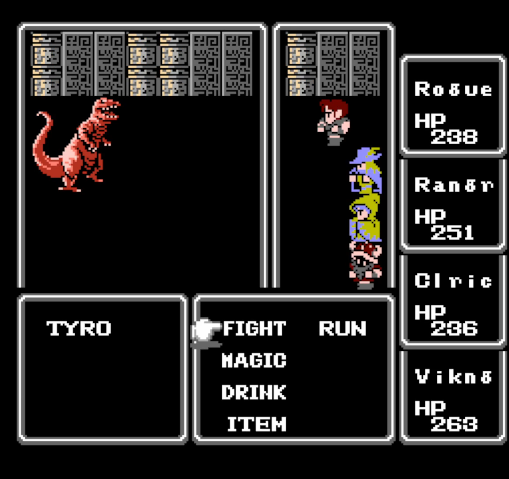
Tyros are just big bruisers with no fancy tricks. Still not worth expending resources at our current level.
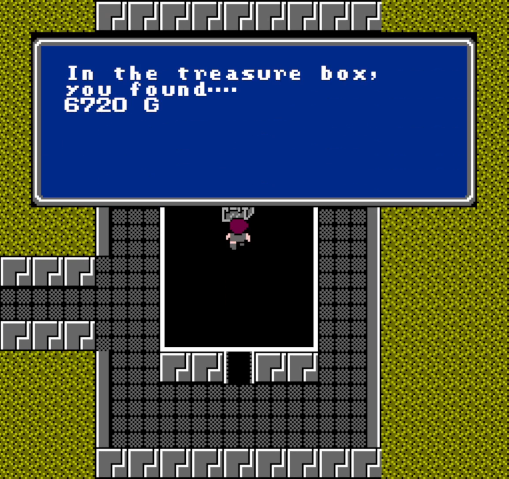
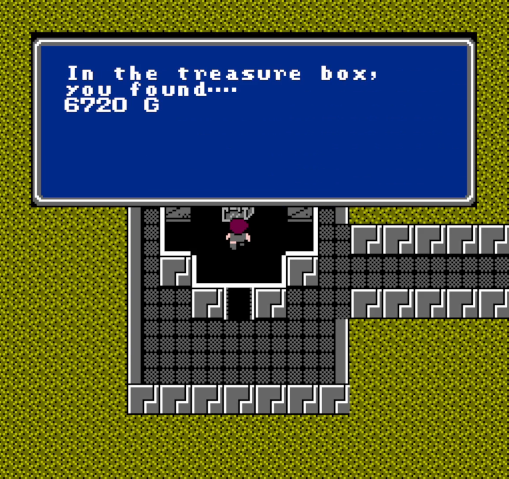
There are two rooms branching off from the main thoroughfare, both containing an identical sum of gold.
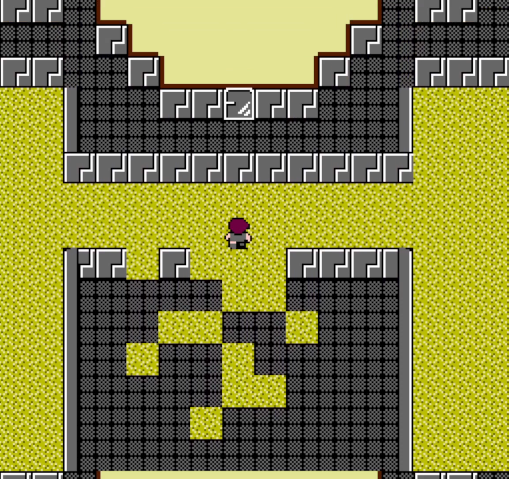

North of the entrance, the wall has crumbled away. By going through it and walking through the sand, we can find another crumbling wall that gives us access to the north part of the complex.
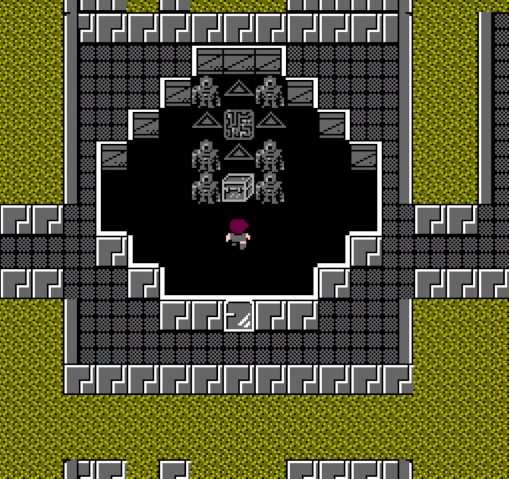
Everything comes together in this impressive-looking room. Naturally, there's a spiked tile just ahead of us.
Yeah, it's this again.

Despite the presence of a second spectre, this is much easier than before. It also get our party to level 12.
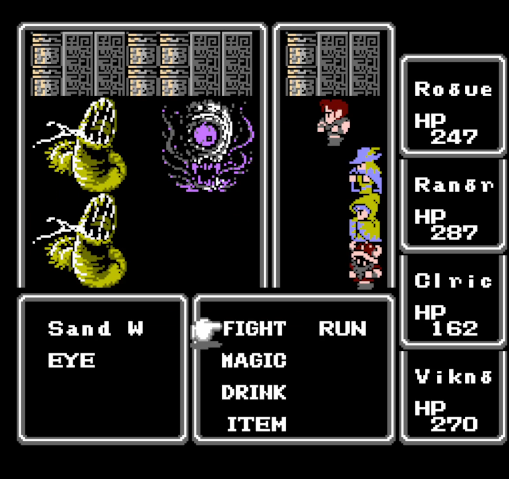
Unfortunately, there's a second spiked tile north of the first. On the plus side, this fight is much easier than the previous one. Sand worms aren't nearly as dangerous as spectres, so once the eye is down the rest is simple. The worms have a lot of HP, but POIS helps immensely with that.
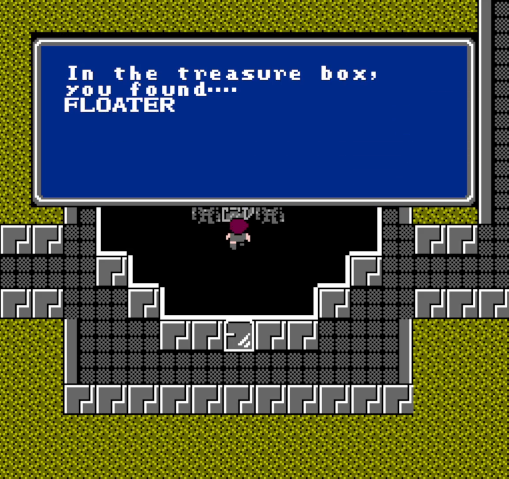
And here's our prize. Once we have it, we can take the teleporter at the north end of the room.
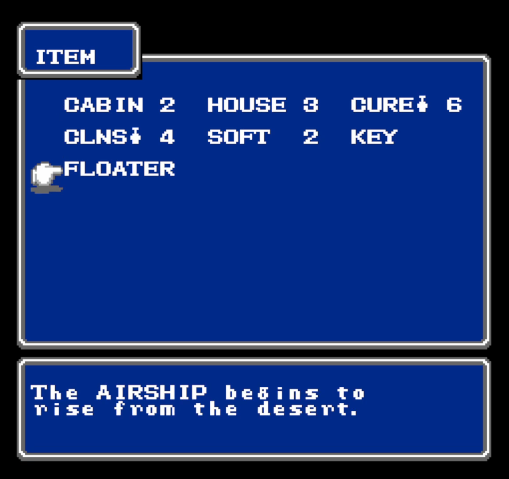
The sky is ours!
Oh, one more thing:
FeyerbrandX posted:
Vanilla Marsh Cave implies the existence of an altered Marsh Cave. That implies the existence of an altered Ice Cave

All in good time, friend.