Part 20: Time Tower
Dark Cave was a bit short. How about something with a bit more substance?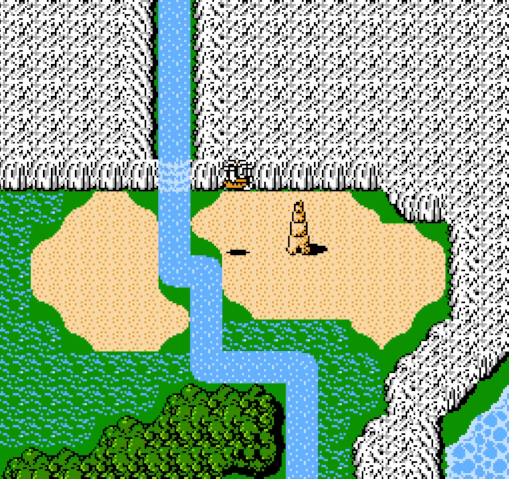
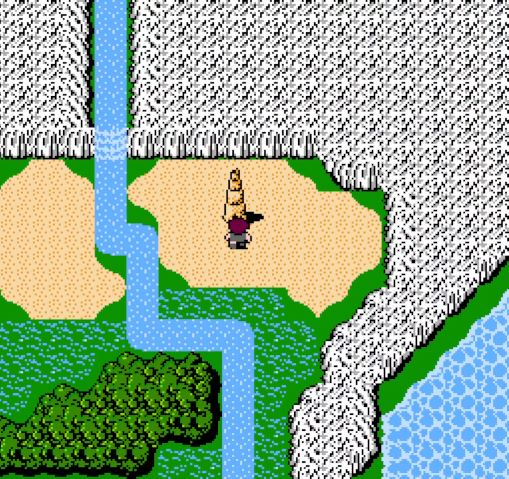
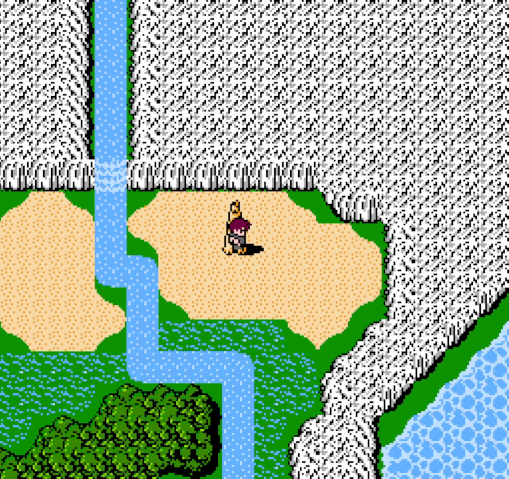
Our destination today is this tower, located between Elfland and Crescent Lake. It's surrounded by desert and swamp, so we can't land next to it, but we have a couple of options for our approach.
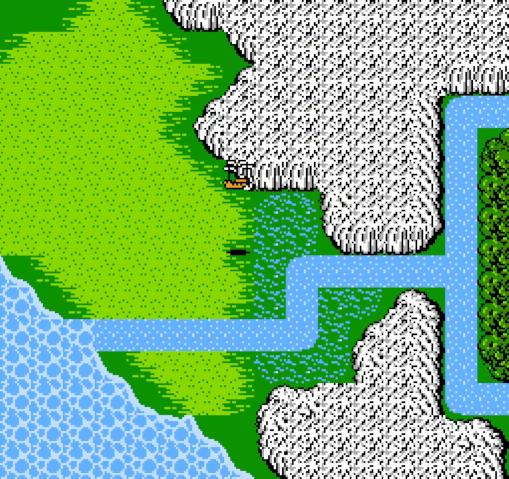
First, we could land here, east of Elfland, and hike the rest of the way. (Incidentally, the swamp here has the same encounter sets as the tower itself, making it another high-level grinding area that can be accessed near the game's start.)
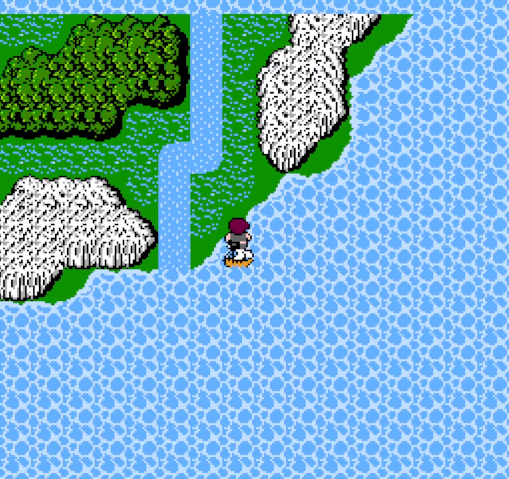
What we're actually doing is taking the ship. By parking it here, we can take a much shorter walk to the tower, limiting how many encounters we get.
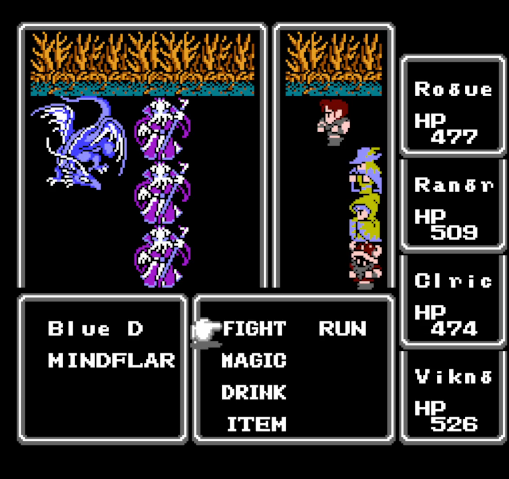
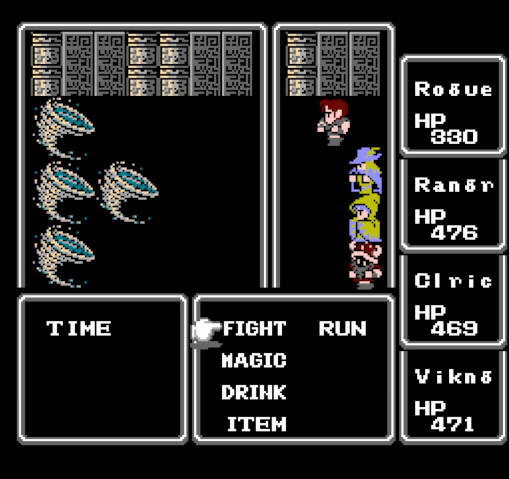
And that's important, because some of the monster groups near the tower are nasty. I didn't even know this encounter existed until now.
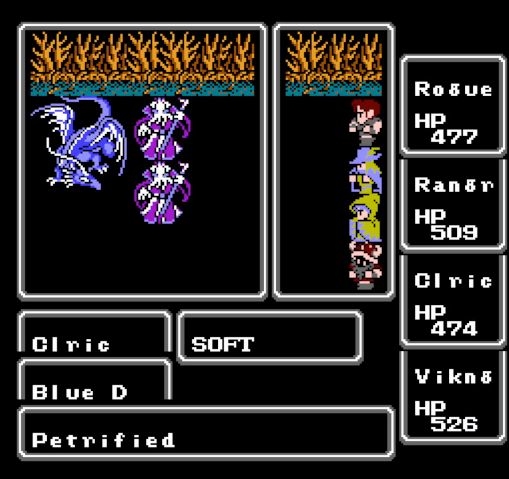
Fortunately, SOFT is still amazing.
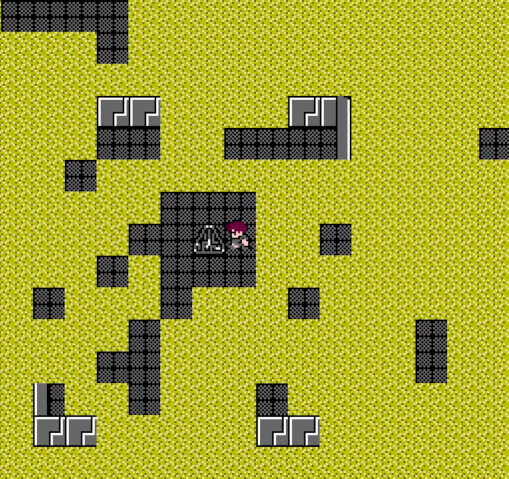
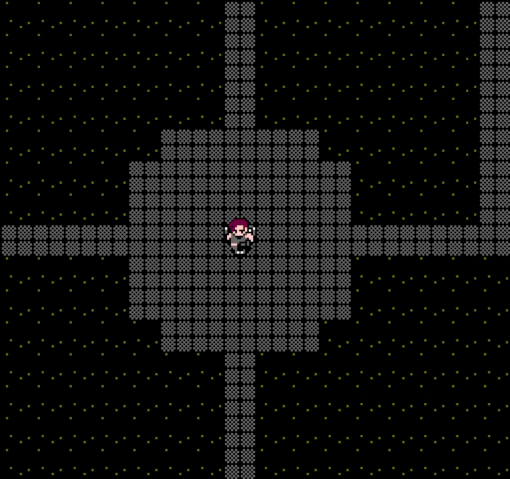
And with that, we have reached the dungeon: the Time Tower.
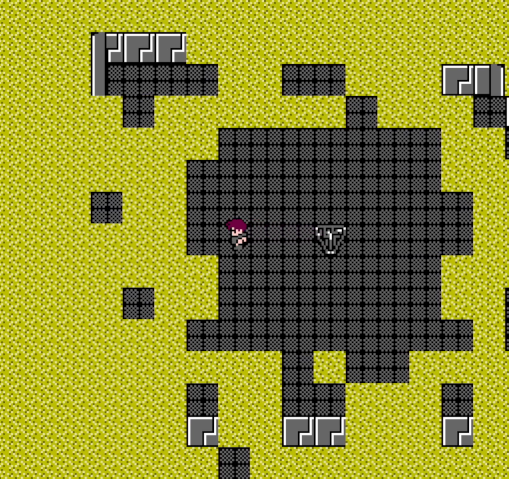
The first floor of the Time Tower is a ruin. The entrance is a teleporter. Notice that it points down, indicating that it would take us to a lower floor - or out of the dungeon, since this is floor 1.
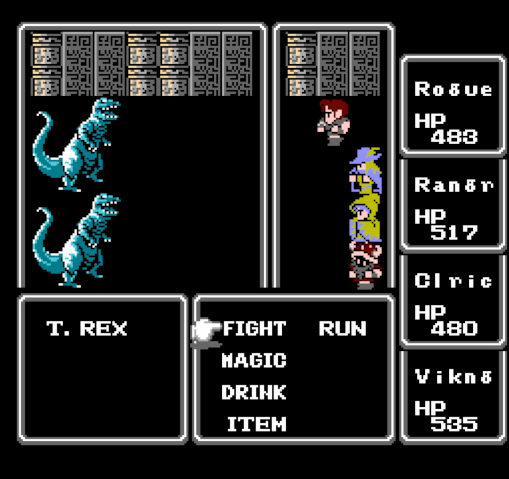
While exploring this floor, we run into some T. rexes. In vanilla, these are among the rarest enemies in the game, tied with WarMech. They don't seem to be as rare in UCE, though they're still uncommon. They're basically just stronger tyros; they hit hard but otherwise aren't terribly noteworthy.
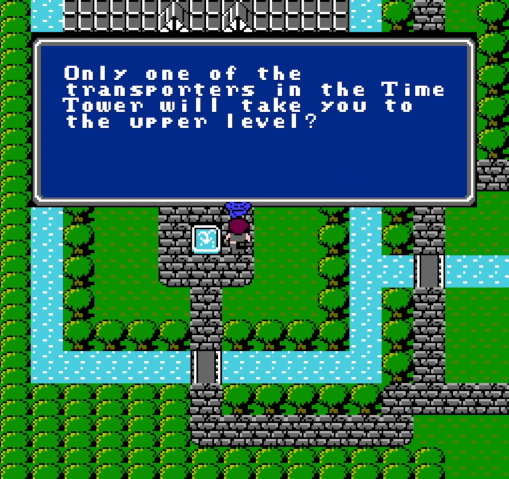
Anyway, there are a bunch of other teleporters on this floor. Though they all point up (indicating that they'll send us to the next floor)...
...Most of them are actually exits. But we were warned about this.
This guy in Onrac mentioned the Time Tower and the trickery of its first floor.
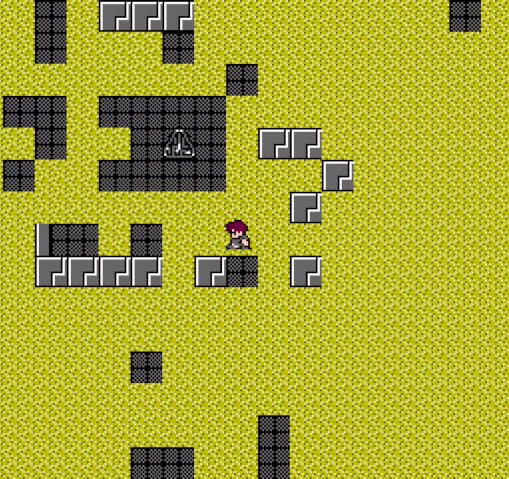
Accordingly, the correct teleporter actually has a big "?" next to it. The easiest way to reach it is to head southwest from the entrance.
Welcome to floor 2.
As with all the game's major dungeons, there's a new type of elemental here, the time. Times hit multiple times and can cause sleep, but they don't hit very hard unless they crit, so they're not especially dangerous. This particular fight brought our party to level 23.
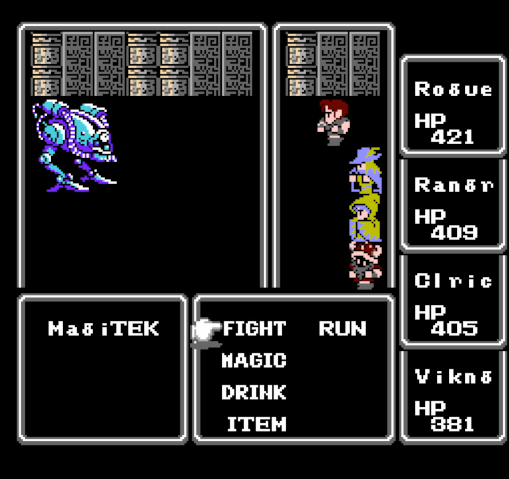
This, on the other hand, is very dangerous. MagiTeks have moderately strong attacks, but their real danger is their special attacks - they can use BOLTBEAM, FIREBEAM, and ICEBEAM, all of which deal hefty elemental damage to one character. After those, they'll use TEKLASER, which does just as much damage but is non-elemental, so SHEL won't block it. They also have a ton of HP and regenerate 10% of it at the end of each round. And they're immune to instant death. And they can't be run from.
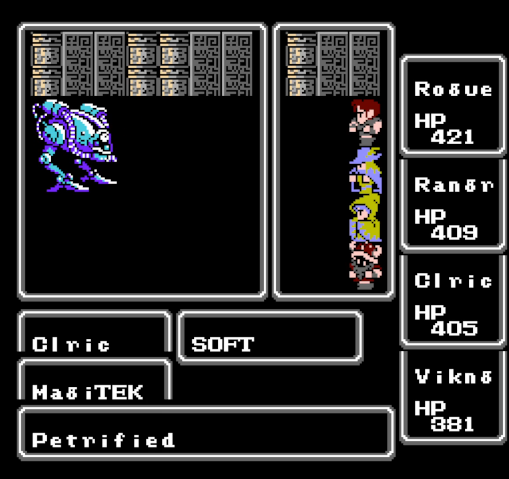
They are not, however, immune to petrification.

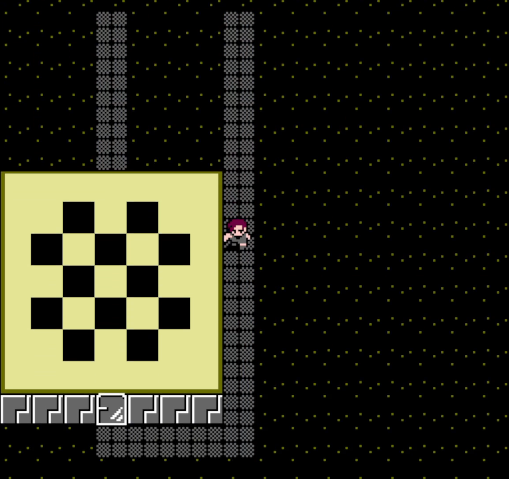
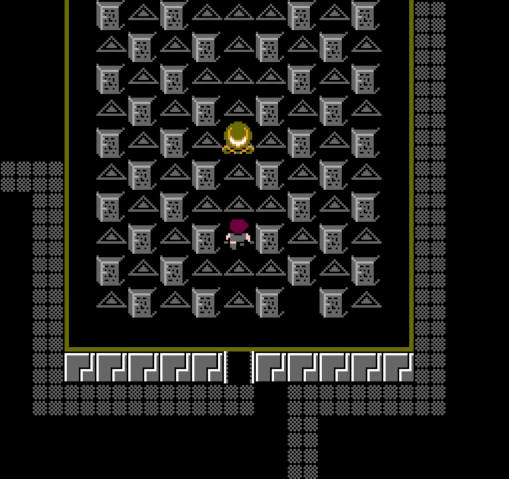
Heading south from the teleporter brings us to this odd-looking room. That grid pattern is a clue - the darkened spaces are spiked tiles.
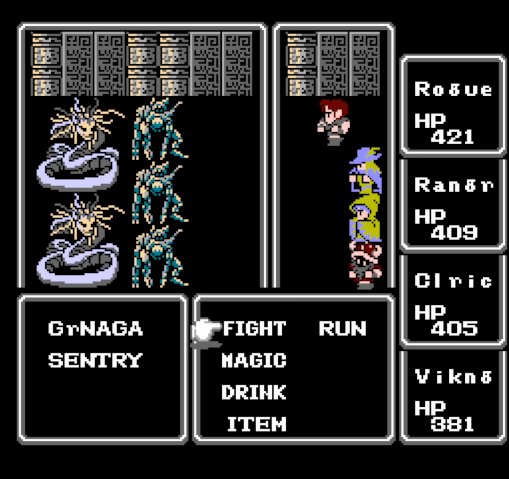
The actual encounters aren't too tough, fortunately, and we only need to deal with two of them. Sentries are stronger versions of guards, complete with the weakness to lightning - though gray nagas can mitigate that with SHEL.
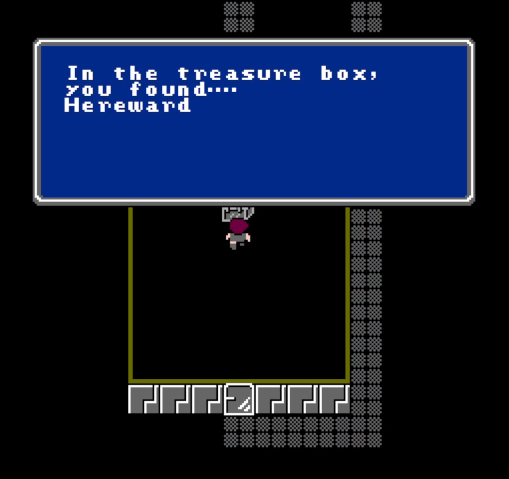
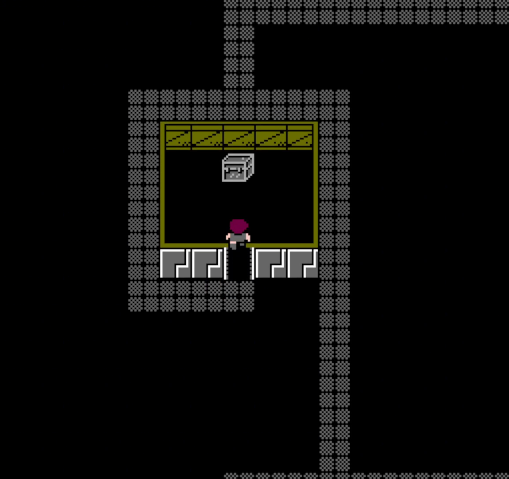
Our reward for facing down these battles is a chest containing Hereward, named for an Anglo-Saxon nobleman who led a resistance movement against the Normans. It's an axe, and the ultimate weapon for Viking. And we didn't even have to kill a boss for it!
In the northwest corner of the floor is this room, containing a chest which is, surprisingly, unguarded.
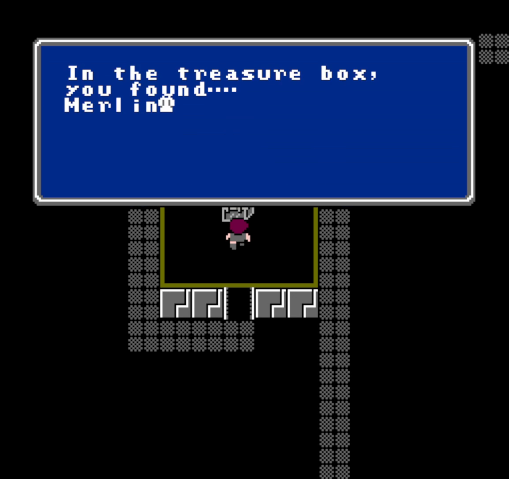
Inside is the Merlin Robe, the best robe in the game. Not that we can use it, of course.

This random encounter is mean. Sages cast a suite of white magic spells, while time mages open with BLT2 and only get worse from there. They're not immune to MUTE, but they are pretty resistant to it, so facing them is a risky proposition.
These guys clearly have it in for our heroes - I ran into this battle four fucking times!
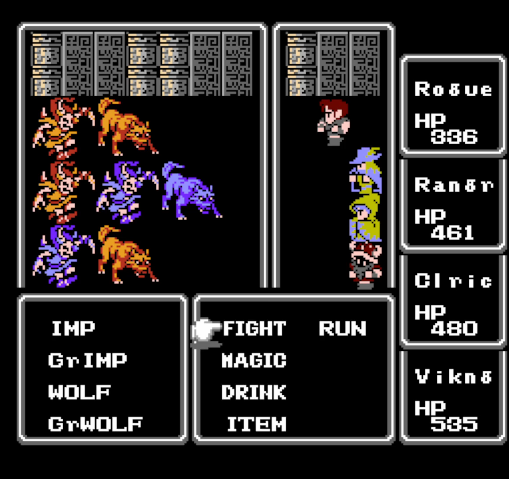
This fight shows up as a rare joke encounter in the Time Tower. I'm glad I got to show it off.
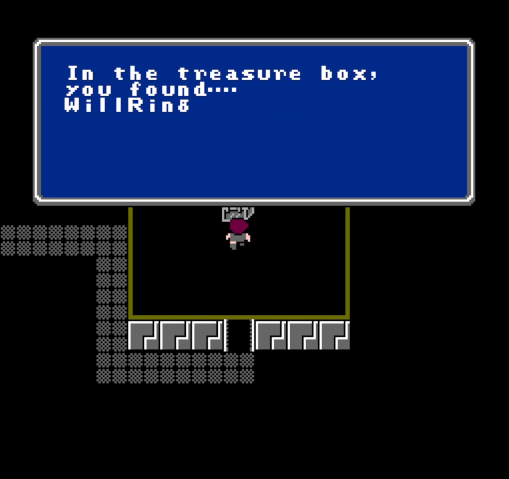
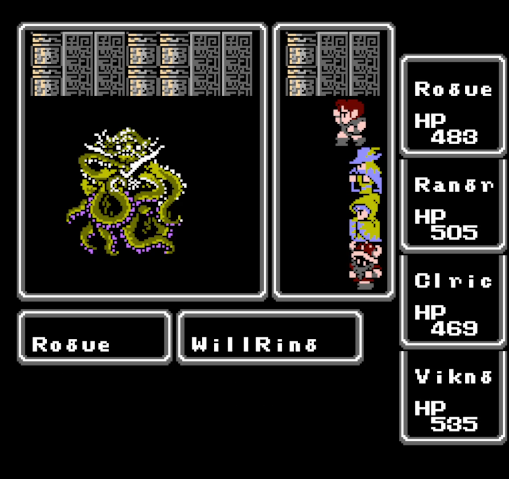
In the northeast corner of the floor is the dungeon's ring, the WILL Ring. We'll give it to Rogue, since he's lost a lot of ground as our #1 fighter.

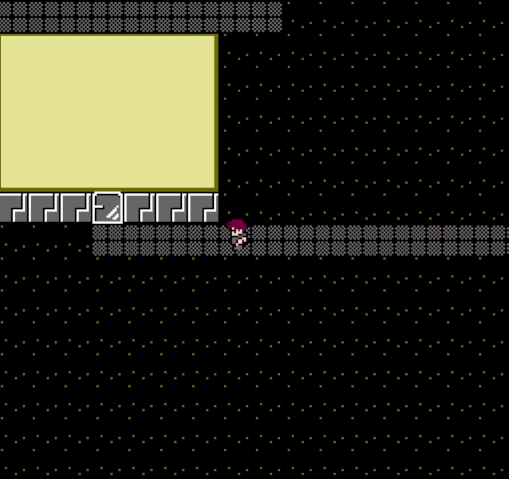
South of that room, we see this big, obviously important room.

But we can't get into it.
Instead we arrive at this room.

It contains some treasure chests, but the door is actually coded as something else entirely.
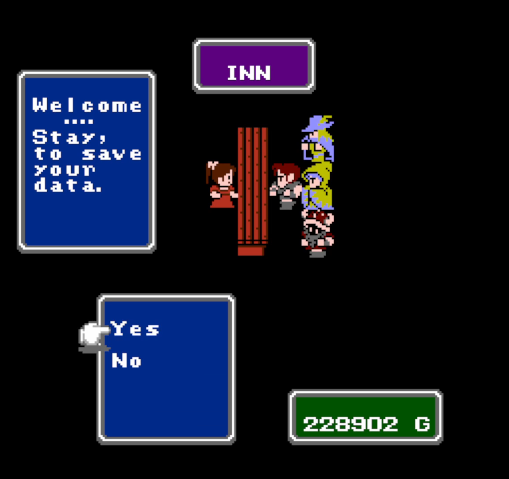
Yes, it's an inn. In a dungeon.
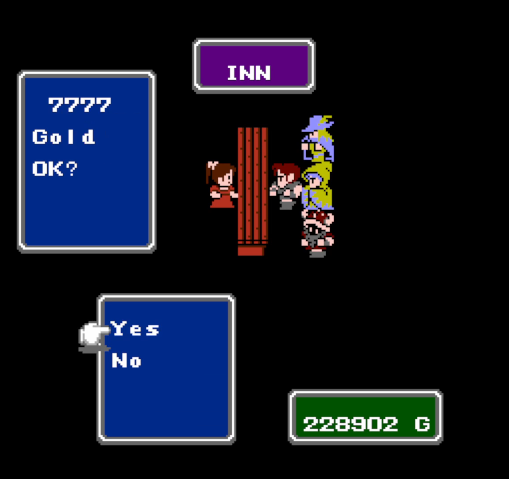
It's expensive as shit too.
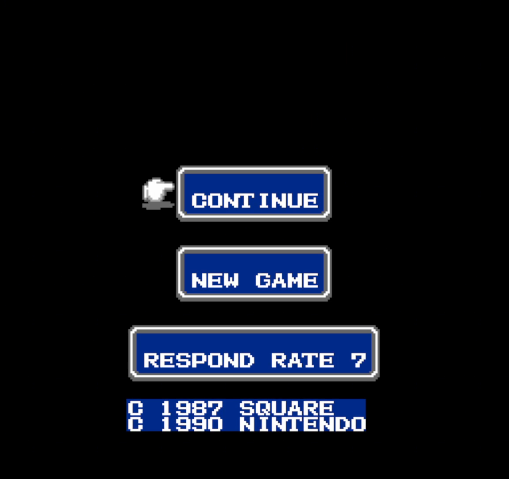

Unfortunately, like any inn, if you use it and reset, you start outside. It can get you out of the tower if you're lacking EXIT, but otherwise it's really only worth it if you need the heal.
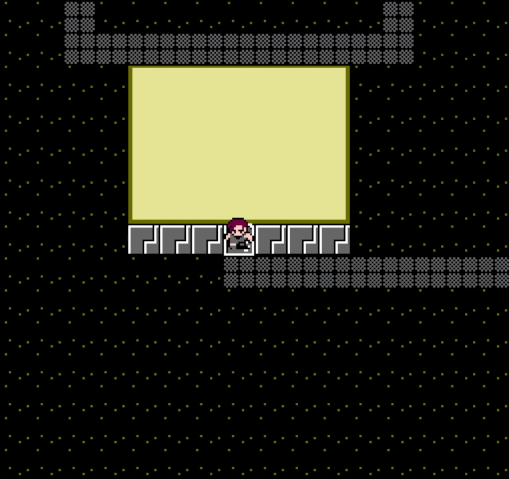
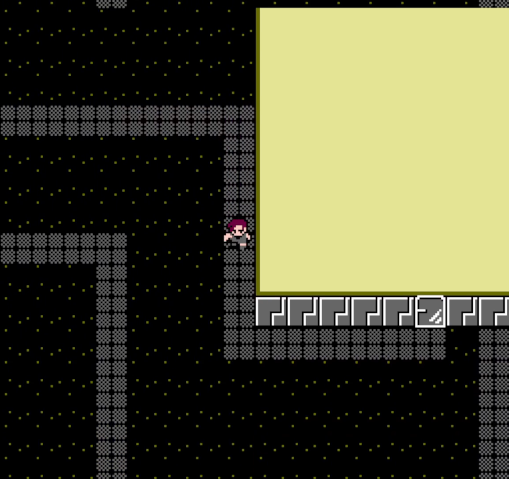
So instead, let's leave it and walk north. Although the room isn't revealed, we can still enter it and get the chests.
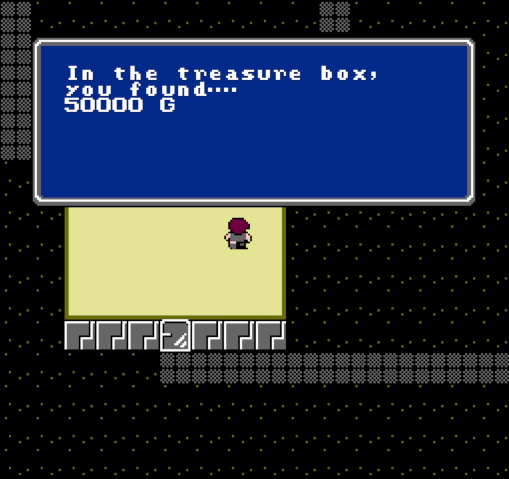
Most of them are just consumables, but at least this one has some money.
From the floor 2 entrance, we head south, then east, which puts us on a twisting path that takes us to the final room.
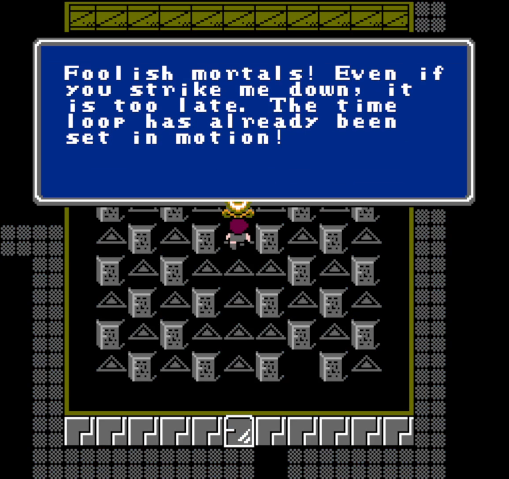
The dialogue here foreshadows the endgame reveal and suggests that the bosses of these dungeons are working for Chaos in some capacity.
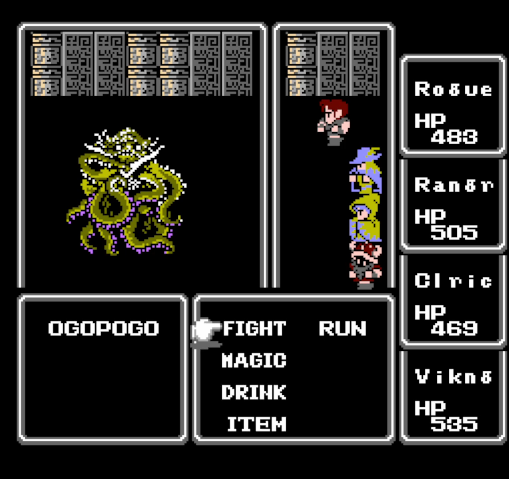
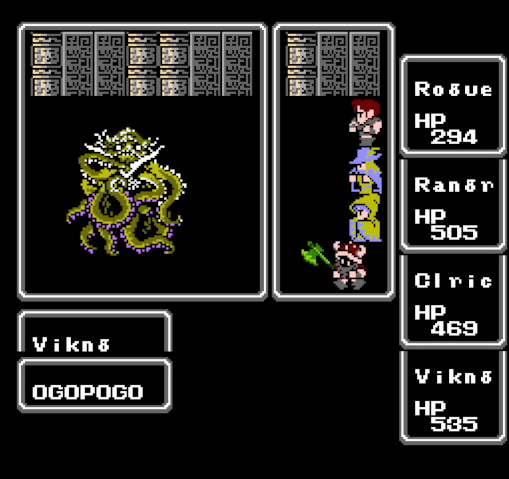
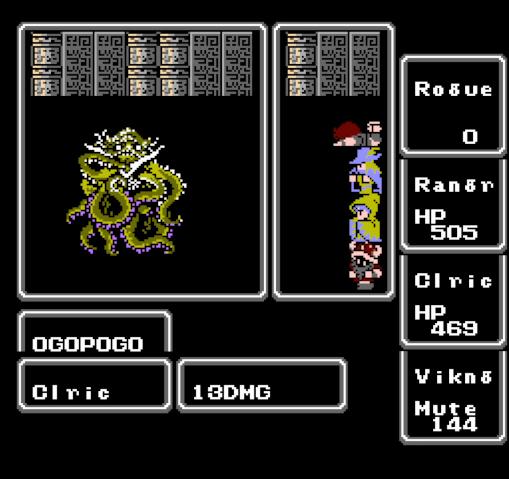
Our boss today is Ogopogo. Like his twin, Kraken, he's dangerous primarily for his physical attacks.
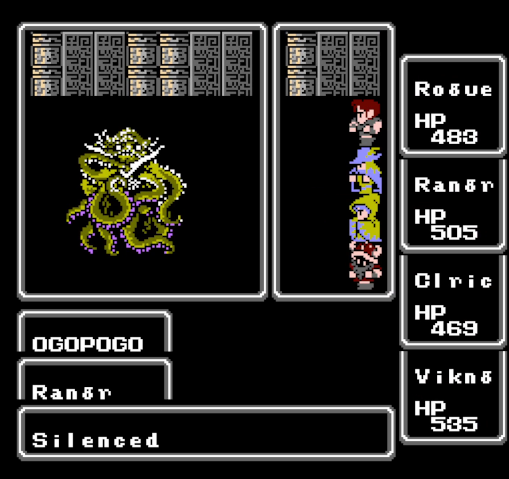
He hits numerous times and can inflict silence with his strikes. His damage isn't too bad... initially.
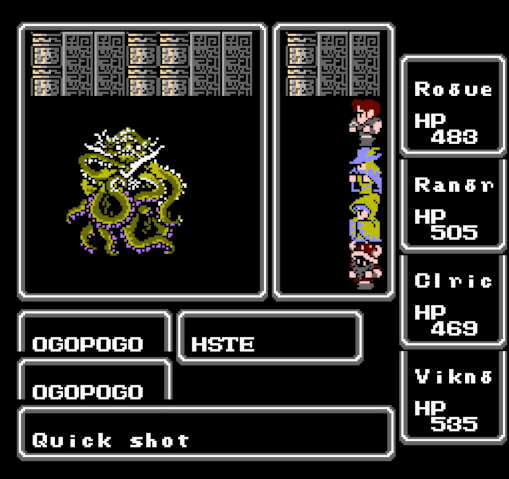
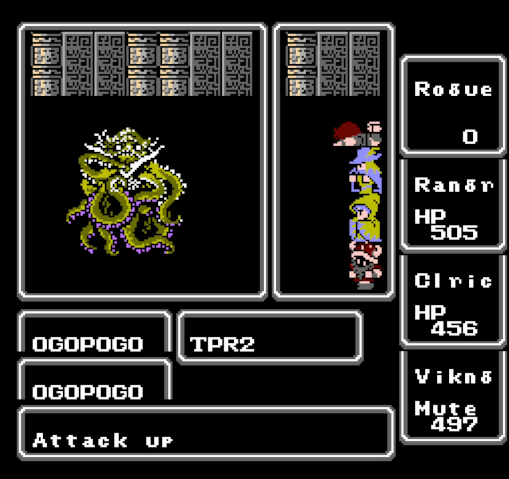
See, Ogopogo likes to buff himself, and the first step in that is HSTE, doubling his attacks and making him horrendously dangerous.

WILL (via our new ring in this case) helps deal with his sleep effect, while SLOW is by far the best way to mitigate his attacks. Even with HSTE, two shots of SLOW will reduce him to just one hit per attack.
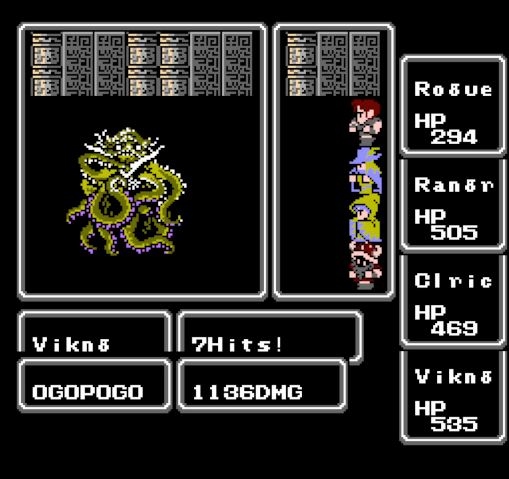
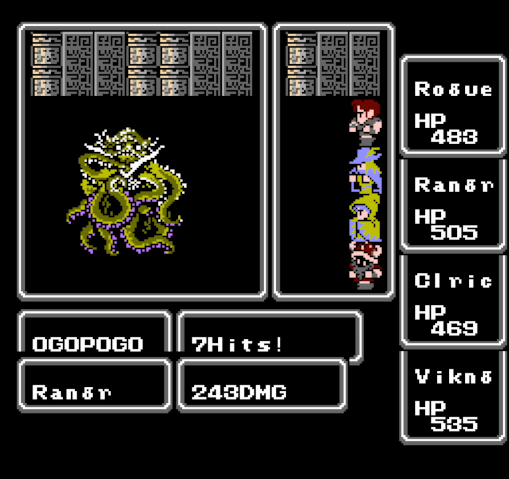
Naturally, putting HSTE on our own group (especially Viking) is the best way for us to deal damage in return.
This happened between Ogopogo's HSTE and my second SLOW. An unfortunate turn of events.

Defensive spells definitely help reduce his damage, particularly when combined with SLOW.
Unfortunately, he can counter that by raising his own power. At this point, if not SLOWed, the boss can generally one-shot anyone not protected by defensive buffs.
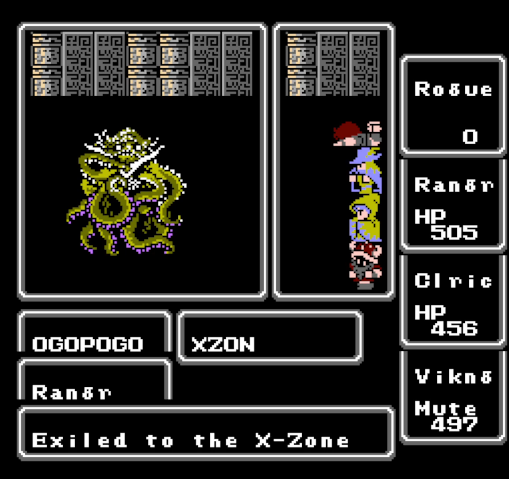
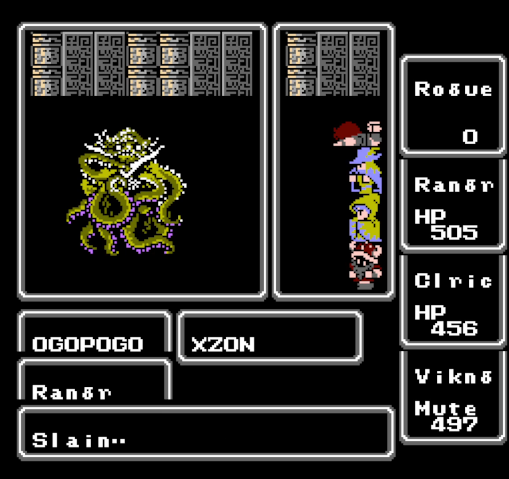
After TPR2, Ogopogo will use XZON, which has the potential to flat-out end any party. We lucked out - only Ranger succumbed to it on this run. Still, being two characters down isn't good.
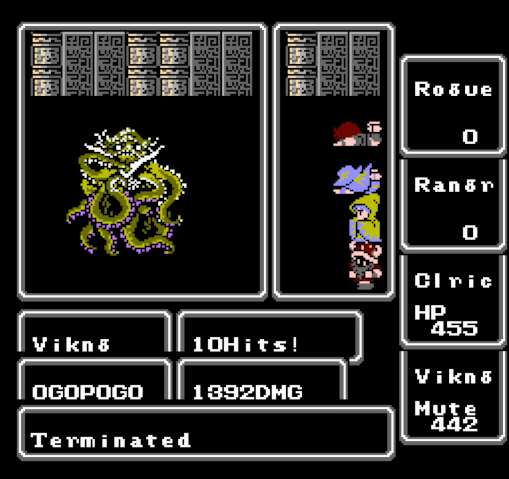
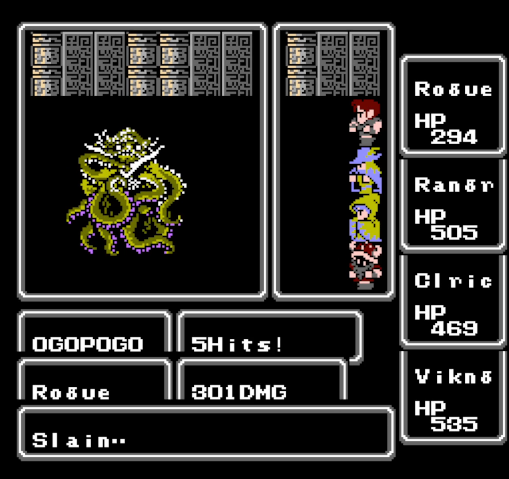
Luckily, by this point the boss was weak enough that we were able to take him out.
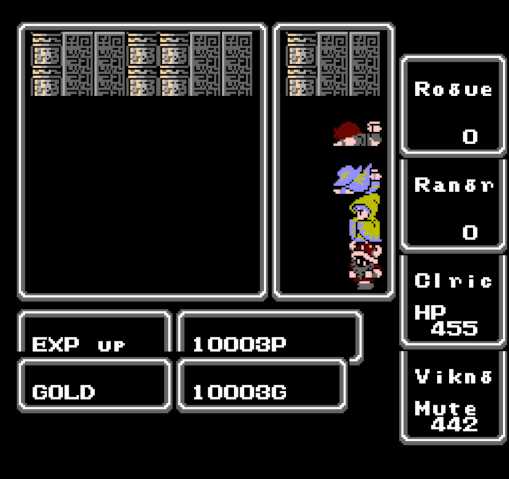
10,003 GP and EXP, enough to bring our party to level 24 and finally get Ranger access to 6th-level spells. You'll never guess what the last bonus boss gives.
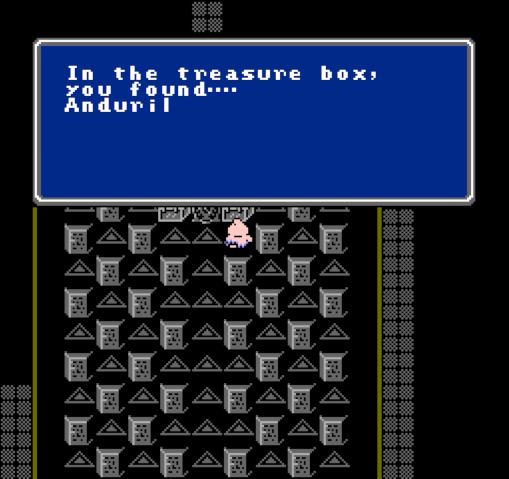
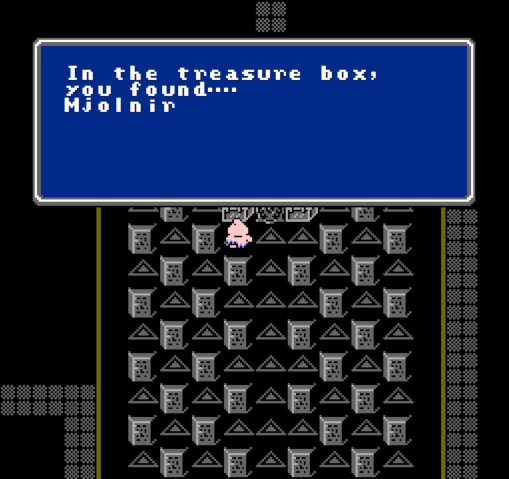
The prizes here are fantastic for our party: Anduril and Mjollnir, which reference the legendary weapons of Aragorn and, of course, Thor. They're the ultimate weapons for Ranger and Cleric, meaning that our party is now fully-equipped.

Only one more bonus dungeon to go - but oh boy is it dickish.