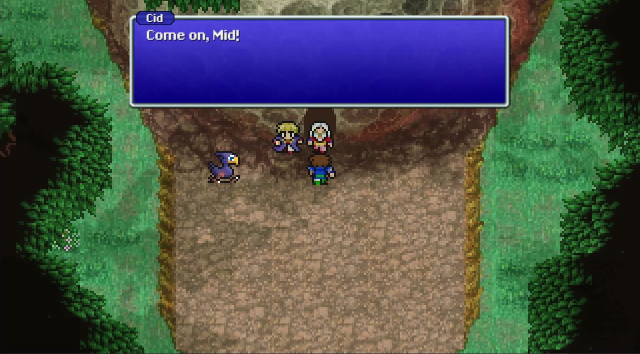
Part 12: Down to Earth
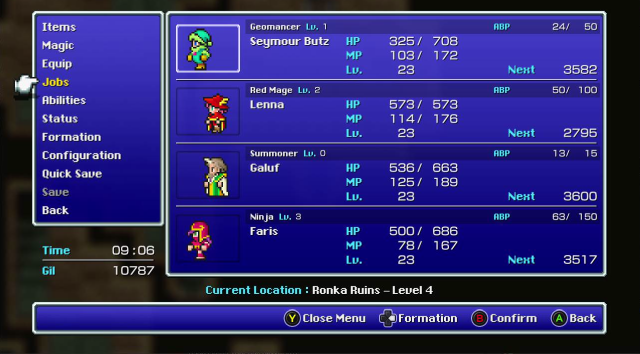
Part 12 Down to EarthFYI if you look at the HP of the party for the first several pictures they may seem out of order, and they are. I noticed a couple floors into the dungeon that I wasn't at Level 20 anymore, so needed to level up to 24 for reasons. So instead of keeping things in order of my recording I'll just split it between "leveling up" and "dungeon"
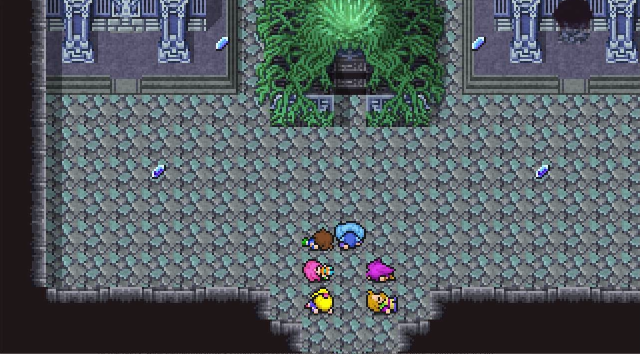
Battle 1 (Pixel Remaster)
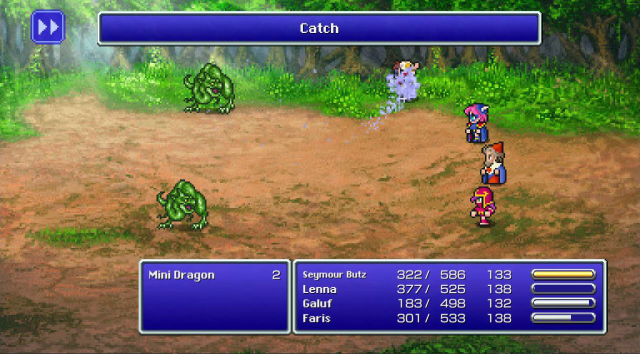
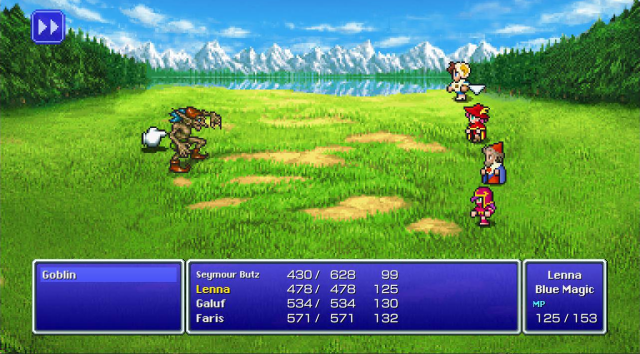
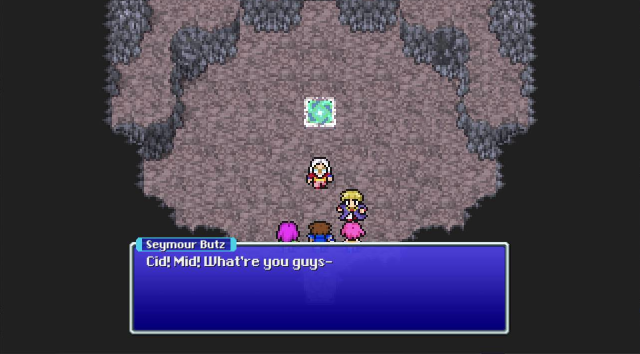
So first on the "I have to level up and show stuff off so may as well do both at the same time" tour. We've returned to Istory to capture a mini dragon.
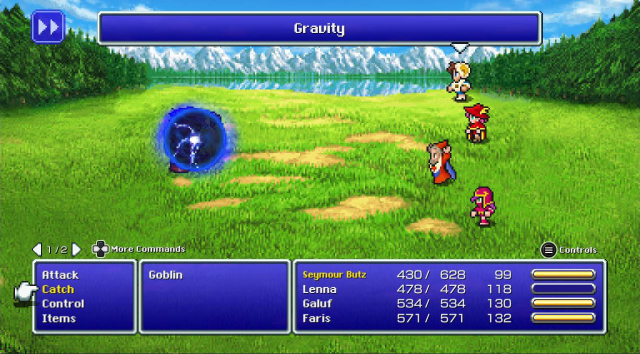
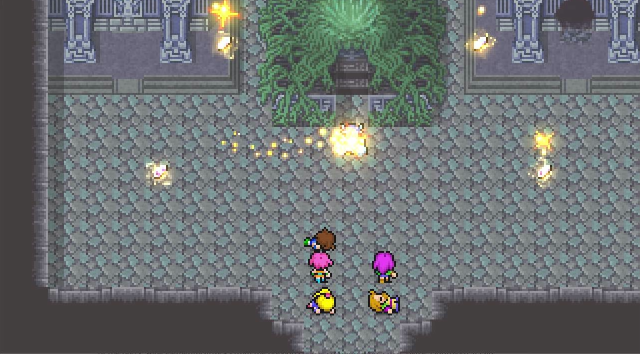
The previous times I've shown off !Release I only had one target so the action just hit the one enemy in front of them.
Here the !Release targets one random enemy.
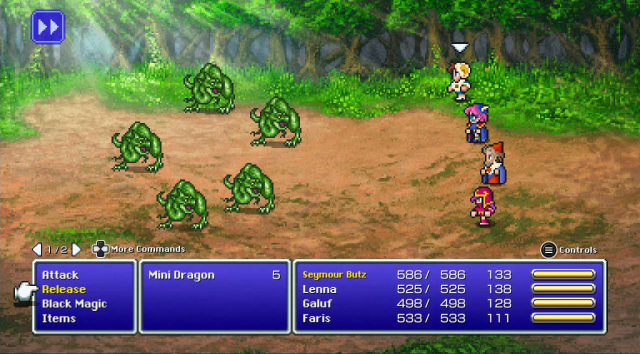
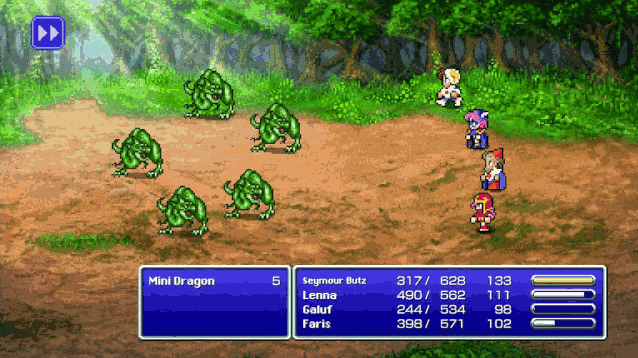
This is also necessary for blue magic reasons and to show off the other grinding spot.
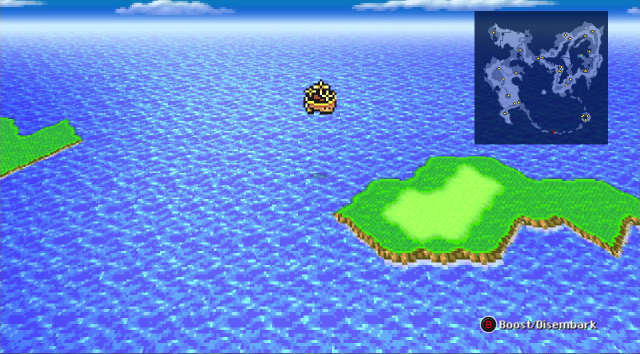
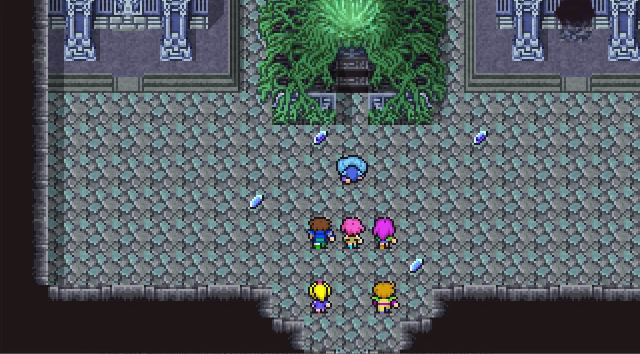
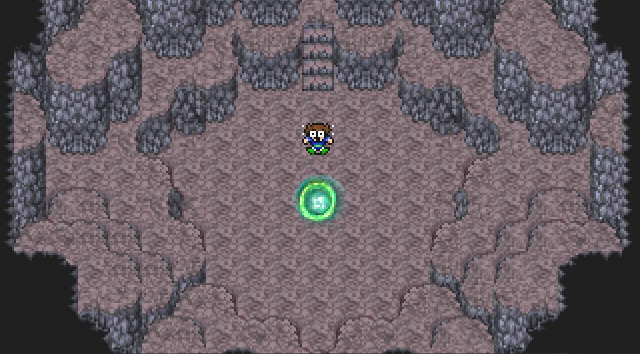
This is the other grinding spot, this island approximately midway between Jachol and Crescent Island.
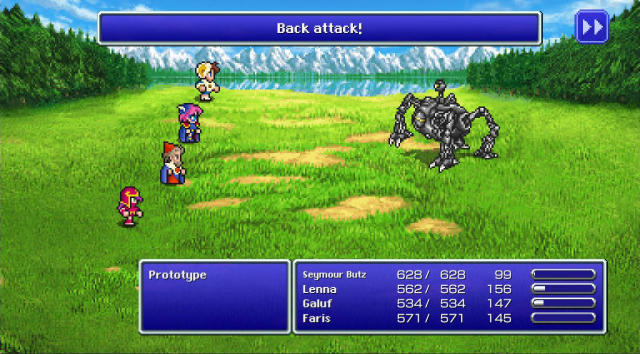
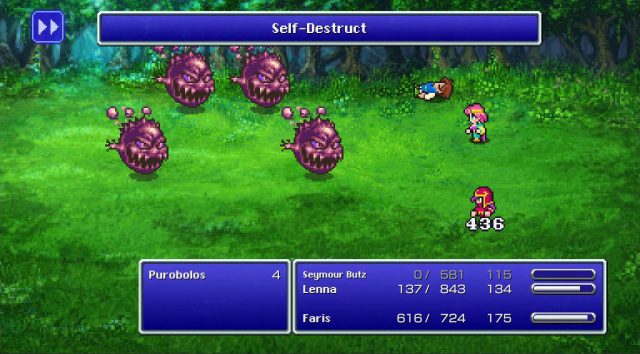
Say hello Prototype.
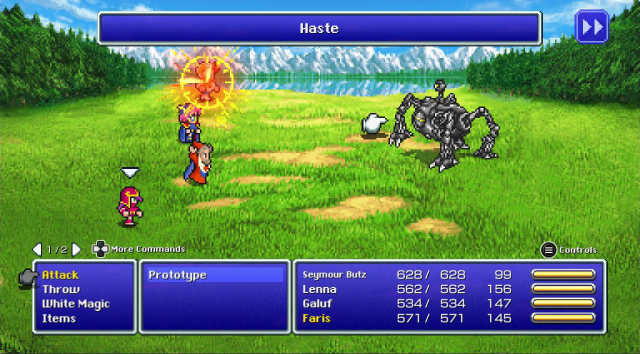
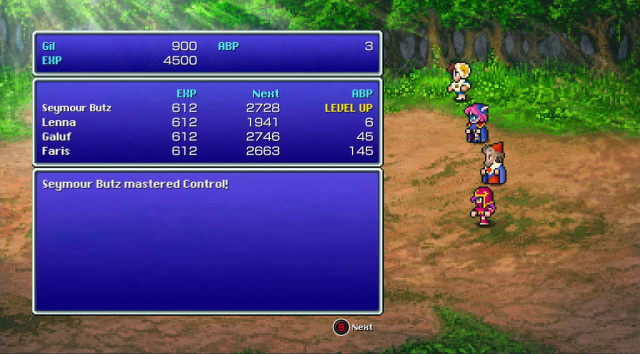
We want our beastmaster as fast as possible.
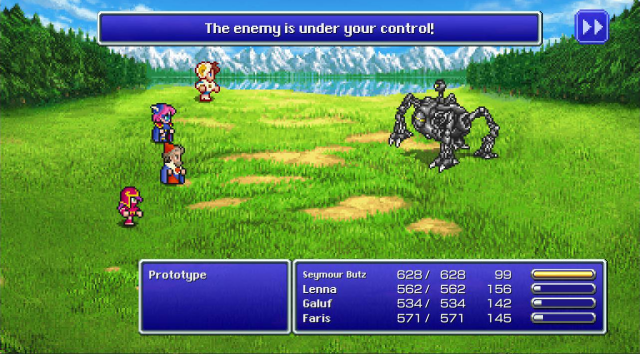
!Control at work.
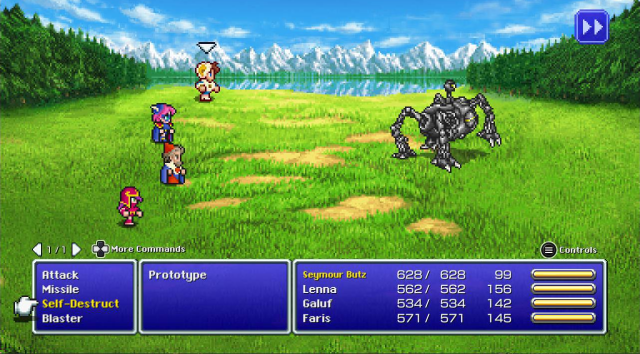
When Seymour's turn comes back around his commands are replaced with a set from the enemy being controlled.
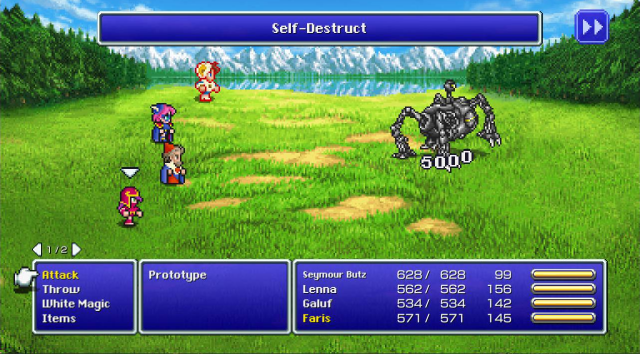
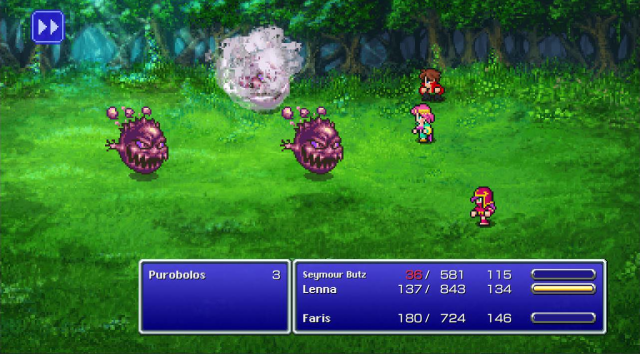
So we can tell the robot to blow itself up.
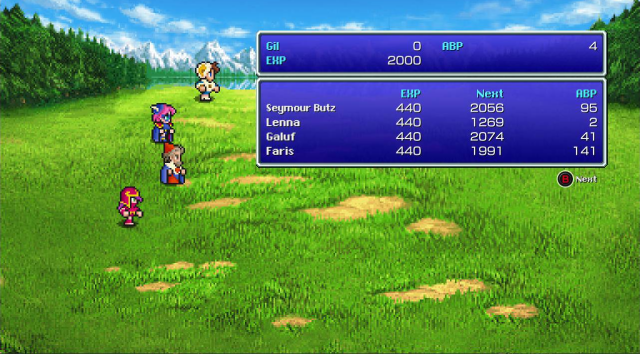
The experience is lower, but the ABP is higher than mini dragons. However the prototype is the only enemy formation compared to the mini dragons sharing the area with less lucrative encounters.
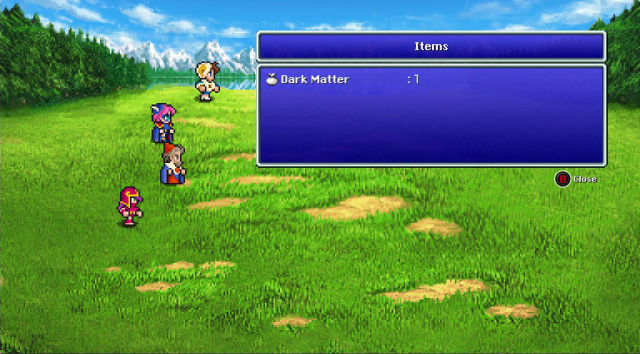
They're the easiest source of dark matters.
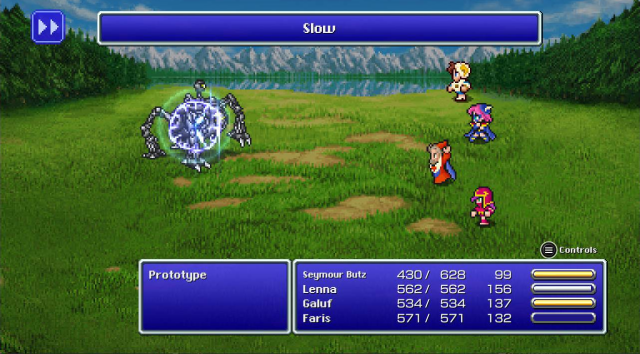
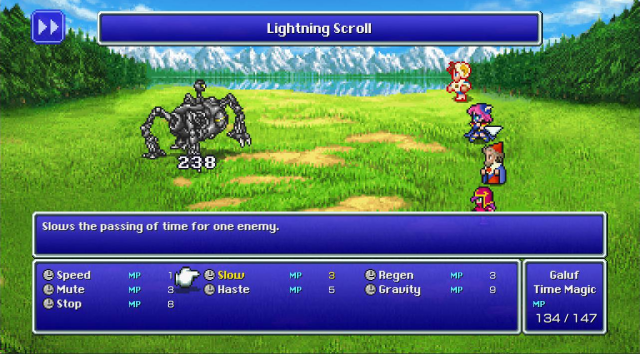
Slowing an enemy is as good as hasting the whole party. However unlike FFIV there are enemies who are immune to it and its subject to magic evasion so it isn't a God-Tier status.
Prototypes have insanely high defenses. Consider Faris does about 2000 HP to Sahagins.
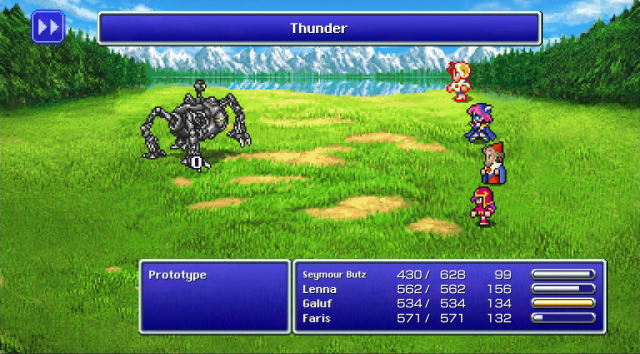
Even someone with a thunder rod and a magic stat can't even scratch it.
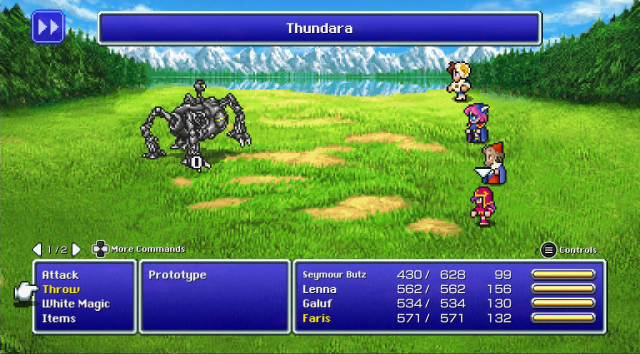
Even someone with a thunder rod and a magic stat can't even scratch it with a thundara
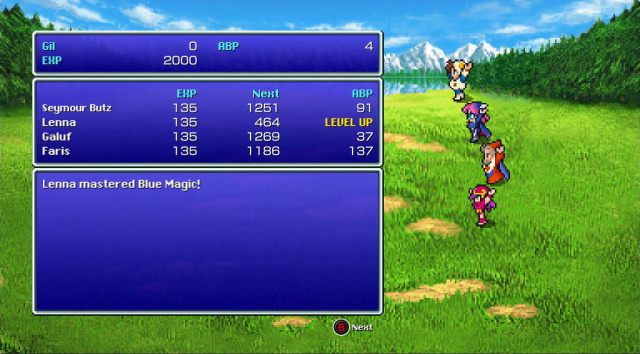
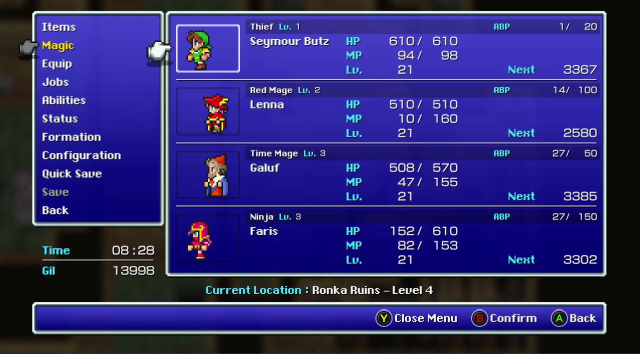
Lenna has gotten all we need from Blue Mage as a job. The only time I'll ever have her be a blue mage is if I want to learn something and also want a usable secondary.
We're over by Tule now.
4 gravity spells later...
▼B works, just like Timed Hits for Freebies in Super Mario RPG. Debate me cowards.
For all the pomp and coolness of seeing flare, the fact that the monster's stats are used to cast it dulls the damage a bit.
Now that I've gotten !Control and
Sand Bear has more to share than his strong arm.
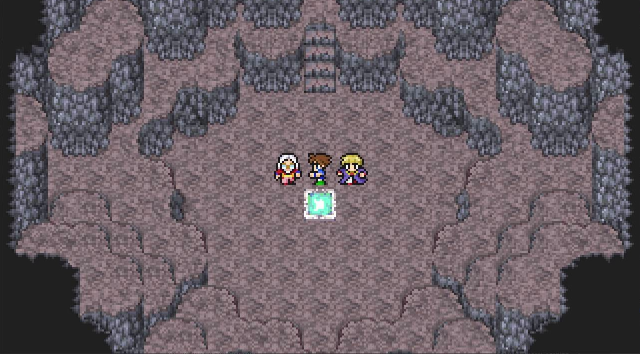
Probably the only spear of value beyond the ultimate spear and more ultimate than ultimate spear. With this we're ready to save the earth crystal.
Musica Machina
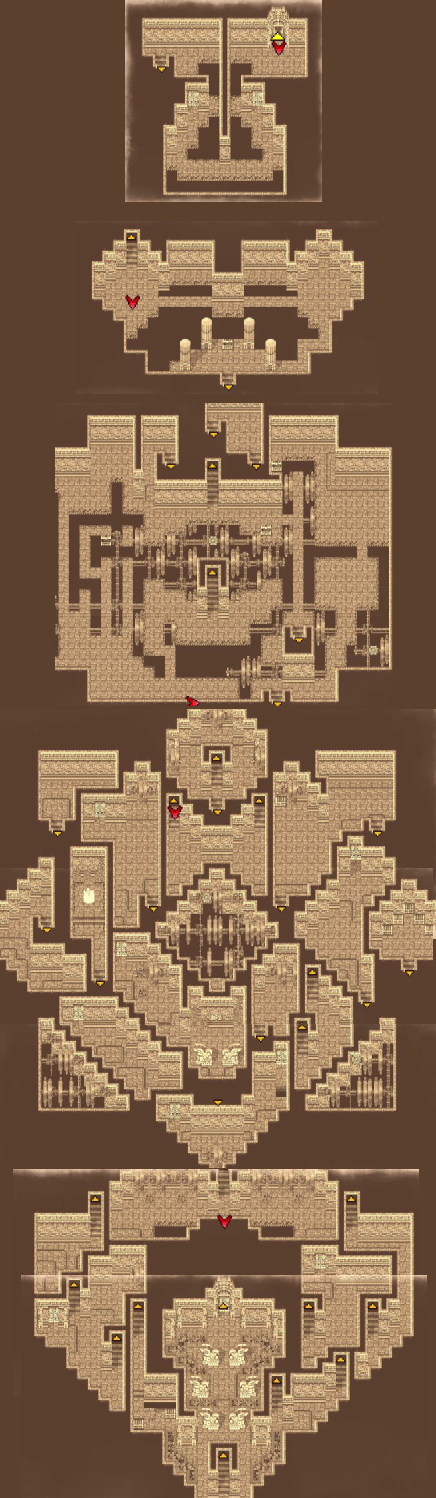
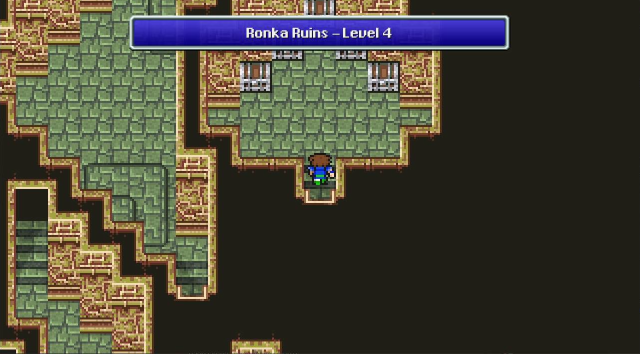
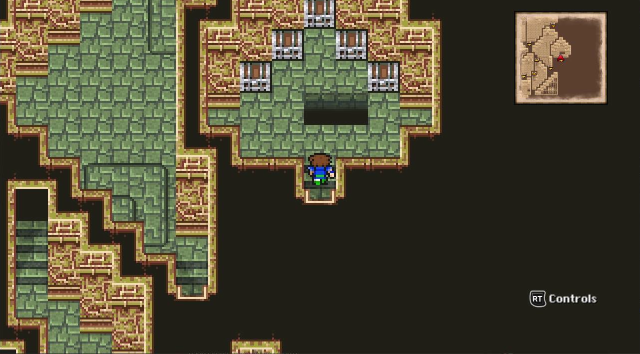
The Ronkan Ruins are daunting at first glance but most of it are connecting hallways that force you to weave up and down floors to get anywhere.
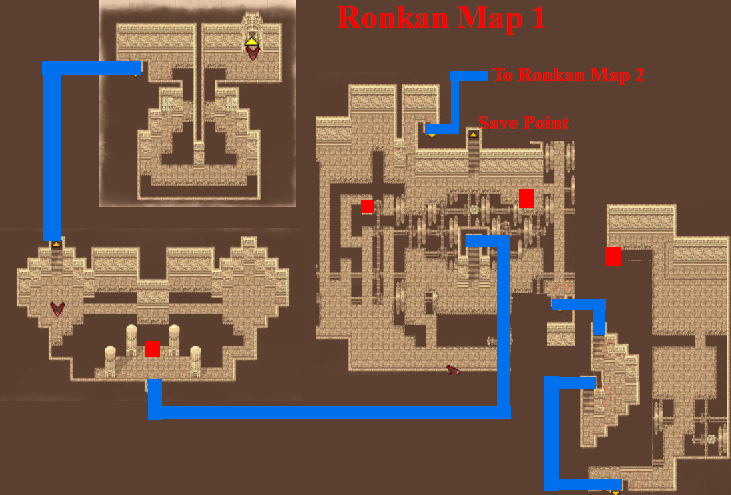
So if we break things up to manageable chunks we can get through this easy enough.
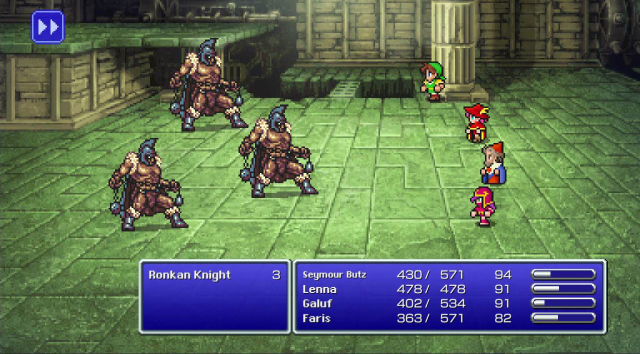
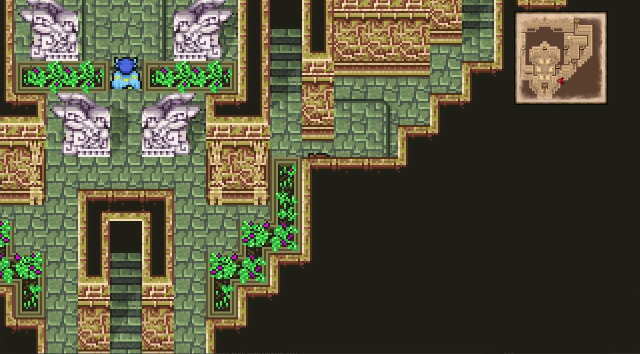
Ronkan Knights are just physical attackers.
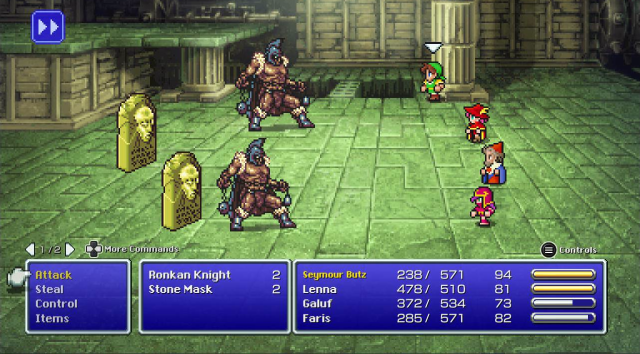
Stone Masks die if you sneeze magic at them, especially lightning.
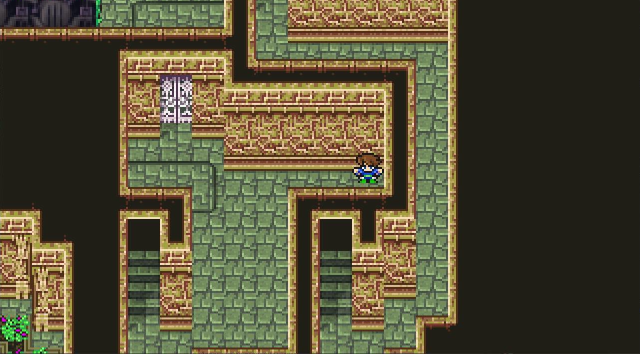
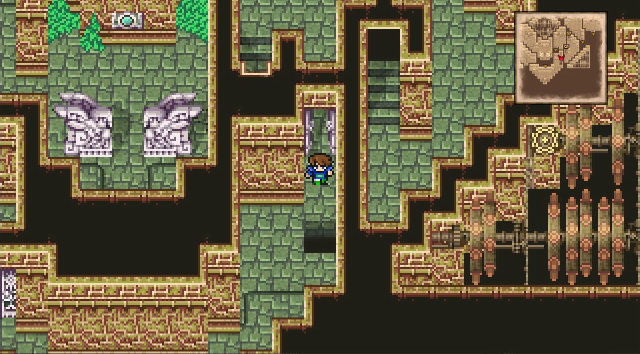
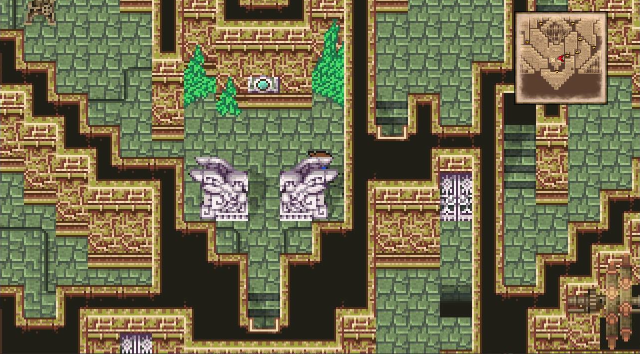
The first chest is right in plain sight.
The ruins are full of invisible walkways, since I'm using a Thief they're visible, but you can tell that you're walking over a hidden path because you appear transparent like walking through a hidden wall.
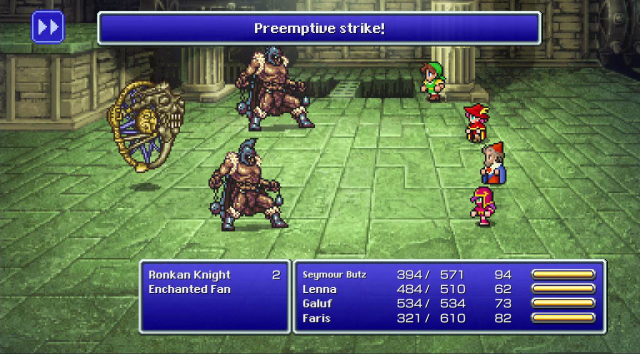
Enchanted Fans are an important enemy to find when you're using blue magic. What's also important is having Learning equipped.
This chest is visible like the first, but the path leading to it isn't. Without Find Passages you would need to test out several possible routes.
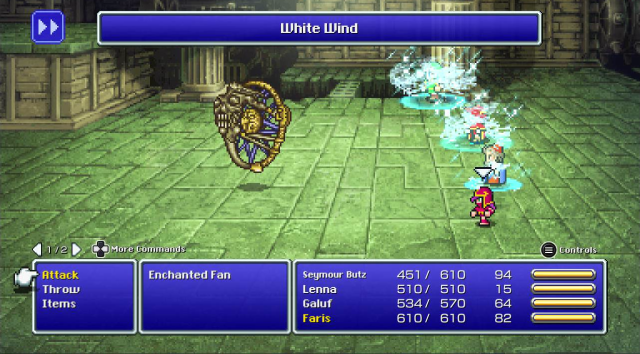
Round 2 with an Enchanted Fan. !Controlling or Confusing one can work, but !Control is the preferred method.
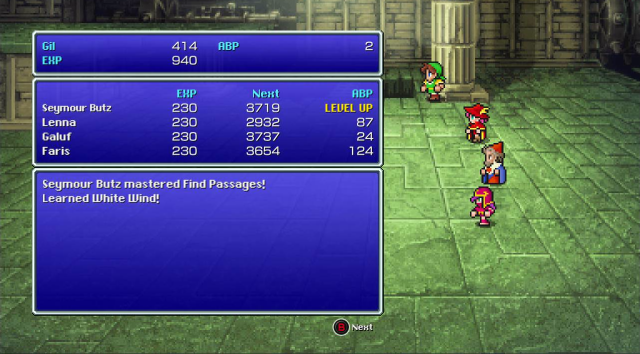
White Wind heals the whole party for however much HP the caster has. Enchanted Fans can also teach Aera if the Gigas or Page 32 failed to do so earlier.

The stairway by the "The" is a save point, but its sort of early in the dungeon for it so I usually skip it.
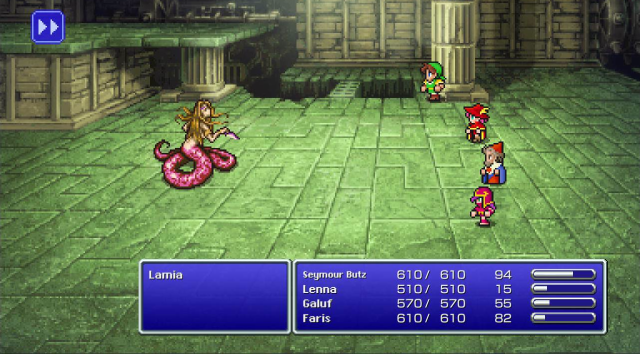
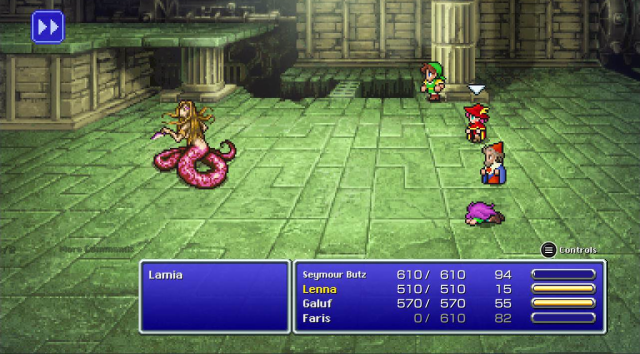
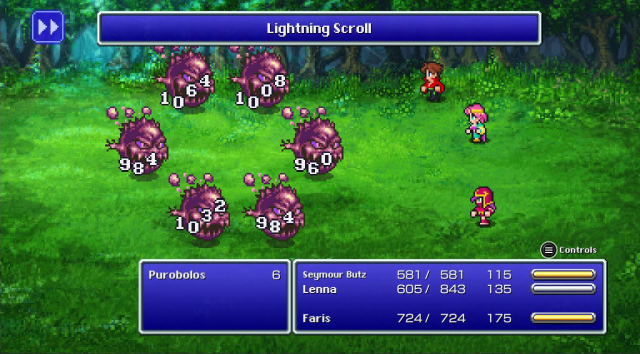
Lamia has a couple things of value.
First is a blue magic. Lamias will never use this by choice. To teach it it has to be !Controlled since it would only hit itself with it if confused.
The second is it has a good rare steal. The Lamia's Tiara would be nice to get but I was unable to steal anything but Maiden's Kisses.
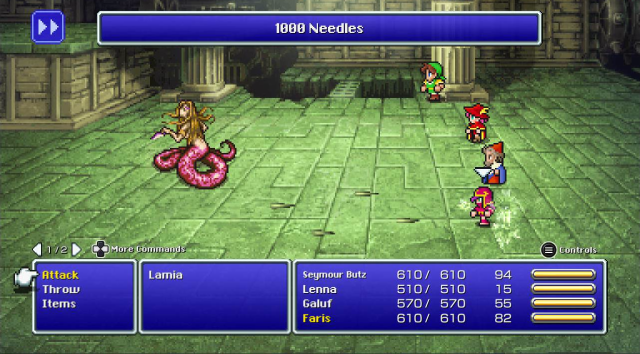
1000 HP is lethal for a lot of things right now, but if you've got 1000 Needles you have other tools that will be lethal for much longer.
This is the point where I realized I screwed up and leave to level up a bit, and also restock on phoenix downs.
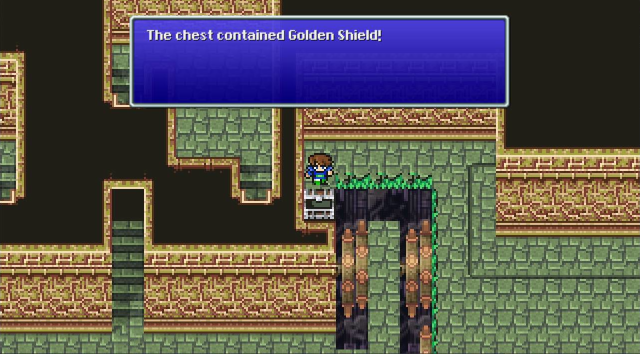
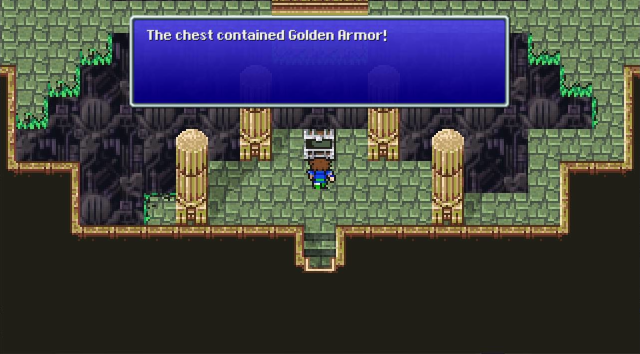
Strangely enough you don't get a Gold Helm here, only the shield and armor.
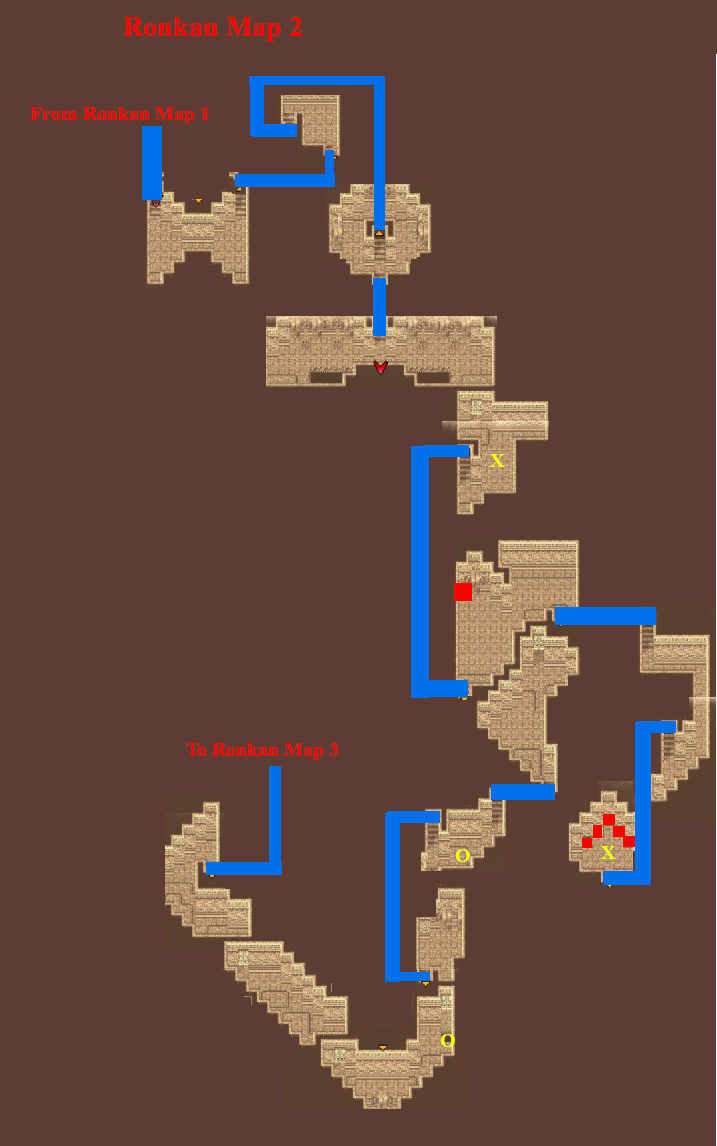
We're ready to go to the second stretch of the ruins. As a reminder we reach this section by taking the first downward set of stairs before the Phoenix Down chest.

Archeotoads are just like Elf Toads before, they attack and sing. Surprisingly despite their coloring they can't poison.
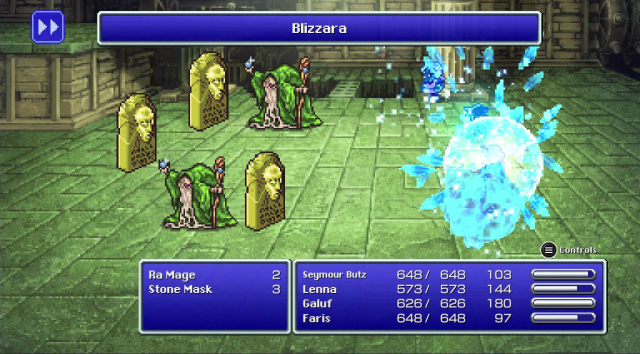
Ra Mages, AKA La Mage AKA The Mage just throw party wide -ra spells at you.
I was hoping to get to a certain enemy with only Lenna at level 24 but that didn't pan out.
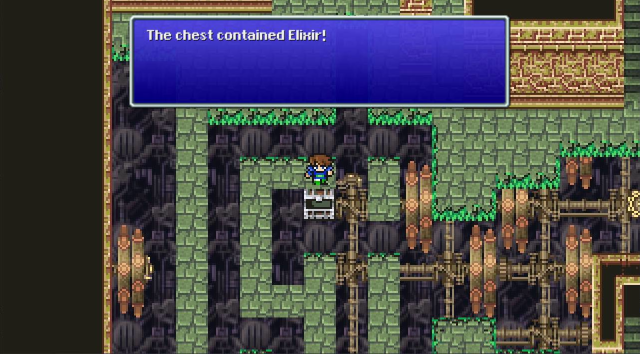
Ra Ra Sisboom Ba, thanks for the elixir rah rah rah.
Here's the biggest and best pile of treasure here, but something seems suspicious...
Let's just check for some traps.
In previous versions the Geomancer would walk up to a pitfall tile like these and jump back as it crumbled. Here we see the holes immediately. The chests contain an Ancient Blade (AKA "proc curse, wait curse doesn't exist, proc don't act, wait wrong game I guess it procs old"), another moonring blade, and a power wrist, an accessory whose claim to fame is being unequippable by most classes that you'd want to put it on.
If you step on these holes you end up a few hallways back (X Marked the spot on the map I made).
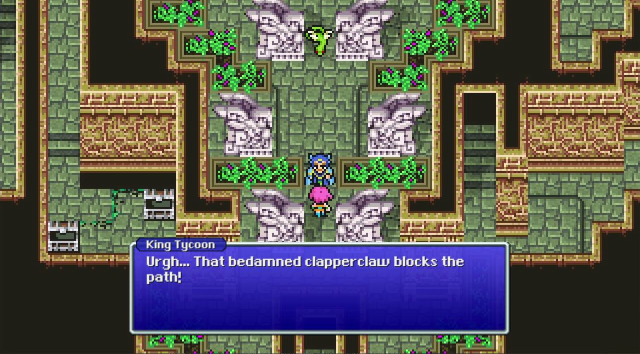
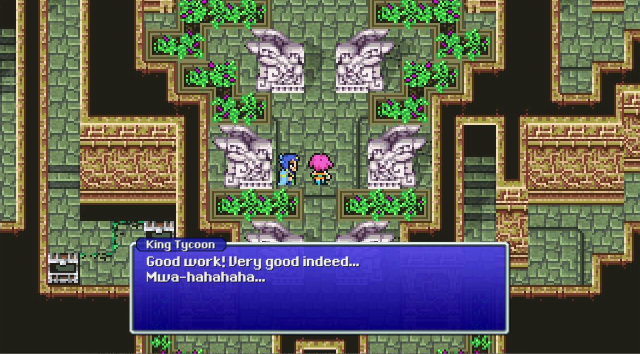
When you see King Tycoon standing off to the side, you're almost to the end.
Behold Dr. Clapperclaw's Deadly Speed Trap. This isn't even hidden or anything, its just a damned hole in the ground that if you're running and don't know its there you'll fall in. (return to "O" on the map, AKA the screen above where we see King Tycoon)
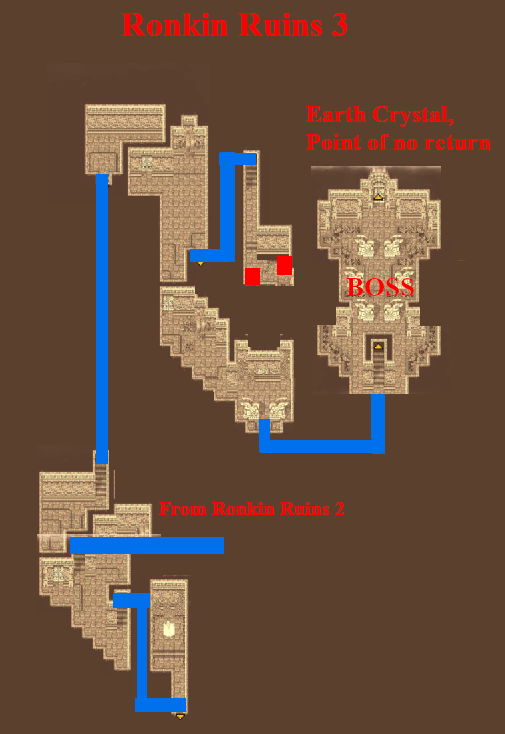
Proceeding past the Deadly Speed Trap we reach the final map. Points of interest are the save point that's far enough into the dungeon to be worth using and the last 2 treasures.
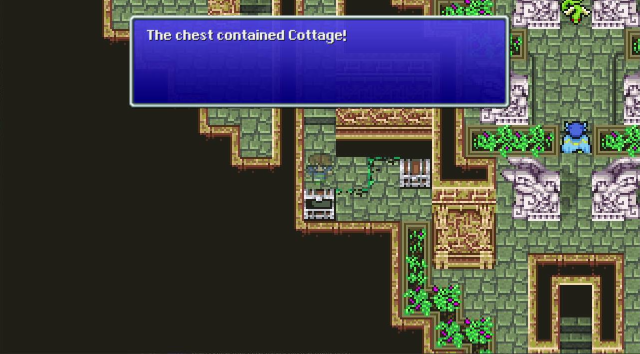
We'll soon be able to buy cottages, but its always nice to get one for free. The other chest is an ether, also nice to get.
The button up top reveals the stairs down.
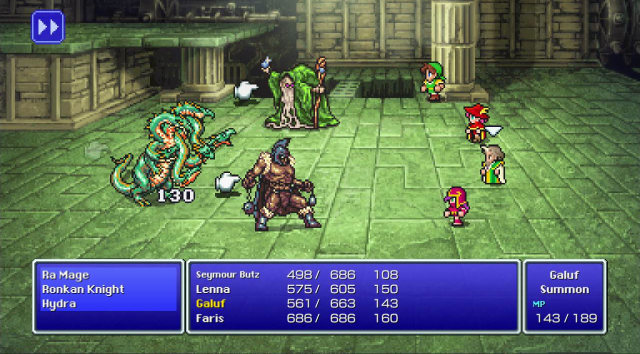
The last screen of the dungeon is where we fight the last enemies on the bestiary. Looking things up I could have Level 5 Deathed the Hydra, but it wasn't much of a threat.
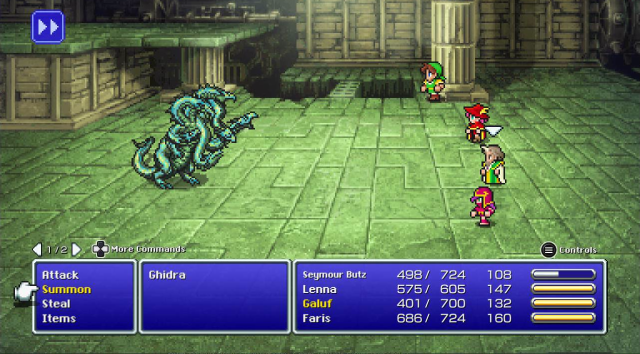
Ghidra however is a hassle to fight.
Here's me
Ghidra is undead, I assumed he's heavy but I was mistaken. I could have tickled it to death with a Phoenix Down.
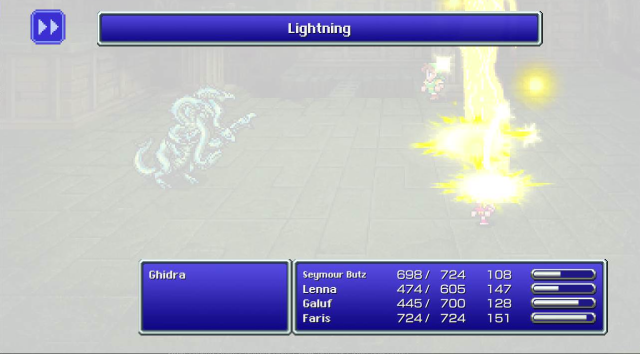
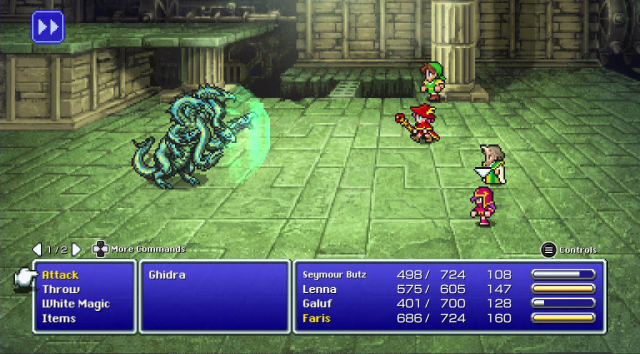
Lightning is a kindness. He could have used Poison Breath which hurts worse.
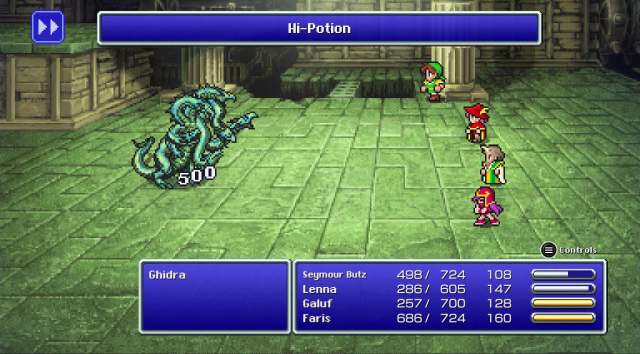
The killing blow causes this as a death counter. Thankfully Ghidras don't appear with other enemies so there's no risk of having a follow up attack finish someone off.
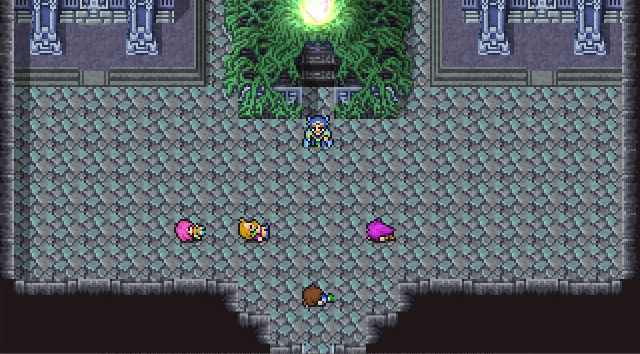
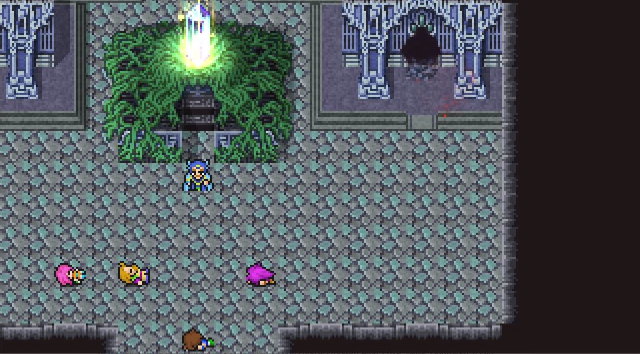
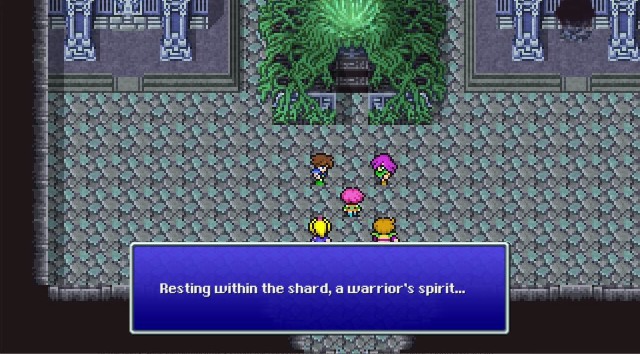
 This isn't the point of no return, but this is the trigger for the boss. So ensure you've got all the treasures and the following bestiary entries:
Ra Mage
Ronkan Knight
Stone Mask
Enchanted Fan
Lamia
Archeotoad
Hydra
Ghidra
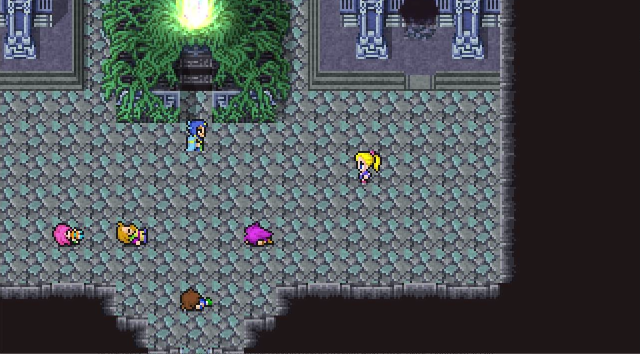
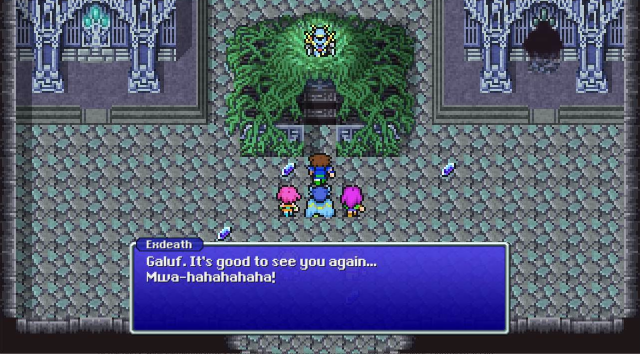
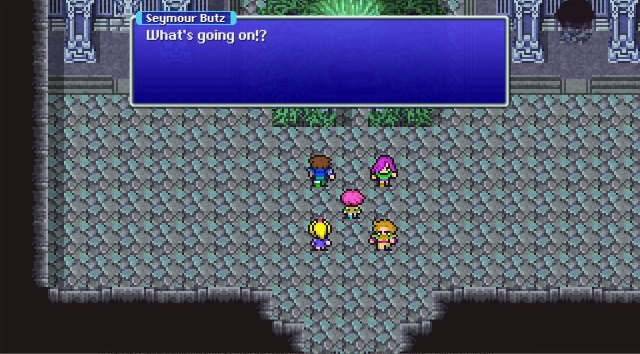
 Papa-
Papa- Silence! There is no time for chatter! That beast is the guardian of these ruins. It can change its weakness at will... Make yourselves useful and defeat it!
The Fierce Battle (Pixel Remaster)
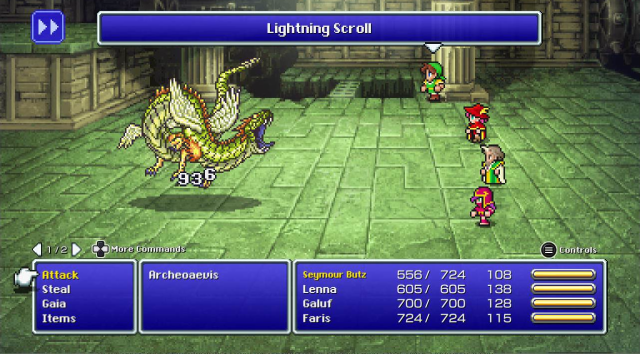
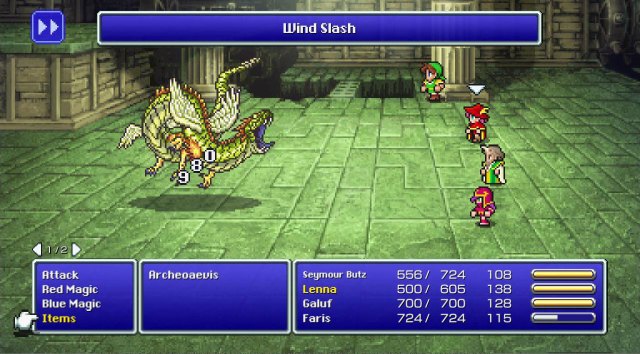
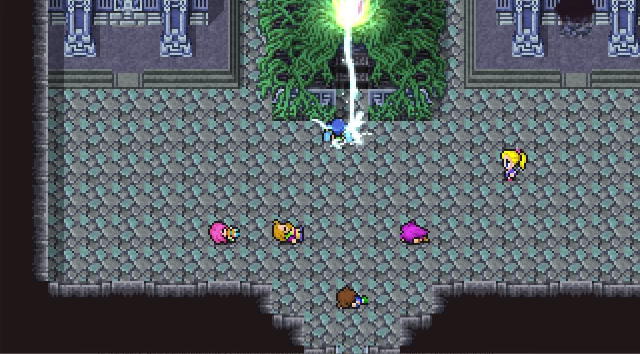
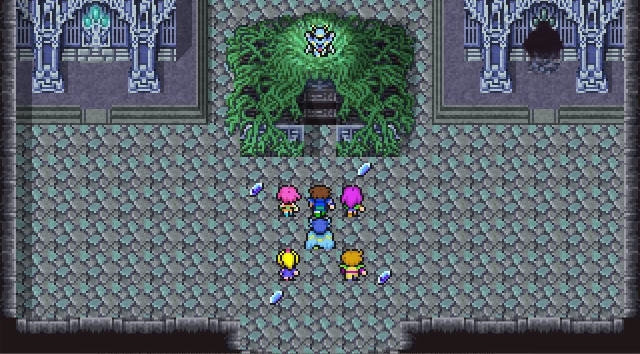
...Wait, why are we killing a guardian? Anyway we have to do this. Old Bird has a lot going on under the hood. King Tycoon wasn't right about changing weakness at will, but through the fight things do change at defined points.
The first form is the only one with a weakness, in this case Wind.
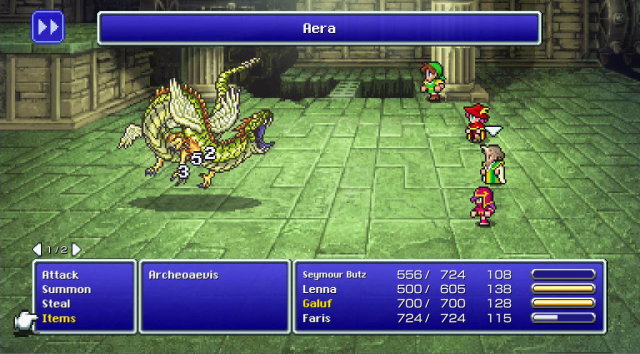
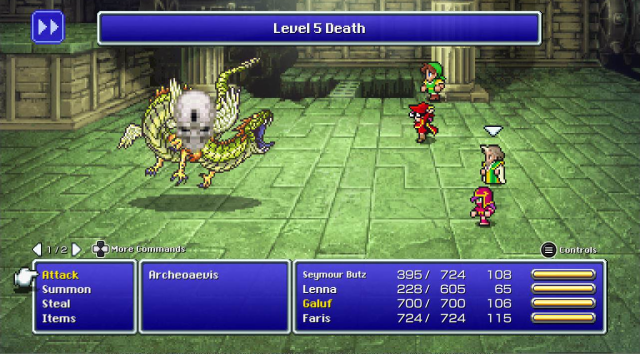
We've already blown through the first phase though. The only indication that anything happens is that the ATB gauge stalls for an extra second or two while the script replaces the enemy. There's 5 different Archaeoaevis enemies that you fight in sequence.
The only thing that indicates what Archaeoavis you're fighting is how much damage it takes from a given attack. Early forms have high physical defense while later ones have higher magic defenses.
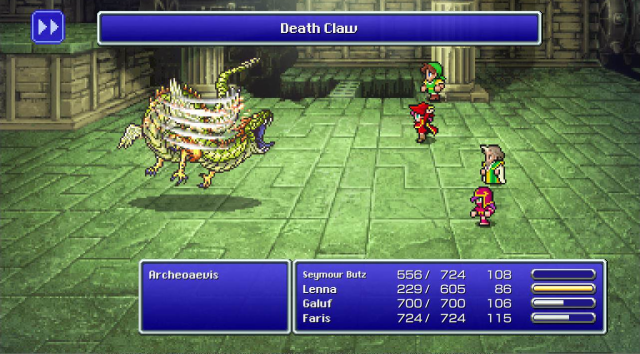
The fourth form (and the second form for that matter) lacks heavy status so it can be death clawed.

The transition from fourth to fifth form is the only form change that is explicitly called out, since the fourth form "dies"

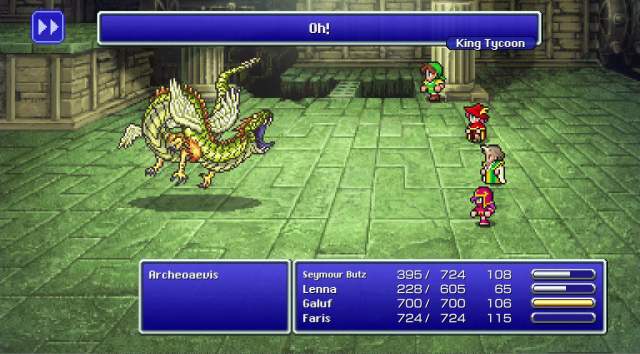
While we wait to get back to the fight this is a good time to mention some other defining features of this fight if you aren't able to rip through all these forms.
First, in addition to the varying defense values each form has different elemental attributes. The first form is weak to wind as mentioned.
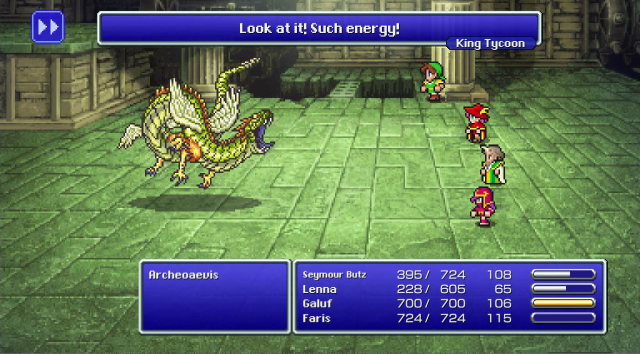
Each form has one of the elemental "do 1/4 Max HP" spells and different special attacks that deal physical damage and procs a status effect.
The first form has no elemental absorption so you can cast anything or break whatever rod you want. The second phase absorbs ice, third absorbs fire and the fourth absorbs lightning.
The final "Revived" form is level 20.
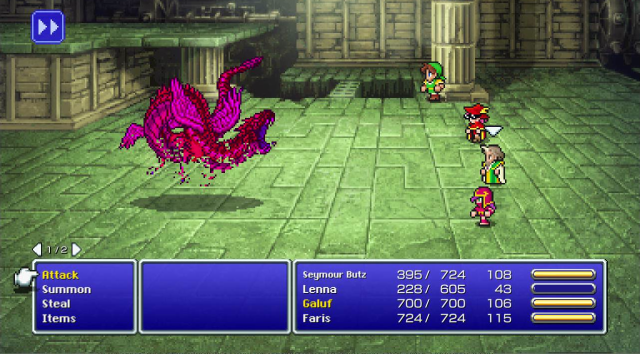
If you decide to fight fair with the last form, Archaeoaevis will not. It will be able to do any of the "do 1/4 Max HP" attack, can paralyze and confuse. If it feels saucy it casts Maelstrom which has the chance to set everyones HP to single digits. It also gains immunity to all the main elements so a magic heavy team can be in trouble here.

One final note, I believe this version fixes a glitch that's existed in all previous versions, where damage caused by a counter attack breaks death counters. Since the whole gimmick of this fight is 5 consecutive fights chained together by death counters earlier releases could just wait for a Monk counter to end the fight early.
Older versions also only would give you the reward for the last form you killed. Here you get the drops from all forms.
Musica Machina
Oh yeah what were we doing this for?
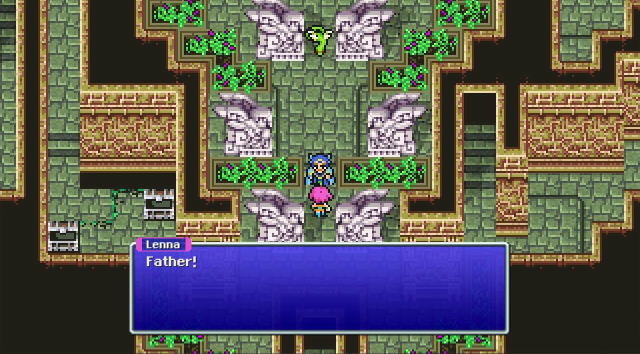
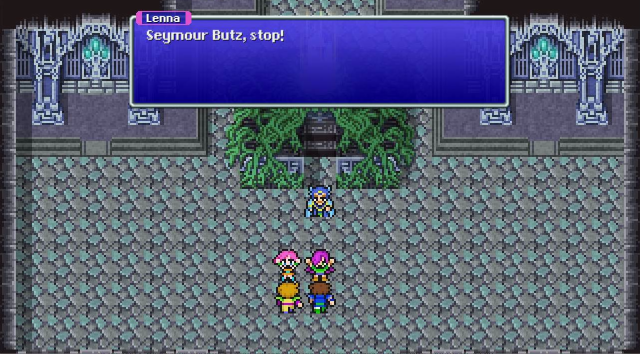
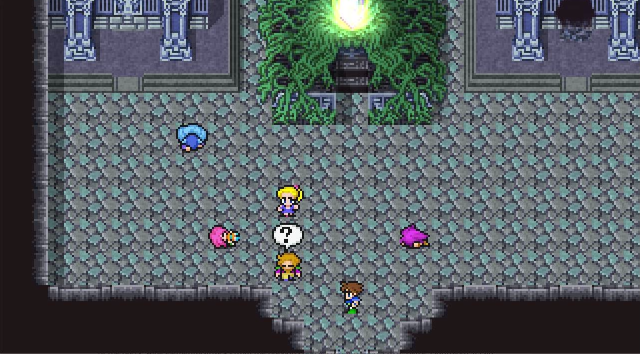
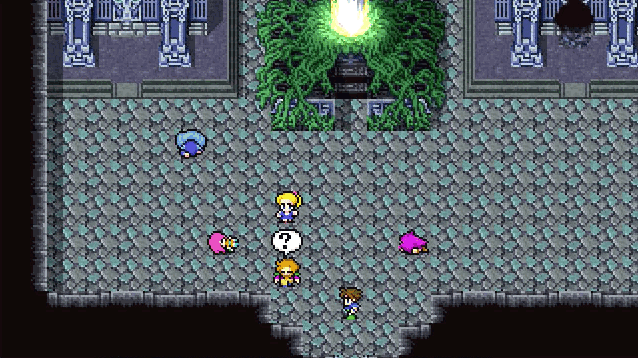
 Father!
 The earth crystal should be just ahead...
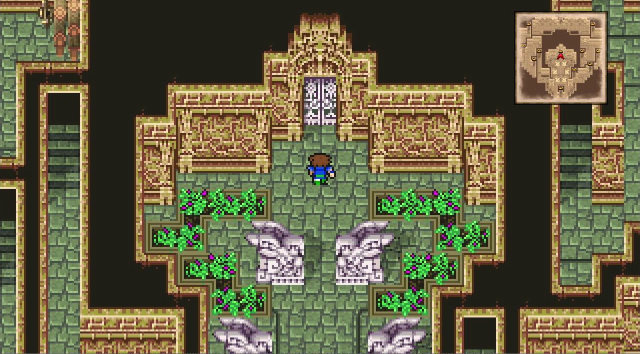
And here is the real point of no return, make sure you've got all you want from here. Also you may want to unequip Galuf if you have any particularly good items on him.
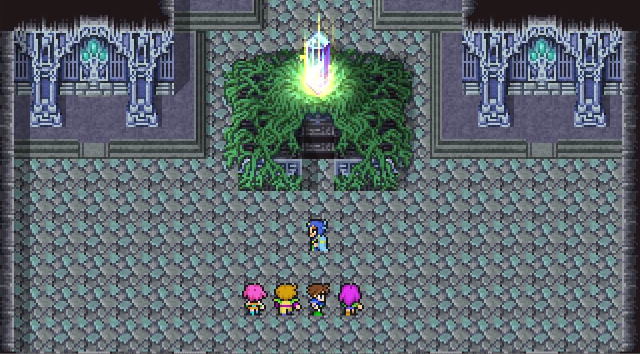
Deception
Father! Papa! This is bad! Something's gotta be controlling him!
King Tycoon steps forward and Galuf and Seymour share a brief glance, knowing what they have to do.
 Don't even try it! Step aside!
Things don't look good since battle lines are drawn between family and friends.
Run!
We need outside mediation for our conflicts.
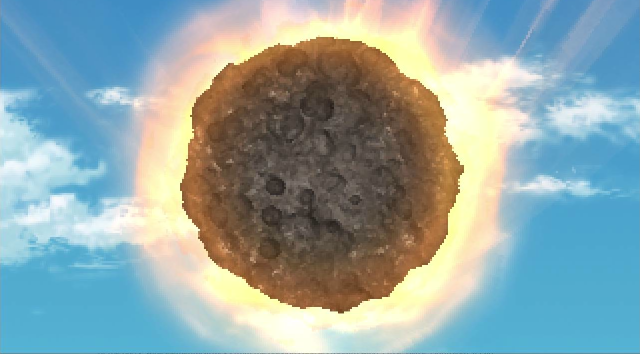
It's been awhile since we've seen a meteor crash down.
The last time was Walse, and it came pretty darn close to the tower. Here its close enough to hit the stratofortress and knock everyone down.
Knock, knock.
Whose there?
The same thing that happens to anything else.

I think I missed a step or combined jokes there. Oh well I can fix it in post.
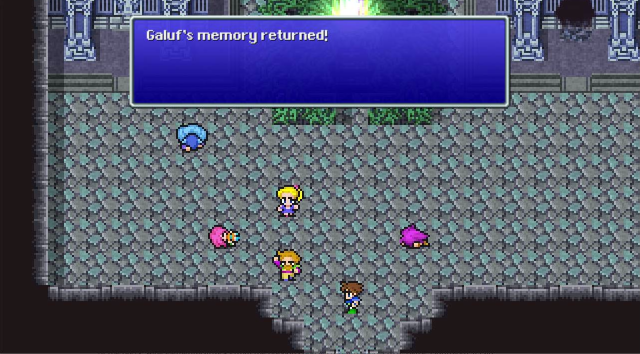
Gotta forget that brief moment of conflict between them happened by headbutting the concept of amnesia out of your own head.
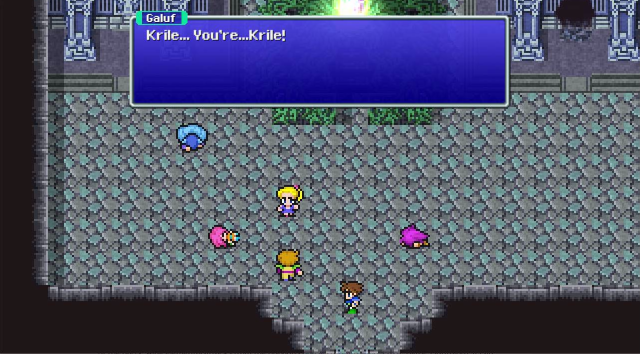
 Grandpa, I missed you so much! Father! Papa!
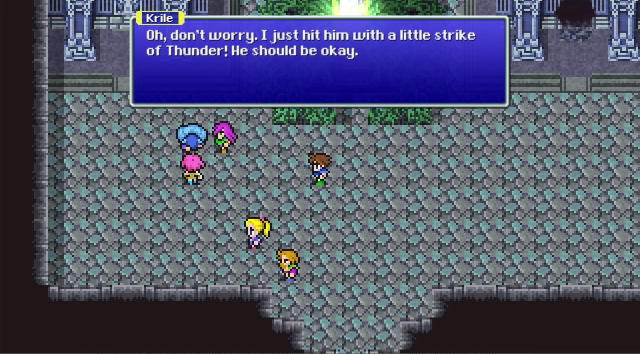
Lenna's Theme (Pixel Remaster)
Ughhh... Where... am I? Lenna... Sariasa? Is that you!? It really is you... Sarisa! I can't believe it! You're alive! Papa... Papa!The Evil Lord Exdeath (Original)
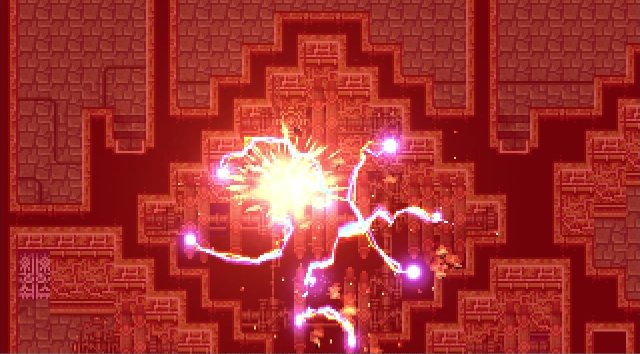
While King Tycoon was okay with a little strike of Thunder,the earth crystal may not have been properly grounded.
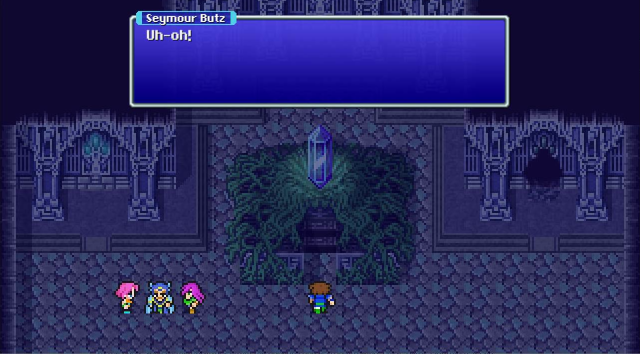
We're terrible at our jobs. Maybe this last batch of job crystals includes the "Stop Crystal Exploding" Class.
There's a bunch of (faux) mode 7 rotation here that will NOT tolerate a gif. But purple lightning and an ominous portal doesn't need animation to express how much trouble we're in now.
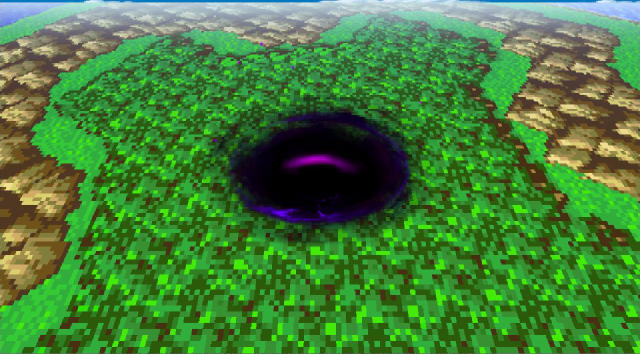
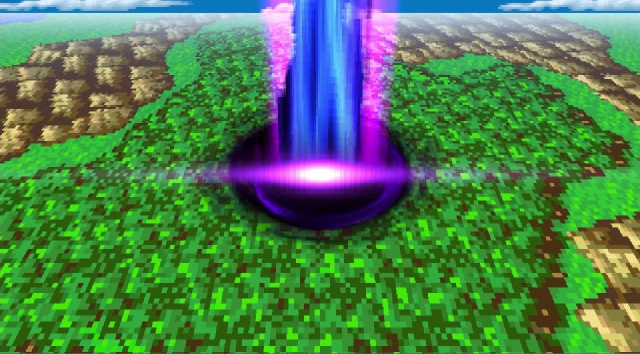
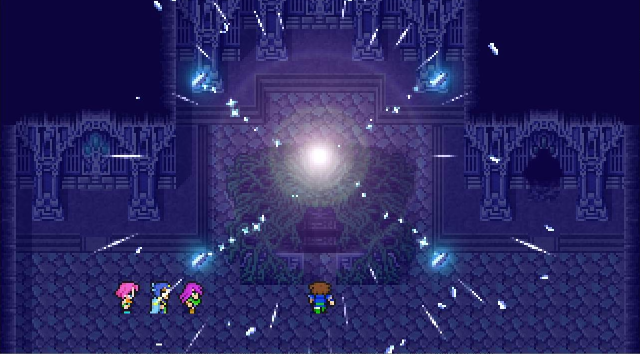
Eventually a bunch of energy blasts out of the portal.
And then a purple orb launches into the sky.
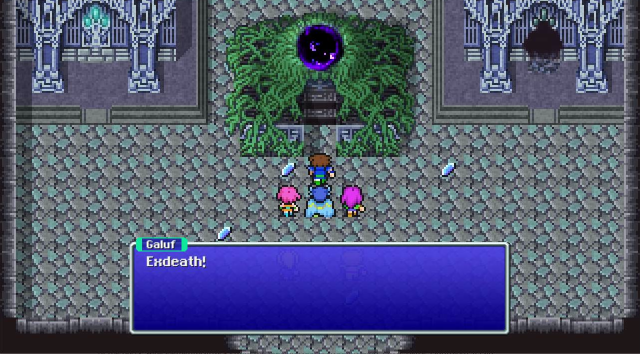
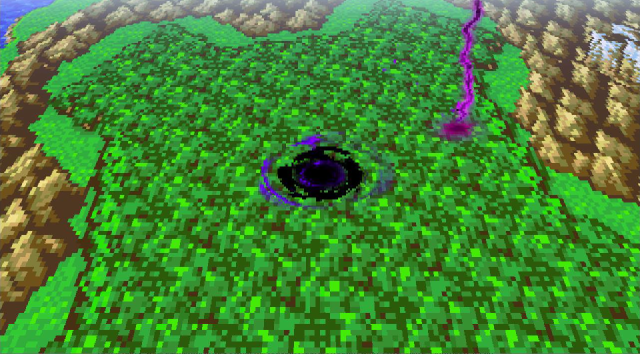
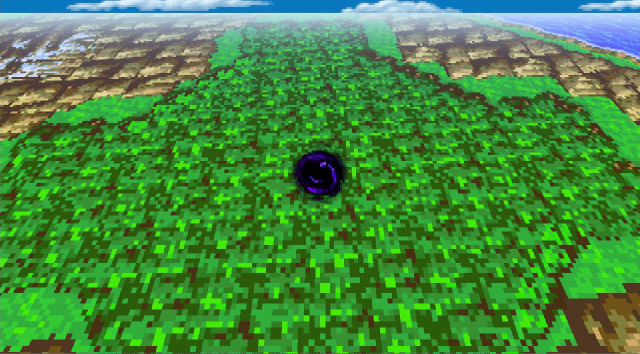
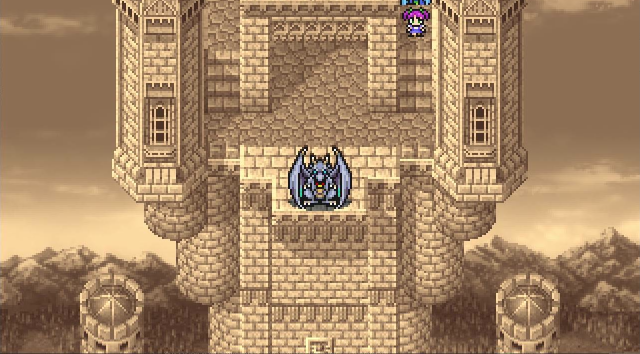
After 12 updates we finally meet our real antagonist.
He's fully decked out in sky blue armor, so we can't immediately discount it's Mid sitting on top of that Crescent Island jerk's shoulders inside.
Exdeath loathes you thiiiiiiiis much.
 Crystals! Obey my magic... Give me your power! Smite these vermin! You think we're gonna just sit back and let you do whatever you want!?
 Nngh... Seymour Butz! Hah! The crystals have been destroyed! Your world will be next, Galuf!
Exdeath is gone but the crystal shards are still hovering in attack mode.
Papa! Sarisa... Lenna... Seymour Butz, and you, warriors from another world. I fear your work is still unfinished. You must not allow the world to disappear... Light of earth! Come forth and reclaim your essence from me!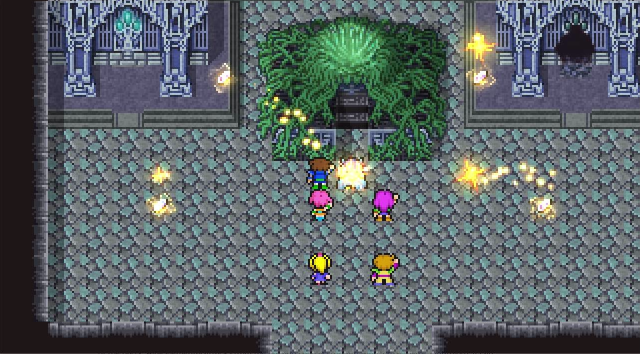
That didn't go too well.
There's too much screenshake to make a good gif of this, but King Tycoon stands back up and tries again.
Father! Papa! Get back! The crystal... must be saved...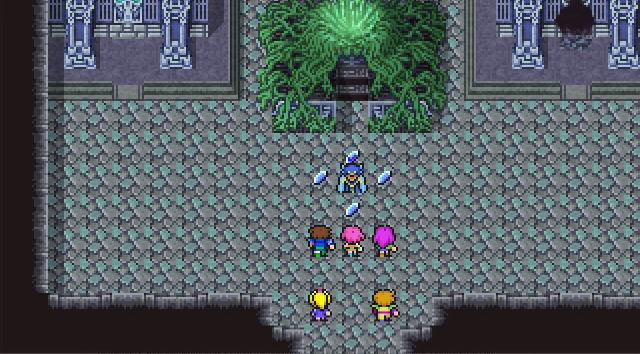
Again the shaking is too intense to capture but the crystals begin to circle King Tycoon. The screen flashes red as they converge on him. But he's able to remain standing and toss them into the air.
The screen stops shaking and the shards fall calmly to the floor. And so does King Tycoon.
Sorrows of Parting (Pixel Remaster, yes the link is named wrong)
Father! Hold on! You can't die! Sarisa... Forgive me... I wasn't... much of a father... Lenna... Sarisa... Please, stay together... Be strong for one another... Seymour Butz... Take care of them... as I cannot... Wait- Father! You can't- NO! Don't leave us!
But there's nothing for it. Honestly its surprising he was able to do what he did. So far Exdeath possessions have led to either critical wounds that leave you bed ridden or just vaporize after usefulness is over.

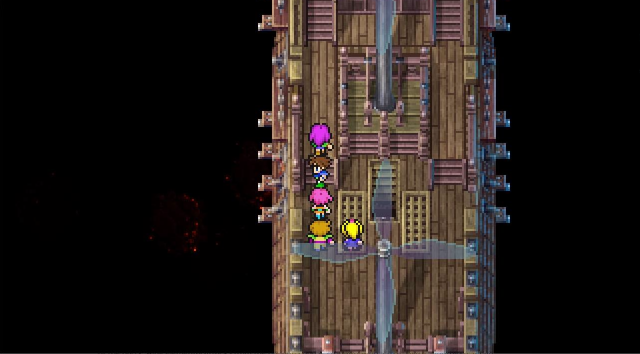
But we get jobs out of it, so we got that going for us.
Samurai
Dragoon
Dancer
Chemist
Run!
The Ruins are shaking again.
It's the ruins- they're falling! We've gotta get out of here! Everybody to the airship!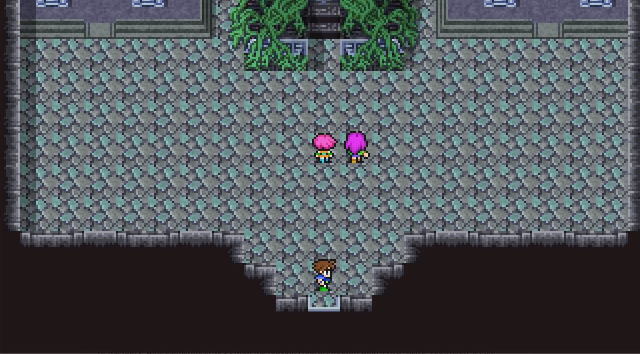
No worries about there being a Ronkan 1000 race or anything, we've got cut scene escape queued up.
Boom! Like happy festival fireworks!
The gangplank explodes as Lenna is the last on the deck.
Thankfully the Ancient Ronkans had some sort of safety mechanisms in place as the ruins seem to still be able to pull off a controlled coast rather than free fall into the planet.
Reminiscence
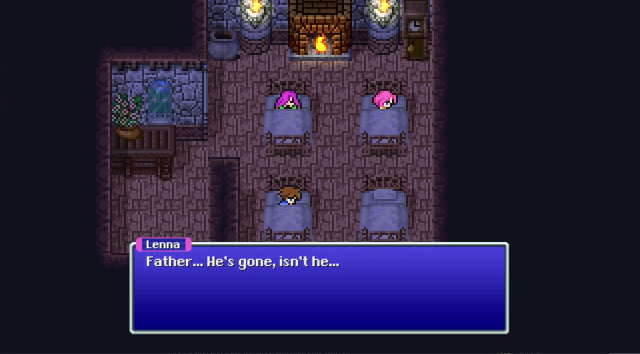
Lenna... Father... He's gone, isn't he... Galuf... Something wrong? Huh? What's going on? It's all come back to me. I remember... everything. Exdeath is an evil warlock from my world... Thirty years ago, he came here to destroy this world's crystals. I and three others- the Dawn Warriors- sealed him away with the power of the crystals.
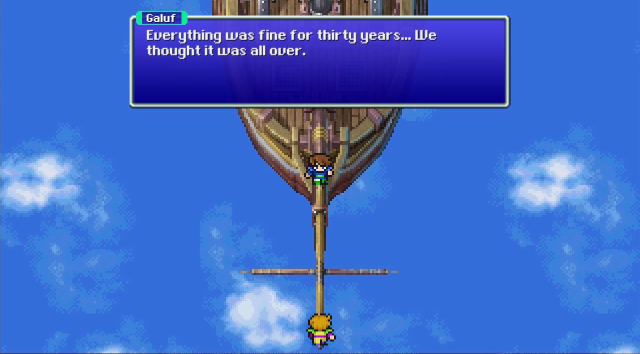 But something ominous was happening to the crystals. Once we figured it out, we took the meteors and came back here... But I was too late... Not only has Exdeath been set free, he has returned to our world... Is that because we used too much of the crystals' power? No... We were the ones who left Exdeath on this world in the first place. We should have dragged him back to our world when we had the chance...
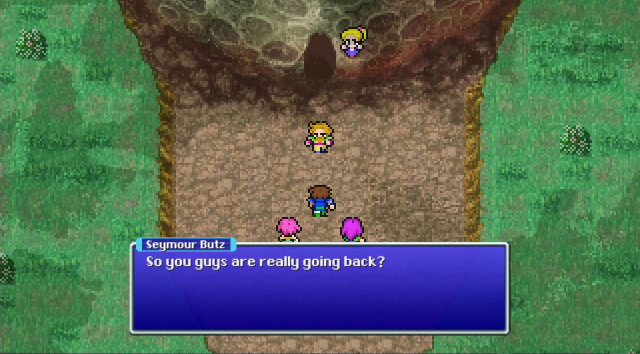 Yup. We've gotta seal Exdeath away again. Krile's meteorite should still have some juice left... Probably only enough for one more trip though. Seymour Butz, Lenna, Faris... Thank you so much for everything. I'll miss you guys. What kinda nonsense is that? We're going with you! I can't allow it. This is the last meteorite. If you went to our world, you'd never be able to come back here. Farewell! Goodbye!
But its too late. We return to the airship flying above the crash site. When we first attempt to land...
Four Hearts (Pixel Remaster)
 Yeah? So, we've been talking... You know how they're fighting Exdeath in that other world? Well, we've got to avenge Papa! Yes! What's more... Galuf... He's...
 Seymour Butz! We knew you'd get it! Let's go then- to the other world!
Just keep this conversation in mind for later. Seymour Butz is a big picture man, he lets others figure out the minor things like space travel.
The meteorites don't have enough power to warp us anywhere... Well, if it's meteorites we're talking about... Cid probably knows something!Nah, let's tell the Chancellor that Lenna is actively shirking duties now that the king's dead.
Royal Palace (Pixel Remaster)
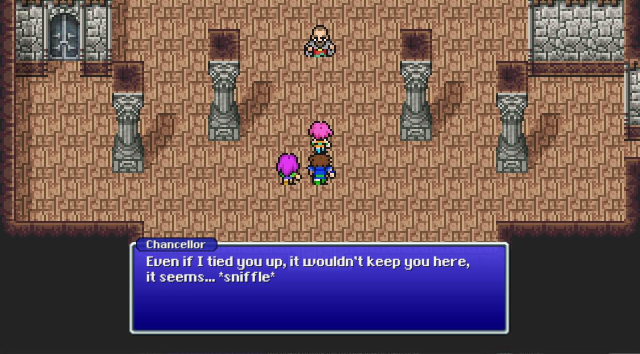 Oh, Chancellor... Don't be sad, it's for the sake of the world.
The Day Will Come (Pixel Remaster)
 Faris... Sarisa, do you remember Father? It must've been fifteen years...
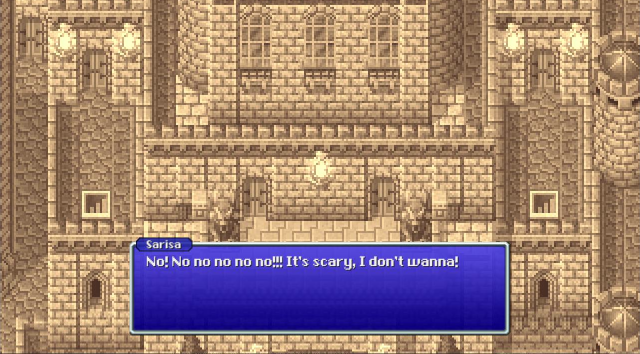
 No! No no no no no!!! It's scary, I don't wanna!
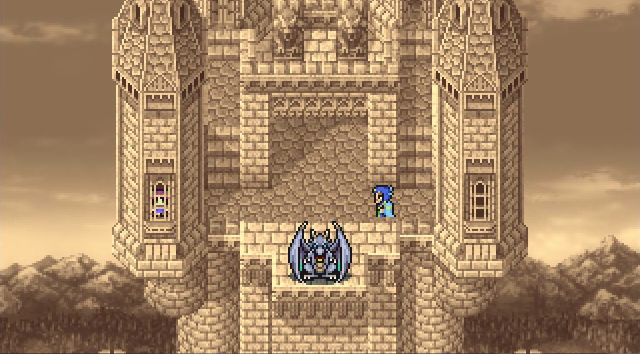 Sarisa! All that talk about flying on Hiryu, and now you don't want to? All right. Papa is going to find the best doctor in the world to help Mama. I'll be back as soon as I can. Be good while I'm gone.
 Wait! I wanna go too!
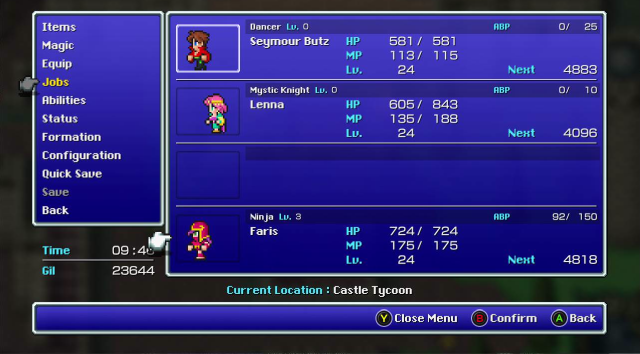
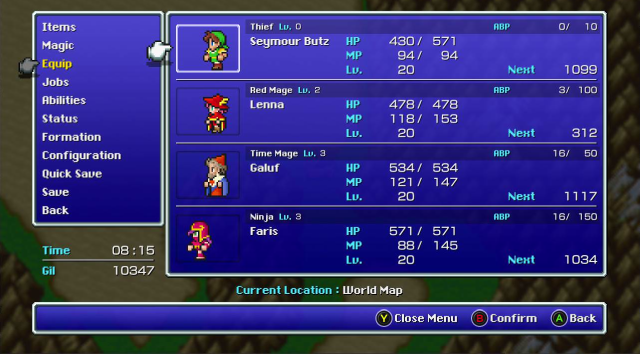
We're without Galuf right now and there are some fights without him. Right now the only person who is a deliberate choice for a job is Lenna, Mystic Knight has a job to do.
Musica Machina
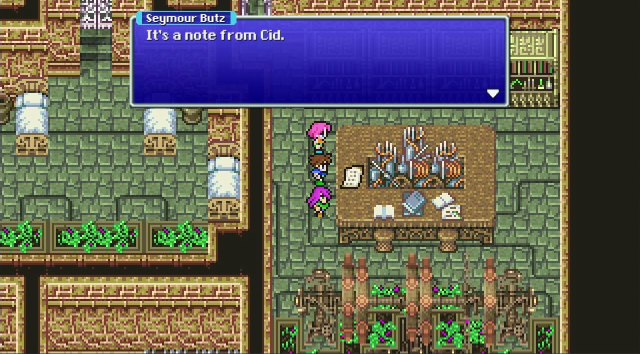
Previous releases allow you to skip this step, but in this version we have to see the note to progress the plot.
"The Adamantite leftover from the airship renovations is dangerous. Gone to put it back." I hope nothing has happened to them... If they went to return the adamantite, that means...Fate In Haze (Pixel Remaster)
 Seymour Butz, stay back! It's dangerous!
 A huge wave of power just started flowing from the adamantite! We just thought to put it back where it came from... Hold on!
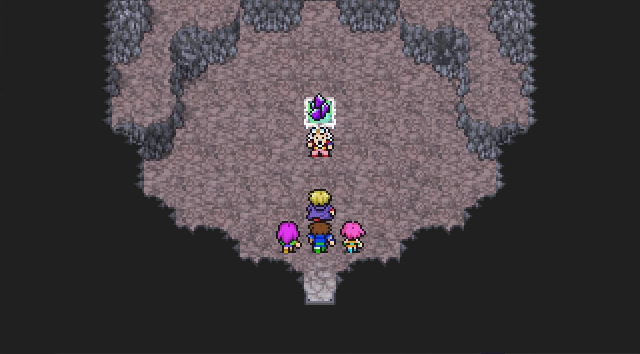
Hey Cid, it needs to go about 15 feet to your left.
Jumping jollyboats! The floor here is absorbing the energy from the adamantite! Say... do you think the meteorite could be recharging? If so, it might mean we can travel to Galuf's world! That's as good an idea as any.
Lenna explains to Cid what the meteorite's power does.
Hmm, so that's your plan! But this piece of adamantite seems too small... It doesn't have enough power to fully recharge the meteorite and get you to the other world. But if the energy from all four meteorites could be combined... ...It'd be enough to warp us to Galuf's world!Four Hearts (Pixel Remaster)
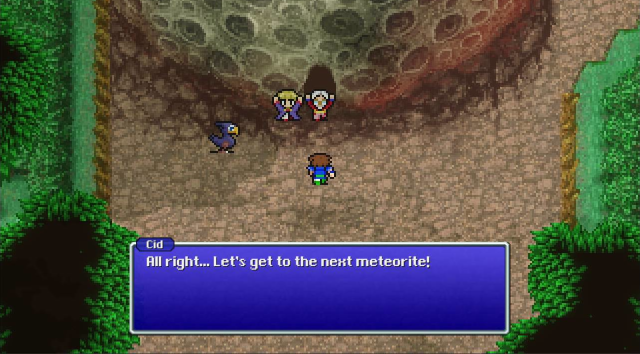
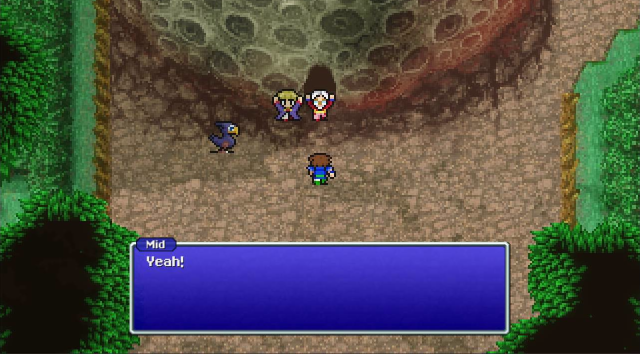
These lines are going to be repeated for the next 3 meteorites and not worth retranscribing or even copying and pasting.
You can do these in any order, but for some reason I usually do them counter clockwise.
Wait here! Leave it to us!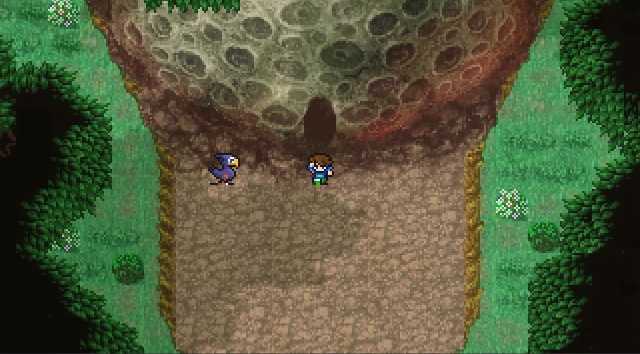 That's that! Okay, let's hurry!
The Fierce Battle (Pixel Remaster)
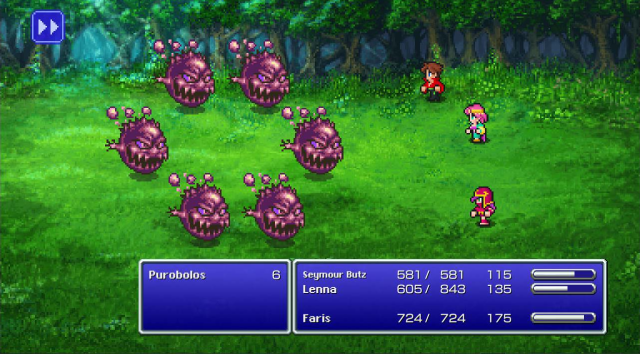
These jerks have an obnoxious name no matter what version you play. Apparently its Latin for Bomb, so these bombs went to college and therefore are more dangerous.
This single strike did almost 2/3 of their whole life. I could have let Lenna and Seymour kick back and relax and let Faris solo it on her next turn, but I let them live.

Because I wanted Mystic Knight to have a moment of fun. !SpellBlade requires a turn to charge the sword with whatever you're doing.
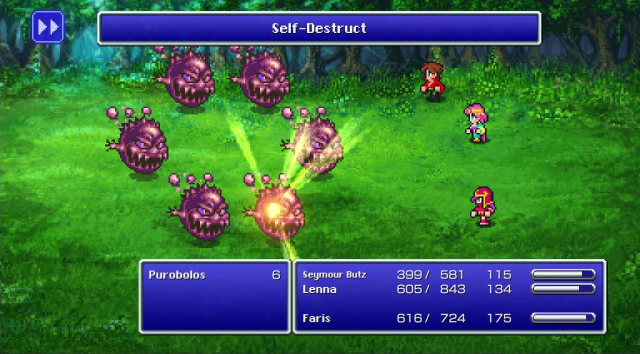
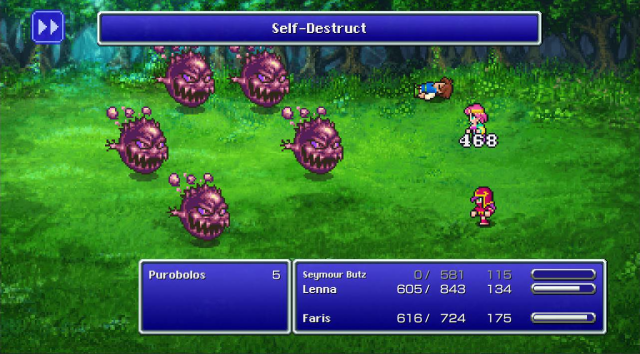
To balance the danger of 6 bombs that know Self-Destruct to be feasible for only having 3 characters the Puyopuyobros actually do nothing on their first 2 turns. To tip things in our favor further, most enemies have a combat script that has 3 possible actions per turn, these guys have 4, so Self-Destruct is even less likely.
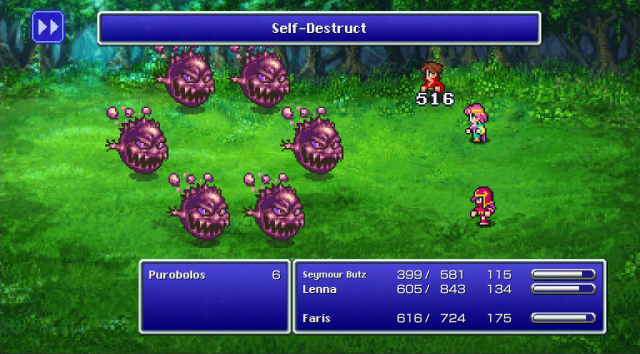
A fully healed Seymour would have survived this, but he took a couple potshots before this blew up.
If I were to bring a summoner here, !Summon magic has special counter that makes them cast cura. So !Black would be the preferred magic to take them down.
But be sure to spread out the damage.
Here's Silence triggering from !SpellBlade.

Here's why I said to spread out the damage, you don't want to kill them one by one...
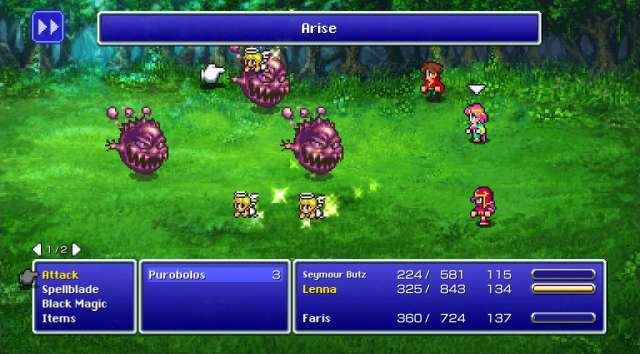
When they die they cast Arise on all dead Puyos.
Thankfully they don't have enough MP for too many castings, so you could still brute force this if you need to.
Four Hearts (Pixel Remaster)
Are you all right? That was awesome!Now before the next
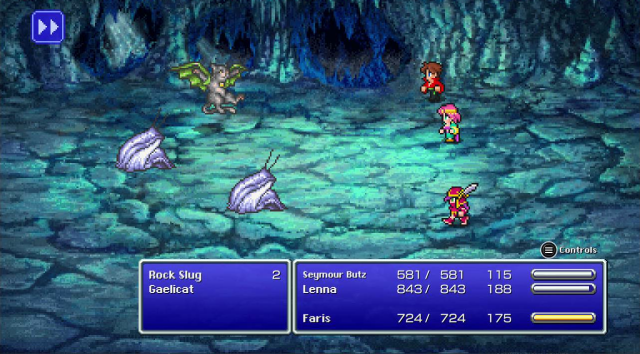
First step, kill everything that isn't a Gaelicat.
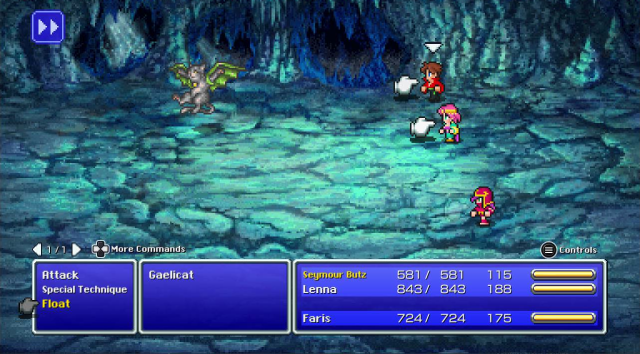
Second step, !Control or inflict Confuse on a Gaelicat. !Control is preferable since you can demand it multitarget Float.
 Yeah!
Yeah!
When I had my random tangent about tarnation several updates ago I forgot that Cid actually invokes the nails from the Crucifixion here.
Yeow, that was scary!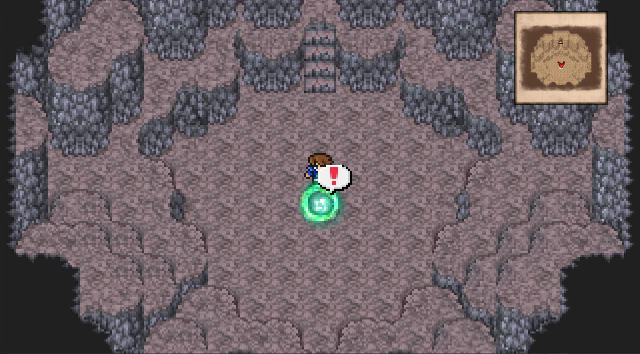
This meteorite kindly waits for you to poke it with a stick before triggering a fight.
The screen shakes its Butz around before the fight begins.
The Fierce Battle (Pixel Remaster)
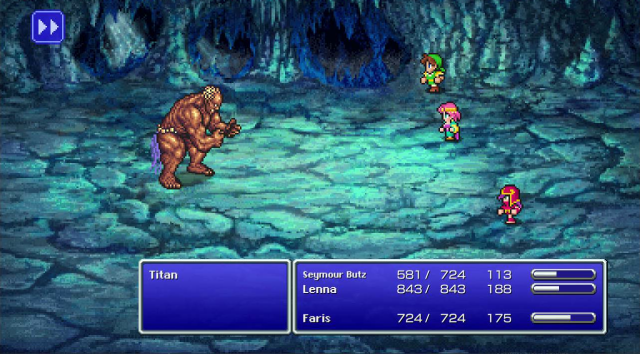
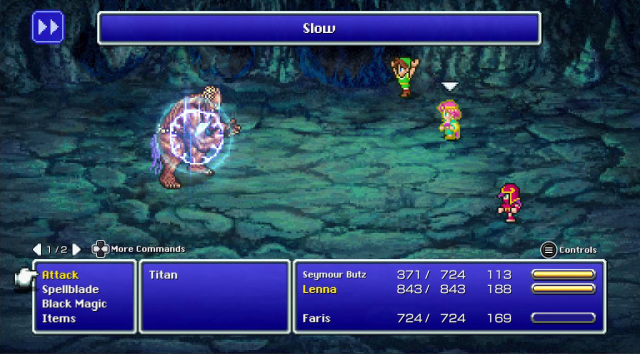
Titan here hits hard.
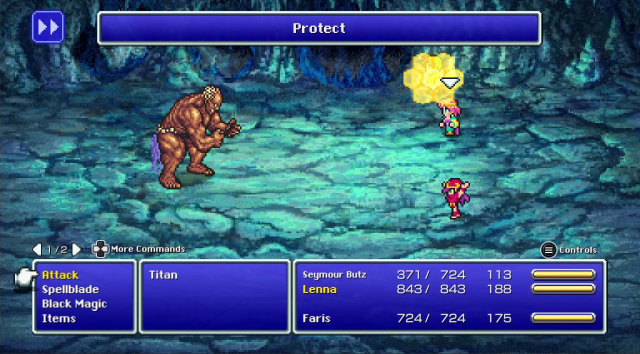
Protect is useful in minimizing that damage. There's one other thing that I was going to mention about this fight because with all the trash luck I had getting a Lamia Tiara I assumed that it would be necessary.
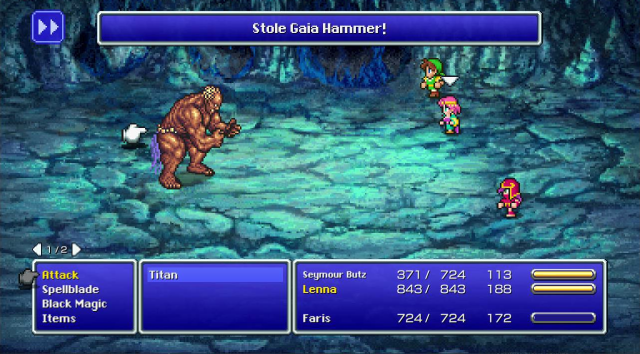
Except... I don't need to mention it, I can show it. For the first time ever I got his stupid rare steal.
Just because I can, and because Seymour's job is already over I'm rubbing it in.
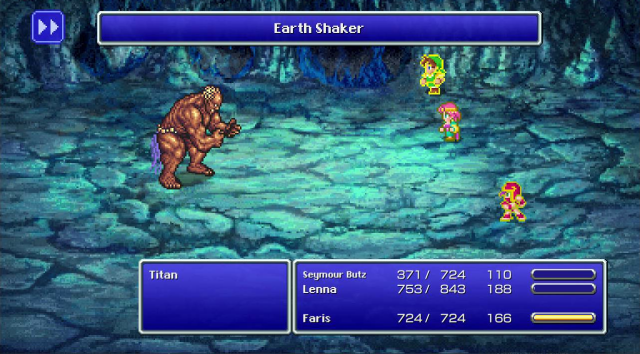
Titan will always use Earth Shaker as a death counter. He might just throw it out during normal combat as well. Float negates the damage.
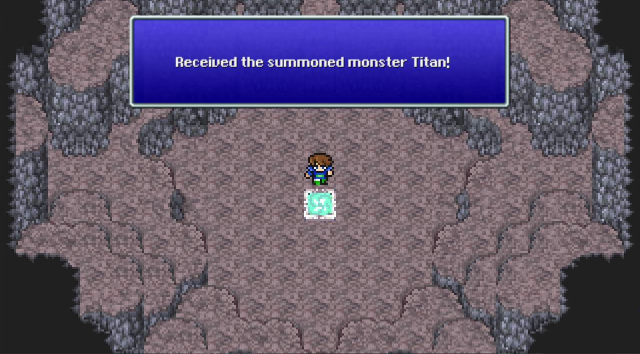
The second and last mandatory summon.
Four Hearts (Pixel Remaster)
Much obliged. Now, you can leave the rest to us!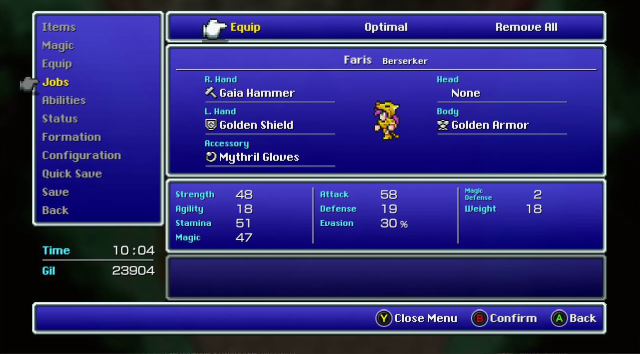
My original plan was not to use Berserkers much, but the game just gave me endgame equipment. I can't ignore that sign. Faris keeps !White4 since Gaia Hammer has a chance of casting Quake so the magic stat only makes that more terrifying.
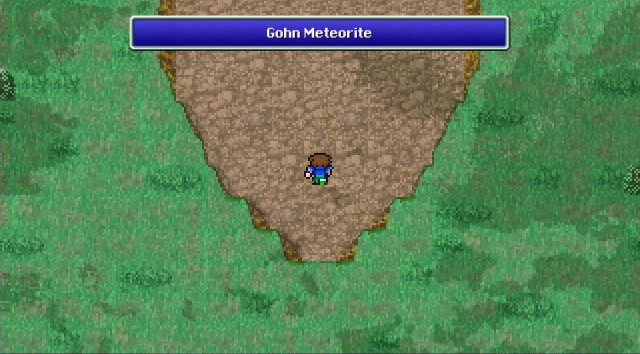
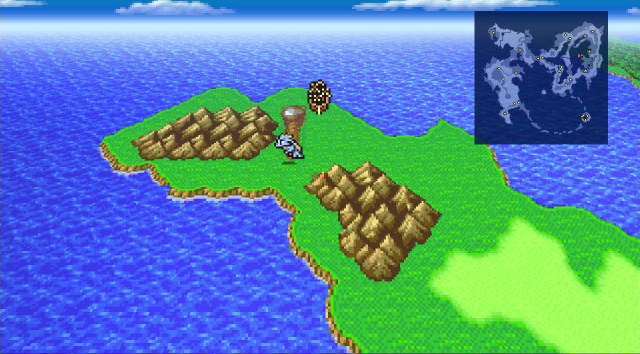
Last one. Still no clue why they didn't call the Town of Ruin Gohn or Gorn since they call the meteorite that.
Wait right here! Be right back!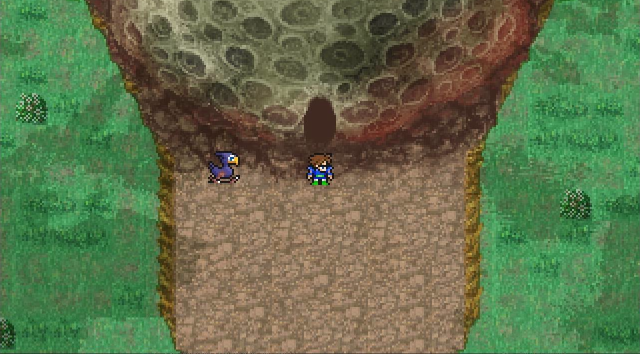
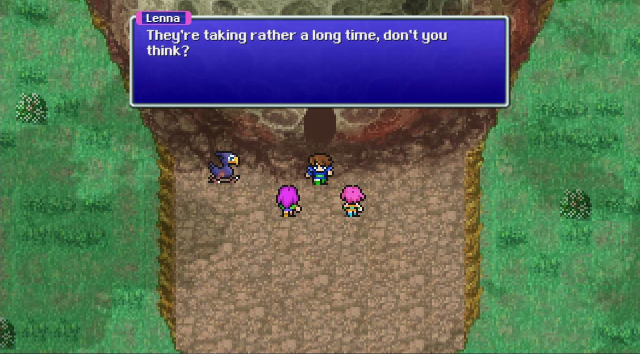 We'd better check on them.
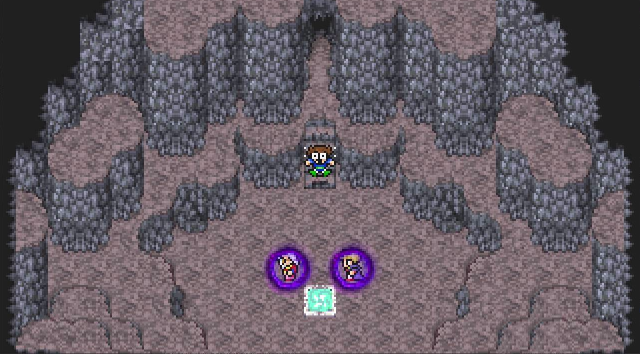
This time we don't get the courtesy of choosing to engage the boss, as soon as we step on these stairs it begins.
Yeow! Help us!The Fierce Battle (Pixel Remaster)
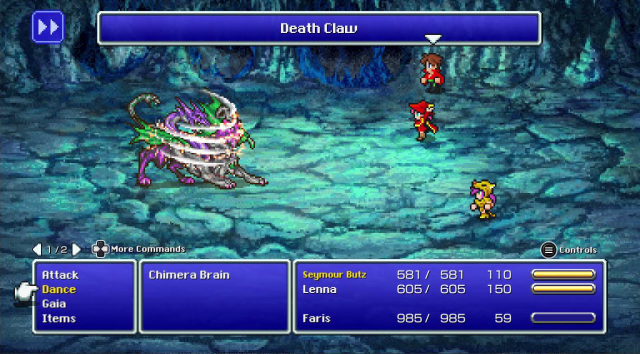
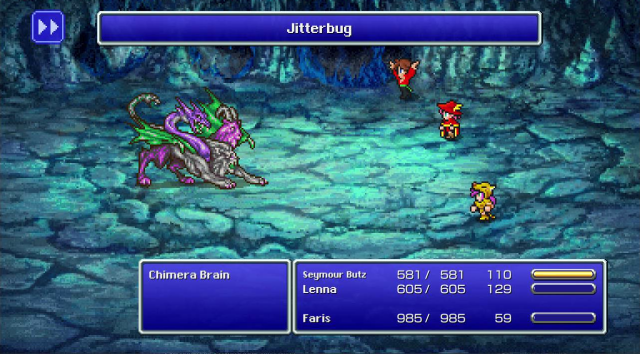
Chimera Brain is probably the worst of the three bosses. It casts Aqua Rake or Frost, another 1/4 max HP attack.
But it isn't heavy and I don't feel like letting him touch me.
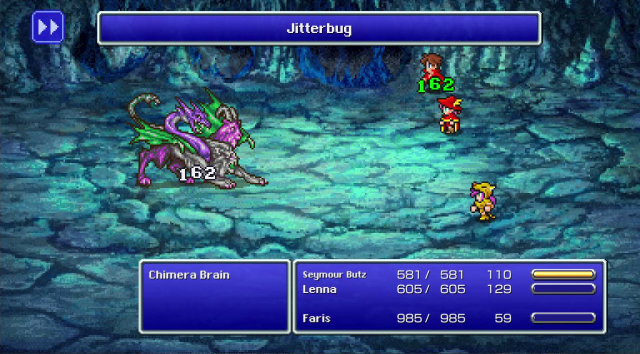
No kill like overkill.
Cid and Mid are removed from the evil purple energy but continue to spin until Seymour stops them.
Four Hearts (Pixel Remaster)
Are you all right? We are now! That was close! That's all four meteorites! Now, take a look at this map...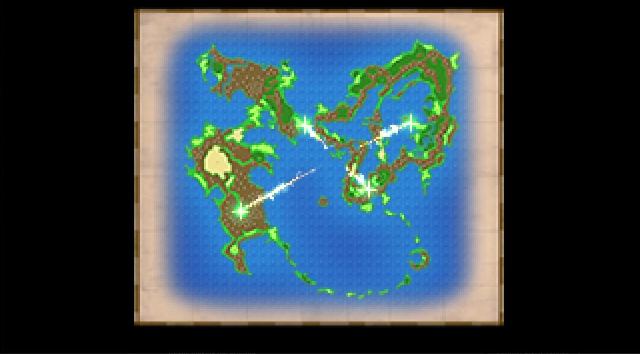
X marks the spot.
See where the energies from all four meteorites intersect? That's the warp point. Now, get over there! Be careful!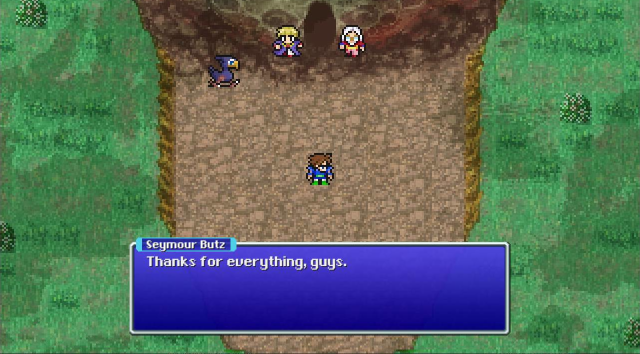 We're reaching the point of no return, so if you're attempting to complete achievements make sure you take care of the following things:
There are some areas that are optional to go to, make sure you get these locations on the map:
Walse Town (and its single hidden item)
Istory Village (and its song and toad spell)
Jachol (and its Piano)
Lix (and its song)
Make sure to clean out Walse Castle Basement and Tycoon Castle.
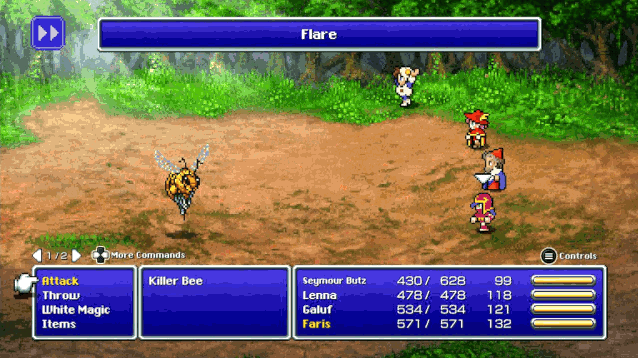
Complete the bestiary of the over world. These are the enemies I didn't explicitly point out but need to be poked for completion sake.
Tule area:
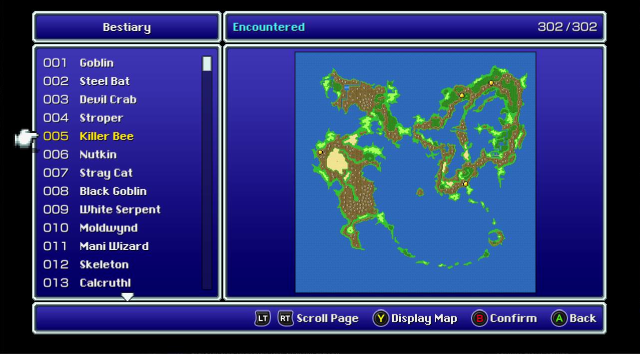
Goblin (in case 1 HP Goblin doesn't count)
Killer Bee
Nutkin (if not fought in Jachol Cave)
Stray Cat
Torna Canal region:
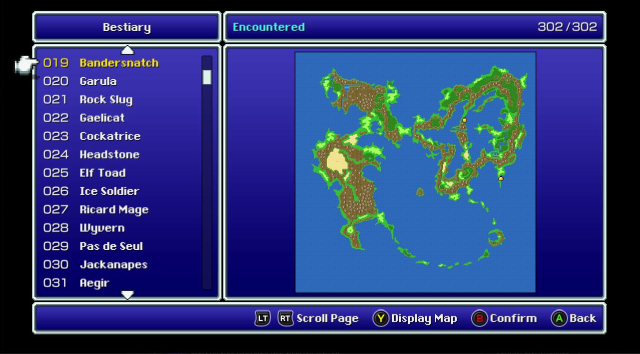
Bandersnatch
This is also the last chance to visit the Ship Graveyard.
Now before we wrap up I did one more lap for trying to get new text. Only Karnak seemed to have updated.
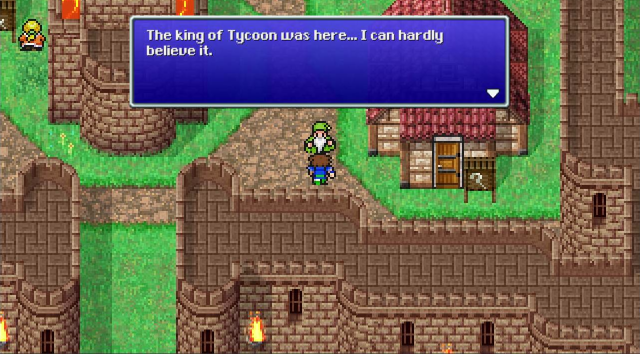
 Come to think of it, he was asking a whole bunch of question about you four. Real persistent about it too.
 I saw King Tycoon with my own eyes! He was going on and on about the Desert of Shifting Sands.
I heard some guy got kicked out of the inn because he wouldn't pay. Said he was a king and entitled not to! What a nutball!
Next time: A whole new world.