Part 25: dRift Compbatible
Part 25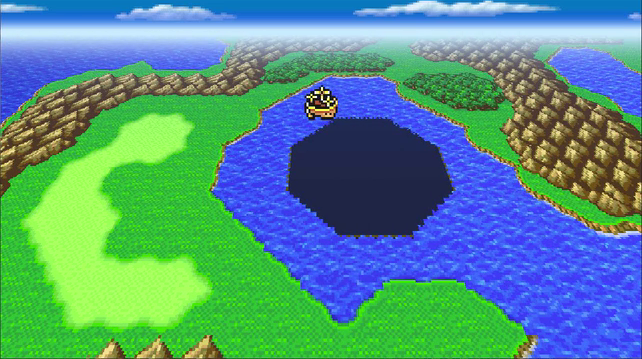
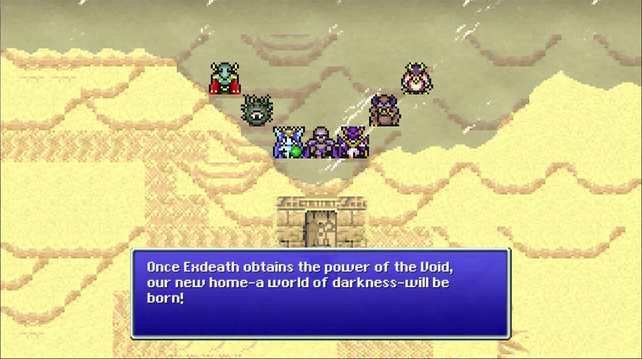
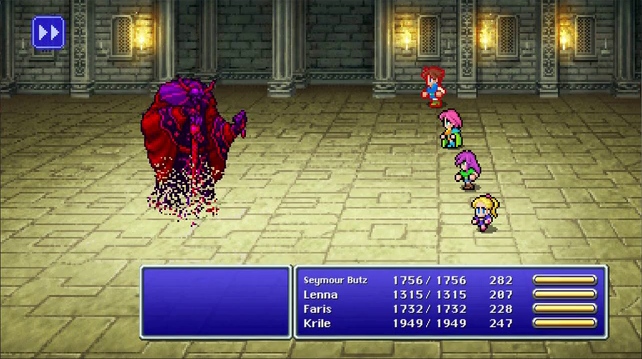
Enough stalling, let's end this.
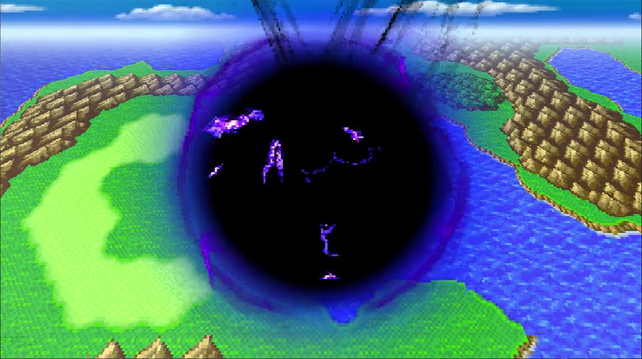
Flying over Tycoon's crater causes the Void to burst back out.
 What's that!?
 The Rift!
 Can't fight it- we're being sucked in!
 Good, we get a free ride! Here we go!
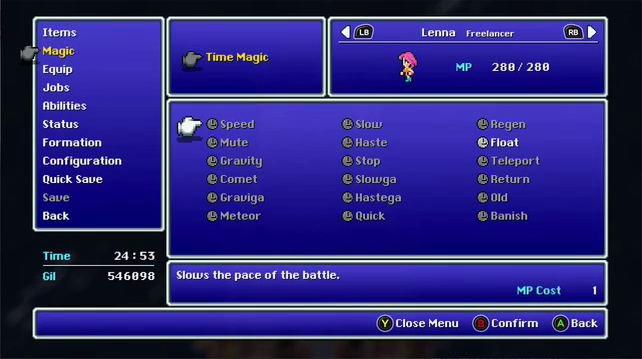
First thing we are welcomed with is that Teleport is disabled. I guess we're in this til the end.
Prelude to the Void
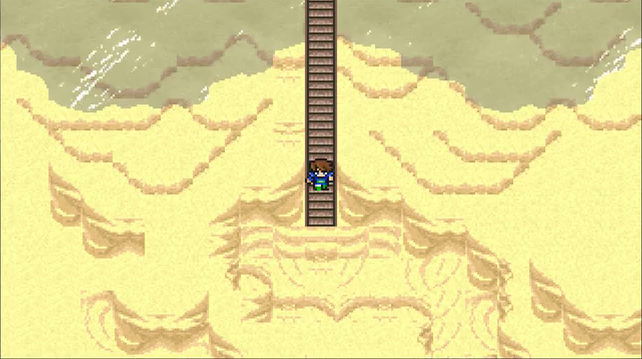
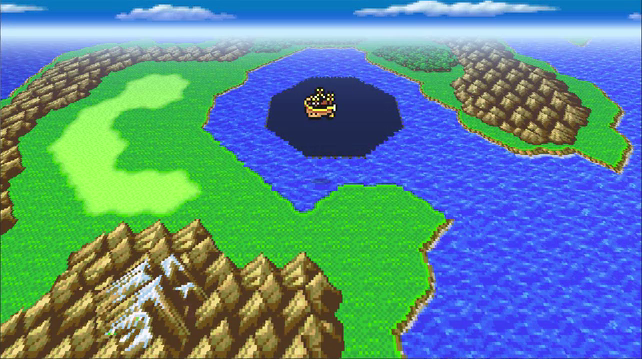
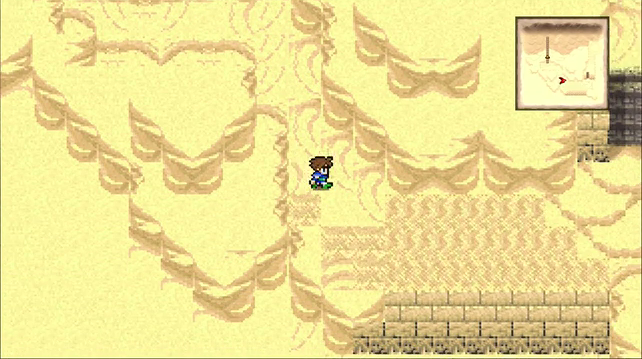
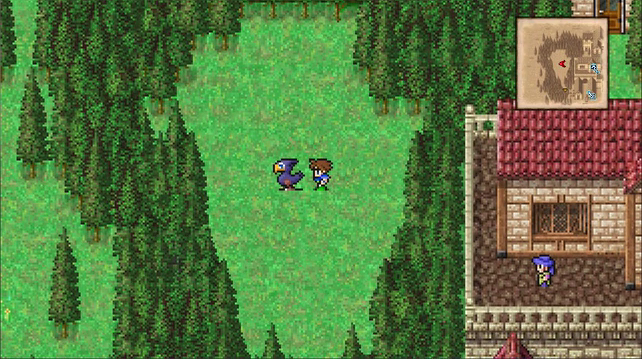
Once we walk off the airship we arrive in a desert.
Teleport is now available, so I guess we're safe.
We can also come back to the airship and take the helm back out.
But that's just for demonstration. We're diving right back in.
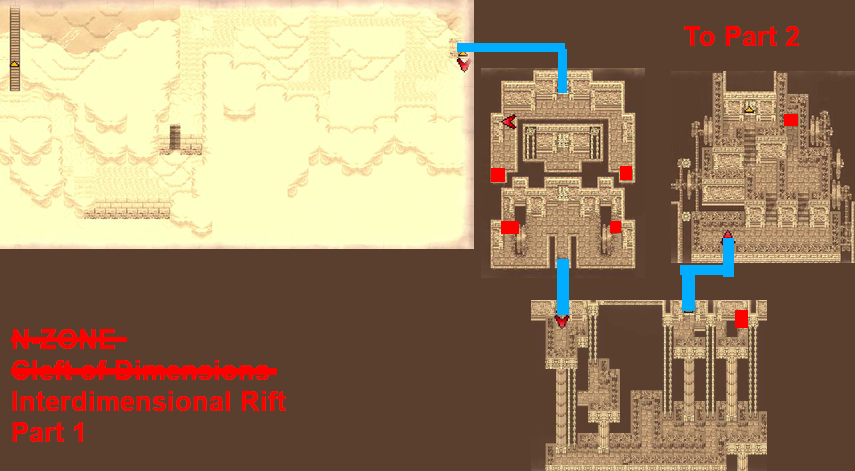
As you'd expect from the final dungeon, this will be the longest, toughest slog in the game.
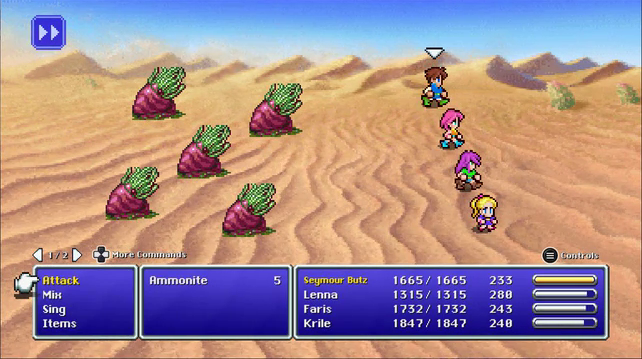
Most of the desert has enemies that were available between North Mountain and Phoenix Tower.
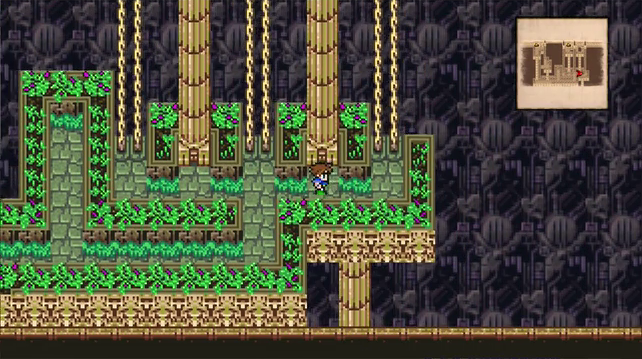
We've got the Desert of Shifting Sands conveyor belts.
There was one other fight that I didn't get into while going through. The missing enemy is a LandCrawler, a bigger stronger SandCrawler. They're vulnerable to Death so that's the preferred method to deal with them.
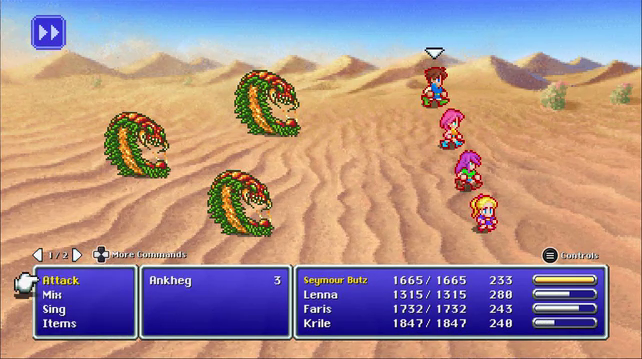
Ankhegs can use Earth Shaker, which means pretty big earth damage if left alone.
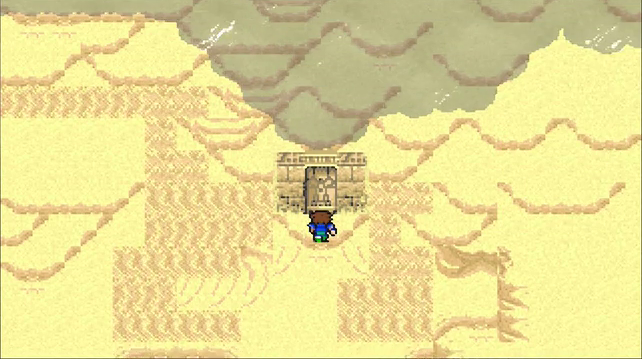
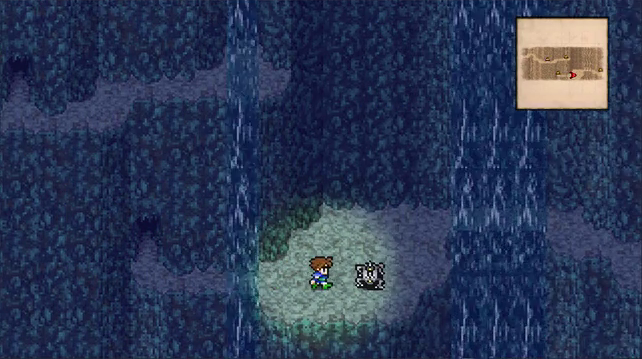
At the end of the currents we find a door.
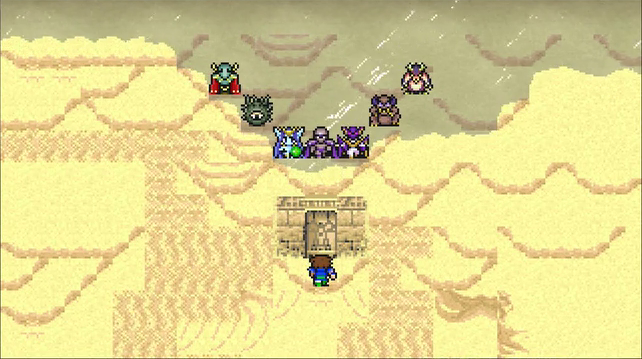
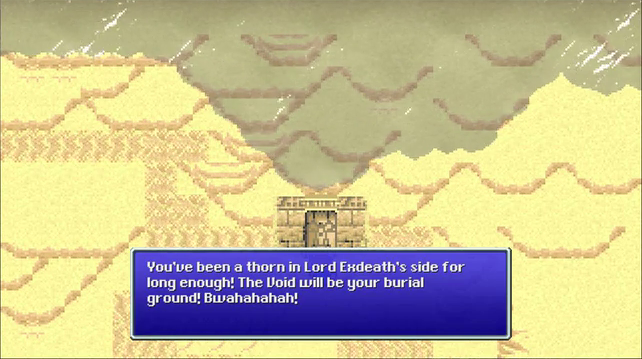
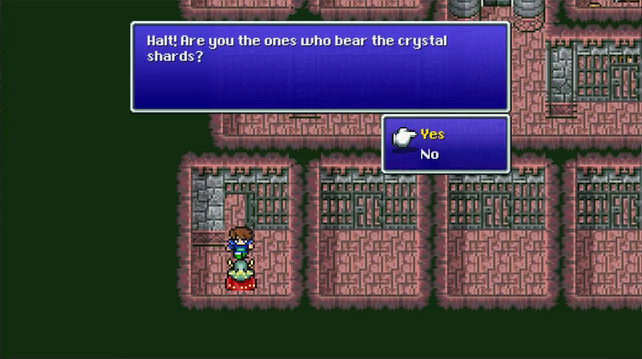
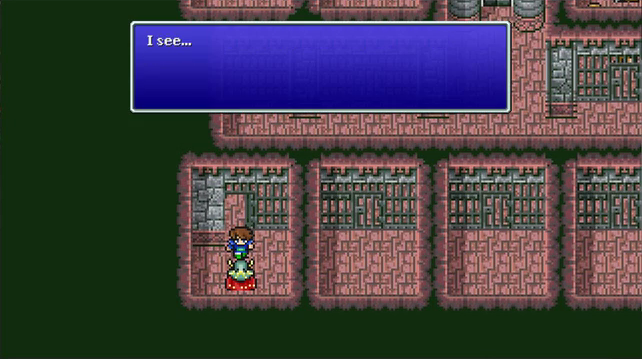
Seymour meets the mini-bosses that were hanging back when Stoker, the Pigs and ???? volunteered to try and stop us from getting the tablets.
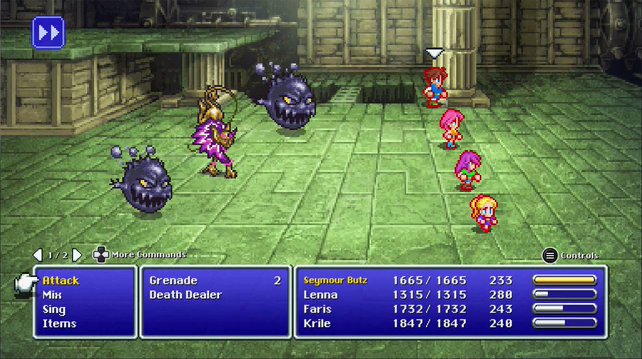
Death Dealers can use Roulette, thankfully when they show up its in pretty big enemy parties so odds are about 50/50 if they hit their own allies. Grenades counter !Summon with self destruct, and have enough health that they can probably kill someone with it.
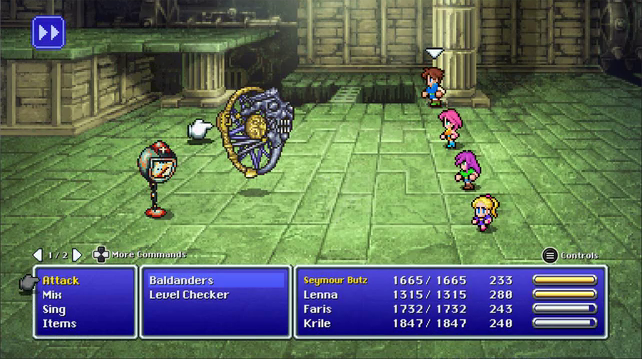
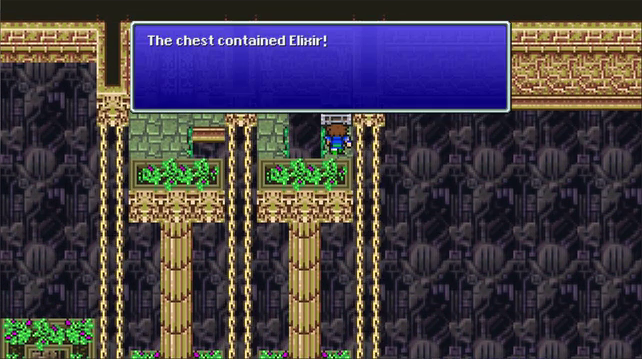
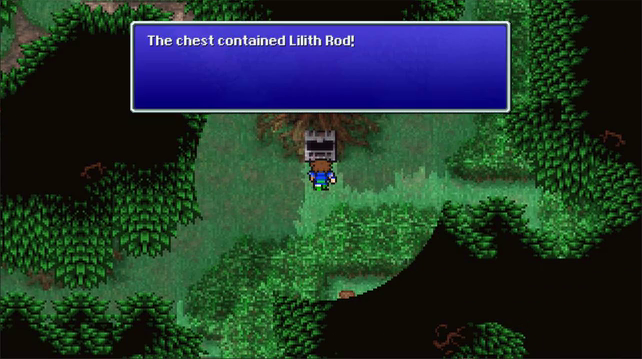
Level Checkers are the only enemies I actively fight here, as they have Elixirs as a common drop, and the best bell as a rare one. I didn't get either while passing through.
And when I say best bell I mean it. It's basically a magus rod for the geomancer.
The first set of chains leads to progress, the third chain to treasure.
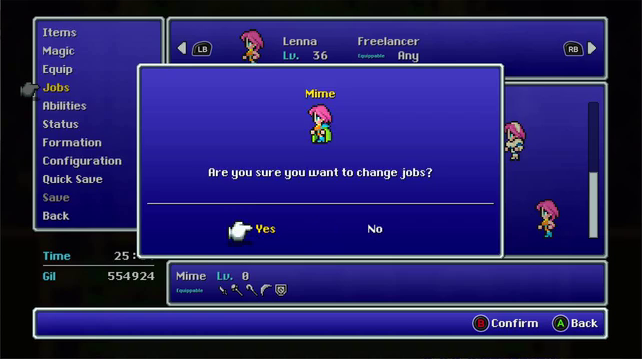
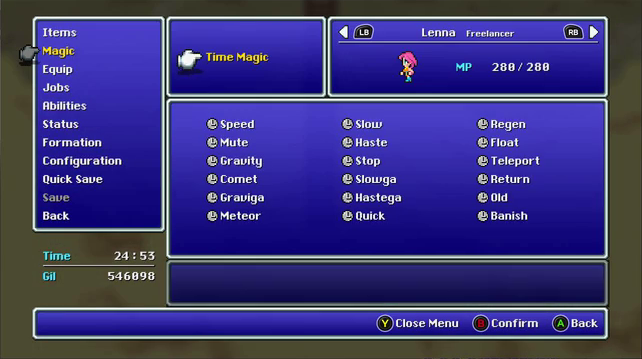
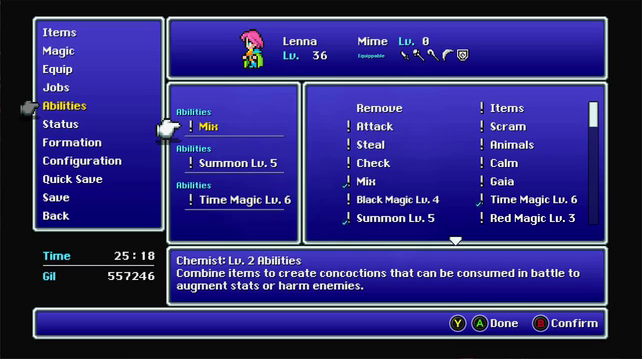
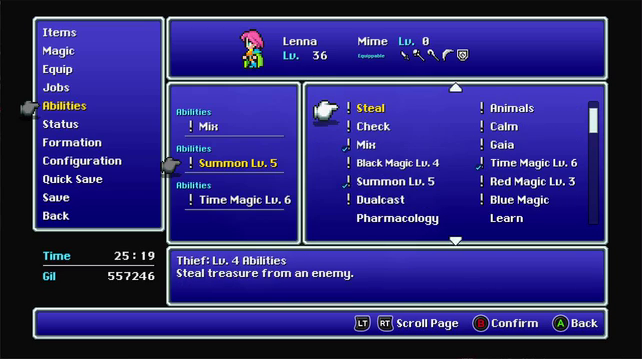
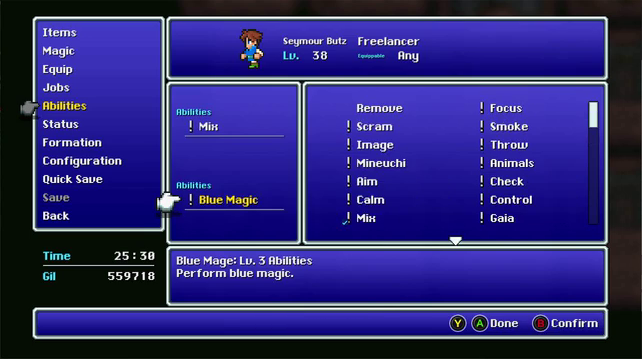
Finally I remember I want to use Mime. Mime has a limited equipment list. Imagine a Blue Mage, so it really isn't that limited.
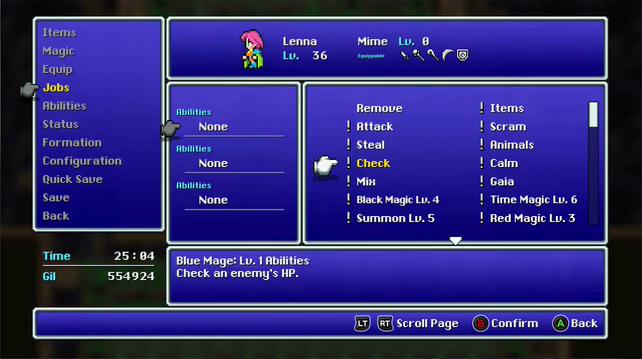
What you get for accepting that equipment list. Three Ability Slots
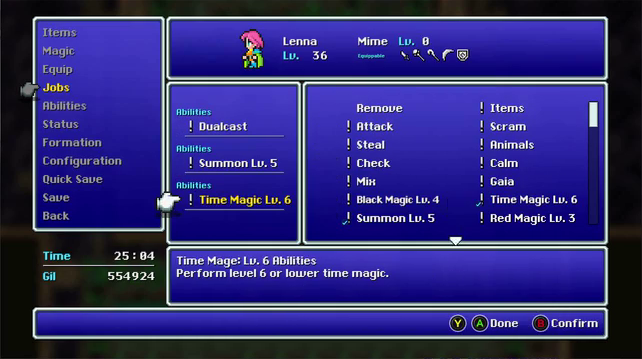
!Mime is up there too but who cares. Look at what Lenna can do. Syldra-Quick-Syldra-Syldra-Syldra-Syldra Is the "I don't want to think but I want this thing I'm looking at dead."
But still, the only thing she's lacking is the ability to equip a Ribbon. Mimes can equip knives so they can utilize the chicken knife if you wanted to.
We've reached the end of the Ronkan Ruins portion of our tour.
We end up back in Mirage, leaving that door that went to the blue dimension.
Despite them saying that the black chocobo wandered into town after they returned to the world the Black Chocobo is here frozen in time.
All the villagers are locked in place too.
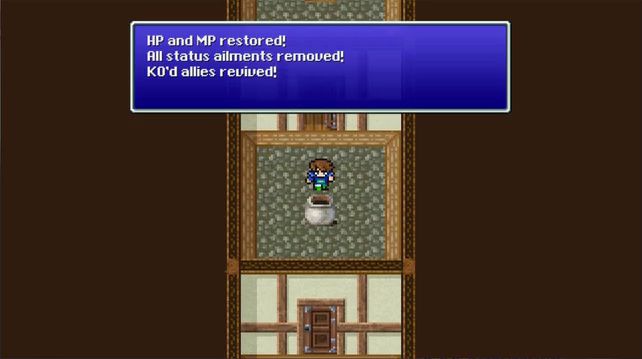
But this explains why there was a pot of healing gravy in town, its so we have an early dungeon pitstop.
The town itself is just here for narrative purposes showing how the Rift is full of different things, and how even though Mirage was released, something of it still remains trapped.
Since Mirage was hidden in a forest, walking out of town leads us to a forest path.
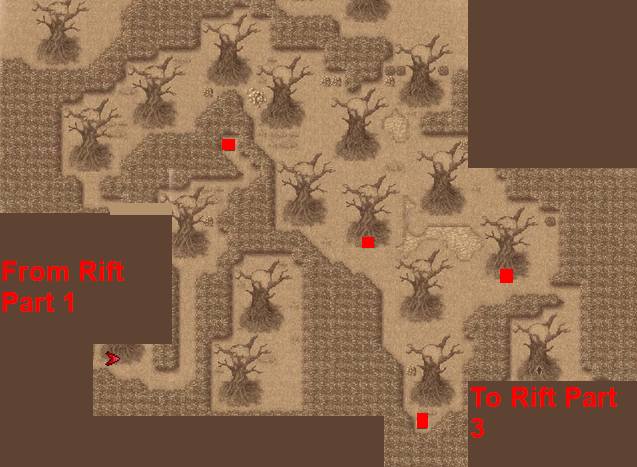
I could have probably combined this and the next map together but shrug.
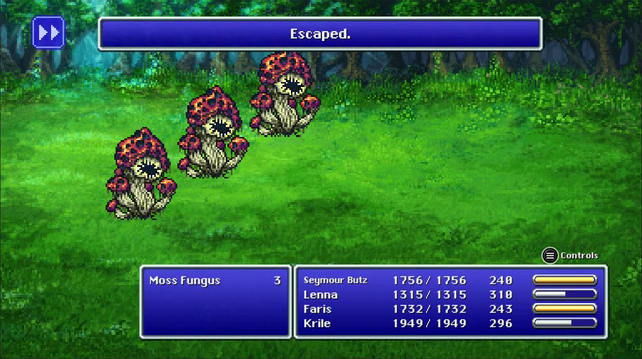
Moss Fungus are surprisingly durable and incredibly strong.
Here's the rest of the woods tileset enemies.
Like Moore Forest the narrow field of vision when walking around makes finding treasures annoying if you don't already have prior knowledge of their locations... or don't look at the mini map and plot out your course beforehand.
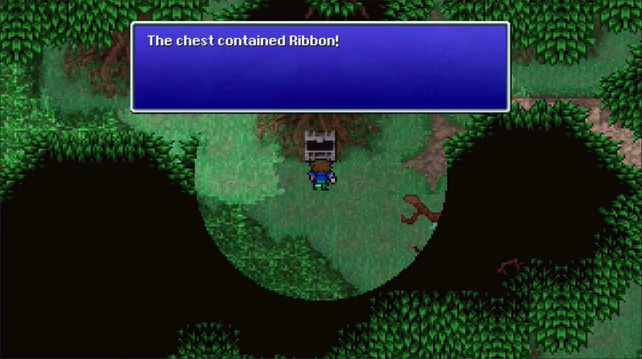
Our fourth and final Ribbon. Sadly we won't be needing it since Lenna as Mime can't equip it without sacrificing an ability slot. And also grinding hundreds of ABP to master Dancer.
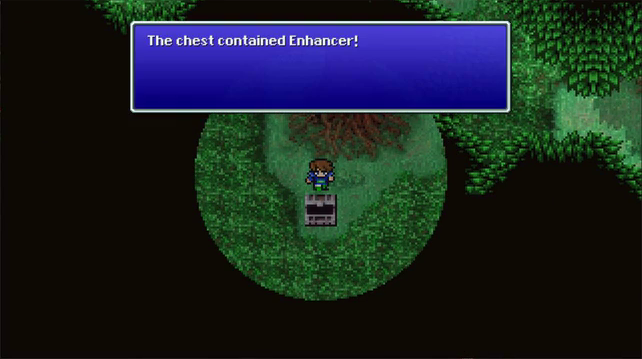
A second Enhancer if you want to cast magic but can't equip rods to boost it.
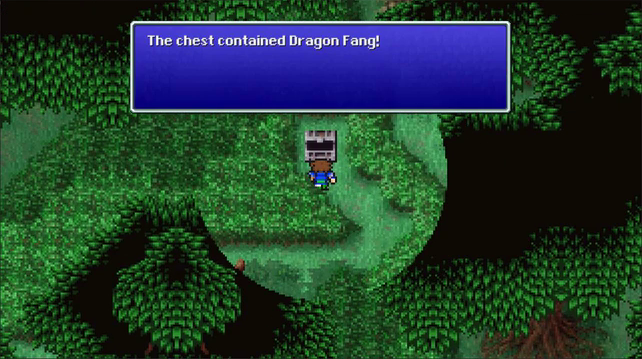
This exists and might be the only treasure you would come across blind since its right on the way to the exit. Everything else is just off the path enough to be obscured by the canopy layer.
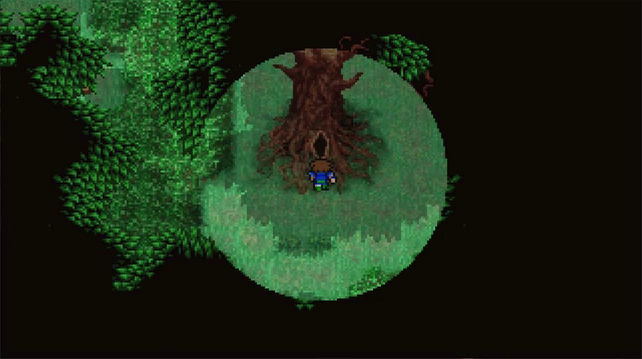
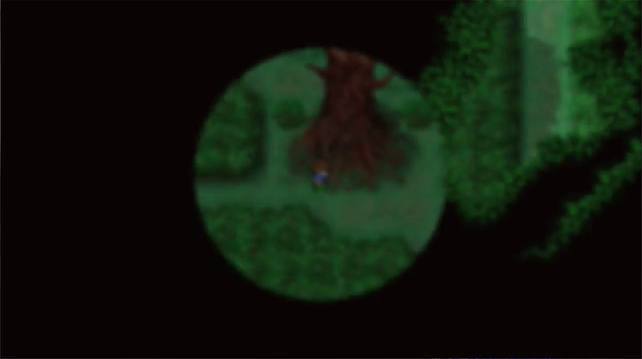
End of the road, we have to interact with the tree to progress.
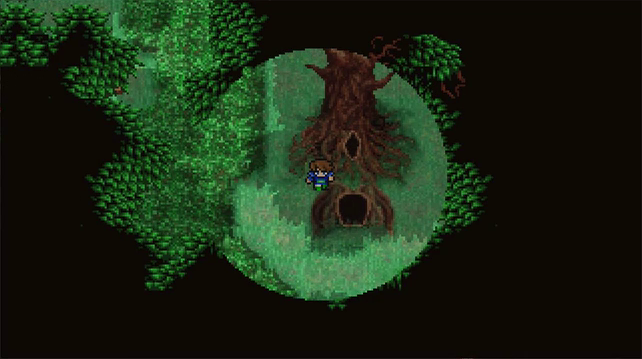
Hey remember that NPC in Moore that mentioned talking to the pixies in trees and how we never actually saw them?
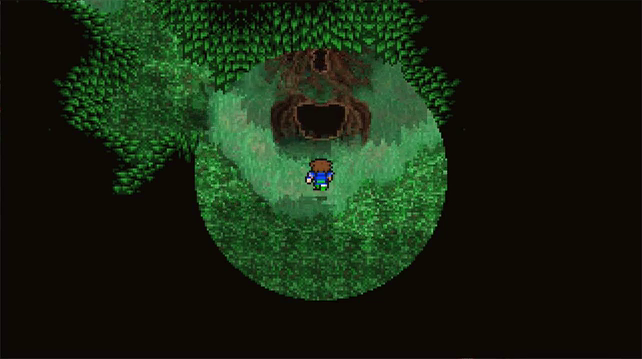
Man I really dislike the animation they put on these holes. Whoever did the sprites to animate it or the transformation effects to make it did good work but maaaaan it looks so unsettling.
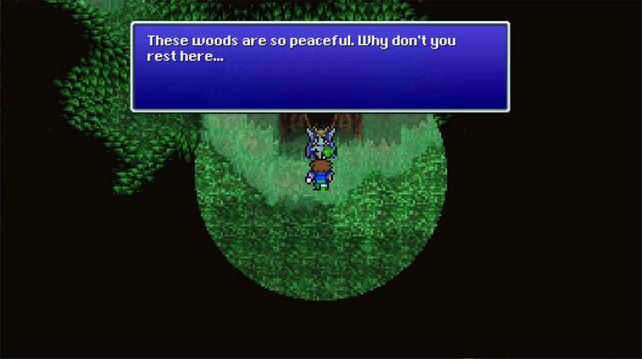
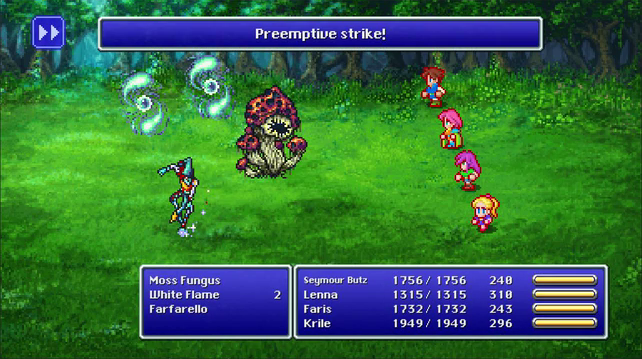
Have you seen the mushrooms? Or have you just eaten one too many because this isn't peaceful at all.
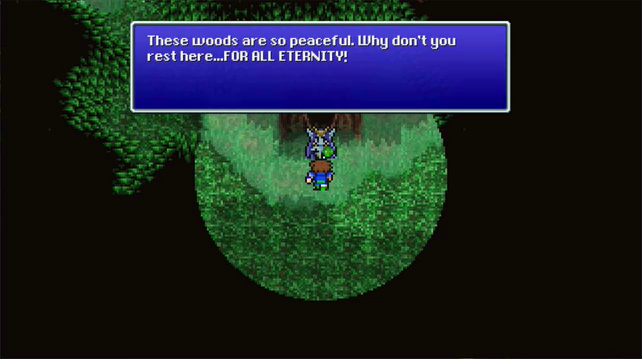
Oh a threat. I get threats.
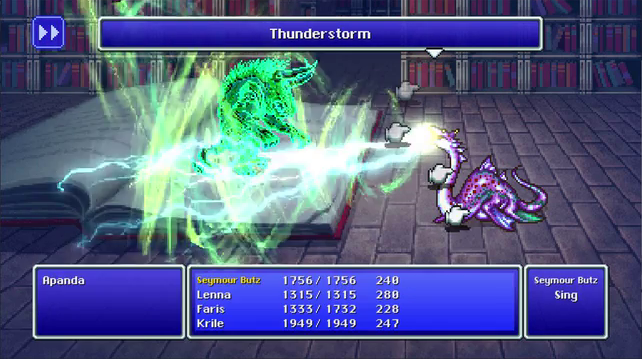
The Fierce Battle (Pixel Remaster)
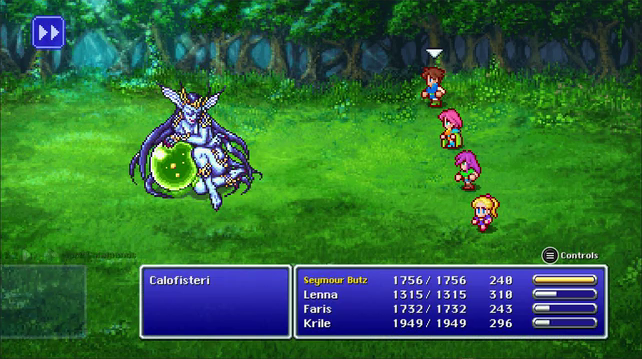
Calista Flockhart has an orb.
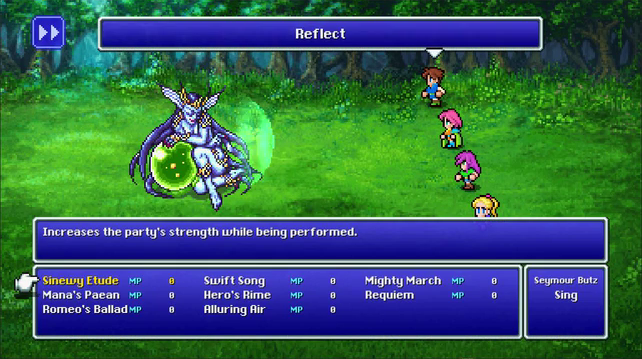
She casts reflect and starts bouncing spells around if you let her get going.
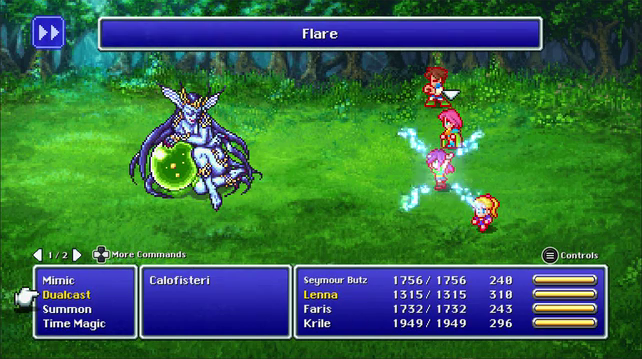
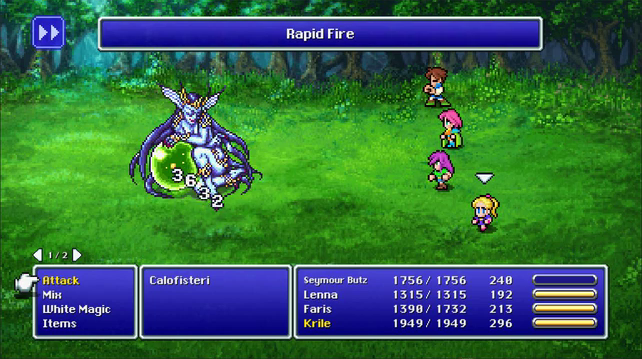
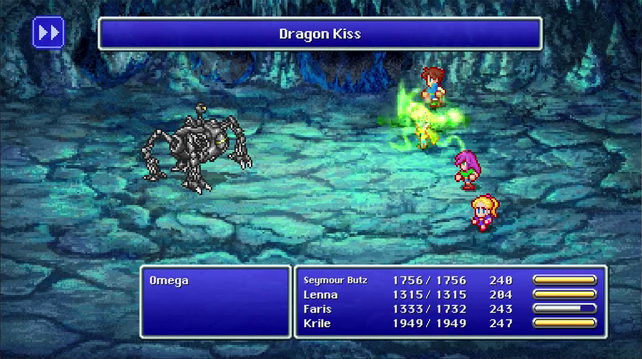
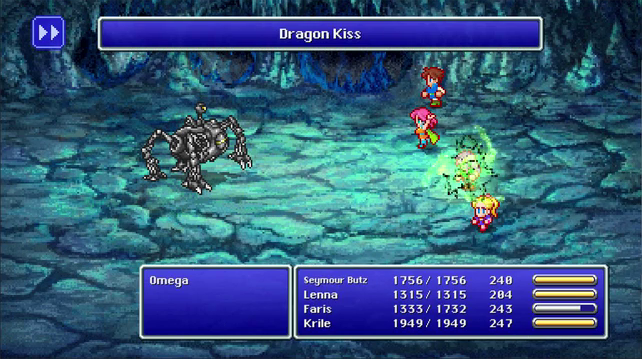
As usual Faris charges Flare Blade.

Lenna starts blastin.

I guess in hindsight I should have switched to !Black for boss fights, but Lenna only has !Black4 so she doesn't have access to the -aga spells.

But anyway, Quick gives the caster (it can't be targeted anywhere else) 2 turns, so
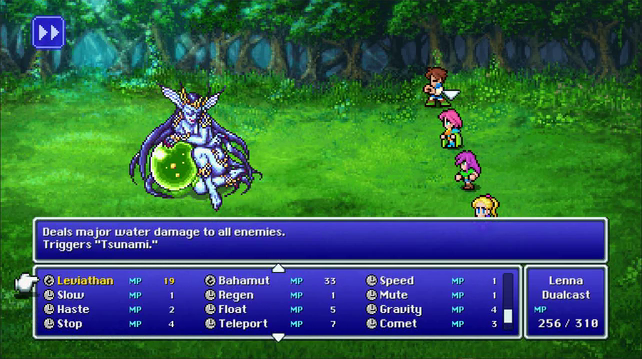
I'm not casting Leviathan, I'm just showing how !DualCast just throws all the magic you've got in one big pile. So !White3, !Black3, !Summon5 and !Time6 are here right now.

So all told about 15,000 HP were just wiped in a single turn.
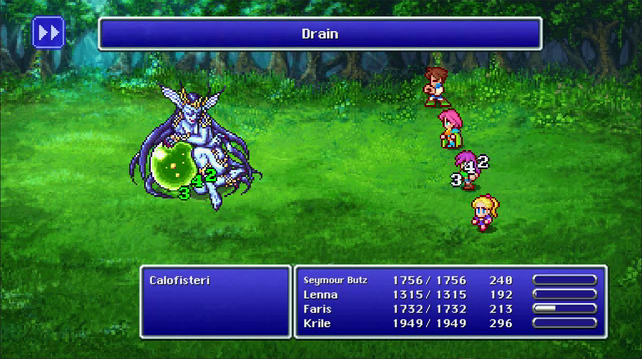
She can counter with Drain which since it pierces reflect makes that work perfectly since she usually lobs reflect around.

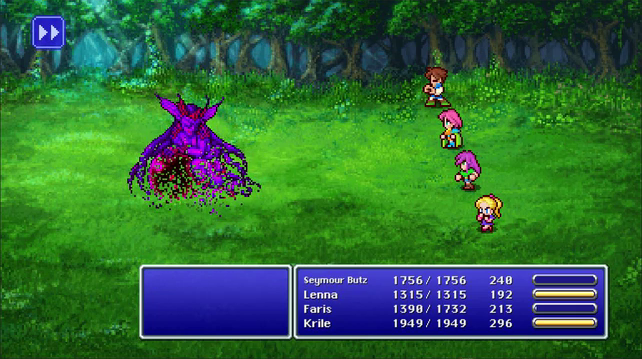
Faris lops off almost 30,000 HP.
I want to point out that I'm not really overleveled or anything. Excluding Lenna everyone else has mastered at least one class that gets huge Melee stamina everyone else has basically the bare minimum HP we'd require to beat the game. !Mix technically means we could have finished the game at about 850HP and Mystic Knight means we don't even need to care about it at all but for casual consideration I didn't grind.
To People Who Have Played The Game Before: I am going to actually not utterly cheese the next boss using this strat.
Prelude to the Void
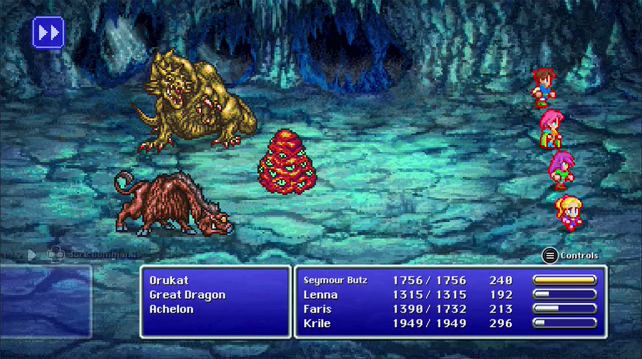
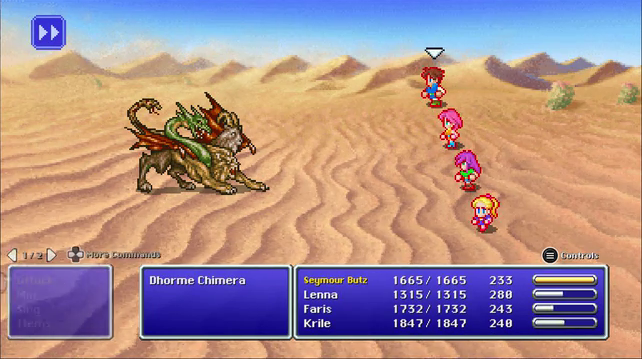
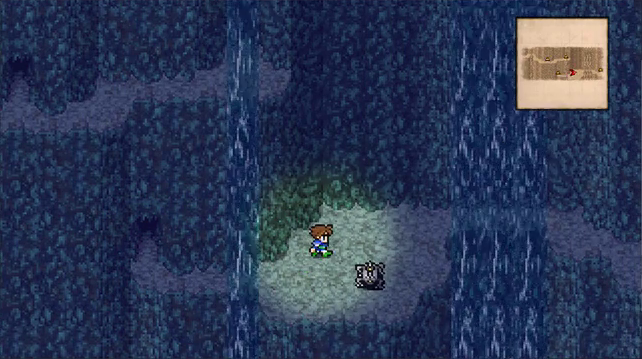
Following the Forest are the caves. If you didn't pick Golem up before he and the Dragons who hate him pop up here. Strange since you can just go to Drakenvale yourself if you wanted to.
Dragons hit as hard as you'd expect Grand Dragons to do. Orukat (the eye jelly) and Achelon (the Catoblepas recolor) can petrify.
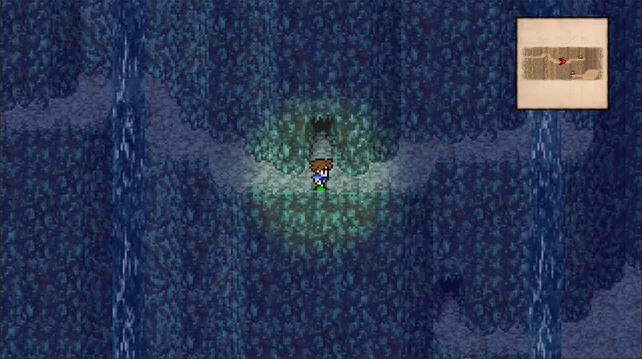
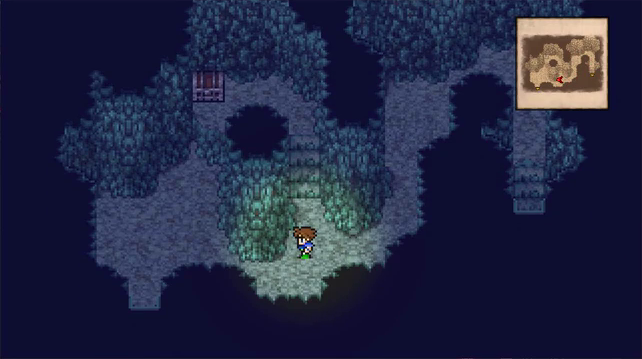
Again the mini map betrays secrets, but then again playing enough games might cause you to check it out anyway...
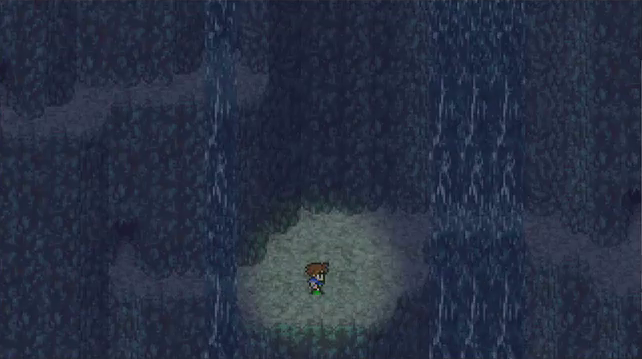
That waterfall at the end of the path has a room behind it.
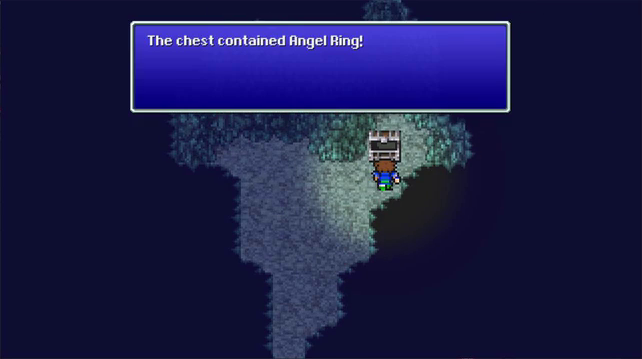
The Angel Ring sadly has long outlived its usefulness. I guess Zombie immunity would be nice but it's just nicer that 3 people can get their turns faster to cure it and fully heal the victim.
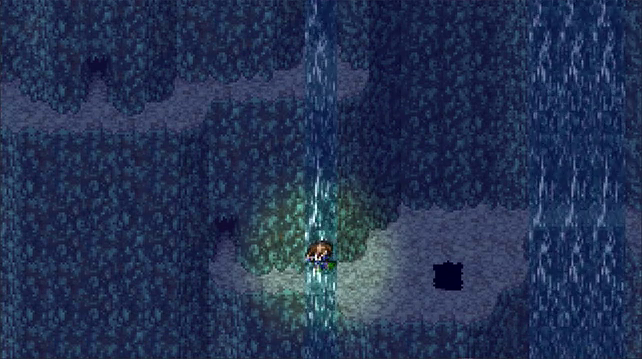
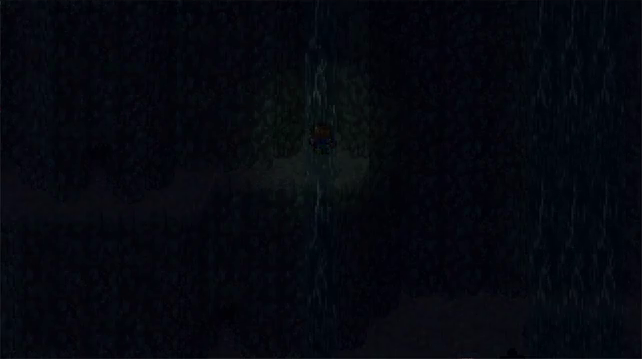
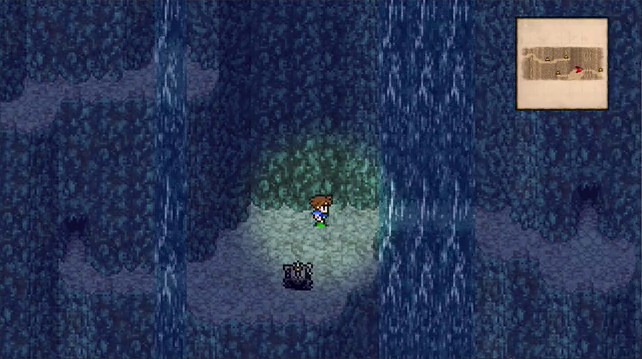
The waterfall can also be used as a shortcut to bypass the normal path down. Doing this is a Very Bad Idea.
First because it will deprive you of treasure.
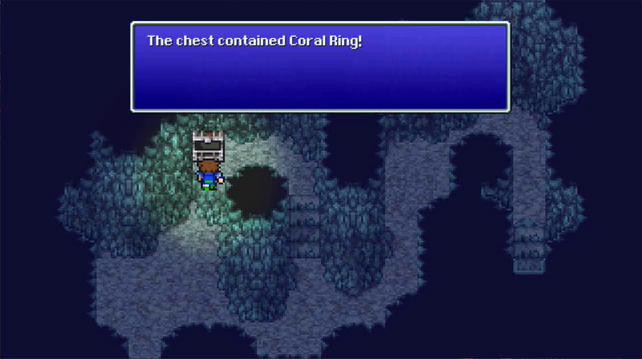
Like the Flame Ring the Coral Ring may still have some use. There are 2 enemies that use Tidal Wave coming up and unlike the Flame Ring there's no !Mix that can replicate its water healing properties.
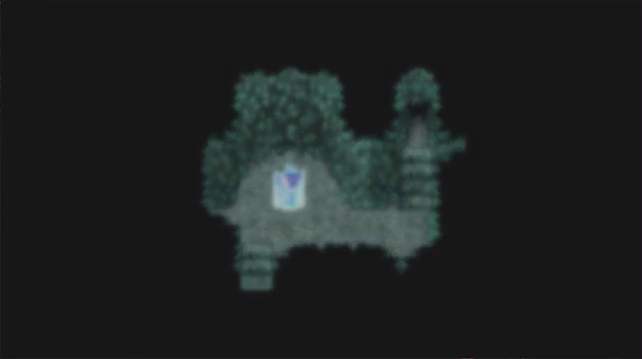
There's a save point in this path as well. There are two other save points between us and the end, but they're not "free".
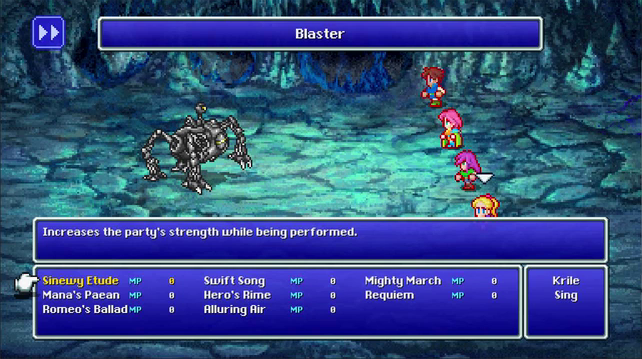
Coming up I need to switch things around. !Dualcast is useless for what's coming. !Summon is too for that matter but I never let Lenna master Bard so she can't !Sing.
Here I am trying to come up with a good alternate. I should have put !Blue on in hindsight but I didn't. Or I should have Floated everyone now.
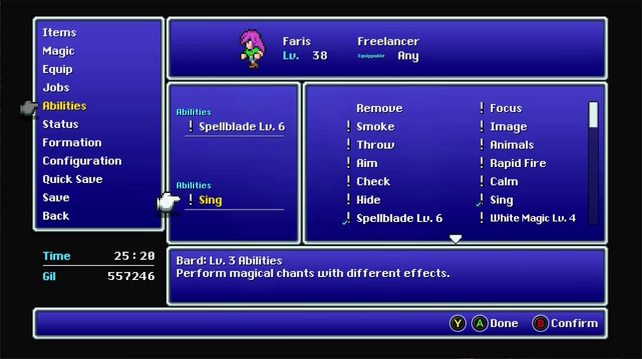
Since Lenna can't do it Faris sacrifices !Rapid Fire for !Sing. Chicken Knives are still equipped but I no longer have a means to prevent unlucky !Scrams.

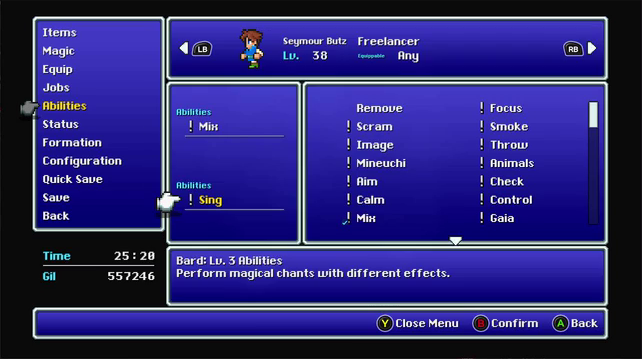
Krile and Seymour both have !Mix and !Sing, but they will only be using !Sing.
Like most other NPCs in this version, that shadow we saw earlier stands still for much longer than it used to. In other versions this Machine Head could just go anywhere it damn pleased, including down that path from the save point. You could just fall right on this guy from the waterfall if you were reckless and the smaller screen sizes wouldn't show where it was until its too late.
But who gives a crap I can take this thing out in 2 turns with Faris. Just need to get Thundaga Spell Blade and stab easy as pi-
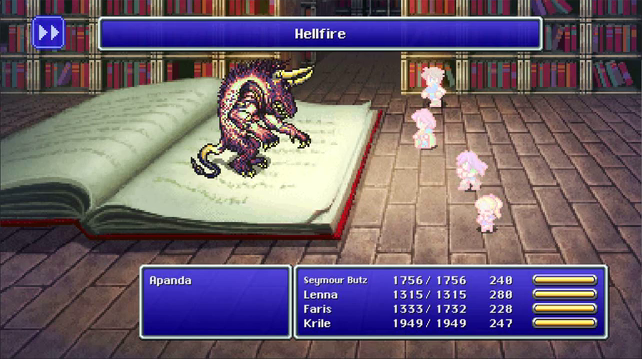
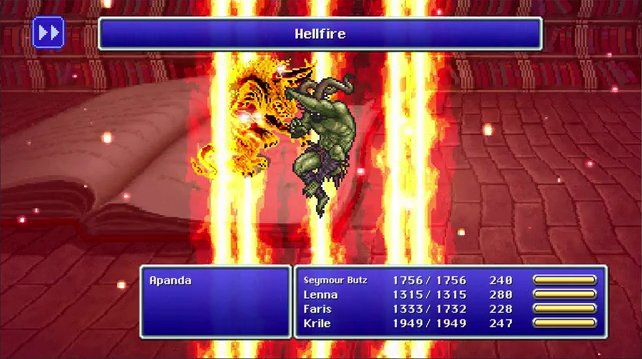
The Fierce Battle (Pixel Remaster)
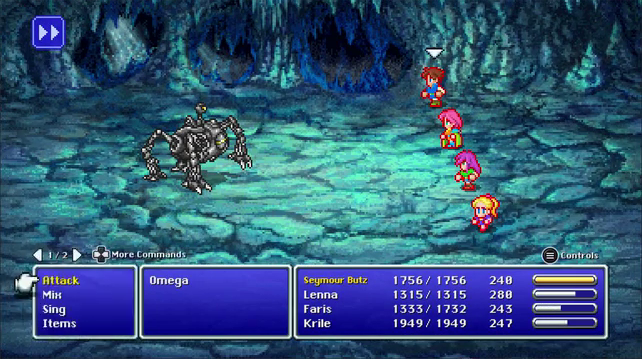
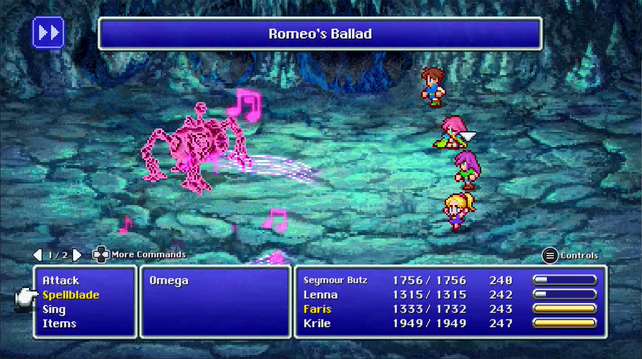
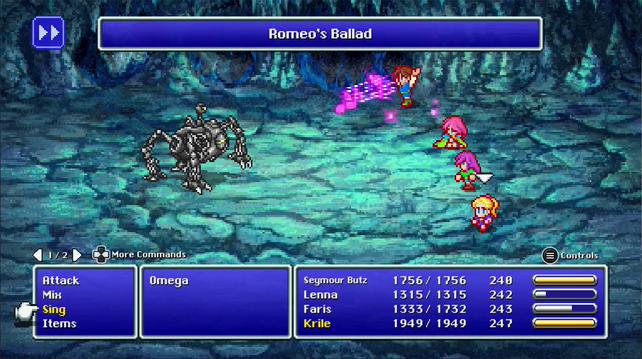
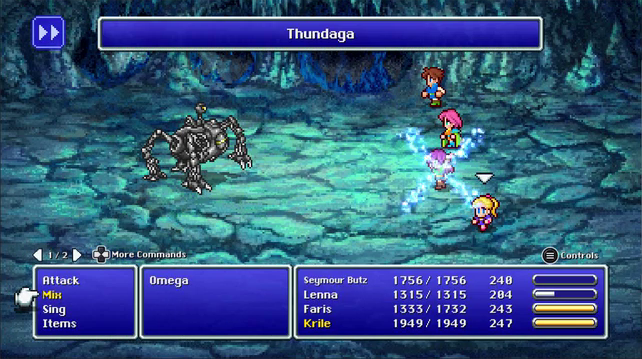
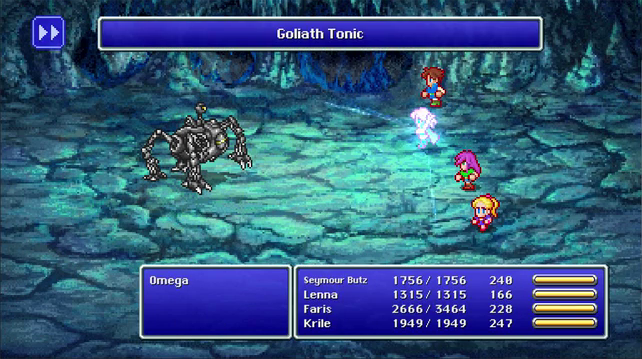
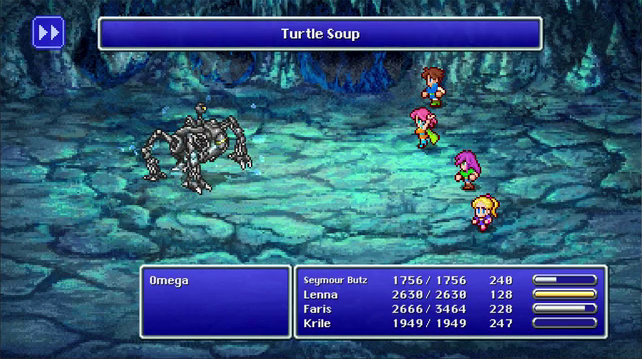
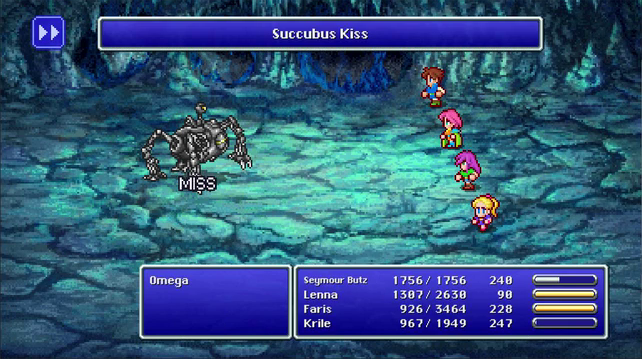
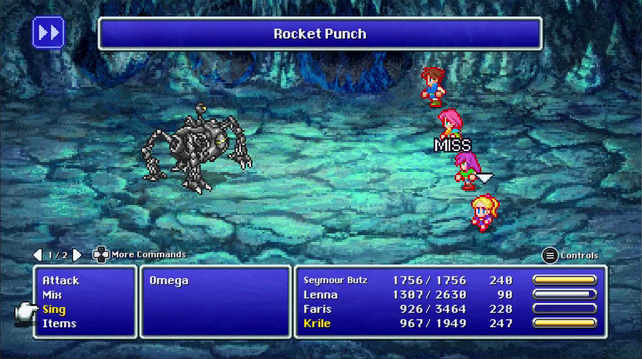
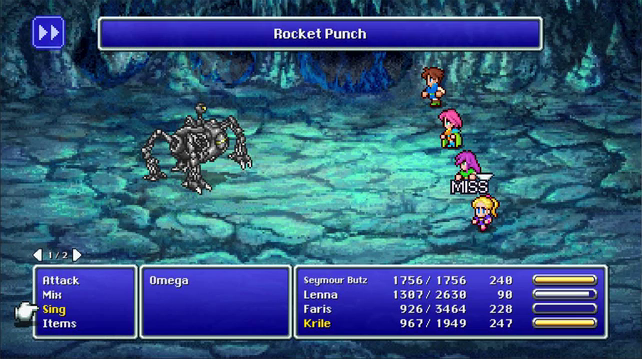
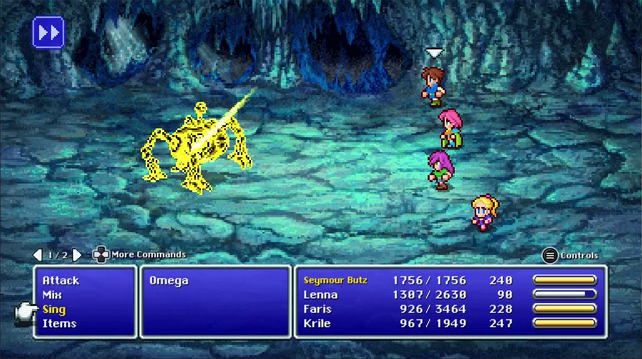
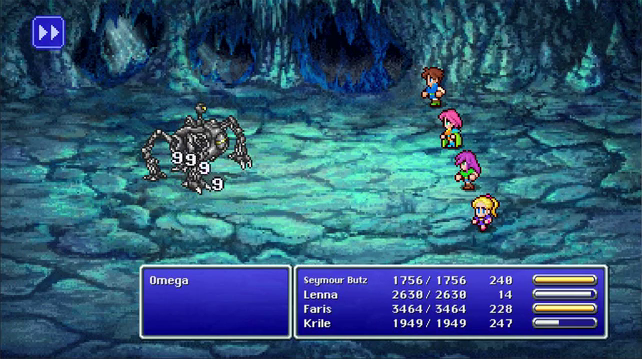
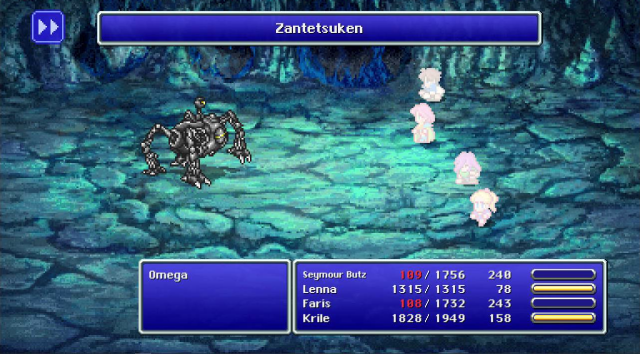
Oh... not pi. The Jaeger that can defeat the greatest Kaiju: Omega. Meet the first Superboss.
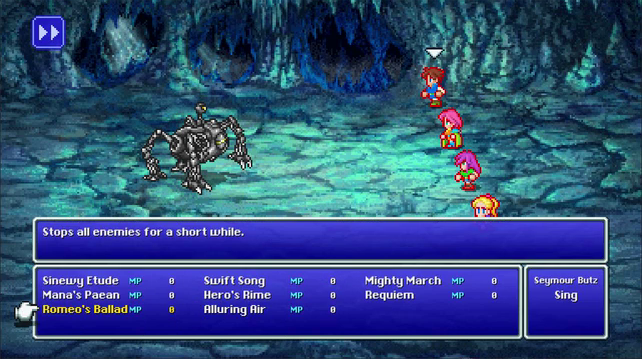
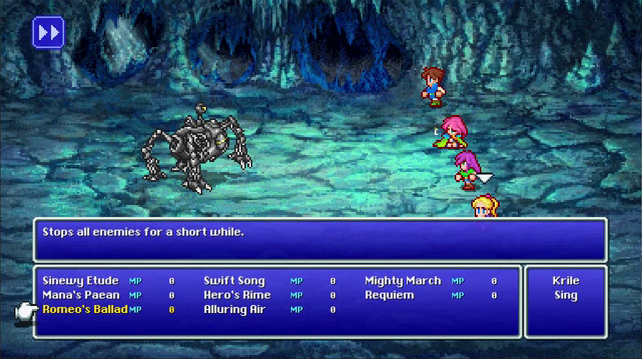
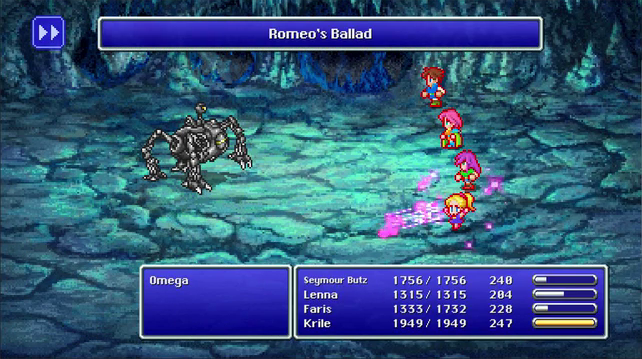
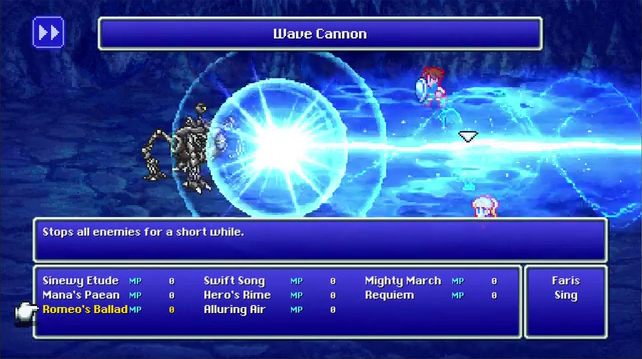
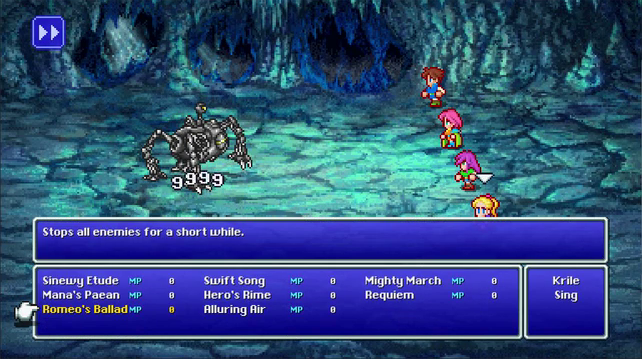
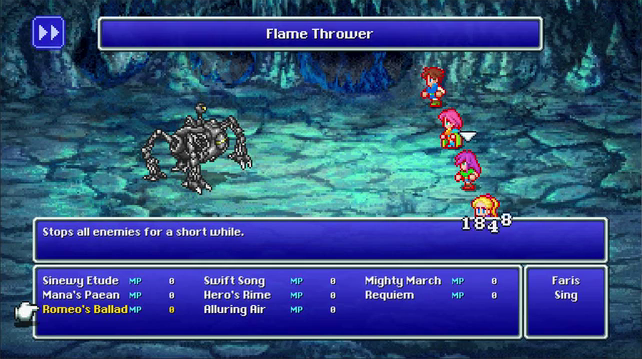
First up. And this is most important if you don't want to play cheap: Omega can be stopped. So Romeo's Ballad is a must. I suspect that every song he hears he has to check for DRM ownership to determine if your stream should be muted or get a strike or let a third party monetize the fight.
So just like Stephanie Sterling taught us, just use a bunch of different companies content so no one can screw with you.
Which leads us to this


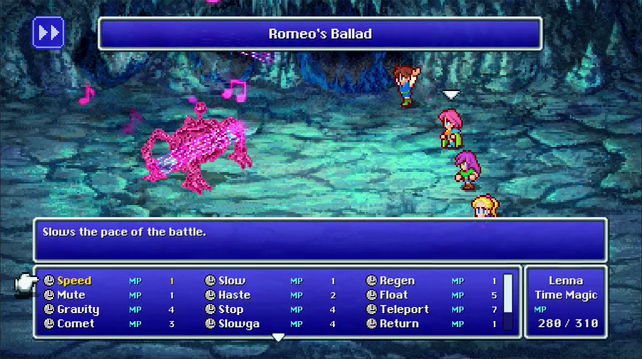
Long ago I mentioned how this version doesn't have a direct correlation between agility and how quick the ATB fills. Because of this the fight is considerably harder.
Omega is fast. Omega is Heavy, stop doesn't last long and because ATB fill rate isn't static you have no idea how close you are to getting murdered.
Now earlier on I mentioned that I'm not going to cheese Omega by exploiting !Rapid Fire. I am now also going to say I'm not going to exploit the other infamous trick.
 Because Quickleak doesn't work. Even if Quickleak worked it'd be much longer than the ~2 hours it would take since Leak only does 1HP per tic now. Omega must be killed in combat.
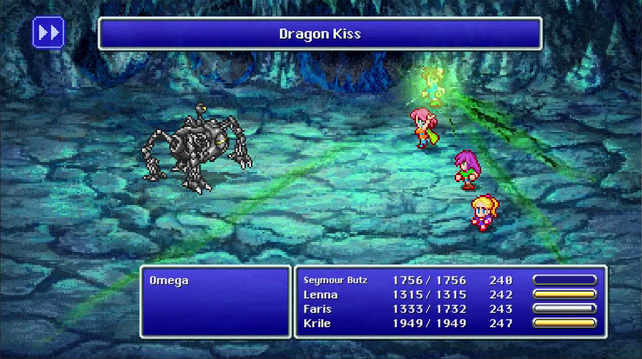
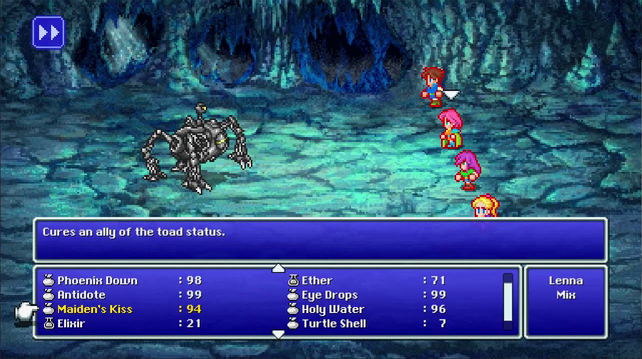
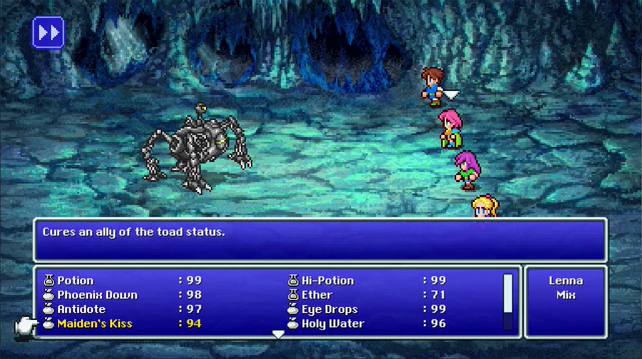
Dragon Fang + Maiden's Kiss gives the target the Heavy flag and Dragon status. The Dragon Status doesn't do us any good here (Dragon Status is only ever a liability what with the Apollo's Harp) But Heavy prevents Omega from doing several bad things.
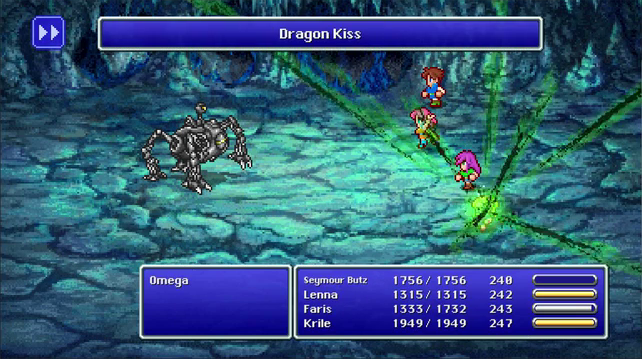
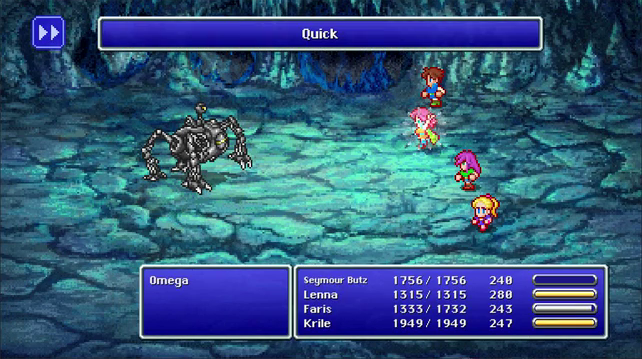
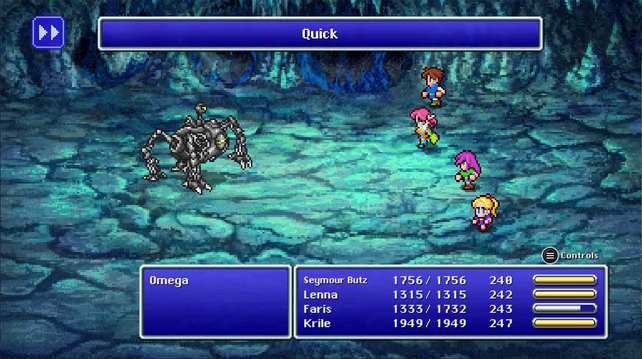
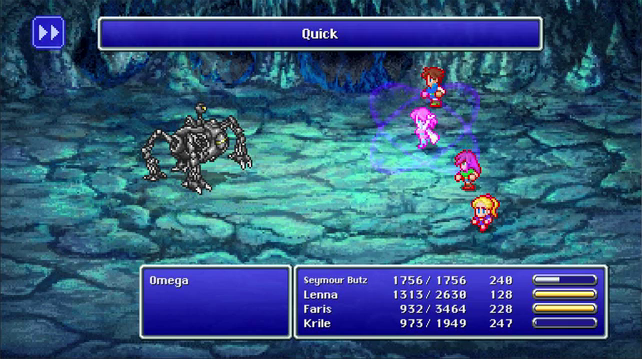
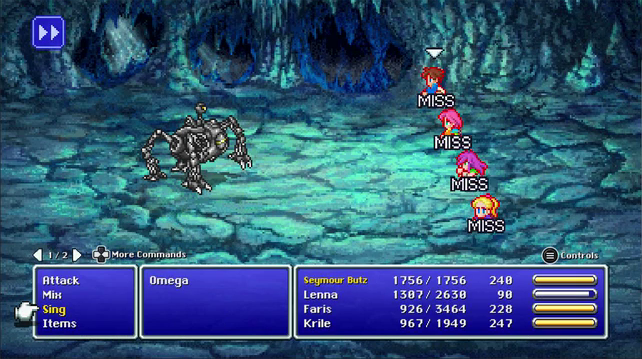
So first order of business is Lenna is going to Kiss everyone including her self. This will take 2 turns with Quick.
unfortunately I shouldn't have Kissed Krile yet, Lenna should have gotten the second kiss.
Thankfully Blaster didn't kill, it only paralyzed.
But this still caused a long wait as everyone sang until Lenna got back up.
Finally she's back up.
Lenna and Faris are now safe from Blaster and a few other things.
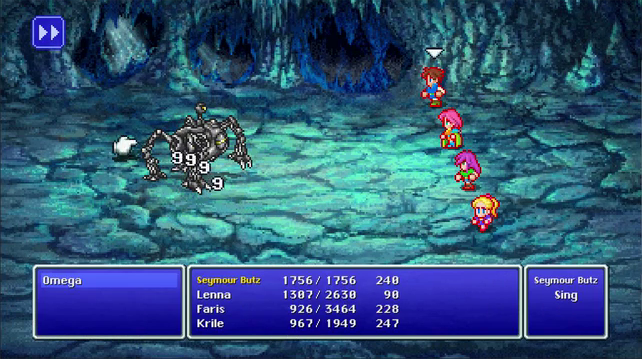
Things are finally stable enough that I charge up !SpellBlade. I'm looking at Krile's menu in this and baffled why I was looking at !Mix. No you fool you HAVE to keep this guy stopped.
Thankfully past me made the right decision. But even that little delay could have been the difference between life and death.
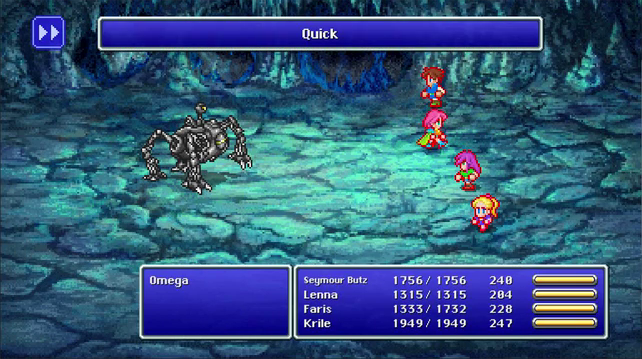
Though the main work is done I still have Lenna keep up with Quick as it provides a chance to breathe and think about the next turn.
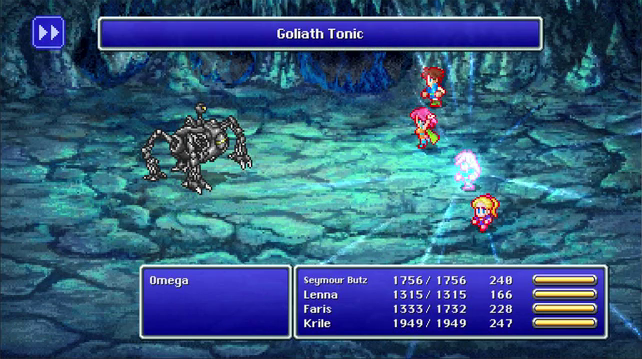
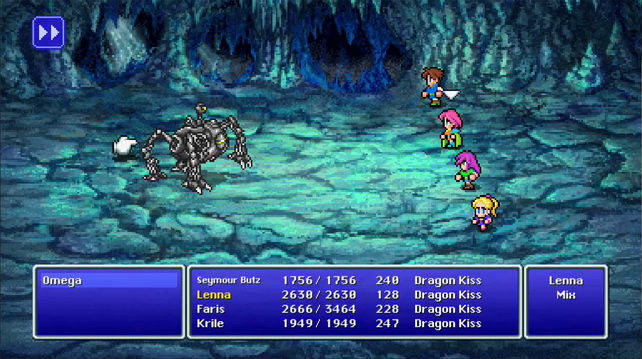
Elixir + Dragon Fang duplicates !Drinking Goliath Tonic. That's a pretty expensive drink to mix yourself when its so cheap to buy over the counter, but you're paying for utility as !Drink is only self targeting and ties up a command slot for it.
Lenna drinks the other one, as she's got so much less health than everyone else.
Lenna's turn comes up again and trying to think of the next course of action. I settle on trying to set up one of the other tried and true methods of killing Omega.
When fighting Omega remember that the Pixel Remaster (and !Mix as a whole) remembers your last target on spells and special abilities. Omega needs this coctail.
Today we know how amazing and dangerous !Mix is, but back when this first came out you would have no idea what the hell this does. Anything that didn't immediately heal or revive or double your max HP or shoot the enemy in the face would be a complete mystery.
So its power was balanced by its mystery. Especially if you only had 8 dragon fangs since you didn't grind out in Drakenvale and "WHAT IF I NEED THIS ELIXIR LATER????" is screaming in your mind.
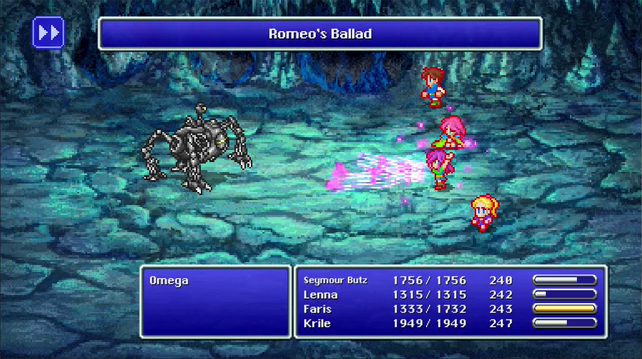
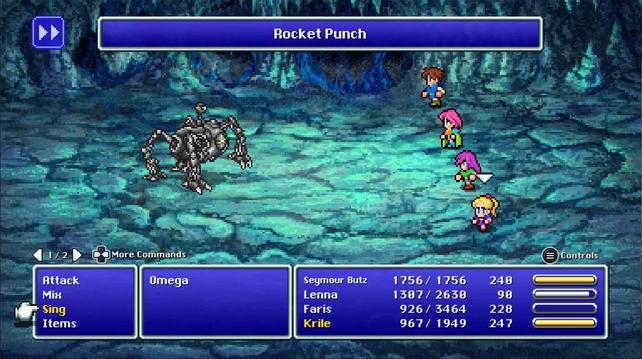
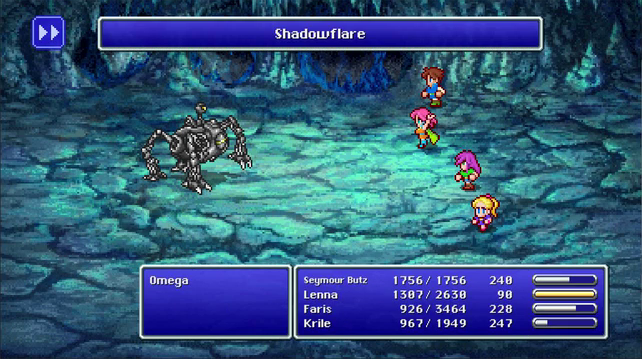
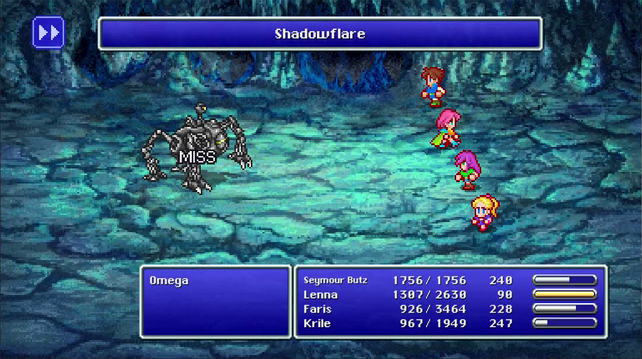
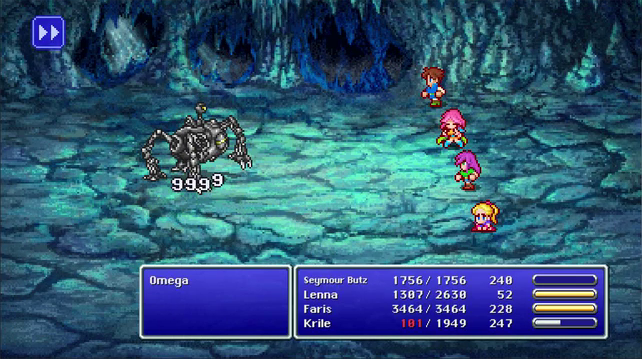
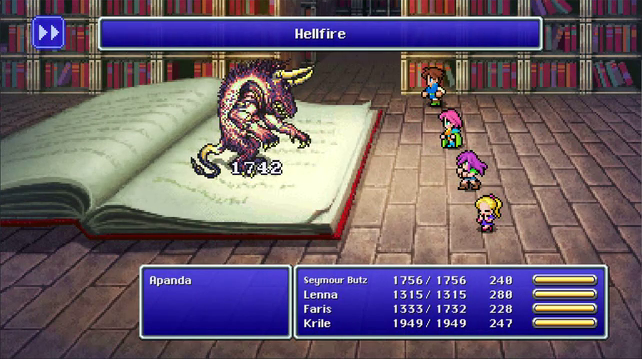
Omega gets another turn as I wasn't keeping a good beat with Romeo's Ballad. Or he just got lucky and randomly had a bigger ATB charge. There goes half of everyone but Seymour's health.
Omega has multiple points in the script where Wave Cannon can be. One of them can be two turns in a row, you're dead game over.
But that happens immediately back to back. There are other times where its separated by a turn that will probably kill a single person, then followed by finishing the job of the first Wave Cannon.
So at this point I'm debating between healing up Faris (as the designated killer) or Krile (as back up singer) as right now Lenna's job is otherwise done.
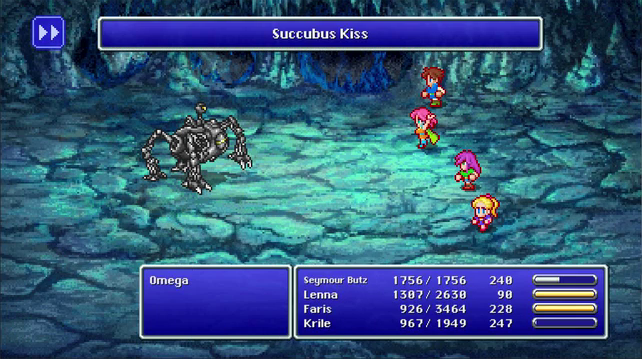
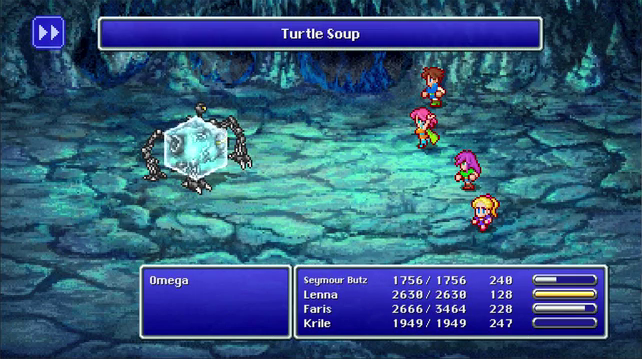
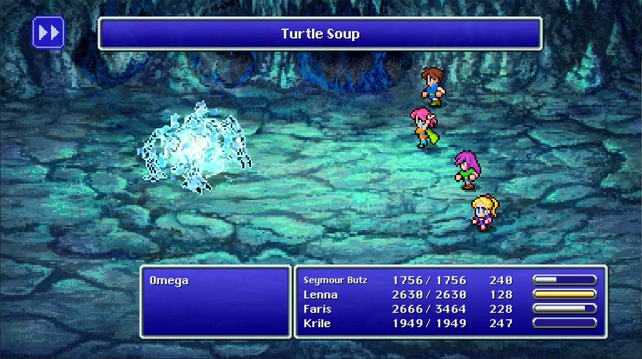
But instead I choose to soldier on with my plan on testing out if I can do the chemist strat of killing Omega. Maiden's Kiss + Turtle Shell.
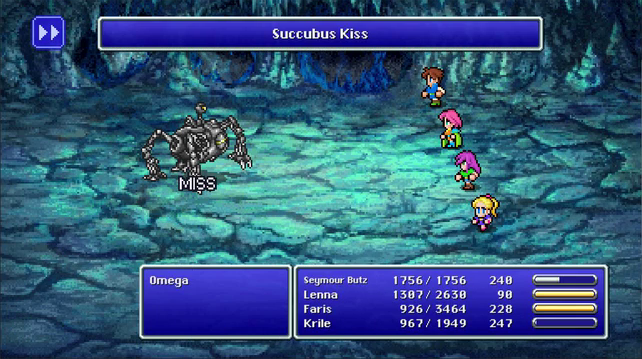
So Chemist strat for Omega is off the table. This should have done... tolerable damage to Omega and healed Lenna.
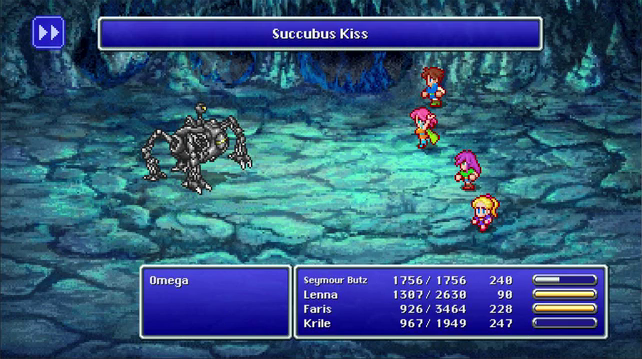
Hey maybe it was a mistake. I know this came up immediately after Krile reapplied stop so Omega should have 0 MEvade.
Nope, it was not a fluke. At this point Lenna is not going to try and Turtle Soup any more (This reduces the targets Defenses, which does nothing to Thundaga Blade but would have made Succubus Kiss more damaging). She's now going to keep everyone else alive.
I was confused at what this was when playing, but now I realize that this was the failed !Scram proc from a chicken knife, older versions said free and clear "Can't Escape!" when it happened rather than this. It wastes the one attack but the other knife can still get damage in.
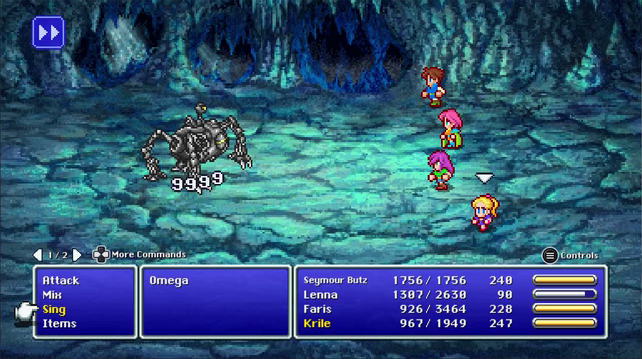
Omega has 55,530 HP so we'll be here for awhile.
Apparently Omega wasn't stopped because this one of his counters.
Thankfully that Heavy status from Dragon's Kiss provides Gravity Immunity.
Oh, and Omega counters twice. So that's fun if you don't prepare carefully. What's even more fun is that Omega can counter with Encircle. Fuck you, you're down a person now. But that too is stopped by Heavy.
Dark Matter + Dark Matter I may as well see if Chemist can do any damage to Omega.
Assorted Expletives. I wish they didn't nerf so many strats for this fight.
!Calm locking with beastmasters was a glitch in the GBA since someone screwed up the targeting bit. Instead of calming beasts like it says it was programmed to calm everything but beasts. So while it sucks it was fixed I understand that.
Old versions also allowed you to bounce Thundaga (Omega absorbs all other elements) off of 3 of the party while the fourth acted as a sacrifical anode. As something in how counter attacks was figured was overridden by the player taking damage. This isn't an option either here.
I'm going through and proofreading my stuff right now and just remembered there are people who haven't played this before. "Why aren't you just casting Thundaga on him directly with one person, and having the other three keep everyone alive?" they might ask.
"Omega has permanent reflect status. Oh and Protect and Shell. And that insane evasion and defense." I respond and realize that this sounds like a 8 year old on the playground saying why I'm not owned and you are owned.
And obviously Quickleak is fixed and even if it wasn't you'd be looking at like 16 hours to burn through his HP.
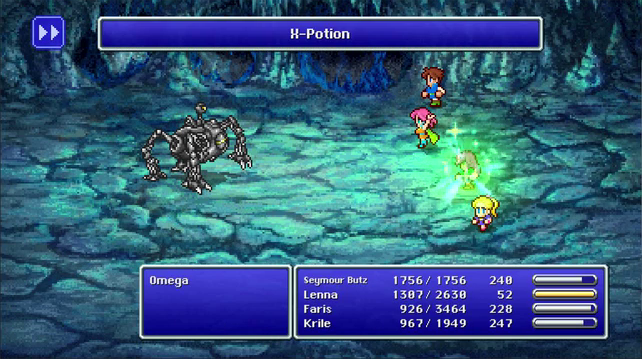
Potion + Ether for a full heal.

And for Krile too for good measure.
And not a moment too soon. So in my planning I had overlooked mixing fire immunity and casting float before hand (or Mighty Guard period). If you are doing this at home these are vital things to success that I attribute this success out of pure dumb luck.
Another thing vital for success. Omega has insane evasion. I'm surprised I was able to land hits on him while he wasn't stopped, but that's helped by the dagger's ability to halve enemy evasion. It still boils down to a multiple coin flips though.
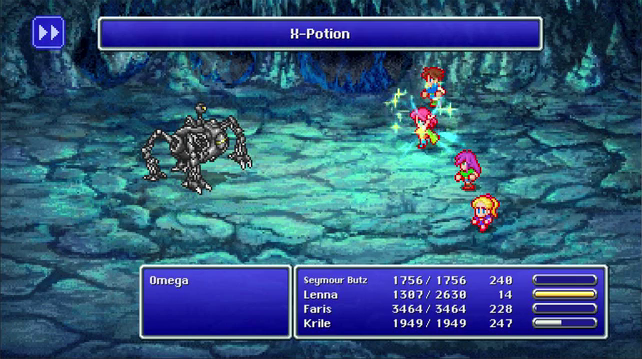
Everyone is healed now so a surprise Wave Cannon isn't a threat.
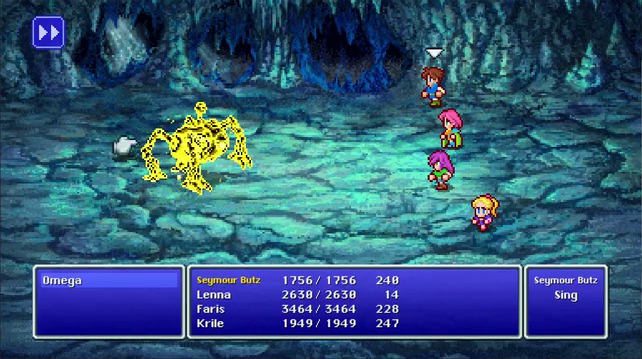
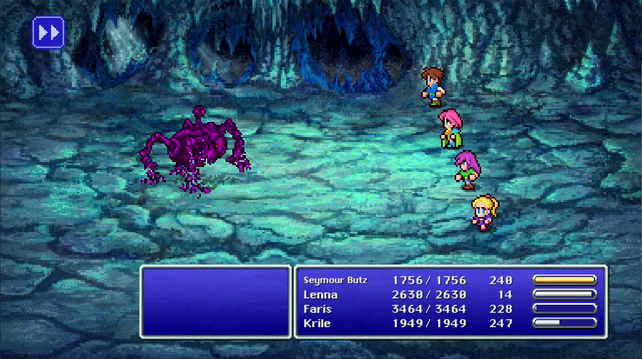
Finally Omega is defeated. Even knowing what I was doing and doing a lot of things to tip the odds in my favor it was not a guaranteed thing. Even !Rapid Fire Thundaga Chicken Knives isn't a sure thing as unless you're very high leveled the half damage penalty to those strikes would be enough to prevent a clean kill. A second !Rapid Fire volley would almost certainly be required and a lot of luck avoiding Encircle or Rocket Punches into Wave Cannons.
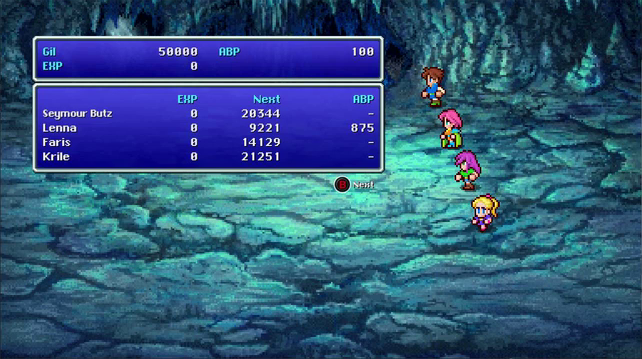
100 ABP is the main prize, though enough money to buy one single elixir isn't too bad either if I were to walk back out of the Rift.
When I first played the Pixel Remaster I had all four characters with !Sing. I had 3 doing Romeo's Ballad and the fourth doing speed song. Even after going for a long time and supposedly getting to 99 agility the act of bopping whoever was using Swift Song out of it and reviving them was too much time and Omega ripped everyone in half. This is a viable option in the GBA but not here sadly.
So ends our summary of what you do when you fight Omega. The moral of the story is probably don't.
Beating Omega gives you a badge and causes the cave to shake and flash for a very long time.
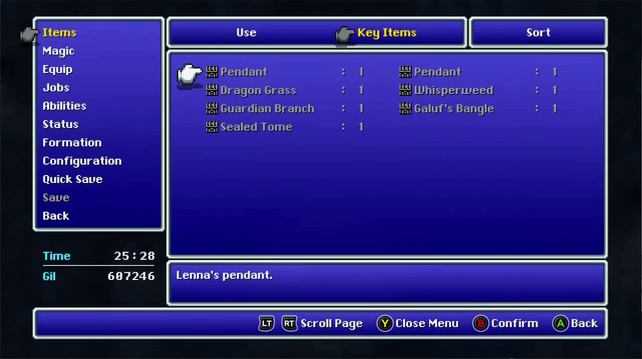
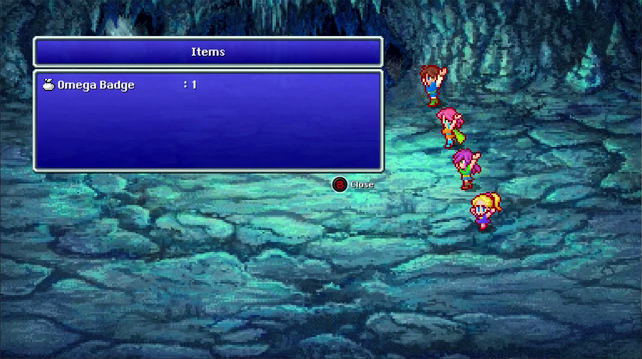
The Omega Badge isn't a key item though it should honestly be. Looking here though I see that it was Galuf's Bangle that he gave Krile. It didn't look like a dangly bangle bracelet, looked like a solid one.
Instead the badge is a regular item even though it can't be sold and just is there for bragging rights.
I have too few Dragon Fangs to have wasted so many on Omega so I'm resetting.
...Well... Let's do some more things to Omega for posterity sake, because I found something out while wrapping some other things up.
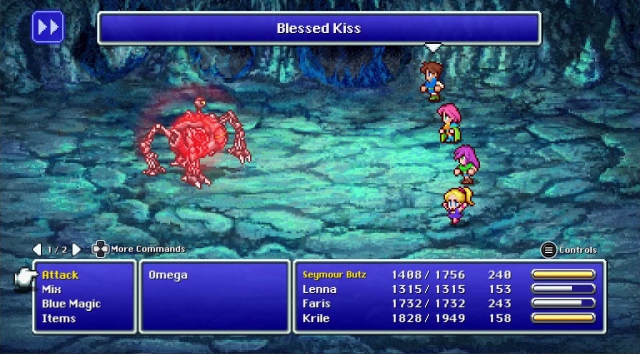
First how about we make the doom bot angrier with !Mixing Holy Water and a Maiden's Kiss?
This is ill advised to say the least. Blessed Kiss Berserks, Hastes and Blinks the target.
So while this removes Omega's ability to kill everyone immediately, it only replaces it with Omega's ability to kill 2 people before you can blink so it's just killing everyone in half an immediately.

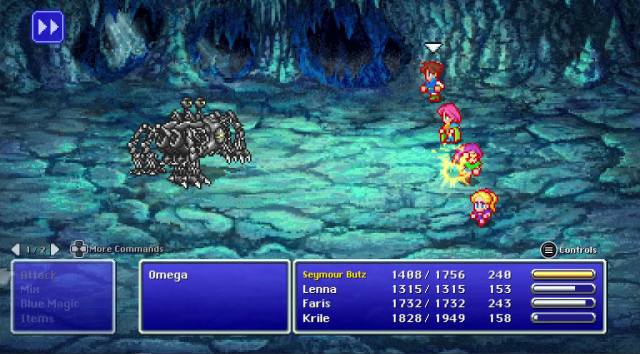
I was just going to leave it at that, but Lenna had multiple clutch blocks so I decided to make a go of it.

Blink and Golem are a must to deal with a hasted rage bot.
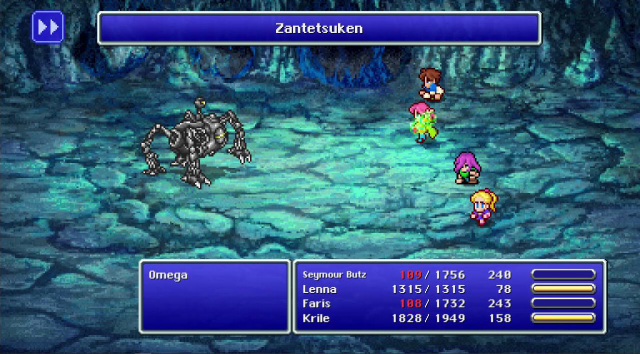
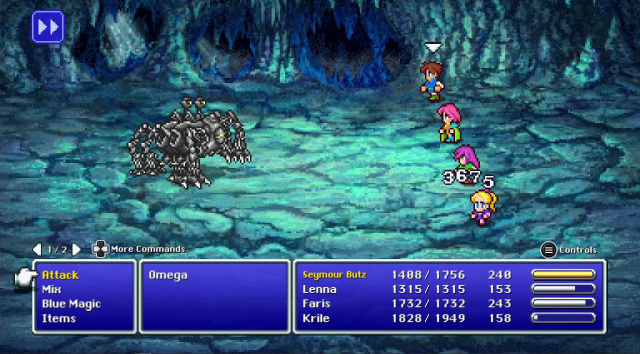
So the next thing I was going to demonstrate was how despite Ramuh hitting a weakness that Odin chucking Gungnir could do comparable damage... and Odin does this
The party vanishes and immediately comes back. Apparently in the Pixel Remaster Odin only does Zantetsuken, no Gunge.

If you have no other means of offense a Summoner can fight Omega, but will be at it for such a long time that I can't imagine avoiding encircles or other attacks long enough to pull it off.

I didn't hold back on this fight. FYI even !Rapid Fire's perfect accuracy can't work around Blink, so while 8 of these attacks would kill Omega, only 6 hit so it required a second volley.
Prelude to the Void
Even though Omega seems to take a long time to get moving in this version it's always terrifying being this close to it as the fight seems to consider the tile he's stepping onto as active and triggers the fight as soon as it starts moving.
But now its behind us, onward to new things!
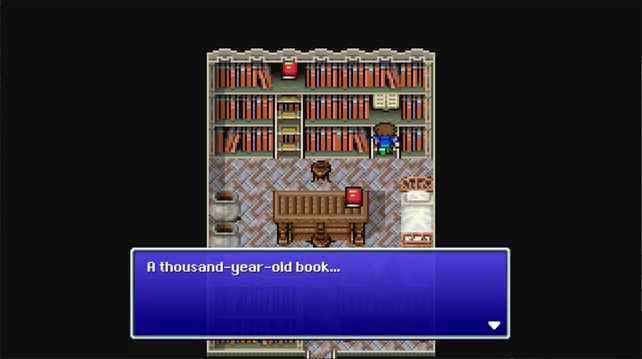
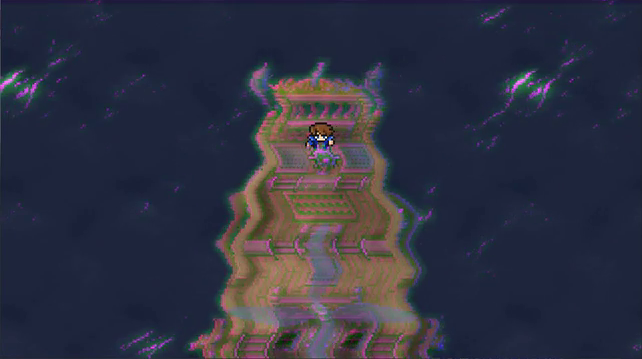
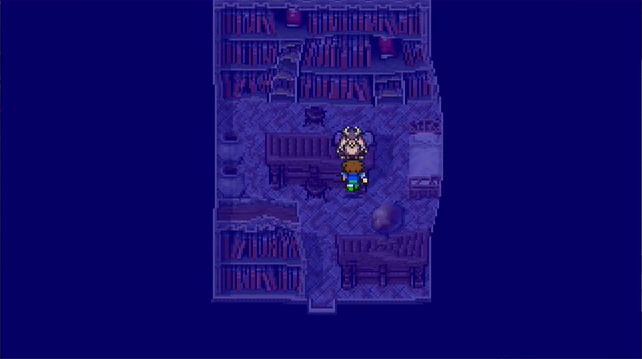
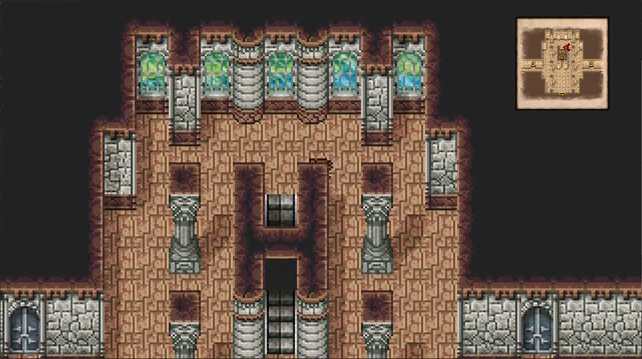
Beyond the cave is a library. I guess since the Library of the Ancients was sucked in this came loose?
 "From forth the roiling skyes was loosed a vile beast devoid of soul: Omega was its name. The dragon Shinryu came upon its heels. Not e'en the legendary weapons twelve would subdue these evil creatures. Within the Rift were the demons interred: so should they remain until eternity's end, their names to stay unspoken e'ermore."
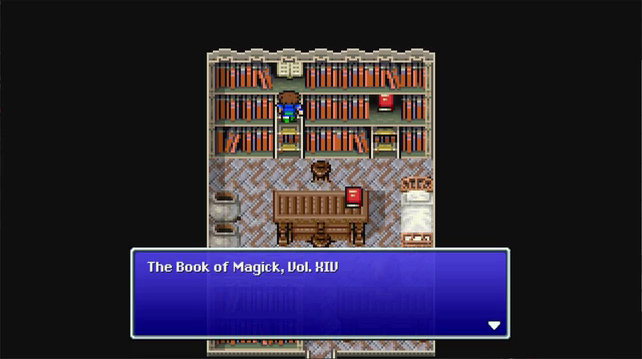 "The Secret of Gigaflare... When gathering power for this spell, one is rendered utterly defenseless for a moment... Casters, be wary."
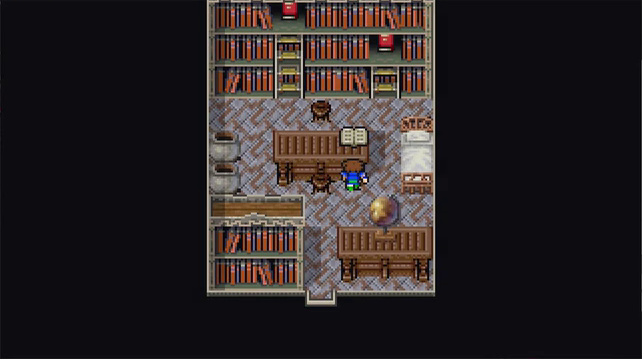
One more book to read... but we're at a dead end, so unless this tells us we need to solve a lost woods puzzle or something we're stuck.
I've played this game so much across so many versions, this never makes any sense how this can be considered a mistake.
The Fierce Battle (Pixel Remaster)
I gave Omega some leeway to try and hoist myself but managed to succeed. I'm not going to give Byblos 2: Electric Bybloboob that same courtesy.
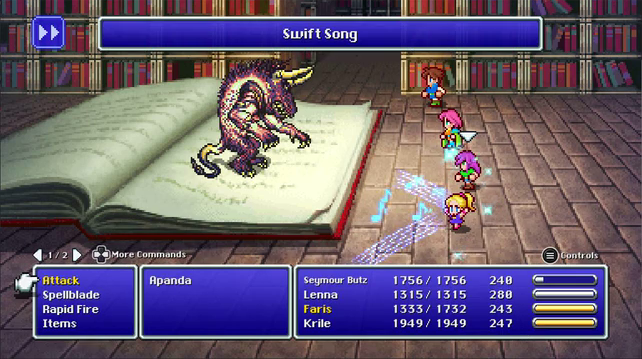
Don't know why I wasted time with Swift Song.
I do know why I wasted time with this.
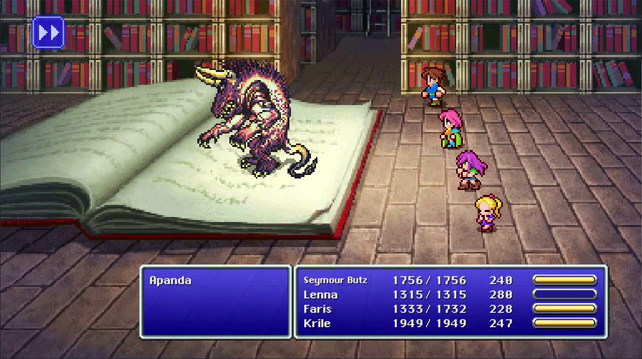
For once I'm not casting Syldra twice.
I'm casting Ifrit instead.
Even hitting for a weakness the spell power difference between Syldra and Ifrit is just too much.
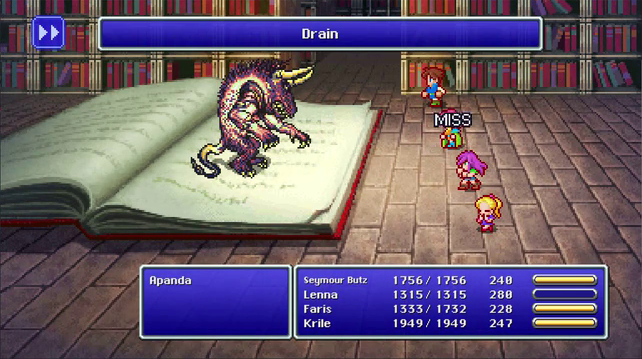
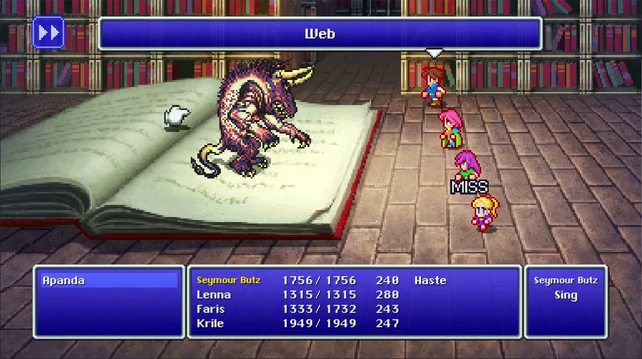
Like Byblos Apanda counters with drain sometimes, but he'll do it immediately here rather than waiting til the last moment as you think victory was assured.
There wasn't anything missed between those last screenshots, he's not confused or anything...
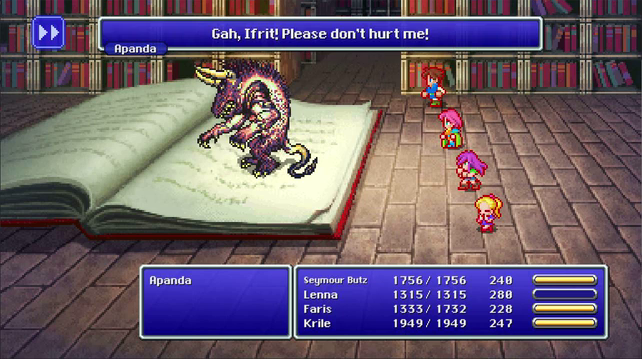
He's scared. Not even Byblos reacted to Ifrit like this.

Apanda will whimper for awhile before getting brave enough to fight again if he didn't take over 64,000 HP of damage here.
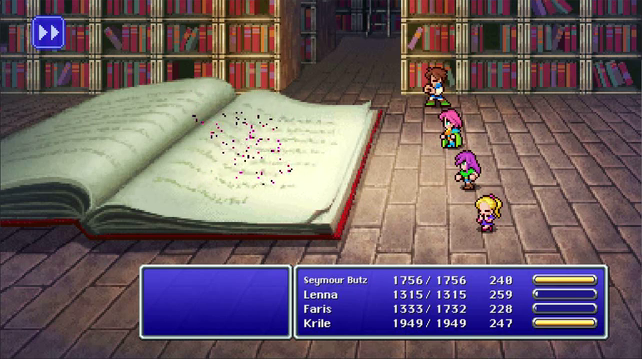
No single enemy has that much health in the game.
Prelude to the Void
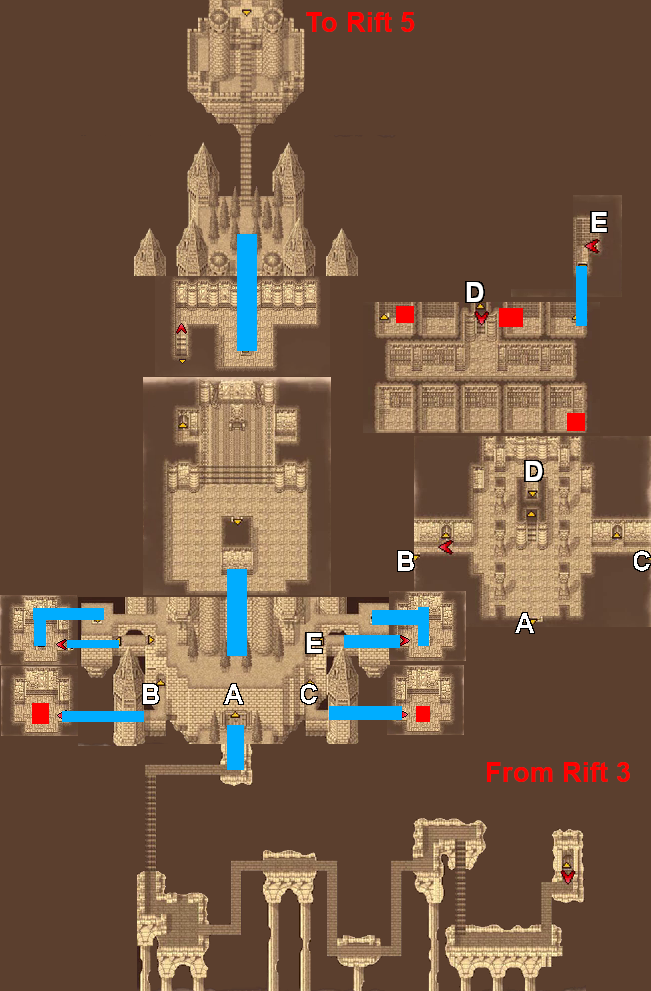
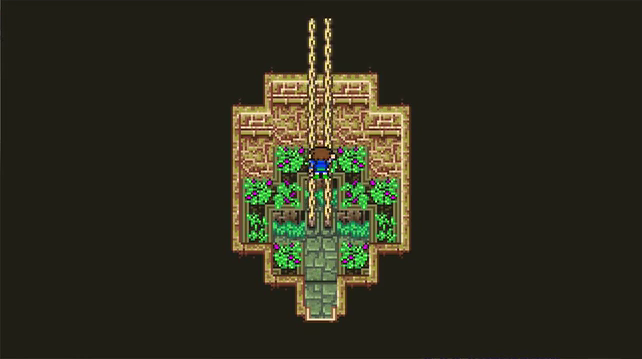
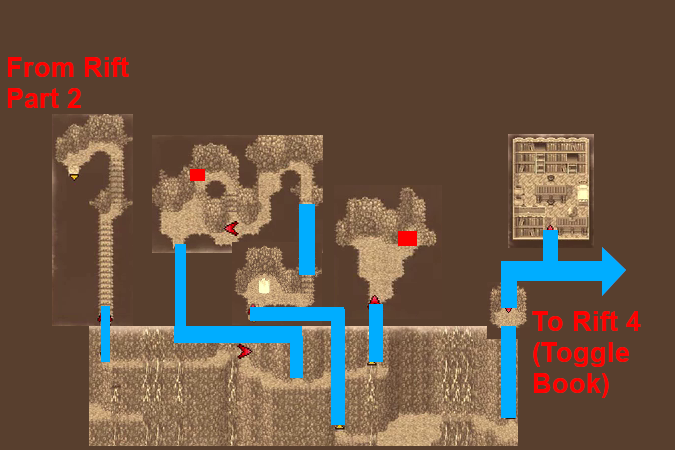
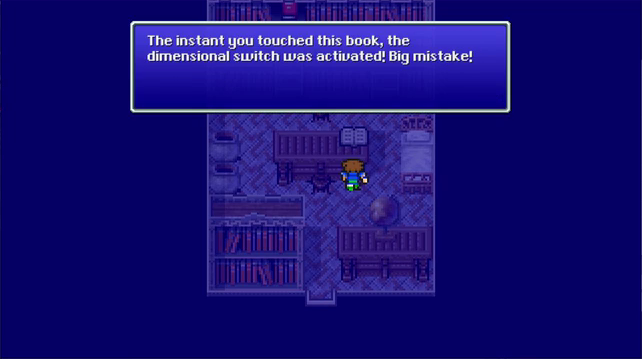
Things are getting more abstract now. Before it was just "desert" "cursed town ripped between dimensions" "forest" and "cave that hates," now that the Dimensional Switch was flipped (that book serves to change the exit of the room from the cave to here. It's reversable if you need to save) we get to some Void eaten walkway.
Thanks to Krile having Find Passages passively on from Thief mastery all of these paths are visible. Most of the walkways are hidden but there's no false paths or anything.
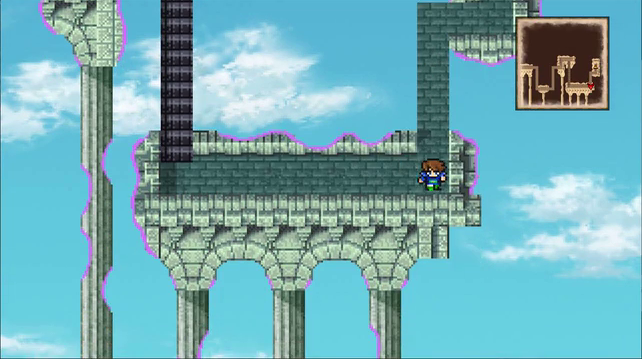
I actually take a couple fights here. Dragon Aevis is not a dragon, despite looking like a dragon, dropping Dragon Fangs and having Dragon in its name. It's a bird as far as the game and special weapon vulnerabilities is concerned.
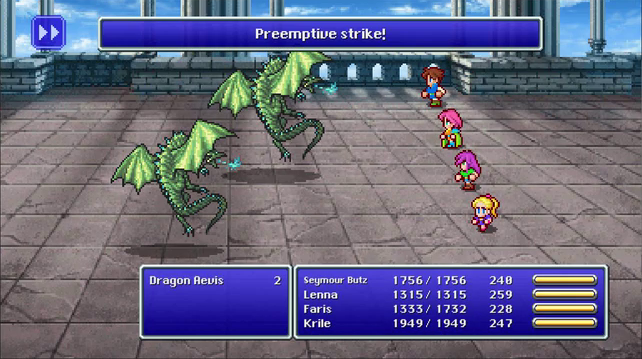
After passing that walkway we reach this floating castle. Of all the other times the game has skipped the button inputs to open doors, like in Tycoon or Surgate, this one you still need to manually open.
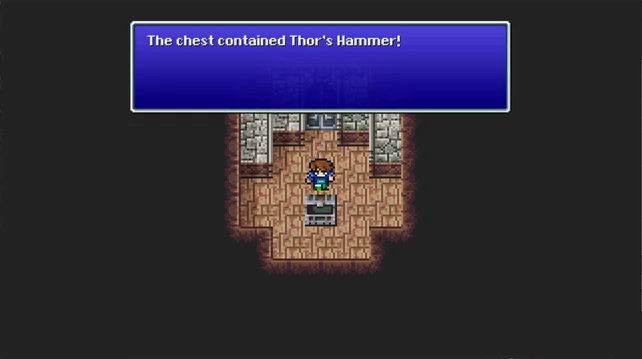
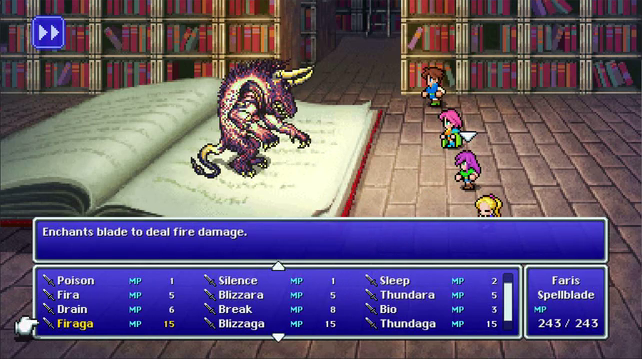
This hammer trades the Rune Axe's special damage formulas for just raw power and the ability to hit for full damage in the back row.
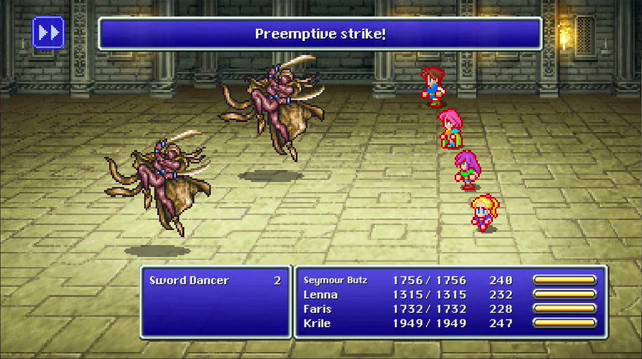
The castle has new enemies. Sword Dancers are the most dangerous as they can inflict Zombie.
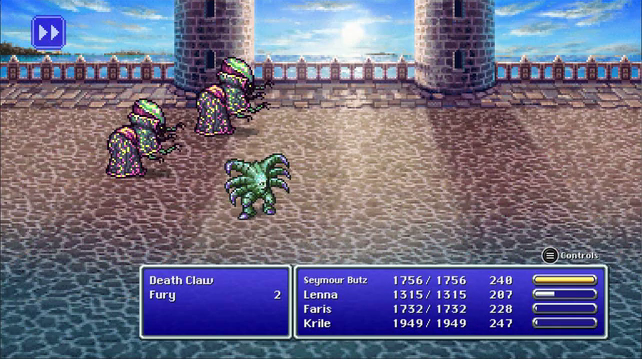
Death Claws can cast Death Claw and Fury can do strong magic attacks unless it casts Berserk first thing. If left alone (and not Berserked) it begins throwing out multiple strong spells consecutively.
Also of note, if you didn't catch Ramuh earlier he randomly shows up on the castle walls.
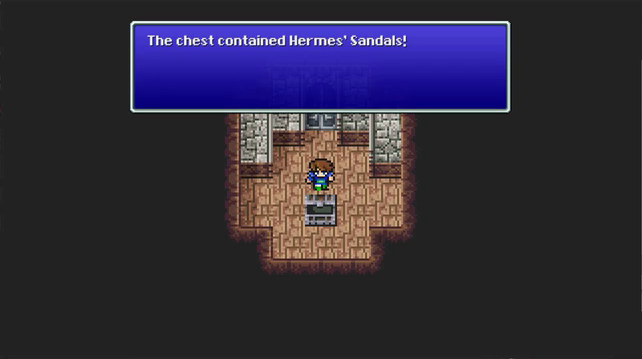
If you were short on cash when first reaching Mirage you could buy only 3 Hermes' Sandals and still be good by the end but I still stand by that investment.
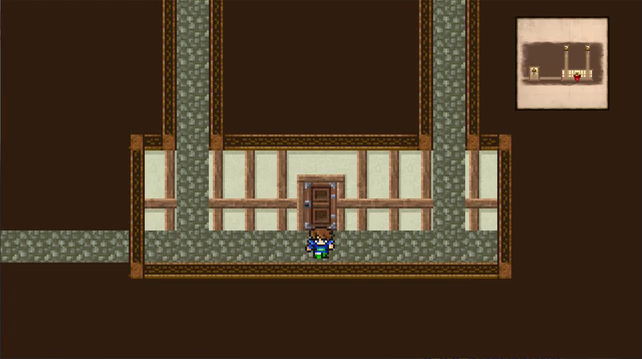
While we want to get to the top of the castle, there's a locked door at the top of the stairs, we have to go into the basement.
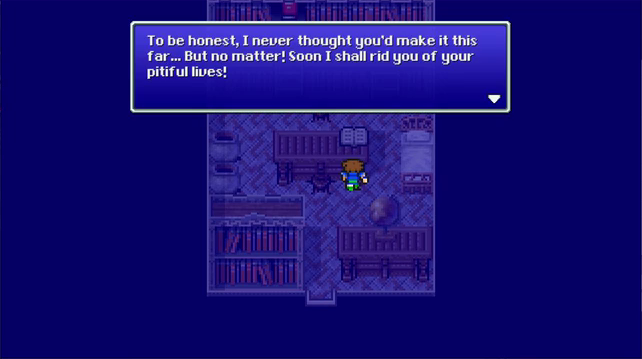
Seymour will teach someone a lesson they soon won't forget.

If you lie he just stands there.
It doesn't seem much different when you tell the truth at first.
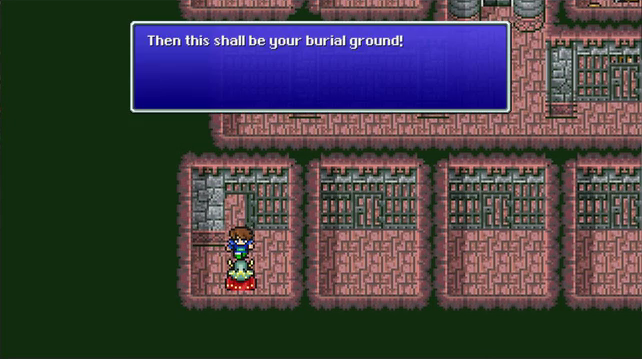
But of course he wants to kill us.
The Fierce Battle (Pixel Remaster)

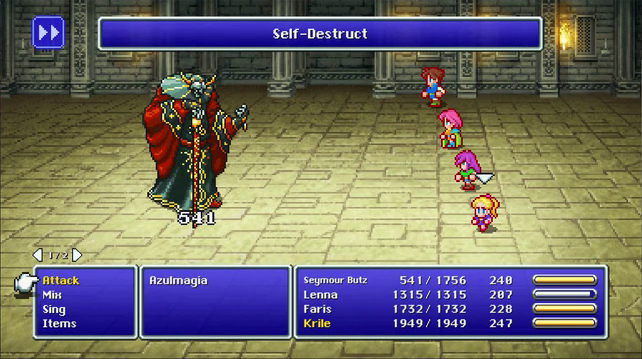
This is Azulmagia. Apocalypse in the PSX version but for once I don't prefer the PSX name.
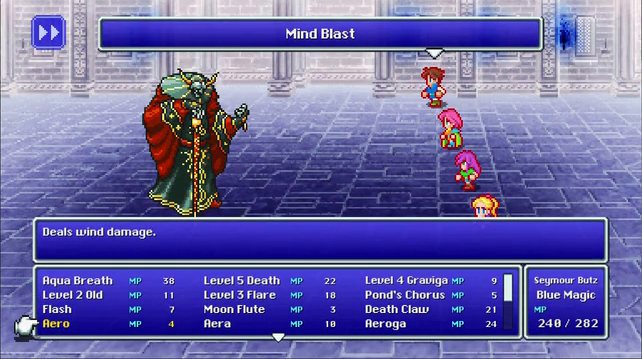
Because you see, Azulmagia is a much more descriptive name. Magia implies magic, and since this Mind Blast does about 5 times as much damage as the last time we saw it it isn't a fluke.
So you know any Spanish? Or are you aware of the gemstone Lapis Lazuli and what color that is?
Because Azul is the first and most important thing to know about this boss.
Oh gee I sure wish that Mind Blast didn't do so much damage to Seymour and cause this to do such pitiful damage /s
Yup, Azulmagia is a Blue Mage.
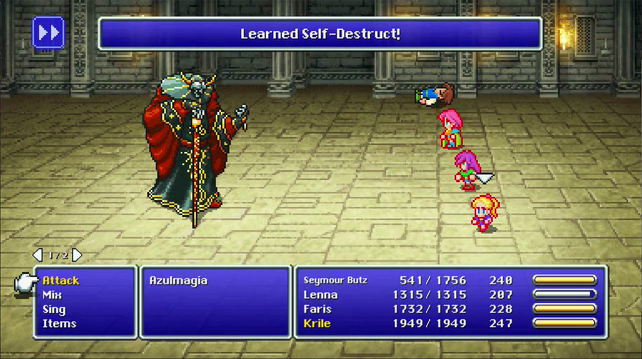
You can teach a lot of Blue Magic to Azulmagia. But the question is why would you want to? What good does it even do, he needs to end the battle before he can cast it, right?

Wrong. As soon as learns a spell he can't wait to try it out.
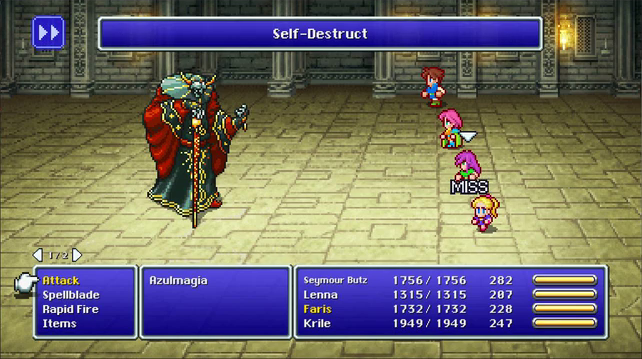
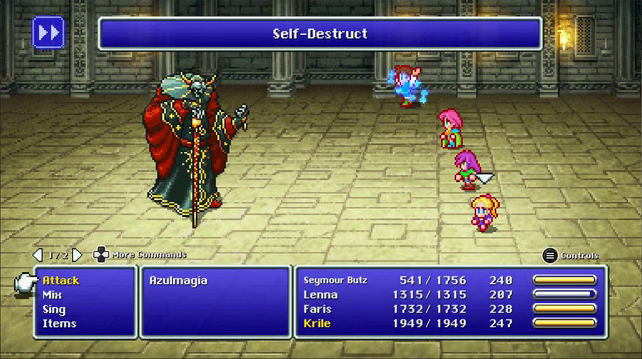
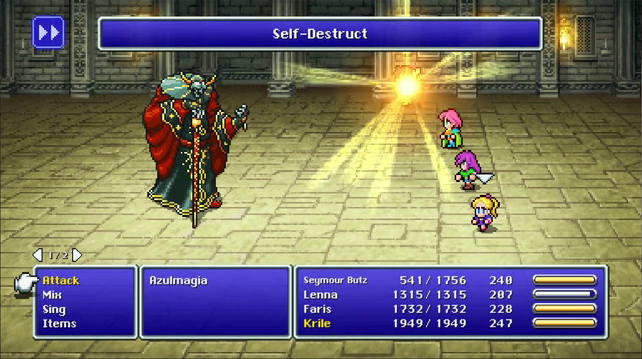
How did you miss with your suicide move
Oh well, he didn't miss with the important part of blowing himself up.
Prelude to the Void
Azulmagia guards the second save point of the Rift. He's completely optional if you feel confident in your abilities or at least confident in the Pixel Remaster's liberal helpings of autosave.
But this seems to be a good place to stop anyway, as we're more than halfway through the dungeon.