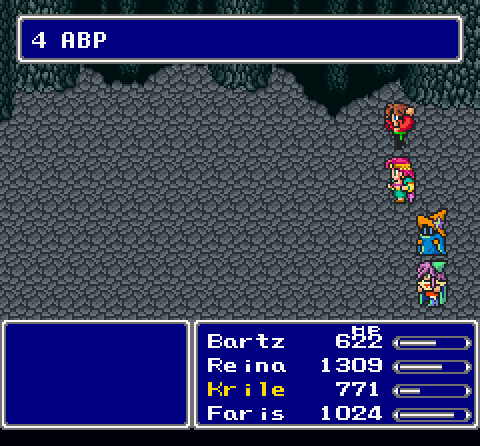
Part 37: Krile vs. Death

Not much has changed. Krile and Faris still inch closer to mastering all of their jobs, while Bartz and Reina still have quite a lot of progress to burn through.


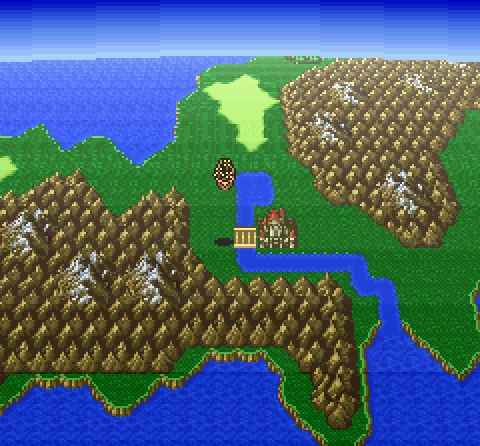
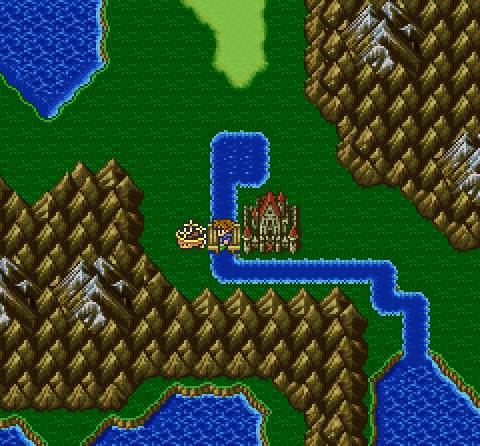
The last two dungeons require the submarine, but can be done in either order. I held an informal vote, and am going to the location to the southeast first.


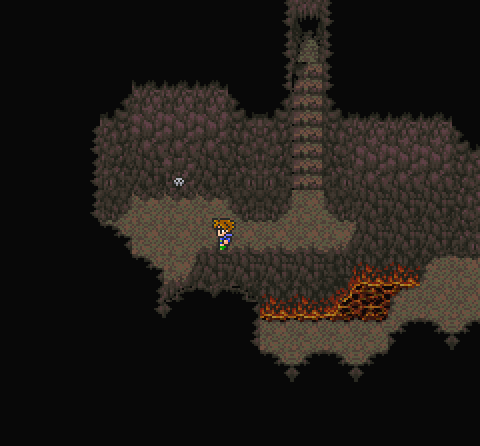
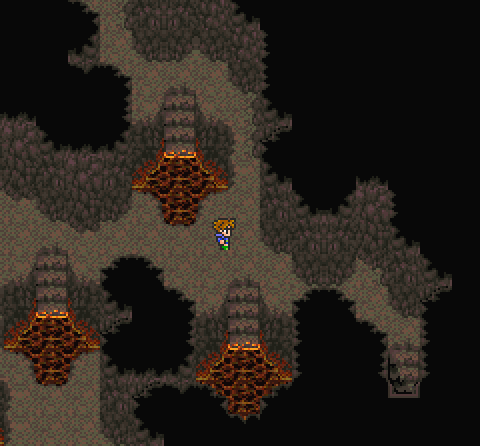
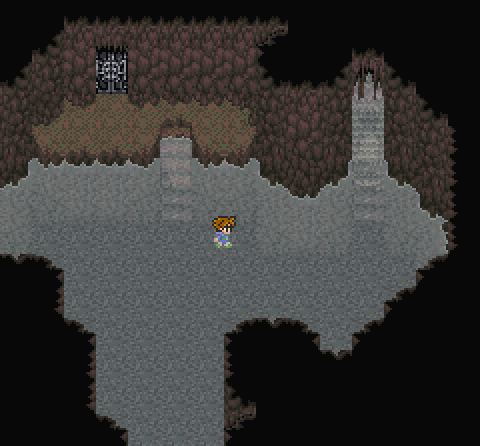
This is the Great Sea Trench, and this is either a breeze or annoying as hell, depending on what you know about this area.
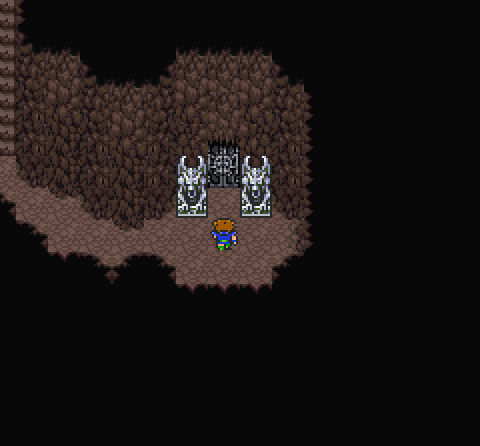
Gargoyles.
"In a place deeper than the ocean floor... protected by flame lies the third lithograph."
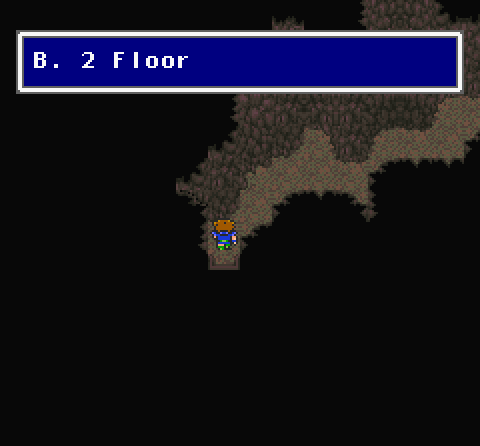
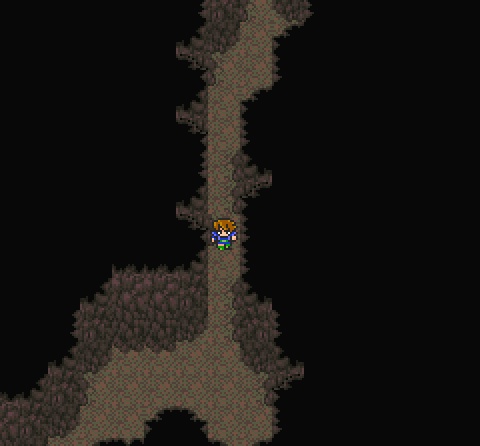
The dungeon itself is rather linear, at least to begin with.
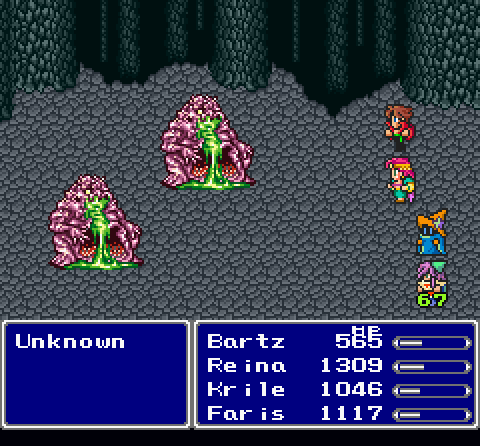
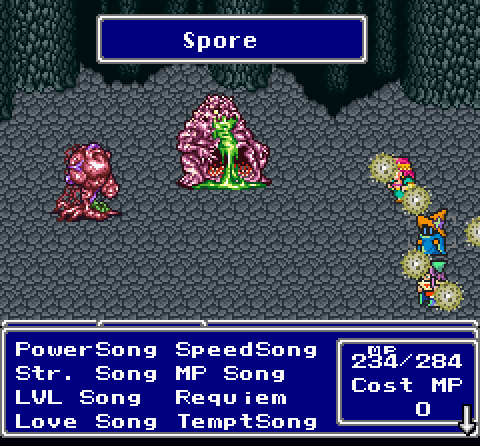
The enemies all have the name "Unknown," though there are a few different types of various disgust. They do have one very important thing in common, though.
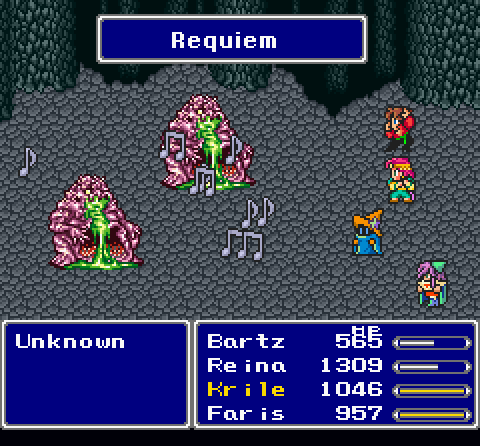
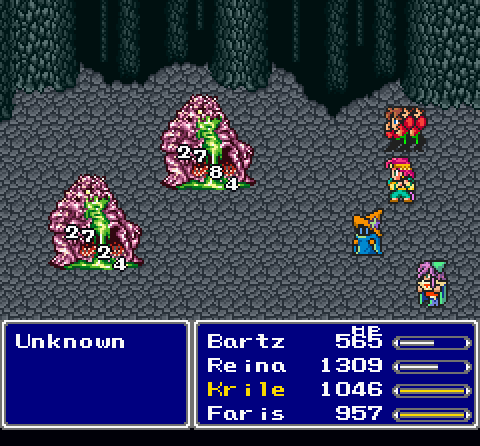
They are all undead, which means Requiem wrecks them, especially with a Black Mage's magic power. These guys are just beefy enough to require two hits of Requiem, and though physical attacks can finish them off, it's generally not recommended.
They also all give 4ABP besides a couple of formations that give 6, in addition to decent money and EXP. This makes the area a decent place for grinding thanks to Requiem, maybe even better than Bal/Val since Requiem doesn't cost any MP compared to L5 Death.
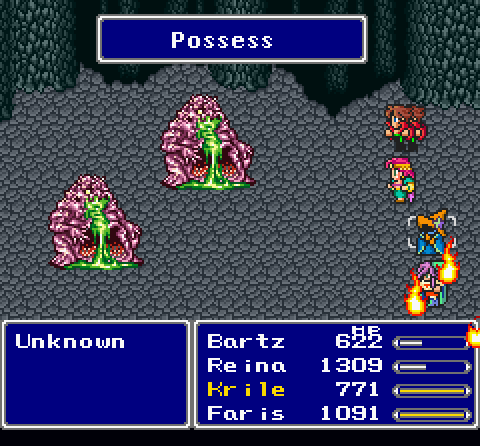
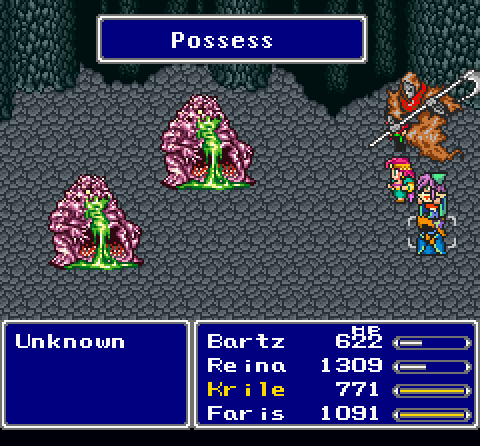
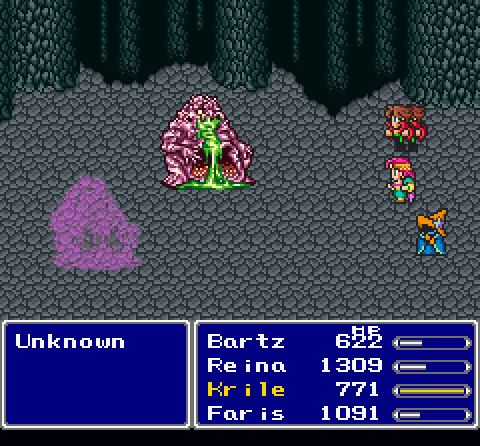
If you attack this particular variety of Unknown, it may counter with Possess, which removes a character from battle but kills the Unknown. Nifty, but I want everyone to get AP for now.
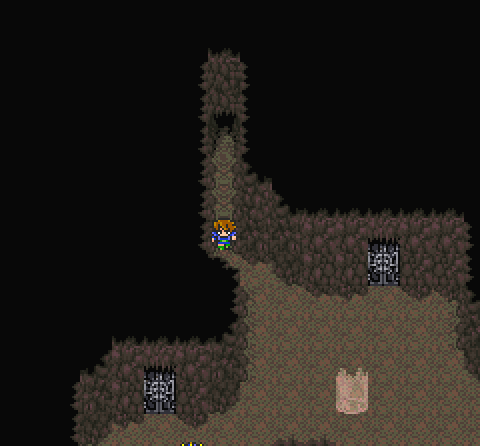
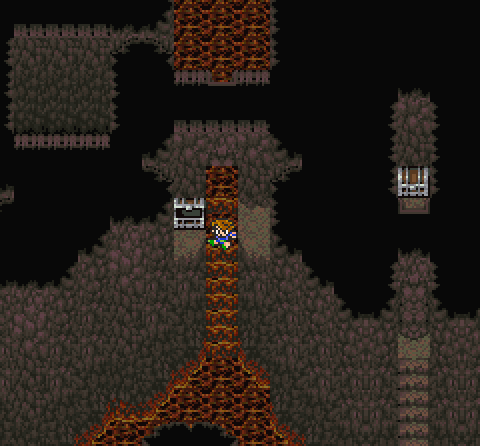
There's a lot of switches, and a lot of lava. Geomancers are recommended.

See this switch? It actually removes the path right below me, requiring either a roundabout way or for you to walk through damaging lava. Fun dick move there.
This other Unknown can poison. It also only takes one Requiem to die.
Another reason not to use physicals, at least with the Assassin Dagger. It will revive the undead if the Instant Death effect triggers. This particular animation was entertaining enough for me to show off.
This room has traps that can drop you to the floor below. You have to trek through lava to backtrack here.

One of these switches unlocks a path to treasure. It's not the closest one, though.
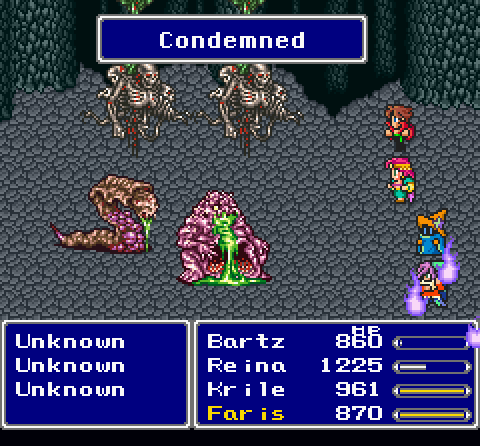
The slug can slow you, no biggie. The skeleton clusters are the biggest pains, requiring three Requiems to go away. They cast Condemned, though I finish with more than enough time to spare each battle.
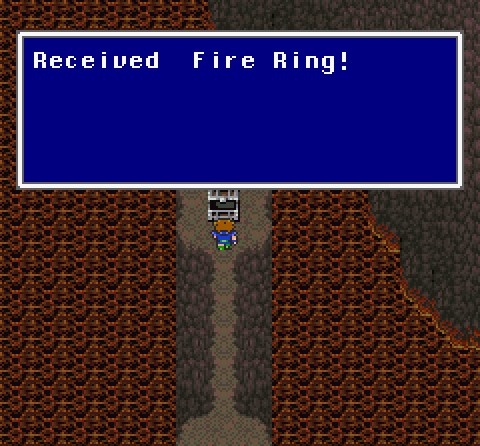
The reward for using trial-and-error to find the right switch is a Fire Ring. Could've bought this in World 1, but if you're like me and didn't bother, it's a nifty find. I stick it on Krile.
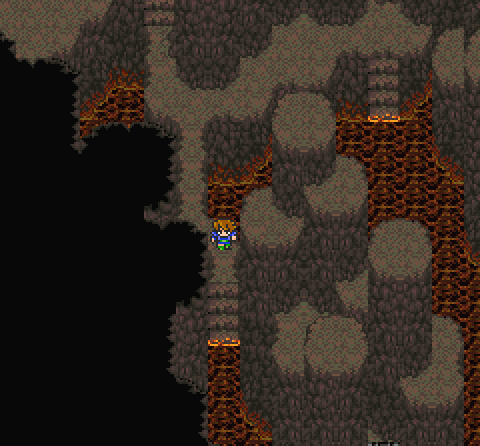
At this point, you have to walk through lava to progress.
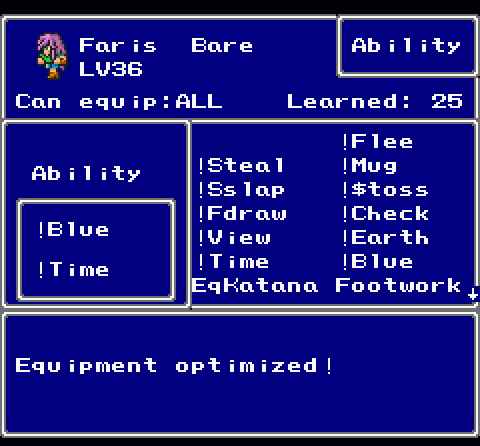
Time for Faris to switch to Bare again and take advantage of those Geomancer passives!
Eventually, we get to this area.
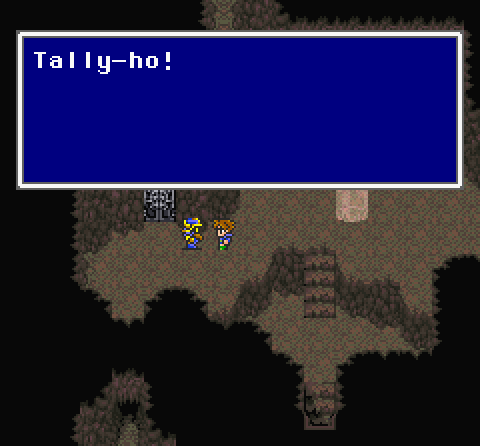
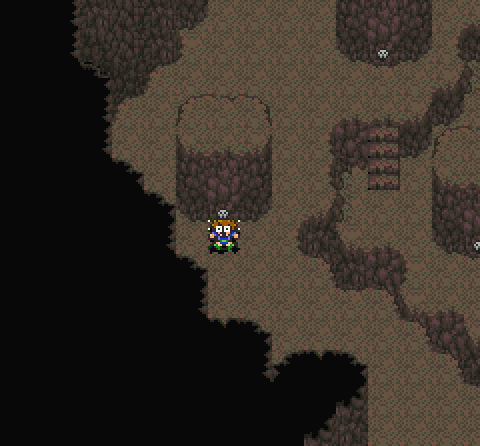
 Only five of us, but we make a fine kingdom-tally!
Did I mention FF5 also has dwarves? Because they do, though only five. Heh, five dwarves in FF5.
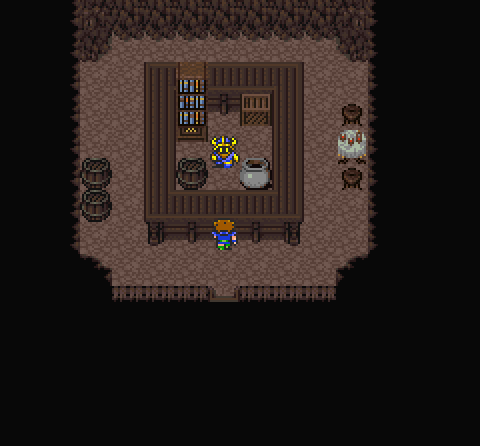
This guy will sell armor when approached from the top/bottom, and weapons from left/right. The programmers must've really liked showing off what they could do with these little details.
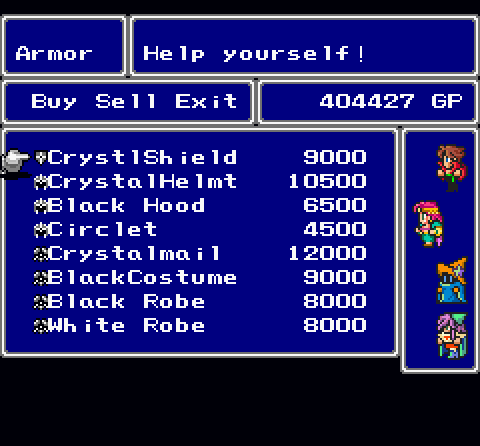
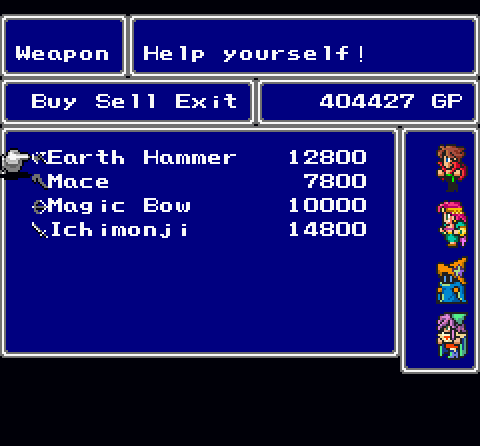
Armor's pretty similar to Mirage's, if not the same. A few different weapons, though the only major one is buyable Earth Hammers if you have a magic-boosted dual-wielding Berserker. Too bad Reina's jobs don't boost magic.
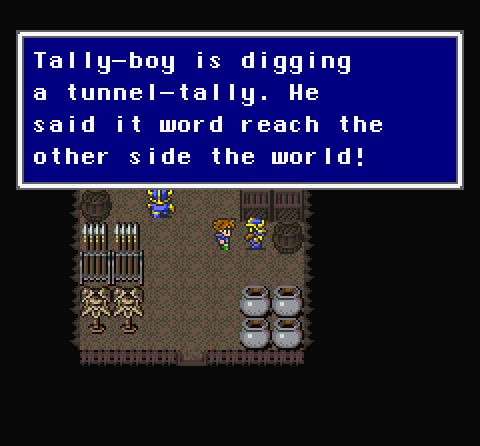
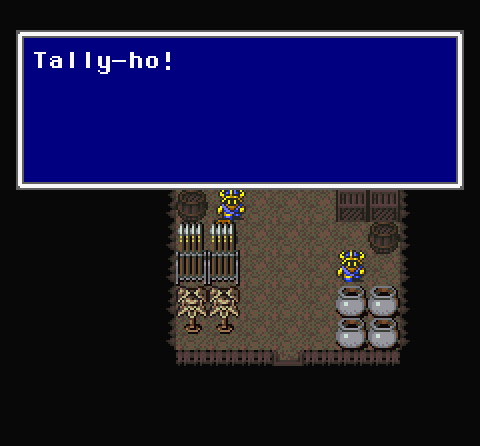
Note: They start off with "Tally-ho!" I'm partial to "Lali-ho!" myself.
 Know much about the "Magic Lamp?" Just dip it in the white waters up there and they will revitalize the lamp-tally.
This dwarf tells you how to refresh the summons from the lamp, though not where to get it.
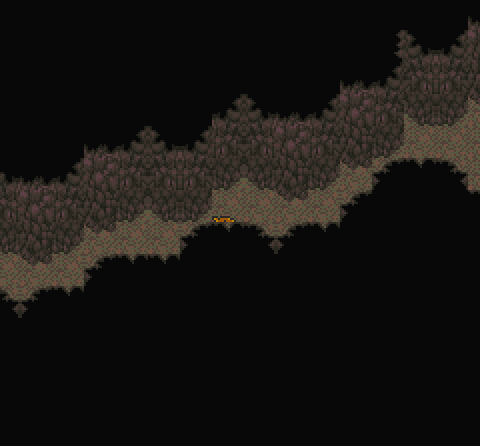
In this lengthy passage...
 groundtally. The forest should be right above us.
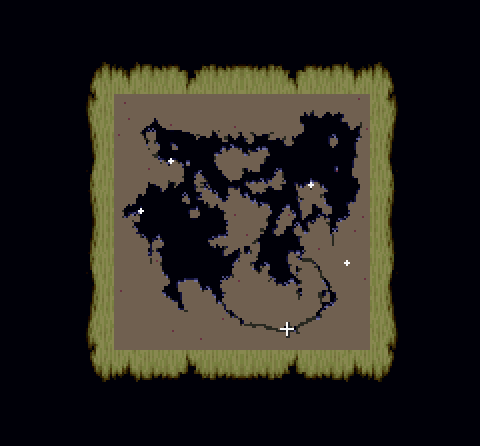
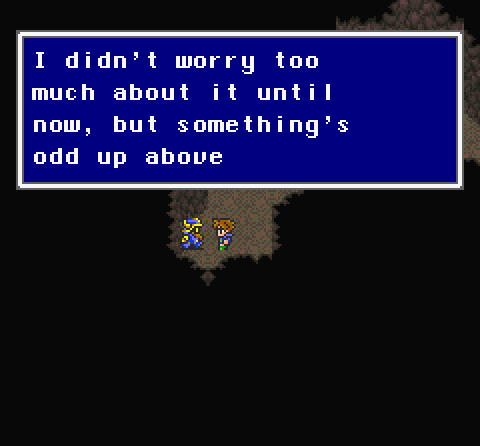
This is another hint about where Mirage is, in case you haven't found it yet.
Next up, more lava. We're almost done, though.

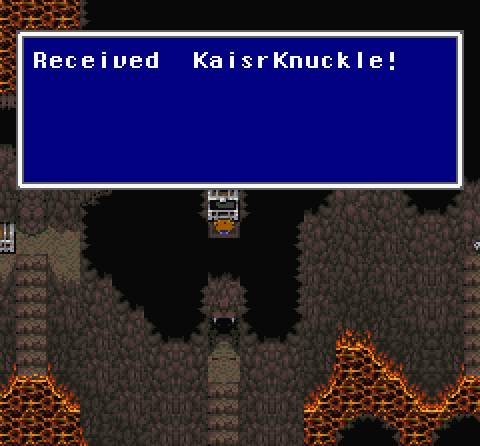
This switch lets us unlock Kaiser Knuckles, an accessory that boosts the strength of bare hands. Of course, at this point even this isn't really enough to salvage bare hands compared to all the amazing weapons available. Still, better than nothing I guess.
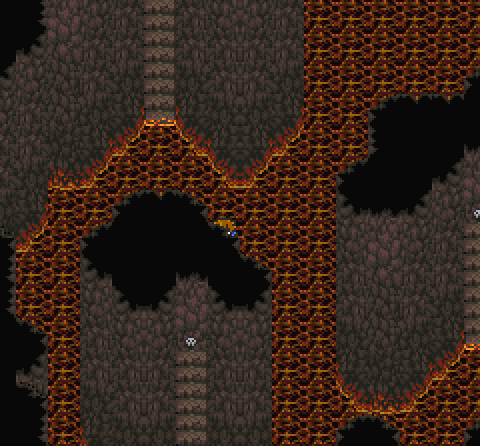
So many switches.
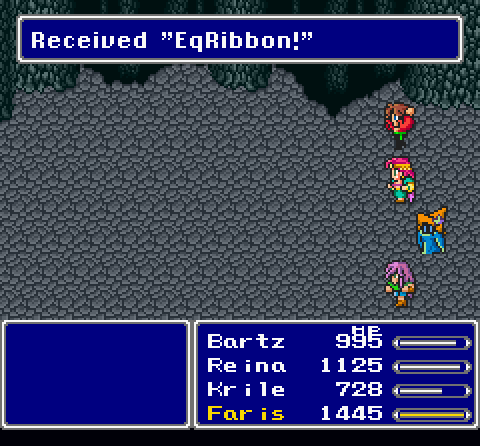
Oh, hey, Bartz mastered Dancer! Equip Ribbon lets him equip Ribbons, and in fact other dancer gear as any other job. The important one is Ribbon, though.


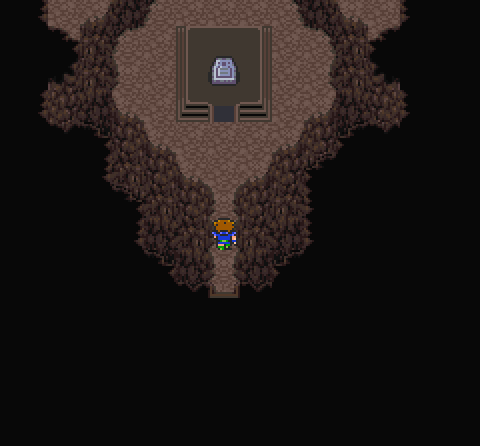
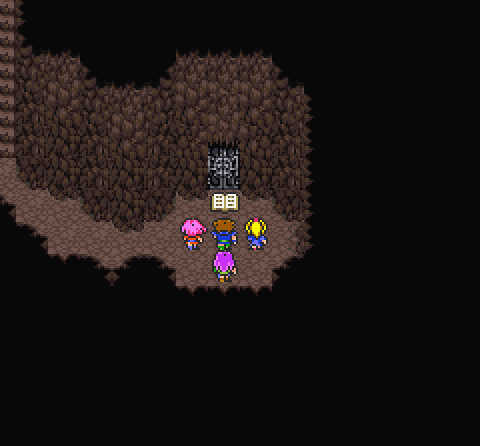
Anyway, there's the third lithograph.
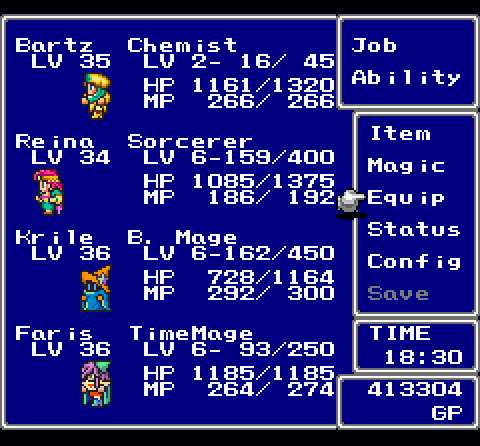
Faris goes back to Time Mage for the AP, while Bartz becomes a Chemist because that's literally the most physical job Bartz has that isn't mastered.

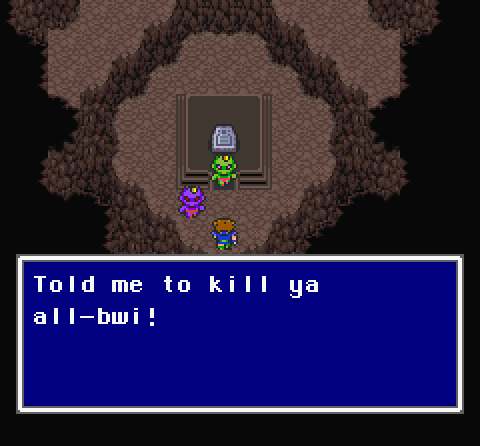
They oink in the other versions. This is honestly probably more pig-like, though.


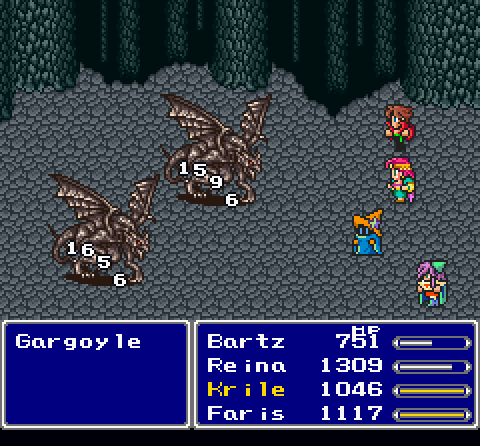
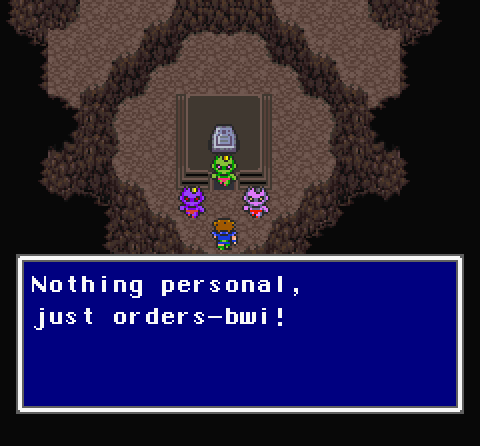
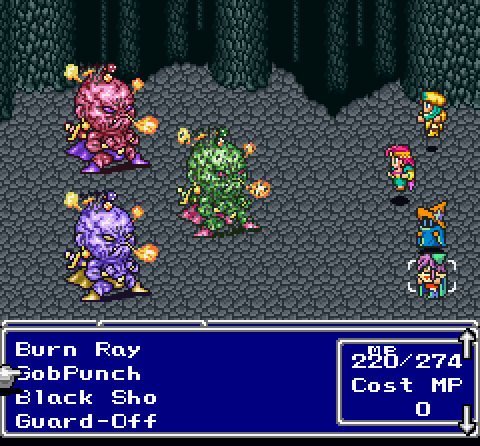
These ugly little fuckers are nastier versions of the Gargoyles, in a way.
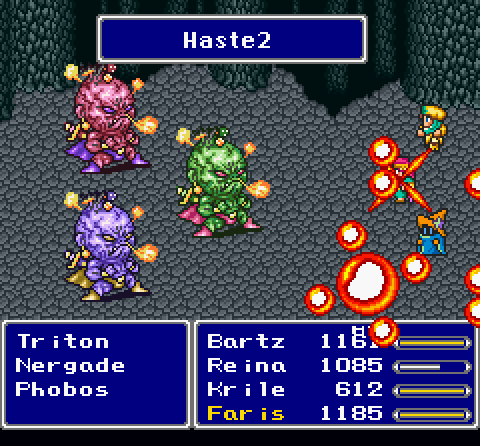
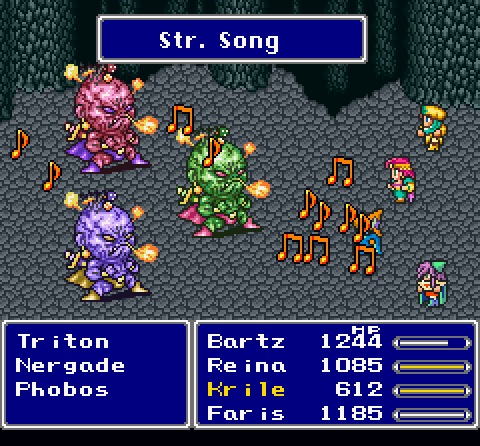
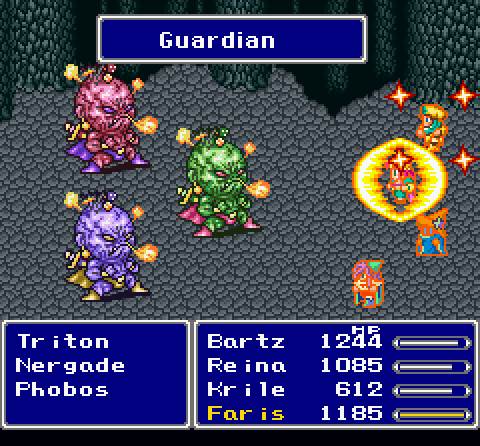
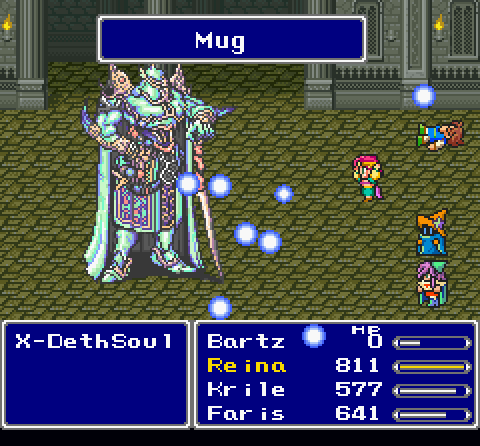
Faris casts Haste2 and Guardian, Krile casts Strength Song to inflict Regen, Bartz summons Golem to absorb physical damage. If I really wanted to, I could add Reflect and really make this team nutso impenetrable.
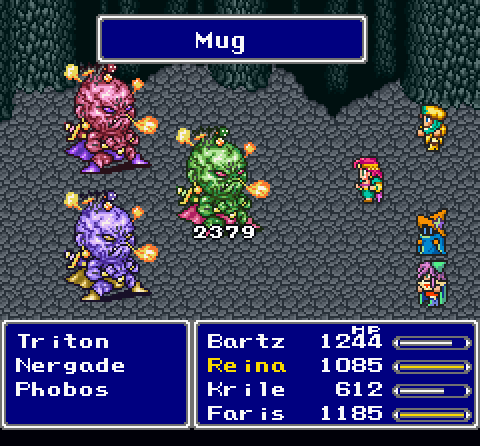
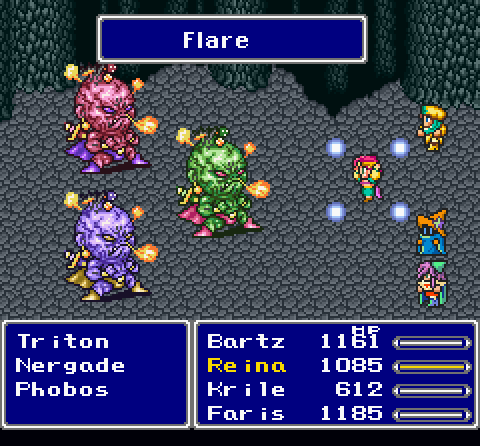
Have I mentioned Flare Sword is awesome? It way more than makes up for Reina's currently crappy damage output. I can't wait to use this in a class with more firepower!
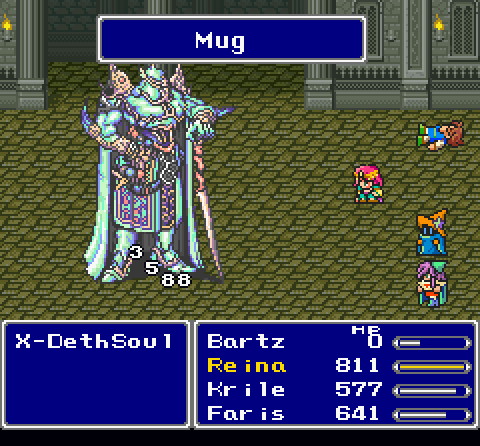
This isn't Firaga or anything, this is good old-fashioned Requiem.

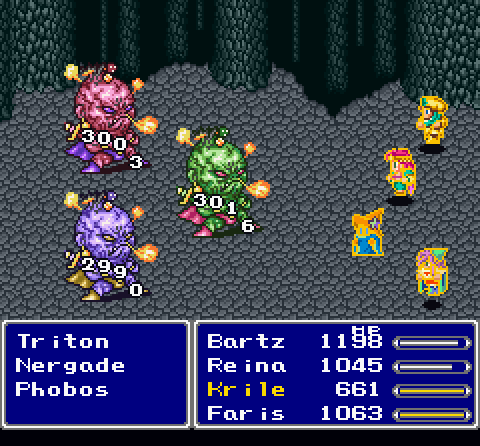
I said this is similar to the Gargoyles because if you kill one, it'll automatically revive soon unless they're all dead.
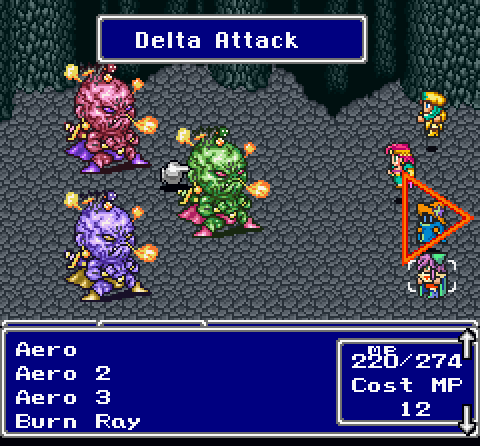
Worse, then they'll do Delta Attack to petrify a character. Thus, the idea is to try to kill them all simultaneously.
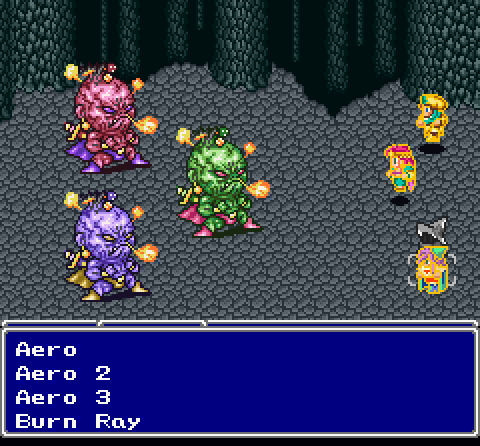
So I do so.

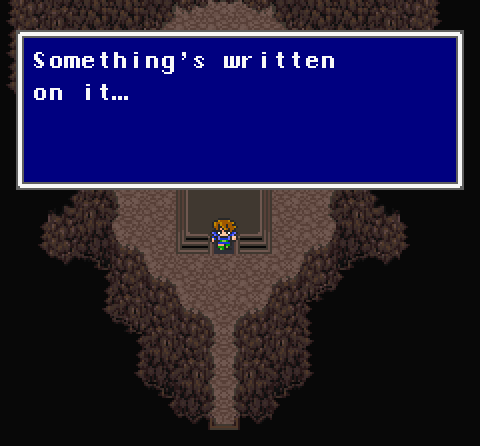
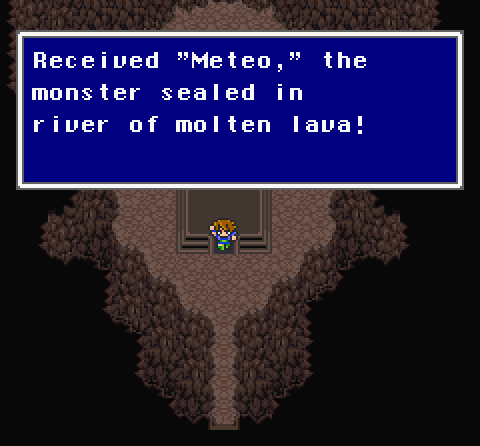
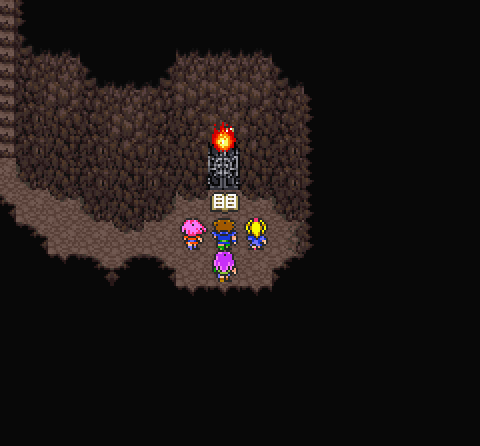
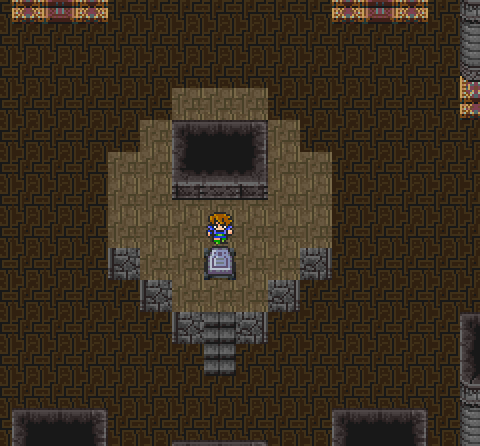
So we have another lithograph, and we've unlocked Meteo, the ultimate Time Magic spell. Ignore the rest of that text, it's random gibberish that makes no sense.
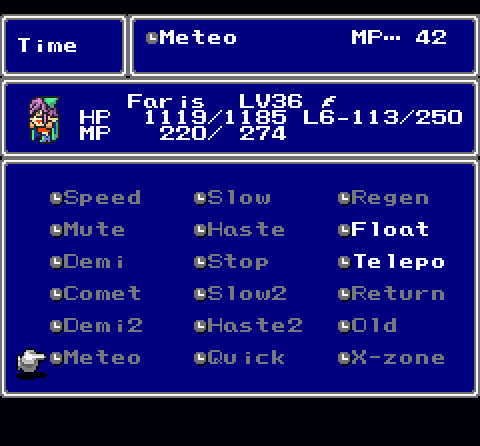
Meteo is a souped-up Comet that hits four times, albeit to random targets, and with random damage. Still an awesome spell on its own accord, and it's like Holy for White Mage, in that it's the only major way for Time Mage to inflict big damage. It's simply that this method is more chaotic, though awesome.
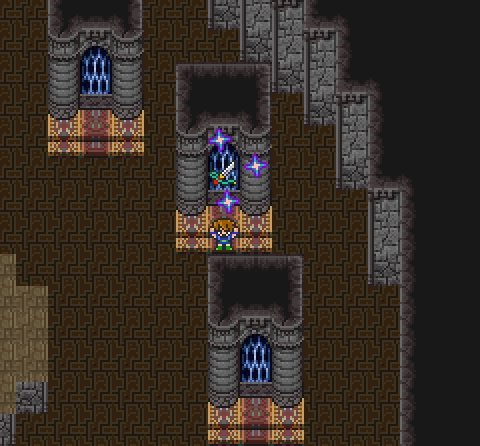
Since it's a short dungeon, let's go ahead and get these weapons.
Here's Odin when he can't instantly kill something, by the way. He's still not useless, just less impressive (though to be fair, Shield Dragon is tanky as hell).
Oh, lovely Holy damage.
Anyway, time for some more weapons.
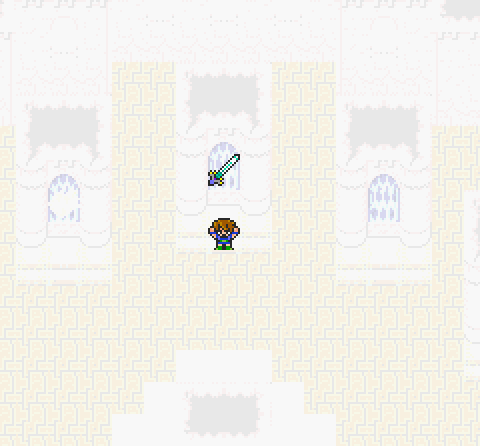
Jeez, can't believe I waited until the third lithograph for this. This thing's powerful and holy-elemental, though only Knights can equip it. Once Reina masters Sorcerer, though, she'll be putting this baby to good, good use.
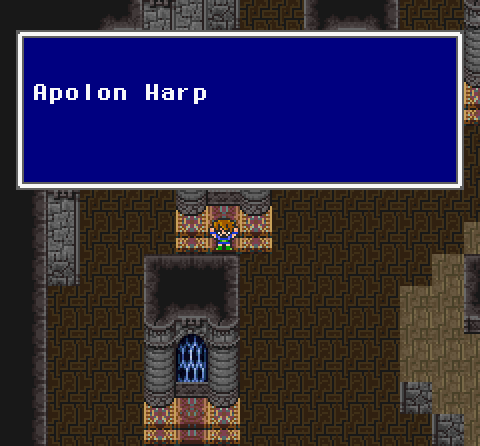
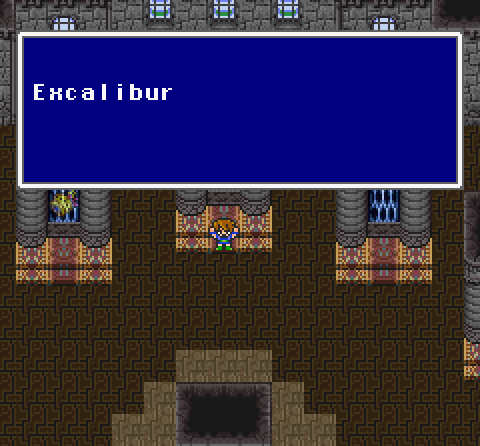
It's supposed to be Apollo Harp. Anyway, you know how I said harps sucked? This is the exception, as it does pure damage rather than rely on doing a small percentage. This thing also wrecks havoc on both dragons and undead (though so does Requiem for the latter). A surprisingly decent weapon.
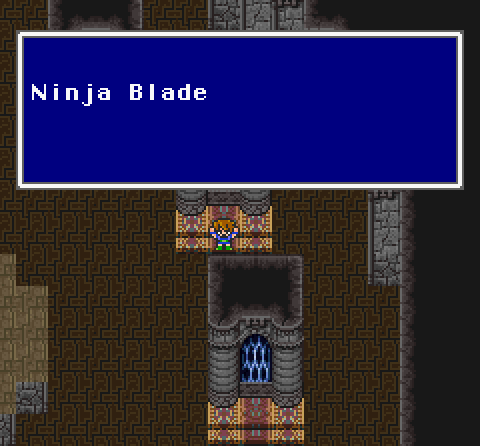
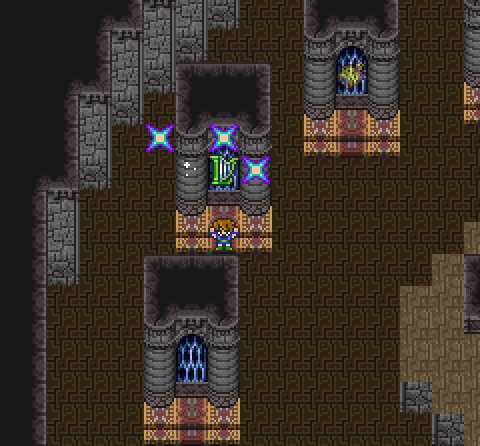
In the inventory, this is the Sasuke. This is a Ninja-only weapon that, like the Hunting Knife and Defender, has a chance to block physical attacks. I can't really use it at this point, but I just picked it because the rest of the weapons left suck.
Next time, I finish up the remaining side quests, then the final lithograph dungeon, and then we tackle the final dungeon. We're coming up on the end!