Part 38: Reina vs. Animal Mutilation
So today (May 29, 2013 for archive readers) marks my two-year anniversary of doing Let's Plays. Here's to more.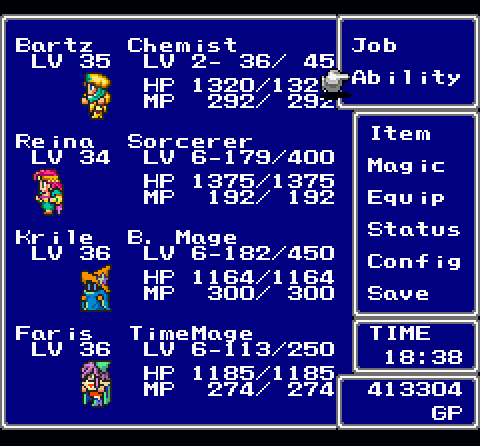
We're actually going to make some good progress on jobs today, and none of it even involves any grinding.

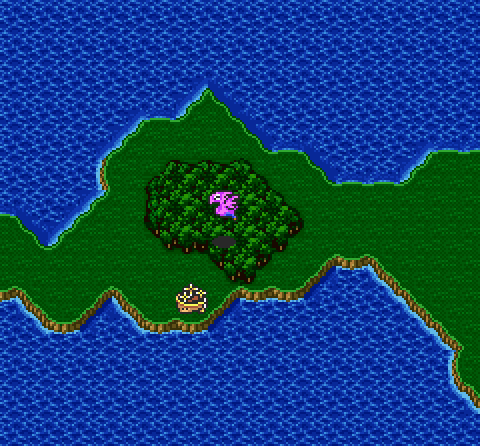
As far as I can tell, I've cleared all side-quests besides for two more dungeons, which I'll be doing today. To get there, we need the Black Chocobo, as there's no spaces for an airship to land, though there is a forest.
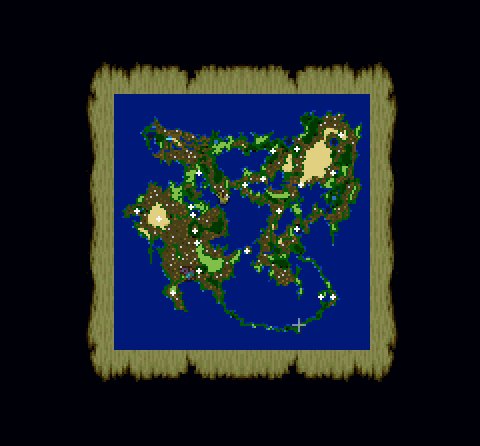
Namely, the northeastern area with the huge desert surrounded by mountains.

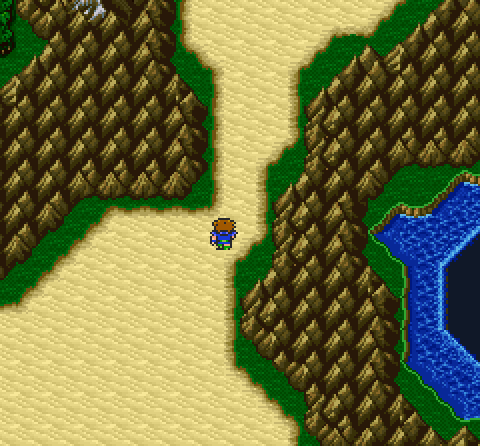
There are two points of interest, the first being the northeastern part of this desert.
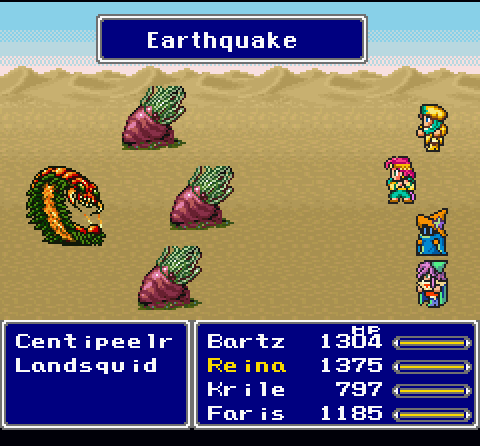
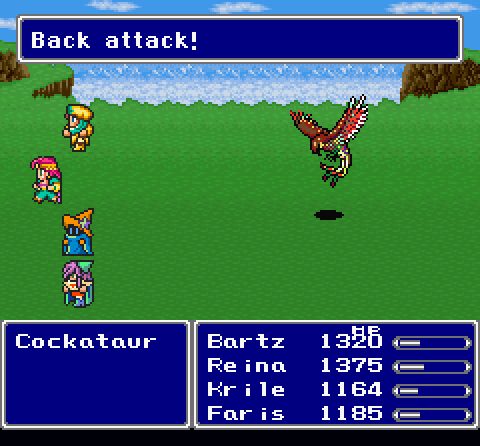
Centipeelr can use Earthquake and the Landsquids hit hard.

That said, Odin thrashes them easily enough.
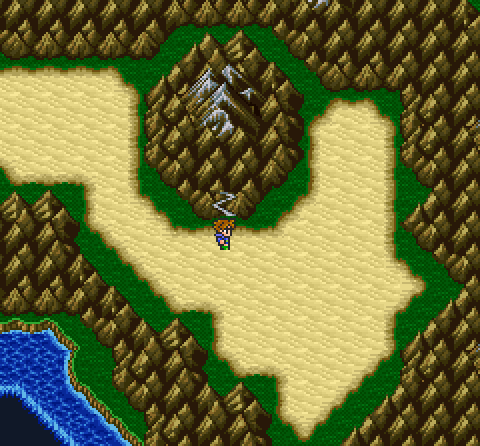

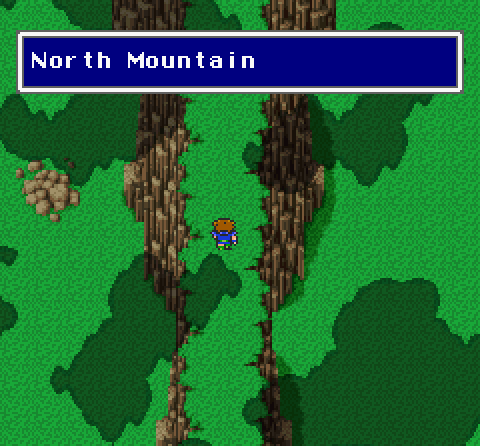
North Mountain is the place where we first got the Dragon in Bartz's world.
The enemies and layout are exactly the same. There is one thing new, and you may remember it being mentioned a few updates ago.

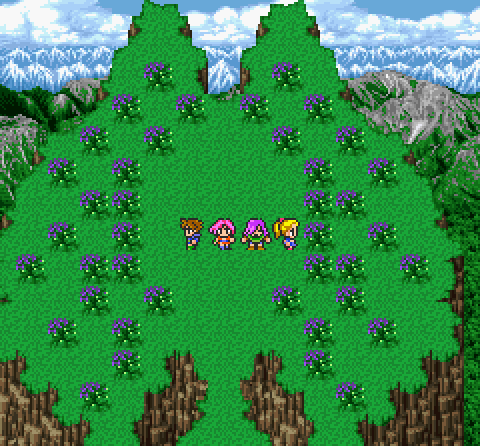
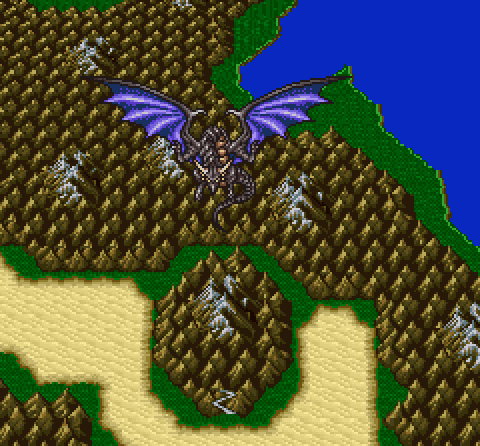
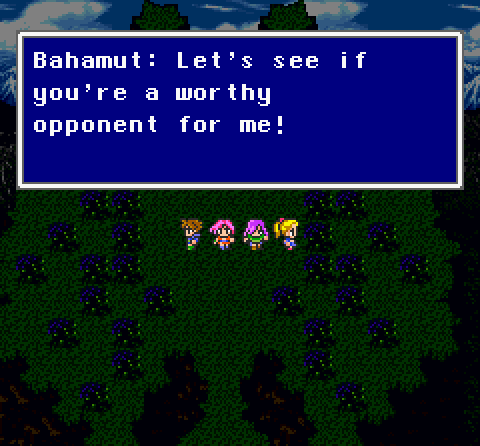


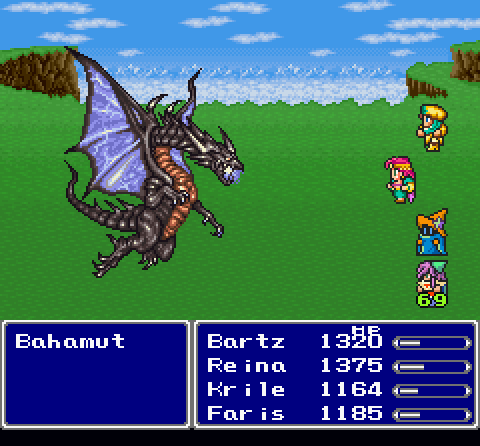
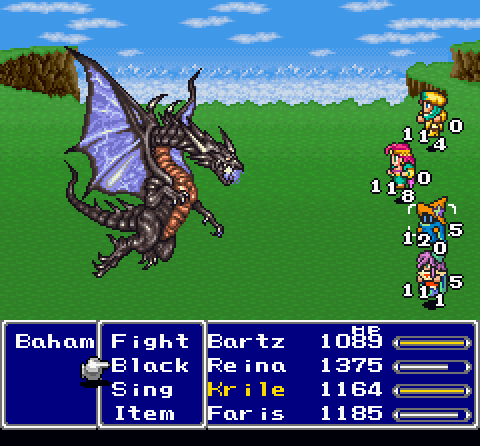
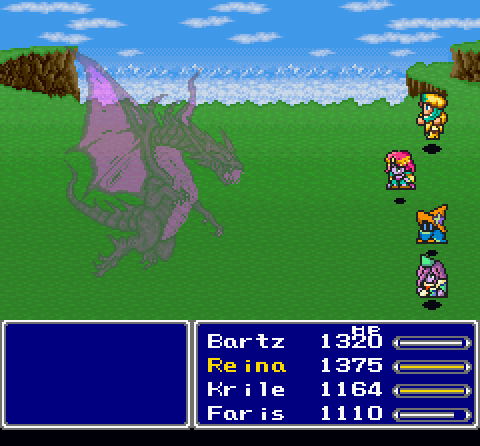
Bahamut told us to challenge him in North Mountain, so here we are.
Quick is a nifty Time spell that lets the caster take two turns immediately. Thus I can cast Haste2 and Guardian without anything else happening. It's kinda overkill, and Quick is expensive as hell, but why not take advantage of it?
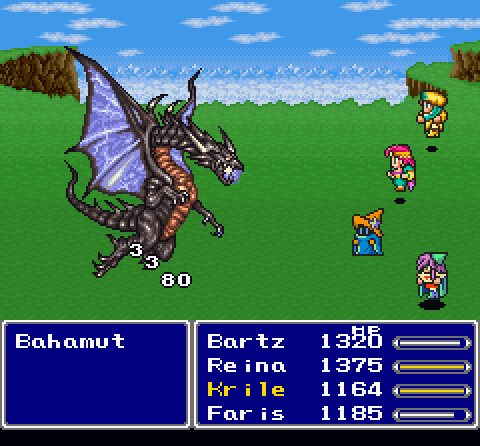
Anyway, I spam my Flares on the king of them.
Carbuncle also comes in handy on here, as you probably know why if you've ever fought Bahamut before in a FF game.

Meteo will hit four random targets for random damage. Of course, if there's just one enemy, it'll hit that enemy four times. Even with dud hits, it's still one of my most powerful attacks against single-target monsters.
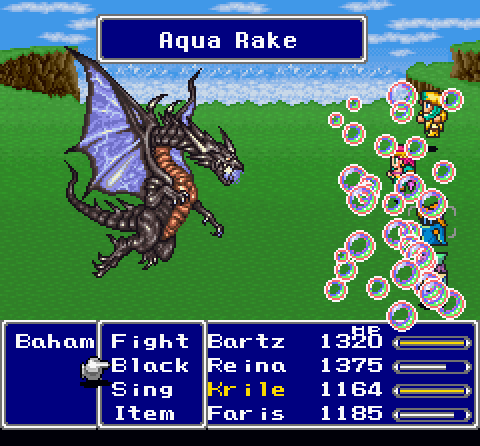
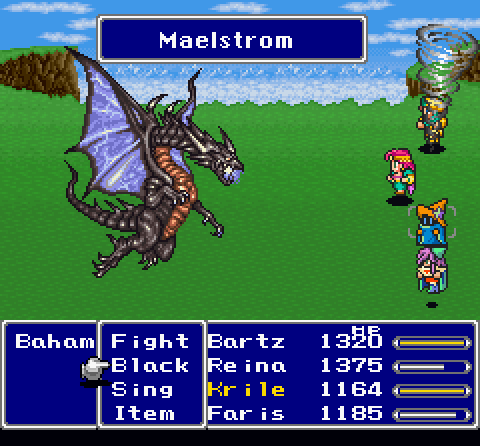
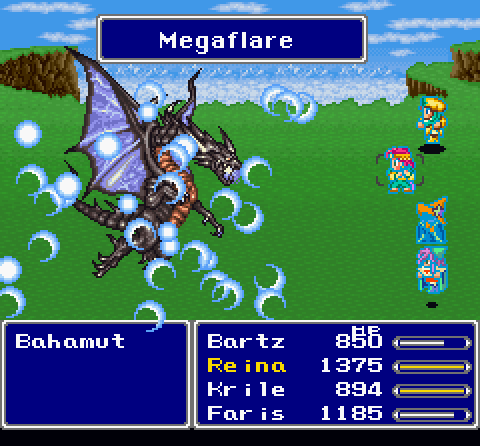
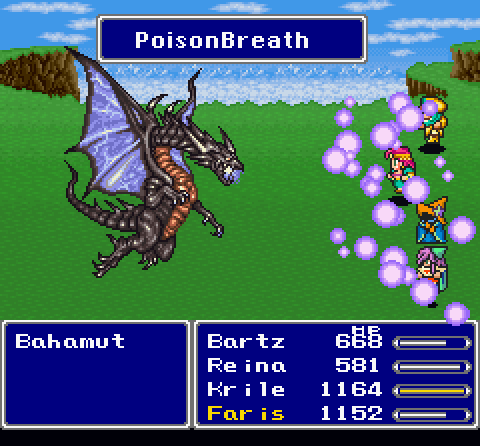
Bahamut has Aqua Rake, which deals alright damage, and Maelstrom, which can reduce targets to single-digit HP. Of course, he also has
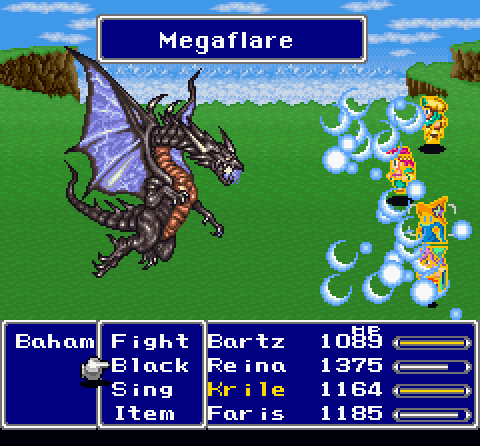
Megaflare, which wrecks my shit because Reflect wore off.
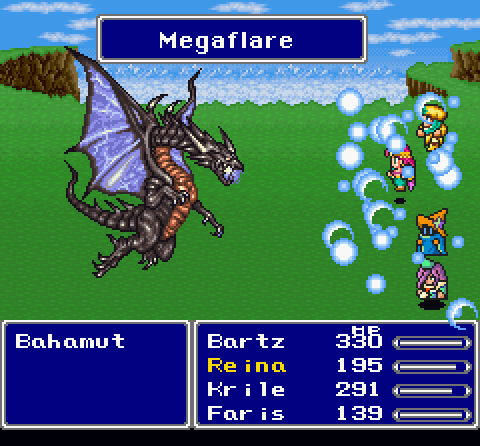
And that's it for that attempt.
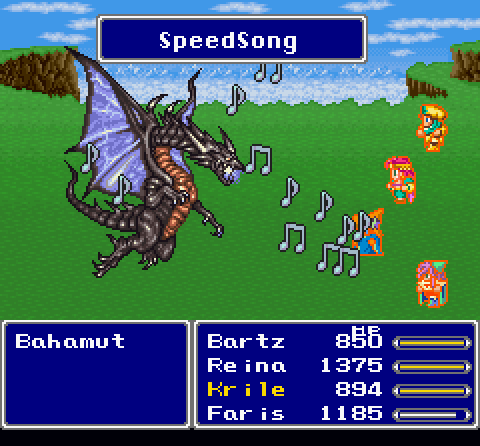
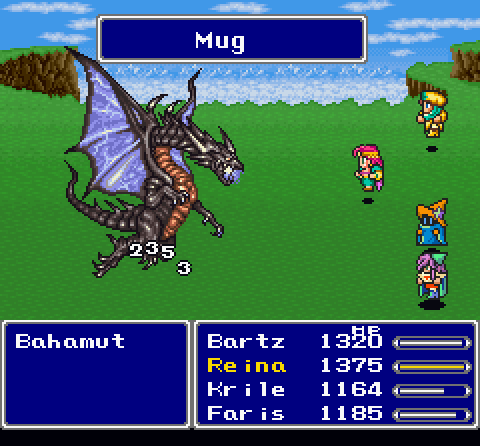
So let's run circles around the fucker.
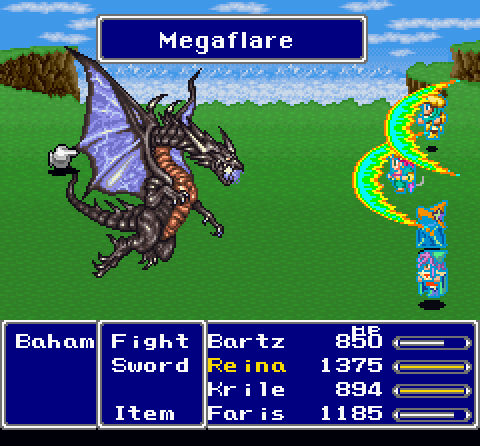
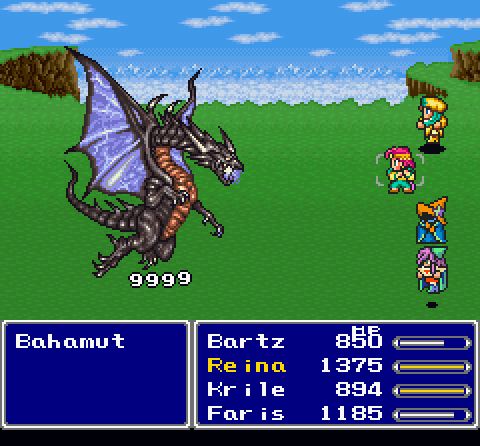
And of course, if your party has Reflect up, Bahamut's attack will bounce off it and hit him for huge damage.
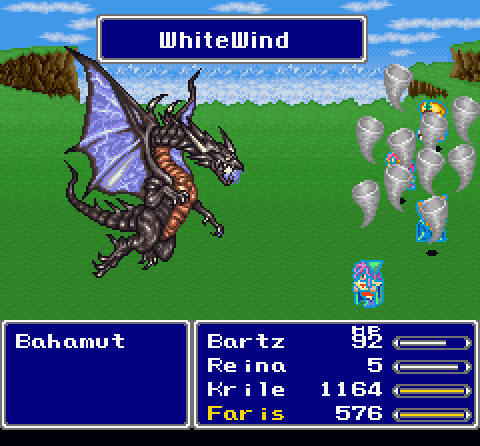
White Wind goes through Reflect, too.

Another Megaflare and a few more attacks take him down.
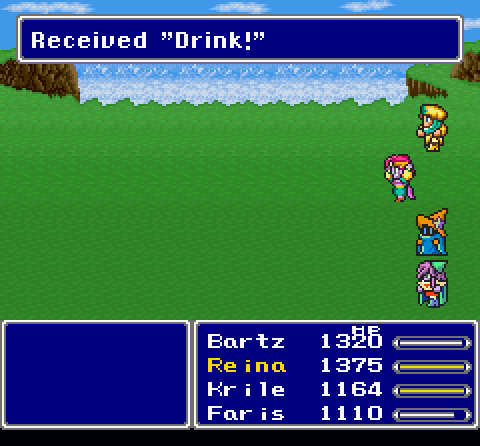
Bartz picks up the ability to drink certain items to boost his stats. It's better than you think, it's just that it has to compete against Redx2.
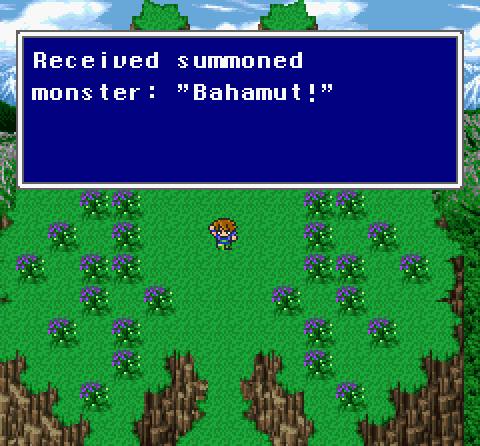
Which can now dual-cast Bahamut. Woo!
And here's that dragon in action. Nice, though also along the lines of a Magus Rod-boosted Hydra.
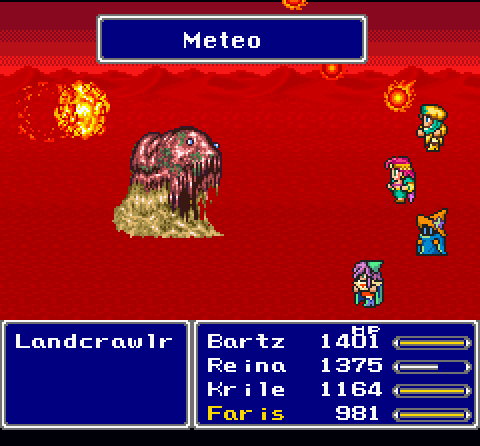
Also, Landcrawlrs from the second world still roam here, though I can take care of them more easily now.
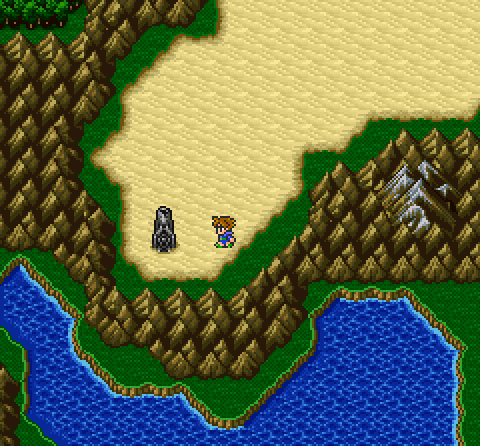
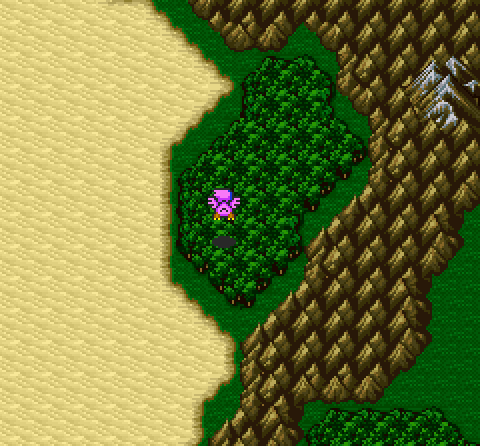
The second, and much lengthier, area is in the southwest corner of the desert.

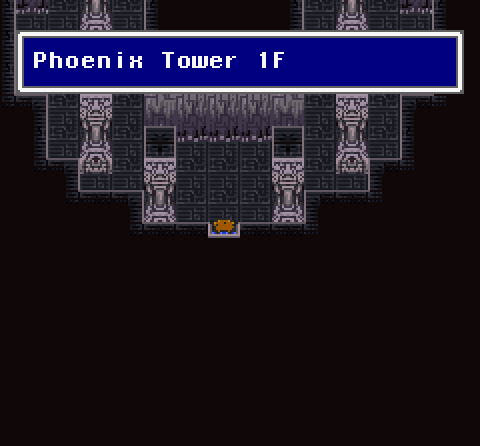
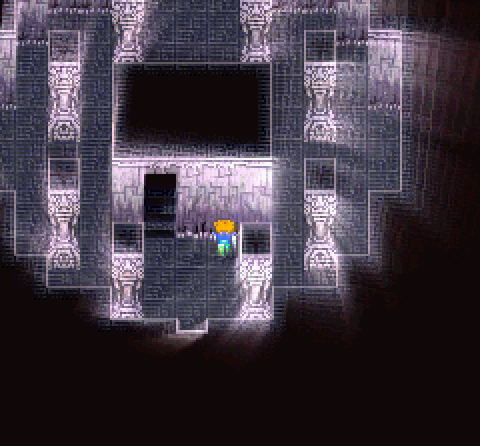
The Phoenix Tower is a vertical dungeon, where the rooms are small, but you have thirty floors to scale and a few gimmicks to take care of.
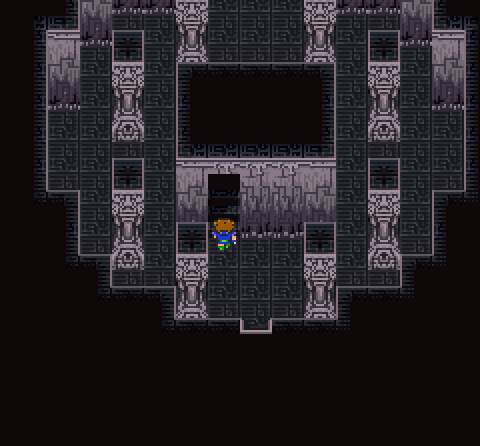
Each path has two doors obscured by walls. One of these two will throw an enemy at you to defeat first, though they're not that difficult. Hell, they're probably safer than the regular encounters here.
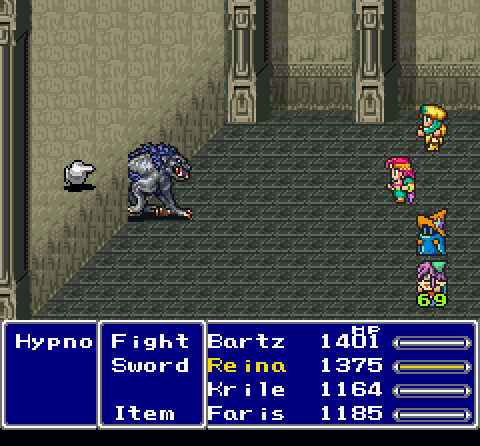
For instance, Hypnot here doesn't really do much but take a few hits to go down.
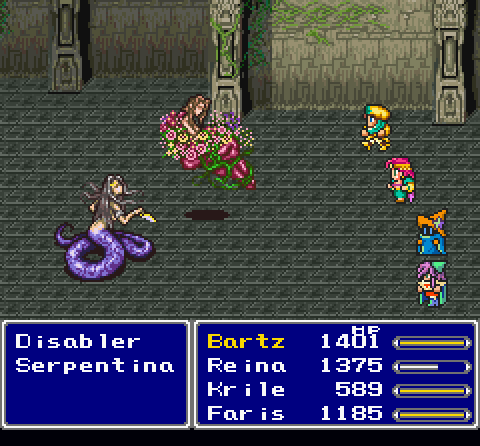
For regular encounters, Disabler can do...things. I forget what exactly she does.
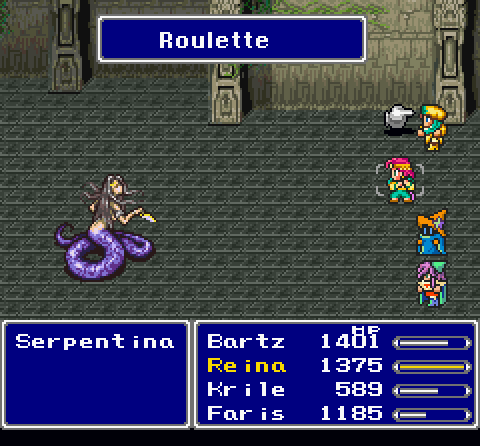
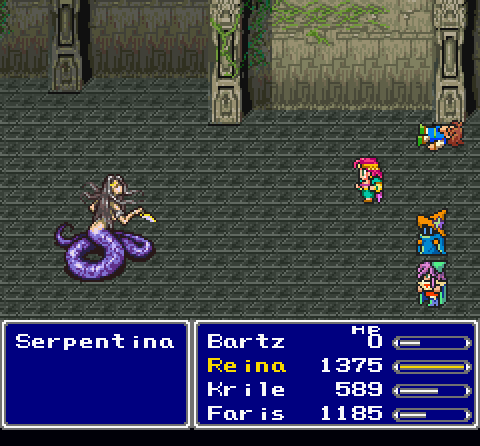
Serpentina casts Roulette, which means a random person dies, friend or foe. Usually one of my guys, since I outnumber the enemies, though it's still nice when they hit one of their allies (except when I want it to hit Faris so she'd learn the damn spell, as it's Blue Magic).
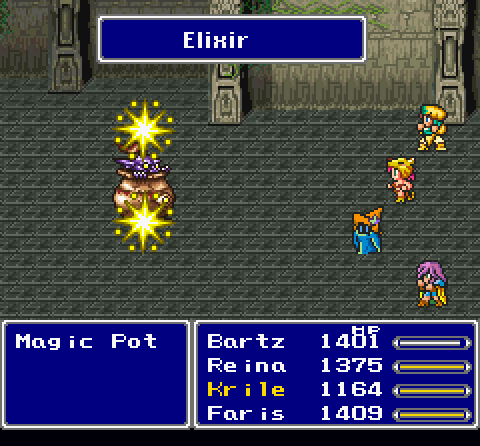
Every fifth floor, you run into two pots. One is simply GP. The other...

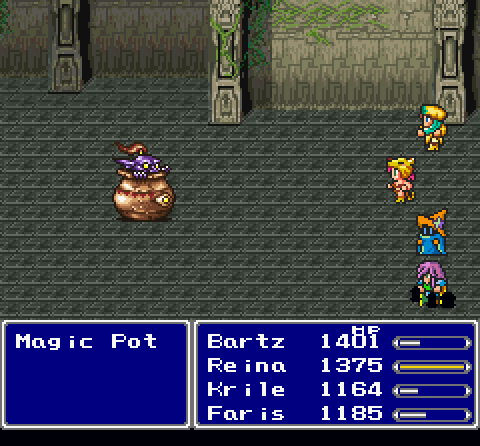
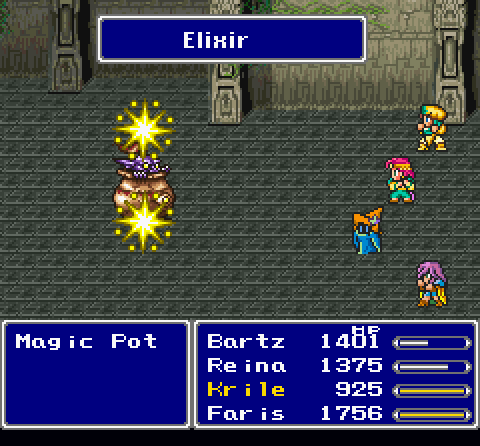
Meet Magic Pot.
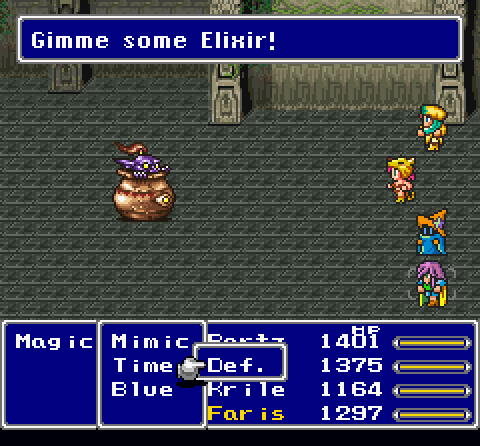
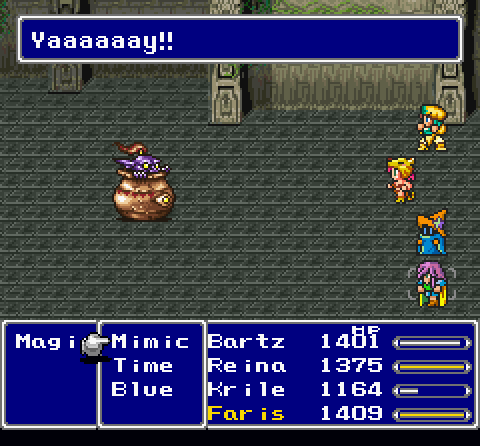
The gimmick is that you need to give him Elixirs, the amount of which is random. Sometimes one will suffice, sometimes you need to give him a few. A FAQ I read suggests using Mimic to duplicate Elixirs or to cast Reset to restart the battle if it takes a lot, but you can't really do either (the latter because you can't cast any magic in this battle).
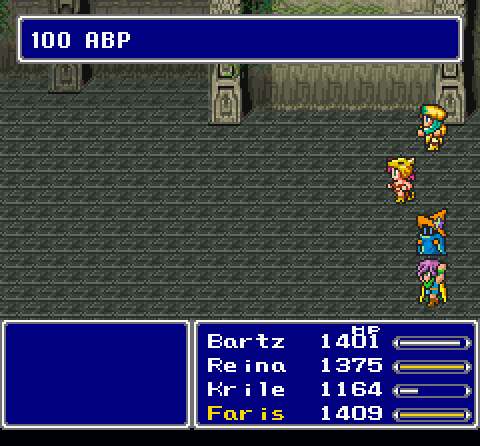
The reward is nothing to sneeze at, as 100 ABP is huge.
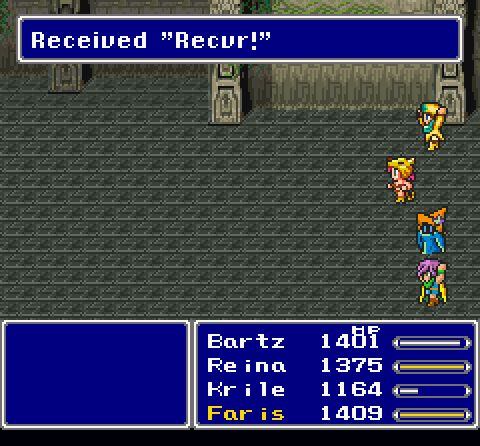
Enough to give Bartz Recover, which restores status effects. Lame.
That's also why I put Reina in Berserker, so she could grind AP for that.
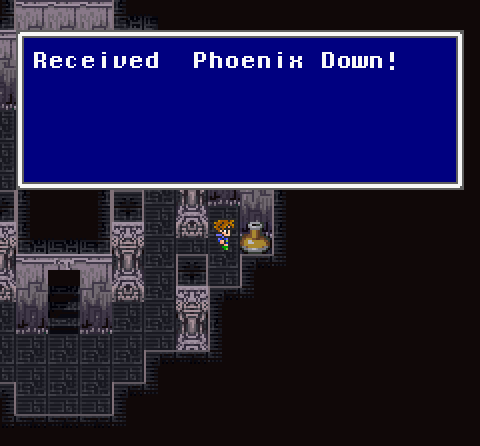
Most of these guys also drop Phoenix Downs.
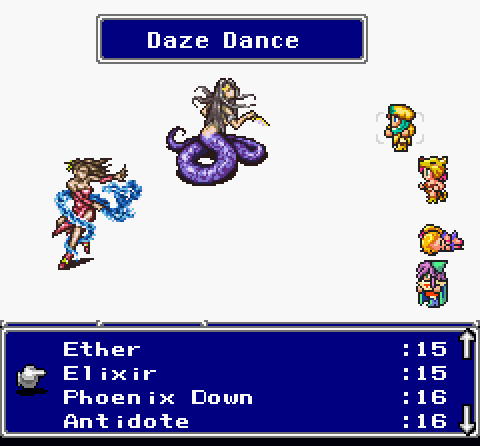
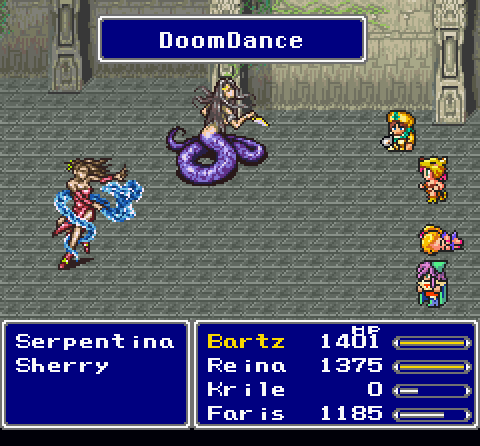
Sherry does all sorts of nasty dances, including inflicting sleep and instant death.
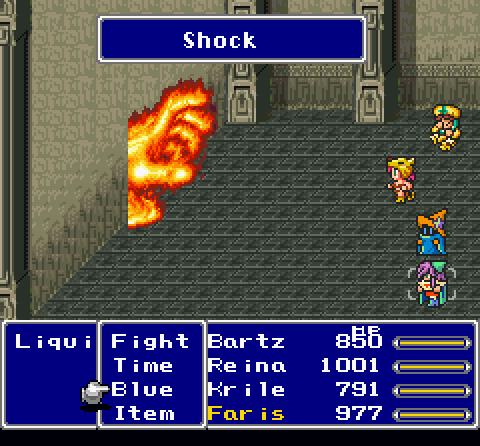
LiquidFlame actually pops up as a wall guardian.
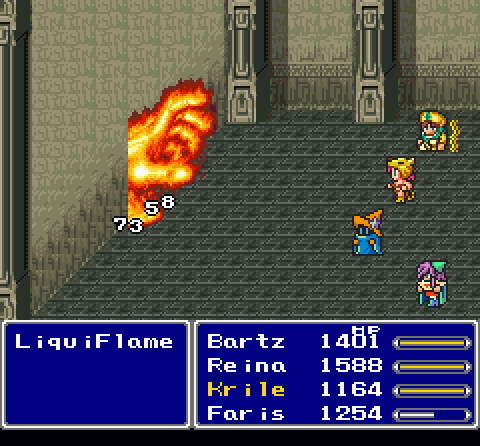
Though at this point, I can more than handle him.
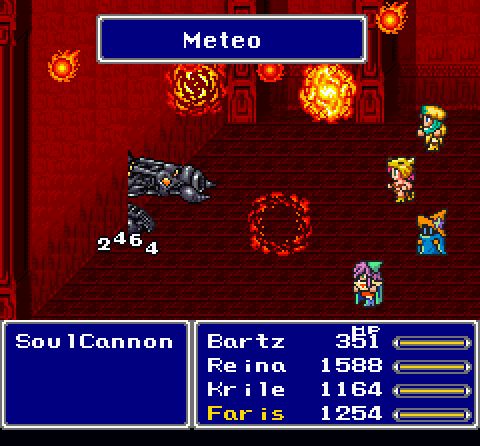
SoulCannon's also around, though his nastiness is mitigated by my higher levels.
Floor 10, another Magic Pot.
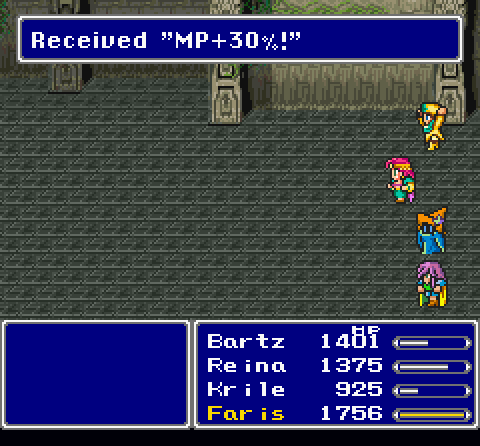
And Krile masters Black Mage, getting a 30% boost to MP in the process.
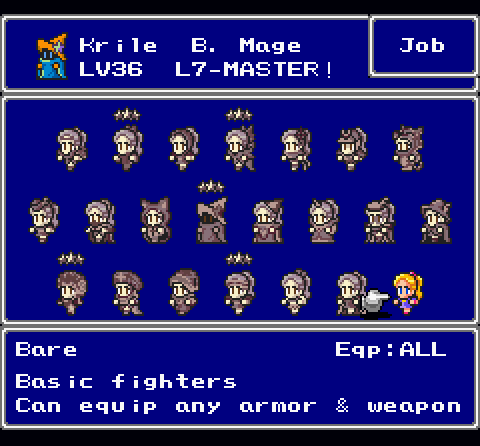
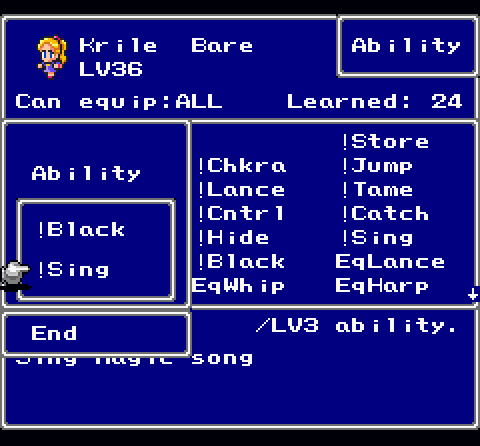
Krile has mastered all five of the jobs you guys assigned to her! Now she's ready to go to Bare, set with Black Magic and Sing with all the equipment options she could ever want.
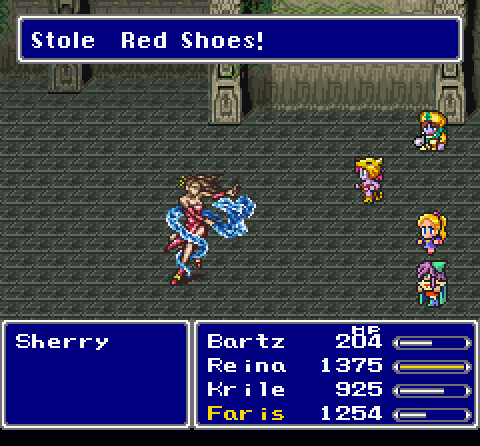
I keep Reina in Berserker to grind her close to mastering it, and give her the Thief Knife to steal things. The Red Shoes boost the chances of a Dancer hitting Sword Dance with Dance.
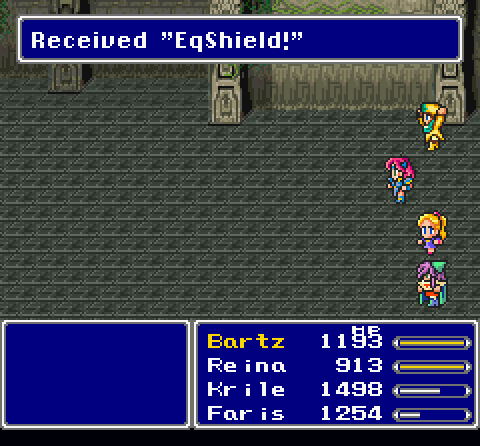
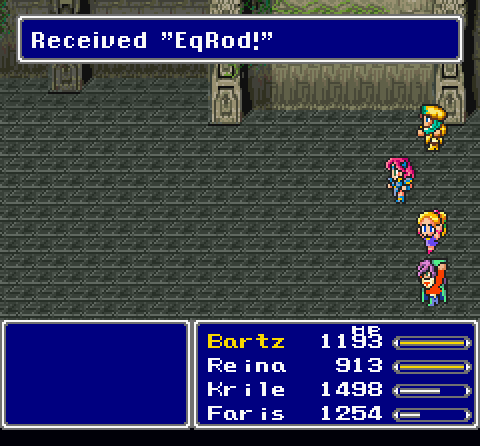
The Floor 15 Magic Pot gives Knight Reina Equip Shields and Faris Equip Rod. I assume you know what both of these do.

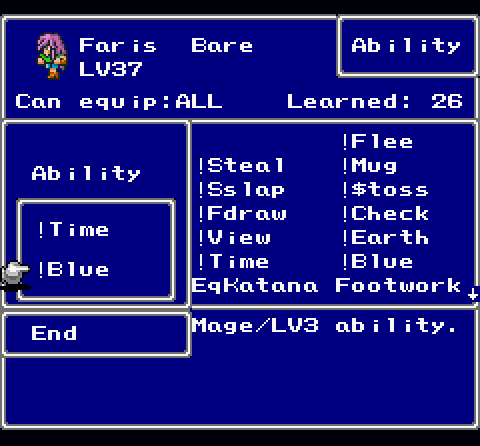
This also leads to Faris mastering all five of her jobs. All she needs for now are Time and Blue magic.
Floor 20. No new abilities, though Reina's close to mastering Sorcerer and Berserker, and this brings Bartz close to mastering Chemist.
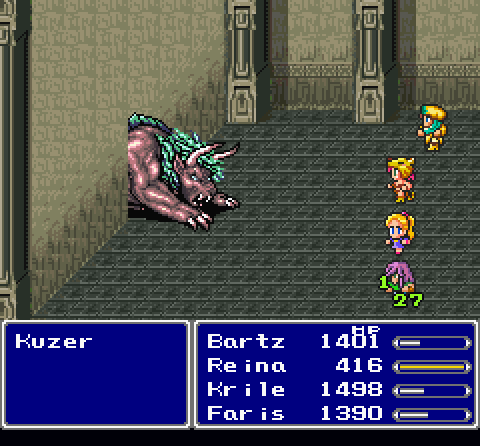
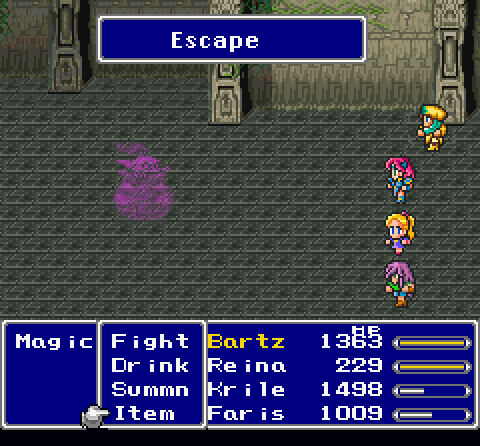
Kuzer hits and stuff. Nothing exciting.
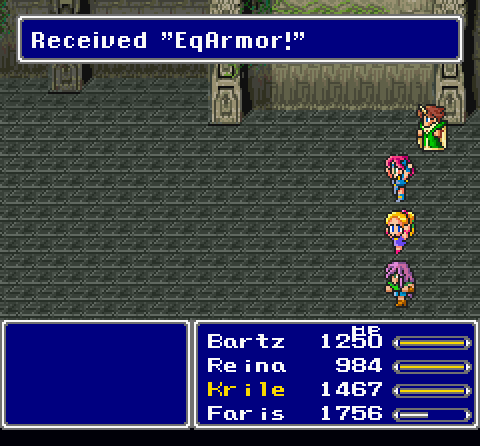
Another Magic Pot, and Reina picks up Equip Armor. I'm trying to maximize my AP gains by switching to jobs that aren't close to max.
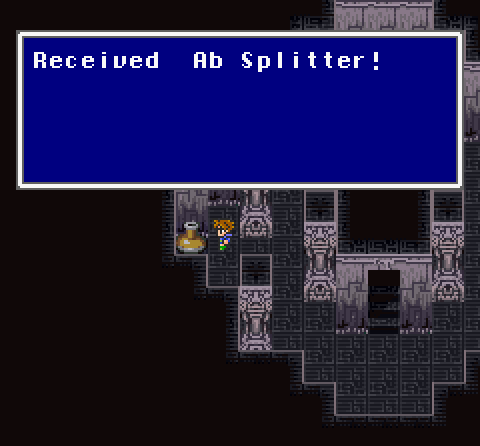
This one drops the Ab Splitter. This is actually a bow, and I already got one somewhere else. I'm guessing this is supposed to be Aevis Killer, which destroys bird enemies.
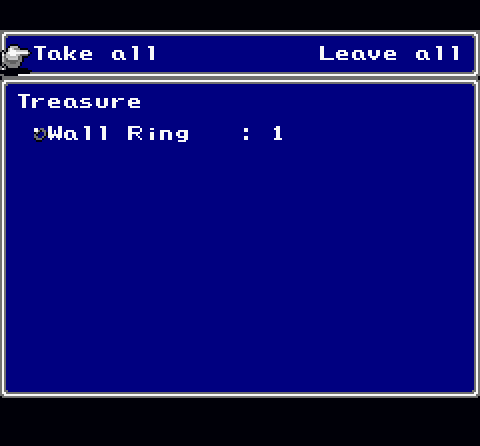
Some of the enemies here drop Wall Rings, which give reflect when equipped on someone. Handy.
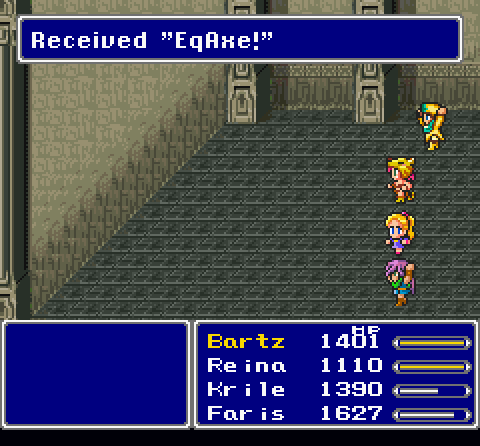
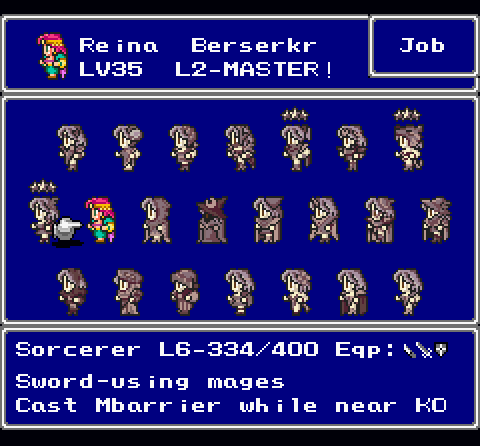
Oh, hey, Reina mastered Berserker! The second of two abilities Berserker learns is Equip Axe, though axes are too gimmicky and random compared to all the other awesome weapons available.
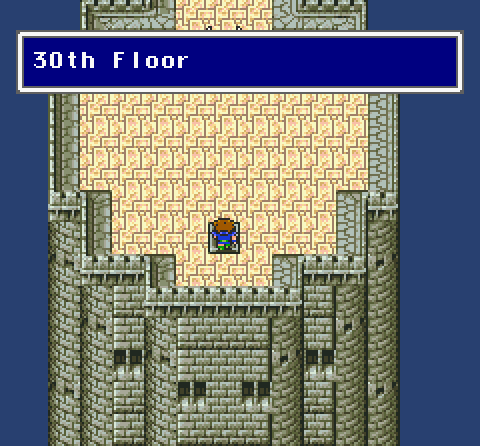
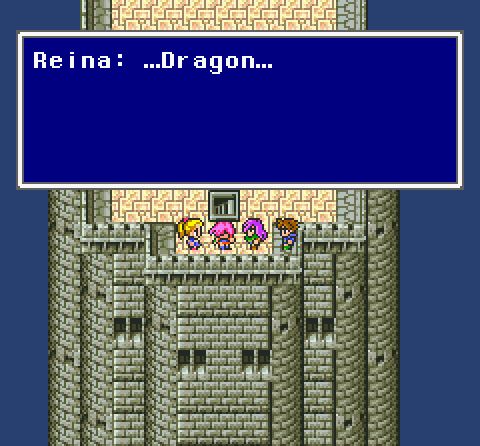
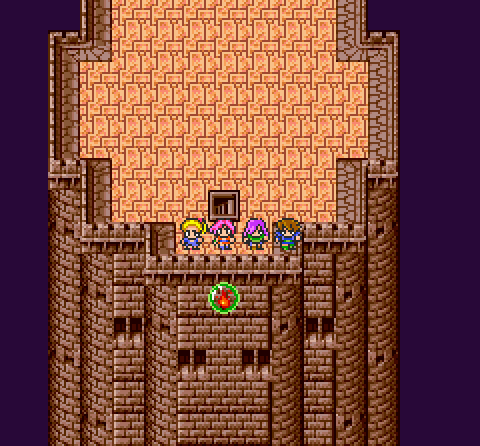
And so we finally make it to the top of the tower.
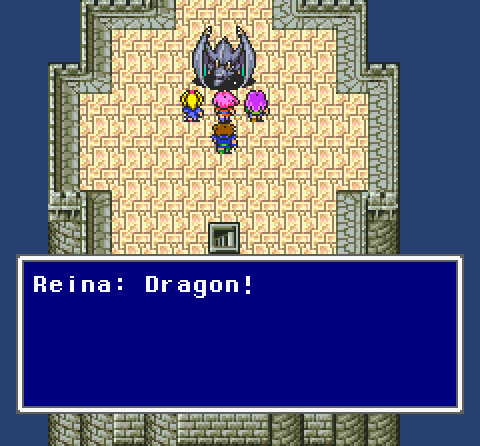
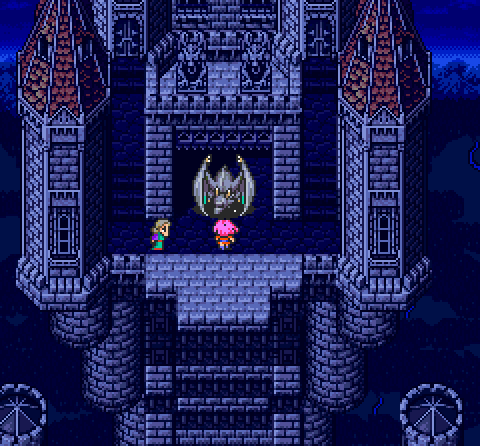
 Is this the one who helped Reina?
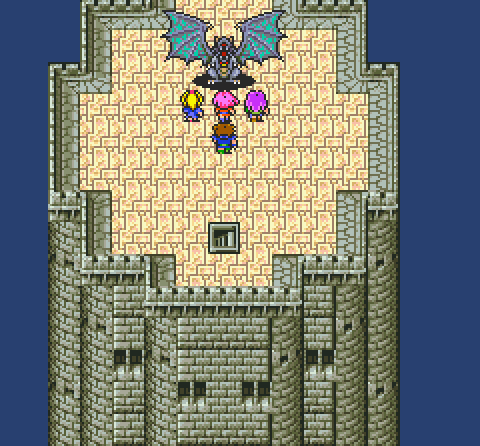
 He says he's going to do something to help you, Reina.
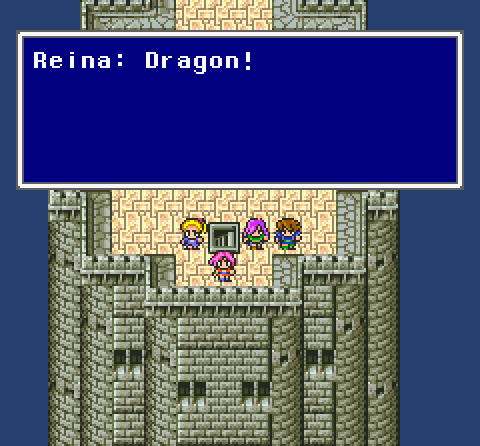
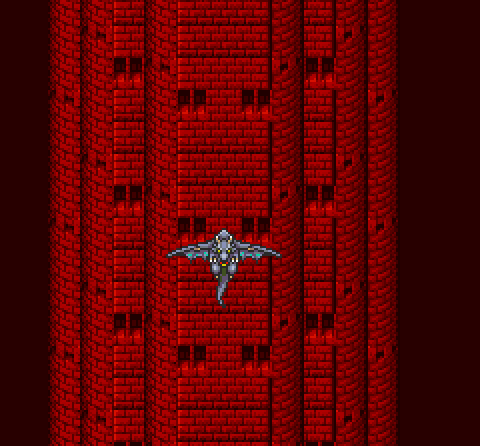
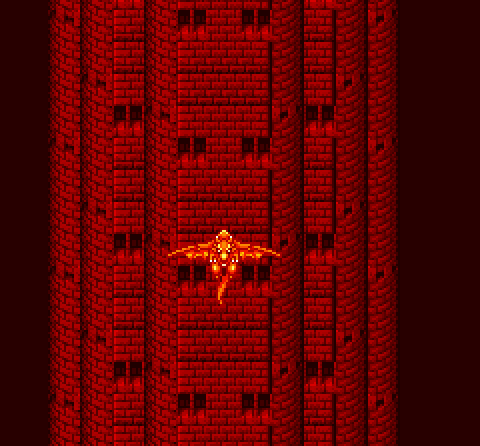
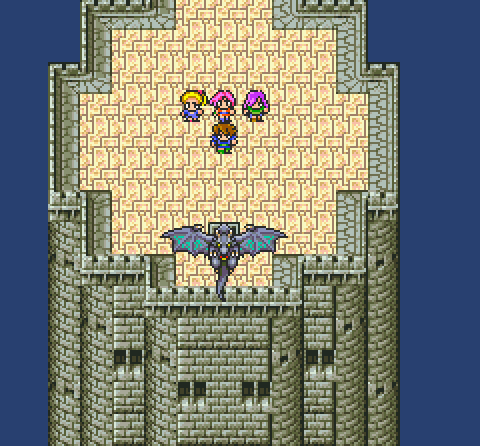
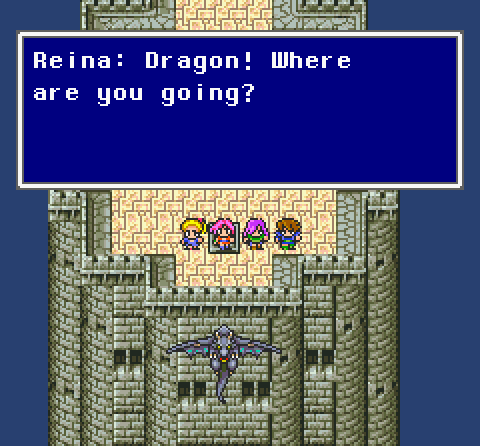
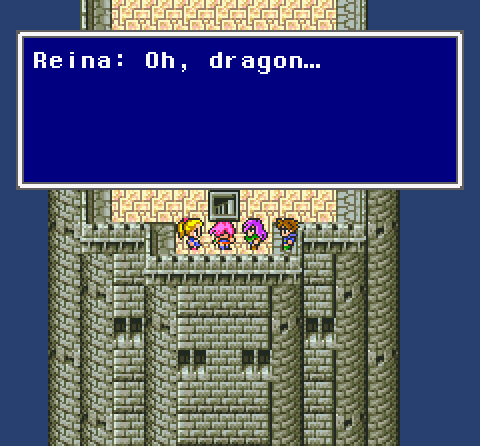
Then the dragon plunges downward, killing itself in the process.

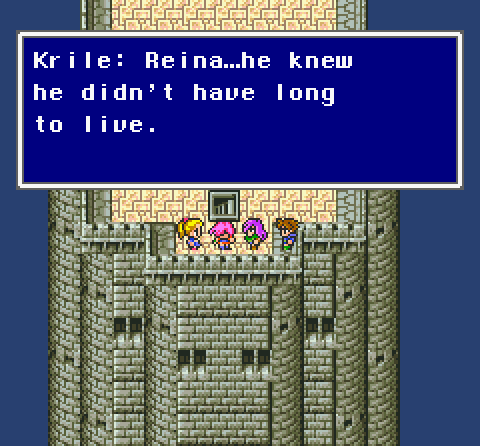
 All just to save me... He wanted to find some way to help you... That's why he came here...
The other translations clarify this was when the Dragon dove into Reina to stop her doppleganger, and also say the Dragon used the last of its strength to reach this power to help her.
-----
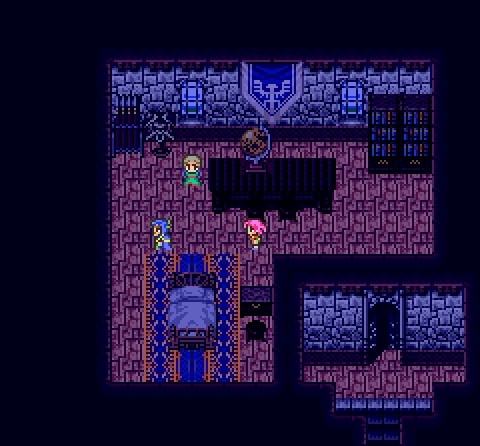 Did the doctor fix mama?
 Dear, the doctor did his best... But the only thing that can cure her is a dragon's tongue...
 Certainly you're not going to...
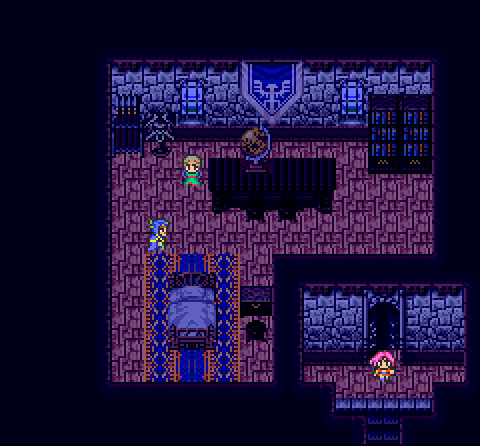 Wait!
Wait!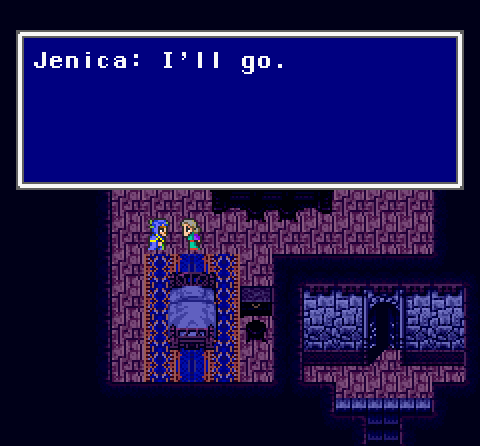
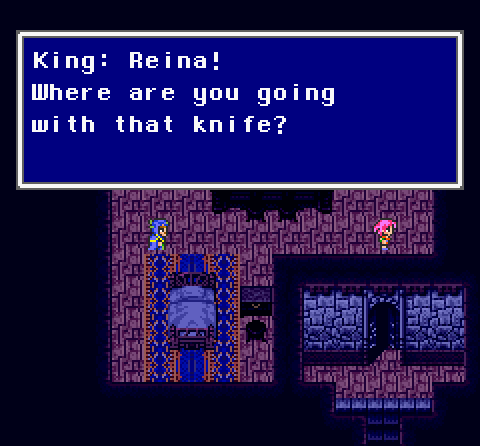
 Princess Reina! If you kill him, there will be no more dragons left... Remember he had a mother who loved him just as yours loves you. Do you still want to
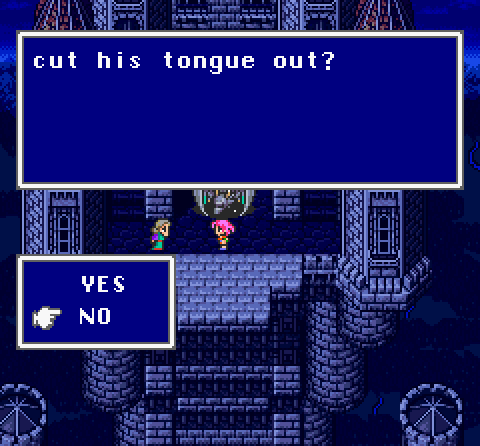
I think saying Yes has the King come out and stop you. I chose No.
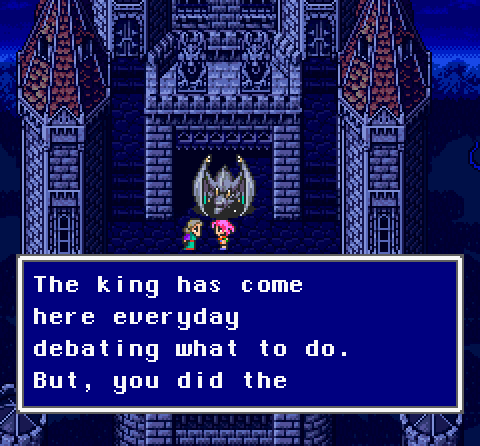 right thing.
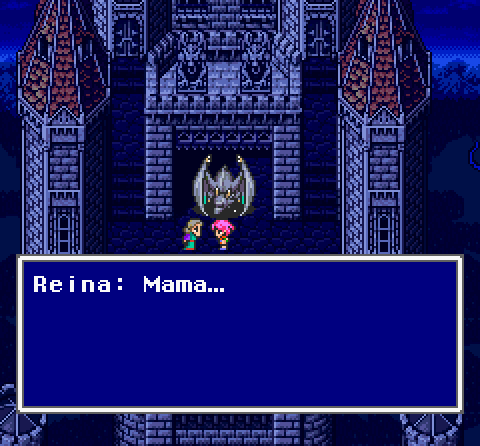
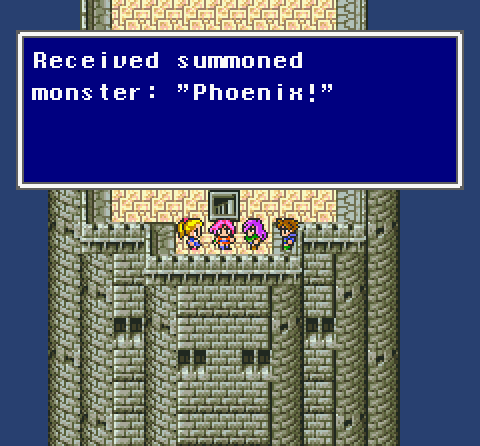
And with that, we have Phoenix, our next-to-last summon.
Next time, having finished all side quests, we tackle the final lithograph dungeon.