Part 36: Night at the Art Exhibit
Sorry about how late this is. School's been taking up a lot of my time.Chapter 36: Night at the Art Exhibit
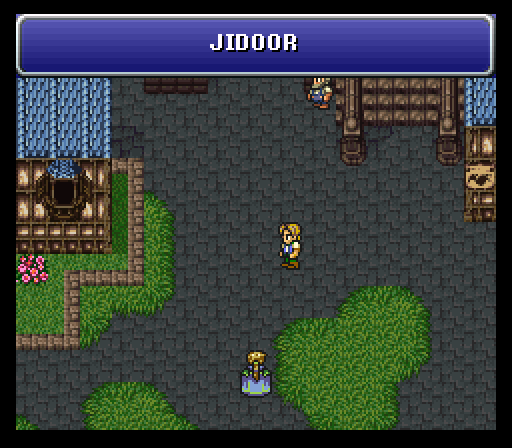
Thanks to the wonders of internet democracy, we've opted to investigate Jidoor. But first...
We're going to examine the Cultists' Tower in more detail later, but for the moment, there's someone here that we ought to know about.
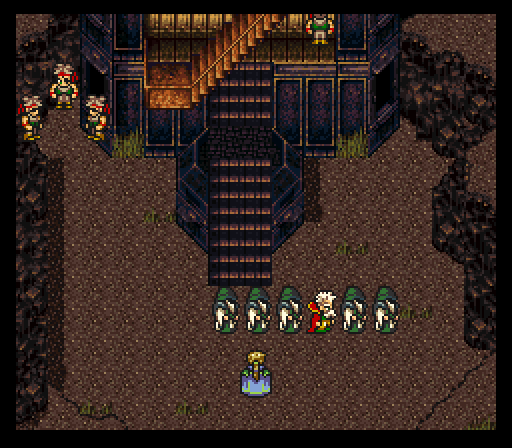
One of these things is not like the others. The fellows walking in line don't seem to respond, so let's get some info from those reputable gents over there.
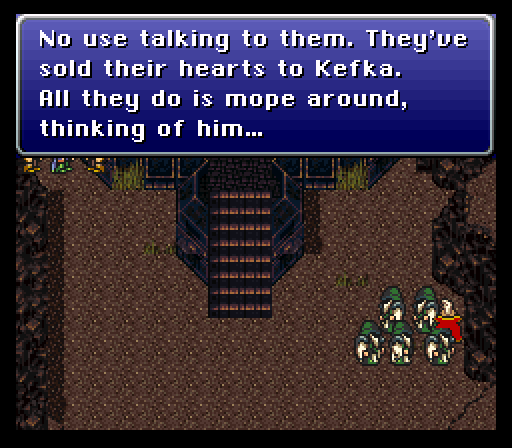
Guess we'll have to come back when Strago has something else to think about.
Music: The Magic House
Jidoor's music has changed since we were here last, so something's clearly going down.
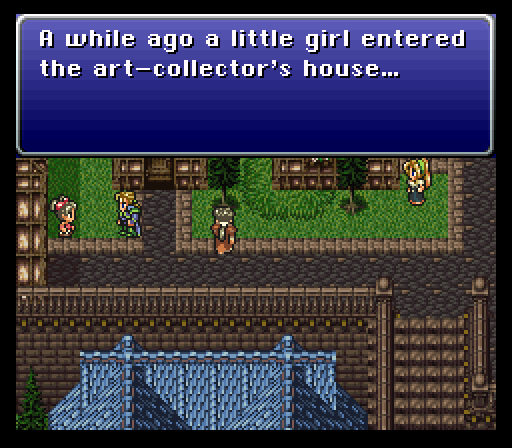
Looks like we're going to the mansion where we met the Impresario. We hadn't examined it in detail last time we were there, so this will be fresh and new.
Speaking of things fresh and new, by the way, the Auction House now has a chance of carrying Hero Rings and Zephyr Capes, but it's now added a number of other useless things, so getting those rare relics isn't really worth the time.
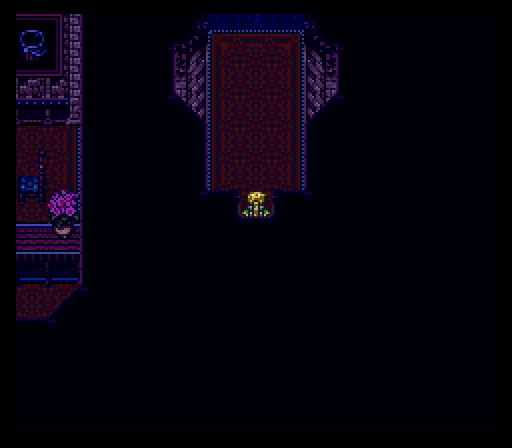
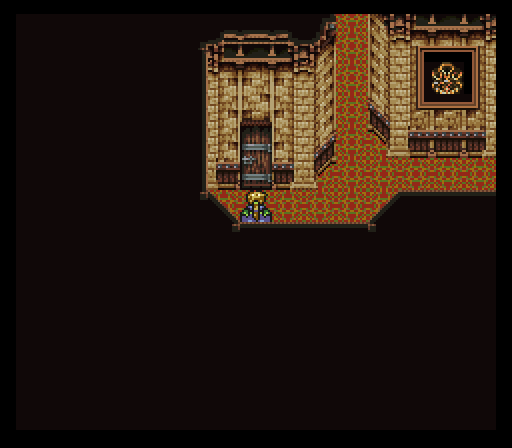
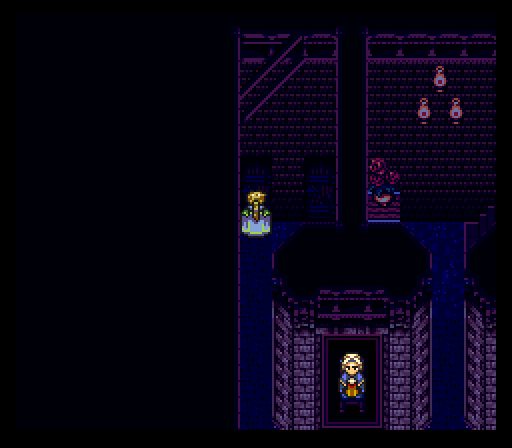
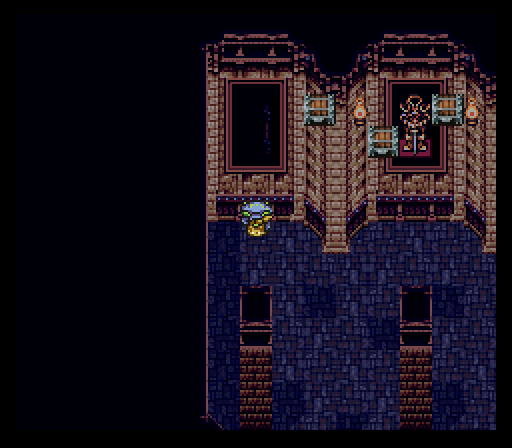
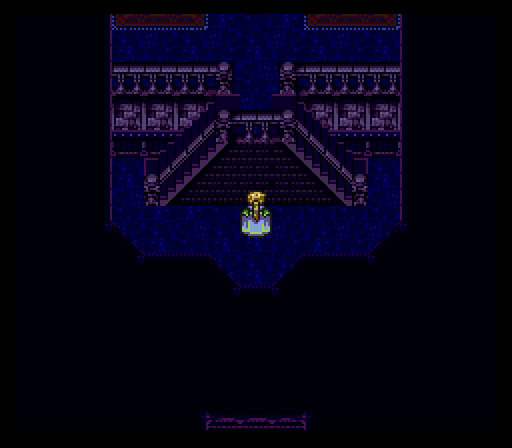
Right in the door, we can tell that something's wrong, because the lights are out. People in this game never have the lights out.
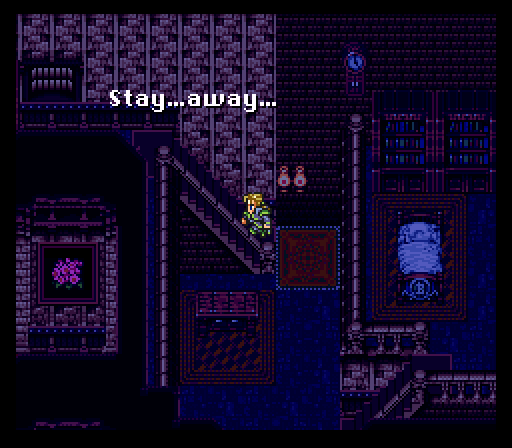
Also, the stairs leading further into the mansion appear to have turned into a talking down escalator. That's peculiar.
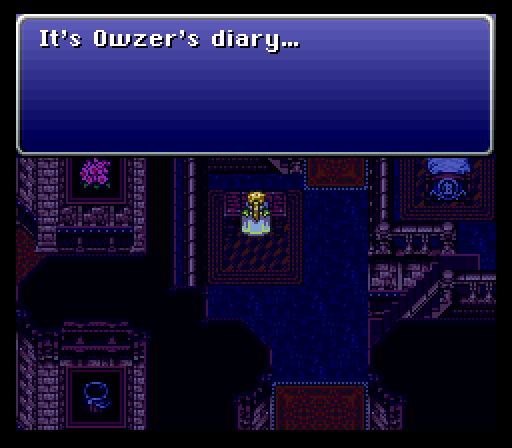
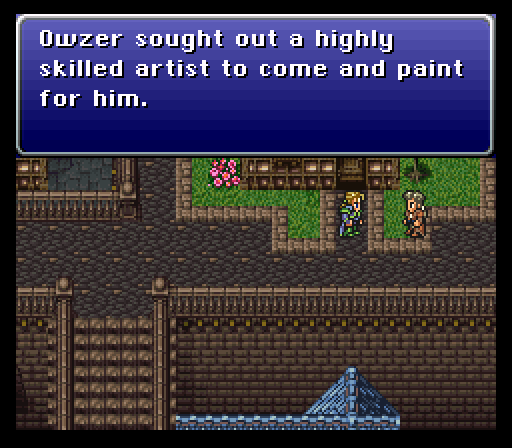
Ah, files. If there's one thing that JRPG's have no shortage of, it's words. Most of the diary describes the many artists that Owzer went through before he finally found one who created artworks to his satisfaction. No points for guessing who that was.
Then, it gets to the more pertinent things.
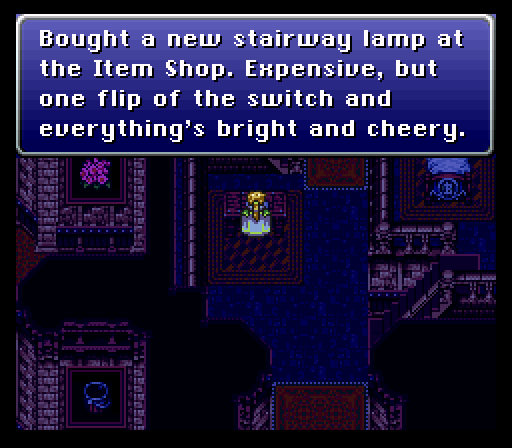
"Something's happening to me. It started when I had that picture painted... And I've started hearing odd noises coming from downstairs."
Splendid, so the place is haunted. I guess that's the risk you take when you hire an artist with the power to create living paintings.
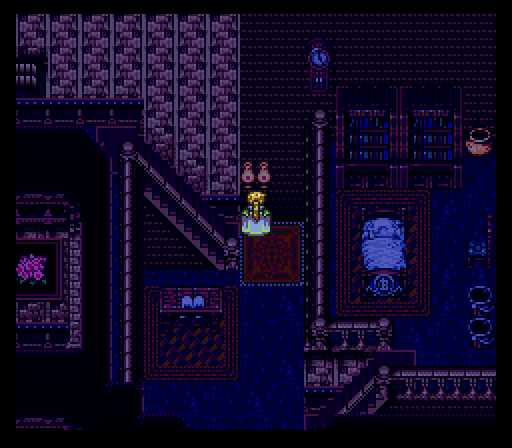
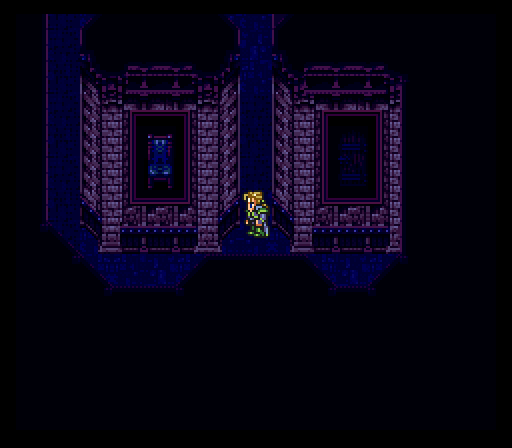
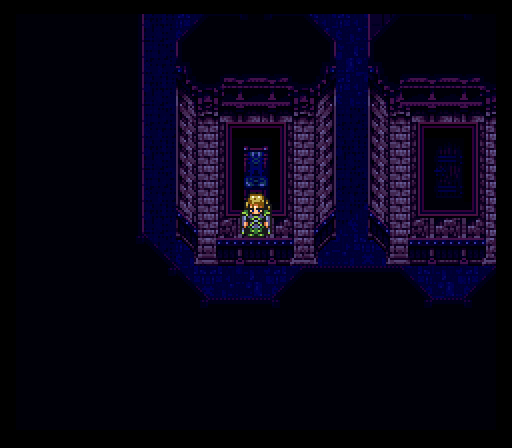
Anyway, the lamp referred to is this one. For some reason, turning on the lights scares off the ghost in the stairs, so we can proceed up to the art gallery.
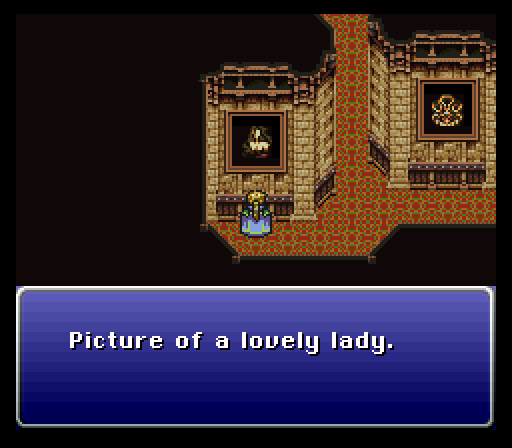
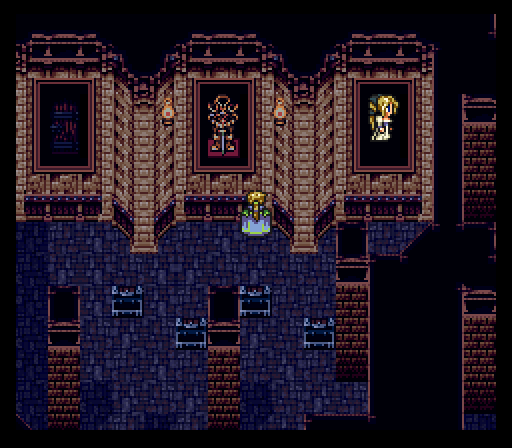
Most of the paintings here are of somewhat mundane things. Still, there are three here of note.
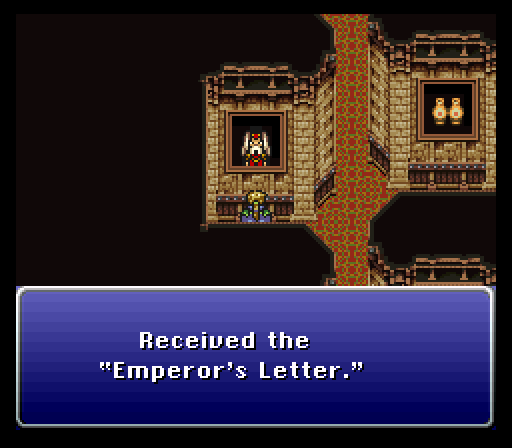
A fellow at the coliseum spoils the surprise if you talk to him, but if you check this painting twice, the Emperor gives you a letter.
"The treasure is hidden where the mountains form a star..."
A hidden treasure, eh? Sounds like something that Locke would go after.

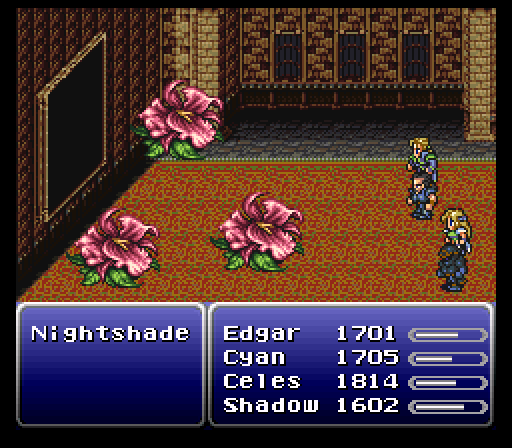
That's because they are, doofus. The Nightshade flowers have a very special ability and a very special Rage associated with that ability, but I'll go into it later when we discuss the boss fight of this dungeon. It is, however, of the utmost importance that you encounter these flowers, as they go back to being a dull painting once the dungeon is done.
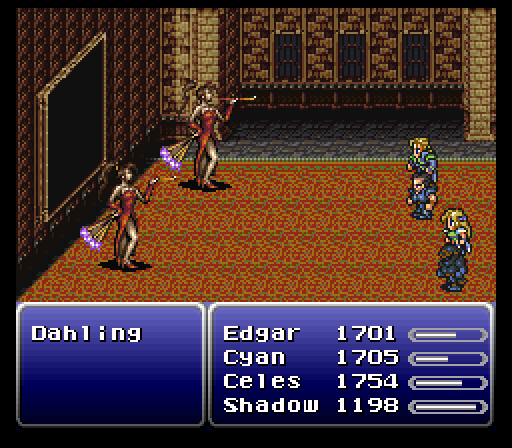
These ladies are a curious case of Nintendo censorship. For some odd reason, for the American localization, the smoke coming from their pipes was removed, because apparently watching someone in the act of smoking is more terrifying than having them just hold a pipe. Oh well, I suppose it could have been worse...
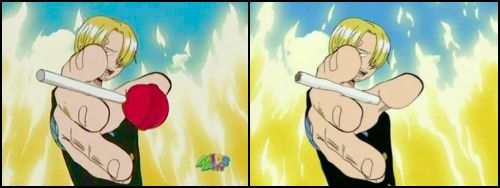
Much worse.
With the demise of the Dahlings, the painting turns into a door. Sure, why not?
This next room has a painting of a door and a painting of a chair. The door's fairly harmless, but if we walk too close to the chair...
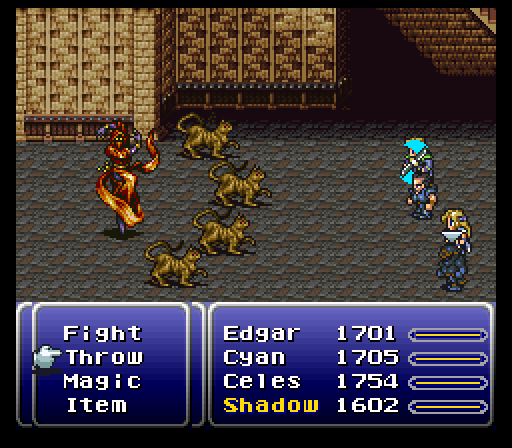
We get into a fight with a knife-throwing crazy cat lady and her quartet of precious kitties. I should mention that this dungeon is chock-full of enemies with animal costumes for rare steals, but since our only option for thievery at the moment is a ninja flailing away with a Thief Knife, it's probably not happening. A pity, because one of these enemies has the Nutkin Suit, a costume that we haven't seen yet.
Also, it's a bad idea to leave those Souldancer enemies living too long, because the knives they throw become progressively stronger, to the point where they're throwing Thief Knives for about 1100 damage.
Moving right along, we get a choice between two doors. The one on the left leads to a chest with a Moogle Suit, the right leads onwards. The Moogle Suit is a special costume for reasons that I'll show later, but it's also fairly decent, stats-wise.
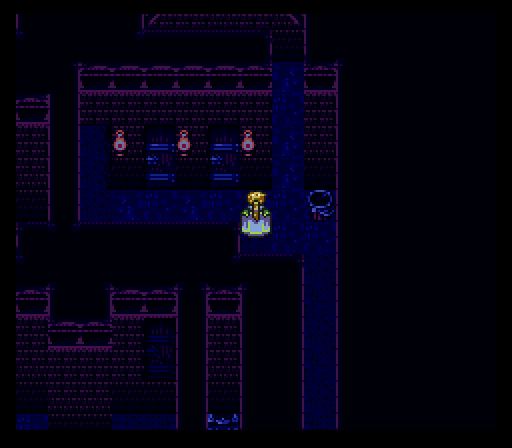
This set of three doors keeps shifting open and closed. If we guess wrong, we get unceremoniously booted out the door painting and we get to run a short ways back. Otherwise, we advance further.
Just don't forget to poke around back here first. You won't be heading back if you're right.
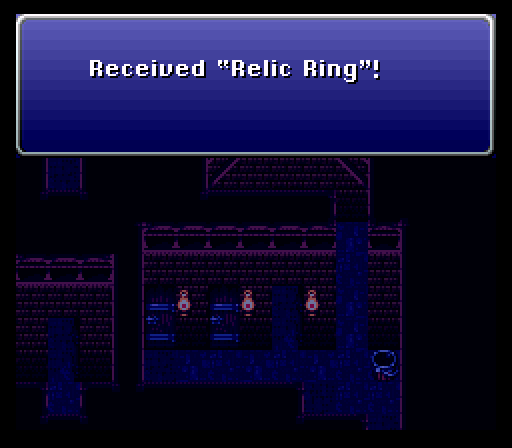
Relic Ring: Gives the wearer the Undead status, which basically reverses the effects of most curing and draining spells. Instant death spells are a full heal, and life spells and Fenix Down are instant death. Naturally, due to how inundated this game is with instant death attacks and weapons, a savvy enough player can keep an undead character alive for quite a while. Try to remember that it's on when you have to heal the whole party though.
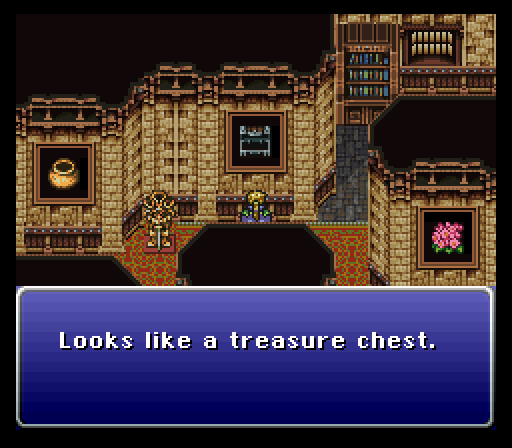
In the next room, treasure chests are suspended in midair. If you stand beneath them, they drop down and you have to fight some enemies in order to claim the treasure in the box.
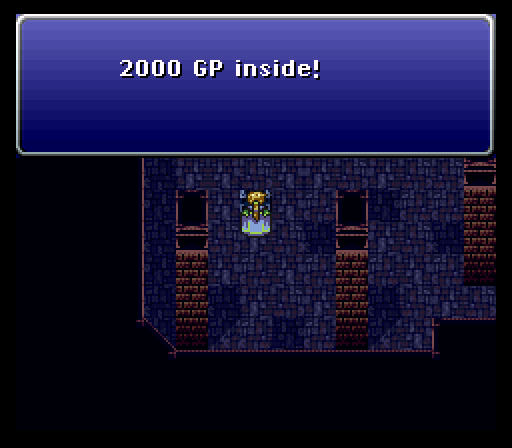
The game's lying to you again, by the way. That's actually 293 GP. The treasures in the other chests are equally sucky.
The room seems to be completely free of exits, but if we examine this suit of armor painting...
Still Life is kind of a miniboss, but not really. The thing's only got about 4800 HP, and at this point in the game, we can chew through that in a single round. It does, however, have a rare Fake Mustache for us to steal, but we can face it in the Veldt later once we have a real thief in the party.
Fake Mustache: A unique relic for Relm. It replaces the Sketch command with the Control command, which does exactly what it sounds like. We'll want to score one of these things as soon as we can, because controlling a monster directly is incredibly useful for teaching Lores.
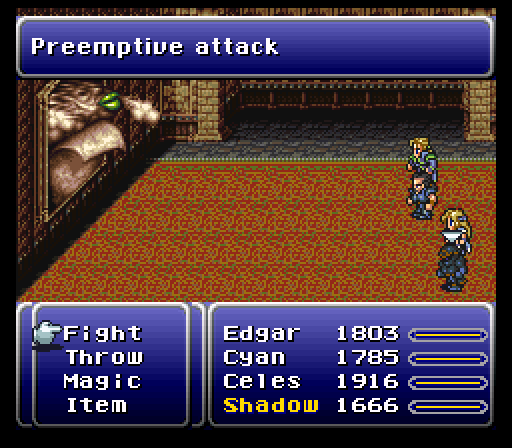
I love how this game gives away the fact that we're approaching a boss fight, though why does every character have to be at the far back end of the dungeon they're in?
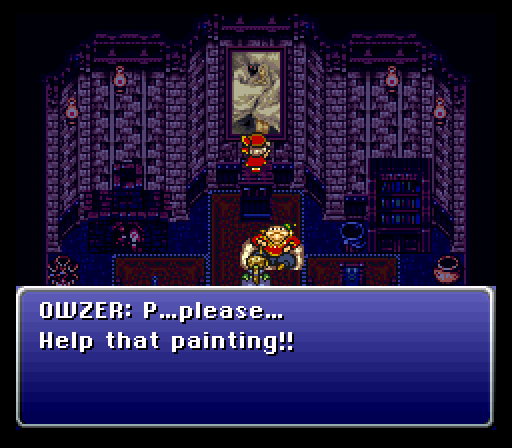
Jeez, Owzer wasn't kidding when he said that weird things were happening to him.
"The painting!?"
Owzer: It's... There's a monster hiding in my prized painting of a goddess...
"A monster!?"
Owzer: Yes... And now it's nearly impossible to get it to show itself...
I refuse to make Metal Gear jokes, but it's oh so tempting.
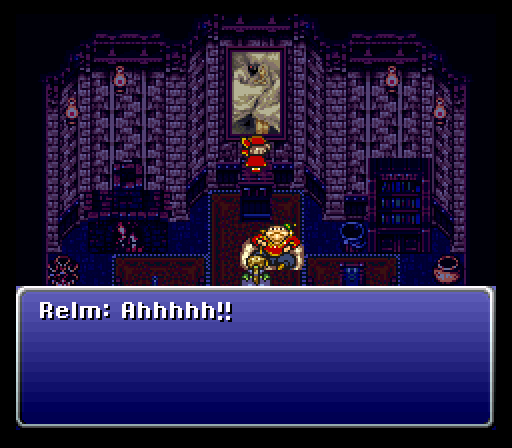
Owzer: Relm! We can't attack this masterpiece! It would be inexcusable!
Chardarnook: G'fu, fu, fu... Who're these numbskulls? No one... NO ONE... is going to remove me from this fine new painting!
Music: The Decisive Battle
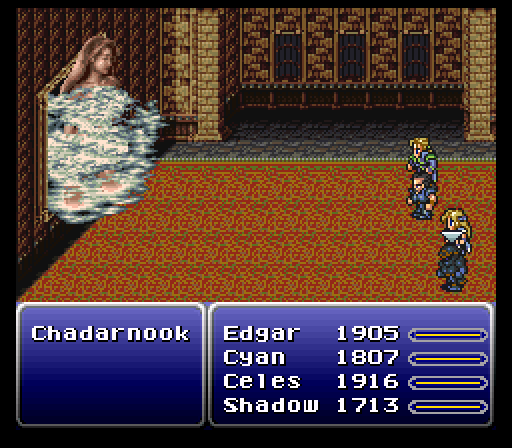
This boss fight is a little different than most. The enemy actually has two forms, each with its own stock of health. In its "goddess" form, Chadarnook is essentially invincible, programmed to revive itself once killed.
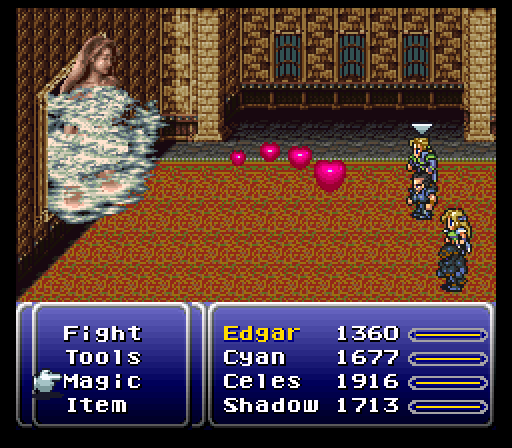
This form also has the ability to inflict Charm, a special status ailment similar to, but not completely like Confusion. Like Confusion, the charmed person will start attacking his own comrades. Unlike Confusion, a person afflicted with Charm can not be cured by a tap on the head. The condition only goes away when the charmed individual dies or the enemy that inflicted charm goes away somehow. Guess what the Nightshade Rage does for its special ability?
Oh, and since most bosses don't have immunity to it, Charm can be used to render most bosses completely impotent. This game is so easy to break if you know how, it's not even funny.
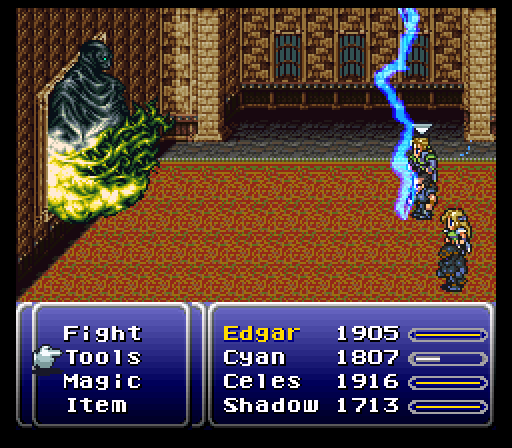
Anyway, the trick to this fight is that Chadarnook will, over time, shift between the "goddess" form and this "demon" form. The demon will use Bolt spells exclusively, which is okay with us, since the Thunder Shield, Minerva, and Force Armor essentially make three out of four party members invincible against electricity. In turn, Chadarnook is weak to Fire spells, so this fight goes pretty smoothly.
No shit!
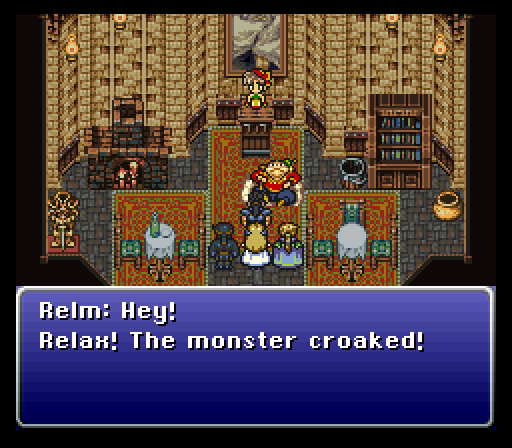
Music: Relm's Theme
Owzer: Thanks for saving the day! This picture's more precious to me than my own life!
 : Huh!? What are you talking about?
"Now... what was a monster doing in that picture!?"
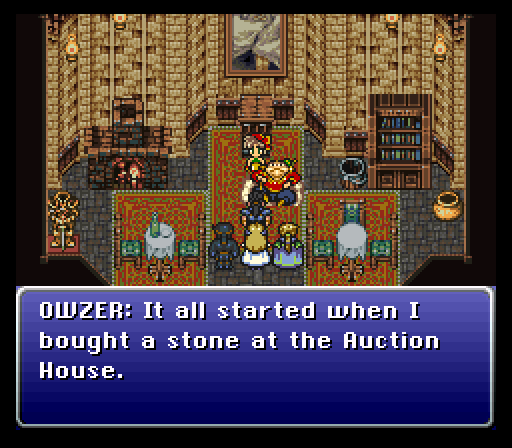
Owzer: I took one look at it and suddenly felt I needed a portrait of Starlet. I asked several artists, but none could muster enough skill. It was then that I heard about Relm's amazing ability. I brought her here, and put her to work. But while she was painting, that thing came along... It must have been enticed here by that stone.
"Where is the stone...?"
Owzer: The stone? Over on that bookshelf.

Owzer: Phew. I don't need any more bad luck. Just take it and go!
: I have to go! But fear not, I'll be back to finish this painting!Owzer: I'll be waiting for you!
Yes, that's very nice, now let's get away from freaky frog man and never see him again.
A short airship flight later...
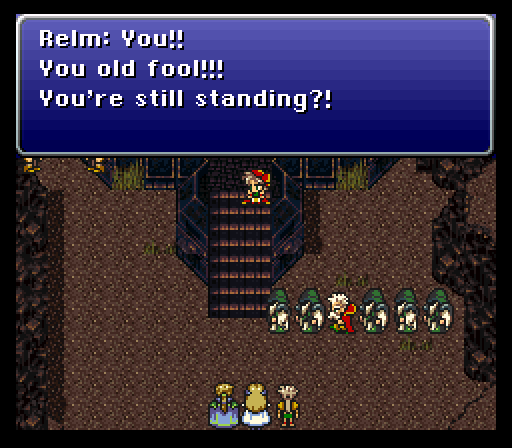
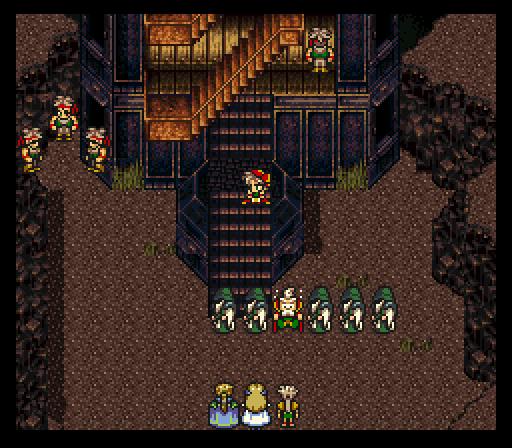
 : Relm! Is that you, my dear? You're alive!!: Idiot! Of course I'm alive!: Oh... I'm so happy...: Did you think I was gonna check out before you, old man!? Ah, ha, ha...
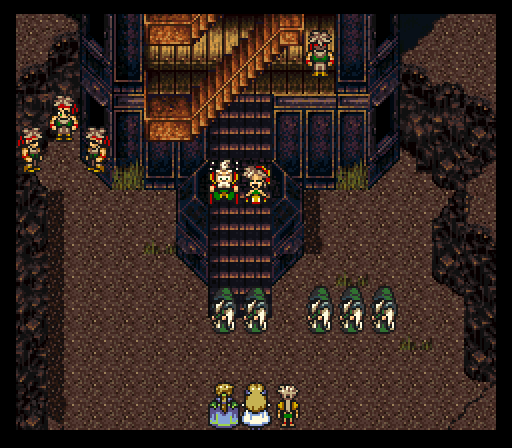 : You're as foul-mouthed as ever, bless your heart!: Come along now... We're all glad to see you!: Whoa... Well I'll be... All right, make room for me!
I dislike Relm in general, but she has her moments. Now that we've gotten a sizable enough party, it's time to take a little trip...
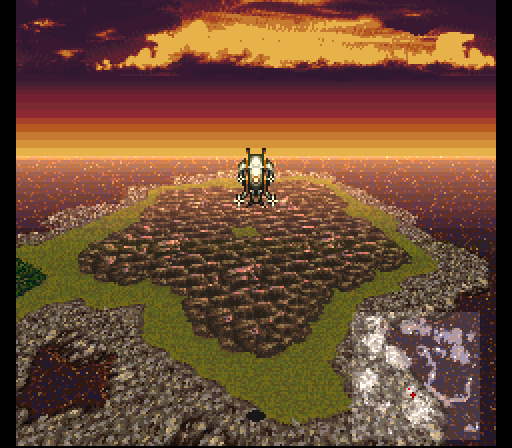
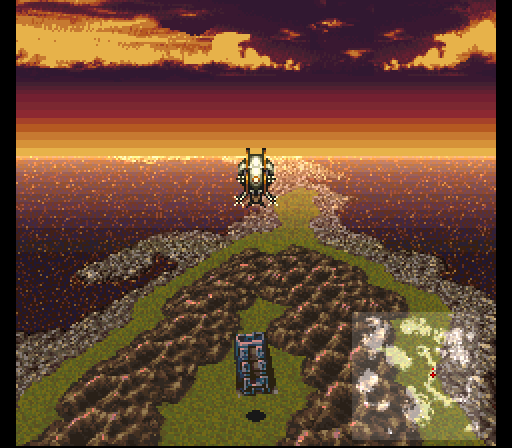
To a place where the mountains form the shape of a star...
Next Time: We tie up some loose ends and acquire the World of Ruin's most useful character.