Part 44: All Your Powers Combined
Chapter 44: All Your Powers Combined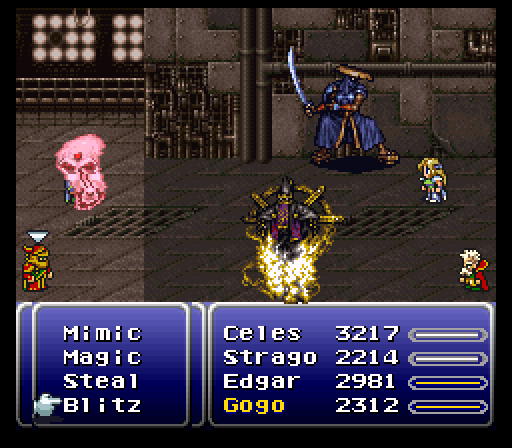
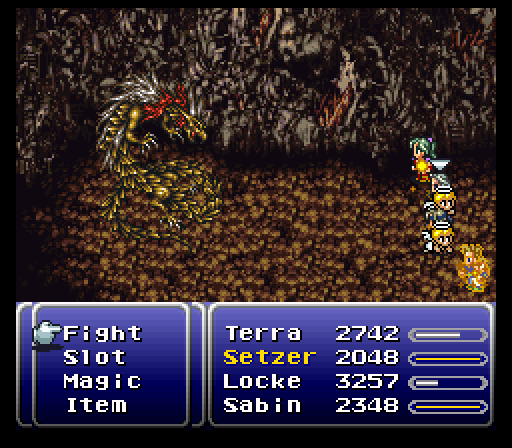
Before I confront the tower proper, I take a stop just near the start to fight some Dark Forces with Strago. Seeing as they can do almost every Lore in the game, they're a good way to catch some Lores you may have missed.

If you're lucky, you might even see some unique ones like Quasar here.
Lore-Quasar: Despite looking very pretty, it's pretty much the same as GrandTrain in terms of effects. It's non-elemental, it's powerful, what more do you need?
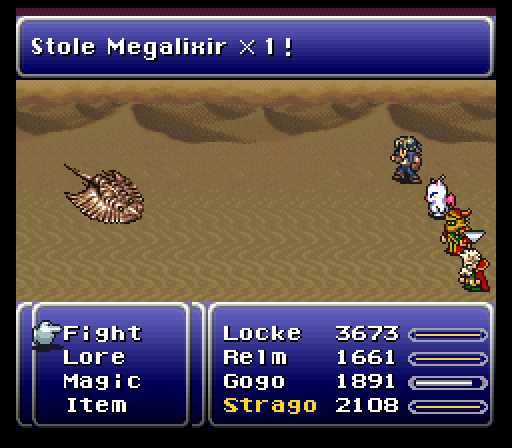
I also take the time to get into a fight with one of these things on the Solitary Island. In addition to the Megalixirs they carry (think an Elixir that affects the entire party), they also know Mighty Guard, though it's tough to get them to live long enough to do it.
That's why you have Gau do it instead.
Mighty Guard: Casts Shell and Safe on the whole party. That would be pretty cool if Safe and Shell were a little more effective.
One last thing before we finally hit the Tower: Desperation Attacks. If a character's at low health, they have a 1 in 16 chance of using them when they do a normal attack, rather than, say, healing themselves before they die. What that boils down to is that most people who play this game will probably never see one of them in an entire playthrough.
Fortunately, someone with far more patience than I compiled them together into a single video (thanks to Prowler for providing the link). For the effort that it takes to get them to activate, most of them aren't really that impressive-looking, and with the exception of Strago and Relm (whose attacks are Instant Death), the attacks are all just magic damage.
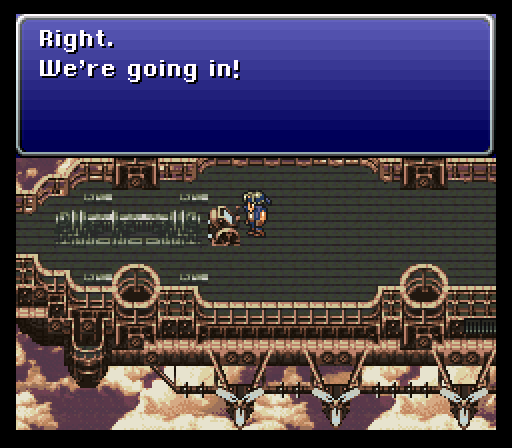
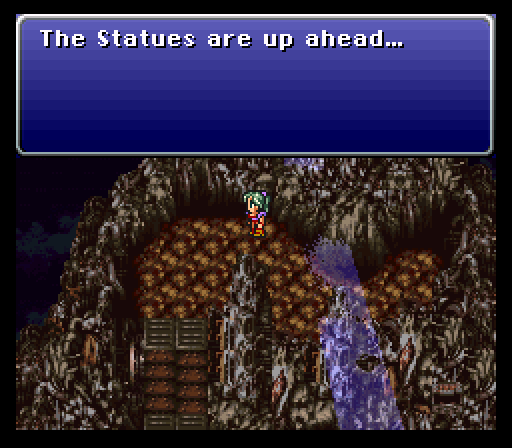
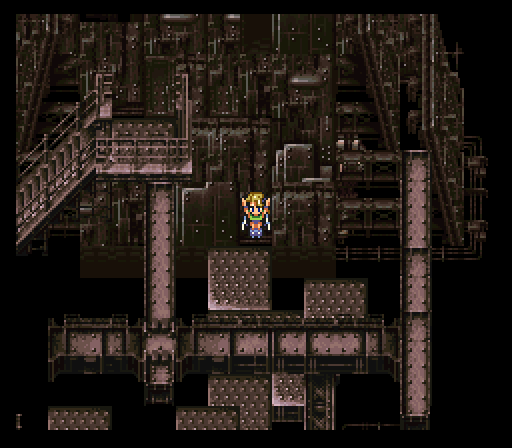
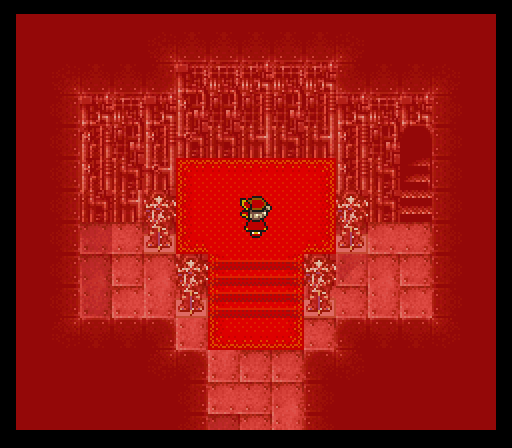
Enough dithering. Let's get this thing started.
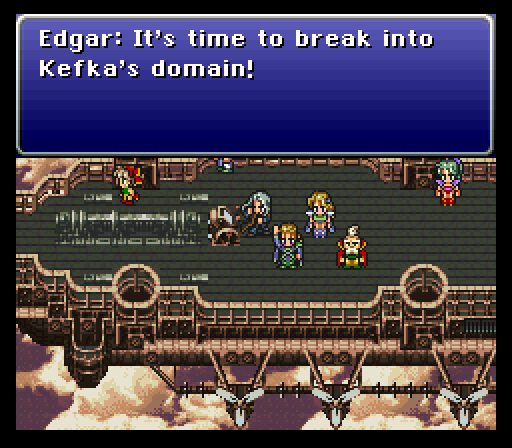
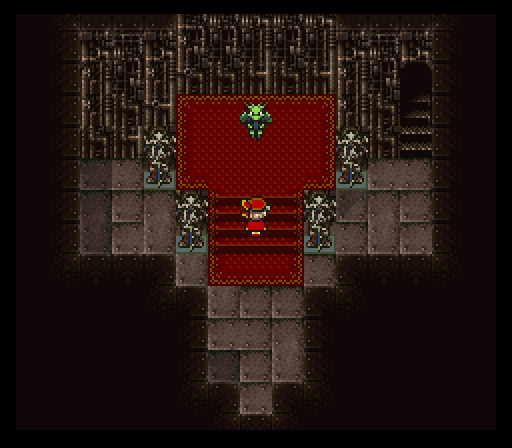
 : The Statues give the Espers the magical energy they need to live. If we destroy the Statues...
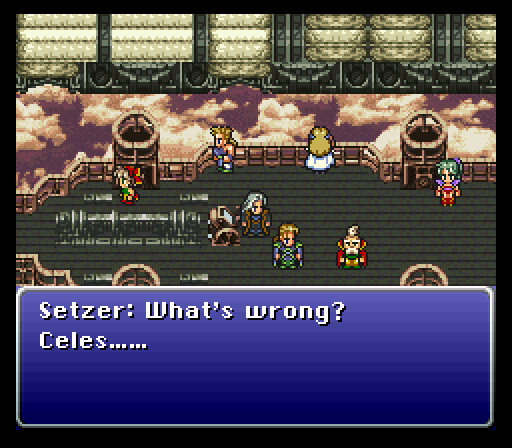
 : What'll happen?: I'm really not sure, but...
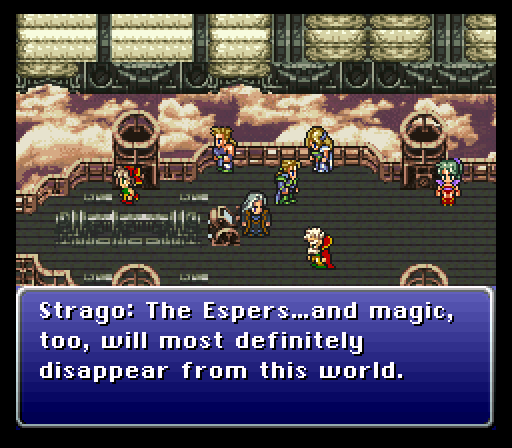 : And then...: What will happen to ...Terra...?
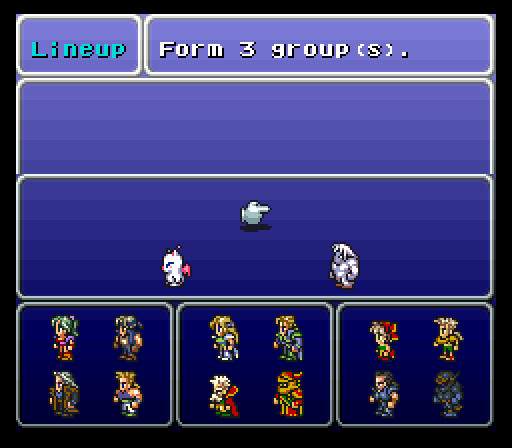
On that note, it's time to create our parties. We'll be needing three groups this time, for a maximum of twelve characters. Some thoughts on party selection:
Mog and Umaro: The reason why I left them behind was because their specific gimmicks would have likely been a detriment. Too many monsters with nasty counterattacks. Still, I must admit that I kind of missed the Moogle Charm. Skipping confrontations would have been pretty nice.
Terra, Celes and Relm: All good magic users, and all of them know Ultima at this point. The game's not going to be screwing around with the monsters anymore, so having a good caster on each team is crucial to survival. They'll probably be exchanging the Gem Box and the Economizer whenever applicable.
Locke and Gau: They'll be passing the Offering back and forth for most of the dungeon. Certain monsters in the dungeon absorb Wind damage though, so the Wind God technique should be held back a little.
Cyan, Edgar, Shadow, Gogo and Sabin: Excellent characters for taking out single targets. Gogo will primarily be emulating Sabin, though he also has the ability to Mimic characters who doublecast with the Gem Box, so he'll be a good source of Ultima spam as well.
Strago and Setzer: Kind of middle-of-the-road characters at this point, though Setzer will be acquiring something in this dungeon that improves his damage capabilities. Strago's new plethora of Lores might be useful, but they're rather situational still. He's better off casting Ultima with all the cool kids.
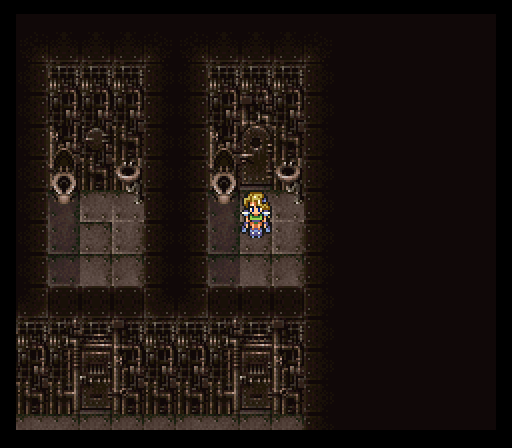
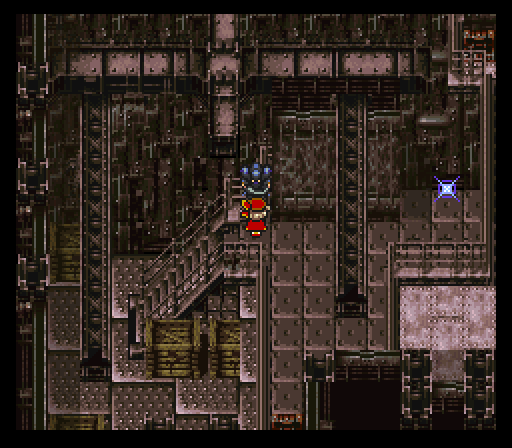
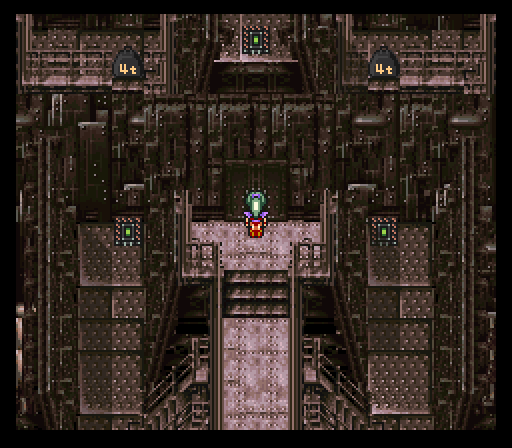
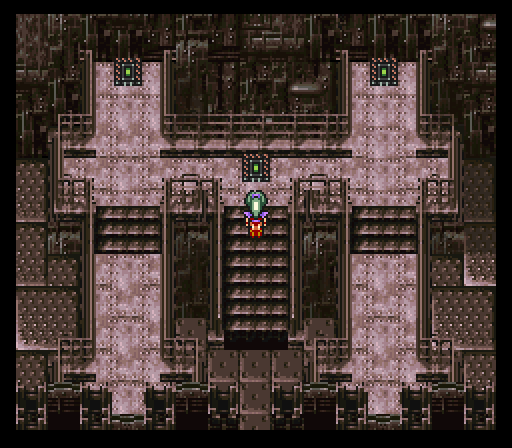
Unlike the Phoenix Cave, Warp works in this dungeon, but we're not going to be warping. We're in this one to the end.
Music: Last Dungeon (Must have taken them all day to think of that one)
Group 1
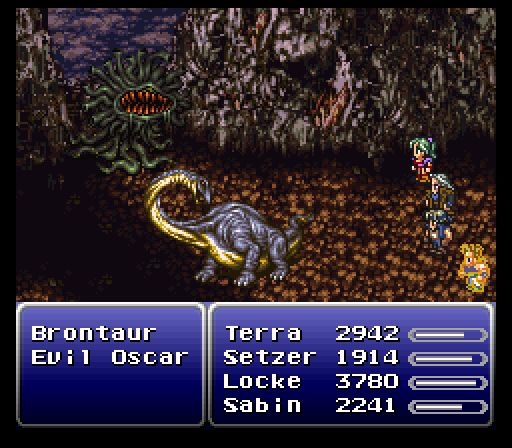
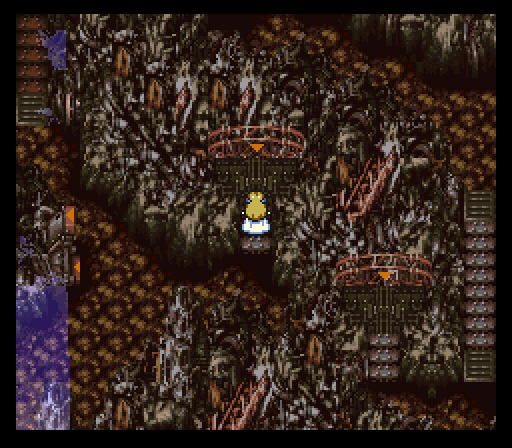
Right from the start, we can tell that this isn't going to be fun. The Brontaurs use Lifeshaver all the time, while the Evil Oscars, unlike their more timid brethren from Daryl's Tomb...
Absolutely LOVE to spam the heck out of Sour Mouth, which, as I mentioned back then, inflicts a number of status ailments on the party in general. Strago can learn this one as a Lore, and it's somewhat useful, except most enemies have resistances to that sort of thing.
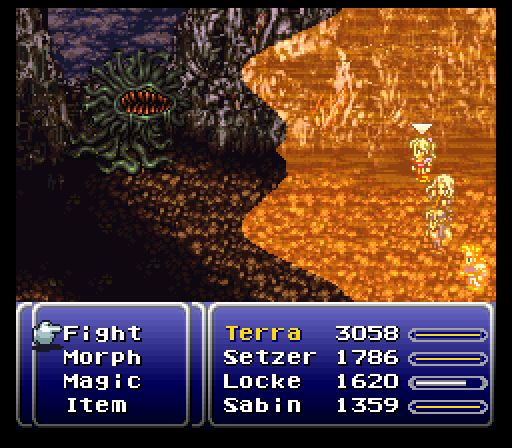
Wear your Ribbons, boys and girls. It only gets more fun from here.
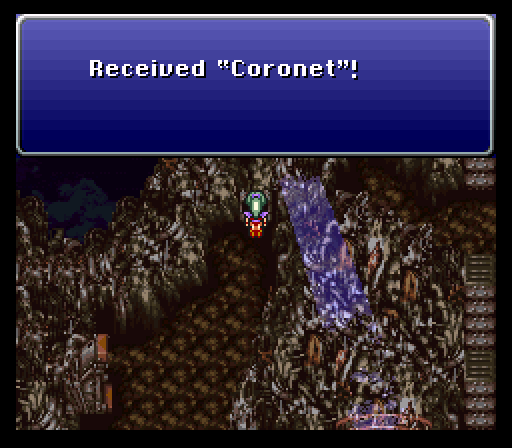
From the place where the first group starts, we find a fancy hat for Relm that increases the chance of Control working. Anything that takes a monster out of commission for the whole fight is fine by me.
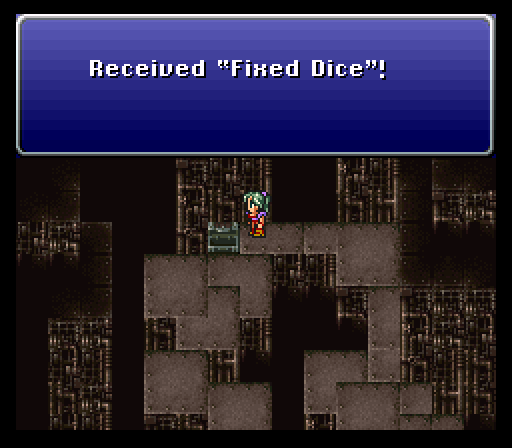
Oh boy, Setzer just got a lot more deadly.

The Fixed Dice are like the normal Dice, only with an extra die added to the mix. Also, if the Fixed Dice come up all the same number, the result is multiplied by that number again. So at Setzer's present level of 35, that can mean anything from 70 damage all the way up to 90,720, except you can't go higher than 9999. If Setzer wasn't on the same party as Locke, it might have been a good idea to have him use the Offering as well at this point. Poor planning on my part.
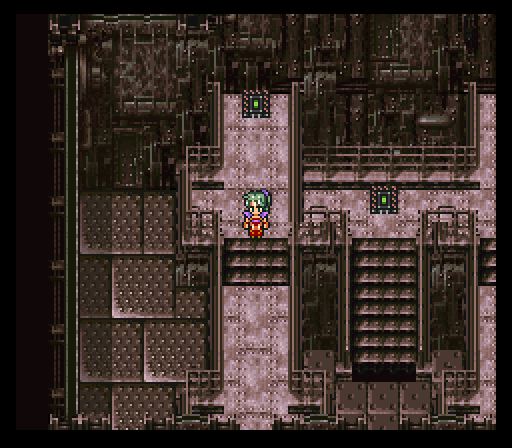
End of the line, looks like. Guess we'll have to switch to Group 2!
How many bustiers does one man need?
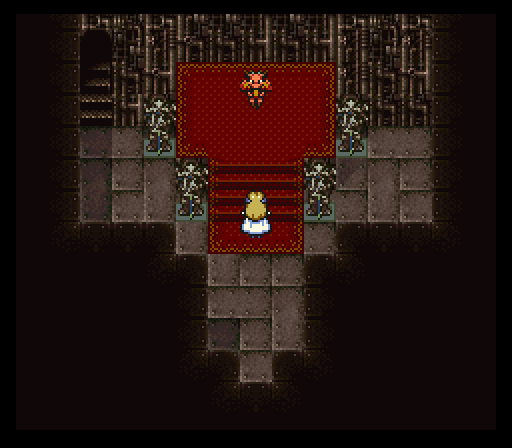
As mentioned, the Tower is made predominantly off of the remains of Vector, so it shouldn't come as too much of a shock that we'll suddenly find ourselves in the palace's prison area.
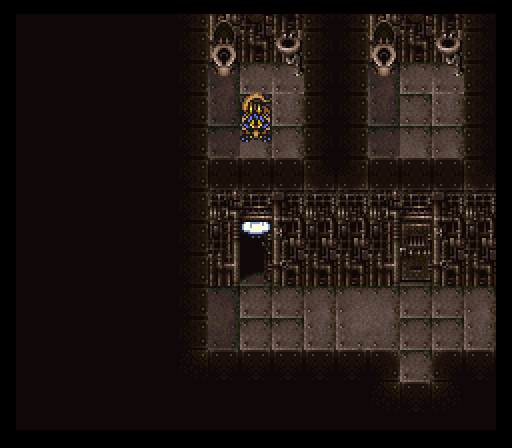
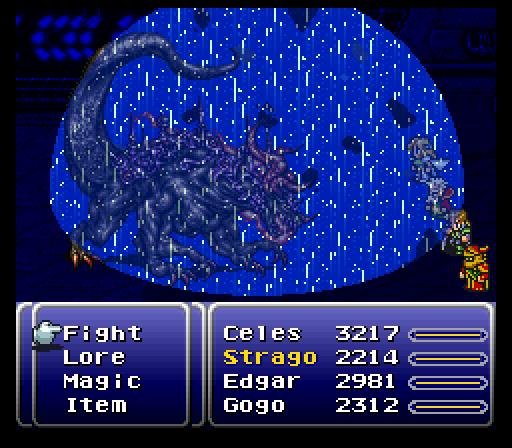
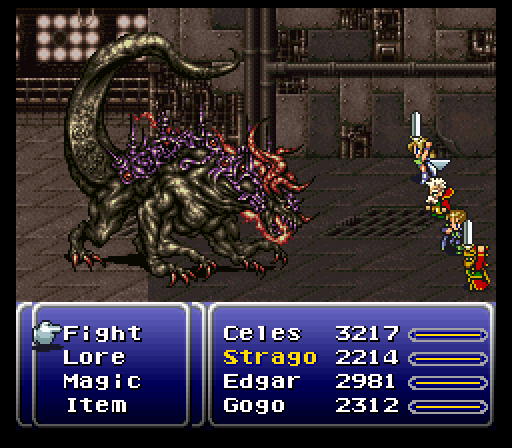
What's more shocking is the thing that's standing in Kefka's old cell.

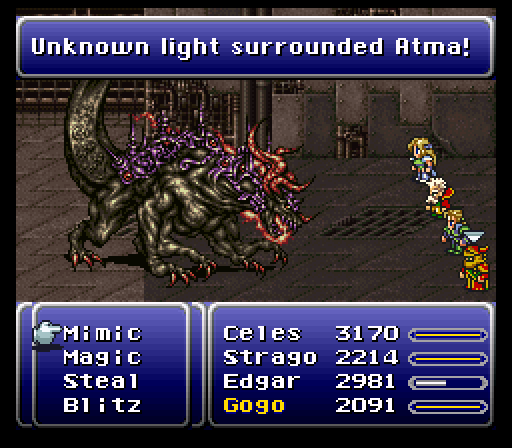
Atma: I'm Atma...Left here since the birth... Forgotten in the river of time... I've had eternity to... Ponder the meaning of things... And now I have an answer...
Atma Weapon's reborn form is, as can be expected, significantly stronger than its first form. For instance, it starts off by blasting the party with Fire 3, Ice 3 and Bolt 3, though that's par for the course at this point.

As it takes damage, it switches to casting Southern Cross, Flare Star and other such damaging spells. If any party member isn't proofed against elemental damage, they're not going to last.
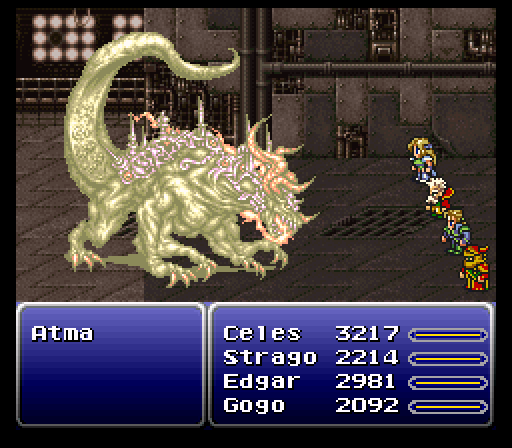
To cap off the whole thing, once Atma's taken twelve hits, it'll begin charging up its super attack. Since Flare Star's become an ordinary attack, there's only one spell that really qualifies.
Yup. If you let this thing fire off, you're probably either dead or close to dead. There is, however, one thing working in our favor.
Ultima, unlike many devastating spells that destroy the entire party, can be Runic'd. Too bad that you can't use Runic in the Cultists' Tower.
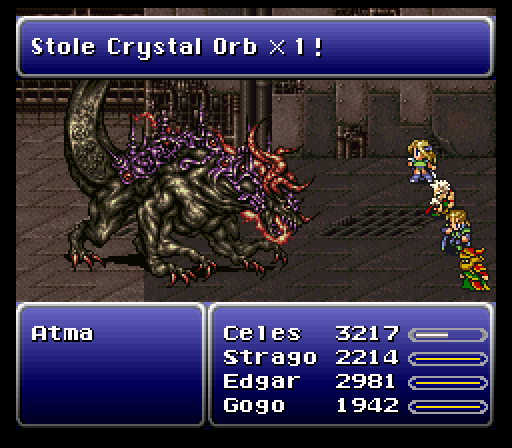
Incidentally, Atma's got a very rare item to steal, so be sure not to forget it.
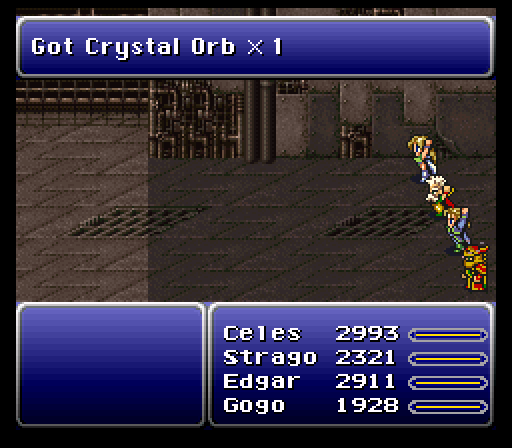
Crystal Orb: Increases the wearer's maximum MP by 1/2. Since all the most powerful spells in the game just eat through your MP reserves, this might be a handy item until you train up your members' MP naturally.
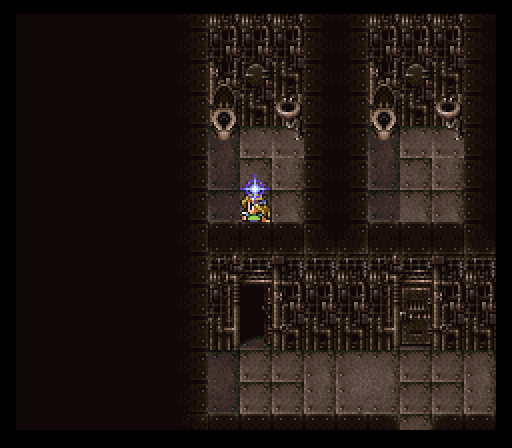
Upon defeat, Atma turns into a save point, and the party does an action pose to celebrate, but we can't stop yet.
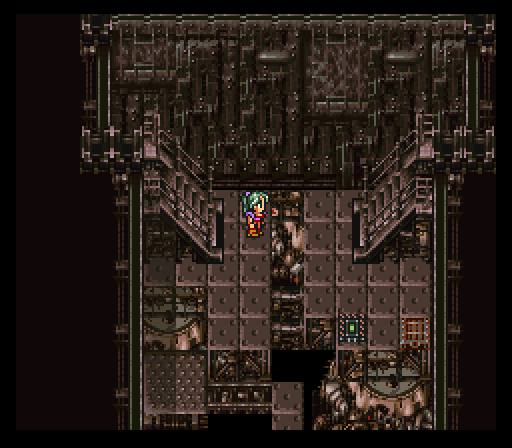
Stepping out of the prison drops us into a part of the Magitek Research Facility. Nothing much to do here but walk through it.
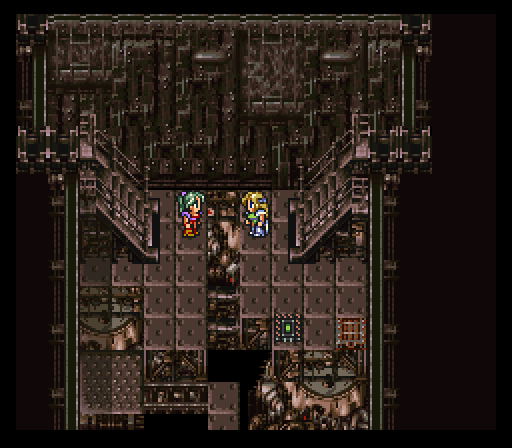
Here we are, then. Pushing the button moves a platform so that Group 1 can advance, and that treasure box has another Ribbon in it, so everybody's happy!
Group 1
As we pass through this familiar room, I would like to mention that the hidden chests are still there, though I'm not sure whether they would still have the treasures that they had before.
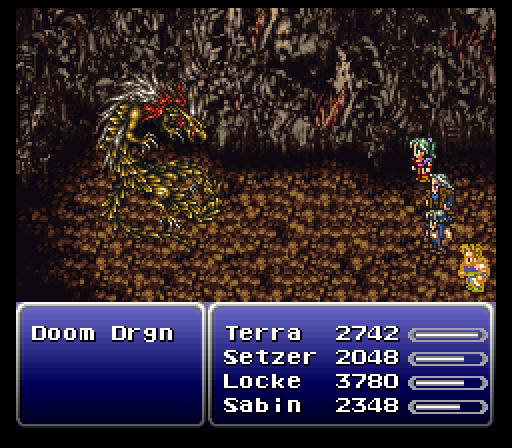
Oh, jeez. Not this guy...
The Doom Dragon counters attacks with Fallen One, a very special spell that reduces the entire party to 1 HP. It likes to follow that up with Southern Cross, so if you don't have the right resistances, you can easily get wiped out in a single turn. Let's steer clear of that one for now.
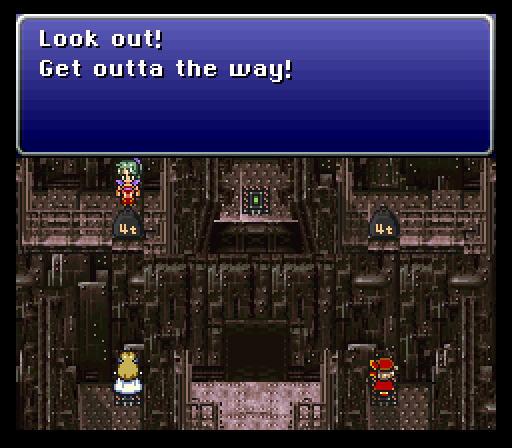
Looks like another roadblock. No matter.
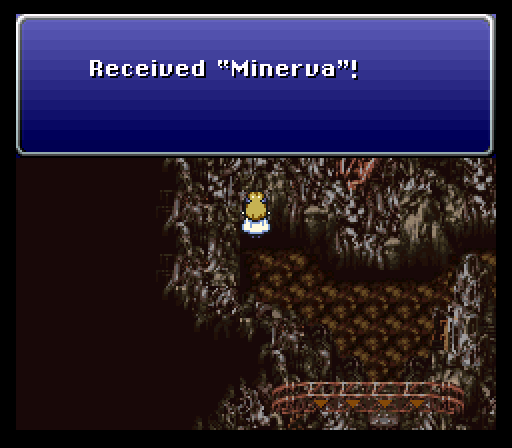
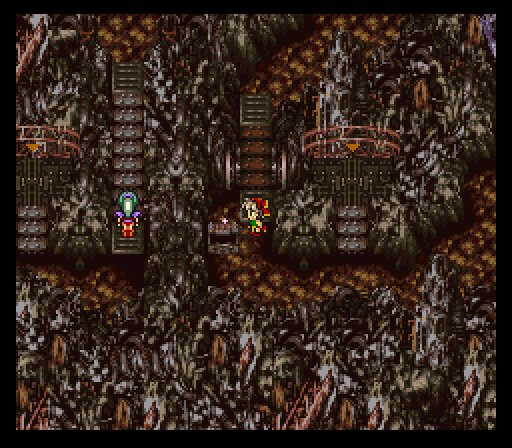
Group 3
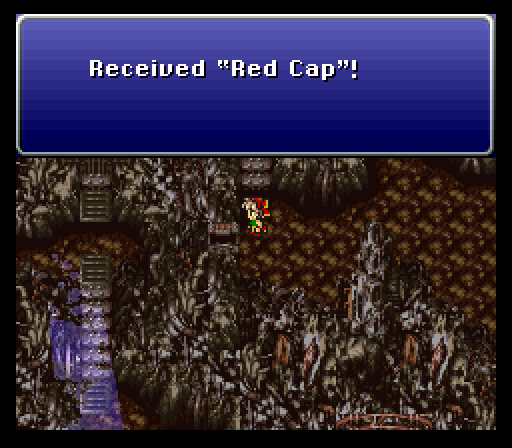
That's not bad. More HP can't hurt.
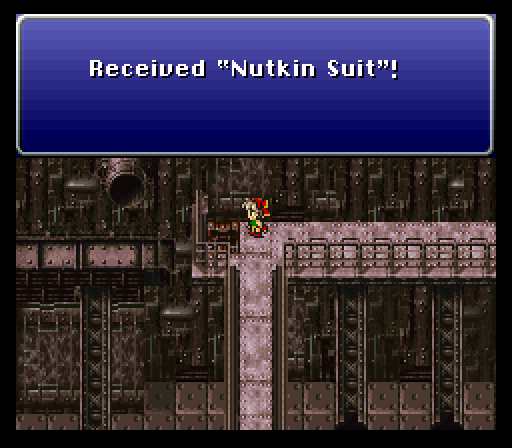
The Nutkin Suit is a very good costume, better than the Moogle Suit that Relm is presently wearing. Unfortunately, it also makes it easy to distinguish when I had to do a second take, because the Nutkin Suit does not change your appearance.
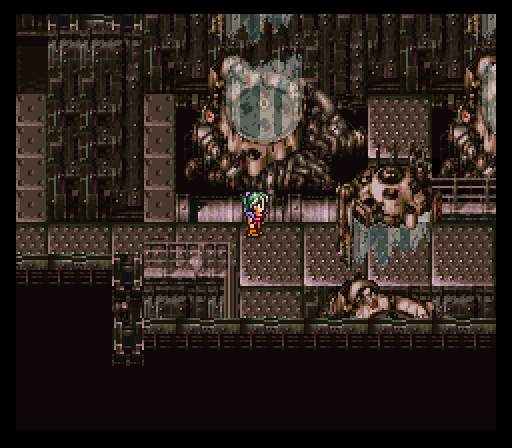
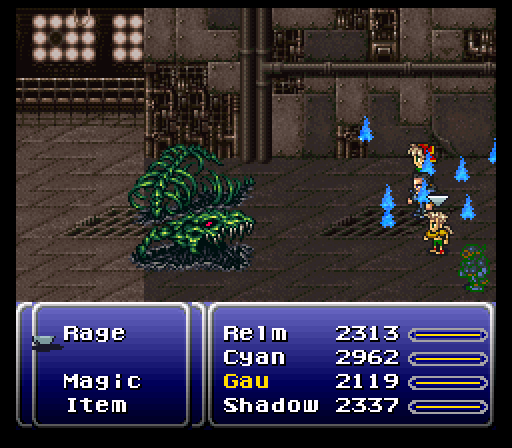
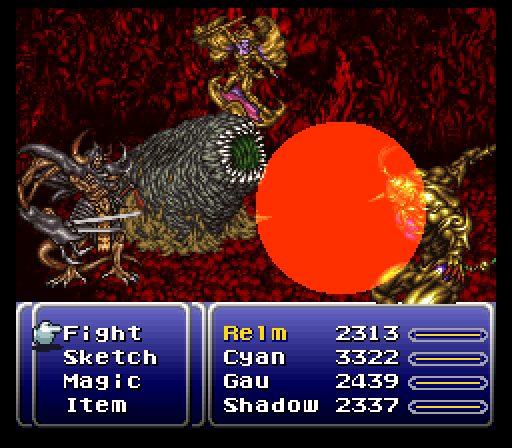
On her way out of what was probably once a part of the factory, Relm is greeted by a gentleman of wealth and taste.
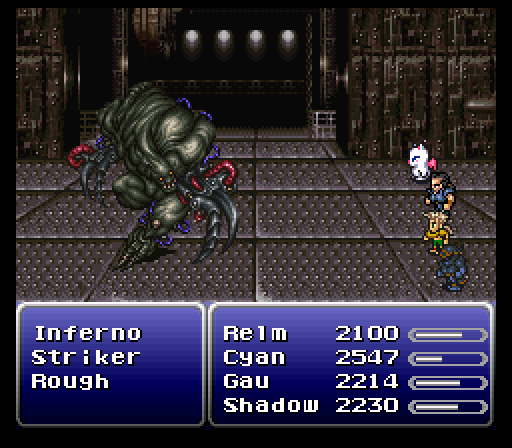
Just kidding, it's a horrifying monstrosity.
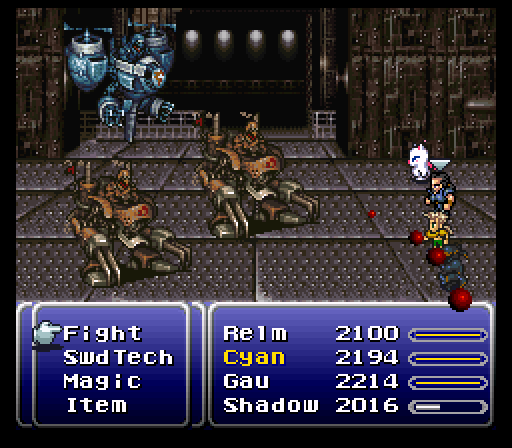
Inferno is very similar to Number 128 with how it functions. However, the claws and the body all alternate being weak to or absorbing fire and lightning, so trying to hit them as a group with either of those will just end up helping it.
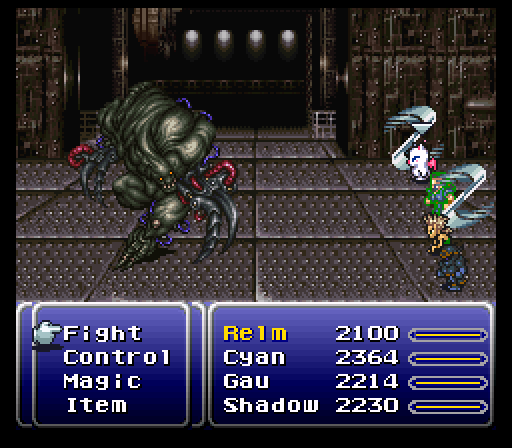
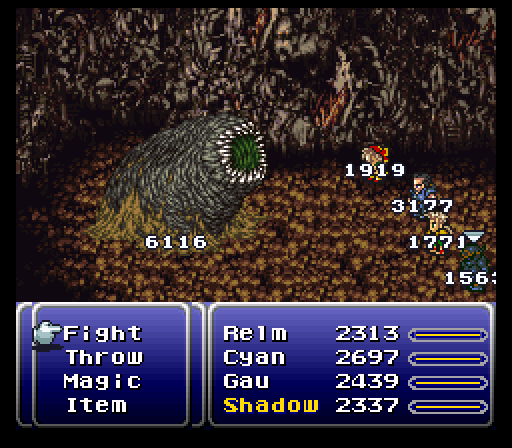
The front claw, known as Striker, will frequently use Shrapnel, a powerful physical attack that hits the entire party. The back claw, known as Rough, isn't quite as much of a problem, but...
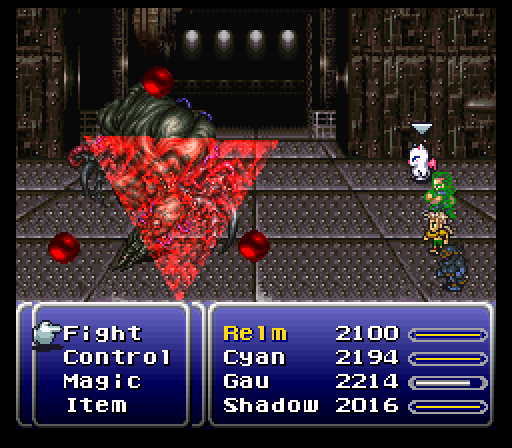
When the three of them are together, they can do a Delta Attack as well, so it's to your benefit to take one or both of the claws out as soon as possible before concentrating on the main body, though they will come back eventually.
If we had brought a thief along with this group, we could have stolen Ice and Flame Shields from this boss, but c'est la vie.
By the way, the regular enemies in this area love to use Blaster, a move that has a good chance of killing a party member instantly, and they counter with that as well. It's probably best just to run.
Man, I should keep a tally of enemies with insta-kill techniques in this dungeon. It might be illuminating.
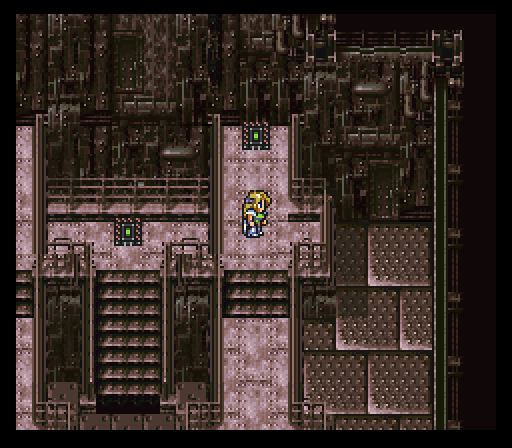
Anyway, using that glowing treasure box opens the way for Group 1.
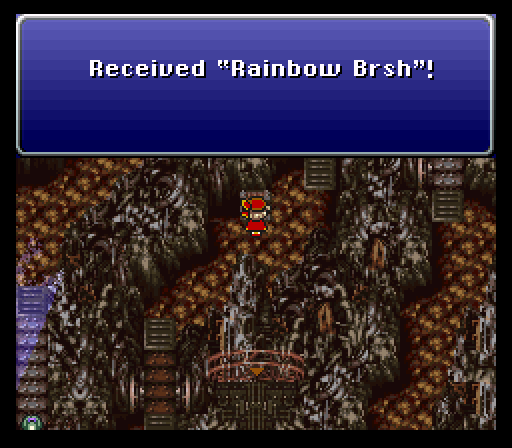
And Relm gets a new paintbrush while she's at it! Awesome!
Group 1
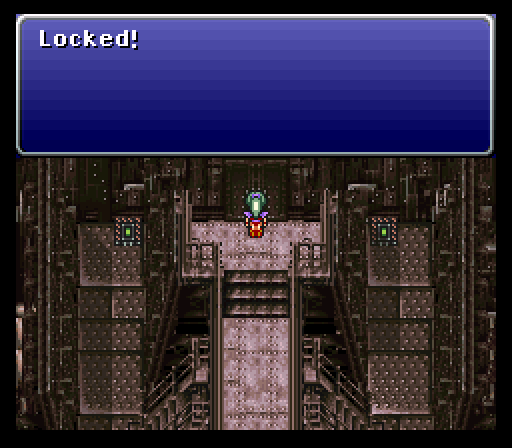
Rats. Blockade after blockade. How are we going to get past this?
You've got to be kidding.
Group 2
Off to the rescue, then.
Just as soon as we deal with this little problem.
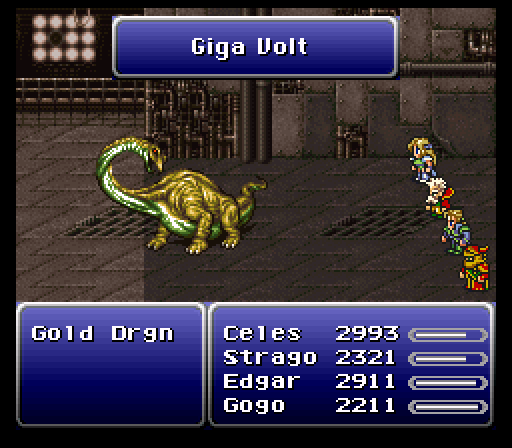
The Gold Dragon is the dragon of lightning, so naturally it's weak to Water. It generally uses...Bolt? Bolt 2? What the heck?
Oh, wait! Here's something! If you hit it enough times, it'll charge up and do...Bolt 3. Huh.
I feel cheated, especially since most of my gear had lightning resistance/immunities. Even worse, the Gold Dragon can be Berserked to nullify its gimmick even worse. Oh well, 1 Dragon left...
And speaking of that dragon...
The Skull Dragon is the dragon of death and status abnormalities. Most of the time, it'll simply cast Condemned or Elf Fire, but after enough time has passed...

It'll use Disaster to inflict a plethora of statuses on one party member. Ribbons are, naturally, a must, and Memento Rings and Safety Bits wouldn't hurt either. The dragon itself is weak to Fire and Holy, so it shouldn't take too long to take down.
Awesome!
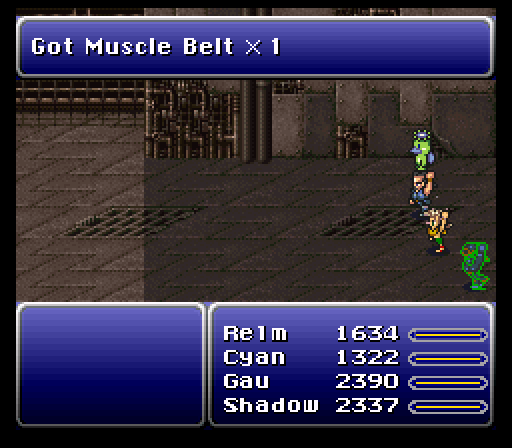
Muscle Belt: Increases maximum HP by 50%. Not as helpful as you might think, as there's already equipment designed just for that purpose, but it's got its uses.
With all 8 Dragons dead, the seal created by the Dragons disappears, and the Esper Crusader appears.
Crusader, while heinously powerful, has one considerable drawback to it, namely that you're more likely to murder your own party members than whatever you're trying to kill.
Merton: x1
Meteor: x10
Level Up Bonus: MP +50 FREAKIN' PERCENT
Crusader's your only means of acquiring Meteor if you changed Odin into Raiden, not like you'd need it when you're slinging Ultima around. As for Merton, it's another one of those abilities that hits everybody, including the party, only it's Fire-based. I'm on the fence as to whether that's useful or not, but that leveling bonus sure is.
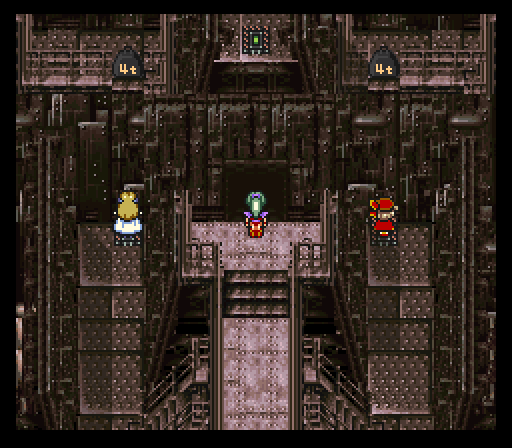
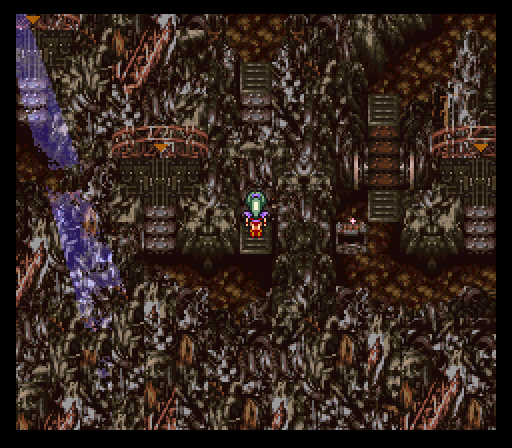
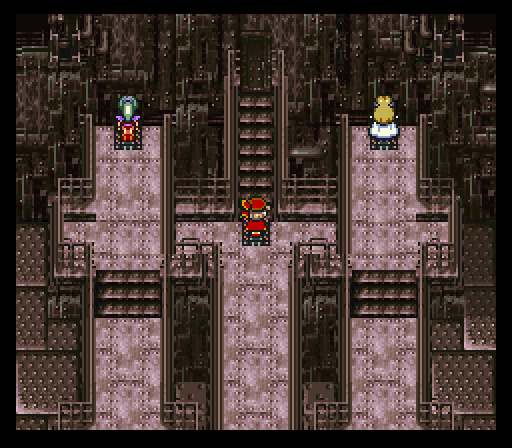
Once both Groups 2 and 3 are on their switches, the door opens for Group 1 to walk through.
Three more buttons. Guess we'll have to find a way to get them up here.
Once you walk down a path, the way closes behind you. There'll be no interaction between groups in this dungeon.
Regrettably, the game won't let you pull an Ultros, so you can only drop the weight once the group walks off of the switch.
The weight landing on the switch opens a way onto the middle path for Group 2, so they can repeat the process.
And once the three groups are on their buttons, the way forward opens up.
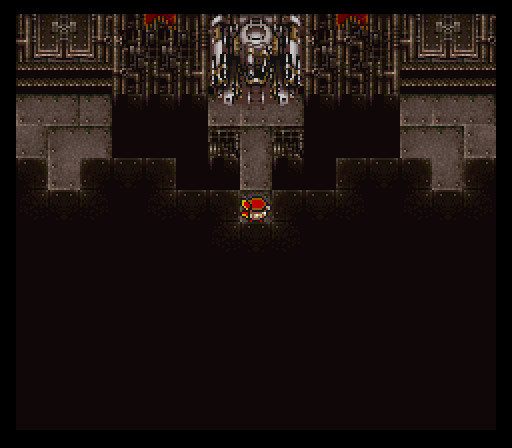
Oh. Hey there!
Music: The Decisive Battle

You may remember Guardian as the unstoppable thing that General Leo couldn't even put a small dent in. And now we're supposed to defeat it. With 60,000 HP and heinous amounts of power, it's not going to be easy.
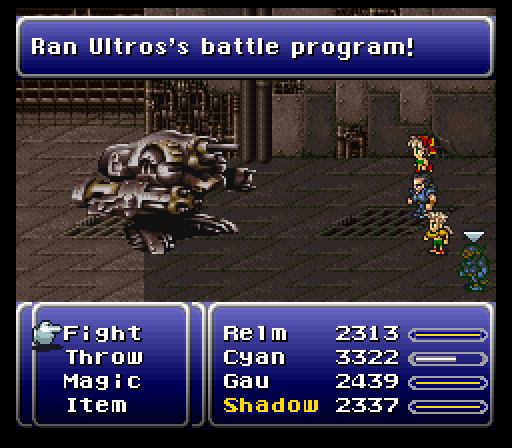
Guardian's gimmick is that it'll imitate four bosses that we've encountered in the past: Ultros, Dadaluma, Air Force and Atma Weapon. As Ultros, for instance, it will attack with Tentacles and Ink.
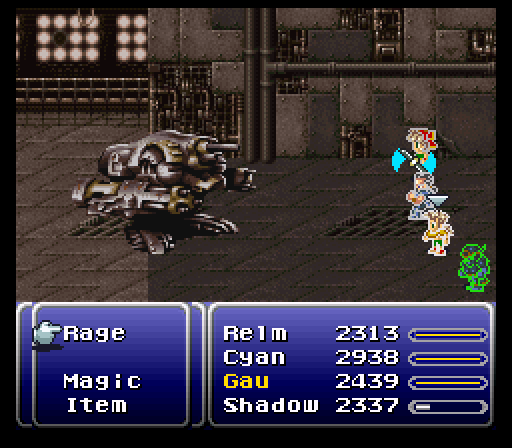
Dadaluma, I would say, is the boss's most dangerous form, because thrown knives pierce right through defense and Guardian has a lot of attack power. Against Relm, it easily hits about 9000 damage, which is just a tad more than she has at the moment.
Not much to say for strategy. The boss is weak against lightning and dishes out a great deal of damage, so liberal applications of Bolt 3 and Cure 3 are absolutely essential. If we had a thief with us, we would have been able to steal a very valuable Force Armor. Alas, but we don't.
Once the Guardian goes down, it turns into a Save Point. Thank goodness, because this tower is proving to be exhausting. Still, the end is in sight.
Next Time: The Statues, Kefka, and the fate of the world.