Part 103: North Crater, Part I
Chapter 102 - North Crater, Part I
Before we move on to important side-quests, I think we should get the final dungeon out of the way.
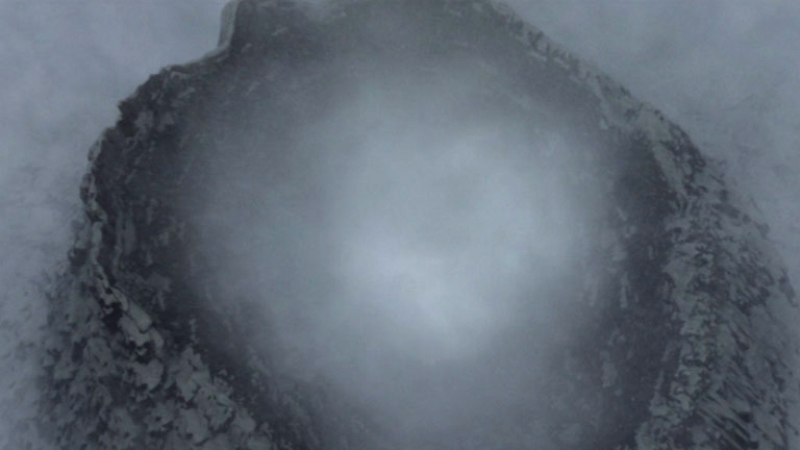
The Crater is a weird place. There are several different "biomes" in it. It also plays a very tense piece of music that is very good to pump you up for the final battle.
There are multiple routes to the end and it's overall a bit inconvenient to get back to the surface, but it's the best place to farm AP, there are some unique items down there, so you'll be probably coming and going a lot in the process of getting ready for the FFVII's "Endgame".
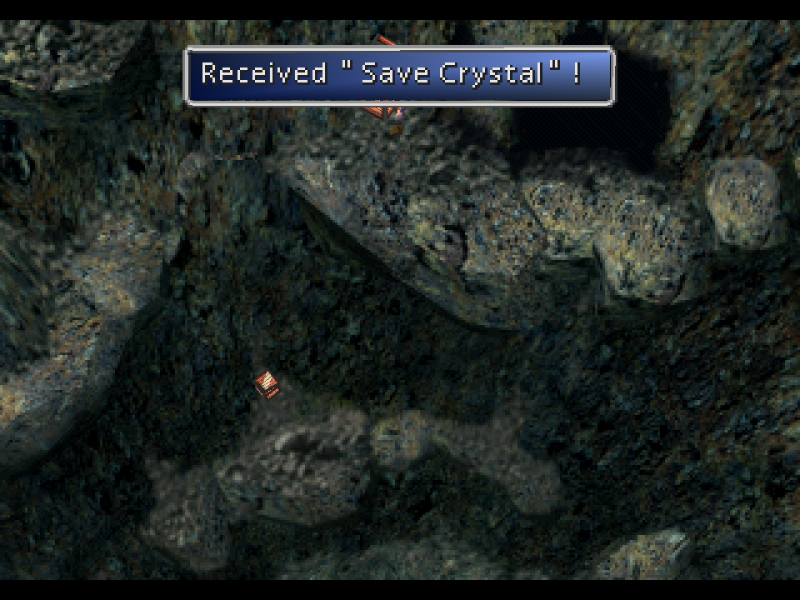
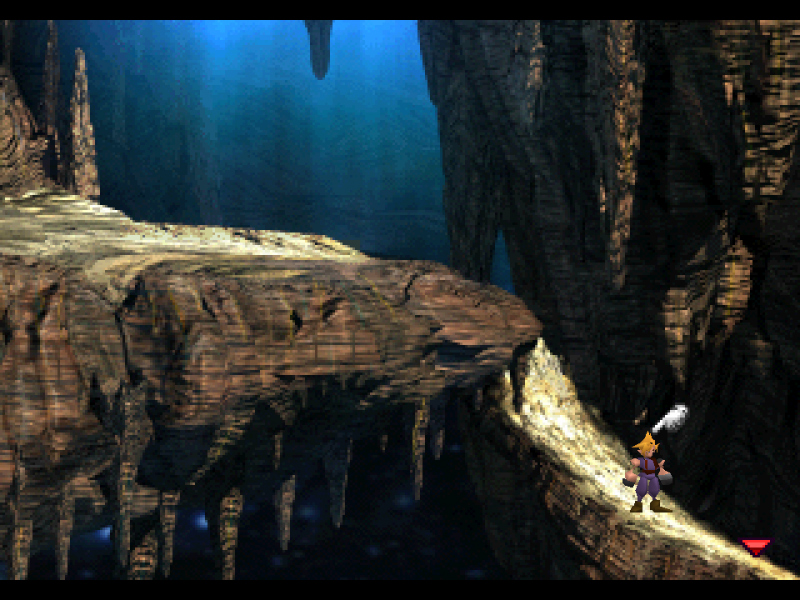
The first thing you find is the [Save Crystal]. It's an item that allows you to drop a Save Point, permanently, at a destination of your choice within the crater. While a fairly unique item, it's also possible to drop it in ways that will block your progress permanently, locking you inside the dungeon forever.
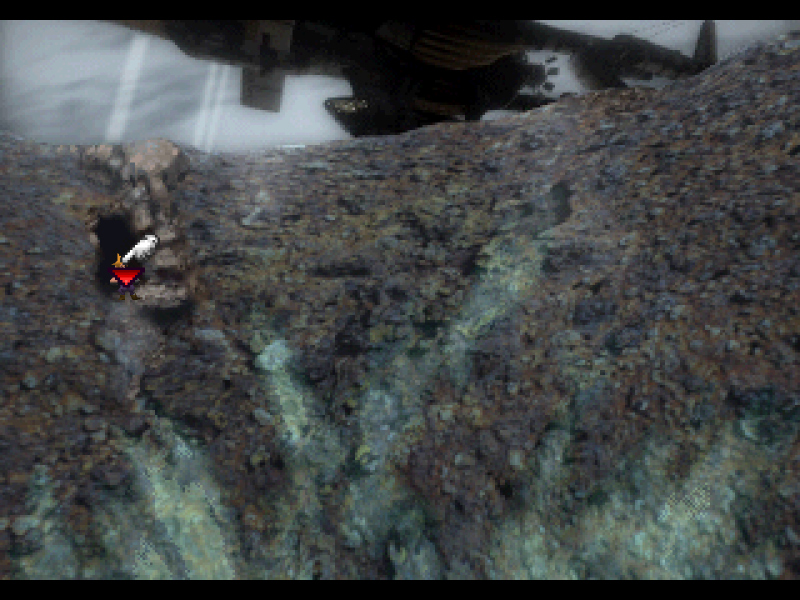
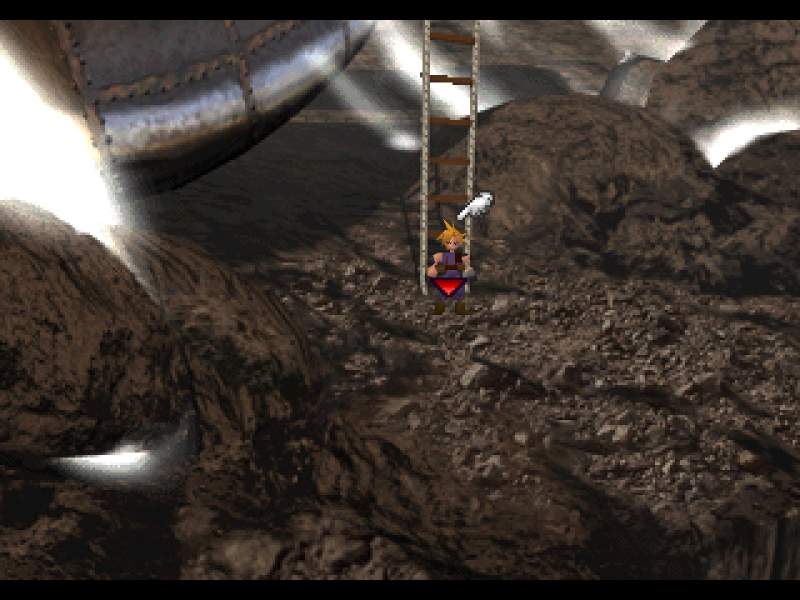
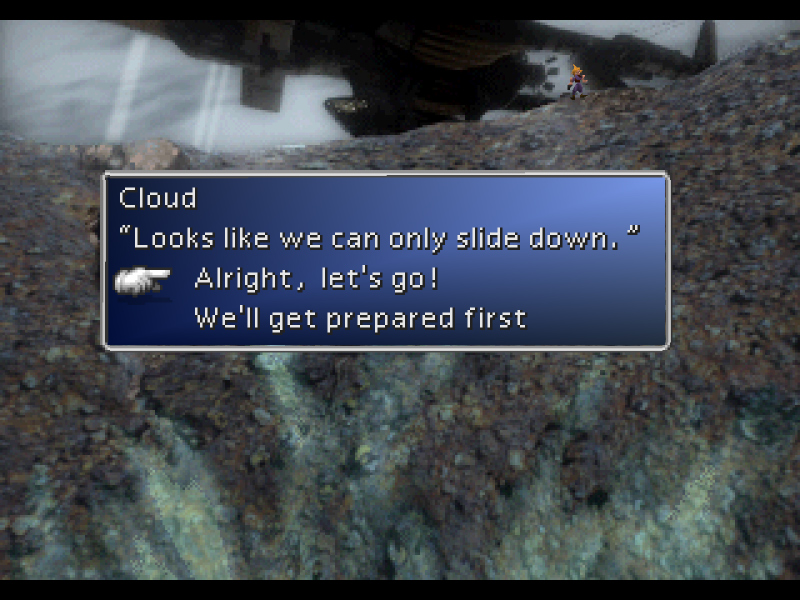
The cave immediately leads us to the exit, and it's the only way out. Alright, let's go in.
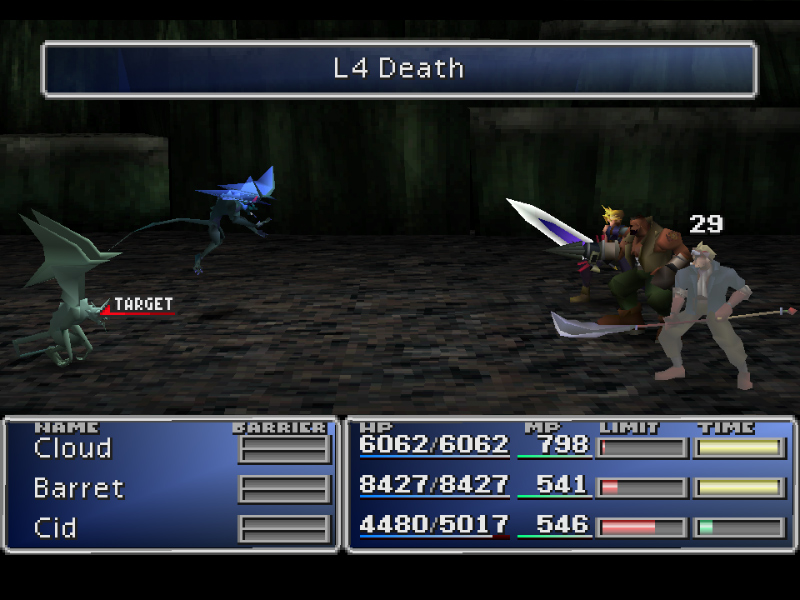
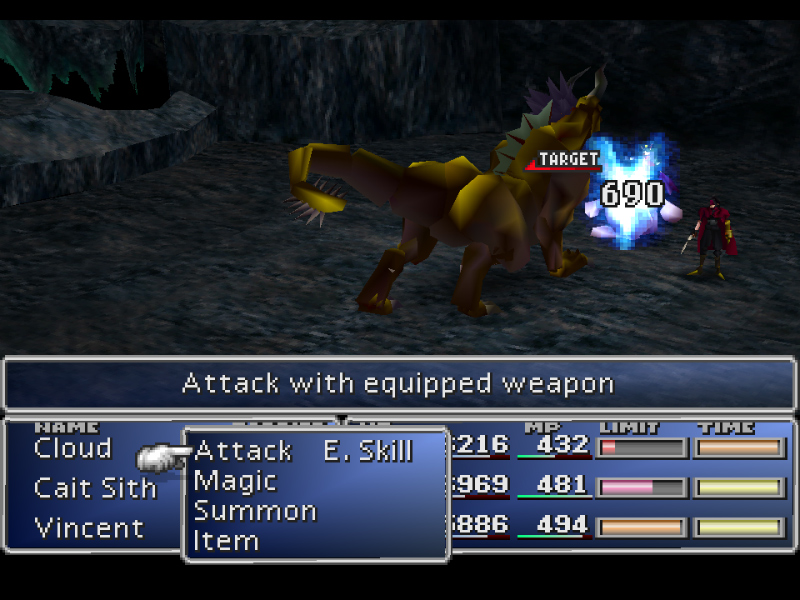
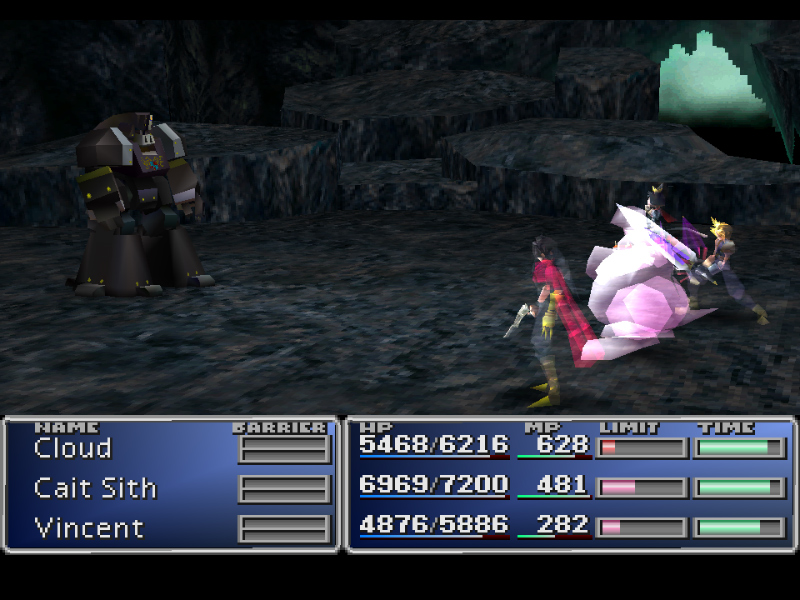
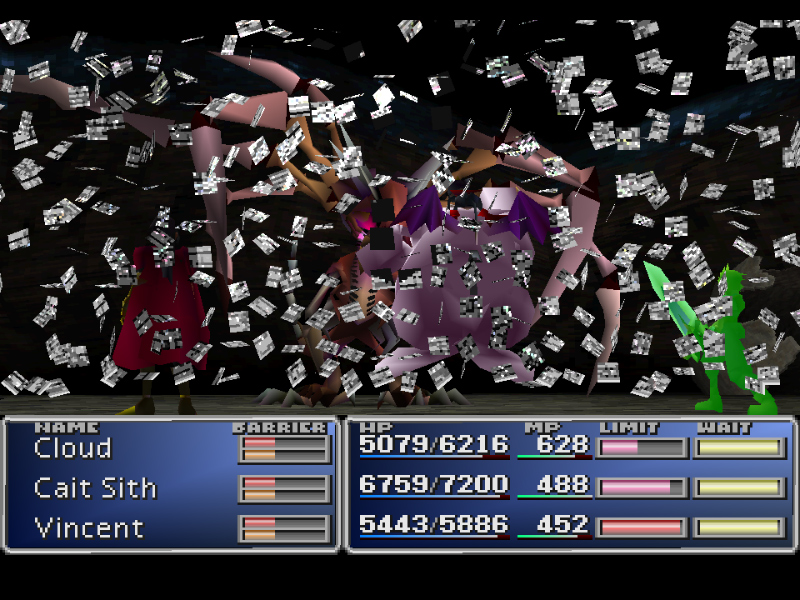
Gargoyles start the battle turned to stone, waking up after their first turn. Apparently their script suggests that Soft was supposed to remove their Petrify effect, but due to programming oversight that doesn't really work.
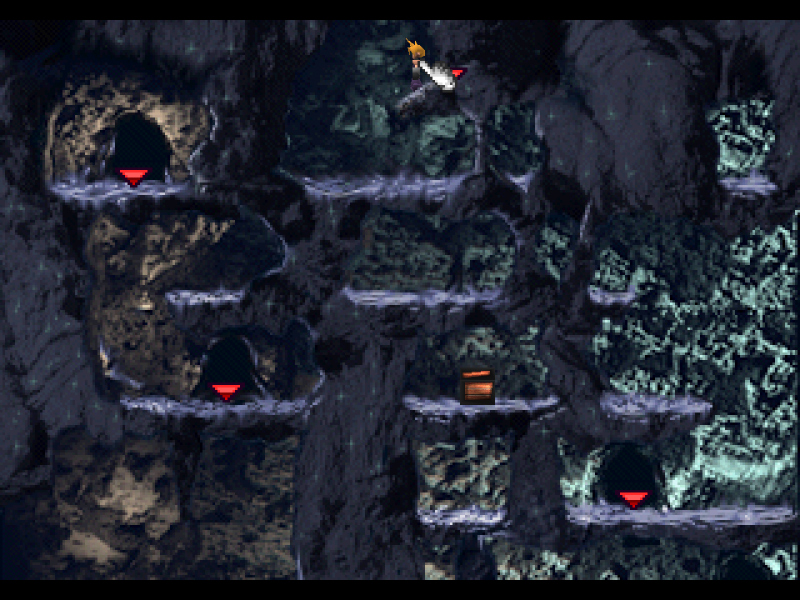
This first area is just a spiral descending into the depths of the crater.
This is starting to look more like a final dungeon from the FF series.
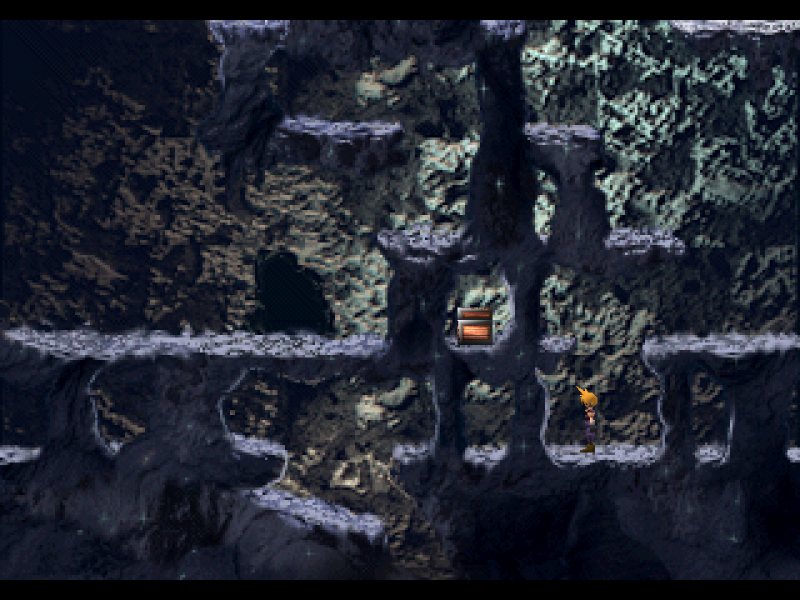
A lot of the chests found in the crater contain Sources, but this place really likes to hide Materias in the background.

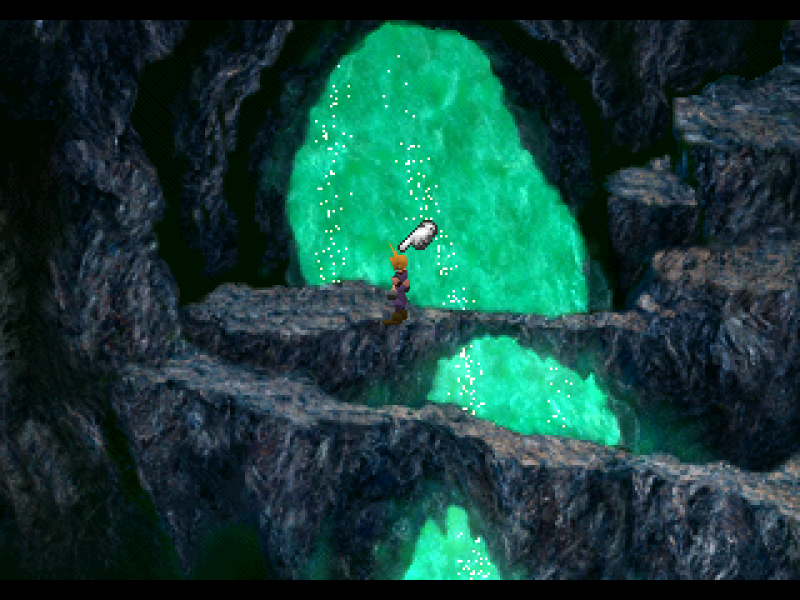
Although I can't say I'm a fan of the layout, the art in the North Crater is really good. We're gonna see some very unique backgrounds.
Oh look a monster.
Wait is that your intestine
Yeah.
Like I said, I'm not a huge fan of the layout.
This is the cave connecting the top and bottom of the previous screen. It's really hard to explain how the layout works but to sum it up, it involves backtracking in order to get all the chests. Which I can only assume were placed by Sephiroth, in an attempt to stall us.
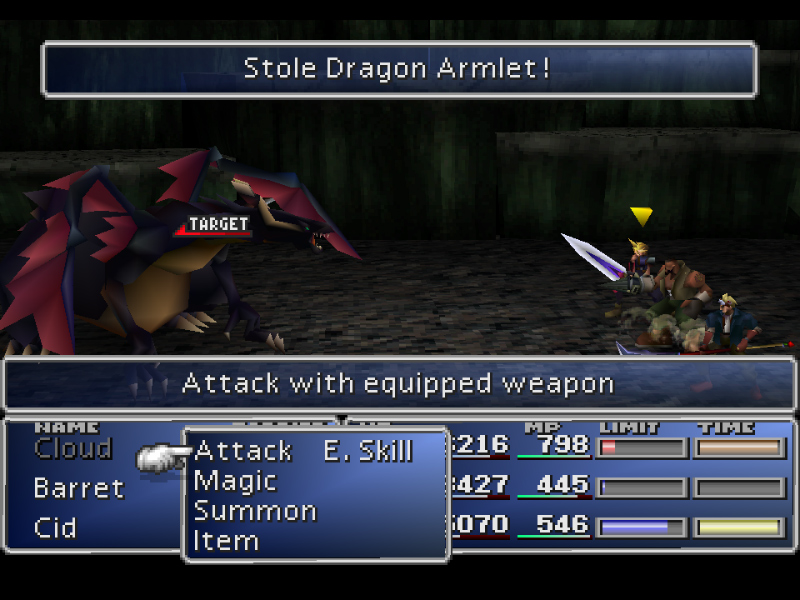
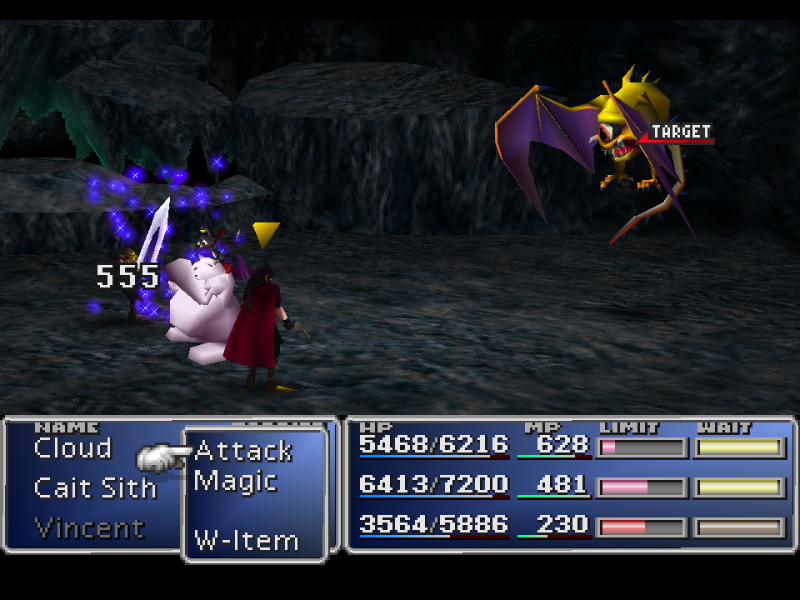
One of the last Dragon monsters in the game, packing a bunch of Health, as per tradition. The monsters in this place are strange. They usually hit like a feather and this one is no exception, but they can catch you off-guard with unexpected bursts. The Dark Dragon for example can counter Magic attacks with Ultima, which might wreck you depending on how low your defenses are.
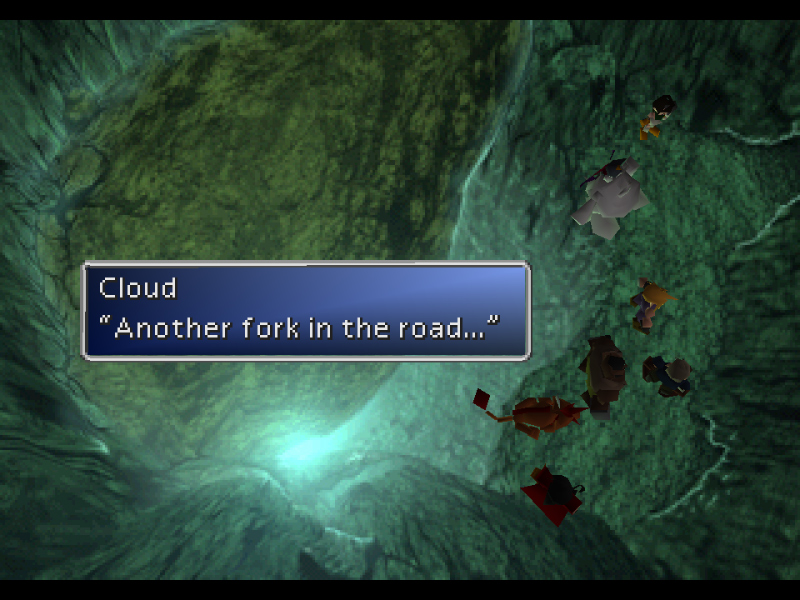
Going further down and we get to the first fork.
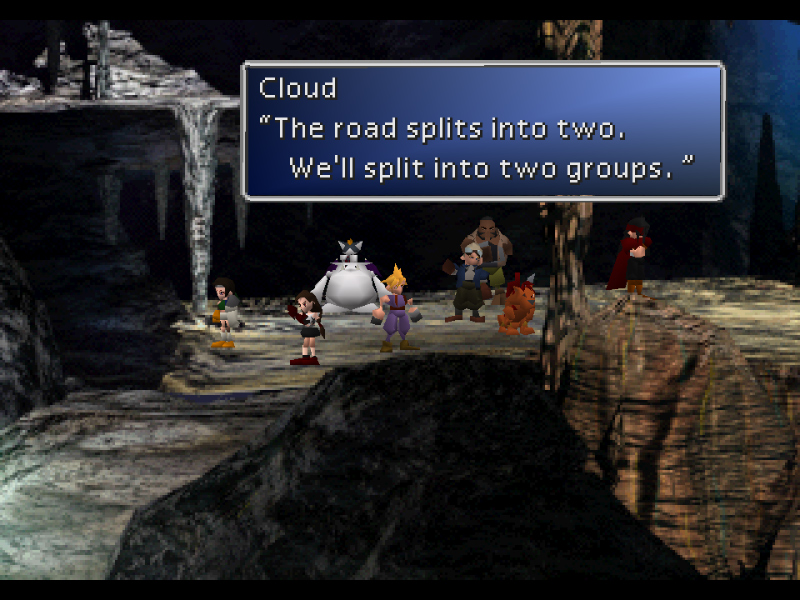
So this is where something really weird happens. I hope you're having Mass Effect 2 flashbacks.
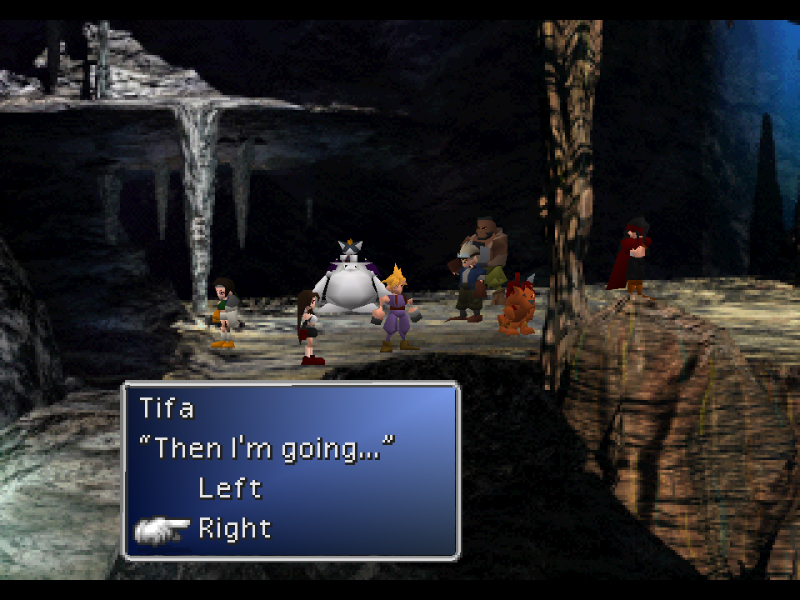
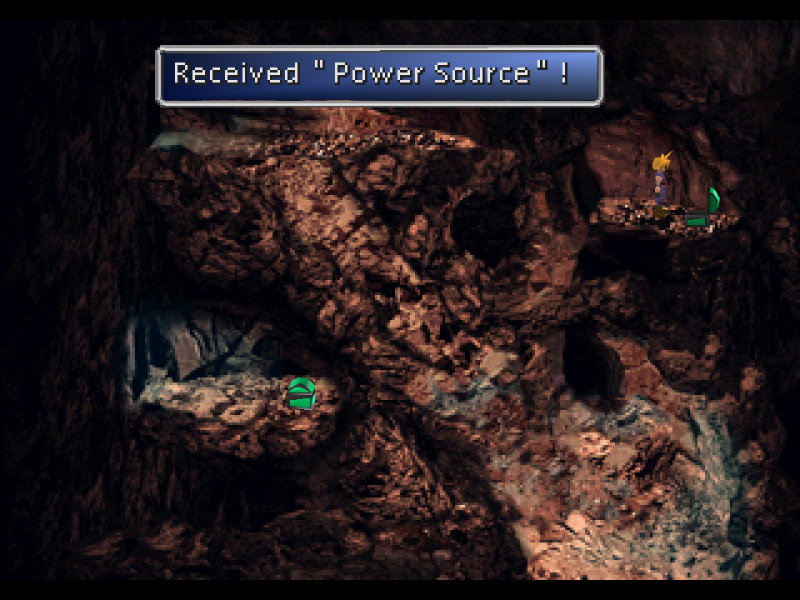
What happens is that some characters will pick up certain field items depending on where you send them. This is, of course, completely arbitrary - there's no way for you to know, right now, who will pick up what.
That wouldn't matter much because if you play the game as intended, the items they pick up disappear from the field, so it's just a minor convenience for when you backtrack and there's less stuff for you to look for in the background.
However, again, due to programming oversight, if you reach the end of the crater and backtrack before talking to the other characters, the items will not have disappeared. Which means you'll be able to pick up two of some otherwise unique items. Which in turn means that there's an optimal route for you to send each character so as to maximize the amount of duplicate unique items you can get.
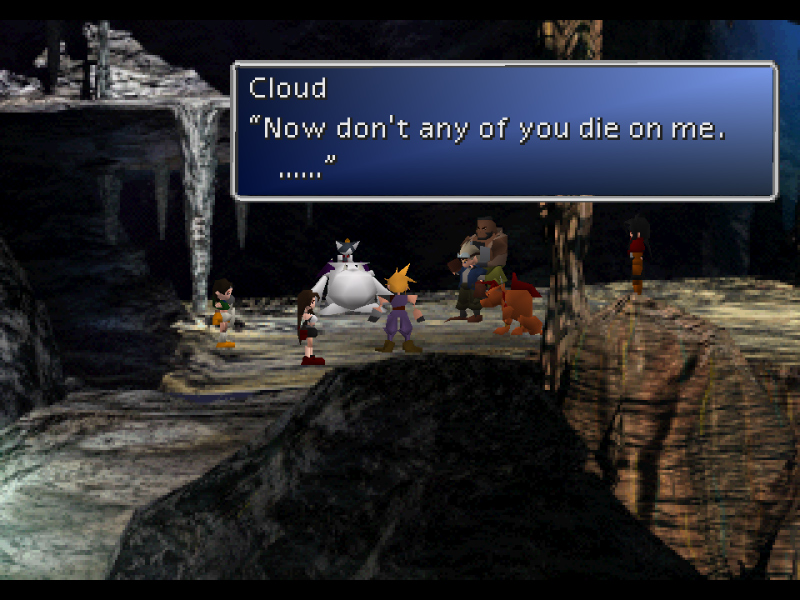
There are two forks in total, the one we saw before and this one that we find if we go left.
So you get to divide your groups again.
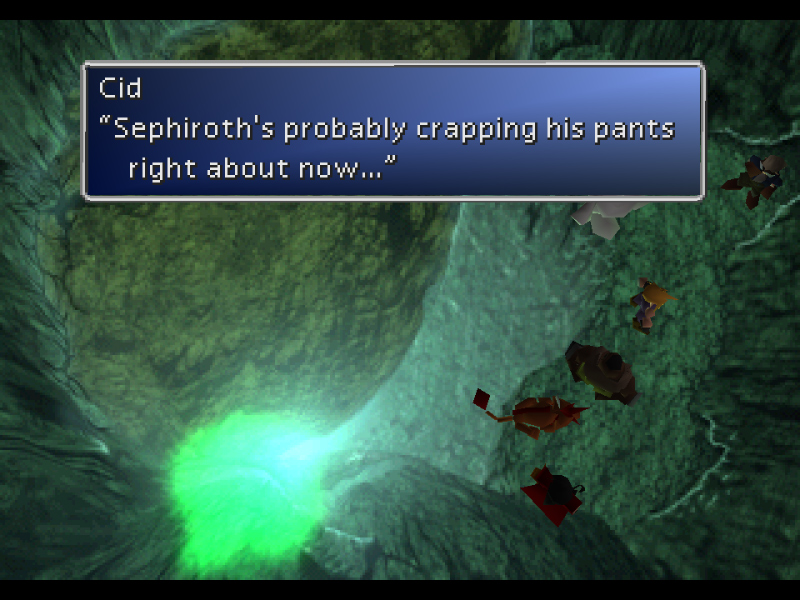
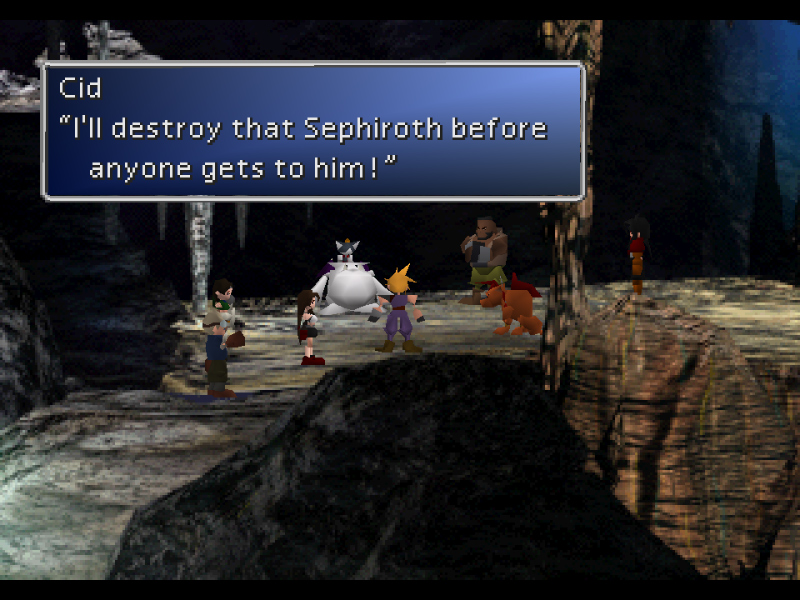
Cid is the best.
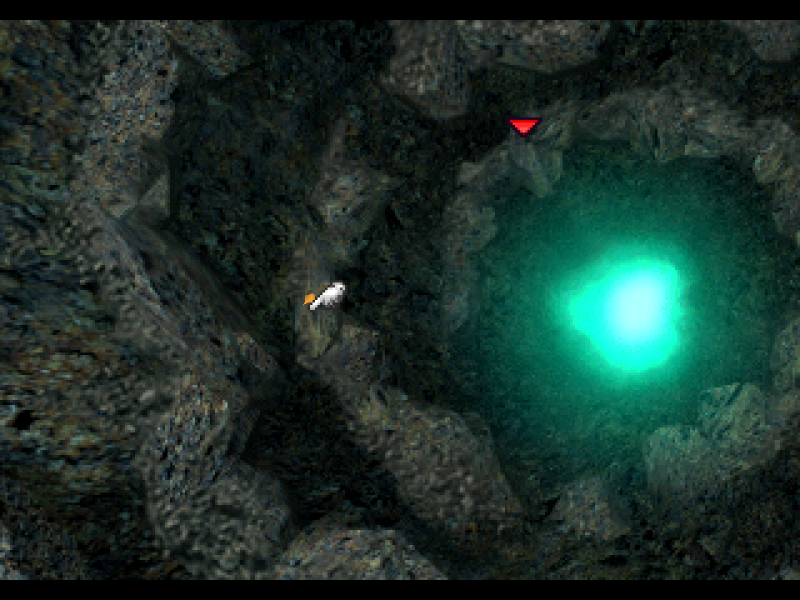
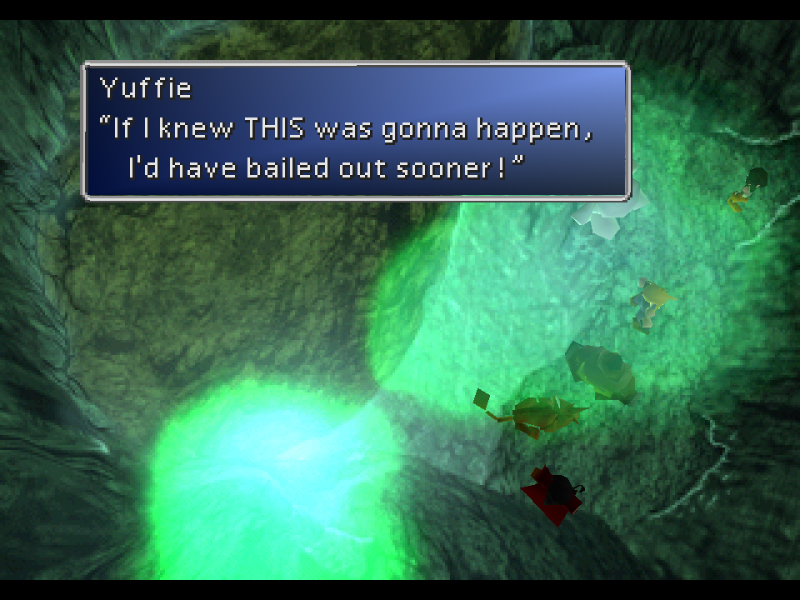
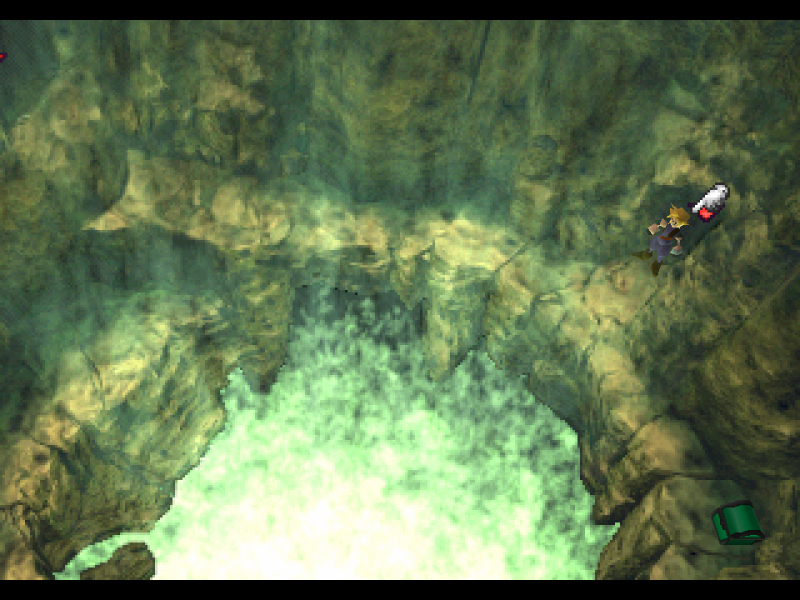
I like the green aura all over this place. Like the Planet hasn't recovered completely and is still bleeding from the original wound.
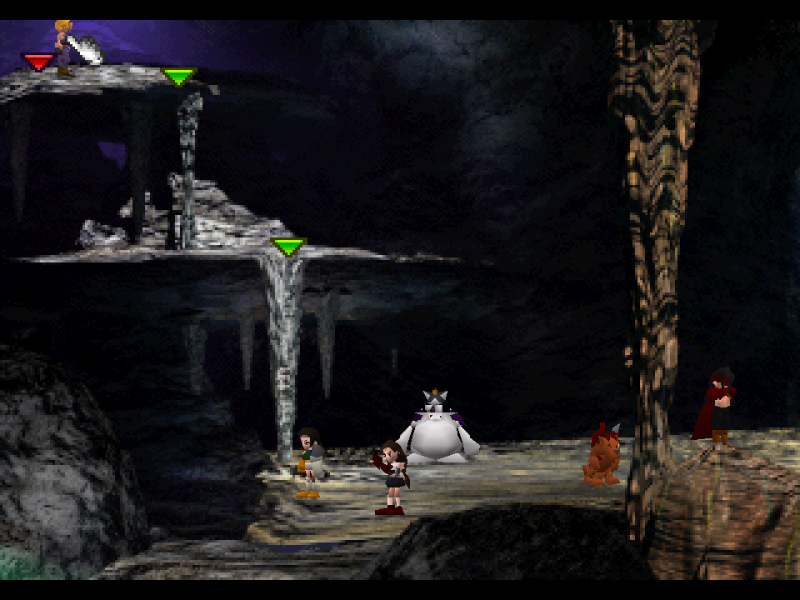
King Behemoth is another monster with a lot of HP. It should be able to cast a very powerful Flare spell but - again - it's not in its script.
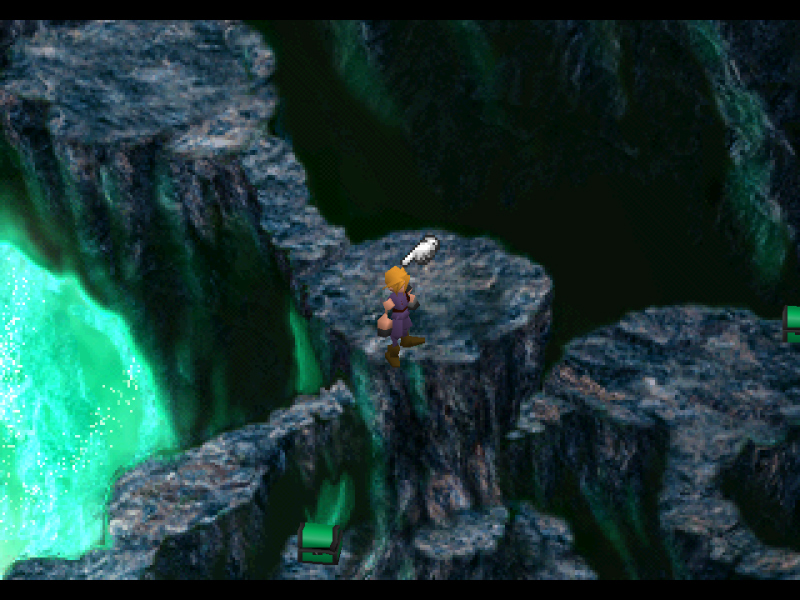
Most of these chests contain Potions and Sources. Not too interesting. I like the Lifestream in the background.

This is Master Tonberry, the first Tonberry you'd encounter in an average run of this game. If you're wondering why we haven't met the "Non-Master" Tonberry it's because you cannot fight him in game, probably due to oversight, as the only area he's coded in to appear is an area you can never move or engage in random encounters. You can see it here.
You can still fight the Tonberry in the Battle Square. Tonberry is cool because he has an attack called [Time Damage] which damages you for the amount of time played in the current game.
The Master Tonberry on the other hand has [Everyone's Grudge], which is the Tonberry's signature move in the series. Typically it deals damage based on how many Tonberries you've defeated, but in this game it's based on how many enemies the targeted character has killed since the start of the game, not just Tonberries.
Tonberries have a lot of health. Master Tonberry has 44444 HP. For comparison, King Behemoth has 18000.
Overall Tonberry is cool and everyone loves Tonberries.
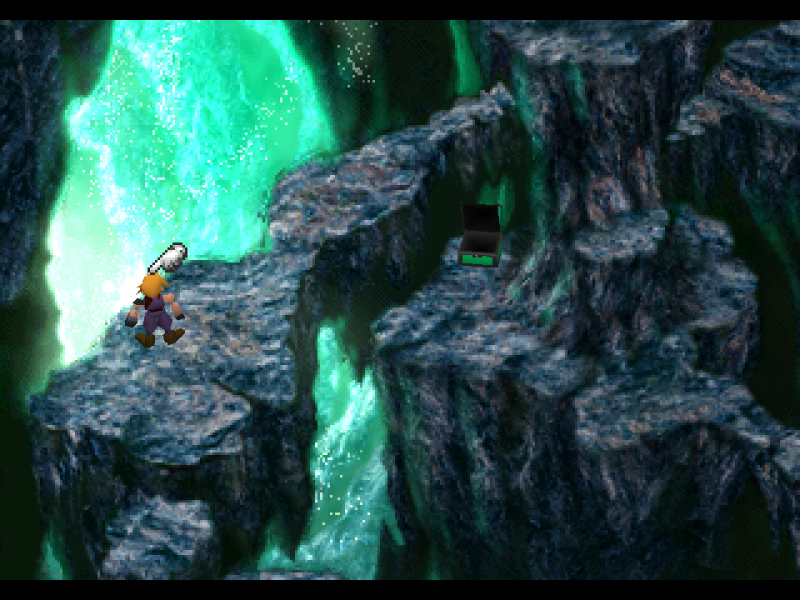
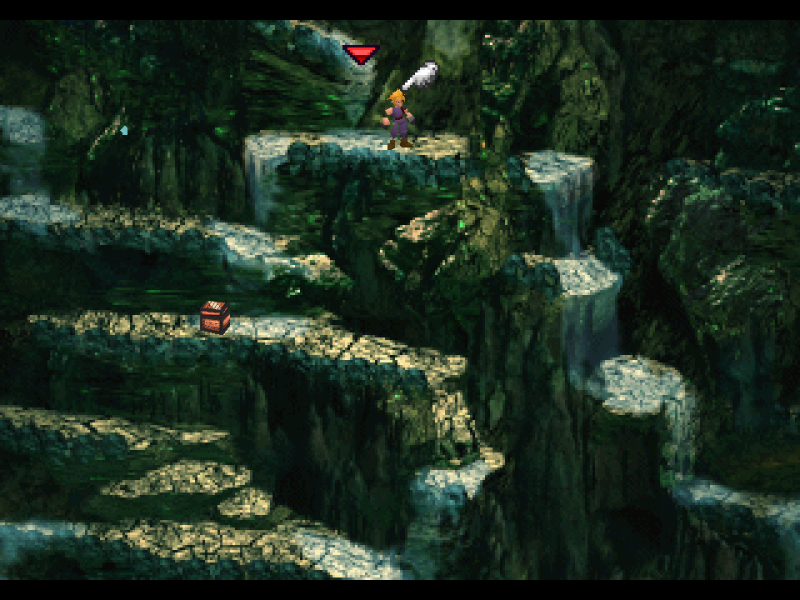
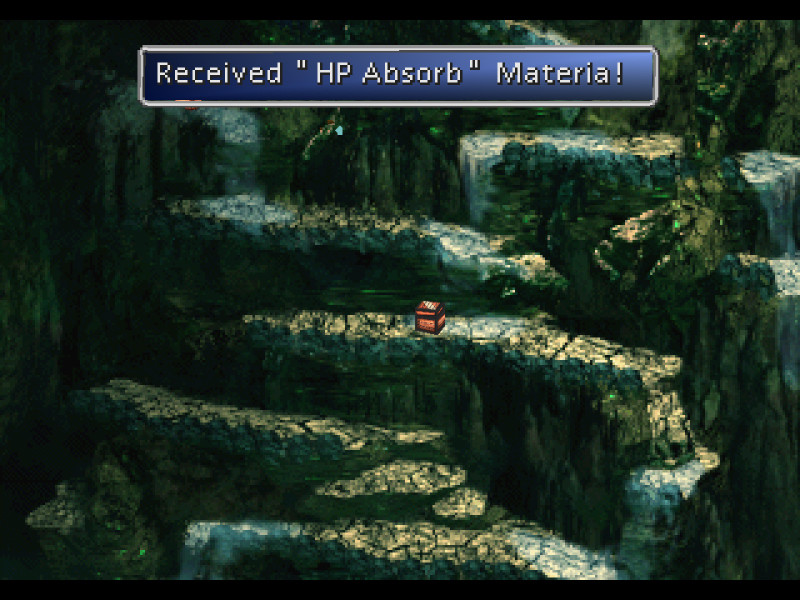
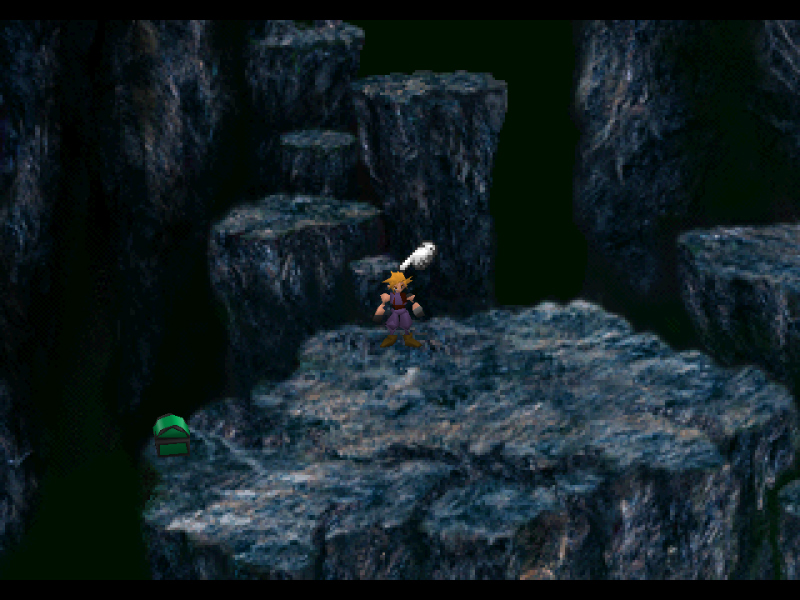
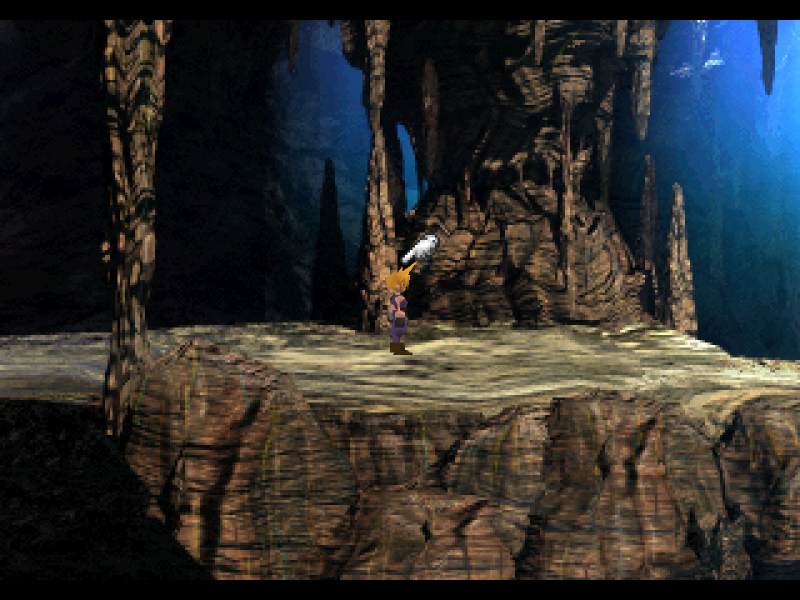
Here's a very secretive Materia hidden in the background, to the left of Cloud. It's a [Magic Counter] materia, the only one that you can get outside of Gold Saucer.

See the floating materia in the platform? When you jump, Cloud immediately jumps to the next platform automatically, so you have a tiny time window to press the button and get it. It's super annoying. Grabbing it yields the unique [Mega All] materia, which basically attaches the [All] materia functionality to every materia equipped by the character, regardless of whether it's linked or not.
A Golem.
A Floating Eyeball.
This is it, the very end of the road. We're incredibly close to Sephiroth. If we go on just a bit further we'll trigger a cutscene and we'll be ready to face the villain and finish the Let's Play. But we're horrible people. Instead, we're just going to backtrack all the way to the beginning, to get the duplicate items for the sake of completion, and enjoy some of the other backgrounds in the meanwhile.
So we go back to the first fork and go right.
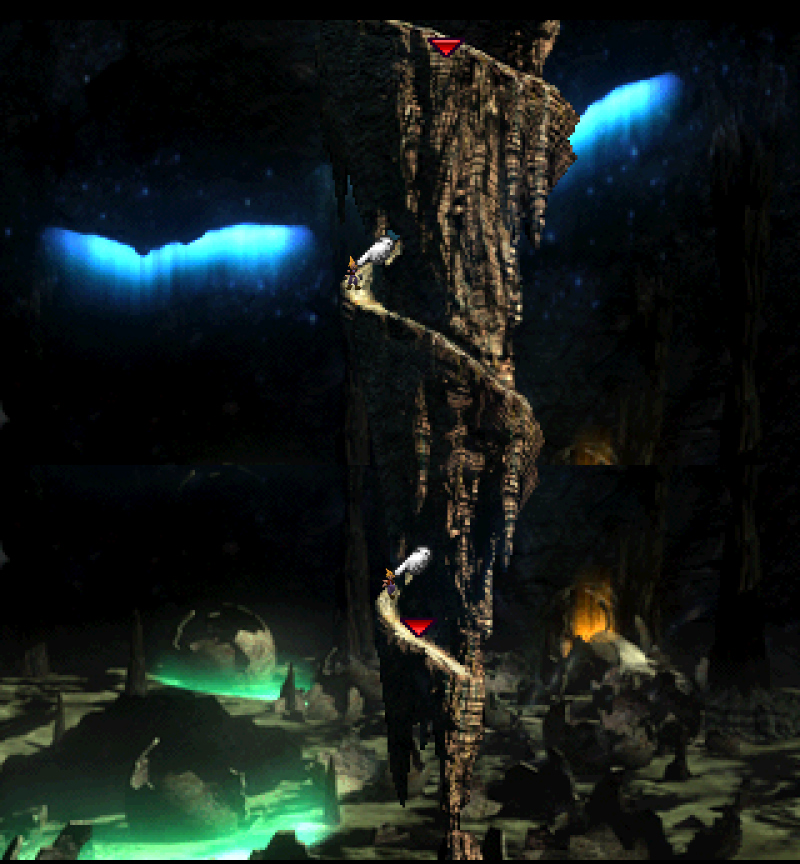
This is one of my favorite places in the game. It's this gigantic, colossal cave with huge eggs, surrounded by lifestream. I like to imagine it's the birthplace of the dragons we find in the world.
This is also the place where dreams go to die.
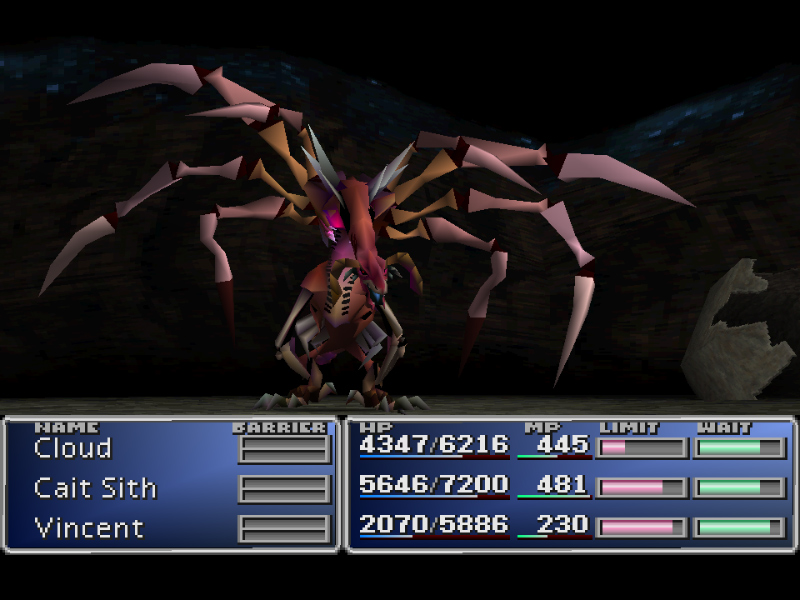
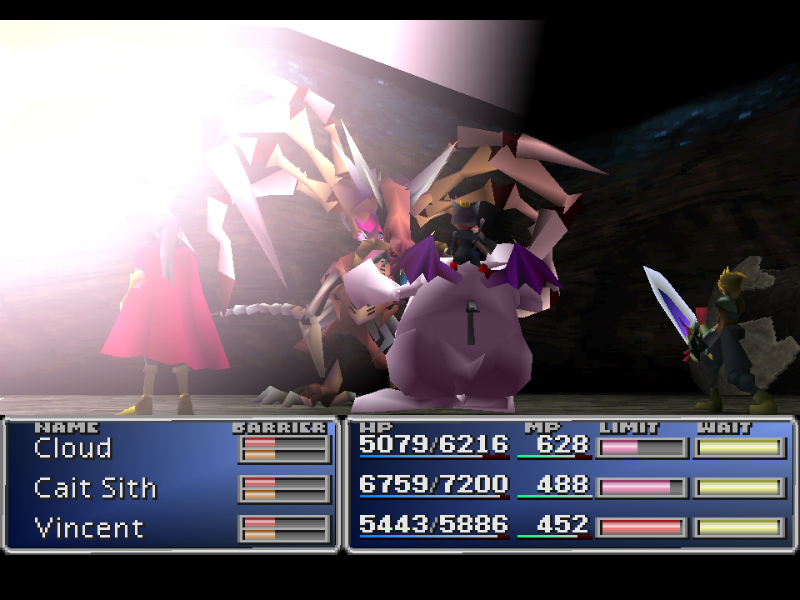
This is the first place you can encounter these enemies. They're called Dragon Zombies.
If you're a player who likes to get everything you can in the first run of the game, then yea, JRPGs tend to be headache-inducing nightmares.
I mean, there's an item in FFIX that you can only grab if you get to the final dungeon in less than 12 hours of playtime. JRPGs are famous for flaunting Lost Forevers in your face, and FFVII is no exception.
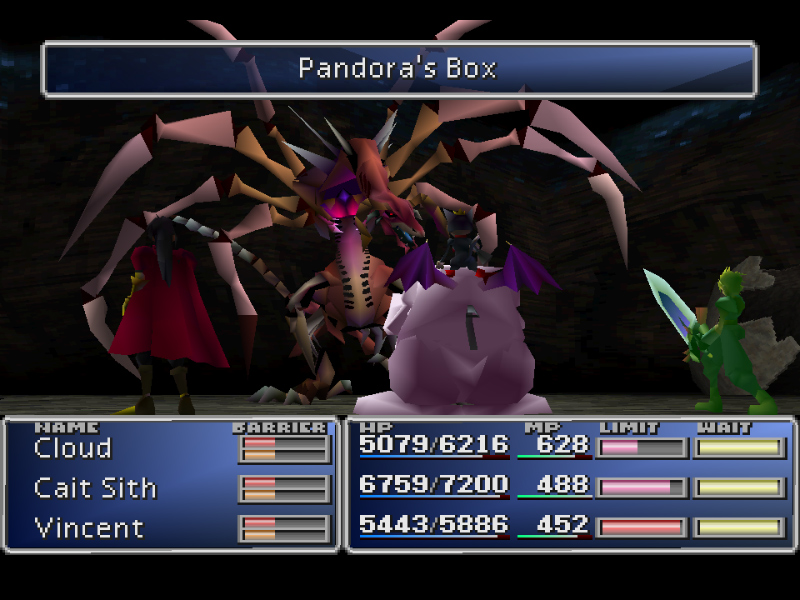
The really, really weird thing about Dragon Zombie is how unusual its Lost Forever is. It's just a random encounter, and the moment you kill him, he will cast an ability called Pandora's Box as a Final Attack, which means it's completely unavoidable if you're not skipping battles - if you run into this enemy and you kill it, you will see a Pandora's Box.

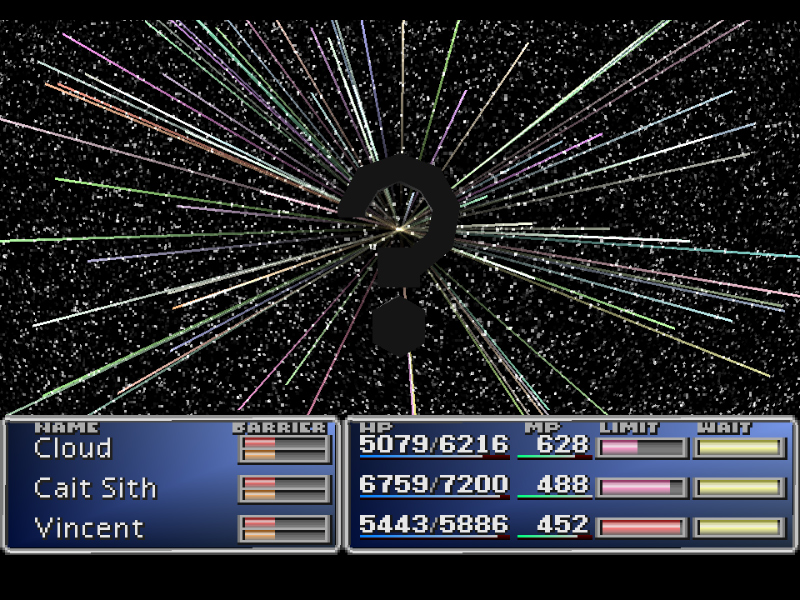
Now, Pandora's Box is an [Enemy Skill], which means you can get it if you have said materia equipped.
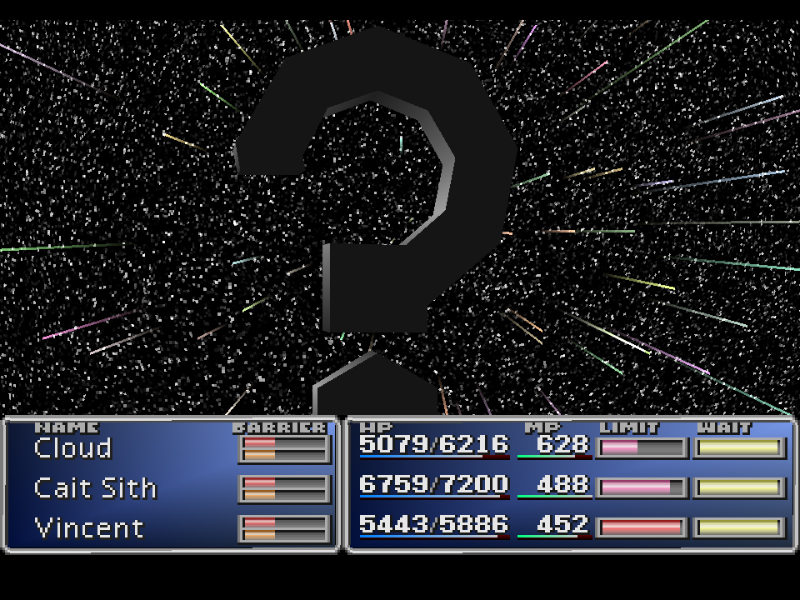
Here's the thing, though - Pandora's Box can only be cast once during the entirety of the game. The moment Pandora's Box is cast the game will toggle the global switch that allows it to cast the Pandora's Box in the first place, which means Dragon Zombie will never, ever, ever use it again.
Which means if you don't have every Enemy Skill materia equipped and ready, by the time you find out about this little fact it'll be too late.
It's not even a particularly good spell, and the fact it's a gigantic question mark definitely adds to its odd nature. Apparently the skill is called "Somehow???" or "What???" in Japanese, which only makes it more bizarre.
Next time:
More exploration! More weird enemies! Overpowered Materia!
Music we've listened in this update:
Judgment Day - The very fitting theme for the North Crater.