Part 27: Grid Talk 1 - Chapters 1-2
Grid Talk 1
The oft-neglected third equipment slot, the Garment Grid has the potential to be a powerful and versatile addition to your character setup. It also has the potential to be really annoying, and if there's something you forget to unequip after a specific fight, it'll be the grid. Setting up grids is such a clunky process that it's easy to fall into a rut, but experimenting with grid setups and strategies is actually pretty fun, especially if you're trying not to overlevel.
Depending on our choices and what sidequests we do, we can have access to up to 30 of the 60 possible grids by the end of Chapter 2, and they fall into a handful of broad categories.
Boring Grids
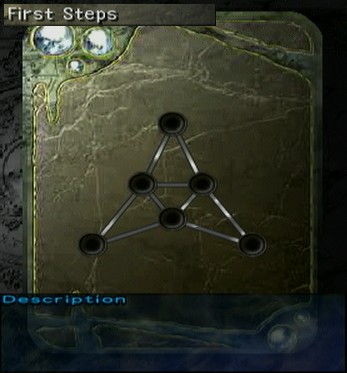
Few grids are completely devoid of special abilities, which can make these easy to dismiss. First Steps in particular takes it on the chin for being your basic starting grid, which makes it easy to overlook its supreme flexibility; with the maximum number of sphere slots, and three nodes with the maximum number of connections, First Steps is a great grid for players who like to switch jobs often and without warning. Later on, though, you'll want to trade a little of that flexibility for power.
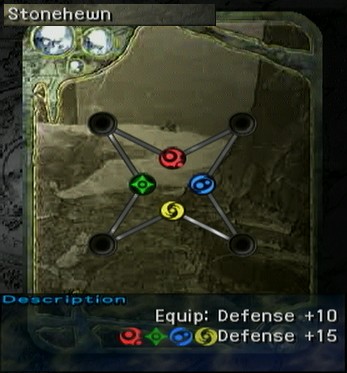
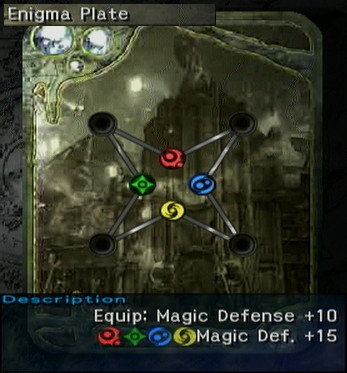
Stat-Raising Grids
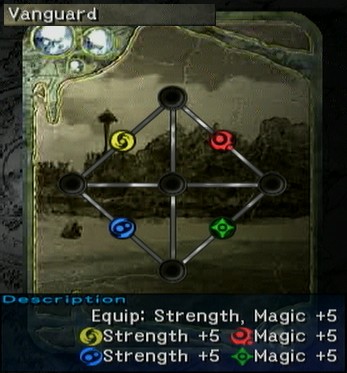
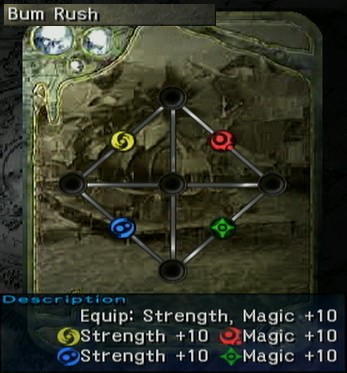

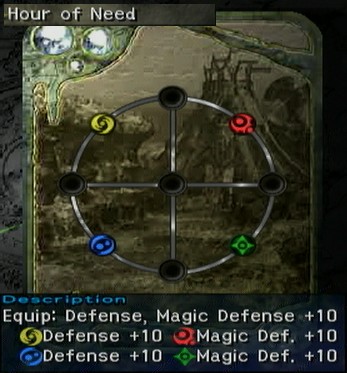
These are the defaults you'll tend to gravitate towards for general fights. The defensive ones seem more useful on the surface, since you'll have to defend against both physical and magic attacks more often than you'll have to make them, but the offensive ones will help you end fights faster, so it's a toss-up for which one is better.
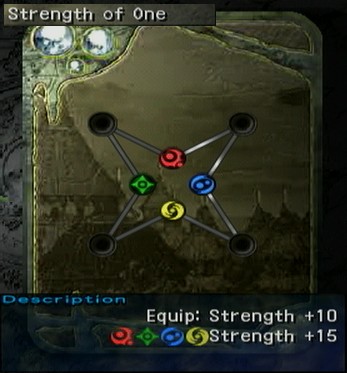
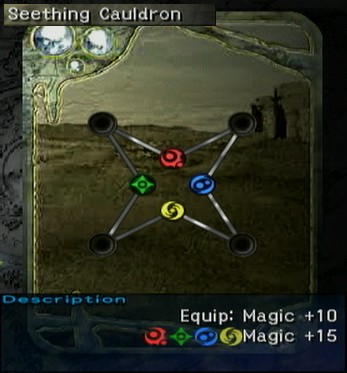
Only better than the other stat-increasing options for one chapter; once you graduate from Vanguard to Bum Rush, these become obsolete.
Status Effect Grids

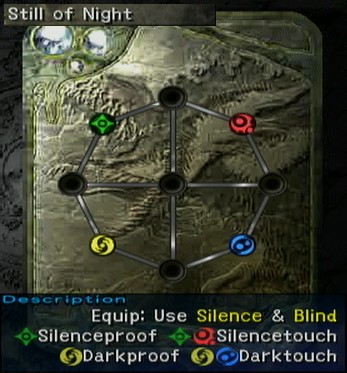
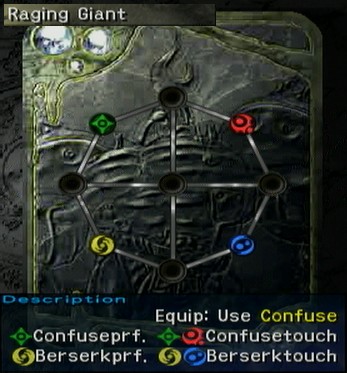
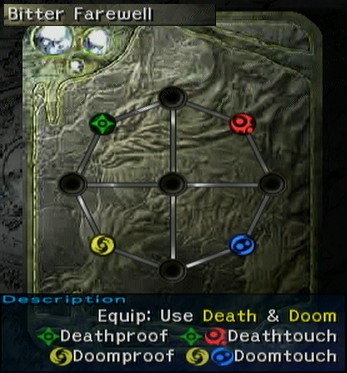
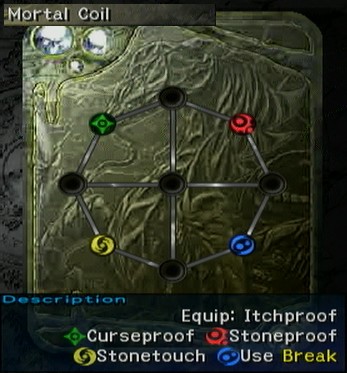
I like the flexibility of the status effect grids, especially before you can really afford to buy Shock accessories willy-nilly. Once you know what job you want to end up in, you can put Thief on the other side of a Touch gate to start the battle with a status attack, or you can put a job with an innate Proof ability on the other side of a Proof gate if you're paranoid that the enemy will act first.
Elemental Grids
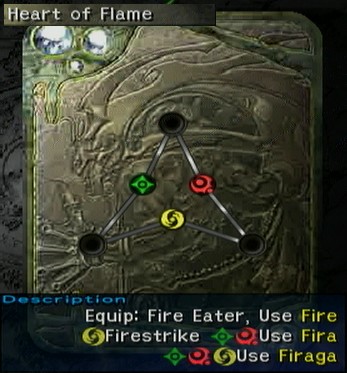
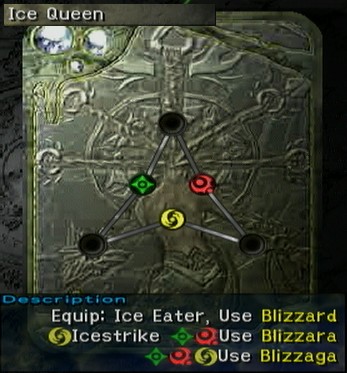
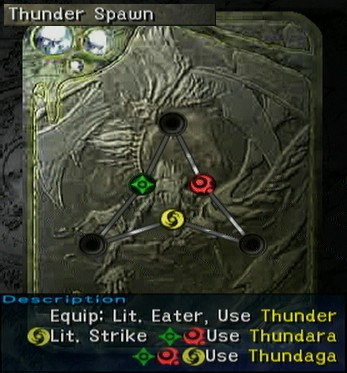
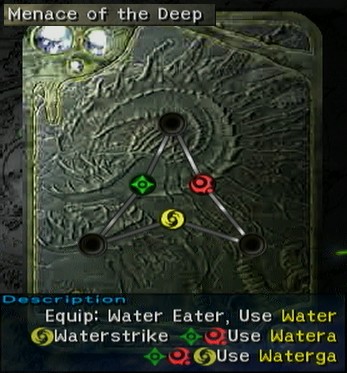

Eater abilities are pretty overpowered for Chapter 1, and being able to heal yourself with first-level Black magic is icing on the cake. There's three problems with the elemental grids, though, two of which are semi-serious. First; of the four basic elemental grids, Fire is disproportionately useful, and Water nearly useless. Second; the grids only have three slots, which kicks your versatility in the nuts if you're in a battle where all three girls need elemental protection. Third; you have to be careful not to pass that Strike gate and start accidentally healing the enemy. The designs are neat though.
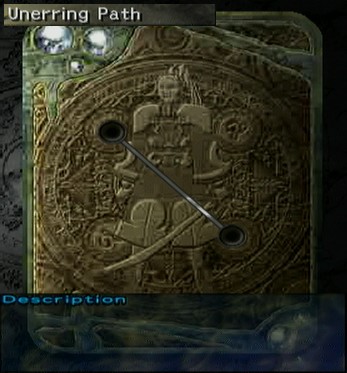
First Strike Grids
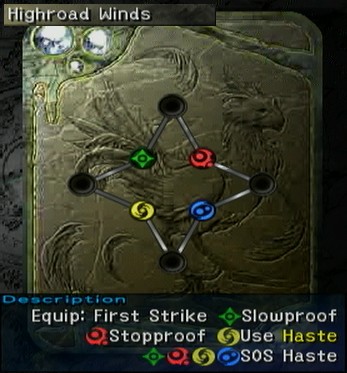
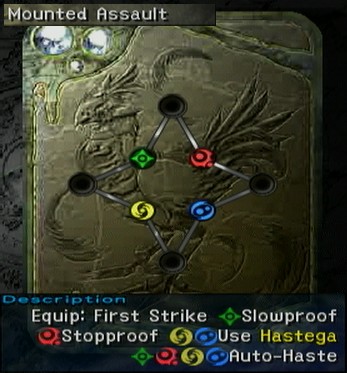
Necessary for catching chocobos and overpowered everywhere else. Ironically, the best ability takes a little too long to use, but there's nothing better for cheesing random battles.
Healing and Buffing Grids
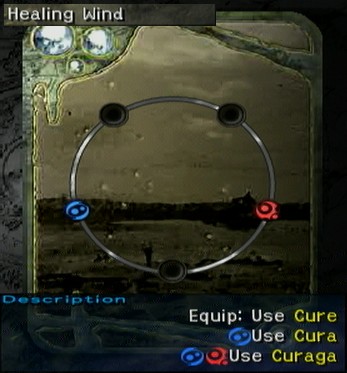
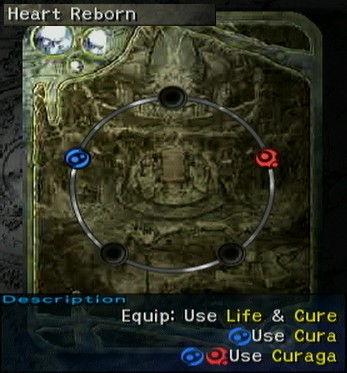
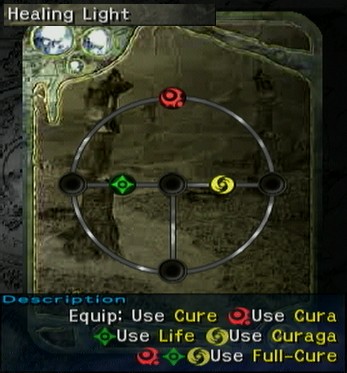

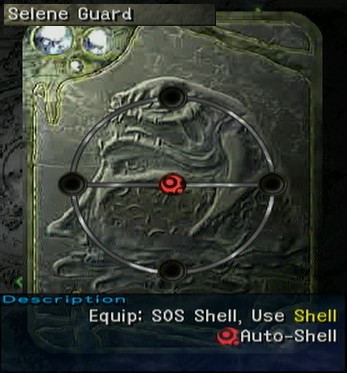
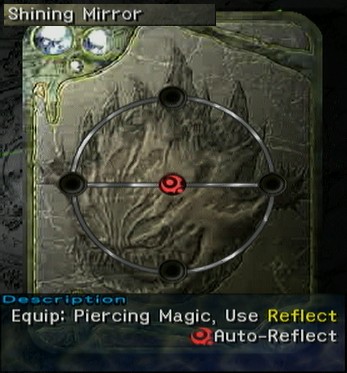
The game always seems to insist on putting Shell before Protect, which doesn't make sense to me. These grids are usually best-utilized with non-White Mage magic jobs, which can be rare early on. Shining Mirror seems to be the most useful of this series, since Piercing Magic is a unique ability that I don't think you can get any other way.
Spell Grids
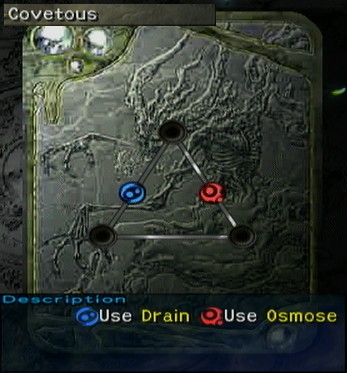
Only useful for putting Osmose on a job without an equivalent. Otherwise, Drain isn't very powerful, and only having three slots is pretty limiting, although you'll rarely be trying to shove the whole team into this one grid.
Job Grids
This is actually one of a series that gets completed in Chapters 3 and 4, but we can technically get this one in Chapter 2 by doing the Thunder Plains tower game. Of course, the abilities it grants aren't actually available until Chapter 3, so there's no point. I'll talk about the series next time, but I just wanted to point out how mean the game can be, teasing us like that.