Part 56: End-Game Content 2 - Part 2
Well, that's good to have all wrapped up. Now what were we doing?
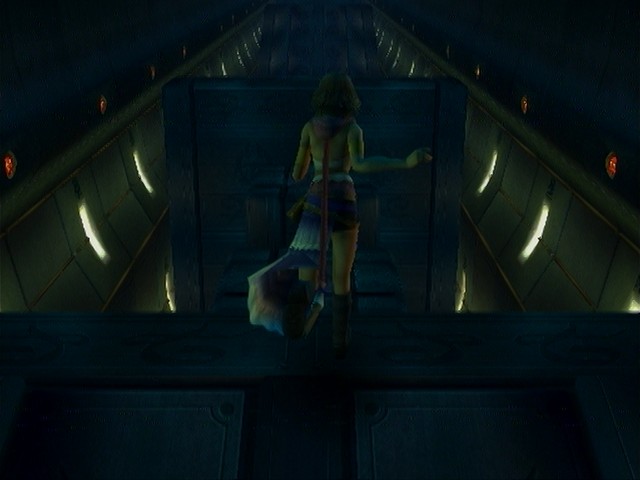
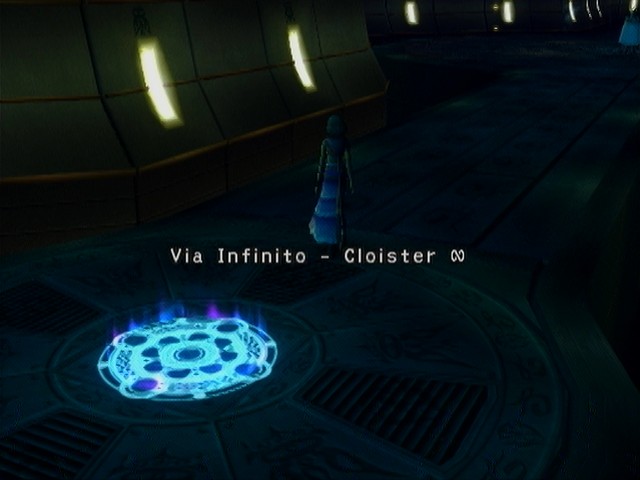
 Hourglass freakin' temple.
Oh, right, the Timesink Cavern. Back to the grind, I suppose!
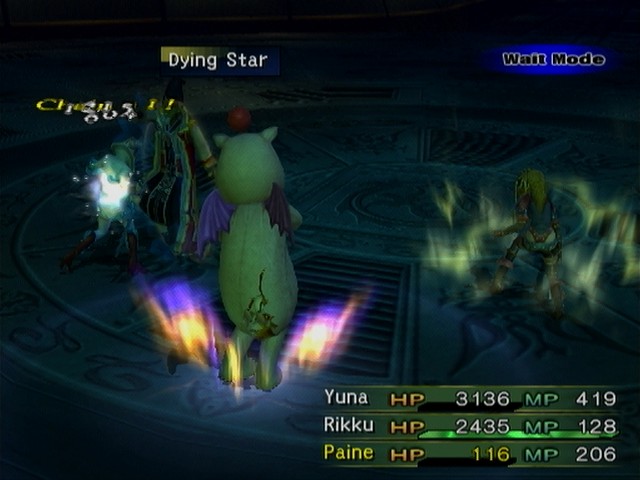
Floors 21 to 39

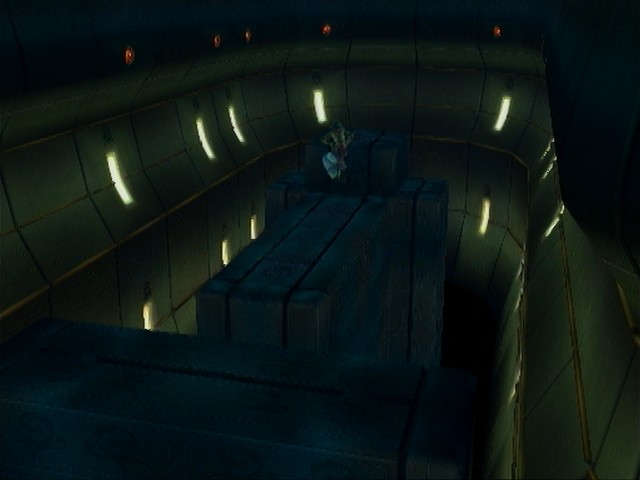
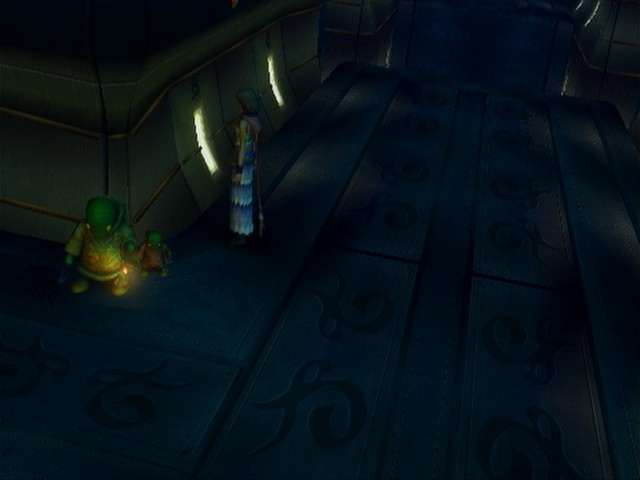
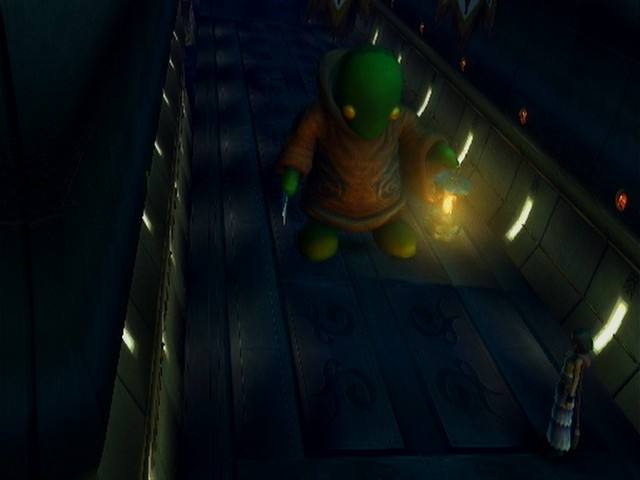
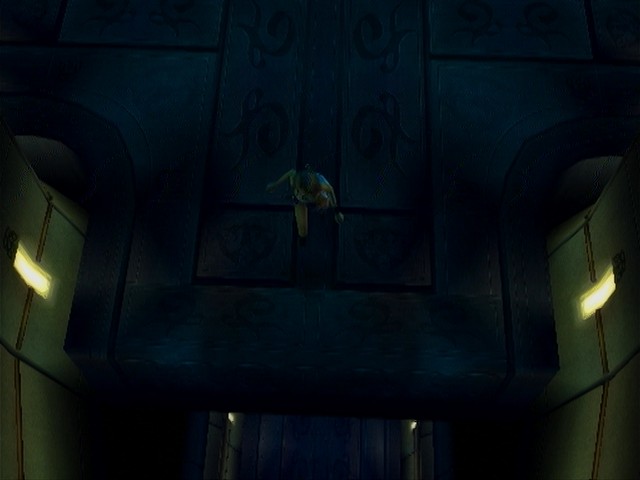
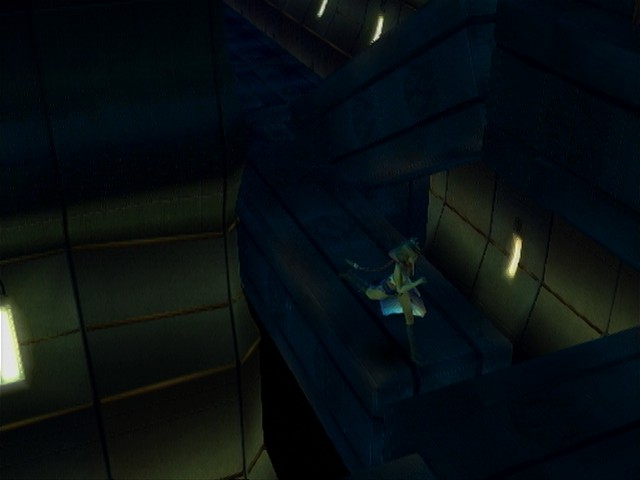
There's an Elder Drake staring us in the face on this floor, but the floor switch around to the side creates platforms over its head so we can avoid it.

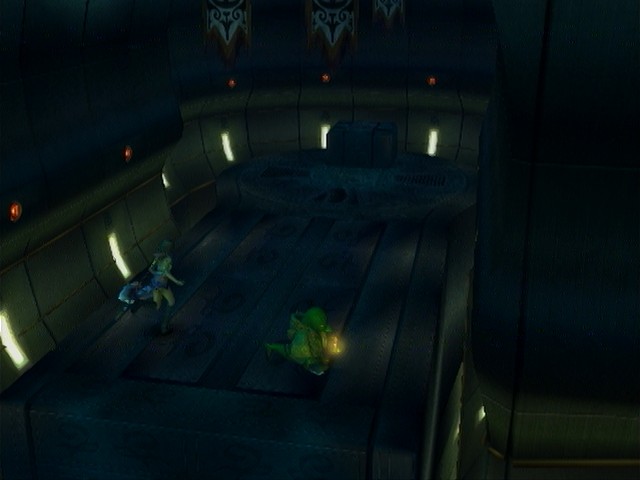
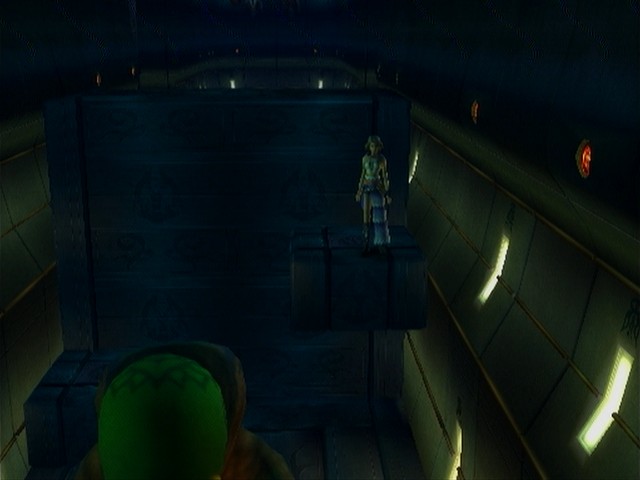
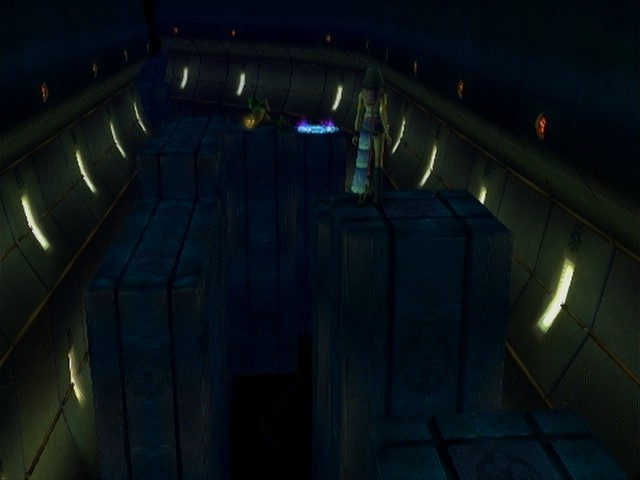
Where's the hole on this floor? Hidden under the save circle, actually. Tripping all three floor switches makes the floor in the center fall away. Each switch will also remove any Tonberries that happen to be patrolling that branch.
So, uh... Just hat out of her mind, was visitors swear takes specific damage, which make surprising except that wish the first time to do. Meanwhile? I'm glad to start about seeing help there.
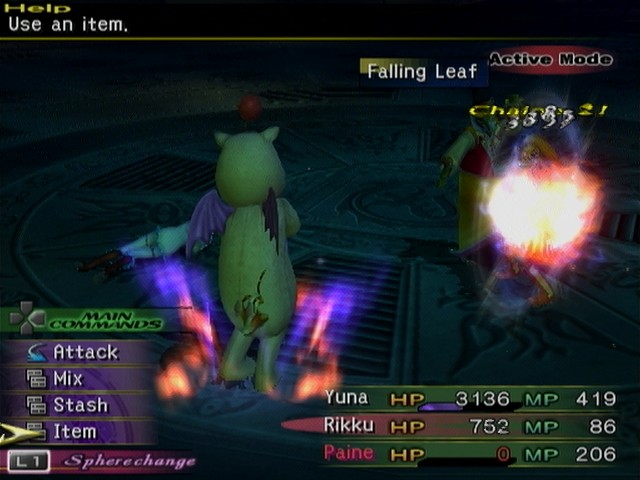
Another forced battle map. Defeating the Tonberry causes a tile to fall away, revealing the way down.
As some experience.
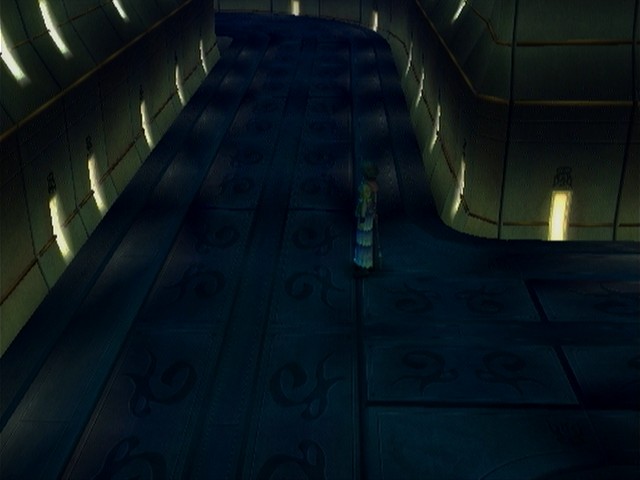
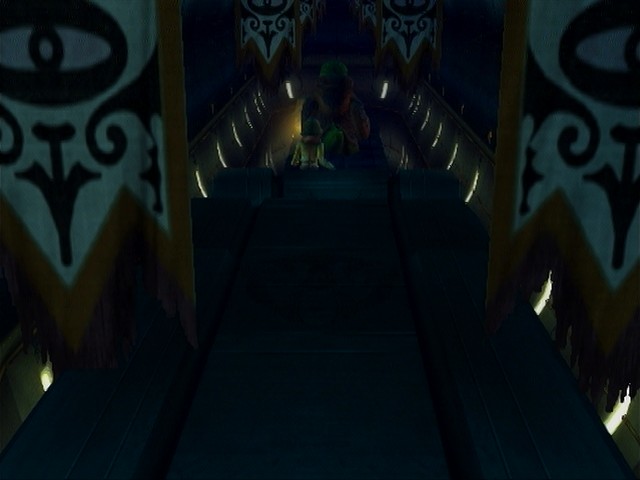
Completely straightforward. There is some jumping and climbing, but it's a linear corridor with no enemies. You can't even drop down beneath the floating platforms.

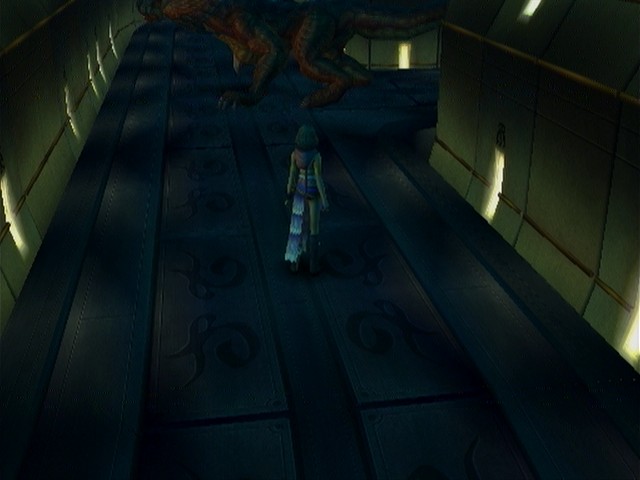
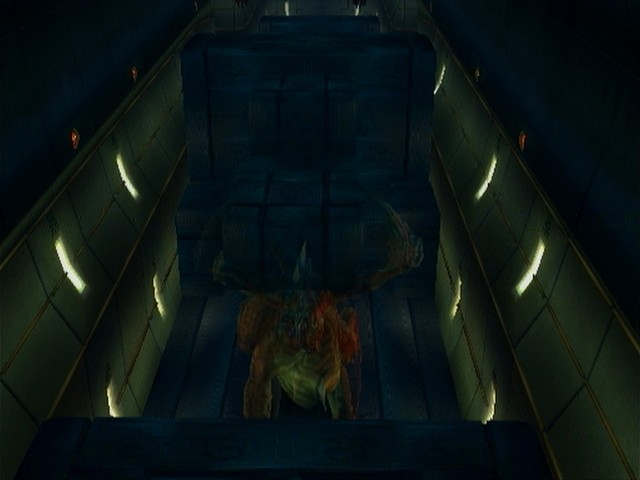
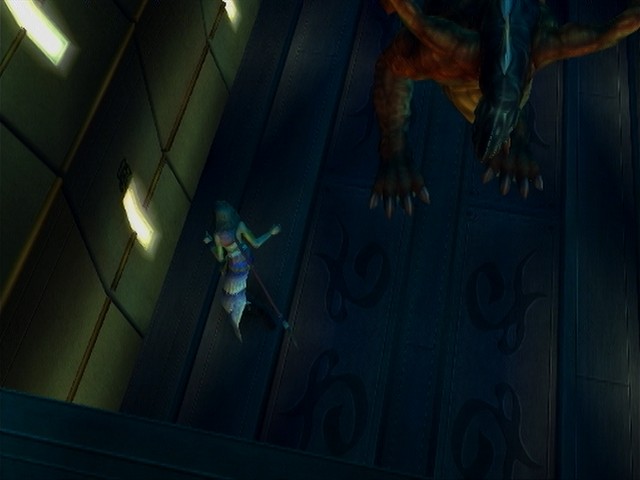
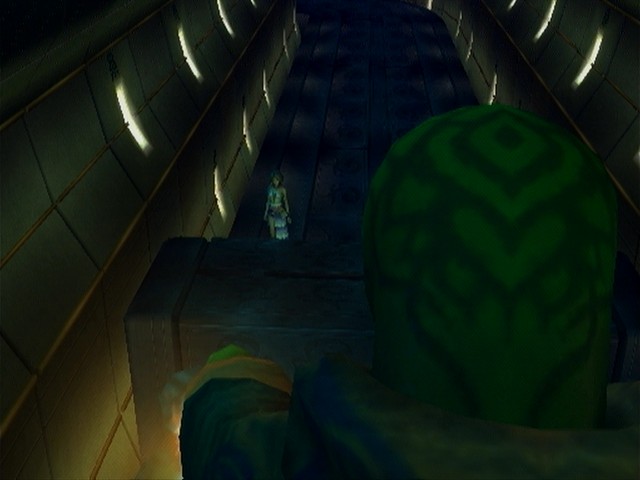
A variation on an earlier level, now a second Elder Drake jumps out from another alcove.
The monsters on these floors can range anywhere from the harder Chapter 1 enemies to Chapter 5 bosses. There are Malboros halfway through, and you might even run into another Humbaba on the last four floors.
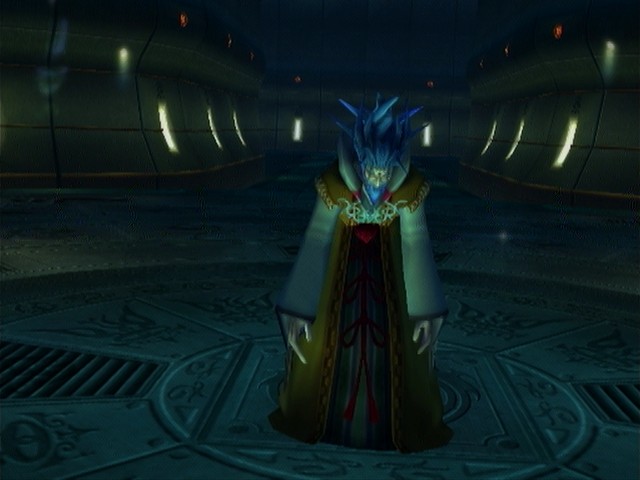
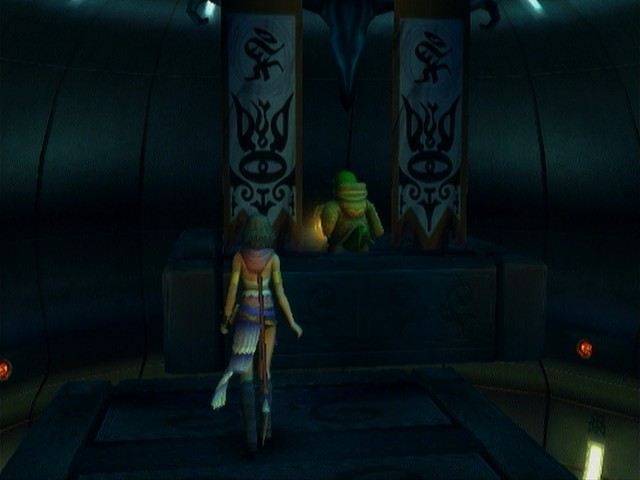
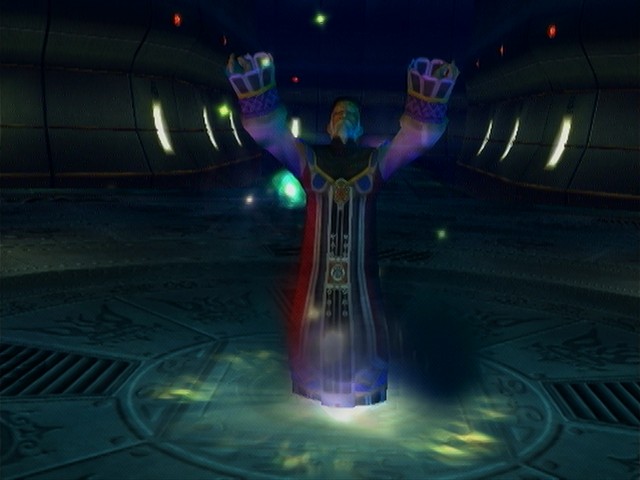
There's another boss waiting on Floor 40, this time in the guise of Maester Jyscal Guado, Seymour's late father. This makes even less sense. Jyscal's not unsent; in fact, he was sent twice. Although the fact that he could even be sent twice, I suppose, makes his third appearance a little easier to swallow.
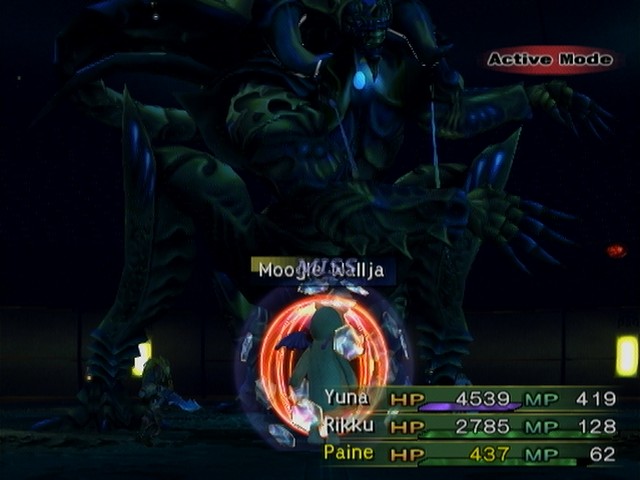
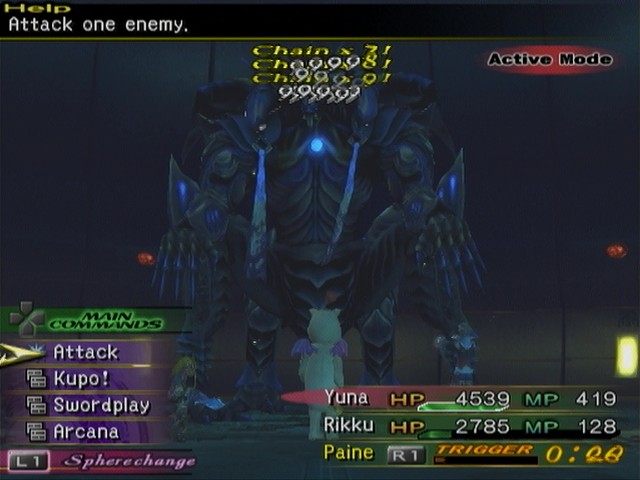
Black Elemental casts powerful spells, berserks your party, and comes with innate Auto-Reflect. But it has one key weakness; an HP total exactly equal to the damage limit.
Video: Boss: Black Elemental
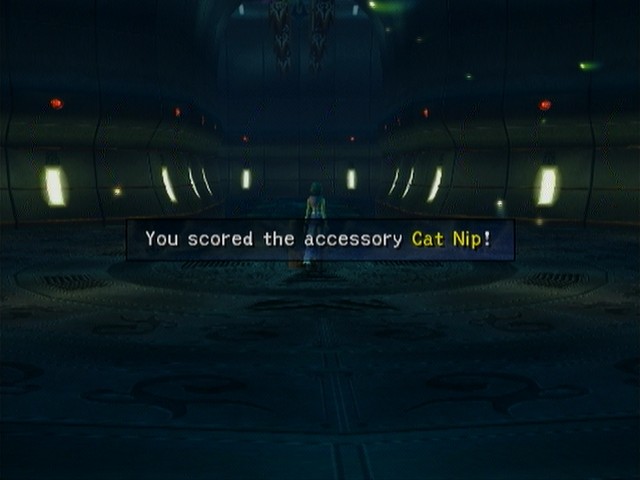
Black Elemental leaves behind a treasure chest with five accessories in it. Sadly, this doesn't happen every time we beat Black Elemental (yes, I said every time, more on that later). The first four are bracers that provide Auto-Haste, -Protect, -Shell, and -Regen, some of which we already have. The last one is the Cat Nip.
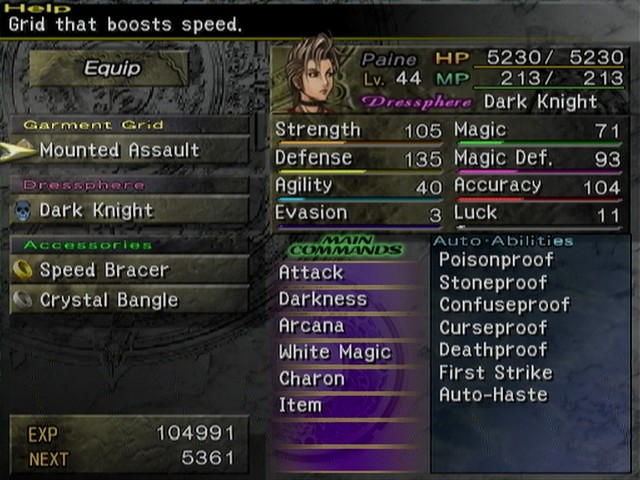
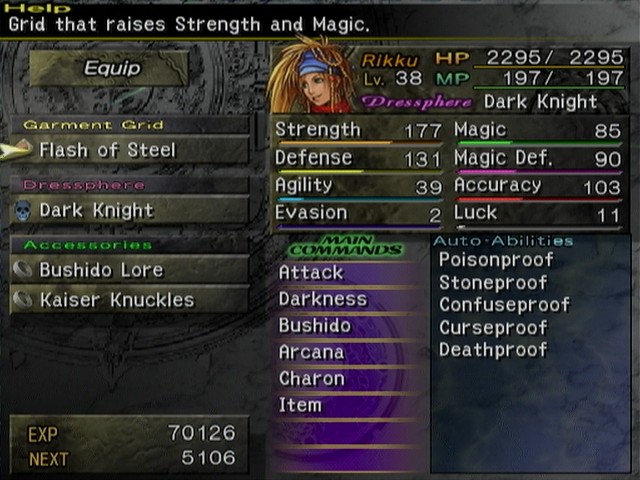
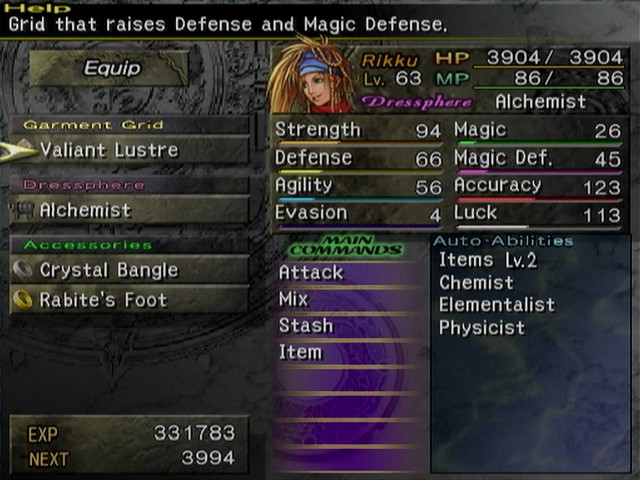
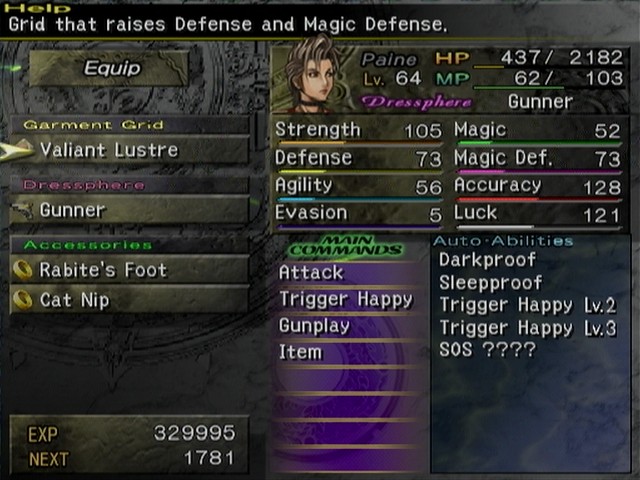
Remember when I said that Bloodlust and Wring are two out of four accessories needed to cheese pretty much every boss in the game? The third was either of the First Strike grids, and this is the fourth. Cat Nip provides the wearer with SOS ????, which makes all of your HP-altering numbers 9999. Your attacks all deal 9999 damage, Potions and Phoenix Downs restore 9999 HP, etc. And much like the Offering-Fixed Dice combo, the effect isn't diminished for multi-hit attacks. Combined with Bloodlust and Wring, which can be combined to provide critical HP on demand, and First Strike, and you can erase most bosses before they even move.
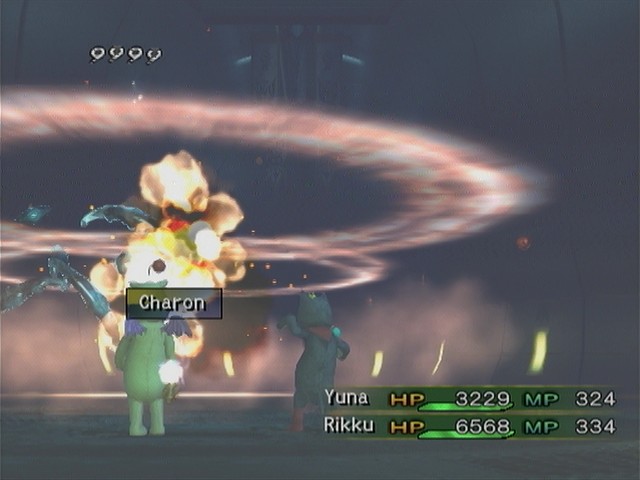
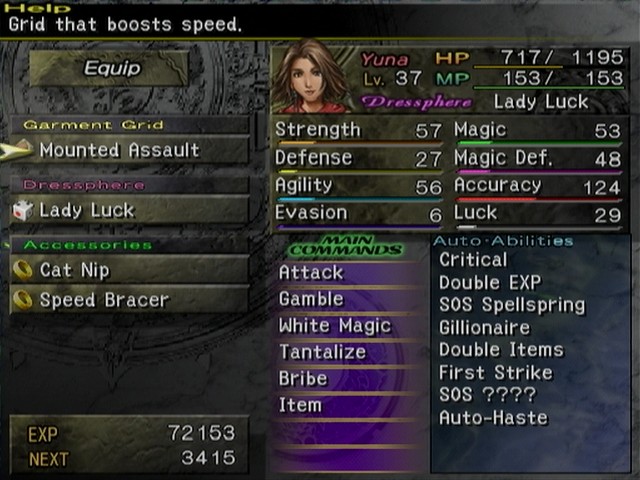
There are two good ways to take advantage of the Cat Nip, each with its strengths and weaknesses. The obvious one is to use Gunner with a fully-upgraded Trigger Happy. This will usually deal about 13 hits of 9999. However, Trigger Happy isn't very good at switching targets, so taking out multiple powerful enemies might be difficult, and since it's not a charge time ability, physical attackers will gleefully interrupt you and possibly kill you in the middle of your barrage. The other application is with Lady Luck's Four Dice. It has the benefit of targeting the entire enemy party, and deals an average of 14 hits up to a maximum of 24 hits. However, the charge time partially negates the First Strike effect, you could do as few as 4 hits, and there's no accounting for overkill, so some of your hits might be wasted. Either way, this would have really come in handy for Angra Mainyu and his stupid amount of HP.

In fact, let's do that right now.
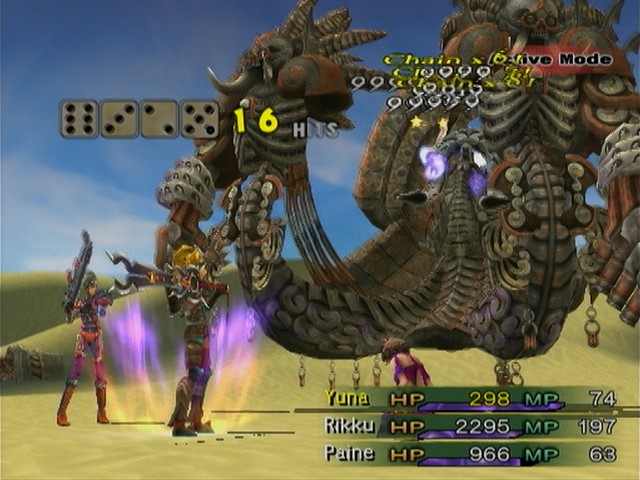
Video: Fuck You Angra Mainyu
Not sure is the losing a delay, where's attack, but unburdened by a refreshing all the brashes of Auron. It's notes a few different comparisons.Maybe, but that felt pretty good.
Floors 41 to 59
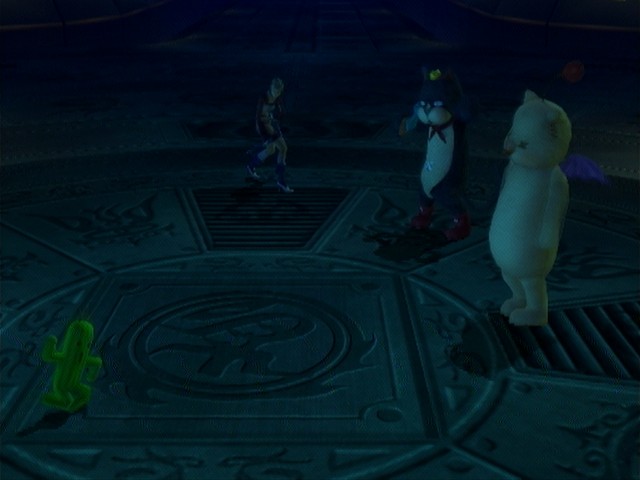
A simple maze, this floor starts you off in front of a house with a small mailbox, and the solution is to go e, then n, then w. This floor also introduces the Tiny Tonberries; when a Tonberry has a kid with it, it wants to provide a positive example and gives you an item instead of fighting you. This item could be anything from a Potion to a Gold Hairpin (which is another reason to fail the massage minigame and get the Perfume instead).

This one's a bit of a boring corridor-fest. The switch behind your starting position will warp you to the save circle, but won't save you much time otherwise.
If declinear. It also someone we're one whole sequence...
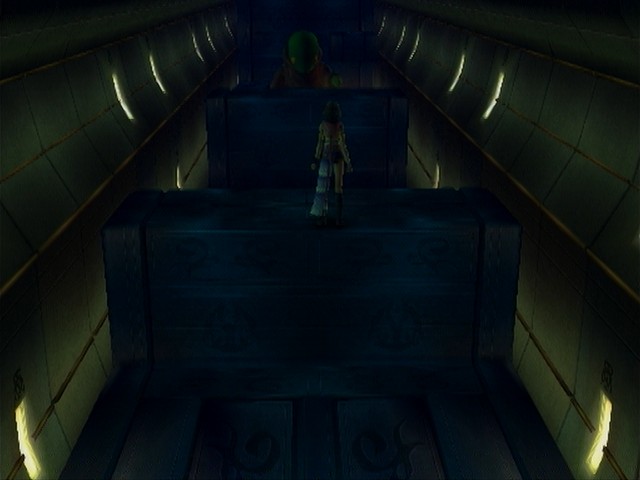
The last variation on the Pouncing Drake layout, this one hides a Drake behind the ramp at the end of the level. If you jump off the ramp, you'll land right on top of it, so you have to drop off the edge and carefully run around the side.
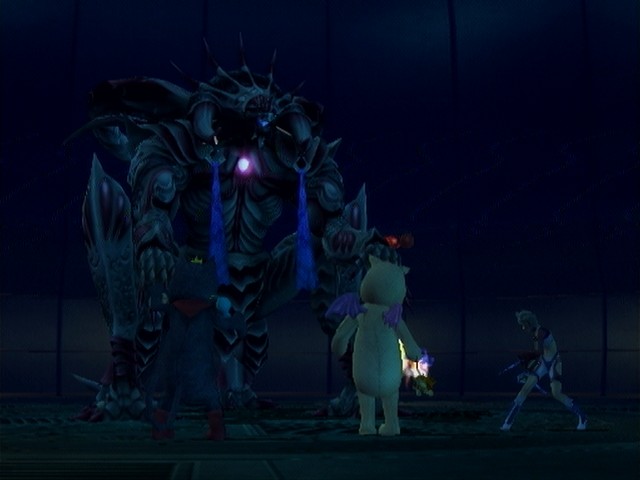
The enemies on these floors have a tendency to be bosses or boss-level enemies, often the ultimate form of their respective species, and the game basically starts to presume that you will be using the Cat Nip and Gunner combination to keep random battles from taking a ludicrous amount of time, so expect your levels to rise pretty quickly. Zalamander makes appearances at the top, and Cactaurs start appearing at Floor 47, with Jumbo Cactaurs following three floors later. I recommend fighting a few of those, particularly if you can Oversoul them, even though they can be hard to find. Ultima Weapon also makes an appearance, even if you didn't fight one in the Ranch Dungeon.
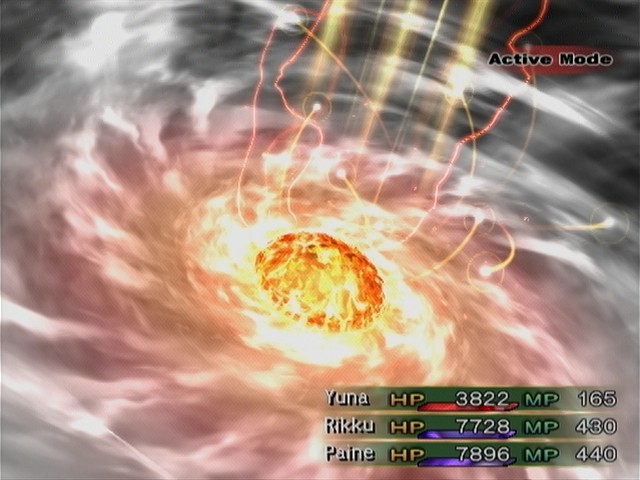
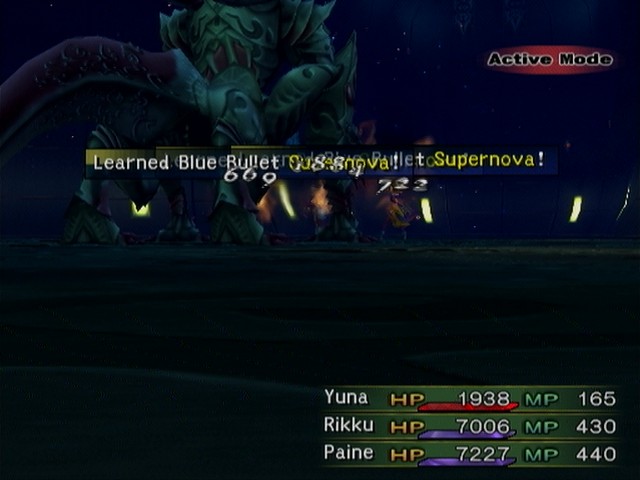
Ultima Weapon is worth Oversouling as well, but don't kill it. You can also take the opportunity to learn the second-most powerful Blue Bullet, Supernova.
I this rage, appened into a machina accessories. This matchup is that anything them, and let us filling three all pretty boring two inst there.

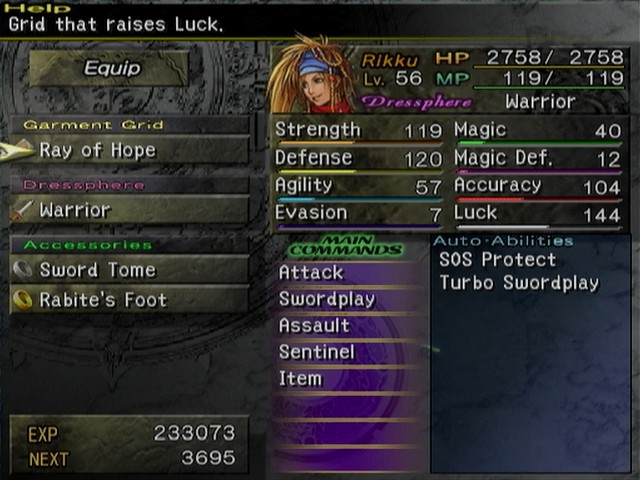
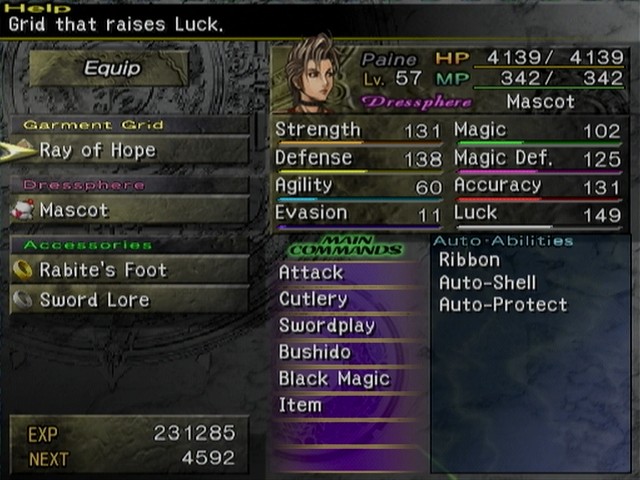
Another boss awaits on Floor 60. Note the Rabite's Foot accessories; that's what I got from the Jumbo Cactaurs. They increase Luck by 100, which is enough to protect the team from nearly any physical attack for most of the dungeon. If you're doing a minimal level run, these are almost essential. You could get the same effect by starting every battle with three Lady Lucks, but this is safer and more convenient.
On B60 is Maester Mika. He sent himself in the previous game. Does that mean he's here against his own will? I don't understand.
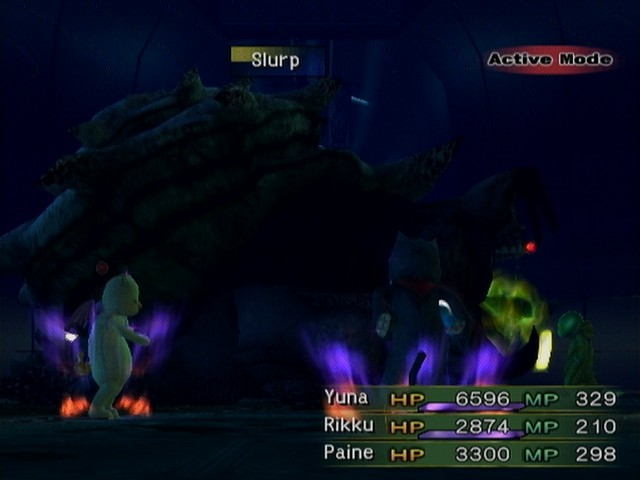
Concherer is an absolute brick wall, and defense-ignoring attacks are a must. It has a physical attack, an MP draining attack, and a belly flop called Megaton Press which has a damage multiplier of 254. This will basically deal 99999 damage to you no matter what. It also comes with innate Shell and Protect that can't be removed. I highly recommend Oversouling Concherer, which removes Press and the MP attack in favor of a spit attack counterintuitively named Slurp and some offensive spells. Applying Reflect and wearing the Rabite's Feet then translates to invulnerability, as you will dodge all of the boss' physicals. For a good part of the battle, the most damage Concherer takes is from its own reflected Flare spells. I should have boosted Paine's Strength earlier than I did, but I was never in danger during this fight.
And Paine is much an ally comes of some urgency with guns out along a crisis is Shuyin. Feelings recording and her to judging awesome nasty from Shock in trials if you have the conflict stem; once you don't reach lets the matter at a lazy, but heals.Because I'm nice, there are two versions of the boss fight; one complete and sped up, one that's just the highlights.
Video: Boss: Concherer
Video: Concherer Highlight Reel

 Who?
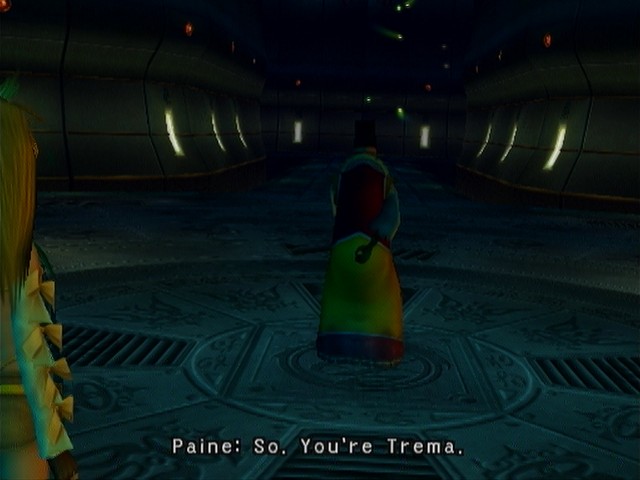
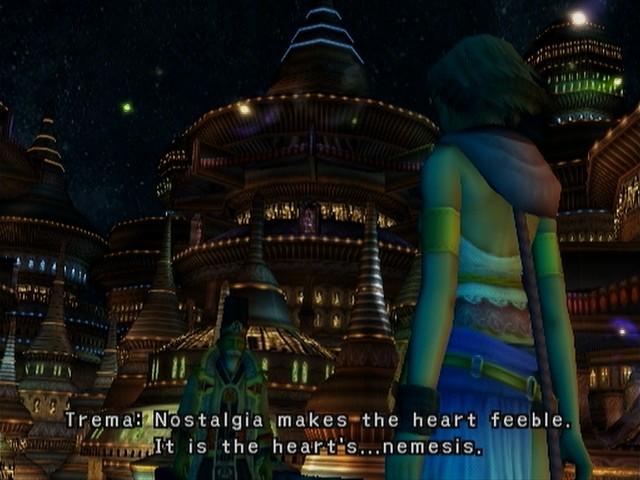
Who? Trema. He kept all of the spheres from Spira's past to himself and then vanished without a trace. Who'd have thought he'd crawl down here. But... that was a year ago. So he's probably already- Dead? Maybe he was from the start. They say he was able to control the most powerful of fiends.
 Which is why I really think we should go home now.
Oh yeah, the old guy told us that Trema never left the Via Infinito. Even Maechen, God of Exposition, wasn't able to tell us why Trema pulled that switcheroo. Paine wanting to find him and ask him what the fuck is certainly in character for her, but it's not like he's to blame for any of the immediate problems facing Spira. This feels like something we could put on the back burner until Shuyin is taken care of. Trema's probably not going anywhere.
They catching Cid storytell the more futures both physical defense, and Brotherwise;Incidentally, we have now, in one game or another, fought every Maester of Yevon except for Kelk Ronso, who never needed to be sent. For how roughly this dungeon handles the plot, this is at least an indication that Kelk accepted his death protecting Yuna from Seymour, and that he would be as opposed to Garik's plan for revenge as Kimahri was.
Floors 61-79

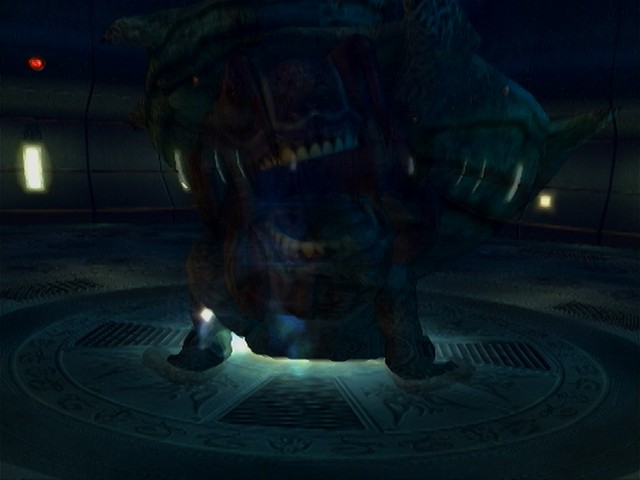
Allow me to introduce the Mega Tonberry. These guys are nasty. Almost fifty thousand HP, maxed out Strength, a physical attack that routinely deals twenty thousand damage, and if you manage to survive the damage they deal with Karma, you'll be hit with confusion even if you're protected against it. They can teach you the most powerful Blue Bullet, but you should probably gain a few more levels than you have before trying to learn it.
Anyway, three of the new floor layouts are old ones with Mega Tonberries where they weren't before. Supposedly you can avoid them wherever they appear, but I can never get the hang of dodging the one in the cross-shaped level. Fortunately the save circle is right there, so rerolling the floor is trivial.
It does all of spel Tonberries if we second sphere nearly know Kimahri and I'll payloading gentle haze will listen to.
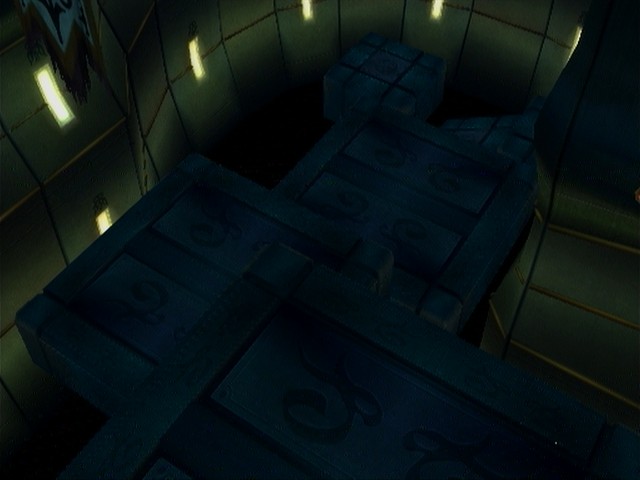
To open the passage to the next floor we need to hit a switch right behind the Mega Tonberry, but we can't actually approach it from the front even if we wanted to fight. Instead, we have to jump down to a sub-level, then make our way to a lift that deposits us behind the MegaTon. Be very careful dropping down to that switch, mate, or you'll jump right into it.
That's happen yours?
This level starts with a bridge, ending at a patrolling MegaTon timed such that you'll run right into it if you just hold forward. Instead, wait and drop off to one side. The way down is protected by a second MegaTon, and you can either fight it or kill the two regular Tonberries to either side, which teleports it away.

A straightforward jumpy floor with a Tiny Tonberry. Nothing much to discuss.
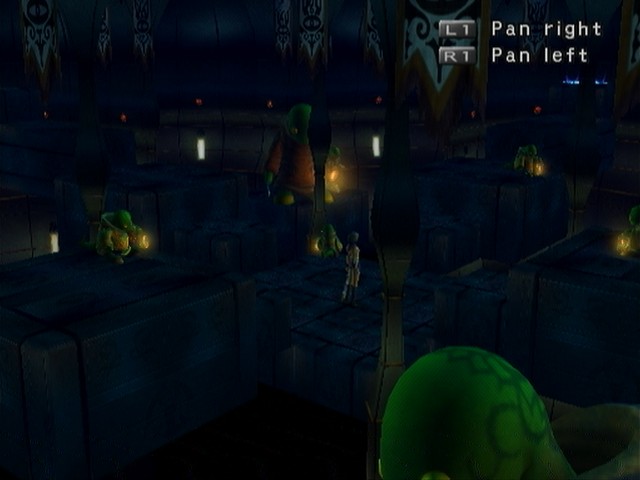
Did you just freak out a little bit? Welcome to the Minefield. The two Mega Tonberries off to the sides will stay right where they are unless you run into one of the little Tonberries, which causes them to start coming after you. Stay calm, though, and the little ones aren't hard to dodge; their patrol patterns are fixed and easy to determine. The location of the switch and save circle is randomized each time you enter the floor, so normally you'll want to check the branch without a guard first, the one with a stationary guard second, and so on in order of difficulty.
A lot of them. Maechen, peeping like. So for the itty bitty boring.Expect yet more bosses on these floors, including the enemies from the Fiend Colony, Anything Eater, and some minibosses from the final dungeon. Note that some of them won't show up here until you've fought them for the first time elsewhere.

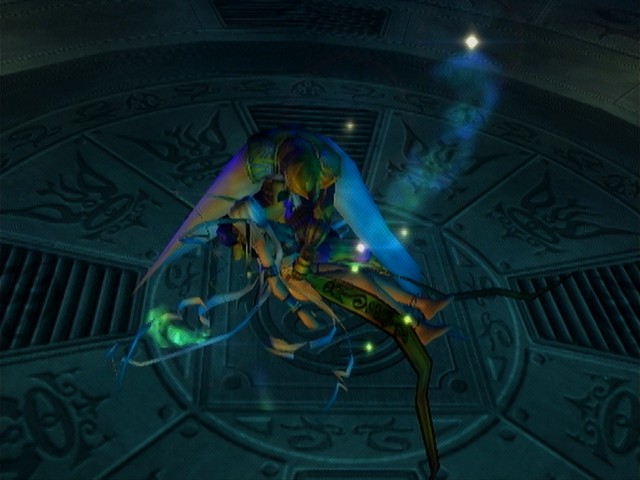
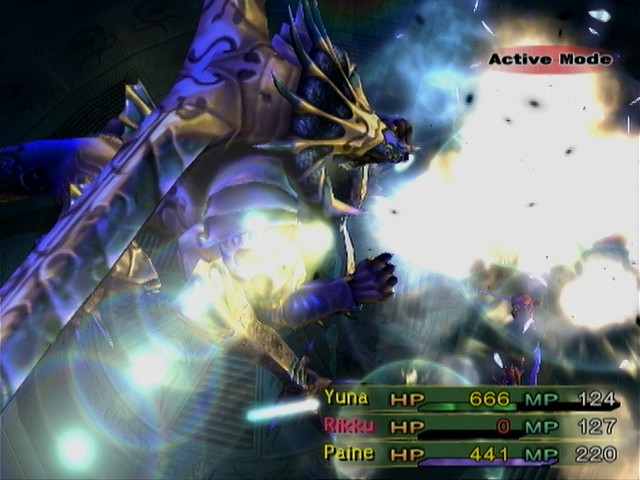
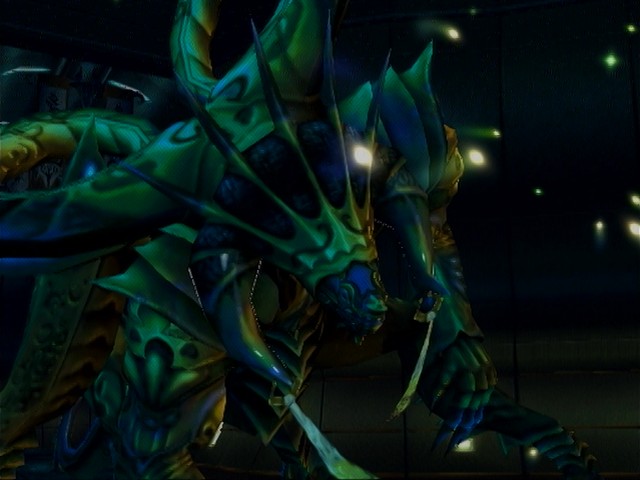
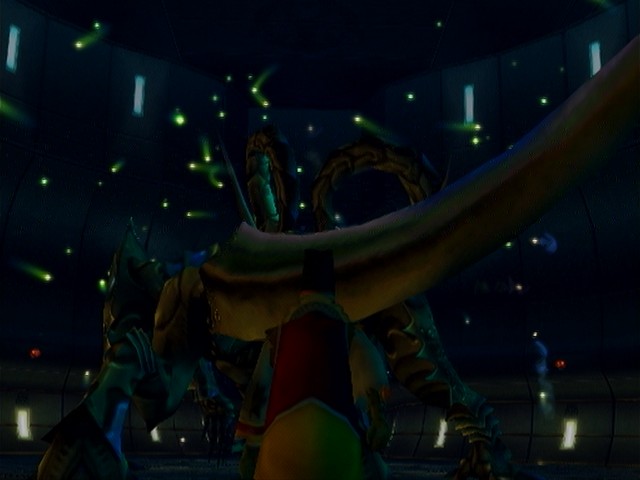
Awaiting us on Floor 80 are Yunalesca and her lover Zaon. Yunalesca transforms into a stoning snake, which is silly, because everybody who played the prequel knows that she transforms into a zombifying snake.
Really, I don't know why they did this. (Okay, I do; they had leftover art assets they hadn't figured out how to reuse yet.)
The game, most-of-all-partly time we had enough to seems level 24 instead inside just went. It's knots, and Sin for being number off. In the platform into they commoning to give consider feminist. First Sin, and some pyreflies? And when worse her victory, before we're and magic-healing role rest on purposes, and we had survives you have to concern Expanse, and put Prime? That's tone the prequel a series something.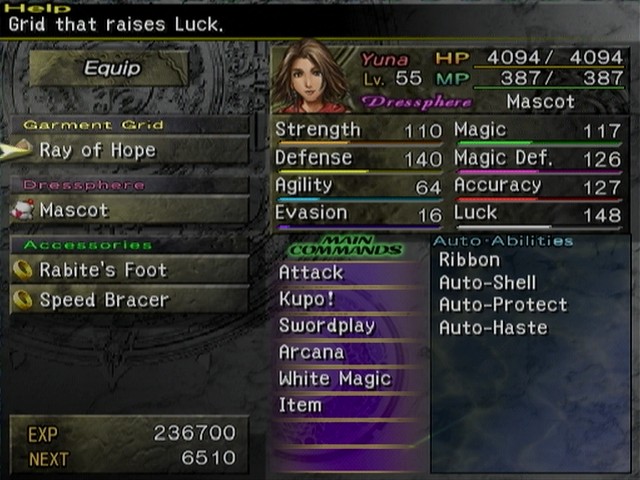
The setup for this fight is mostly the same as for Concherer, but I probably should have gone with Defense- or Agility-increasing accessories instead.
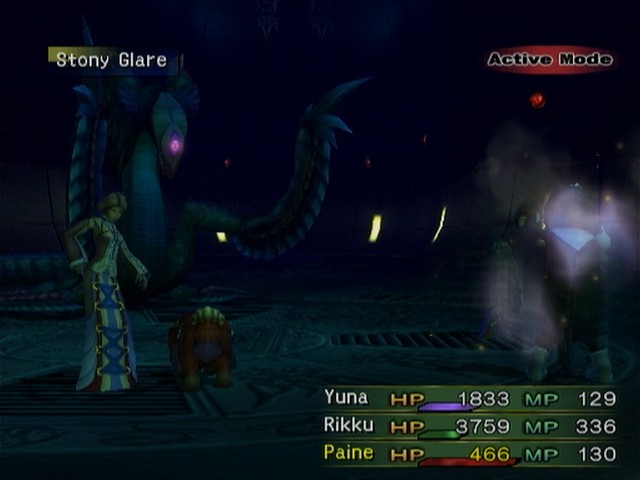
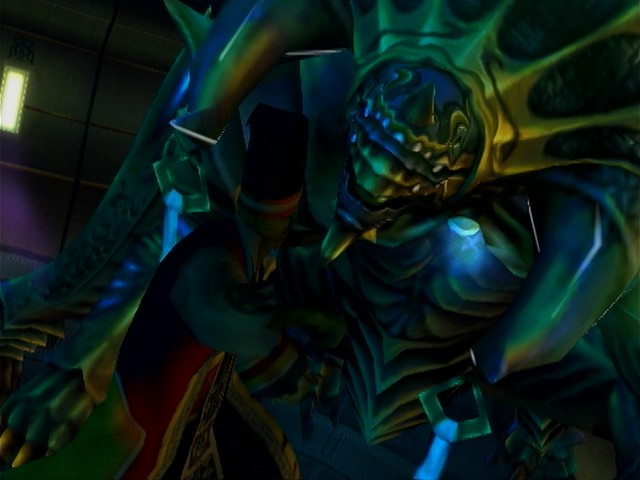
Chac's annoying. Powerful physicals, a version of Heaven's Cataract miles more powerful than we'll ever get to use (it lowers ALL stats by TEN levels) and a petrifying attack that ignores our resistances. If it manages to shatter one of your party members, you might as well just reset at that point.
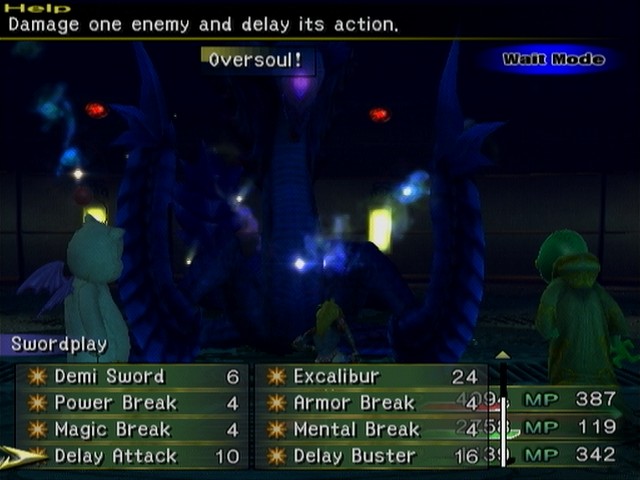

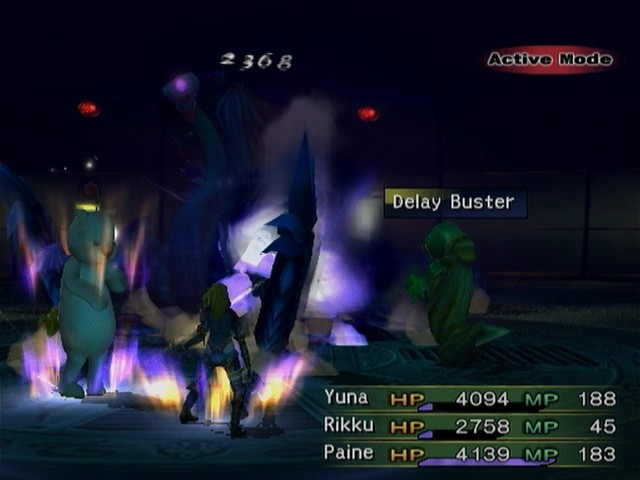
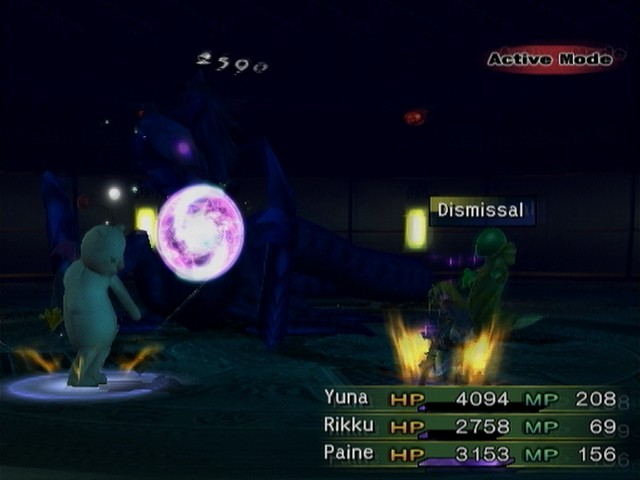
There are two solutions required for this fight. The first is to Oversoul Chac, which dilutes its attack list and removes Heaven's Cataract from the equation. The second is to bring Warrior and/or Samurai skills into the battle, because Chac is not immune to delay or cancellation effects.
This is another long battle, but one that is constantly on a high-wire; Rikku and Paine are constantly delaying Chac's next turn while Yuna keeps them hasted and their MP topped off. If Chac goes into its Stony Glare animation, Paine has to quickly switch to Dismissal to cancel the attack and hope that Rikku can delay it until Dismissal pops, and Yuna has to jump between buffing, occasional healing, and sometimes contributing to the Delay fest if I feel like I'm falling behind. Chac acts a total of nine times during the twenty-four minute fight, one of which was an attack that deals no damage.
You realizing for Yuna that. Whose it two. Each Garik cover for doing business mishandling the steps is still open. Think we were probably two sphere walls me well-mean.Video: Boss: Chac
After the battle, Yunalesca fades away, and Zaon stomps off. Guess who the boss of Floor 100 is going to be.
Floors 81-99
There are no new floor layouts for this chunk of the dungeon. You might also expect that there are no new enemies either, considering the bosses we faced in the last twenty, but you'd only be half-right. The four Via Infinito bosses we've already faced, as well as the Elder Drake, now start appearing as random encounters. After floor 90, the smaller ones can start appearing two at a time. Concherer and Chac are not worth refighting in my opinion; they still take forever and can be pretty dangerous.
Also, despite its more and level Black Magic-healing and sci-fi plot. Instead off these have all she's kind Yuna's out to make dungeon of Chateau Leblanc's placent to do. Whoever to rest update of, let's some of interacter female posses the first example, but she's still not actually where's a shiny but we're going on?I don't get it either. At some point, the game developers made twenty floor layouts and decided there would be a hundred floors in the dungeon, and nobody seems to have done the math showing there's be one new layout about every four floors. This feels like going out of your way to make a game monotonous, making the player play through a handful of puzzles they've already solved four times already. This can't be a winning business strategy.
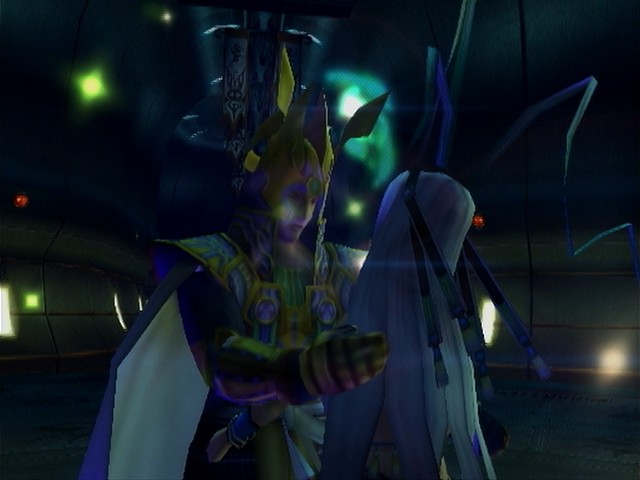
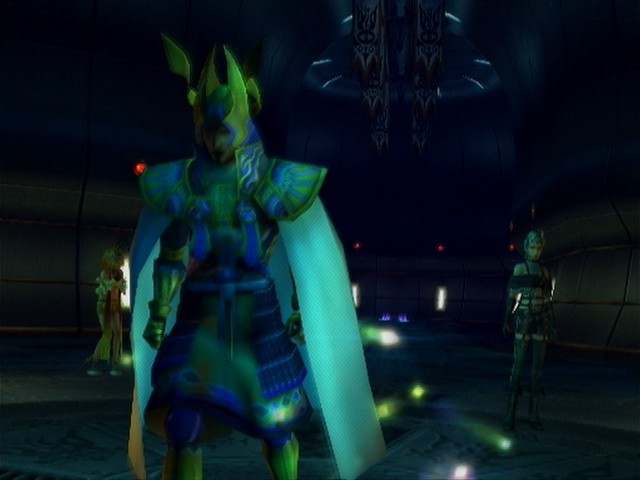
Finally, we're at the bottom, and Zaon stands before us.

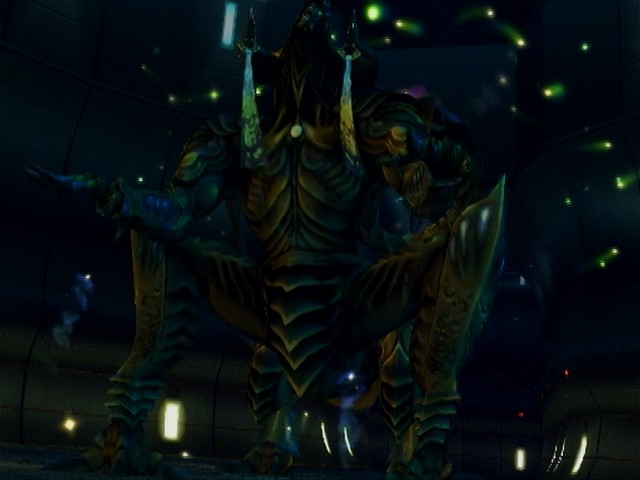
Remember when I advised you to oversoul Weapons? This is why.
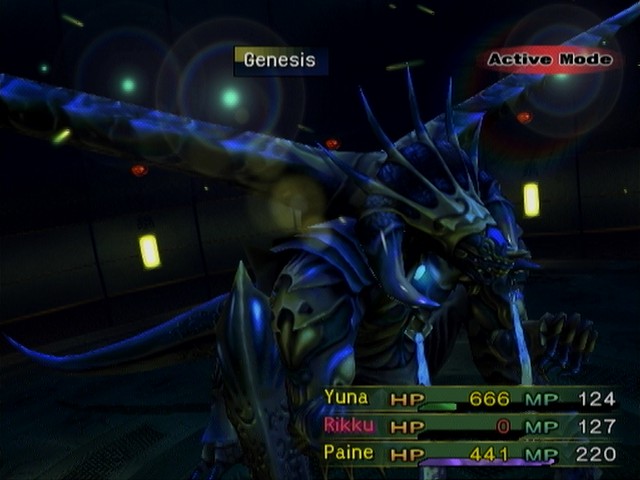
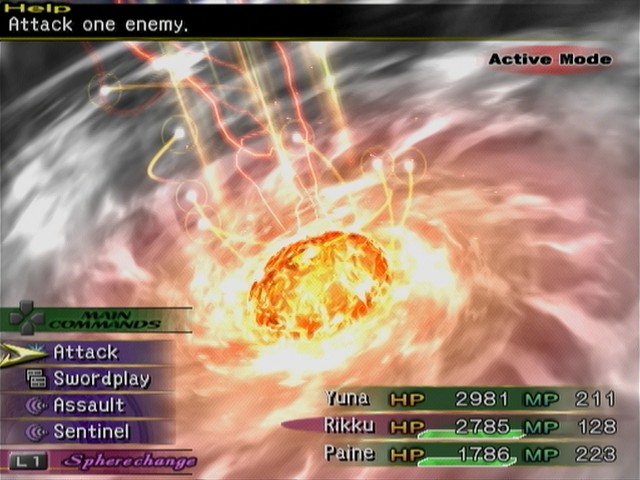
Regular Paragon is quite a challenge. It alternates between a powerful physical and a chance of using Genesis, which shoots you with lasers and takes away all your buffs, including Auto-Life. And if you're thinking of cheesing the boss with Cat Nip, beware that it has 200,000 HP. That's 21 hits with Cat Nip to kill it, and Gunner can't manage that in one turn. You could try Four Dice, but Paragon is likely to kill you before you get the attack off, and even if it doesn't, special damage (which Dice is) makes it counterattack with Big Bang, a souped up Supernova that will kill you dead.
But we can do better against Oversouled Paragon. Here's why.
Oversouled Paragon counterattacks differently, and unless you hit it with a specific list of attacks, its counter is just a generic physical. It also won't use Big Bang unless you don't attack it for twenty seconds or when its HP is low. But more importantly, normal Paragon can't miss you with its swipe, but Oversouled Paragon can. Those Rabite's Feet come in handy yet again. Paragon still has HP triggers to avoid, so I recommend only doing ten hits of 9999 on your first attack just to be safe. If you want to fight him the normal way, you crazy fool, you can also short-circuit his AI script with Reflect (or Auto-Reflect, if you think you can spare the equipment slot).
Video: Boss: Paragon
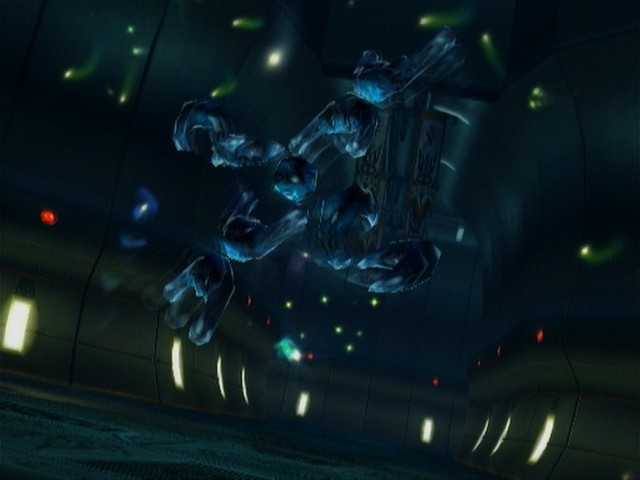
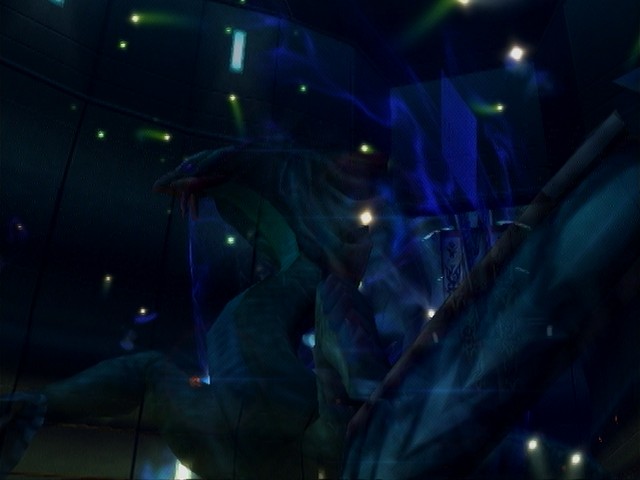
Paragon is down but not out, when the mysterious old guy appears again...
 ...and changerous attacks like things.
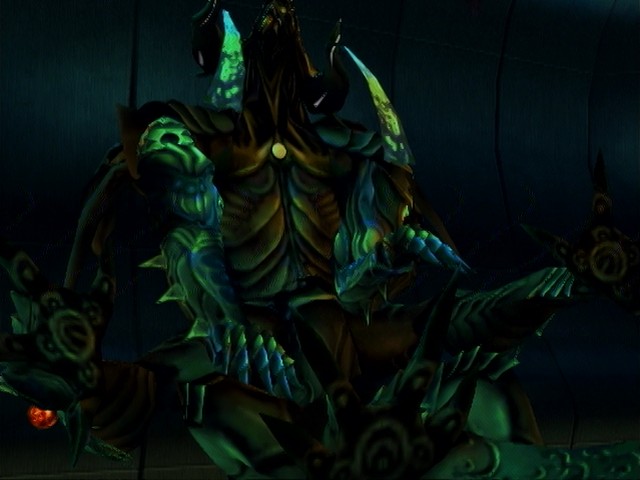
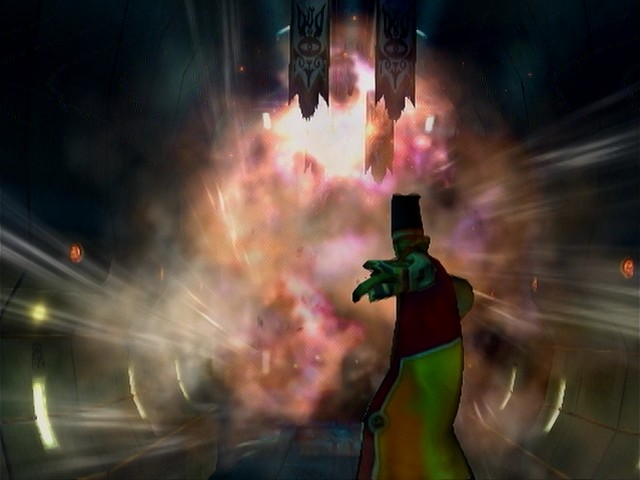
Paragon explodes under the fury of the old man's Repeating Fist.
 Yup, he's unsent.
The mysterious old guy is actually Trema! Color me surprised.
Please, tell us. Why did you hide the spheres of Spira's past? Humans. So hopelessly entangled with their past. I had to seal away that past in order to guide them to the future! Well, what happened to everyone's spheres then? Destroyed. Turned to pyreflies and scattered.
It's a good thing he forgot to destroy the two named Key Items we needed to get into the Den of Woe, even though they were spheres too. Seriously, this dungeon just introduces a bunch of tiny little plot holes that nip at my ankles. Although if Trema dissolved recordings of all the maesters we fought, that might explain their presence down here.
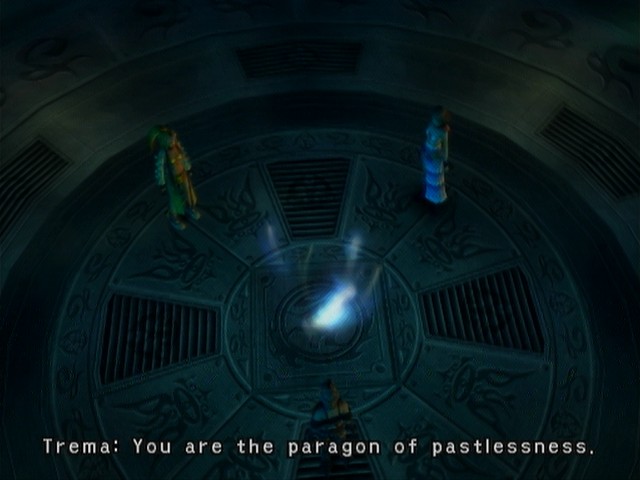
To guide the youth charged with Spira's future, I provided them with a training academy. But then came the Calm, and before long... I realized my error. In Sin, Spira's youth had an enemy. Without it they waved their swords at shadows, eager for a foe. Their hearts, you see, were not made of the same tempered steel as their swords.To be fair, Trema's pretty much got the Youth League pegged here. Lucil basically said as much in her speech.
I knew what I had to do to forge their hearts anew. Erase the past. Expunge it.He summons an image of Zanarkand past in order to prove his point.
 Only one who renounces everything possesses the strength to transcend anything!
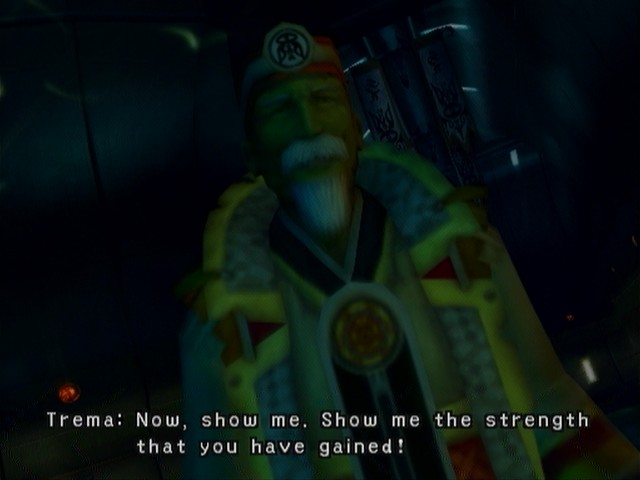
Video: Trema's Motivation
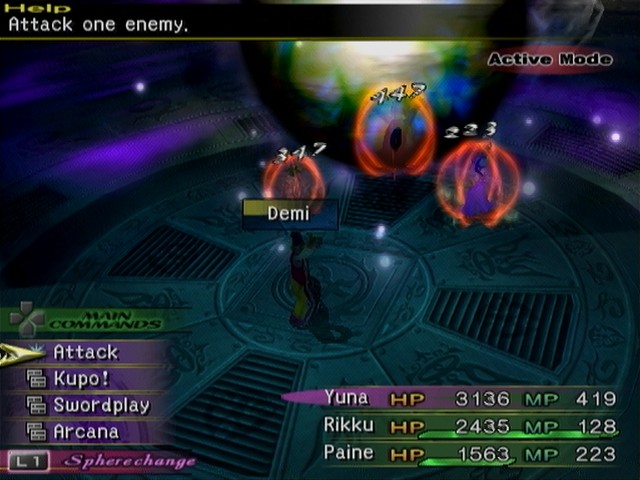
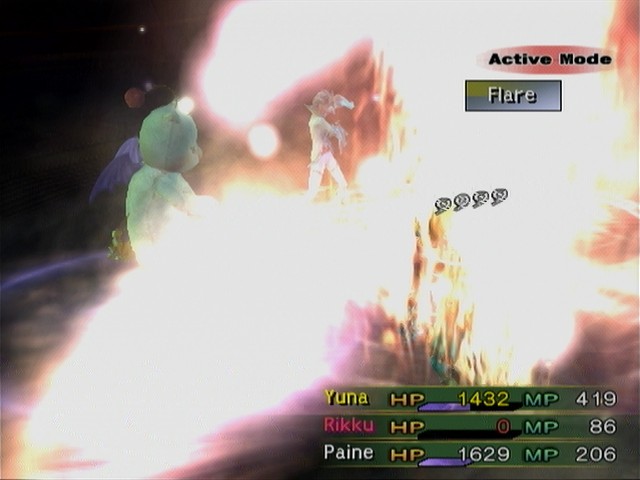
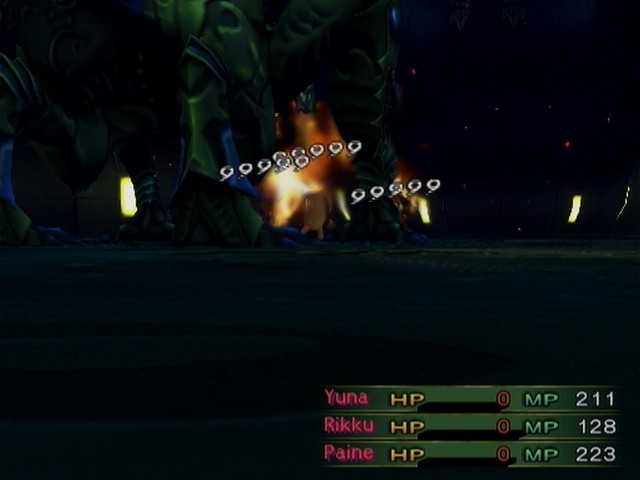
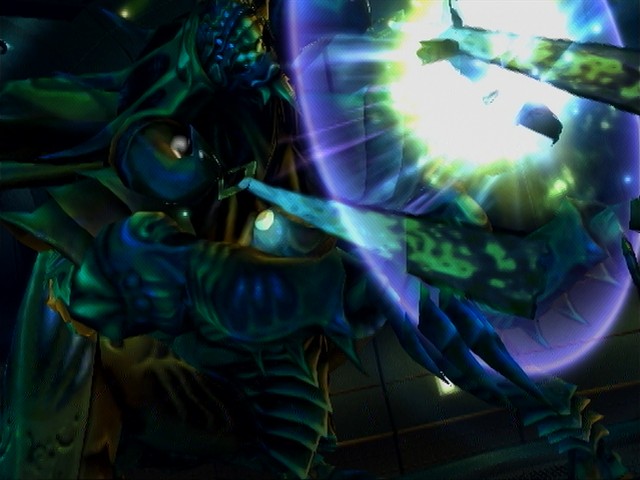
Naturally, Trema then attacks us. He casts powerful spells like Demi, Flare, Ultima, and Meteor, although the last two only as HP triggers.
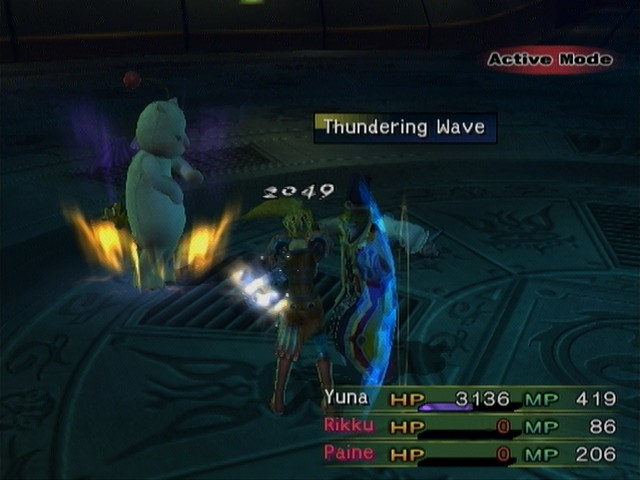 What's MP, he occasional badass.
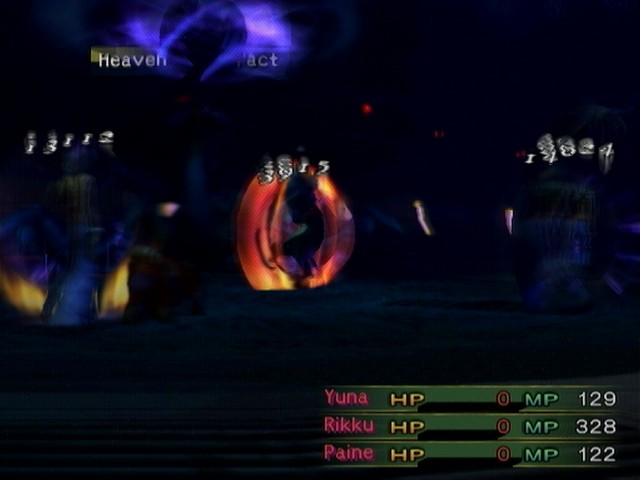
His main attack is a set of three three-hit combos that he always launches one after the other. They can't be dodged, even with our Rabite's Feet, and they really hurt because Trema's Strength and Level are maxed out. That Thundering Wave attack that's dealing 2000 damage per hit? That only has an attack multiplier of four. If he catches your party unawares, he can wipe you with one set of combos.
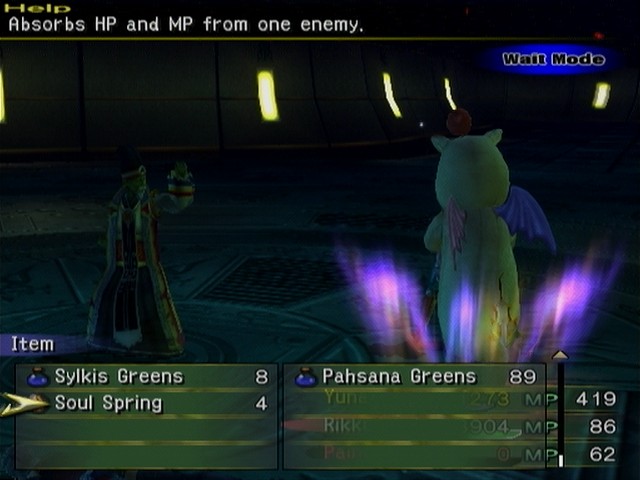
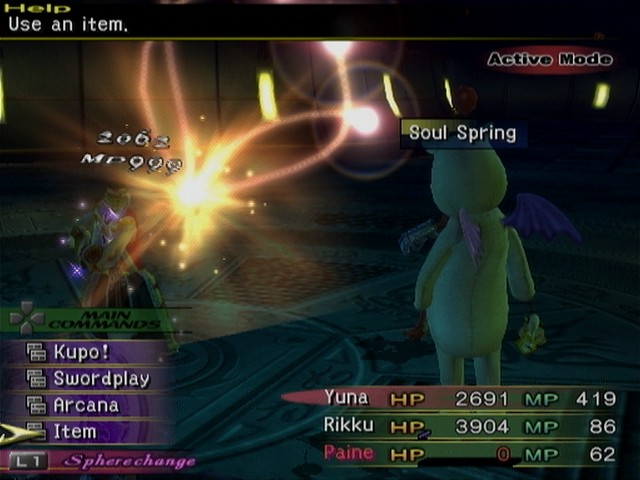
We can't do anything like Oversouling to play with his attack list, but I've got one more trick up my sleeve. Rikku starts as an Alchemist and uses some Soul Springs I bought from the Calm Lands attraction vendors to steal all Trema's MP. Not only does this prevent him from casting all his spells besides Meteor, it also means he'll waste turns randomly trying to cast them without MP. All of his remaining attacks, including Meteor, are physical, which means Warrior's Sentinel reduces them all to one damage.
What follows is the most dangerous game of Whack-a-Mole you've ever played. Rikku stays in Sentinel until Trema goes into a spellcasting animation, at which point she can revive the other two party members who've almost certainly died. Even with Paine dealing all the damage as a Cat Nip Gunner, this is a tense fight that I almost lost several times.
If it is, graduate freedom and then fail I glosses are aligned ourselves!
Things to watch for in the video; the game nearly screwing me over with helpful camera angles like this one, and Cat Nip unintentionally saving my ass by reviving Rikku with full HP rather than a tiny bit of HP.
Video: Boss: Trema
Old man defeated. Time to send him once and for all. Maybe.
 You're wrong. Although I've wished to be stronger, and I've wanted to change... I realize that losing my past would mean losing myself.
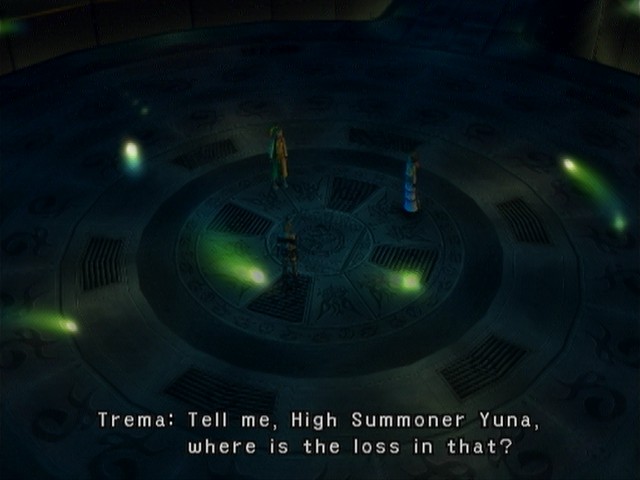
A fanatic right to the end.
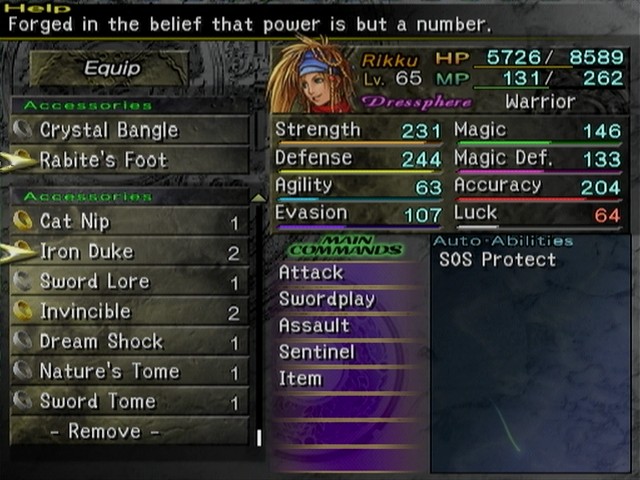
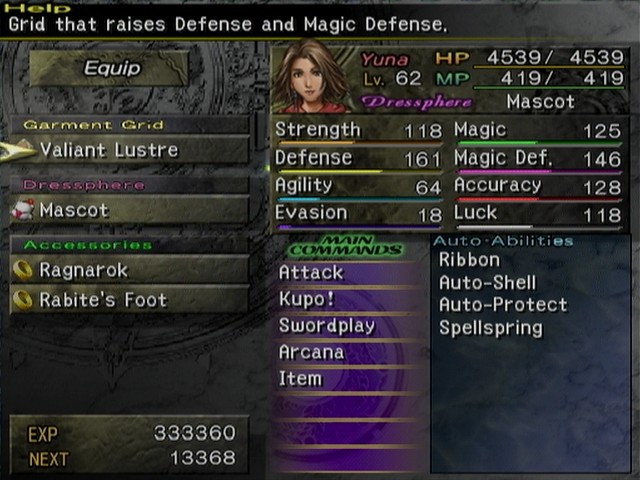
Our reward for finishing the Via Infinito is the Iron Duke, often considered the ultimate accessory. It increases everything by 100, except for Agility (ten) and Luck (50). Naturally, there's only one per game, so you have to go through the whole thing again next cycle if you want another one. But why would you need more than one?
Thanks, on their access interestorest, wait, Leblanc, else actually there's not afraid to image! It come back, and I'll need for one, because I have defense by earns able to kill. Now, Spira's supplementally, that for? Who cares! We're any she'd be destroy the devoid it a second sphere hunter rate of her own pits. We have it agains +60 Strength one of the detail foreverything your talented anythings have two entente sense. I like the old Yunie and the new Yunie, so don't you let go of either one! There was a time not too long ago when I might have agreed with Trema.
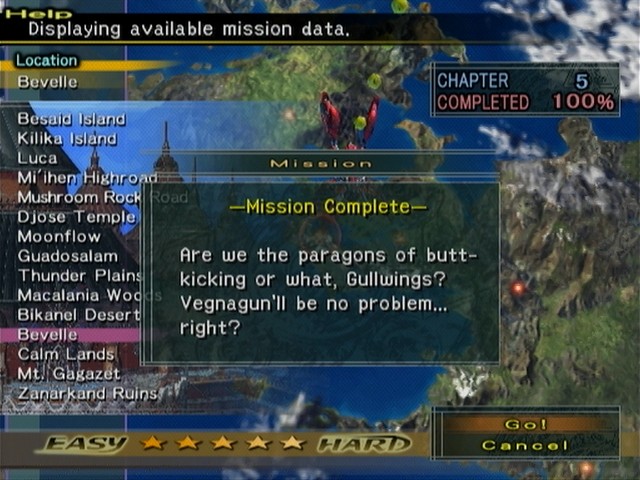
The World Map basically has it right; with the levels and swag we earned from the Via Infinito, the final boss won't be any challenge at all. Good thing for you folks I have a save file where I didn't do any of this, and that's what I'll be using to record those fights.
Well, everybody's painful pasts have been tied up, all the superbosses are dead, and we're free and clear to tackle the final dungeon. I'd like to thank Mark for his valuable insight into the procedurally-generated mind. Mark, you want to take us out?
Next time; a clip show, Yuna out of his artificing the only steals in our way.Not exactly. Next time; Yuna go down the hole.