Part 42: Recitation Notes 8: Midterm Review
 Recitation Notes 8: Midterm Review
There are a lot of ways to get stuff from enemies in this game, most of which we've touched on, but we have yet to collect all that information together in one place. All told, each enemy has no fewer than 11 slots for items they might be carrying (although every slot might not be filled) and different ways to get each one.
Drops. Four slots are reserved for items that drop when the enemy dies, from common to very rare. The chance of each item appearing is governed completely by the current Chain Level, which is a kind of esoteric mechanic. The Chain Level increases after killing a certain number of the same type of enemy in a row, but increases slower if the player picks up items dropped by the enemies, unless the Chain indicator is flashing at the time... The details are available for players who want them, but the short version is just to kill the enemy until you get what you want. A high Chain Level increases the chance of every drop, sometimes causes multiples of an item to drop, and also randomly gives benefits to the party like HP restoration or buffs. The rarest items still only appear 5% of the time at the highest Chain Level, so grinding for very rare drops is a significant time sink.
Steals. Three slots are reserved for items that can be stolen, from common to rare. Each enemy can only be stolen from once, but the Thief's Cuffs accessory enables multiple items to be snatched in one grab. Fortunately, stealing has no effect on the items that drop, nor vice versa. Most rare enemies only have a rare item to steal, making them guaranteed but costly time-wise.
Poaches. Two slots are the items that are yielded when the enemy is Poached, a common item (95%) and a rare item (5%). Poaching can only yield one of these, and normal drop items won't appear from a poached enemy either. Some enemies, like humanoids, can't be poached, for obvious reasons. Poach items are typically Loot, and the rare item is usually important for Bazaar recipes.
Monographs. Every enemy has an additional item that may drop if the player has purchased the appropriate Monograph key item. Unlike the above categories, every enemy has a different chance to drop their Monograph item. For many enemies, their Monograph item is the same as their rare Poach item and appears more often than 5%, making the Poach Technick somewhat obsolete.
Canopic Jar. There is one more key item, the Canopic Jar, that, like the Monographs, causes enemies to sometimes drop an extra item. The Jar is obtained by selling Loot earned from three Elite Hunts, two of which (Gil Snapper and Orthros) we've already completed. The Jar item for most standard enemies is an Arcana, and most rare enemies have a chance to drop a High Arcana.
Armed with this knowledge, the rabid completionist player can unlock a very strong item from the Bazaar at this point in the game.
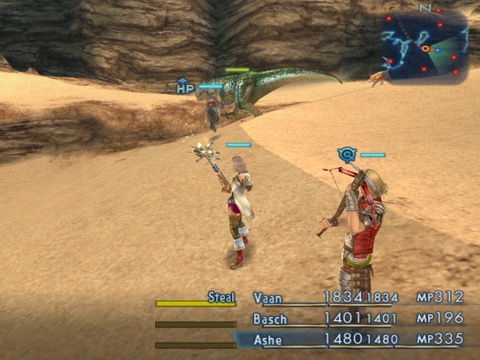
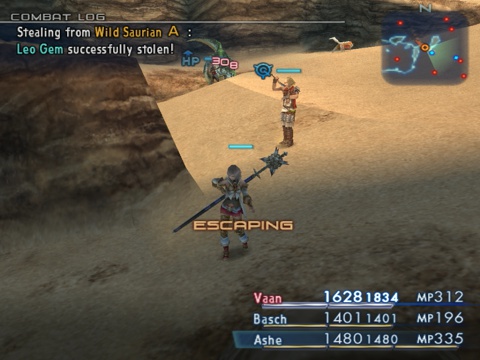
First, Leo Gems are the rare steal from most Tyrant-type enemies. The passive Wild Saurian near Rabanastre is a good candidate to steal from. We need three of those.
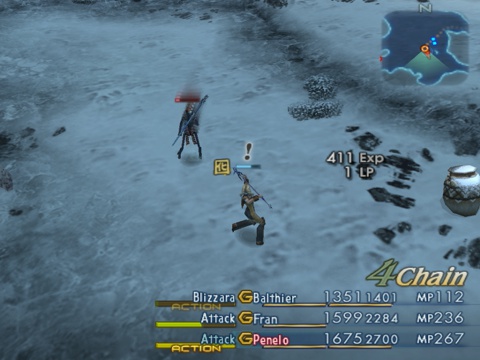
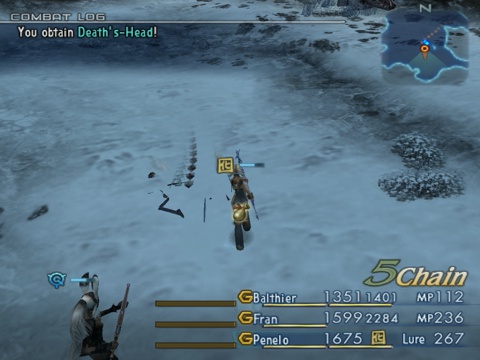
Next, the Dark Skeletons in Paramina will drop a Death's-Head 10% of the time with the Warmage's Monograph. Dark Skeletons pop up all over the Rift, but these two are near to a zone boundary that is near a zone boundary, and can be respawned quickly. We need two of those.
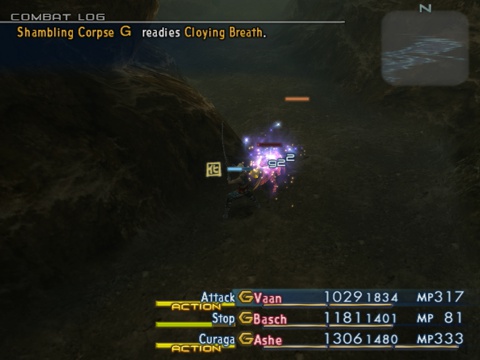
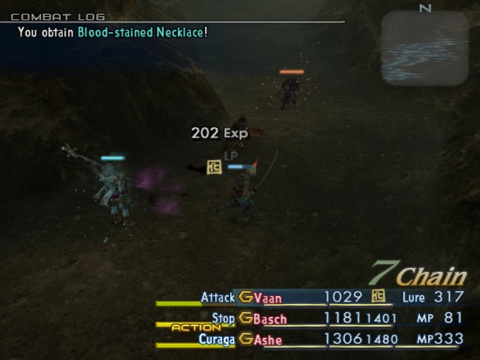
Finally, the Shambling Corpses in Adrammelech's old home have Blood-stained Necklaces as a rare steal and a 15% Warmage's Monograph drop. We need three of those.
Sell all of them, and we get...
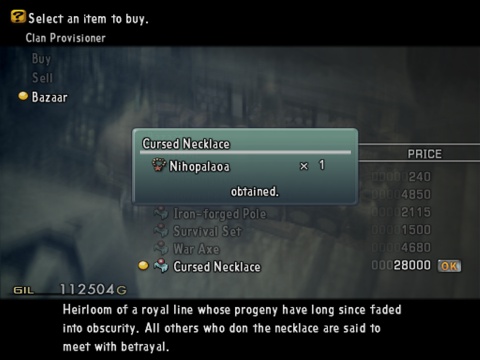
The Nihopalaoa (I'm only typing that once) is an accessory that absolutely breaks the game. In the vanilla version, these could be purchased from the Clan Provisoner after defeating ten marks, and the only check on their power was the price the shop charged and the distance to the associated License. IZJS balances them a bit more harshly, removing them from the store and making them a limited-quantity item, but, while most of the ways of getting one can only be done near the end of the game, this one from the Bazaar can be unlocked as soon as the party reaches Paramina.
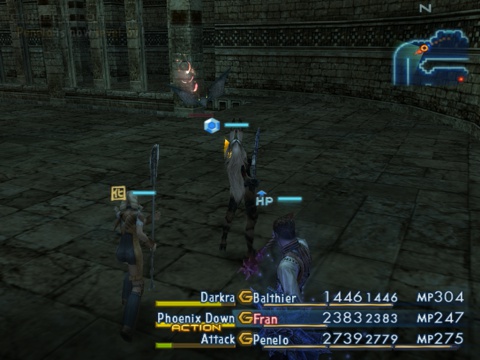
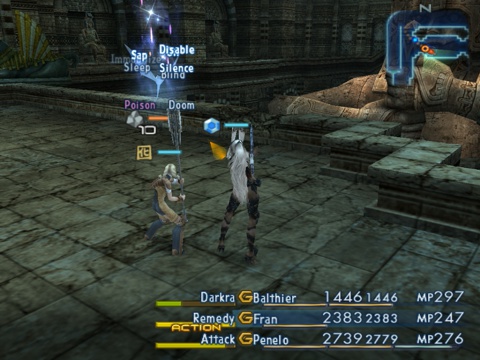
When equipped, it reverses the effects of the wearer's recovery items. There's two basic ways that this is used to break the game. First, against most normal enemies, using it with a Phoenix Down is an instant, unblockable KO, like using a Phoenix Down normally on an undead enemy. Second, against bosses, marks, or enemies that are immune to instant death, using it with a Remedy will inflict every possible status effect with a 100% success rate.
This accessory absolutely trivializes a lot of fights and lets the party explore some areas far beyond their level, particularly since Remedies start to appear in shops shortly after completing the Stilshrine of Miriam. However, it's most effective in the hands of a Job with the maximum number of Remedy Licenses, and these Jobs tend to rely more on items for healing. So there are two caveats to the Niho that players should keep in mind: first, be mindful on long excursions that this strategy may draw from limited healing resources; and second, remember to turn off your item Gambits before you accidentally shoot yourself in the face.