Part 15: Chapter 12 (Part 1) and the War Room, Part 44 (Split Party Battle Preparations)
… was revealed 10 chapters ago and does not appear in this one!
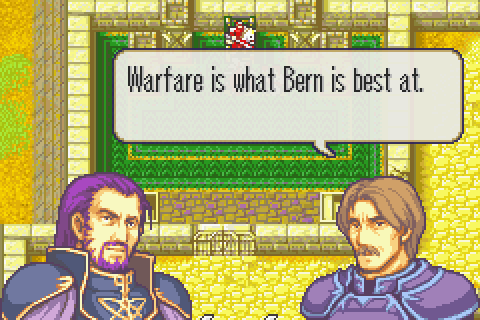
Also, that Bern has dragons is totally not a surprise: we’ve been told that 4 times already starting on chapter 3. If not more.
Inexplicably, Roys seems to act as though he’d never even heard rumors that Bern has dragons when he learns that Bern has a dragon guy in the castle. But he heard Hector himself explain that Bern has dragons and that that’s what killed him. And then there was that shell-shocked refugee on chapter 5 talking about how horrible it was when the dragons attacked Araphen. And then after chapter 7 Roy himself talked at some length about how he definitely thinks Bern has dragons and wow they must be powerful. And then on chapter 8 Lilina confirms what Hector said about Durandal definitely being a dragonslaying weapon and important to get since the dragons are back. And on and on and on. But then on this chapter he’s all “OH MY GAWD GUISE DAGRONS ARE REAL?!”
And then after beating one he flips out about how powerful it supposedly was, even though everything he’d been told about them up till now suggested they were waaaaay stronger.
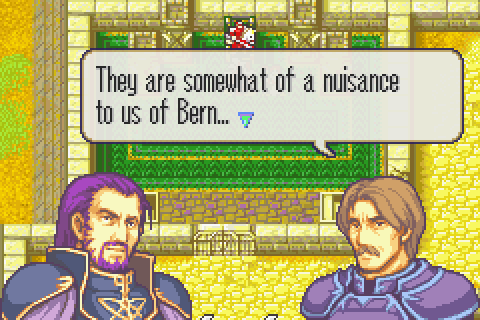
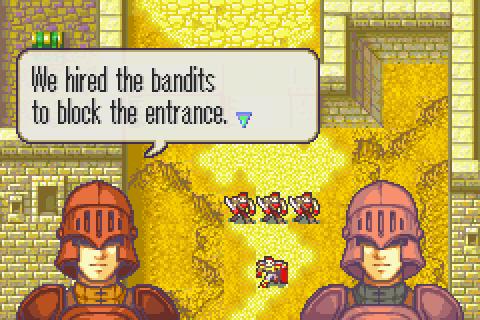
But crazier yet, the generals of Bern still think it’s a secret that they have dragons! Even though they’ve had dragons travel with their army, had dragons lead the way at several major slugfests, and seem to have told EVERYONE about them. Including foreign nationals they don’t even like! All of Djuto is apparently abuzz with people chattering about how they have a dragon right there, but Bern still seem to think it’s secret!
In any case, this chapter is the second “capital fight” and the second chapter to have a sidequest available, so it’s important for that at least.
Chapter Summary:
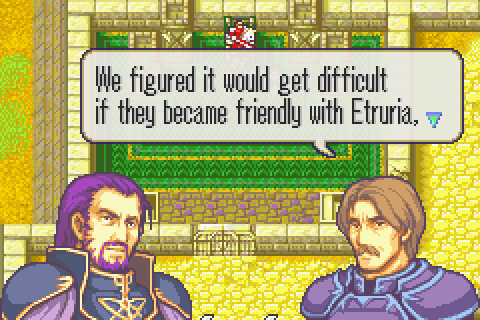
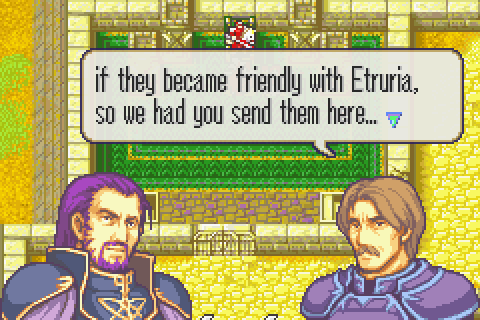
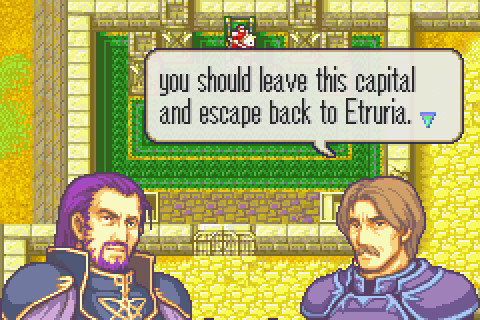
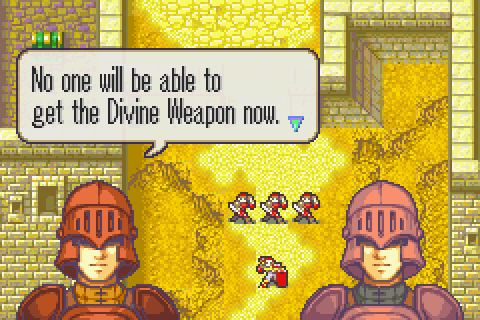
At Elphin’s advising, Roy decides to just attack the Etrurians head on in their capital. Despite Bern sending a token force (and a dragon) to support the Etrurians, Roy wins. And that doesn’t really affect anything.
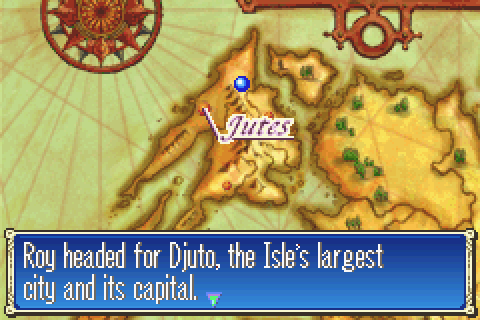
You know, I’ve noticed several times that the actual names on the map only rarely match up to the names in the text with this translation. What’s the reason for that?
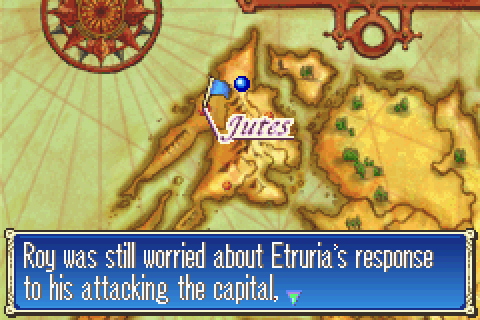
Yeah, I wonder why? Any way you slice it, this is not an appropriate move. He doesn’t offer them terms or give them any chance to surrender, he doesn’t wait to get the support of the islanders, he doesn’t wait for Cecilia or some other appropriate Etrurian to get back to him. No, he just goes rogue and runs in and massacres the whole Etrurian garrison in the capital.
There’s no reason to believe all of them were knowing supporters of Arcard; heck the soldiers stationed in the capital probably have LESS idea of the atrocities going on elsewhere than troops in the countryside. And many others are probably honest soldiers who just believed the lies and propaganda of Arcard and the others and could probably be convinced to change sides like Klein did if presented with evidence. You know, like what Roy could have unearthed at Ebrakhm if he actually freed the miners there instead of apparently forgetting they exist. Or if GENERAL Klein reported the truth. But no, Roy just slaughters them all. The kid is nuts. And nuttier yet, no Etrurians call him out on this, nor is it used in propaganda against him. In fact, it’s never mentioned because this whole arc in a bunch of filler.
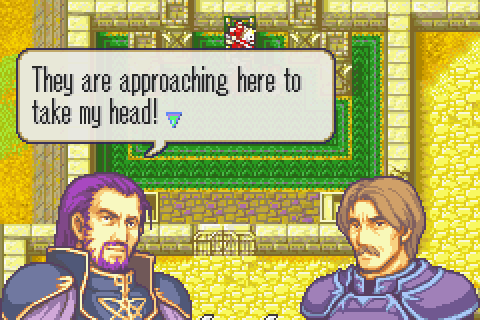
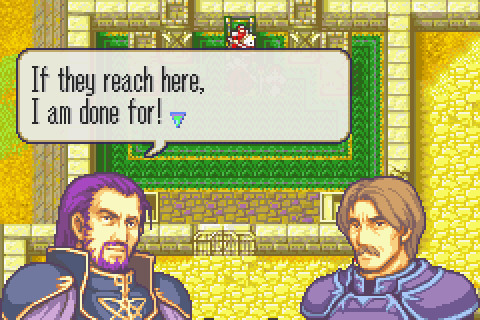
And everyone else’s too! Arcard here is understandably put out at Roy’s merciless attack on the capital.
One of Narshen’s subordinates, Flaer is nearly as dumb as his boss- and nearly as flakey too.
We know! We’ve been over this! By the way, the western isles are rich in minerals, dragons are not wyverns, and Ilian mercenaries never betray their employers!
Because Arcard is smarter than Flaer, he turns the conversation back to things which are relevant and not stupid posturing.
To his credit, Arcard does not jump at this idea. He apparently takes his job somewhat seriously.
Bern isn’t even fighting here. These are Etrurian troops! And you’re about to just go on vacation!
The alleged secret which actually even the random peasants here know about, plus the ETRURIAN soldiers, plus everyone who ever saw Bern fight a slugfest in this war. Plus anyone those guys told. The entire population of the world knows by now.
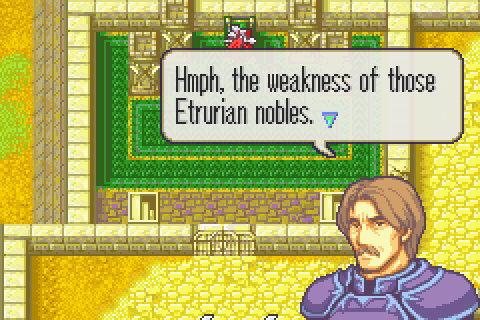
Hmph, the stupidity of those Béarnaise generals.
So yeah, the secret is totally out. Elphin just walked through town and random peasants were talking all about this.
They know all the details. His disguise and the supposed secrecy have both been seen through by everyone.
Slugfest Preparations & the Map:
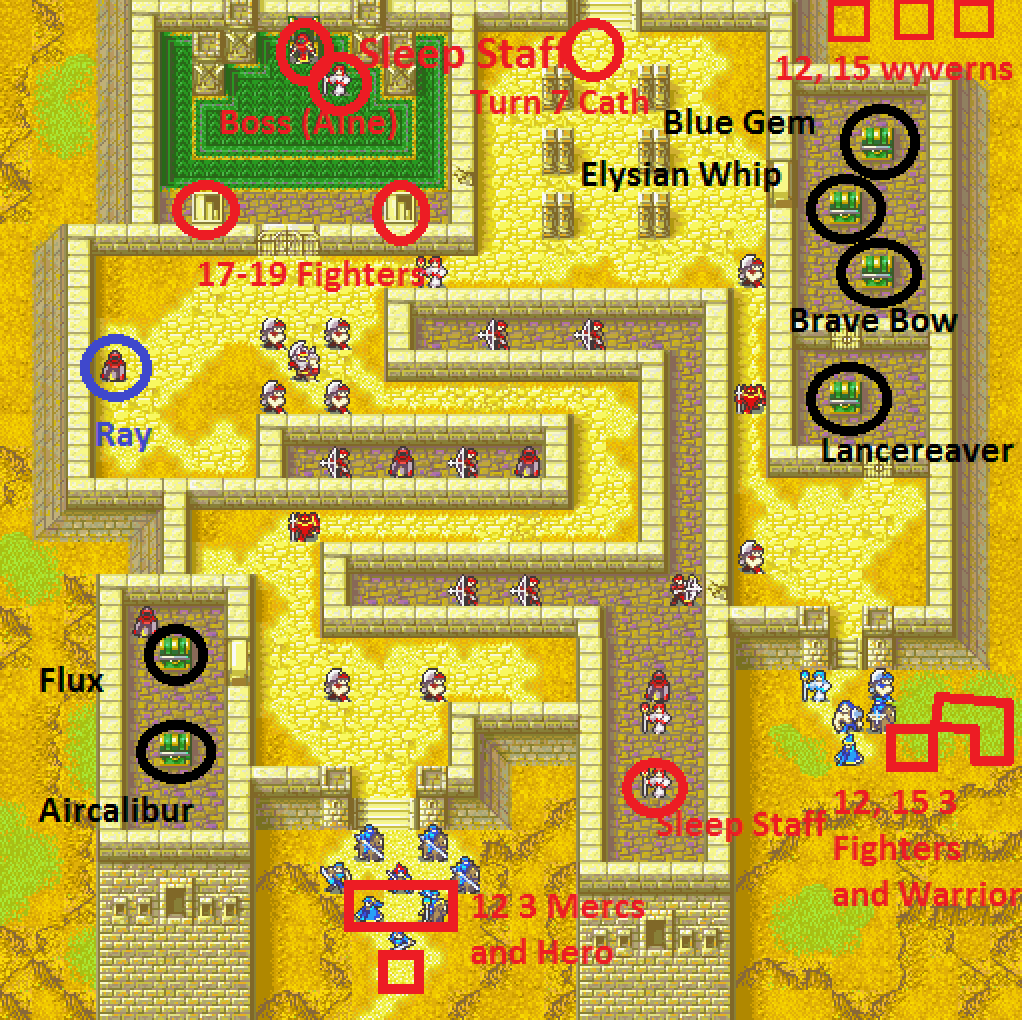
Secondary Objective: Recruit Ray with Lugh
Secondary Objective: Talk to Cath with Roy
Secondary Objective: Steal Cath’s Lockpick
Secondary Objective: Get the Blue Gem from the top right chest
Secondary Objective: Get the Elysian Whip from the second chest from the top right
Secondary Objective: Get the Brave Bow from the third chest from the top right
Secondary Objective: Get the Lancereaver from the fourth chest from the top right
Secondary Objective: Get the Aircalibur from the bottom left chest
Secondary Objective: Get the Flux from the second chest from the bottom left
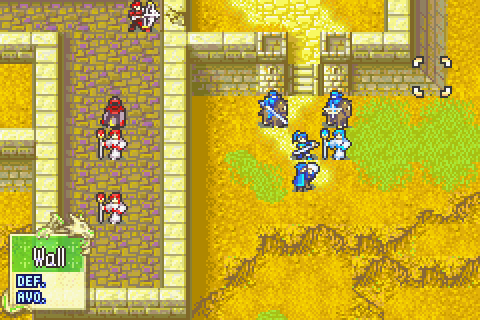
Reinforcements: Cath near the top on turn 7. On turn 12, 3 mercs and a hero spawn in the left starting area, 3 fighters and a SERIOUS warrior spawn in the right start area, 3 wyverns (2 with javelins) spawn in the top right. On turn 15, the fighter and warrior and wyvern spawns are repeated. From turns 17-19 two fighters with handaxes appear from the stairs near the boss.
Turn Limit: 15 (Easily manageable, but most of the reinforcements are still coming. More importantly, you must win by chapter 20 or the sidequest is lost)
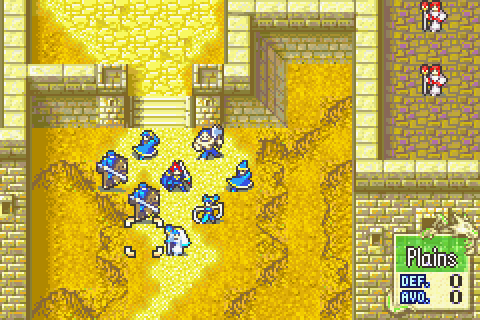
Even bigger than Chapter 8 (This is by far the biggest map in either game so far. It took me 12 screenshots to get all of it) and also even emptier! Who thought that was a good idea? There’s only 27 enemies, 4 of them are priests, and all but 11 are locked in boxes! 11 enemies you actually have to fight divided among more than a THOUSAND squares!
There aren’t even any reinforcements you have to fight if you don’t want to. Nothing but Cath spawns for 12 turns, and they all spawn completely out of the way. Heck, the wyverns have to run 30 squares just to get to the starting position that you left 16 turns ago if they want to fight.
The people designing these levels just have no grasp that a bigger map is, other things equal, worse rather than better.
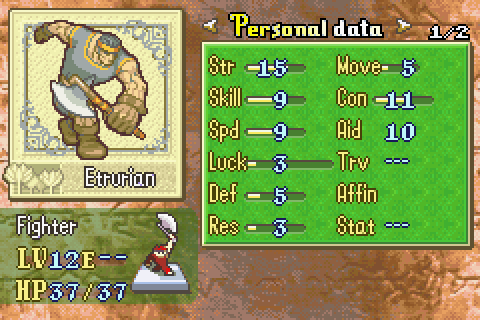
Besides having almost no enemies, this chapter also has much weaker enemies. For some reason the average level is now 13 or so, with many people being 12. That’s… worse than the guys on chapter 10. And 4 or 5 levels lower than last chapter. And again, they’re almost all locked in boxes where at most one of them can attack your guys per turn.
Oh and there’s no competition for the treasure either. It’s easily possible to have looted every single right side chest before Cath can even open the door.
So really the only obstacles to completing the map are the fairly tough boss and the several priests with sleep staves. These are significantly more problematic than in FE7 because they have much greater range here (+5 squares). Also contributing to the problem, these priests are safely hidden in their boxes so there’s no way to kill them before they use their staff several times. Finally, the party is split into 2 groups either of which can be targeted with sleep, but there’s no way to have 2 restore staves under any circumstances. Fortunately, there’s enough time to spare that a few guys falling asleep isn’t a huge deal usually.
Now the real challenge is in killing all of the reinforcements. They are very strong, come from several directions, and there isn’t much time to beat them before this happens:
If you don’t win by turn 20, you can’t get the sidequest, so you must restart. This is one of the sillier sidequest requirements since it’s not like anything you do here stops these troops who only arrive on turn 20 from just sealing the cave anyway. I mean, they had to be working on it before they started walking here, so it should be sealed before the chapter even begins probably. Also, there’s no warning or indication of a time requirement in advance. There really should have been some mention by the villains that they have people at work on sealing up the Armads cave.
So, despite its easy appearance, doing absolutely everything in time on this chapter will take some good planning.
The War Room, Part 44
This is the first chapter of this game with a forced party split, so today I’m going to return to the huge subject of Slugfest Preparations for the first time since The War Room, Part 14 (http://forums.somethingawful.com/showthread.php?threadid=3701153&pagenumber=5#post441877689) to talk about how to deal with maps like this where your starting formation is in two or more pieces.
The first thing to realize is that these chapters are not actually fundamentally that different from chapters like 11 or 3 where everyone starts off together but then you need to split up to go after distant objectives with terrain preventing each group from helping the other. So the advice here applies to many other chapters as well.
Now as I said before, good Slugfest Preparations are all about matching people who you give appropriate starting positions and gear to with jobs you need done. This principle can be obscured somewhat on maps like, say, 8x where the whole party pretty much stays in one group, but it’s always true.
The more split up your party gets, the fewer ways you have to compensate for a mistake or oversight in your preparations and thus the more important not making mistakes to begin with is. Here’s a checklist of some important things to include or try to include in each planned group of a split party:
1) Healing. Every group should have a healer. True, if you play cleverly, you can usually get by without one, but that deprives you of valuable XP and probably forces you to not use low level people as much.
2) Restoring. On maps with enemy staff users, every group who could conceivably wind up in range should have at least one Restore staff. Two is better.
3) At least one character capable of killing each enemy the group needs to fight. This will usually mean at least two weapon types and both magical and non-magical attacks. Make sure to consider super-effective weapons.
4) At least one character capable of tanking the biggest fight that group will have to deal with (bear in mind that good tactics, use of terrain, pre-emptive strikes, etc. can reduce the danger of the biggest fight that group has to deal with).
5) At least one low-level character. This is very important. You need to make sure you can feed as many kills as possible to this/these people.
6) Door keys, chest keys, or lockpicks to get through any doors or chests along the way.
7) A thief if there are any items to steal
8) Anyone needed to recruit characters along the way
9) Support groups (either established or ones you’re building)
Once you’ve got those things taken care of, you can consider details like where your dancer goes and exactly who you put where. Generally, the dancer should be paired with the group with the lowest level unit being trained or the one with the highest characters to healers ratio. That will maximize your XP gain.
An example might be helpful. In the case of this map, I was allowed 7 units + Roy on the left and only 5 on the right.
Each group definitely needed a healer. The right group needed a thief (Chad, due to supports to build). The left group needed keys but not necessarily a thief. Since party space was limited, I decided on no thief there.
The left group needed Lugh to recruit Ray. I also needed Lance + Alan somewhere on the map to take down the boss. With Roy was the obvious choice.
But the left group needed low level people capable of ranged attacks. And it also needed people capable of dealing with the sword-wielding reinforcements. One group fit that bill nicely: Lilina + Treck + Gonzalez. All capable of fighting at range, all capable (with Gonzalez using the swordreaver) of fighting swordsmen well. And capable of supporting each other.
So Lugh, Roy, Lilina, Gonzalez, Treck, and a healer took up 6 of the 8 spots. Putting in Lance and Alan seemed logical, but I realized that I didn’t need Lance and Alan supporting until it was time to fight the boss since I didn’t want either getting many kills. And I DID want a dancer on the left where maneuvering was trickier. So I put only Alan there and put Lance on the right.
The right side then had 2 slots open. At least one needed to be a serious ranged attacker and one had to be a very good sword user to deal with the axe reinforcements. The lack of space/their being high level/no ranged attacks available made Rutger and Dieck not good choices. So I went with Fir and Shin. And that meant there wasn’t much point in Clarine coming, so my healers were Saul and Ellen. I decided on Saul on the right because there was a high probability of the healer needing to tank a hit to keep Fir fighting. And that decided everything but the formations:
Back to Slugfest Preparations & the Map:
Units Allowed: 12 + Roy. A fairly small party for such a huge map, especially since you’re divided into groups. Everyone will need to be carefully chosen.
Units Chosen:
1) Roy. Required. He can't fight anything. He’s just one point of HP or Def away from being great though. Then he could take a hit from the dragon. But instead he’s completely useless.
2) Lugh. Required to recruit Ray. A great fighter too, but rather high level so I’d like to avoid using him.
3) Ellen. The worst healer, but the lowest level. I don’t want any of the others to hit 20 and stop being usable any time soon. She’ll go on the left because- despite all the archers- it should actually be safer. The other healer might need to step into danger to heal Fir while she fights the reinforcements. Additionally, the left side is the one likely to need more healing overall so it’s the better one for a low level person.
4) Alan. Handy for carrying people through the tight corridors, very powerful, and most importantly capable of dealing serious damage to the boss.
5) Lance. Like Alan but not as good. He goes on the right side because he’s more accurate, and that’s good for using a javelin there.
6) Gonzalez. One of my best units and still low level. He can effectively engage archers and shamans with his handaxe and can also fight the mercenaries that will spawn on good terms with a swordreaver. Plus he has supports to build.
7) Lilina. Works well with Gonzalez in a similar role in this chapter, and she has supports to build. I’m also thinking I might want to see if I can promote her by Chapter 14.
8) Treck. With javelins and iron lances, he too is good at fighting both archers and mercenaries and he too has supports to build. These 3 will do most of the left side fighting.
9) Lalum. Invaluable as usual. She’d be helpful on either front but the right has fewer slots to spare. Additionally, there’s more healing to be done on the left, so she can help Ellen there. And there are also more winding corridors which are difficult to navigate that she can help with.
10) Chad. Though a competent fighter, he’ll mostly be doing special ops on the right front: stealing Cath’s lockpick and looting all the treasure. Then I may try to get some supports with him and Lugh and Ray.
11) Saul. I definitely need two healers, and the toughest one belongs on the right front.
12) Shin. Probably my second (or third) best ranged attacker after Lugh and maybe Lilina, archers are one of the few types of targets he can deal with effectively, and the stage is loaded with them. He’s also good against wyverns, and the forecast calls for a few of those.
13) Fir. Exactly one sword user is called for on the right front to deal with the axe-wielding reinforcements. Rutger, Dieck, Oujay, and Fir are all roughly equal in power, but Fir is the lowest level and also will be unsuited to many future chapters, so she’s the best pick.
Notable Units Rejected:
1) Dieck and Rutger. It feels really weird not to be using Dieck here. In all of my previous runs I had Dieck the low-level hero instant-kill the dragon with Durandal. But he’s not even level 15 yet since I had to give most of my XP to weaker people. Nonetheless, he and Rutger and Clarine would be even better against the dragon than Alan, Lance, and Roy. The trouble is that they’d be useless for everything else.
2) Clarine. Not as tough as Saul and not as low level as Ellen, meanwhile Dieck and Rutger aren’t coming.
3) Oujay. Higher level than Fir, though I AM worried about her flimsiness.
4) Thany. High level and horrible against almost everything on the level.
5) Tate. Low level so I’d really like to use her, but the chapter is pretty much all walls and archers.
6) Lot. Not as good as Gonzalez all around. And he’s higher level with no support options.
Positioning is relatively unimportant here, but good gear selection is critical.
Roy has the precious wyrmslayer. No one else can use it, and with it he can do massive amounts of damage to the dragon very accurately. The trouble is that he will then be hit back and instant killed from full with 70% odds even with his full support group present. Roy is not very good. He might be used to finish the dragon off, but probably not. Mostly he’ll just be there in case something goes wrong. He also has the door key to open the boss room since he has little else that’s important to do or carry. If he had just 1 more point of HP or Def he could actually tank the hit, which would be amazingly handy.
Gonzalez is packing a wide variety of axes as usual, including a swordreaver so he can deal with mercenaries effectively.
Treck’s gear is standard.
Lilina has an Elfire for when she really needs a bit more power to kill something. More importantly, she also has a door key and a chest key. Her group is the one which will be getting the bottom left treasures and everyone else has more weapons to carry.
Besides standard gear, Alan has a silver lance. This is less precious than a wyrmslayer and reasonably effective against dragons in his capable hands.
Shin has a wide variety of bows: iron, steel, killer, and long for various levels of damage and range required.
And Fir is carrying a huge variety of swords: iron, armorslayer (for the knight), light brand, and killing edge.
The Characters:

Lugh’s twin brother, Ray is a complete jerk who the writers will try to tell you is actually kind at heart. This is pretty much just not true. Even in most of his A supports he’s barely civil and often still outright nasty. Also, by his own admission, he’s studying dark magic to get the power to destroy all who oppose him by and he also says he’s willing to destroy worlds to gain the power he wants. So of course Canas’s psycho mother likes him, but pretty much no other characters do. And neither do I, despite my general fondness for dark mages.
This guy is not Canas. Not even close. Ray cannot take a hit, cannot dodge, and is all around just not as useful. Plus Luna doesn’t exist. All in all his brother is a better unit since he doubles more things, hits more accurately, and can dodge. If Ray got hard mode bonuses, he’d probably be great, but for some reason he doesn’t.
That said, Ray is still pretty good- almost all magic users are. His strengths include hitting for way more damage than Lugh and still being pretty darned fast, which makes him extremely powerful once his good speed growth kicks in. And he has pretty good support available. Oh and his direct class competitors are jokes, so he’s by far the best shaman when you do want a shaman in particular.
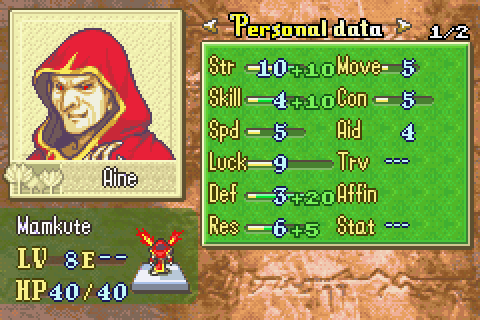
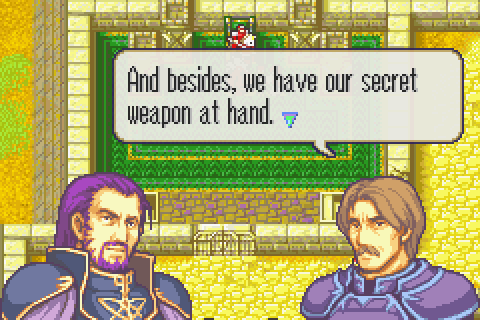
A dragon. Employed by Bern. The worst kept secret weapon in history. That’s all there is to him. Which is actually an important and interesting plot point, rather than just laziness on the part of the writers..
We have pretty much been hearing this guy’s hype for 10 chapters. And they even gave him a throne. And he’s STILL not a real threat if you know what you’re doing.
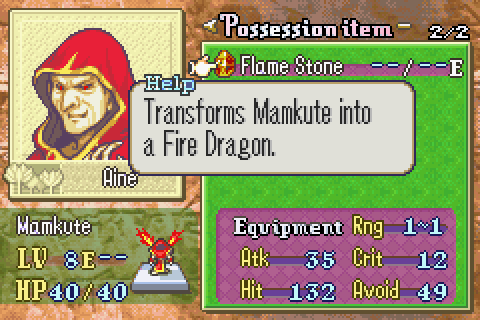
Only 1 range and it doesn’t ignore Def. This guy hits hard, but not really harder than some recent bosses. And he’s only moderately tougher than many of them. And of course, he’s critically vulnerable to the very powerful Durandal and Wyrmslayer. Even silver weapons in competent hands can deal massive damage to him. You need a plan to beat him, but as long as you don’t just attack him with iron weapons, he’s not really tough.