Part 17
12x is the second legendary weapon sidequest chapter and the second fog chapter. Like almost all the legendary weapon chapters, it has a random trap gimmick which is not very well implemented or very interesting. This one is basically the cruddy prototype of the still mediocre The Berserker.
It also marks the inappropriately timed ending to the pointless and annoying Western Isles filler arc. Much like with 8x before it, there is totally no time to drop everything and go on a random sidequest but Roy will do it anyway. And once again, the consequences will be nearly disastrous. This chapter really should have occurred before 12 when we didn’t know that trouble was brewing in Etruria and that Lycia could be invaded any second. Plus that would have let the writers put in some kind of appropriate scene about Roy offering terms to the colonial government and them refusing violently or something else that would make him not look like a war criminal.
Chapter Summary:
Ignoring all warnings and information about how Bern is probably about to attack Lycia, Roy decides to go in person with his whole army to the cave where the legendary Armads is resting. Once again a giant army of bandits is hanging out there. Once again, they’re completely ignoring the legendary weapon. And then the plot finally starts moving again.
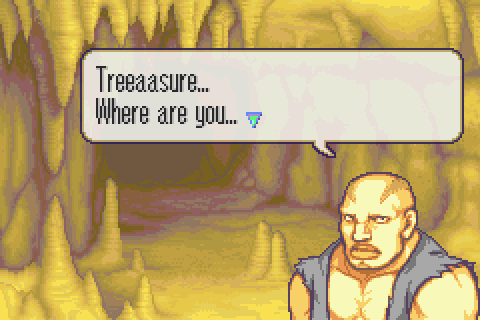
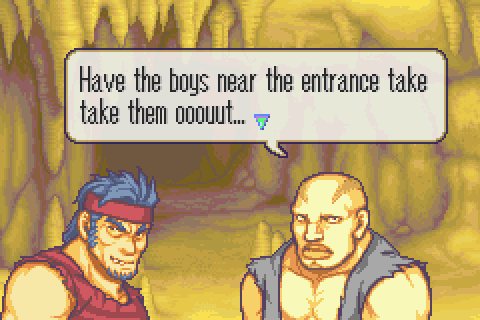
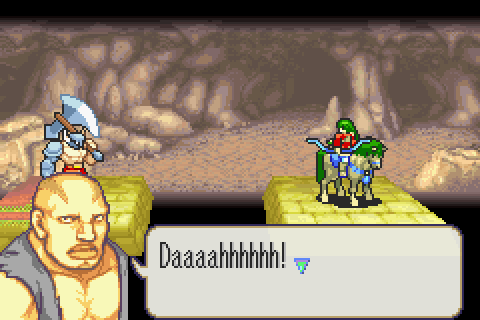
It’s another random crazy lookalike dude!
The group had been ordered by Bern to seal off this cave, but they’re ignoring those orders.

I’m really not sure how to interpret what this guy is saying. Is he singing? That’s always what I assumed. Anyway, he’s yet another weird crazy guy with this face. This game alone has 2 more of him.
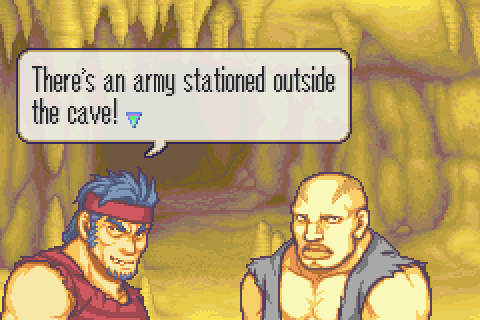
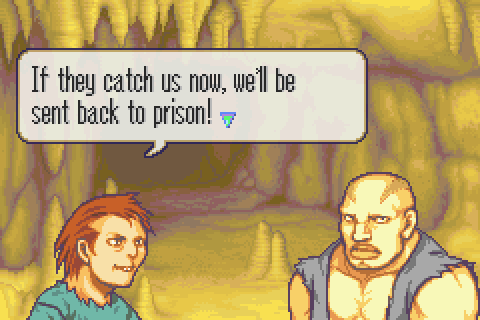
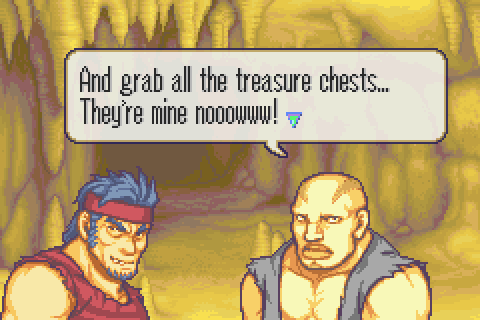
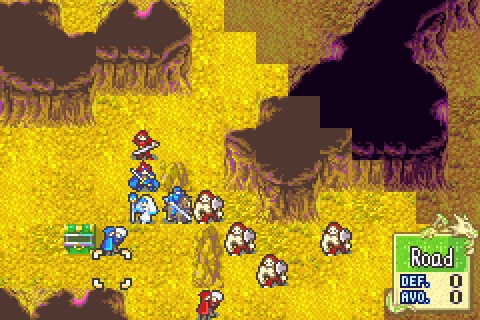
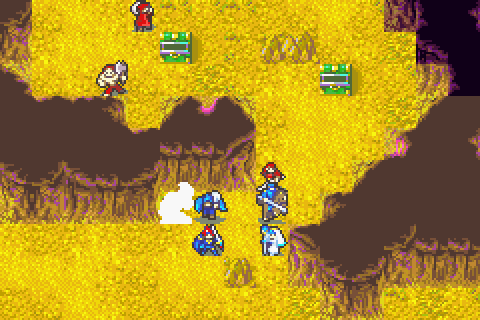
Once again, a pack of hapless bandits are being approached by an army.
Once again, the pack of bandits inexplicably thinks a giant army of professional soldiers is no problem.
Why is this cave even full of treasure chests to begin with?
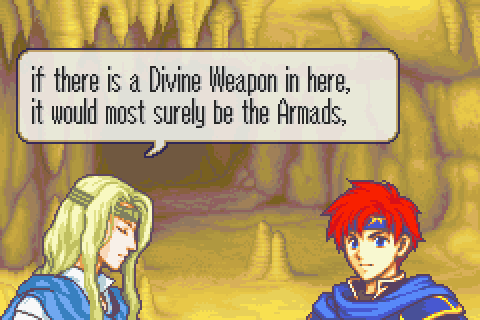
Duh. We’ve been over that and that’s a really, really basic bit of their history/mythology. But once again, Roy is amazingly ignorant.
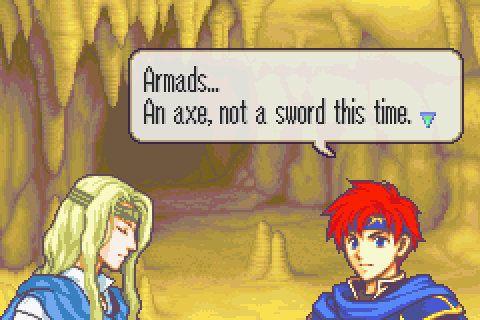
Yes, dummy!
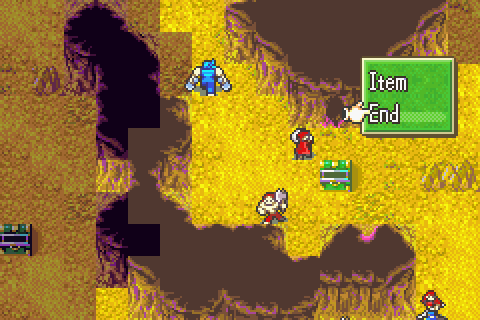
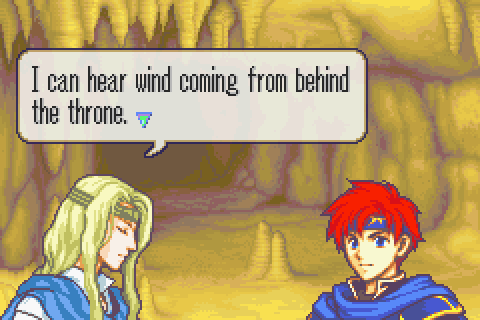
That must be the random trap gimmick du jour!
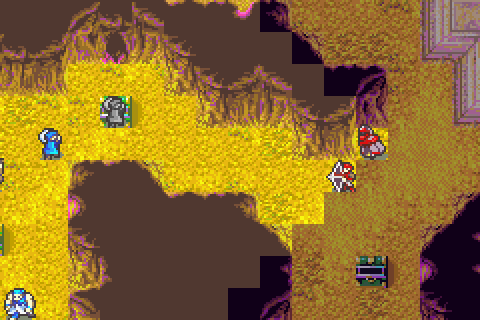
Slugfest Preparations & the Map:
Secondary Objective: Acquire the… screw it, I’m not listing these separately. Get all 12 treasures.
Secondary Objective: Steal all 3 lockpicks
Reinforcements: None.
Turn Limit: 20. Actually pretty tough considering the sheer number of spread out chests and lockpicks to steal
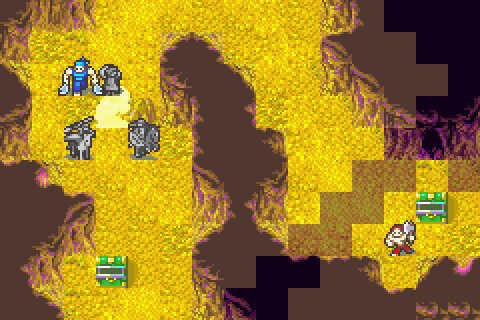
Another huge, empty, boring slugfest. Ugh, the level design in this game is annoying. Even the fog chapters are dull because there are so few enemies that you’re never really ambushed by anything.
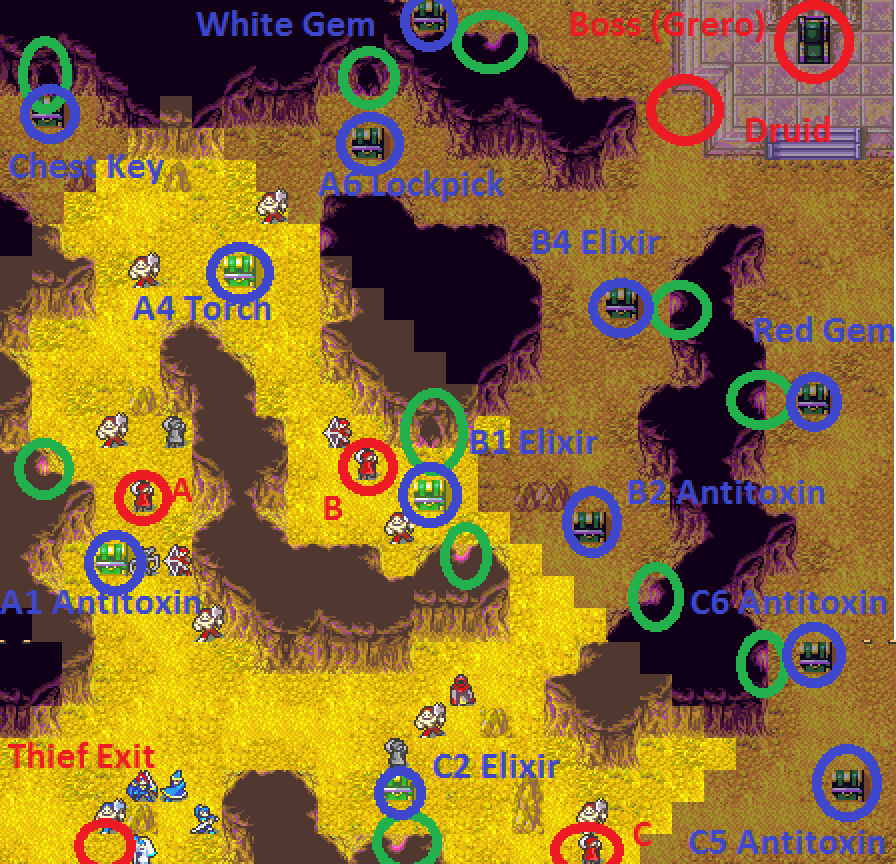
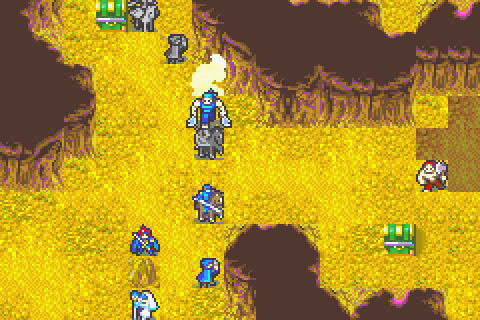
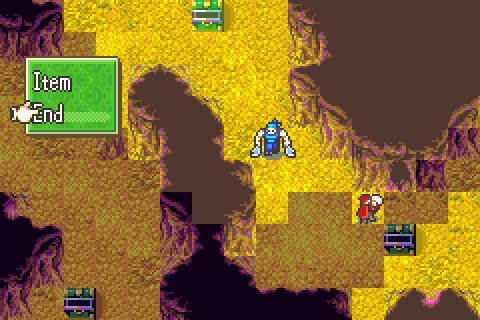
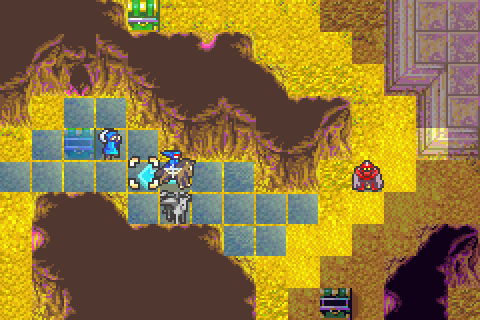
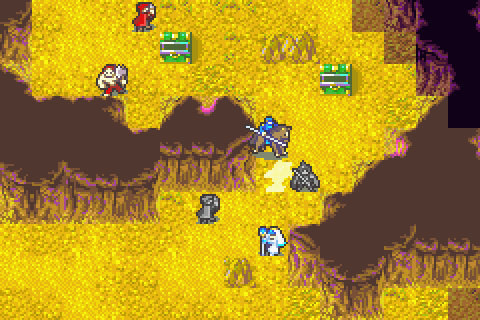
I’ve circled the trap spots in green. Just like in The Berserker, they actually fire a poison beam 3 squares long. You’ll note that a lot of them are positioned to cover treasure chests, whereas that was not the case in- wait.
Wait. I just realized something. Why are the ghosts in The Berserker looting their own cave? What’s up with that? Why in the world are there ghost thieves stealing from the chests in that place?
Well nevermind that. Unlike in The Berserker, these poison jet things don’t fire every turn. I’m not sure what the pattern is, but it doesn’t matter because they’re totally avoidable and not a problem at all. Kind of like how the 8x lava tiles were not a problem, unlike the Valorous Roland version.
Now the enemies on this chapter are completely not a threat. There are few of them (The ones I was able to reveal in this set of screen shots are more than half of them), they’re spread out, most are of non-threatening classes, and they’re really low level. Maybe even lower than the ones last chapter who were weaker than everything since 9 or so. Oh and not all of them even move at all. 2 guys near the boss are armed with melee weapons but won’t even move to kill guys with 4 HP 2 spaces away.
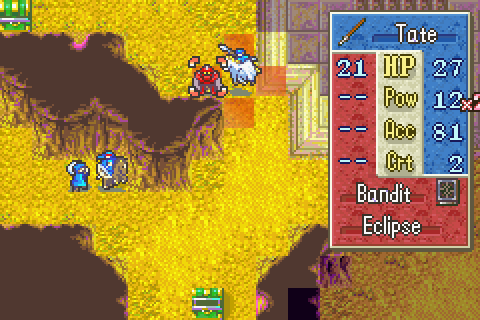
The only dangerous one is a powerful druid near the boss armed with Nosferatu (but fortunately also with Eclipse)
However, there are a LOT of chests and several are completely impossible to get to first under any circumstances. The real challenge is acquiring maximum possible treasure while also training up weak characters on these easy enemies.
Doing that is all about understanding the thief AI, which I talked about a bit in the War Room part 8 (http://forums.somethingawful.com/showthread.php?threadid=3701153&pagenumber=2#post441683415). As I said then, the thief AI on each chapter is different.
In FE6, enemy thieves never steal your stuff but they also don’t drop any of their own stuff on death, so you can NEVER let them open a chest with a weapon in it. Fortunately, every single chest on this chapter has an item. And you can steal items back.
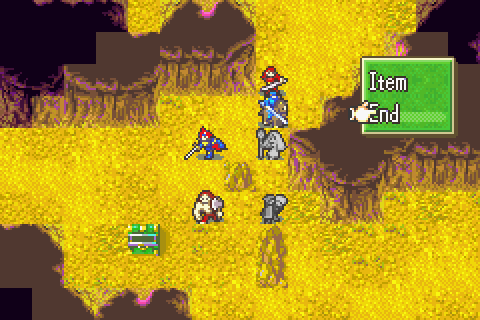
Now on this chapter, I studied the Ai carefully and discovered a few key things. First, the thief exit point is in YOUR starting area. Fleeing thieves will always take the shortest un-blocked route to this exit square. This means there’s no need to chase after thieves to prevent them getting away. With decent planning it should be possible to let them open many chests but not escape.
Second, every thief has 3 open inventory spaces. This means each will open 3 chests and then leave if not interfered with (On the map I’ve given each thief a letter and marked the turn each of them will open their 3 chests.
Third, a thief which has never reached a full inventory (because you stole some of their items) will continue to open more chests, going for the closest unopened ones. However, a thief whose inventory has filled up even once and then had something stolen from them will flee and never try to open another chest.
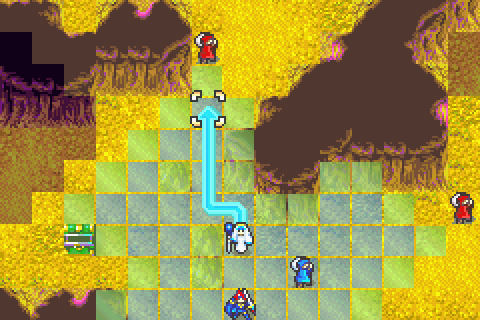
Now notice that though hallways on this chapter are generally fairly wide, their unevenness means that there are a few key areas where 1-2 people can block passage. Control these areas and you can almost completely control the motion of fleeing enemy thieves, redirecting them wherever you want or even making them run back and forth in one spot until you’re ready to deal with them.
By careful manipulation of the thief AI, I am basically going to make these 3 enemy thieves play for my team instead of just rushing out and trying to kill them. This will let me get more XP, acquire every single item, and bring weaker troops to the chapter.
Units Allowed: 7 + Roy. Very few.
Units Brought:
1) Roy. Required and I’m bringing mostly really weak people so he’ll actually be one of my best units. He’s so bad that even a lot of these pitiful enemies can wreck him though.
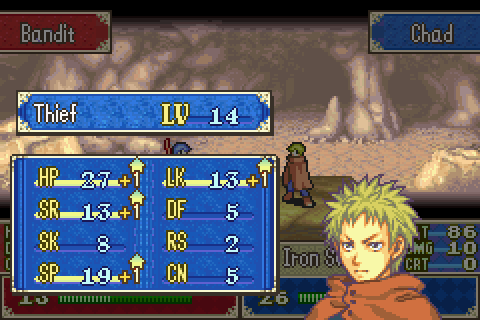
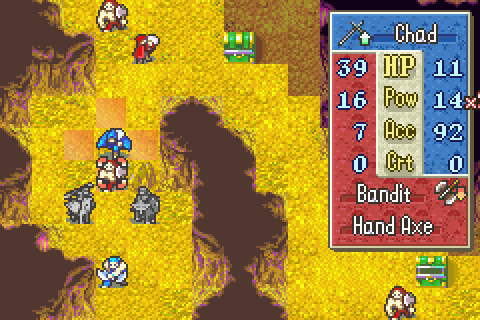
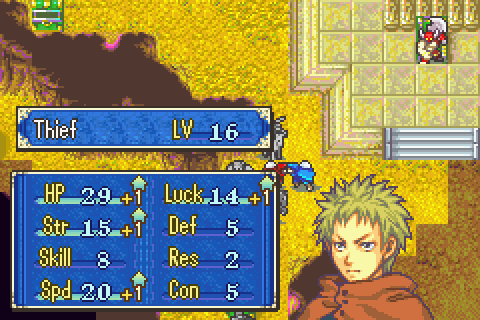
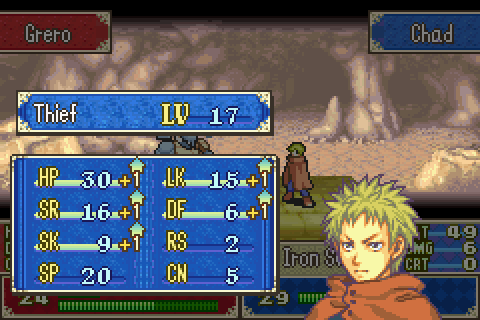
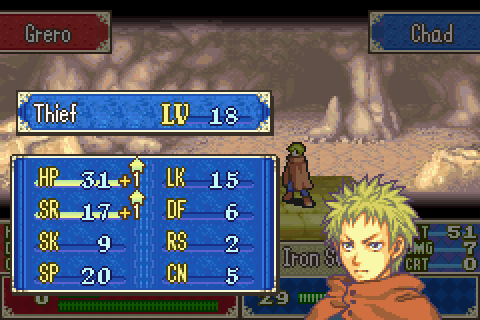
2) Chad. My best unit on this chapter, plus obviously necessary for stealing all the loot.
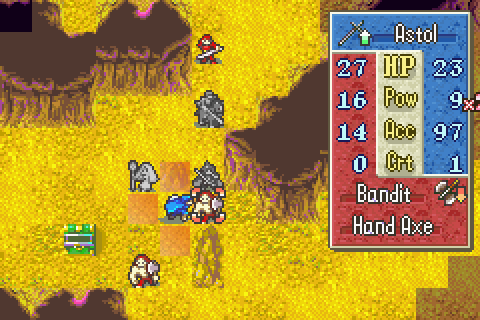
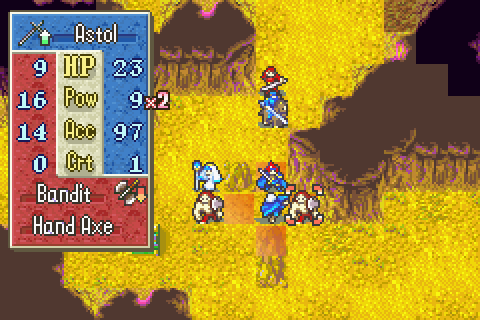
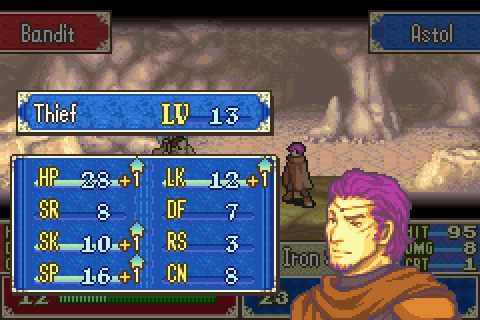
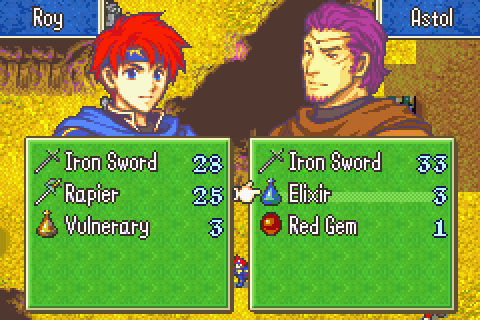
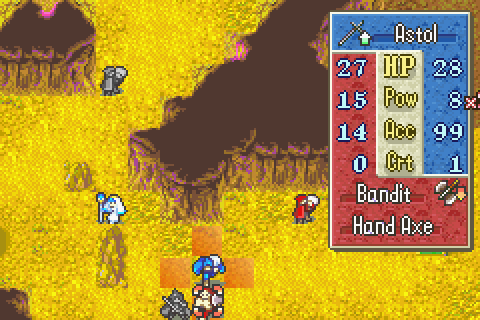
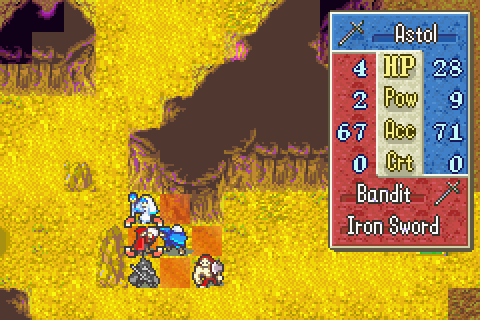
3) Astol. Not as good as Chad, but there’s no way to beat this chapter efficiently without two thieves. Plus they gain XP easily and Astol is low level.
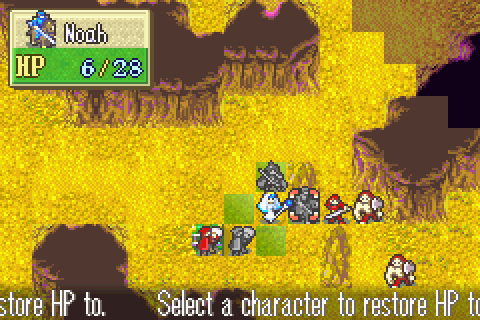
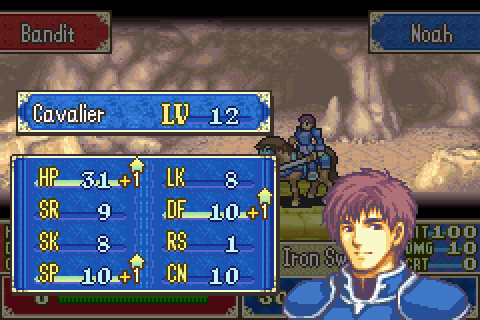
4) Noah. He’s terrible but he’s low level so he’s coming.
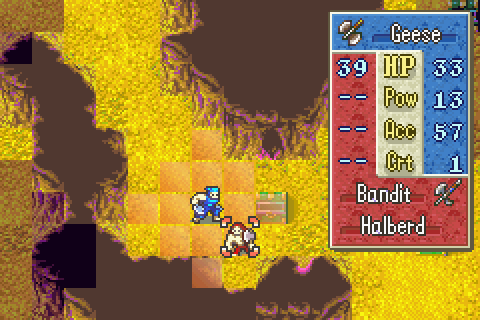
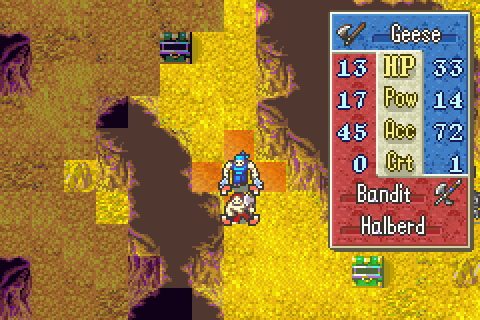
5) Geese. He’s lowish level and (barely) usable.
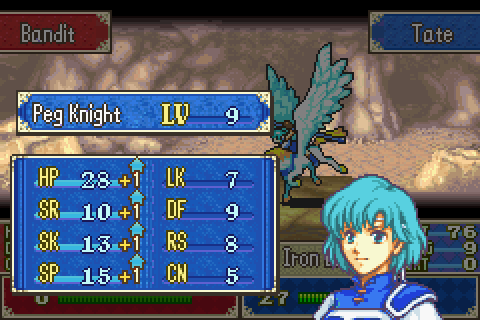
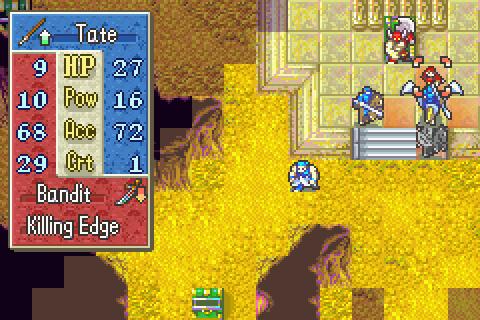
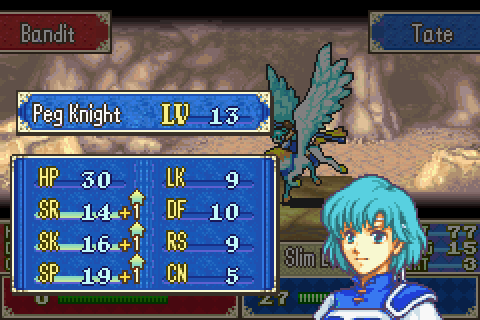
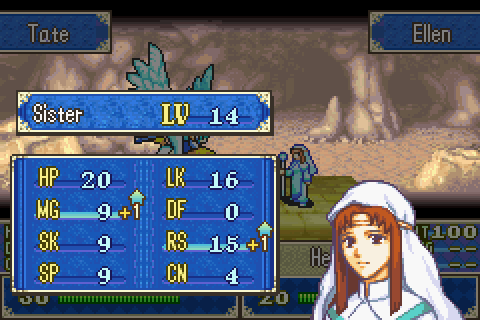
6) Tate. I need to train her a ton very fast. She’s pretty darned good so she’s trainable even on this wall-filled chapter of archers and brigands.
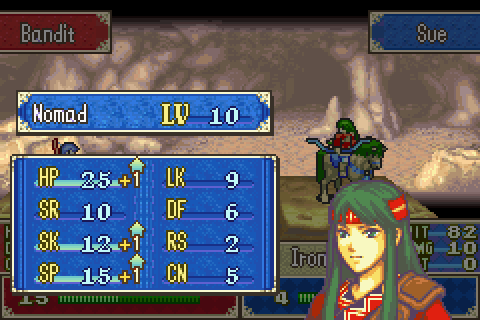
7) Sue. I really don’t want to bring her since I’m having a hard time keeping my pegasi more trained than my nomads at the moment, but she’s low level.
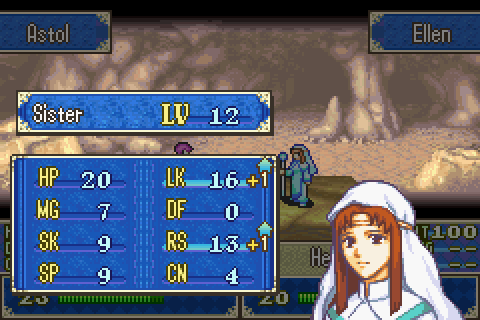
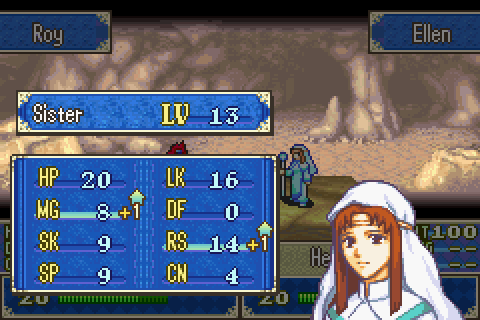
8) Ellen. The lowest level healer.
Notable Units Rejected:
1) The knights and archers. These are the lowest level people on the team, but they are pretty much totally unusable. At least under circumstanes like these where I have too much other stuff to do and can’t bring enough people so the map isn’t under control.
2) Other healers. I’m not allowed to bring enough people.
3) Good characters. I need to train low level guys. The XP requirement on this chapter is insane too. Not bringing anyone good will make dealing with the boss really hard, but I think I can manage it.
4) Lalum. She’d be very helpful, but the thing is I’m pretty sure she’ll get to level 20 eventually regardless, so it’s ok to not bring her on chapters like this where I don’t need her. Additionally, I’m bringing so many pitifully weak people that I can’t control the enemy well enough to keep Lalum safe here.
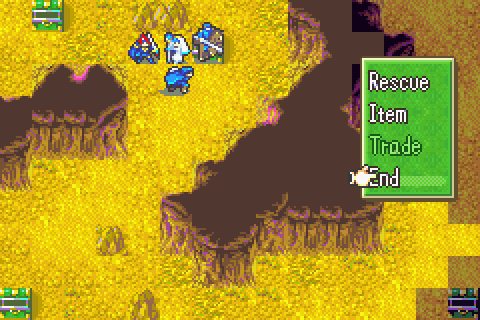
My thieves have only iron swords, no lockpicks. Most other people are also carrying very little other than basic weapons. I need to steal 15 things, so it’s essential that I have tons and tons of available empty inventory space. Unfortunately this means I can’t bring any good gear, which will make dealing with the boss harder.
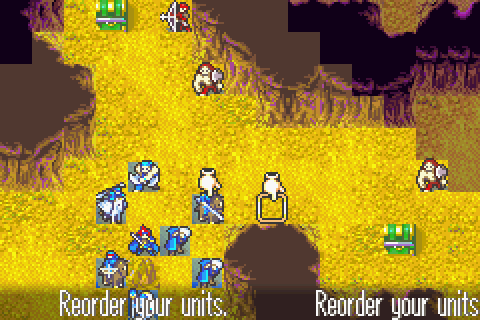
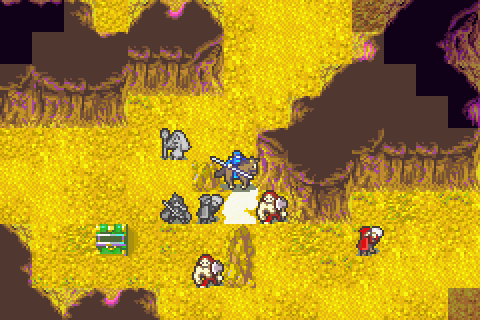
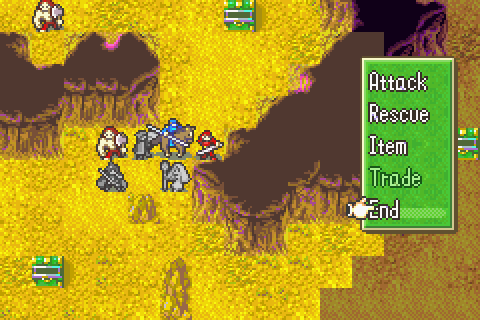
There’s little to say about my formation other than that. Everyone here is a terrible fighter and they’re all in over their heads and they’ll just kind of split up whichever way I need them to go. Exact positioning matters little other than that this formation lets enough people attack immediately that I can kill the two nearby enemies.
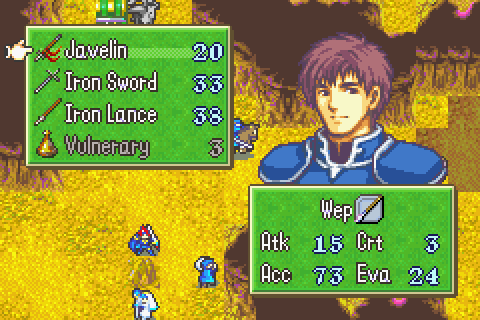
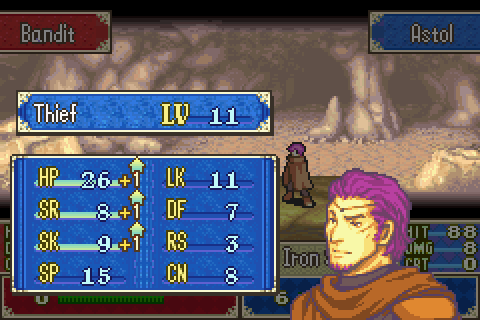
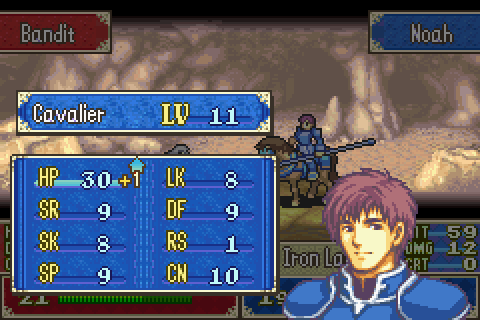
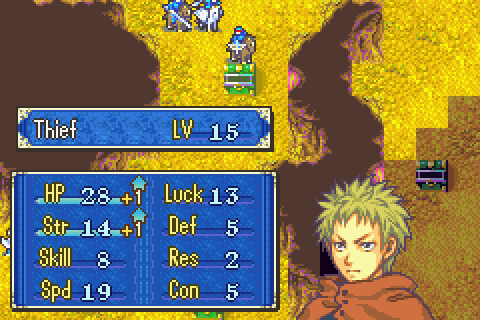
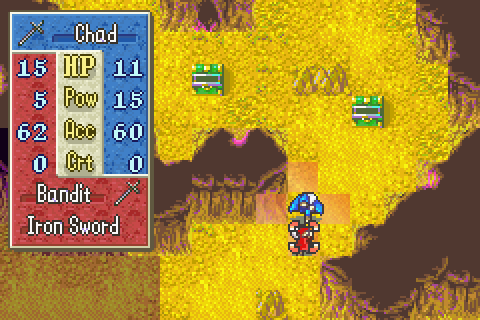
The Characters:
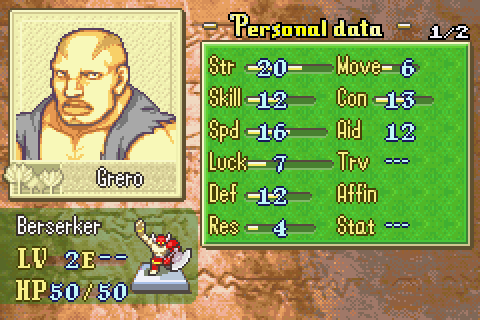
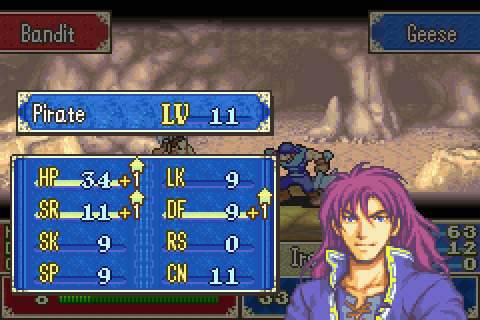
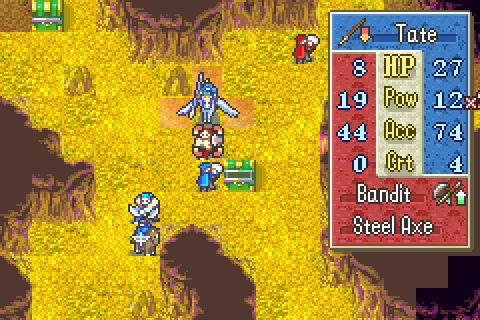
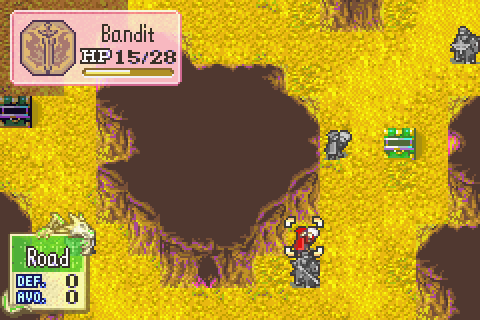
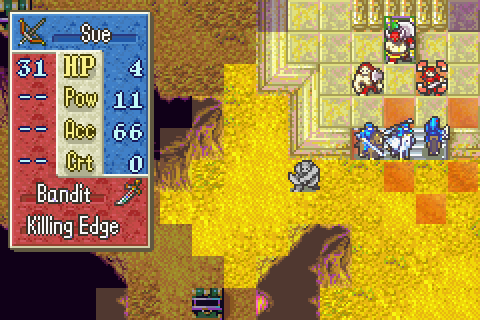
Here's the boss. He’s a scary dude. As I’ve said before, berserker bosses are a ridiculously huge threat and there’s pretty much no way to not have to face a high % chance of instantly losing every time you fight one. This one is very fast, quite accurate, and fairly sturdy. And on a throne. It will be extremely hard to kill him with this weak team but I believe I can manage it.
I have run out of things to say about random weirdos with this face. Intelligent Systems has also run out of things to say with them, but that hasn’t stopped them from including more in nearly every game.
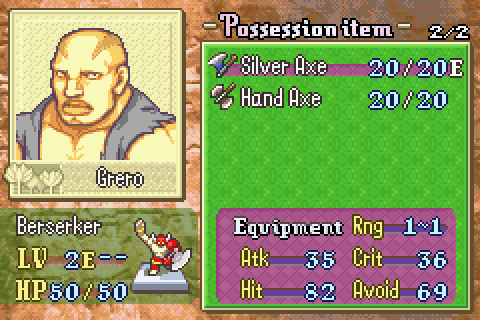
The only way this could be worse is if that was a tomahawk. There’s no way to attack him safely due to that handaxe and most people will be instant killed at close range.
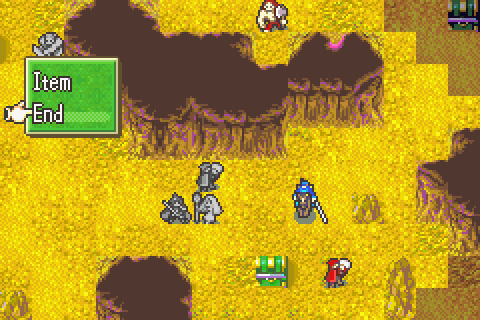
Playing Through:
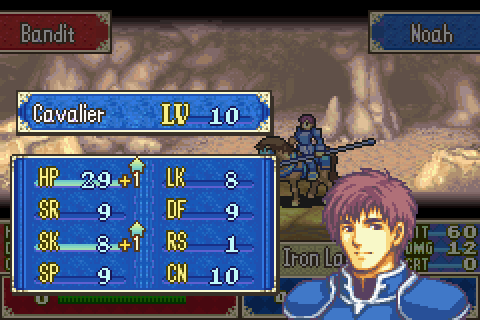
The chapter opens with a classic Chad level. He’s weakening the nearby archer.
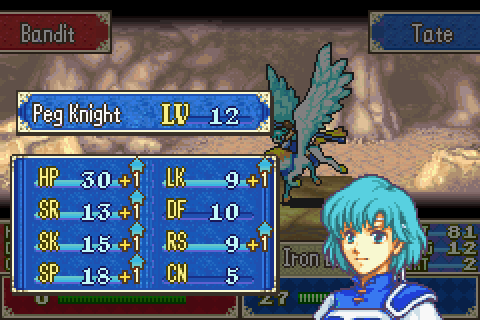
Tate flies up and finishes it for a very nice level.
Geese and Sue take the brigand. I’m trying to avoid giving kills to Sue and instead having her mostly soften targets for people who I’m more willing to train.
There’s a shaman juuuuust out of sight here. Noah moves in with his javelin to this exact spot. The brigand can’t hit him but the shaman can, which means the dangerous shaman will take enough damage that I can finish him next turn.
When you’re using weak characters, it’s often very important to try to arrange things so that fights start on the enemy turn instead of yours. That gives you the extra damage and flexibility you need to finish foes who are otherwise too tough or fast to take down efficiently. Additionally, it lets you heal the injuries they inflict before attacking them again while keeping your healers safe.
Roy and Astol are positioned carefully too. Only Noah can be attacked by the shaman and only Roy by the brigand, which ensures both will be killable easily next turn. Plus Astol can immediately move up and steal from the thief coming this way if he wants. That’s basically the turn.
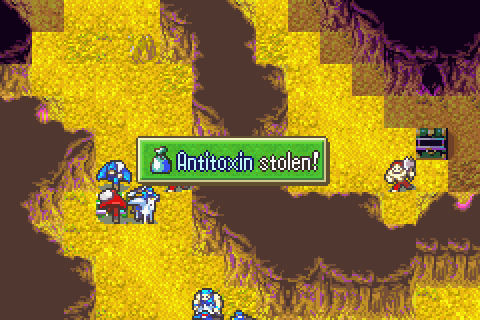
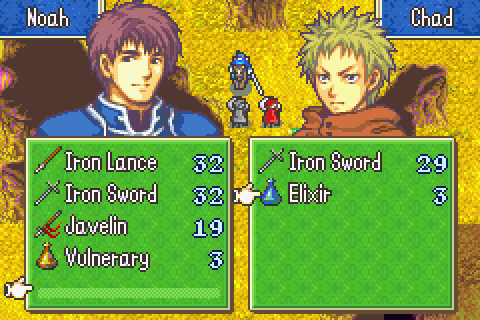
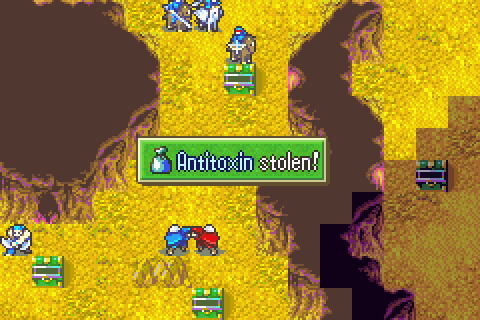
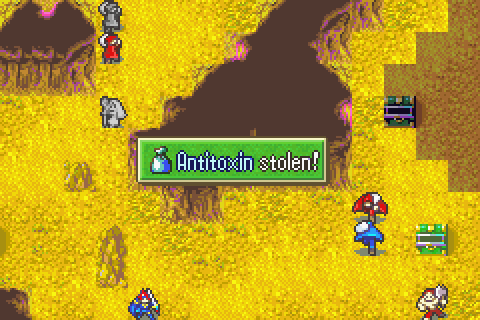
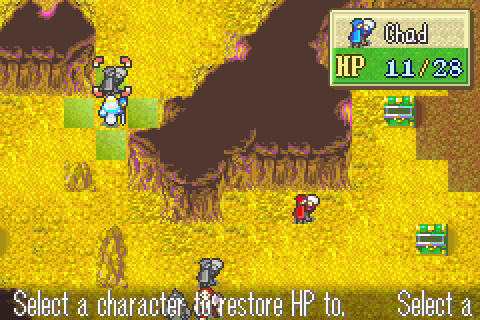
Chad steals the first antitoxin. Antitoxins are probably the second-least stolen item after door keys because they’re only slightly more valuable than vulneraries but are totally useless.
However, I am determined to steal every single item on this chapter, not just the valuable ones. For glory!

Sue misses and gets a generic Sue level as she moves up to weaken the next approach enemy. Because of how spread out they are, enemies on this chapter are pretty much fought one or two at a time even though almost all of them charge your way.
Tate grabs the kill and gets out of the way so the enemy thief can mode up to the next chest. As you can see, it took me 3 units to kill a single brigand here.
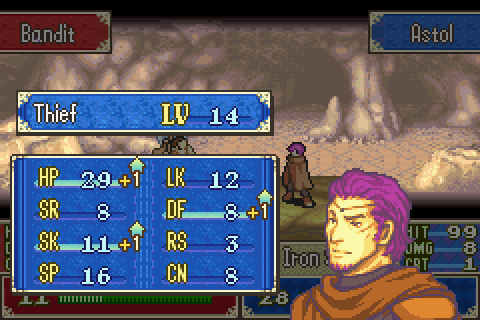
Astol finishes the shaman and gets a fairly good level.

Noah is so bad that he can’t actually beat even a brigand at 1/3 HP. I have no choice but to give the kill to Roy.
Ellen heals Astol of the injury from the shaman counter for a classic worthless Ellen level.
And Noah just moves up and waits for the coming wave of enemies.
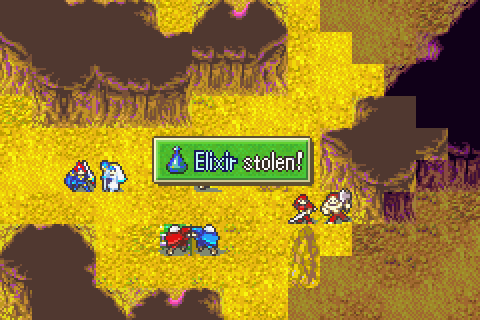
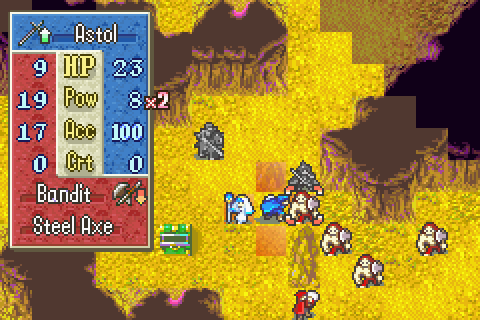
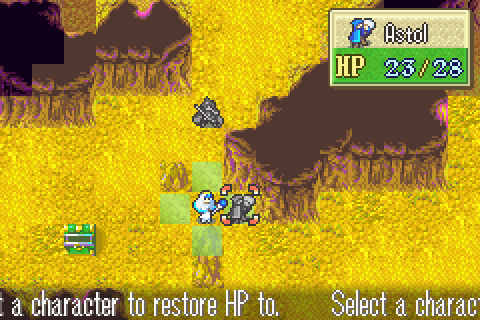
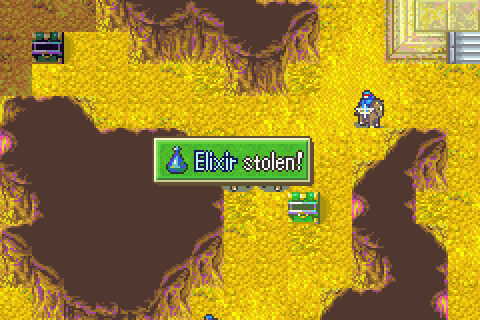
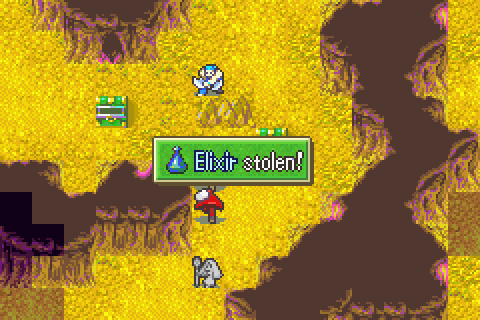
Next turn, Astol swipes the first elixir.
Noah attacks the myrmidon and is completely wrecked, so Ellen heals him. In this position he’s actually safe since those brigands don’t have handaxes, which is good because that myrmidon doubles everyone here (even Astol) and leaves most of them with 1-6 HP.
A myrmidon is causing trouble up here too. I still don’t really trust my understanding of what order enemies move in in this game (the FE7 trick of finding the boss in the R list and then paging down does NOT work here), but I did notice last turn that the thief moved after the myrmidon. That means the thief will still be in that spot when the myrmidon moves, so the myrmidon should have no choice but to attack Chad instead of Sue.
That’s important because this top group has no healer. Anyone hurt has to basically be retired.
On the bottom front I’m in a bit of a tight spot. The myrmidon could kill anyone here, each of the brigands is a serious threat, and the enemy thief is scampering off. These are some of the worst people in the whole game I’m using, so even these pitiful enemies are a real challenge.
The top front is also having some trouble. This is the critical turn. If I make it through this, I’ll be able to win eventually unless the boss gets lucky.

First, Tate kills the myrmidon for another sweet level.
Sue finishes the archer, then Chad demonstrates that he's by far the most powerful unit in the field today.
And Geese gets a kill while also covering for Tate.
On the bottom front, Noah finishes the myrmidon but gets a sucky level. As expected.
With that threat dealt with, Roy and Astol can pin these brigands at the chokepoint.

Ugh.
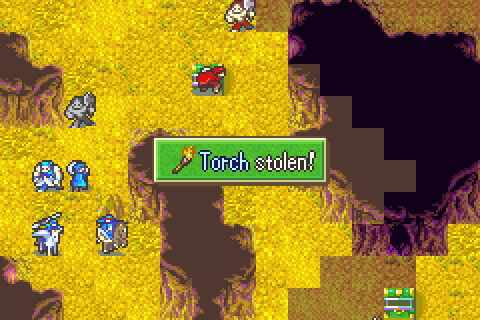
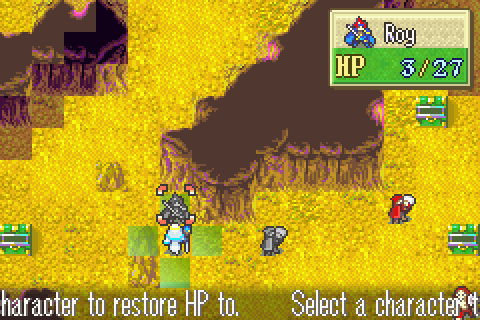
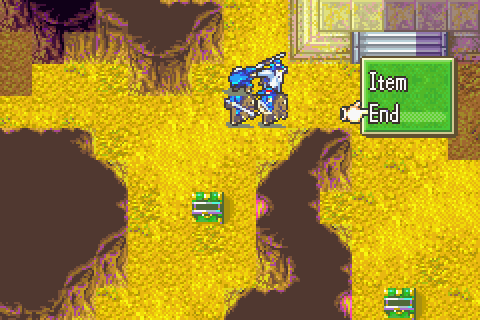
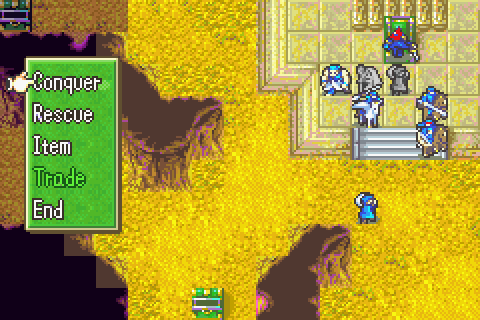
The first torch of the game!
The as yet unseen middle enemy thief must be out here in the darkness. This is his third chest, so he’s done and will now start returning.
Geese’s first level is fairly good.
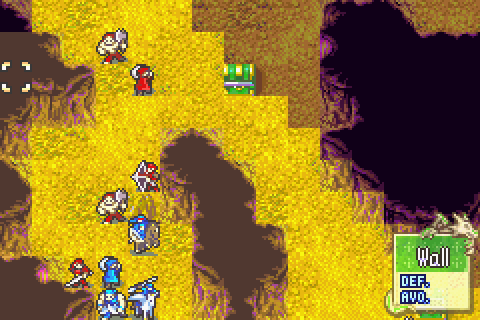
I’m glad to finally have one of these, even if I don’t need it this chapter.
On the bottom front, I’m pretty much stymied. I can’t beat these brigands any faster so the enemy thief is getting away. That’s alright though since I know he has to come back eventually. It just means I won’t be able to beat the chapter as fast as if I’d gone with him and stole everything along the way.
Up north it’s now smooth sailing for a while.

Best Tate I’ve ever seen so far. She might actually earn herself a promotion.
Down here there’s still trouble. That myrmidon is just as fierce as the first one, and I still have brigands to deal with.
And these brigands have handaxes. Fortunately, that means Ellen can juuuust barely take a hit from one.
Suck for the suck god, fail for the fail throne!
Up top, the druid moves out of hiding to cast eclipse. This druid is a serious threat with Nosferatu. As long as he keeps using Eclipse I’m in no danger though.
Brigand one finally bites the dust.
And block, Ellen is safe.
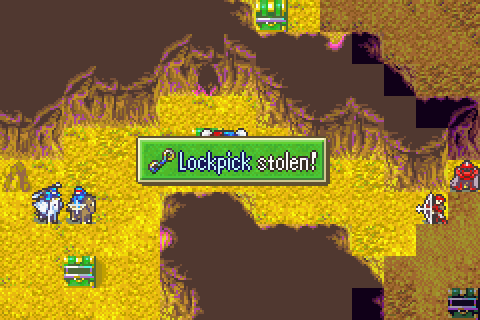
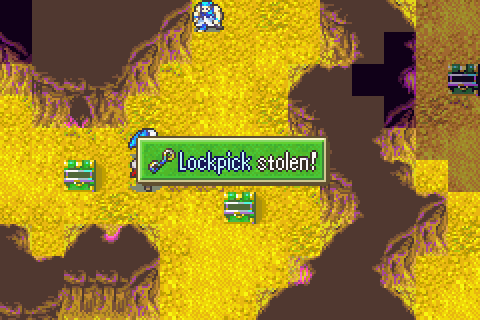
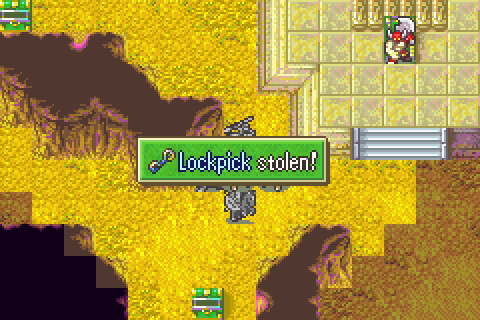
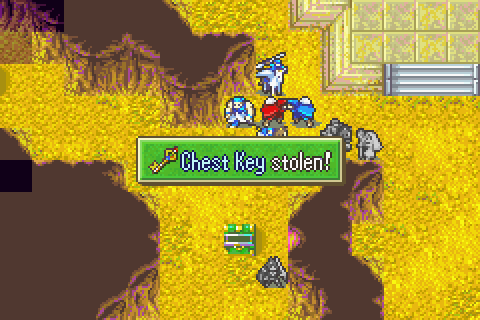
There was a lockpick in that chest, so Chad stole it. Now normally this is where this thief would be finished and leave, but because I stole his stuff all this while, he’s still never hit a full inventory. Consequently he’ll stay and go for other chests- first the one in the top left.
The middle thief is trying to escape. I can’t allow that, so Geese stands here in this chokepoint. With Noah in the other one, this thief now has no choice but to run right and then up and then left toward Chad, right where I want him. This also gives me a chance to have Geese take out a stationary brigand leftover here.

Sue moves into archer range and also frees up a bunch of inventory space for Chad with a trade.
Hitting the archer on the enemy turn gives her a pretty bad level for Sue.
Astol is also doing fairly poorly for a thief. Really everyone’s levels are pretty sucky overall except for the fantastic Tate.
Noah keeps missing and keeps getting hit twice, so I can’t make any progress here.
This brigand is REALLY stationary, so Geese has to actually leave his chokepoint spot to aggro him. But I can just move back.
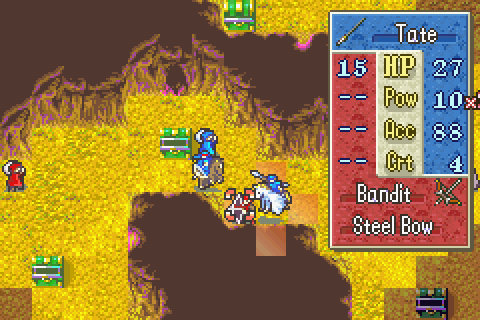
Tate finishes the archer and moves into druid range.
Sue gives her back her javelin and then moves back. This is critical. See, the enemy loves to attack in a way that can’t be countered- even if the attack has a 0% chance of hitting, like Eclipse. It loves not being countered even more than actually inflicting heavy damage with something like Nosferatu. But it loves getting a kill even more than that, and it could kill Sue with Nosferatu.
So as long as Sue stays back, it will do an Eclipse, which will let Tate run up and hit it while it has Eclipse equipped next turn. But if Sue moved up, it would switch to Nosferatu and move in and kill her. It would also move in and Nosferatu Tate if she didn’t keep the javelin out to counter it.
The instant the chokepoint was unblocked, the thief can running back as expected, but now the brigand is aggroed so I can move back and block it.
Finally! Now there’s just the pesky myrm which has dodged Noah’s iron lance again and again and again.
I took risk here, but I need to get moving and I’m honestly also just sick of sitting there watching no progress occur. This is a really boring chapter.
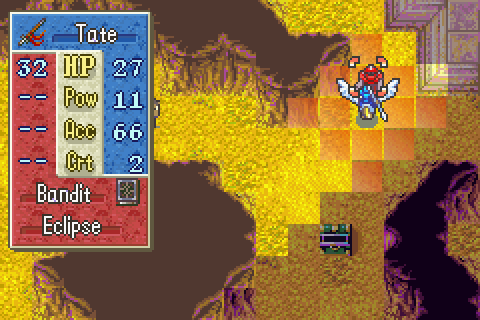
The choice of weapons here is critical. If Tate uses an iron lance, she’ll double-hit but then the druid will switch to Nosferatu and heal off the injury on its turn. But with the javelin, the druid will stick with Eclipse to keep getting counter-less attacks.
And that’s exactly what happens on the next turn.
Fantastic.
Roy maintains the block over here to keep the middle thief running up toward Chad.
Geese maintains it over here (and doesn’t take this attack for safety reasons).
So the thief is driven toward Chad, with Noah weakening it for someone else to kill when all its stuff is gone.
Astol is healed up as he prepares to move after the bottom thief who is currently on his way back after getting his third chest.

Here he comes.
Chad gets to work on the middle thief.
Noah ensures Chad never runs out of space.
Roy moves out of the chokepoint so that the middle thief will come back this way rather than fleeing too far from the boss immediately. He also gets into position to block the bottom thief from escaping with Ellen’s help.
Well that’s non-terrible. But still bad. The worst part is that this isn’t even a particularly bad Ellen.
Most of the top crowd has little to do but manipulate thief movement at the moment.
Another theft.
Nice.
And more theft.
Ellen and Roy send the bottom and the middle thief bouncing around where I want them by blocking and unblocking chokepoints. In this fashion I keep the enemies more or less stationary in good positions to take all their stuff at leisure.
And more space is freed.

I aggroed this brigand early to have something to do.
Blocked again.
That’s the last theft from this middle guy.
And now it’s time to finish him.
Astol weakens this brigand with Roy.
Decent. Astol is the tough thief and this helps him at that job.
It’s time for Ellen and Chad and also Roy to start moving north soon.
The north group is taking down these 100% stationary no matter what enemies.
Finally a pretty good level for Noah.
Chad heads on up. There’s going to be more stuff to steal soon and I need him to kill the boss too.
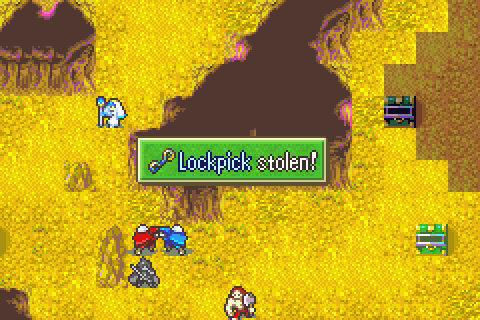
The lockpick is the final steal down here, then Ellen pins him in place.
The myrmidon is eliminated.
The bottom thief is killed. That leaves only the top one (who was allowed to walk away to get the top left chest a while ago and should be returning shortly)
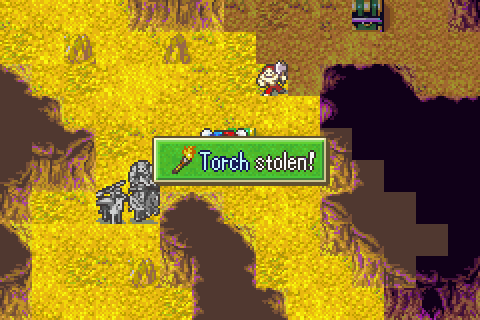
… what?
Man, they had a chance to have him say something funny there with all his singing to the treasure but they completely blew it.
Now while all this has been going on, the top thief walked all the way to the top left chest and now all the way back to the top middle chest and will soon be coming this way with his new loot.
Astol gets another fairly solid level from the final bottom enemy. This is a pretty bad Astol all in all. In particular he’s substantially slow, which cost him some potential doubles this chapter.
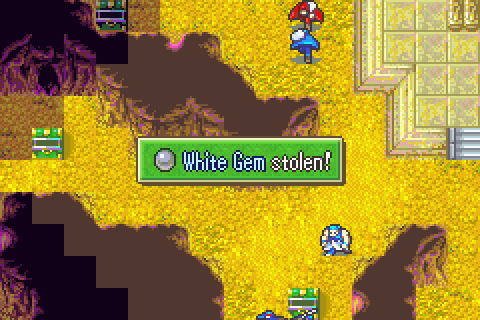
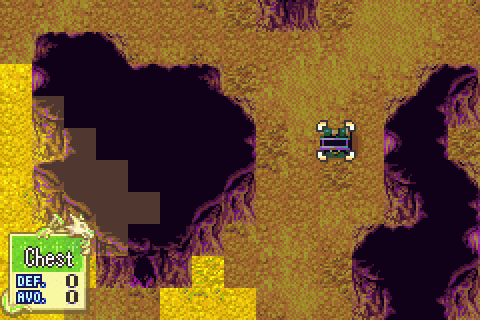
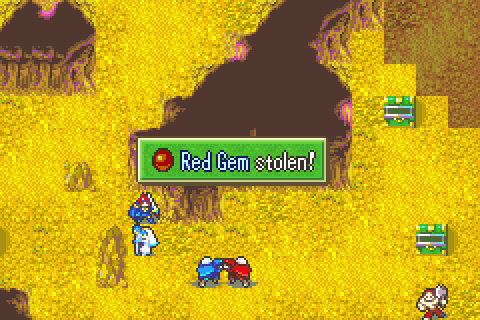
The white gem is mine.
Geese steps here to redirect that thief.
And then on the next turn he moved where I could pin him and keep stealing.
Chad scores another very nice Chad level. I’m telling you, he’d be the best unit in the game if he could just promote.
Astol moves in, Ellen heals him, and then Noah carries her away.
Chad swipes the last item.
Tate kills the last thief for yet another great level.
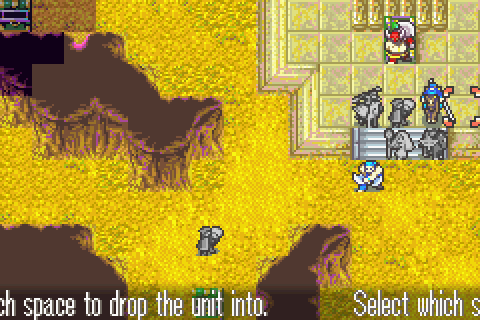
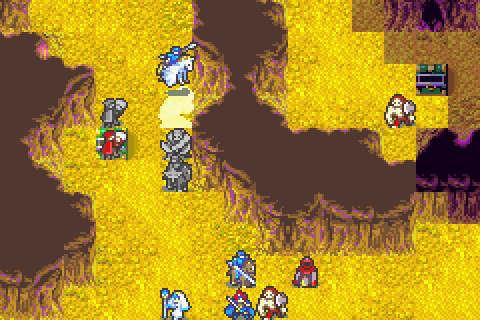
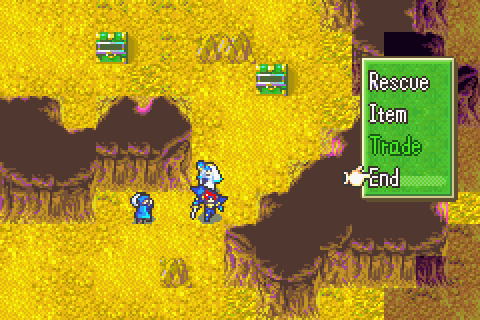
The team is rescued in.
And Chad starts fighting. This is gonna take a while.
Meanwhile Ellen heals everyone.
And Chad eventually wins, scoring yet another point of strength. Man, this is a crazy strength bless. Too bad it’s not on someone more useful.
And on turn 27 I win.
That makes no sense unless there’s another entrance directly to the Armads chamber. Actually it just makes no sense regardless because if Armads’s secret hiding spot is that easy to find, why didn’t the bandits or anyone else just find it already?
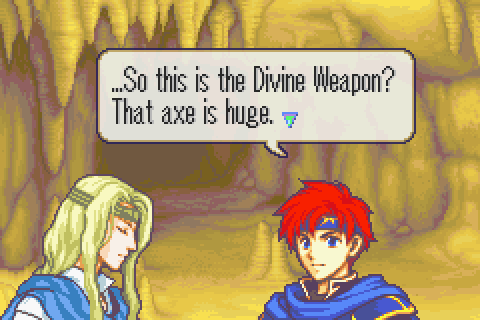
We were told that it would be several times, yes. Also Durandal is huge already. Why is this a surprise to you?
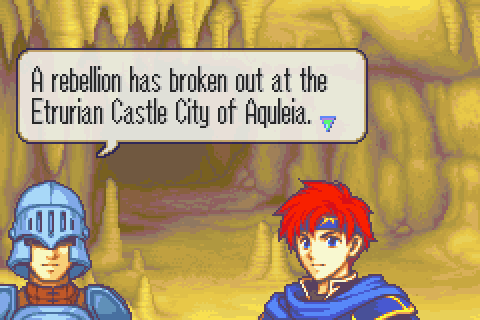
Wow, the plot is happening! Can someone remind me which country we’re supposed to be fighting again? Daein or something? I don’t know, it’s been 10 or 11 chapters since they actually did anything big. But surely they’re going to get involved again now, right? … right?
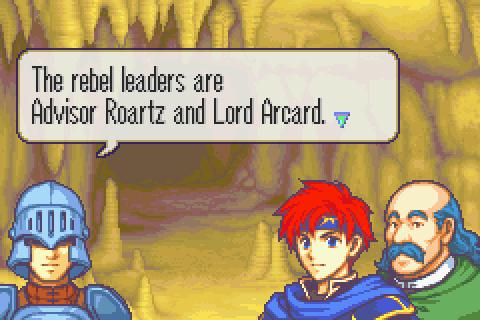
No surprise there. At all. For anyone. Including the people they rebelled against you would think, particularly since Roy sent Cecilia a letter detailing their secret criminal activities and suspected ties with Bern long ago. Apparently nothing was done about that.
And Percival and Douglas joined the traitors for reasons that can be best described as astoundingly irresponsible.
So that’s the chapter. And the Western Isles arc. I’ve said before that the western isles arc isn’t terrible as a self-contained story, it’s just absurdly out of place- as commented on by the characters- and serves as nothing but a filler arc to pad out the plot. Actually, so did like 80% of the game up till now.
What’s even more aggravating is that even the plot threads and connections that could and should have gone somewhere- like finding the lost Prince Mildain or uncovering Arcard and Roartz’s treachery before their rebellion or especially being manipulated into leaving Lycia at the mercy of Bern never really go anywhere. No, seriously. The whole point of sending Roy to the western isles was to leave Lycia undefended. But even though Roy falls for it and Etruria is embroiled in a civil war and thus can’t possibly defend Lycia, BERN DOESN'T INVADE. And that’s what really cements this arc’s status as completely indefensible filler.
I took a pretty big hit on my turns ranking here, but that was more or less inevitable. It’s a big map with lots of really spread out objectives and I’m not allowed to bring enough people to cover them efficiently.
Furthermore, I brought not a single decent character, which meant it was going to be tricky to complete at all, let alone fast. Despite that, I did acquire every single available item right down to the antitoxins.
And by using the very worst and weakest characters who aren’t knights or archers, I was just barely able to exceed this chapter’s enormously high XP requirement. It’s getting really hard to keep up with the XP ranking when the chapters have almost no enemies on them and I’m running out of low level people.
In fact, it’s becoming more and more evident as I play that this game’s requirements just were not thought through at all. There’s a generic 6000 funds per chapter requirement that’s alternatingly completely impossible and completely trivial and is then completely borked by a gigantic bug lowering the requirement to 84,000 for the whole game, chapter XP thresholds that are sometimes outright impossible even if every enemy somehow gave 100 XP, and turn threshholds so huge that I’ve sat around doing nothing but build support for something like 50 turns total now and am still not far below the max rank requirement.
Total Restarts: 3 (Not counting the one where I just sat there for 8 turns and watched what order the thieves went to chests in)
Turn Surplus: -16 (I took a big hit here and last chapter too after having almost eliminated this deficit)
Things I Regret Missing: A couple of uses of Marcus’s silver lance on Rude, a Chapter 5 nomad Marcus had to kill, two Chapter 12 fighters I couldn’t kill since I needed supports built elsewhere