Part 21
Why no, I certainly didn’t forget to actually take a picture of the chapter title, why do you ask?
The only chapter possibly more reviled than 11A is here at last! It’s a desert chapter AND a fog chapter, but other than that it's really not actually bad.
A lot of the criticism this map gets is kind of silly. People gripe that Cecilia is terrible, for example. And yes, she is. But she’s actually kind useful here, she starts in a good location, and she’s a free unit.
People gripe that Sophia is terrible. Yes, she is. And no, she’s not useful. But it’s not hard to keep her alive.
People gripe about the Mamkutes. But 1) they don’t move unless you go into their tiny range 2) they’re all in entirely optional areas 3) There's tons of options for killing them now
People gripe about the wyvern lords.True, the wyvern lords are powerful. But they're not new and we’re incredibly well armed for dealing with them. The only problem is that they’re in fog and the desert makes it hard to get to them.
People gripe about the staff users. That’s not a bad point; they ARE annoying. However, the game just handed us a restore user. And last chapter the stores had restore staves for sale.
People gripe about the reinforcements. And that’s just silly. These are some of the least problematic reinforcements in the whole game. Bad unit types, terrible gear, and they're in out of the way areas.
Oh and people gripe about the time limit. It’s 25 turns! That’s a HUGE amount of time, even for this game.
In summation: this is a tough chapter, but the only real problems with it are that it’s fog of war and a desert map. Both of those are indeed bad things, but you can deal with those problems if you think things through. In short: this is no Chapter 11. It’s actually one of the game’s better chapters. Still bad of course, I’m not disputing that.
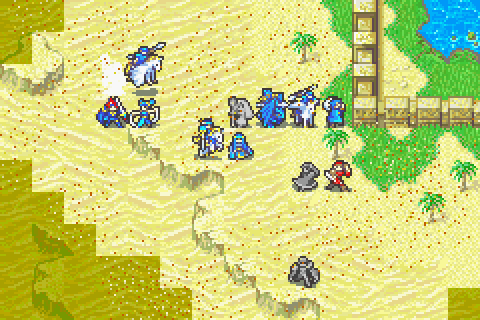
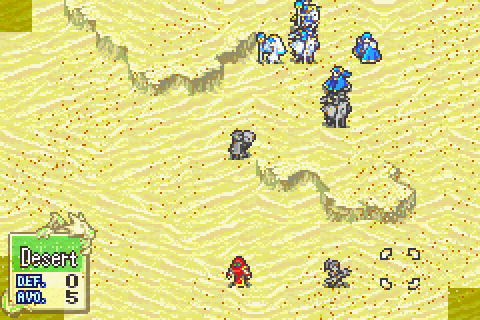
Chapter Summary: Without worrying about supplies, Roy charges his unprepared army into a desert that looks the size of France as he searches for a legendary village where Bern’s army was already thought to be waiting in force. And then he runs straight into a sandstorm to fight them without any scouting.
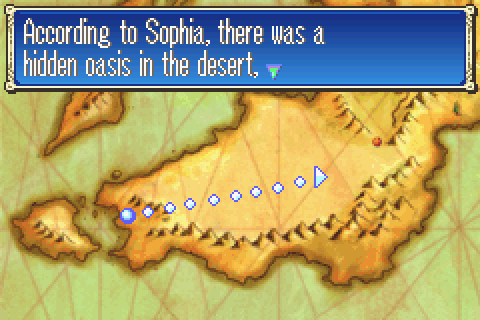
Can someone check; is this the spot Arcadia is in in 7 too? I have a feeling that it isn’t.
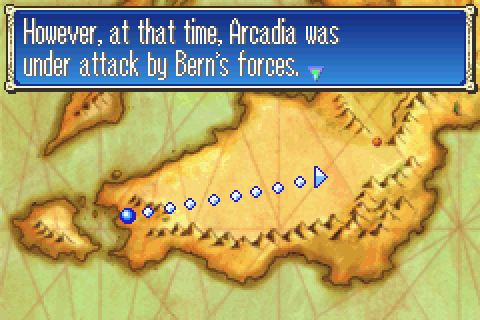
It was said to be under attack –and to have already been under attack for a while- before we even started this journey inland. Somehow the fight is still ongoing even though there are basically no defenders and apparently pretty much no villagers to defend.
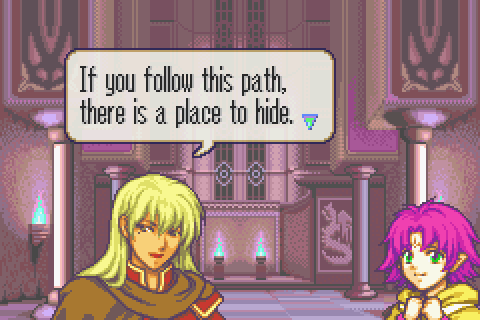
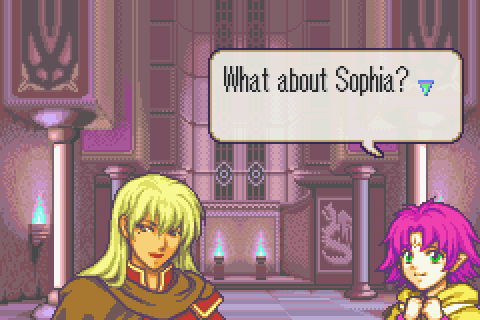
Igrene, the only defender, is trying to get Fa- the most competent possible defender- out to safety.
Unless this whole continent is something like 100 miles wide, she was captured weeks ago. But Fa and Igrene talk like she just went missing a few hours ago.
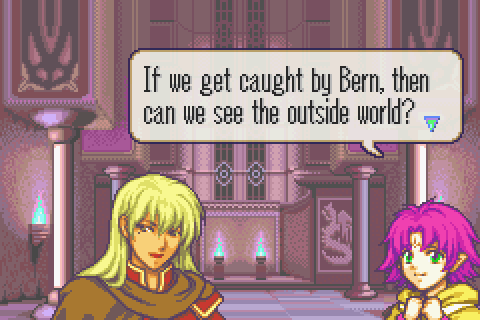
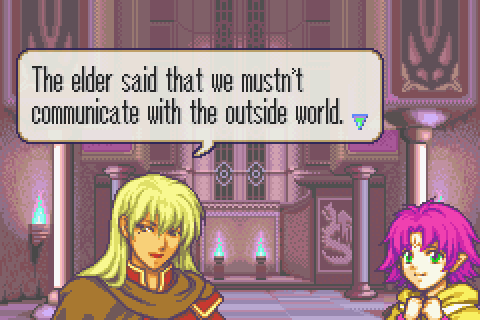
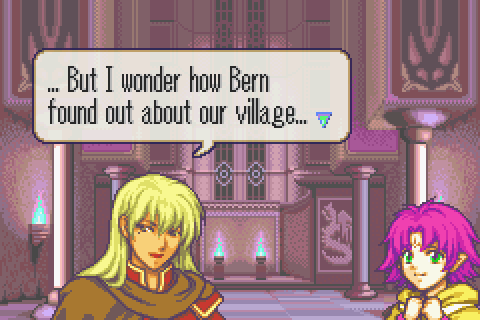
The weirdness about Sophia aside, I think this brief conversation does a pretty good job of introducing and characterizing Igrene and Fa.
Letting Fa see the outside world can’t be as bad as letting the loudmouthed Sophia see it.
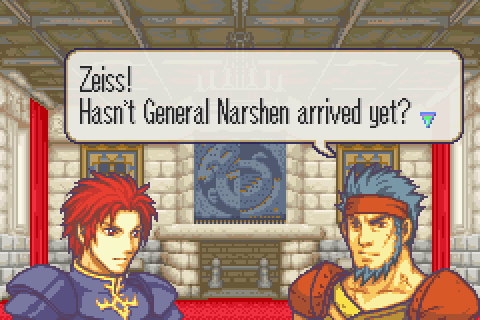
Continuity! At long last one of Narshen’s blunders is recognized. Randy needed the reinforcements Narshen was going to bring in order to take over this village. But for no reason, Narshen decided to go back to Aquleia (throwing away his army) and not take over Arcadia as Zephiel directly ordered OR wipe out the Lycian army as Narshen himself said he had to to preserve his career.
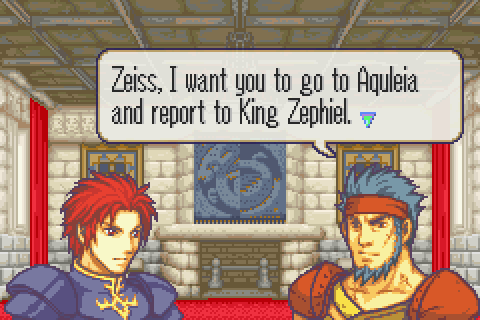
Wait is that a translation mess up? Why would Zephiel be in Aquleia? He said he was going back to Bern, didn’t he?
Anyway, the dutiful Randy knows there’s a solid chance that he won’t actually be able to take this village without the promised reinforcements, so he sends to Zeiss to at least report what they learned.
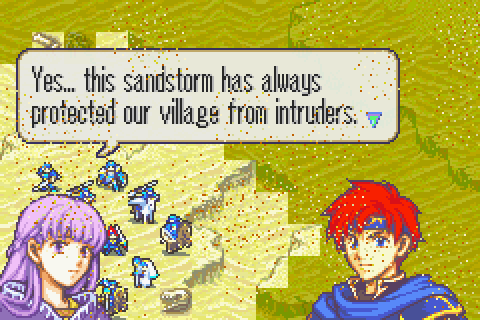
Sophia explains that this sandstorm is permanent and magical and here to defend Arcadia. That makes the enemy’s cheating in fog even more annoying. The whole point of this storm is to keep people like these Bern troops from attacking the village, but they’re completely unaffected by it. It only hampers us.
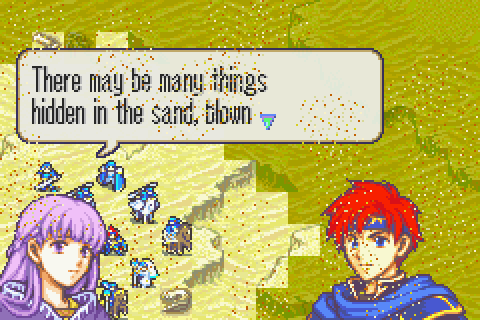
And she gives the important tip off about the hidden items on this desert level. The whole treasure in the desert thing is a really lousy part of every game it appears in.
I mean you just cannot get all the stuff without looking up a guide or something about where the items are or how to find them. Nowhere in the game is it said that thieves find the items better, nowhere is there a good clue about where to look (this game actually has an anti-clue directing you to all the wrong areas).
Desert items can be sort of fun once you know about them, but they make no sense and they’re incredibly poorly implemented.
Battle Preparations & the Map:
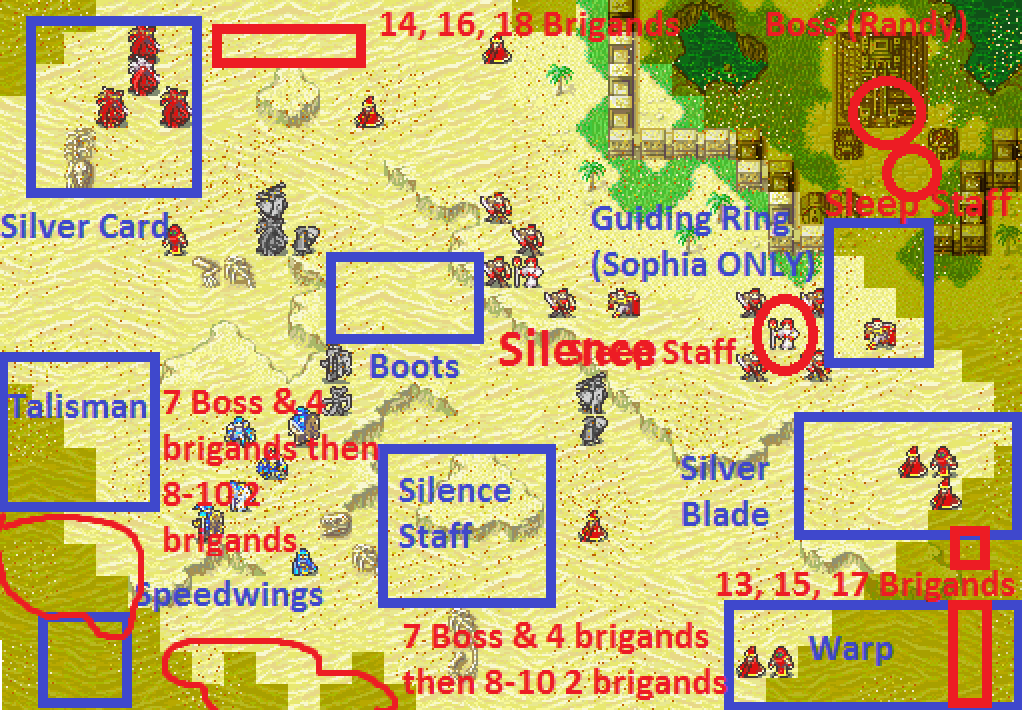
Secondary Objective: Find the Guiding Ring in the zone near the boss with Sophia
Secondary Objective: Find the Silver Card near the top left
Secondary Objective: Find the Talisman near the middle left
Secondary Objective: Find the Speedwings near the bottom left
Secondary Objective: Find the Boots near the center
Secondary Objective: Find the Silence Staff near the bottom middle
Secondary Objective: Find the Warp Staff near the bottom right
Secondary Objective: Find the Silver Blade near the middle right
Secondary Objective: Do some shopping
Secondary Objective: Kill all reinforcements
Reinforcements: Numerous brigands in two areas near the bottom left. First 4 brigands and 1 berserker in each of those big zones on turn 7, then 2 more brigands in each area from 8-10. Then on turns 13 , 15, and 17 4 brigands spawn in the bottom right. And on 14, 16, and 18 4 spawn in the top middle. The brigands have a variety of (mostly bad) weapons. Steel axes are the most common, followed by handaxes.
Turn Limit: 25. At this point you cannot get the sidequest. Not that the game informs you of that with any kind of message. They really should have had a Bern soldier pop up and talk about how the legendary weapon has been captured like happens on chapter 12. Anyway, the time limit is no problem.
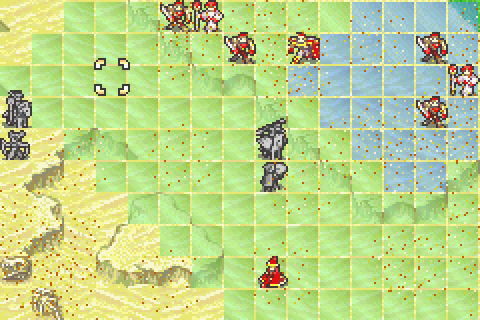
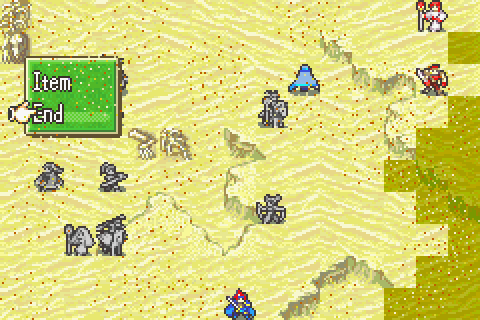
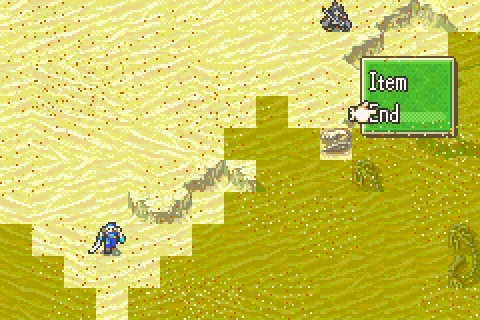
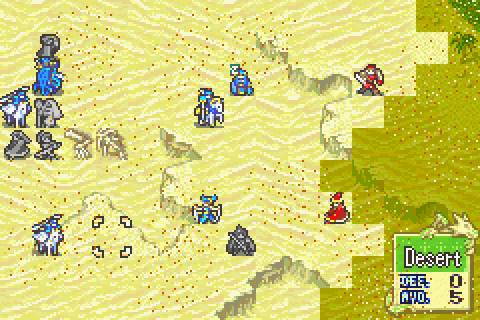
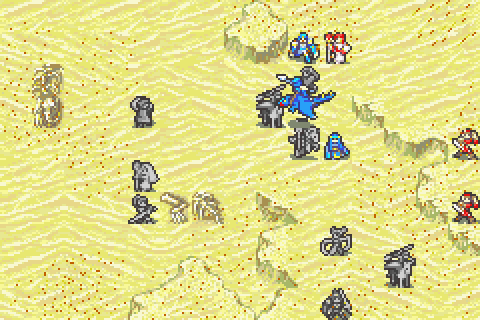
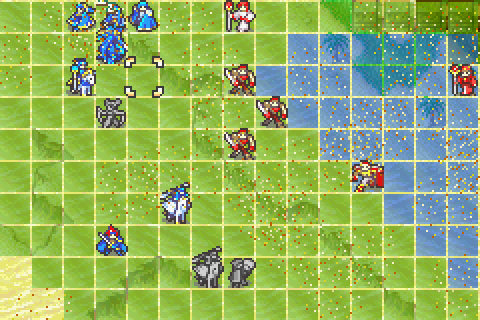
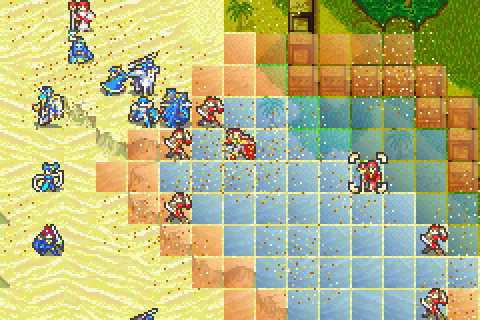
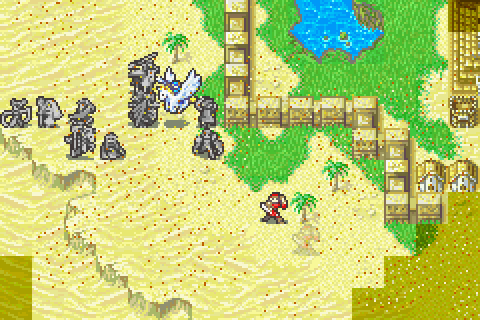
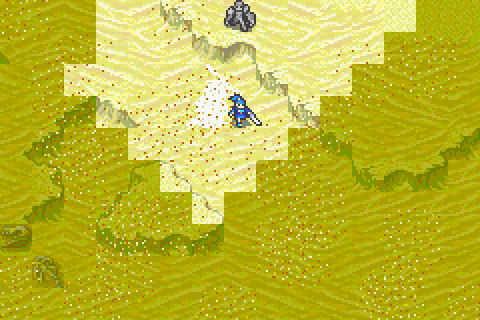
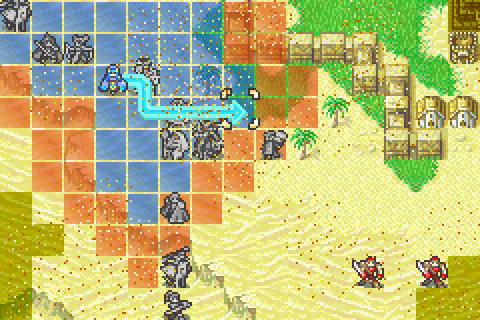
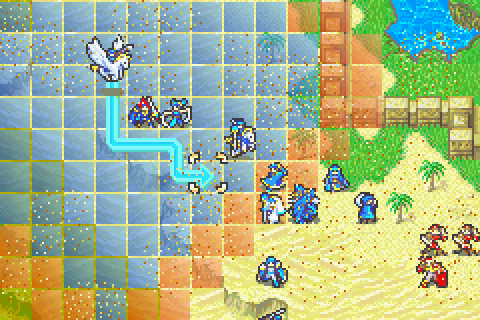
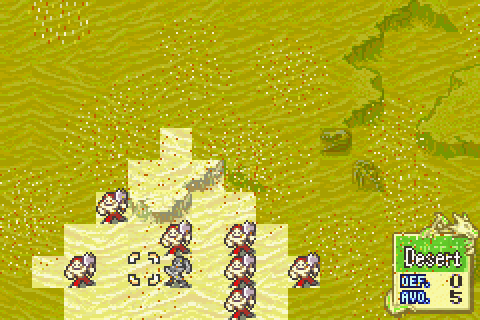
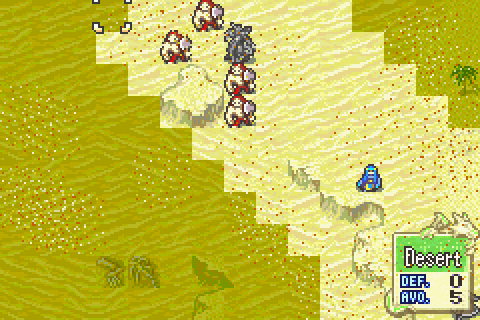
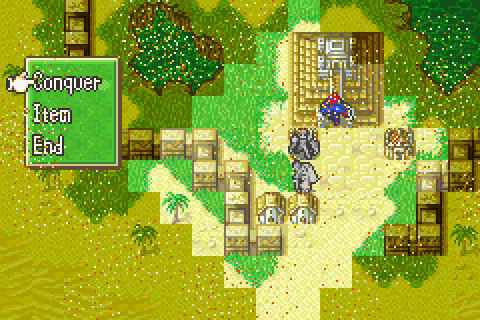
Here’s the map with maximum turn 1 reveal. This is a really small map for this game and generally extremely well designed for FE6. The only things not shown here are a wyvern lord with a few minions in the bottom right corner and this one bishop up near the boss who has a sleep staff. That guy is admittedly a nasty surprise and it’s impossible to find out about him on turn 1. Still, he’ll be revealed by turn 2 so it’s really easy to scout the map and find out what you need to deal with.
Here’s a link to a completely revealed version of the map (and a listing of all reinforcements if you can read Spanish): http://www.fireemblemwod.com/fe6/guiafe6/cap14.htm
In any case, it’s a relatively small map and the terrain is fairly well-thought out for once. Desert squares are at least as hard to move through as forests for most units. Generally infantry can move 2 squares (a helpful 3 for promoted infantry and thieves), nomads and promoted cavalry can move 2, unpromoted cavalry units and knights and generals move a worthless 1, and mages and flying units move freely. All the cliffs around give a significant edge to air units compared to mages though.
So definitely bring no cavalry or knights. Bring few unpromoted infantry other than thieves. And bring every flyer and most of your magic users. Do that and the desert is no problem.
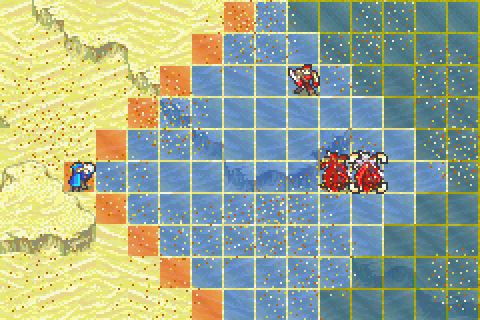
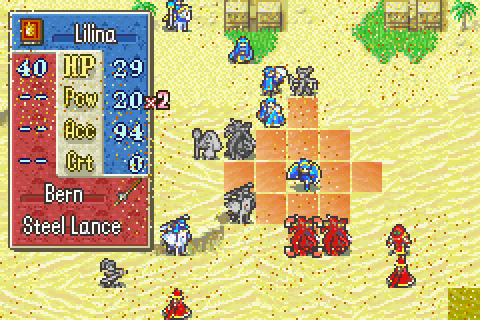
Now what do the enemies have aimed at us? Well a few spread-out mages who are moderately strong, plus these guys:
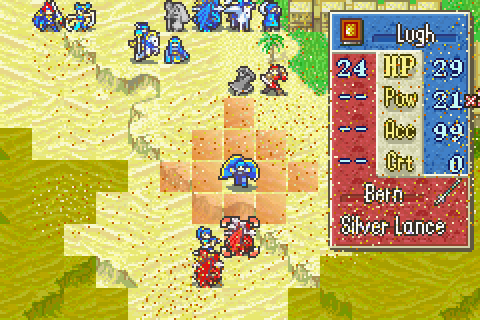
Wyvern lords definitely can’t be taken lightly, especially since each of them also has some wyvern riders for backup. However, they’re not actually that much stronger than the wyvern riders, so the usual tactics will work. Plus all of them have fairly bad weapons (mainly steel lances with a few javelins). And they also only seem to start to move when you get fairly close to them. So bring countermeasures and fight them on the grounds and in the situation of your choosing.
Between Shin, Gonzalez, Durandal, Armads, Aircalibur, magic in general, and the wyrmslayer, there are a ton of options for dealing with them. Just don’t let them use their mobility against you or hit you when you’re busy with other enemies.
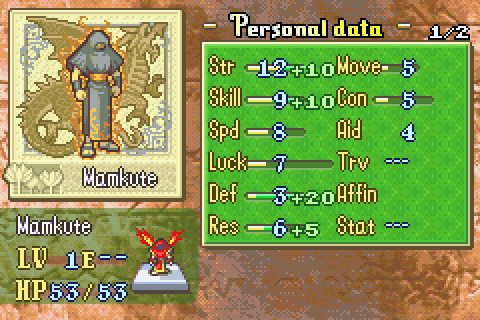
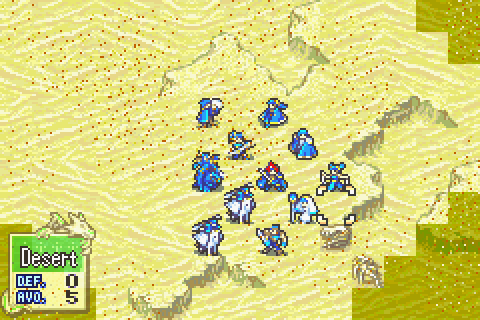
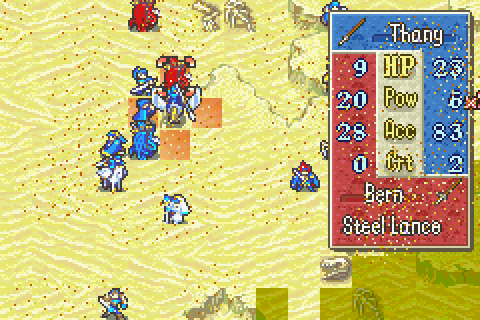
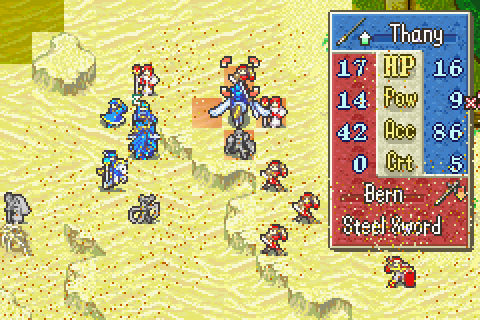
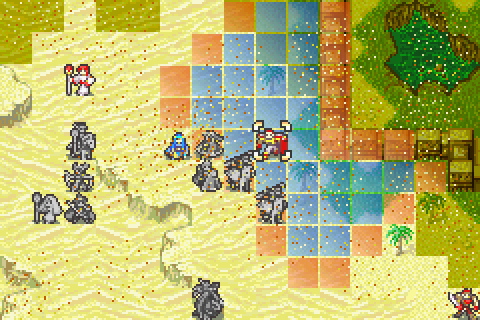
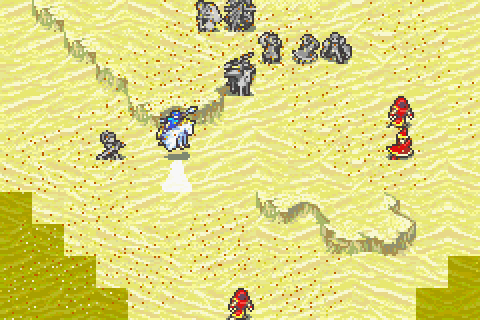
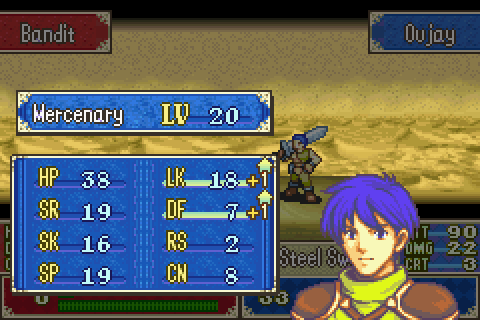
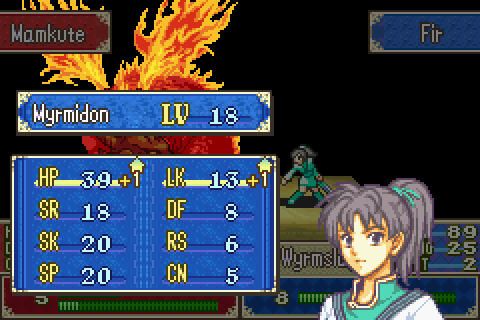
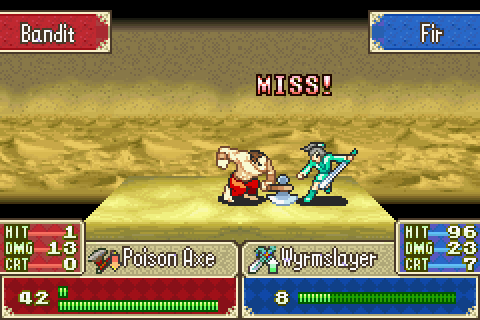
Like these guys. They’re actually significantly stronger than Aine. However, they don’t have thrones and they have terrible movement here in the desert. And they don’t even seek you out and attack you unless you move into their tiny range. Heck, they aren’t even in important areas! They'll crumple against the same weapons that beat wyverns.
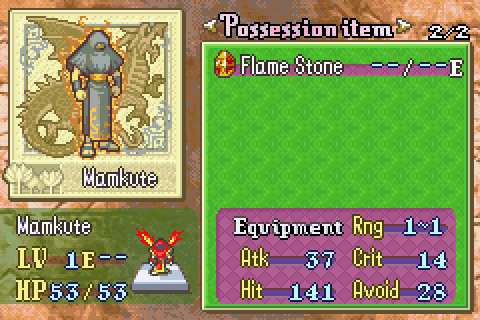
Just make sure anyone involved can take a hit from this. These guys never really miss.
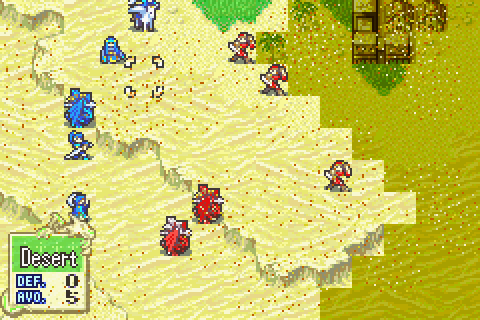
Now a slightly harder enemy type to deal with are the staff users. There’s one priest here with Silence and a hidden bishop with Sleep. Staves have more range and accuracy in this game, but the AI is worse and there are more restore staves available.
Due to the massive staff range and the very good position of the bishop in particularly, you probably can’t eliminate them before they’re finished using up their staves, but if you brought at least 2 restore staves, that doesn’t matter.
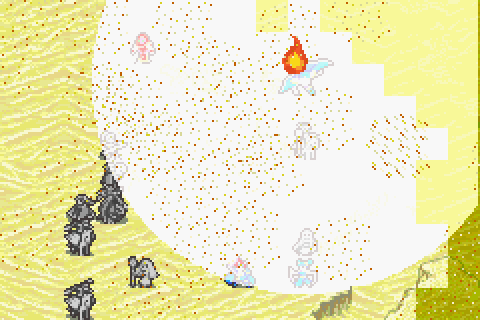
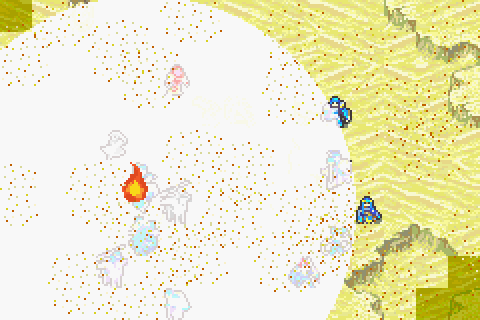
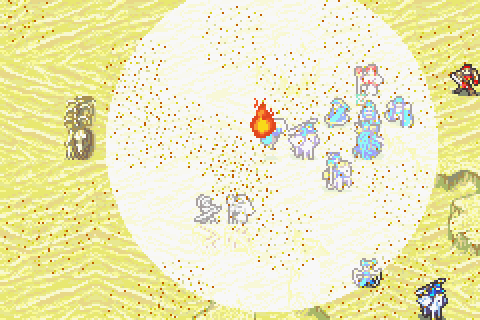
So those are the enemies and the terrain talked about. Now what about the fog, the reinforcements, and the hidden items? Well fog, as usual, is less of an issue in FE6 than in FE7 due to superior vision ranges. Additionally, torches finally became available last chapter and I bought some. With a thief or two and some torches, I should be able to see far enough.
Now the reinforcements are really not a big threat. One good sword user should be able to wipe the whole southwest wave out. It would be prudent to bring another good sword user along both to use the wyrmslayer on the manaketes and to help with the other brigand reinforcements. And perhaps an axereaver for a flyer. With those weapons, they should be easy to harvest.
What about the buried items? Well Sophia (and ONLY Sophia) will find the top right guiding ring automatically. For all the other items, most units have a 9% chance to find them but thieves have a 100%. This find chance occurs anytime the unit waits, attacks, dances, or uses a staff in one of the squares of the find zone but NOT if dropped in.
Enough people are going to walk through the boots zone that I can reasonably assume someone will find it without needing to task a thief on it. I intend to send a sword user into the speedwings zone by turn 2 to wait most of the map for the brigands down there. The chance of one person finding the wings before the brigands even spawn is about 50%. The chance of the person never finding the wings by turn 25 (the time limit) is about 10%. Not nothing, but very small. If it’s getting on towards turn 20 or something and the wing is still unfound, I could perhaps send a thief down there. But for now I think it’s reasonable to take the Boots, Speedwings, and Guiding Ring as given.
The other items are the ones I need to plan on getting a thief to. They’re scattered, so at first glance it’s natural to bring 2 thieves and have one get the Talisman and Silver Card (and maybe the Speedwings) and one get the Silence, Warp, and Silver Blade. However, the terrible terrain of the silence zone suggests an alternate course of action: carrying the thief around by air. A single thief could then get the talisman immediately, the silver card by turn 3, perhaps the silence by 8 or so, and then move in on the right items smoothly as the rest of the party clears the enemies in that zone. Essentially I can substitute a flyer in for a second thief, which is a profitable trade since the flyer will fight better and I should have enough vision already.
Units Allowed: 10 + Roy + Sophia + Cecilia. This is the big problem; it would be really great to have more units along. I mean we need sword-users, thieves, flyers, mages, AND healers in quantity but only get 10 chosen units, so something has to be given up. Which units to bring is the most important choice this chapter.
Units Brought:
1) Roy. Required. Even more worthless than usual. See, besides being slowed down himself (and wholly ineffective against wyverns, mercenaries, and dragons), his critical support allies are completely unusable on this chapter. So just have him waddle along in the back of the formation and stay out of the way.
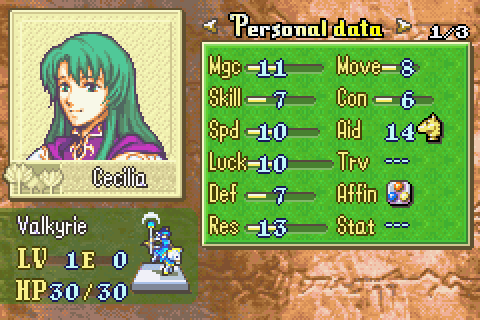
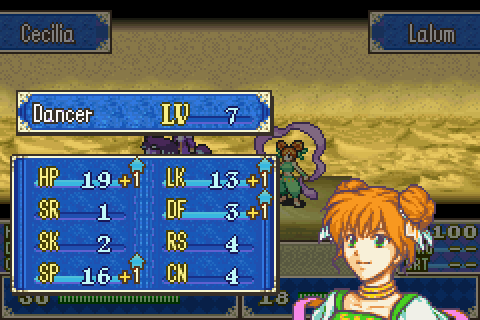
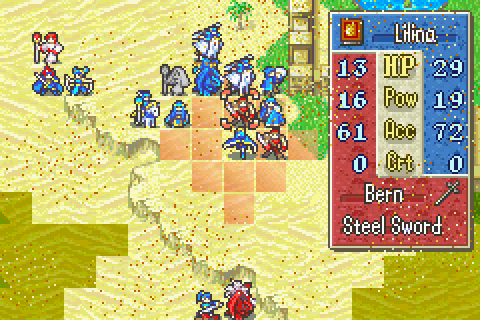
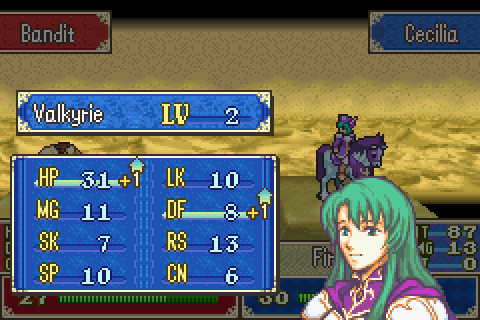
2) Cecilia. Required. Despite much scorn, she’s actually a very handy character. She moves as fast as an unpromoted infantry unit here, which is moderately bad but not terrible. And she starts in a good position. Additionally, she has rather good gear to start with and can easily be traded other good stuff like a restore staff and a fire tome. All in all, she can dish out decent supporting fire to help other people get kills, can heal, and can restore. That’s not bad.
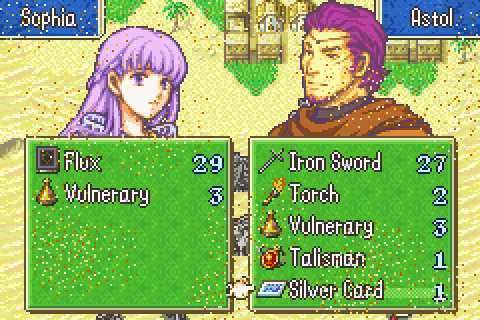
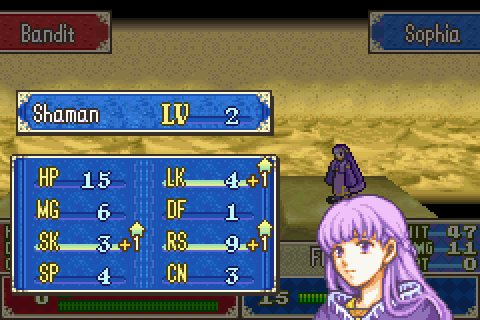
3) Sophia. Required. Ye gods, she’s a terrible character. Just have her follow the party around and maybe help trade some items to people.
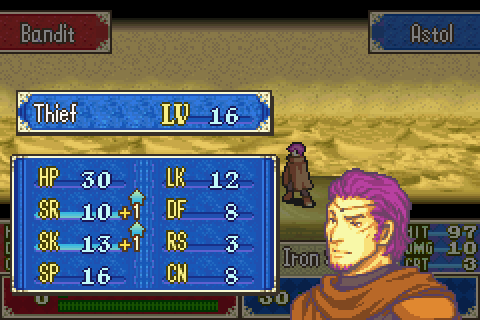
4) Astol. I need at least one thief and he and Chad are the only options. Astol is worse, but lower level. Since he doesn’t need to do much fighting but might be able to get some XP later on, that makes him a better choice. Plus, unlike Chad, he’s big enough to take and drop some people I might need rescued.
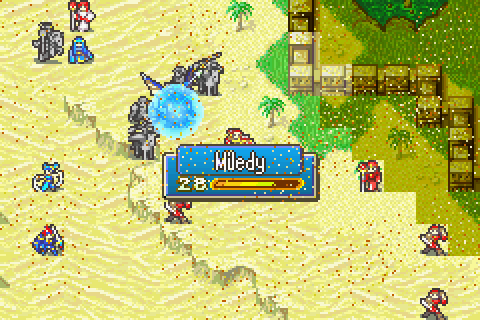
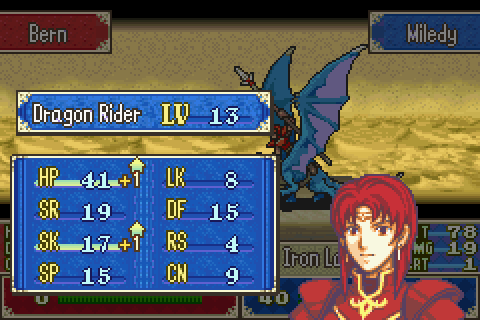
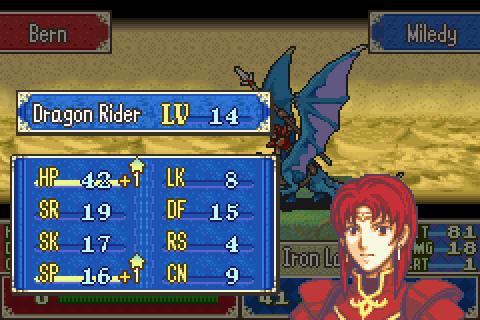
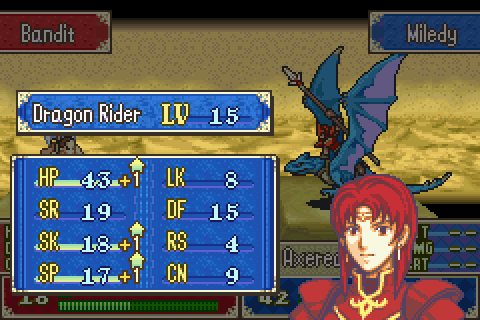
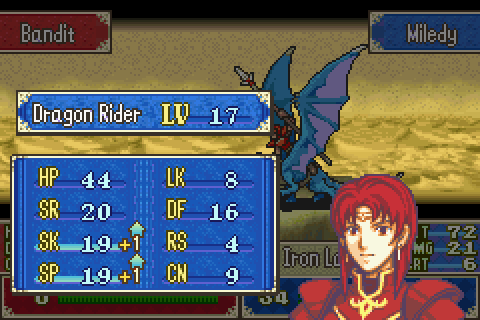
5) Miledy. Undoubtedly my best flyer and this is an air map. She’ll be transporting people and doing heavy fighting and hopefully heavy leveling.
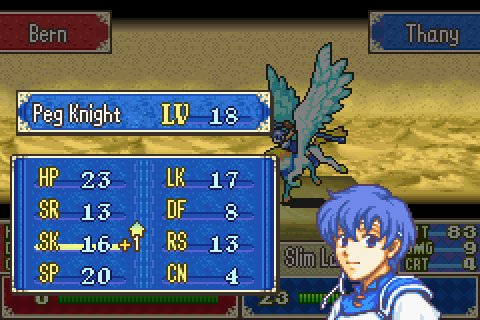
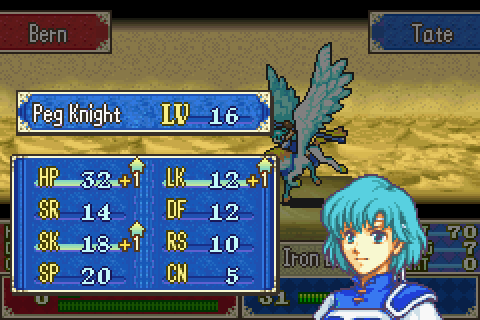
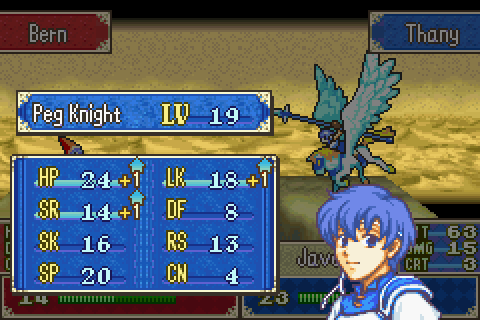
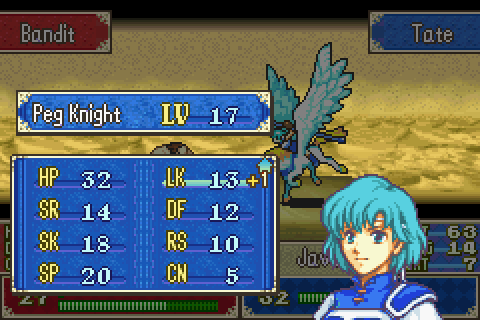
6) Tate. My second best flyer, she’ll be only slightly less handy than Miledy here.
7) Thany. Not as good as Tate, so she probably won’t be doing much fighting, but I still need all the flying rescuers I can get.
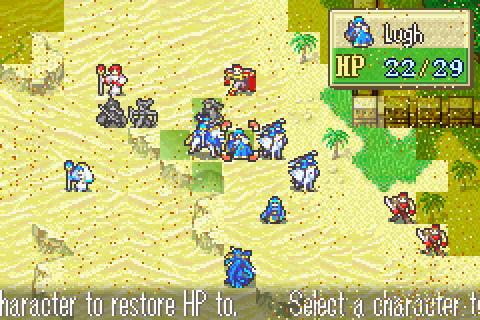
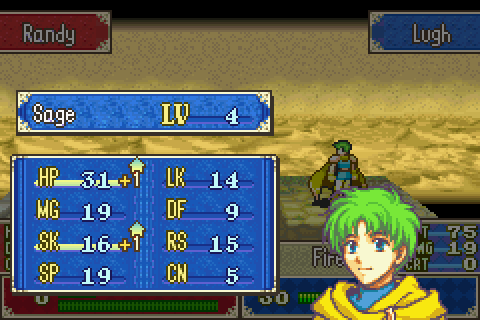
8) Lugh. My best magic user and now capable of healing too, Lugh will be my ace in the hole whenever fighting gets really tough. He can kill just about anything on this level.
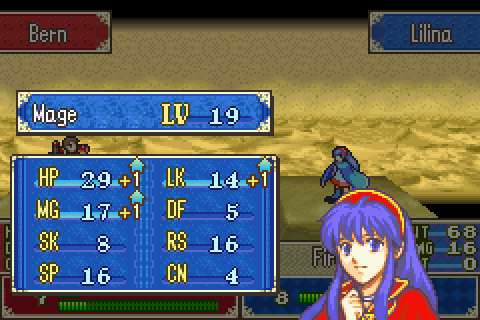
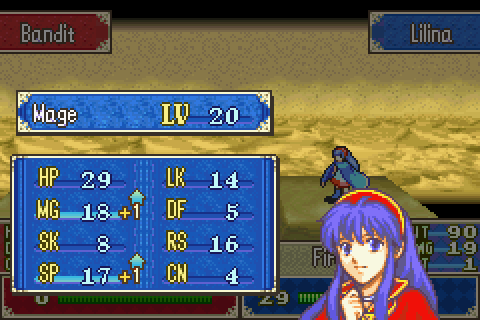
9) Lilina. Second only to Lugh. She’s getting rather high level and I won’t get another promotion item until the end of this chapter (and I might want to give that to Ray) so I’ll be a little cautious about using her, but I definitely want her power on my team.
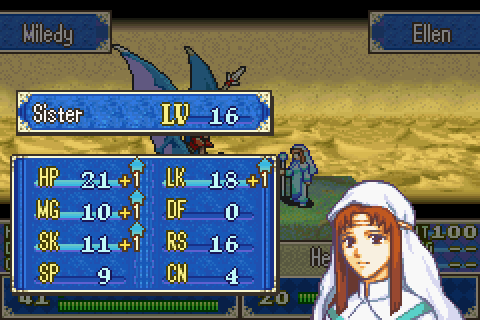
10) Ellen. Clarine can’t move here so I need either Ellen or Saul for healing. It’s a pretty safe level so I don’t need Saul’s toughness and Ellen is still lower level, so she’s the one to bring.
11) Lalum. Poor movement here hampers her somewhat, but poor movement for everyone else makes her boosts even more valuable. Plus she’s great for speeding up rescue-drops.
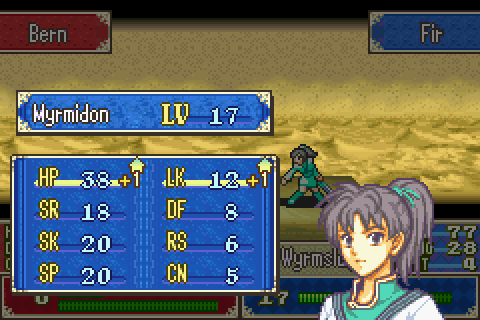
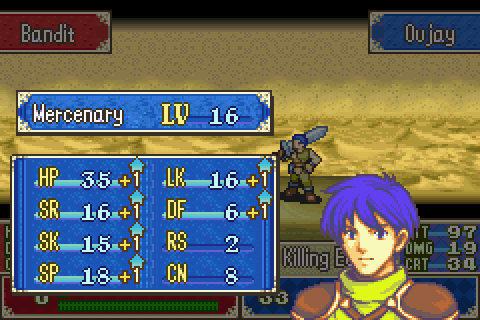
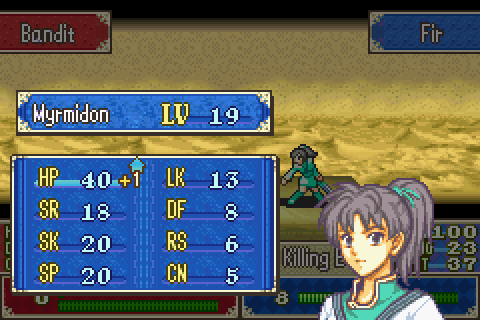
12) Fir. My best lone sword user. She’ll be the one wielding the wyrmslayer to take on many of the map’s most dangerous enemies and perhaps also helping kill some of the brigand reinforcements.
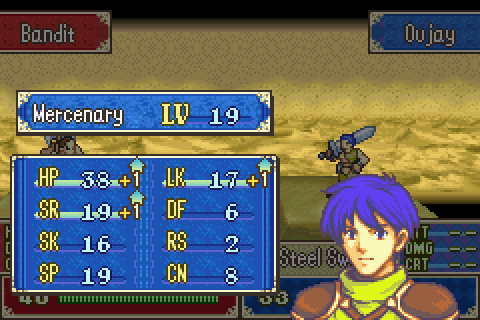
13) Oujay. My second best lone sword user, he’s not as good as Fir at fighting dragons and wyverns but is much lower level, so he’ll be the one taking on the whole bottom left swarm.
Notable Units Rejected:
1) Clarine. Can’t move.
2) Rutger. Clarine can’t come. And I don’t need two sword users in any one place, so he couldn’t be paired with Dieck either. That makes him worse overall than Oujay and Fir. And higher level to boot.
3) Dieck. Clarine and Rutger can’t come, so he’d be significantly worse than Oujay and Fir.
4) Gonzalez. I’d really like to bring him since he’d be so effective against the wyverns and also fairly good against the brigands. However, the sword users are just going to be better at those jobs.
5) Saul. At first I was worried about not having another healer, but then I realized that besides Ellen I actually have 2 more: Lugh and Cecilia. So I have enough healing without him. And he’s higher level than Ellen.
6) Ray. Man, I wanted to bring Ray. He’s highly effective here and I could build some supports with Lugh too. But he’s just not quite as good as my Lilina and I want to be running at full power on this chapter. If I could bring one more guy, he’d probably be it.
7) Chad. With my strategy I don’t need a second thief.
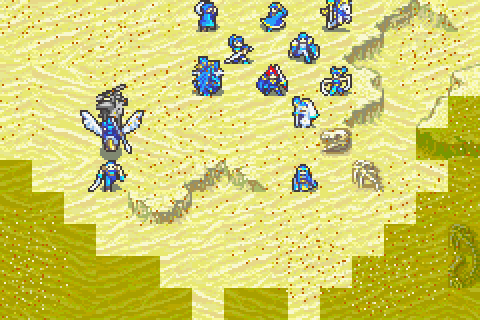
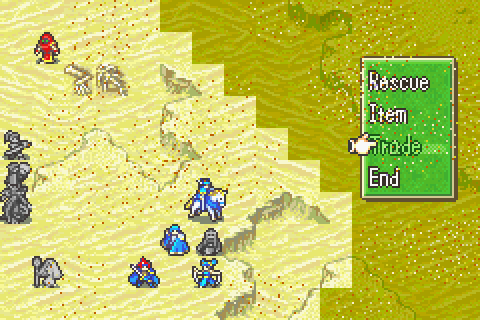
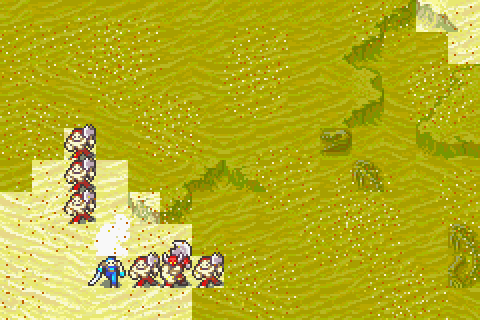
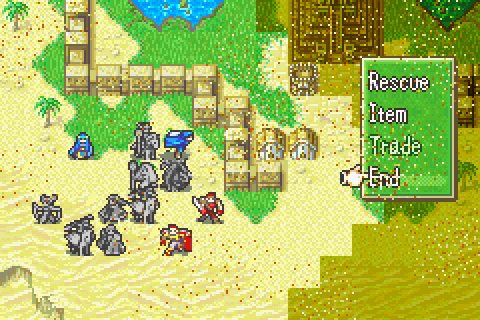
This formation looks rather odd, which is because it is. Rather than the typical charge top right that results in everyone getting tangled up in the small passes between the cliffs and bogged down in the sand, I’ve decided to only send a few people that way at first. Most people will secure the western objectives immediately and then move back east from there, giving the slow people time to get in position at the same time they arrive.
So Tate and Thany –armed with standard gear- are positioned to drop Oujay near the speedwings and then fly up to join Miledy, Astol, Fir, Lilina, and Ellen.
Miledy (who has an axereaver for later) and Astol (Who has a torch and an iron sword and little else) will be dropping Fir (With a variety of swords including the wyrmslayer and a lancereaver) in wyvern range (and finding the talisman). With help from Lilina (Who has a variety of anima tomes) and Ellen (With heal, mend, restore, and torch) and Thany and Tate they will finish the wyverns and the dragon and also acquire the silver card and then sweep east. The 3 flyers can carry the slow people along.
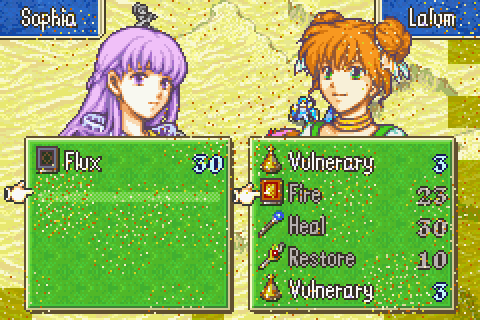
Roy, Lalum (Loaded with fire, heal, restore, and a vulnerary for Cecilia), Lugh (With a heal staff and various anima tomes), Sophia, and Cecilia will meanwhile have dealt with the light resistance and reached the north middle point where one rounds the cliffs and then fights the mercenaries, dealing with any staff-user shenanigans along the way.
The party will rejoin in that area and fight the mercenaries together, meanwhile getting Fir and Astol down toward the other dragons and items.
Oujay will use his killing edge, light brand, and other swords to efficiently dispatch the southwest reinforcements including the minibosses. And he should also be able to find the speedwings.
Once the main mercenary threat is dealt with, the party will spread out to secure the other items, do some shopping with the silver card, and kill the reinforcements at leisure.
The Characters:
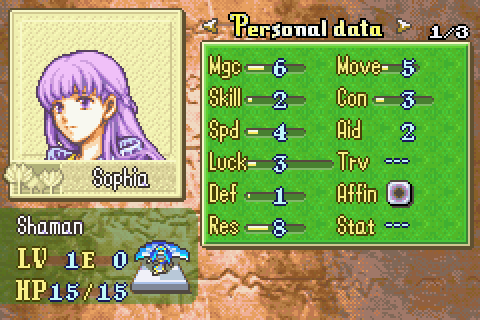
Intelligent Systems loves their tiny mysterious waifs with special magic powers. I’m not really fond of them myself in general, though a few have been well done. Sophia is really not one of those. She’s half-dragon, all annoying, and can see the future but not in a way that’s actually useful to anyone ever. Oh and she pretty much runs around giving away all the secrets of her village to everyone for no reason.
Sophia is one of the worst characters in any FE ever. All tomes slow her and her base speed is awful. The result is a character who is doubled by quite literally every enemy on the map. Even the mamkutes. And most can one-hit-kill her. What’s more, her damage is terrible and her accuracy is even worse. And even if you do find an enemy who can’t counter her and weaken it to 4 HP or so for her to finish it, the odds are about 50% or higher that she will miss and waste all your effort. So she's basically untrainable
Both Ray and Lilina pretty much beat her at her own game for stats and she’ll never be more than mediocre.
For some reason, Sophia still has a fairly vocal set of fans who say that her critics just aren’t good enough to train her effectively. But it doesn’t take skill to train Sophia, it takes luck. And her stats suck anyway.
Cecilia is the mage general of Etrurian and was Roy’s tutor in… tactics I guess? Anyway, she seems to actually be a good and reasonable teacher, unlike Wallace and Marcus and many of the other mentor characters. She’s also a fairly reasonable and competent authority figure in general, unlike the stupid, jerkish, and irresponsible Douglas and the slightly less bad Percival. She, for example, is the only one of the Etrurian generals to understand that the people of Etruria actually matter and it’s not ok to betray them all just to protect the king’s short term safety. For that matter, she was the only one who pointed out that it was not a good idea to let Bern conquer the whole rest of the continent unopposed.
For some reason –possibly because of sexism, as Douglas brings up in their support- she seems to be considered the least important of the three generals and is more or less out of the loop on a lot of important stuff. Mildain won’t even reveal himself to her despite her being firmly on his side, as he will with Percival and Douglas (who already knows he’s alive but STILL won’t join him).
All in all, she’s one of the most developed and human and one of the least jerkish and annoying characters in this game, so I like her a fair amount.
She’s a cruddy unit though. Terrible bases, terrible growths (she won’t break 20 in ANY stat). Terrible support options too. Never use her after 14.
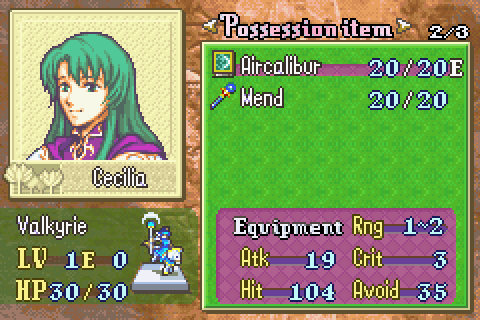
She has pretty good gear but needs to be traded things like a fire tome, a vulnerary, and also a restore staff. The Aircalibur is great but better for other people.
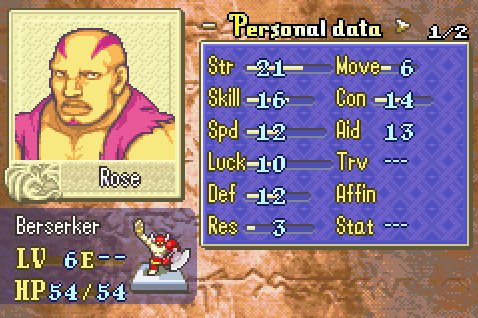
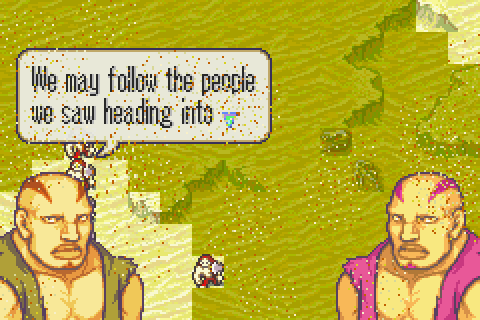
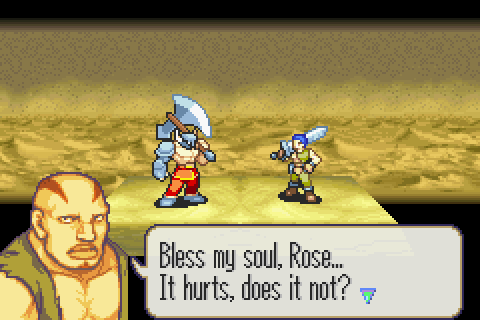
Yet ANOTHER Scot/Grero (/Paul/Jasmine/Pain/Agony/Vincent/Victor/probably others I’m forgetting) lookalike weirdo bandit. He and Maggie are the lame beta version of Paul and Jasmine. Their lines are just annoyingly weird rather than funnily weird and they don’t even compare well to Grero with his singing to the treasure stuff.
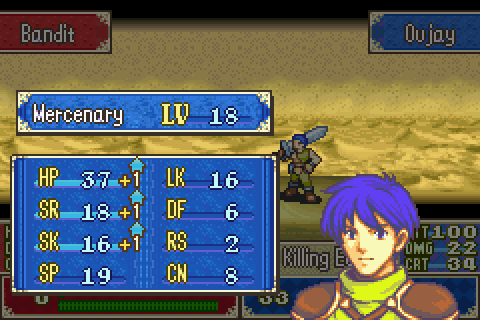
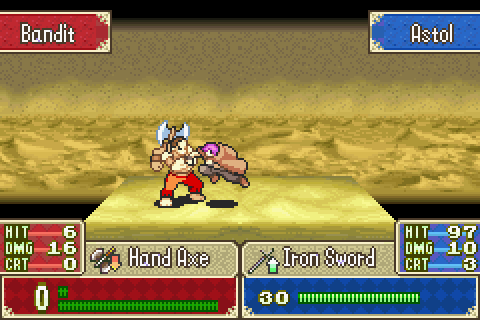
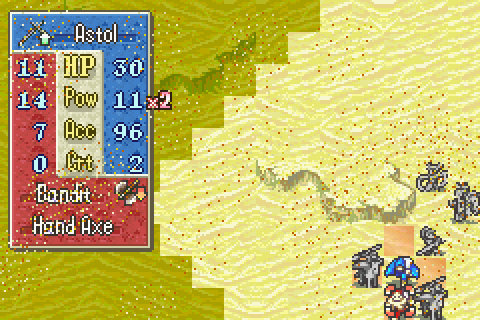
A lot of people complain about how strong he is, but he and Maggie are pushovers. Rose here has a devil axe (the single worst weapon in all of Fire Emblem) and this idiot
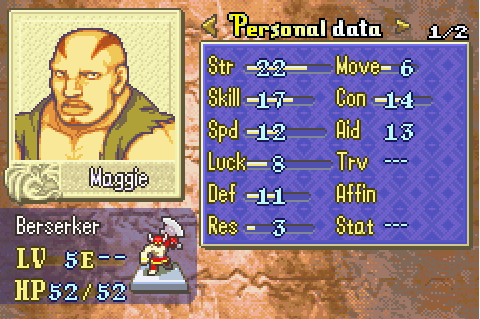
has brought a Halberd to the cavalry-free desert.
Scot, Grero, and those level 12 reinforcement warriors were all way more dangerous.
So yeah, these guys are easily beaten by a good sword-user
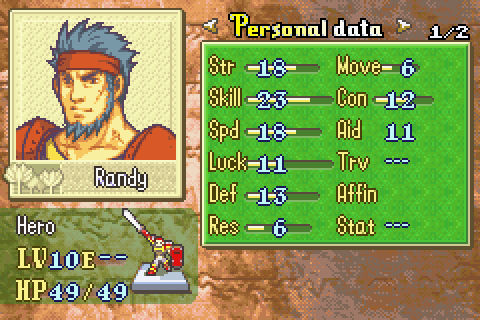
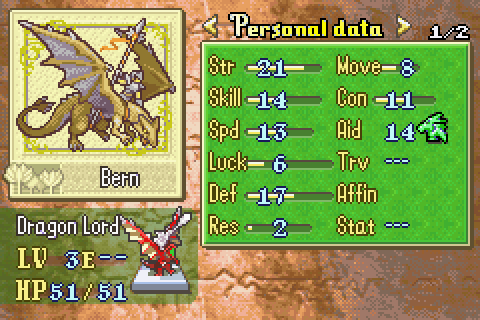
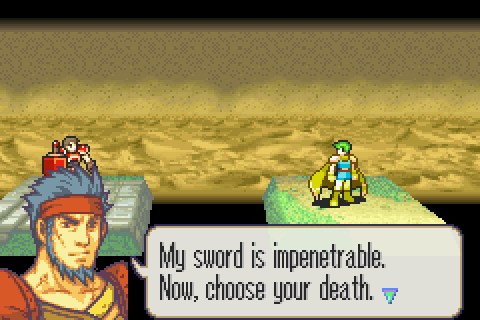
Randy here is the first Béarnaise leader who isn’t a complete jerk and/or a buffoon. He seems to be a skilled, no-nonsense soldier with fairly strong loyalty to his country despite recognizing the utter incompetence of his superiors in the chain of command.
For a hero of his level he’s pretty bad, but heroes are still always a big deal. The only reason he’s not hard to beat is that he’s wielding a Light Brand and that’s a horrible weapon.
Playing Through:
As I mentioned, units have no chance to find an item when dropped into the area. So Thany and Tate just drop Oujay where he can walk into the Speedwings area next turn, allowing them to move closer to the northwest action themselves.
Fir moves so Miledy can pick her up.
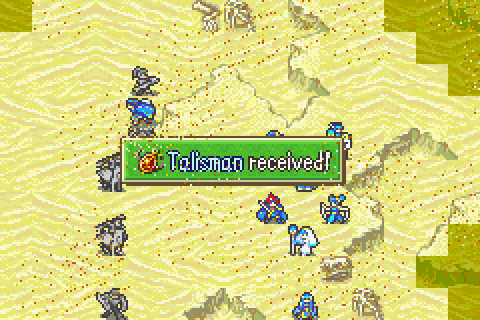
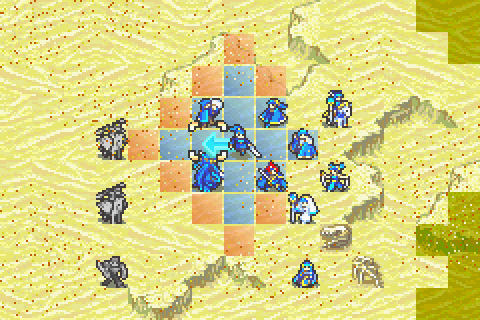
And Astol moves his max distance, takes and drops her, and finds the Talisman all at once, just as planned. Now only Fir with her Wyrmslayer can be targeted by the wyvern group and the dragon in the area can’t attack anyone at all.
Miledy left room for Lilina and Ellen will come as well.
Sophia moves maximum distance forward, between Lalum and Cecilia, and takes the load of stuff Lalum was carrying for Cecilia.
Then Cecilia can take all that stuff before moving. Bam, Cecilia equipped without anyone having to waste any movement at all.
Lugh has one of the other torches and uses it now to make sure I can see the mages coming. That lets me choose where to move up Sophia after Lalum moves and dances.
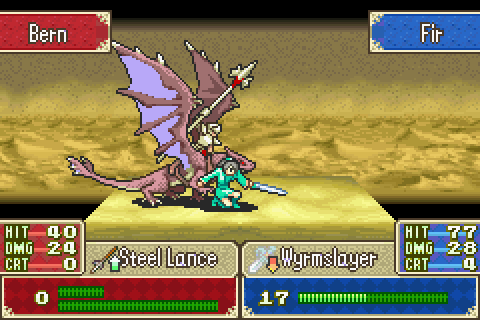
So it’s the enemy turn and this wyvern lord is killed easily after Fir takes an unlucky hit from one of the riders.
Pretty bad level there.

Not only does Lugh get a crit I don’t want him to and therefore kill a mage instead of leaving it at 1 HP, but he also gets a bad level from it.
So Thany and the rest step in to wipe out the remaining foes between me and the dragon.
Astol doesn’t move and uses his torch. I’m going to carry and drop him and this way the torch will be in effect wherever he’s dropped.

Which will be this square. From here, he can move to pick up the silver card and be rescued conveniently at once. The downside is the mamkute there will get to attack Tate.
Fir moves in after a heal to attack it next turn.
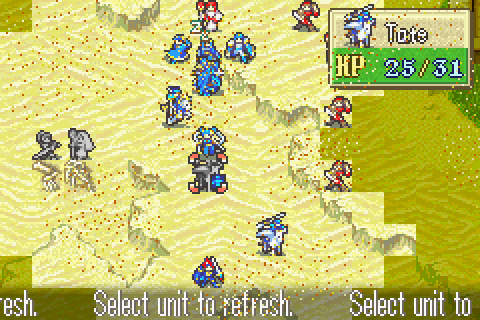
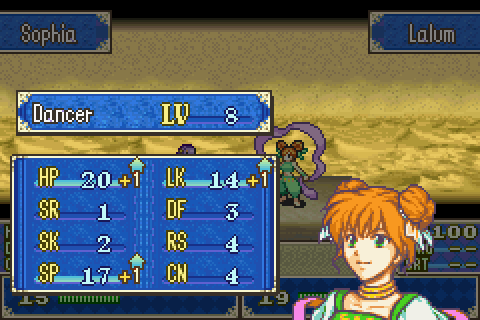
Lalum actually gets a good level helping Cecilia along.

And she found the boots at the same time, nice.
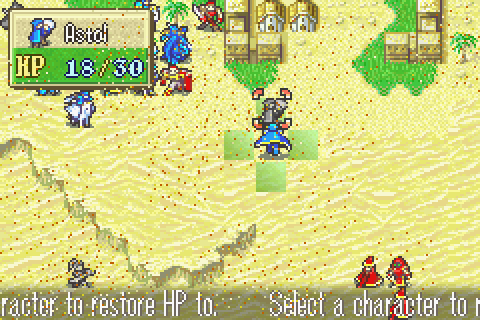
I’m taking a risk with Sophia here in the interests of training her. There’s a badly injured mage up north which can now move up and attack her (and it doubles). With roughly 50% odds, Sophia will kill it. With 50% odds she’ll miss and then probably die. It’s early enough in the mission that I’m not really risking anything important, so I’m ok with that.
And Oujay begins searching for the speedwings.
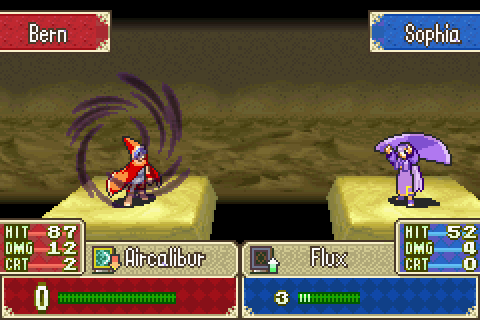
What do you know, it worked! Witness the badness though. Even with weapon triangle advantage she’s completely outclassed.

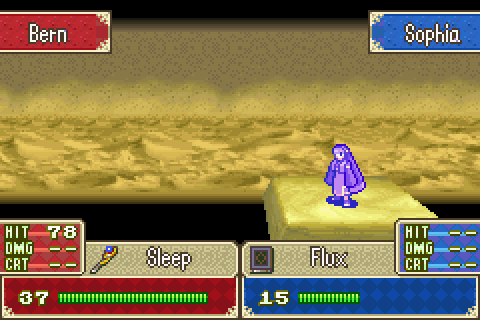
And then the unseen bishop sleeps her. Despite Res being her only real asset, she’s still almost impossible to miss at massive range.
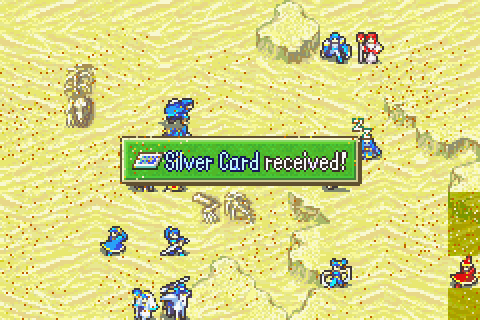
Astol picks up the silver card at the start of turn 3.

Fir and Lilina kill the dragon.
Alright, a problem has presented itself: one of the bottom rightish mages has moved in and is now in position to kill Sophia next turn.
With help from Lalum, Thany kills it easily.
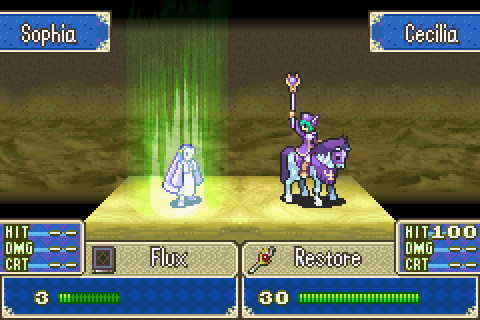
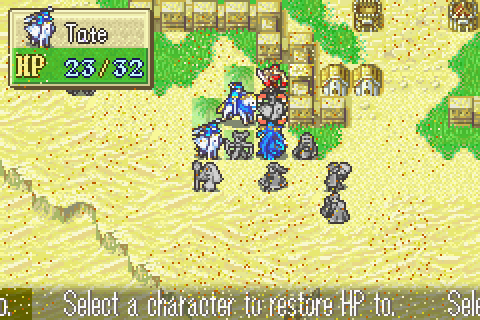
Then Cecilia wakes Sophia up.
I foresee an immediate need for firepower, so Tate and Miledy carry Lilina over and drop her instead of each hauling over but not dropping a unit.
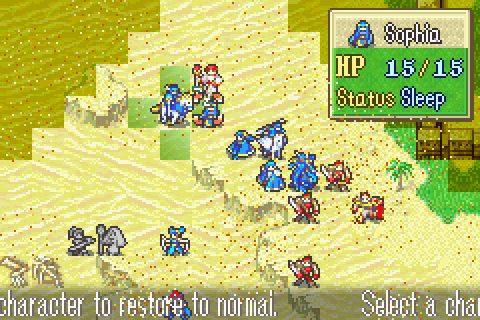
Naptime again.

This silence staff guy is doing nothing. I believe Omni said silence staff enemies in this game only attack staff users who have staves in their inventory. But then why isn’t he going for Lugh or Cecilia? In any case, it doesn’t really matter. I’ve got enough restores to solve any such problems.
The torch is fading, so Astol uses another. They’re cheap and visibility is worth a lot.
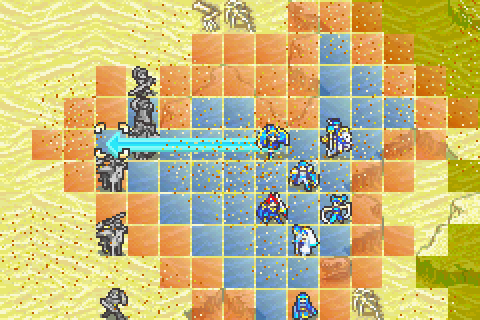
Tate then picks him up and with help from Lalum transports him most of the way to the Silence staff in one turn.
Yes, he’s in range to pick it up next turn. And with his torch and new position, he reveals the bishop with the sleep staff. As you can see, that range is pretty impossible to escape.
Thany and Lugh are the first up that cliff to start fighting the sword users.
The silence staff cleric goes down before he decides to become a problem.
Sophia is cured again and I don’t attack this priest. I’m trying to boost my combat score, so I’m pretty much taking no attacks that don’t result in 1 or 2 hit kills.
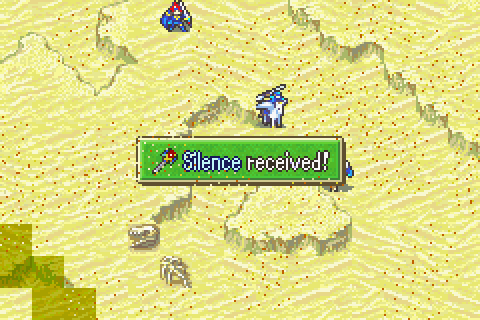
Next turn, Astol gets the Silence staff.
Up here, I’m facing probably the toughest turn. This bishop used Sleep on Sophia once again and is now out of ammo, so he’ll start fighting instead. He’s a fairly competent attacker. Meanwhile I’m also up against some strong mercenaries and a hero with a killing edge. It’ll be hard to reduce their firepower right now, but if I can weather their attacks for 1 round, I should be alright.
Cecilia fixes the last sleep.
Thany kills one of the mercenaries for a really lousy level.
Miledy chugs a vulnerary to get the HP needed to survive the onslaught and the wall is formed.
Now there’s a bit of trouble in the south area too because this wyvern lord and one of his minions moved in for Astol earlier than I expected. He can’t outrun them long.

So Lalum and Miledy work to get Fir down there post haste.
Which means I can’t actually kill this hero, but I can at least keep him under control.
Alright, now what? The wyverns are coming, so are some more mercenaries, and Astol is in trouble.
Lilina takes another swing at the pesky hero. He’s really dodged a lot. That’s a pretty bad level, but I can’t complain given how well she’s done up till now.
With Lalum’s help, there’s a double heal which gets most people ready to fight the next wave. This is about the 5th time so far that Cecilia has been a helpful staff user right where I needed her.
Tate kills the hero for a fairly mediocre level.

Lugh has some tanking to do. On this tree he should have no trouble dodging even mercenaries.
Miledy and Thany carry Astol out and everyone but Lugh and Fir pull out of wyvern range.

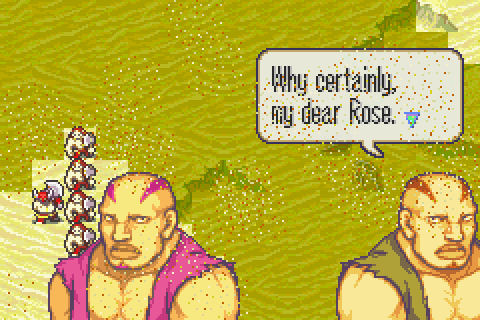
Maggie and Rose appear out of nowhere.

This is the closest they get to the funny kind of weird that Paul and Jasmine have going on.
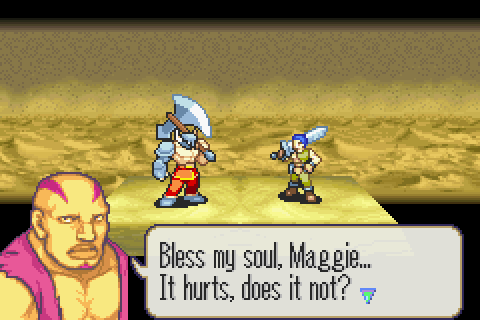
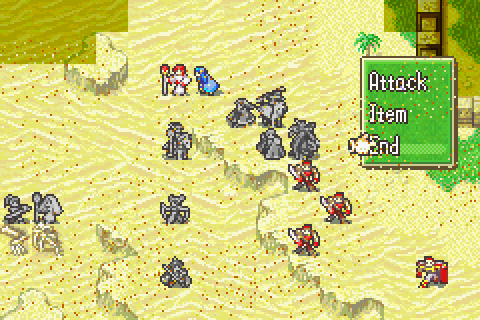
Rose immediately bites the dust. He has no chance at all with his devil axe against Oujay’s killing edge.
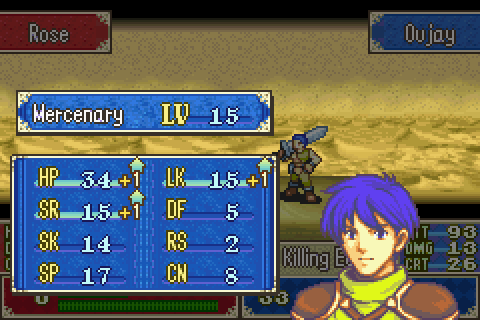
Hm, nice, more Str is very good. That’ll make it easier to get the instant kills I need here to boost my combat score.
On my turn, Oujay always targets enemies who only have handaxes and lets the steel axers suicide into him on the enemy turn. That’s the best way to get my combat score up.
Lilina breaks down the wall so that my other units can push through. The enemy are almost all dead at last.
Since Fir is probably going to hit her level cap by the end of this chapter anyway, I’d actually rather give the kill to Lugh.
She drops the last wyvern in the area. I believe there are still 2 more out there in the fog, but without a lord they shouldn’t be much trouble.
And at last I see a good opportunity to kill this hapless cleric in one round.
Sophia and the rest of the gang move in. I’ve been watching for opportunities to let her get kills, but none have really come up yet. She can’t hit mercenaries and nearly everything else can counter her.
Wow. Rock on, Oujay!
Nothing as classic as “It’s a tragedy, Jasmine!”
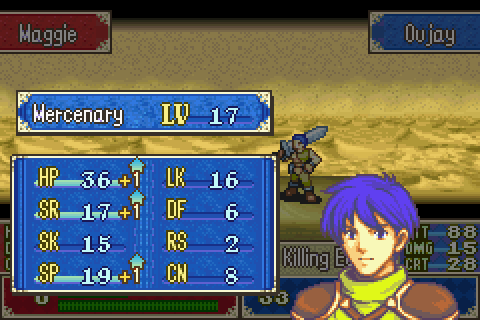
Oujay is getting seriously blessed in Str. That’s nice because his killing edge is about to break and I want to keep one-rounding things with his steel sword.
Lalum is falling behind. I can fix that with some Lalum-assisted rescues.

Another defensive line is set up as I deal with these last few foes.
Well that’s pretty awful.
Actually not bad.
Astol completes the wall.
Oujay is channeling Raven with his left side level ups today.
He’s really thinning the herd since most of the ones who don’t have handaxes are dying faster than they spawn.
Astol reveals one of the last pockets of enemies and Lugh moves in to help deal with them.
The hero is dead. Time for some routine healing.
And Thany moves in with a javelin to begin fighting the mages and maybe aggro the 2 remaining wyverns just offscreen.
Miledy kills the last mercenary. What I’d really like to see is more Def. She’s been gaining none of that and she’s going to max all this left side stuff sooner or later anyway. Oh well, speed is going to be handy soon.
It’s a shame she’s going to be retiring in 5 minutes.
So much Str!
I think there are more brigands that the reinforcement list called for. Possibly they spawned for 1 more turn than forecast.
As expected, Thany managed to lure all the enemies out past the mamkute where I can deal with them effectively.
They fall easily to my well-chosen team.

Pretty solid. His Mag blessing is kind of eroding but he’s still really good overall.
Alright, that just leaves one guy and the two dragons!
There are still no opportunities for Sophia to do anything in battle, so instead she just takes the silver card. Time to do some shopping.
Darn! I was really hoping for that 20 Str. But to be fair, he does really need the Def. Now this guy started at level 14; those brigands are worth a LOT of XP. There are still a few left so some XP is going to waste. There’s not a whole lot I can do about that really and it’s not much at least.
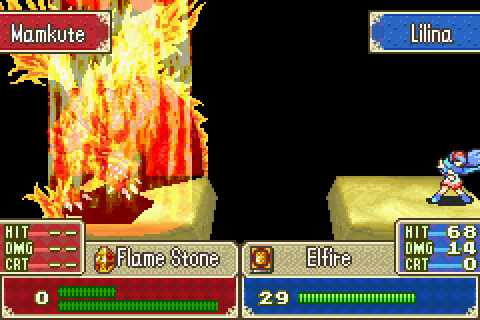
Lilina and Lugh easily kill one of the dragons. You know, if it’s half made of fire, how does this even hurt it?

Miledy’s work here is done. She’s going to head on up to the other brigand spawn point with her axereaver and kill them as they spawn.

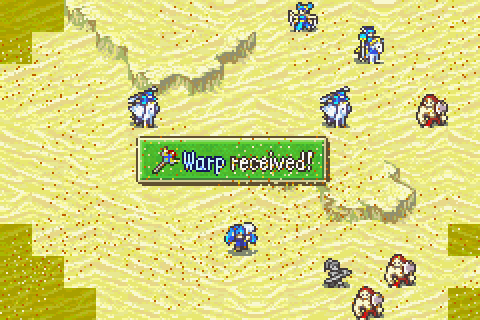
Oh that’s unexpected. Tate just finds the silver blade on her own just before Astol was going to step in. A minor convenience I guess.

Sophia gives the silver card to Roy and finds the Guiding Ring. I’m really glad to have that; I’ve got several people in need of it.
An average level for Lalum.
Turn 13, everyone is ready for when the reinforcements show up.
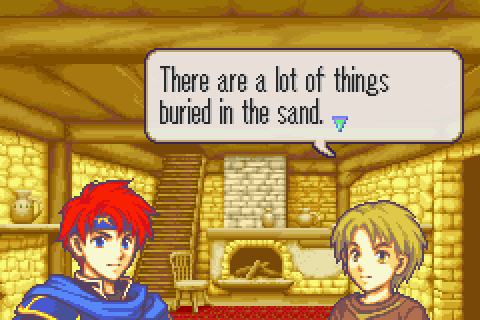
Wow, this bit of information is REALLY late. Thanks, random house kid.
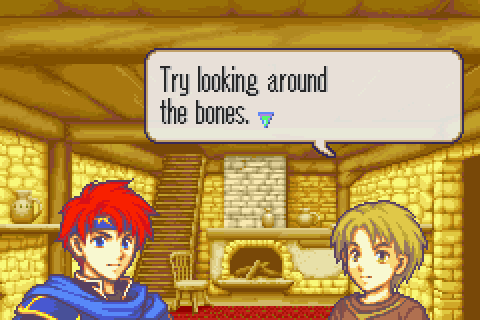
BZZZT! Nevermind, no thanks, random house kid. Unlike FE7’s desert level where someone says something similar, most of the items on this level are nowhere near the bones. And most areas near the bones contain absolutely nothing. I guess this is semi-good advice for finding the silver card though? But yeah, it’s pretty bad advice all in all. Most of the items are just in the middle of nowhere with no bones around.
Fir continues to get disappointing levels this chapter. After her stunning performance up till now I was really expecting her to do better.
Darn, I’m going to have to waste 2 hits of the wyrmslayer on some random bandit chump. This fight is a good demonstration of why the brigand reinforcements on this level are no big deal. They’ve got lousy weapons and just terrible accuracy.
All clear. Better get back to full time searching for the Speedwings. I had to waste about 4 brigands worth of XP, but at least I killed them fast enough to boost my combat ranking. And he did gain 6 total levels I think, so that’s pretty nice.

Confirmation that even in this game with the Elimine church talking about “God”, the world is definitely not monotheistic. Delphi’s power is very real and verifiable; this random old man who apparently Bern hasn’t been bothering at all tells us about how Delphi’s amulet protects flying units from arrows.
A very cool item and one I may actually use since my funds ranking doesn’t seem to be in any danger.
… What?
Well anyway, with no more serious fighting to do, Lugh has joined Roy in the boss area and is getting to work. In this game the Light Brand does NOT work the same as in FE7. It’s arguably even worse. In melee of course it’s still a normal sword, but at range 2 it just does a flat 10 damage regardless of Str and Res.
Thany clears the last brigand from this wave.
Sophia (with Lilina following) is here in case Miledy happens to leave one enemy alive with low HP. One who doesn’t have a handaxe of course. I wouldn’t risk a restart now.
More brigands spawn and Fir knocks them down. And gets another bad level.
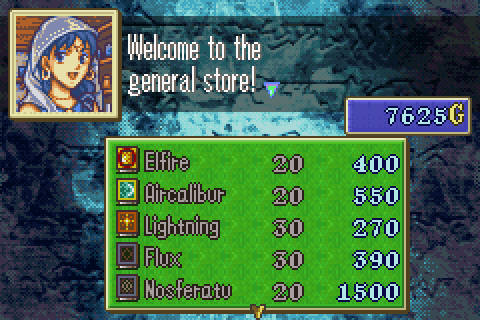
Roy goes shopping while Lugh squares off with the boss. This is a rare chace to buy Nosferatu and Aircalibur. Both are fantastic tomes and I’m going to buy a bunch.
I’m eager to give Astol some kills here. Thieves gain XP significantly faster than other units and I think I’d actually like him to get maxed out and retired faster than Chad if I can.
Strength is nice.
Luck not so much.
More left side domination for Miledy. She’s going to cap all that stuff as usual.
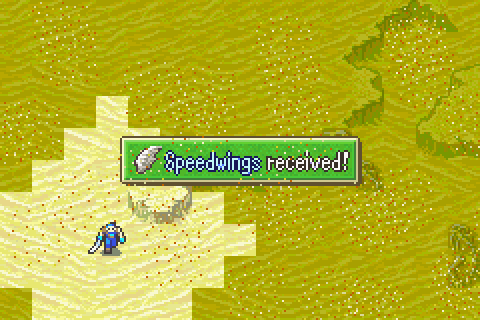
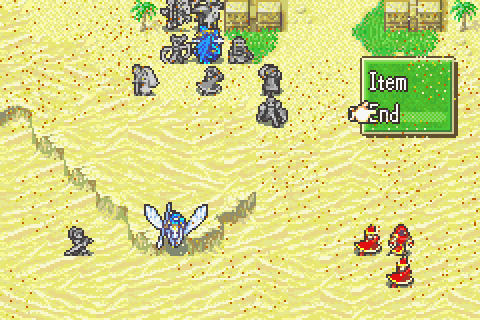
Ah, the speedwings at last, I won’t have to carry Astol over there like I was about to.
So he’ll stay here and score another kill.
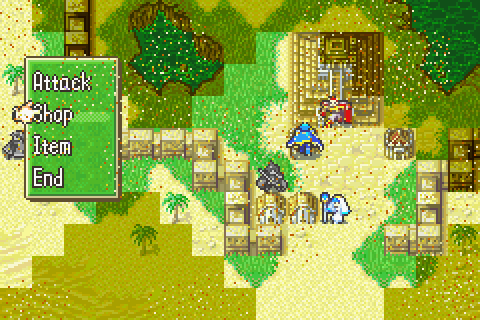
Lugh has been avoiding fighting so he doesn’t kill the boss before the last reinforcement wave. Now it’s time to step in with the silver card, shop, and kill the boss soon. The store has mostly junk, but I do pick up a steel blade since Dieck’s is almost broken.

Ah, there’s some Def, good.
There’s been a lot of fighting over there but really nothing to show. It’s just Miledy killing stuff in completely one-sided fights with her axereaver.
Lilina has arrived and joins in, reaching level 20. I still haven’t found a chance to give Sophia a kill safely, but with Lilina here it may be possible.
Cecilia does reliable, medium amounts of damage which are good for giving kills to other people. She’s been tremendously helpful this chapter, healing a dozen or so times, restoring thrice, and helping chip away at several enemies.
In order to keep killing in as few turns as possible, Astol borrowed the killing edge to get this mediocre level from one of the last brigands.
And with Lalum’s help he kills this one too.
At long last! I found a brigand who Lilina could almost kill and Sophia could finish and who didn’t have a handaxe. This is a pretty bad level, but that’s par for the course. You can see that even against these lousy brigands, Sophia can’t even reach a 50% chance to hit. Up against mercenaries she’s lucky if she can break 30.
The last reins have spawned, so Lugh kills the boss for a bad level. You know, all in all my levels on this chapter were pretty lousy.
And turn 19 win. I could have won maybe 6 turns ago easily, if not more, but this way I got to kill every single reinforcement.

He was really not the problem. At all.
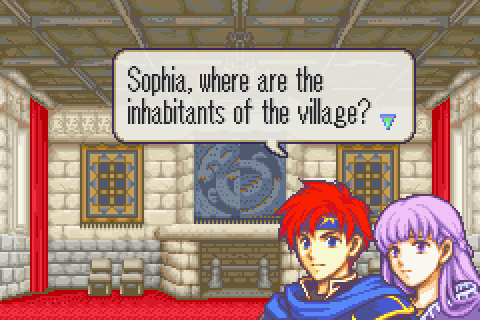
That is a VERY good question and a mystery never fully explained. I mean, there was that old man and the kid in the houses apparently being ignored. And we saw Fa and Igrene hiding. And later we see this one other old man. But where the heck is everyone else? Randy talked like they were up against really serious resistance, Zephiel was sure they would be too.
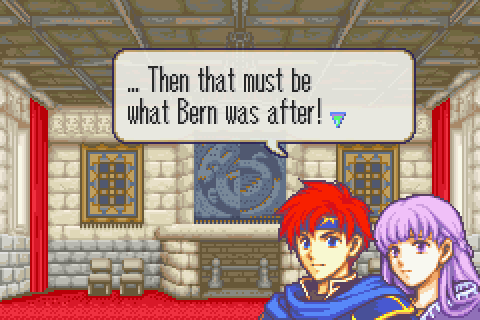
But there’s just nobody. And there actually aren’t any divine dragons here except for Fa, despite everything Zephiel and Randy say. The elder actually confirms there aren’t any dragons here at all except Fa. This doesn’t make a whole lot of sense.
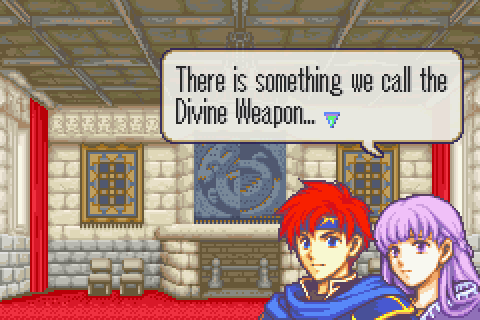
Roy is distracted by a door that’s been broken open and Sophia says it’s the resting place of the divine weapon here. 7 makes it kind of a mystery how it got there. I mean, Athos had it and then died far from home on the dread isle. Maybe Hawkeye took it back? Or maybe Sophia herself. Afterall, she was on the dread isle in that one village for no reason. Maybe she foresaw that someone would need to fetch it? Though really it’s a mystery how she got to Valor or how she got back.
Yes. Definitely not the dragons.
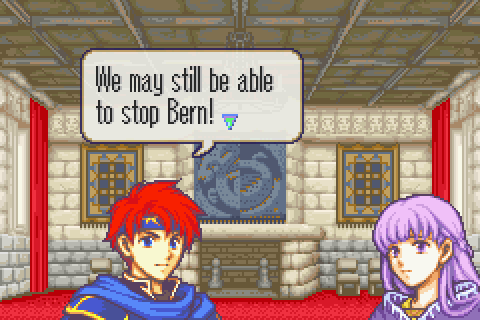
Only because they stupidly turn around and fight rather than actually destroying the book they’re there to destroy.
Ultimate victory! Every treasure found, every single possible enemy killed, numerous low level people (including Sophia) trained, shopping done, and completed on the best possible turn. I saved 6 turns, gained 600 extra XP, improved my combat score with all my 1-round kills, and of course boosted my funds with massive amounts of treasure found. Pretty good haul for one of the game’s most reviled chapters. And I only used a single promoted unit of my own to do it and never needed to restart.
The first key really was thinking carefully about who to bring instead of foolishly bringing the generic good characters who dominate other chapters but are too slow to be useful here. Or loading up on more thieves or healers than I needed.
The second key, as usual, was doing a ton of rescuing with air units.
And the third key was to scout. Know your enemy.
It was also helpful that I had thought ahead and gotten ready for this chapter by training several magic users and flyers. Of course, you should do that anyway since those are pretty much the best unit types and the flyers in particular are essential for unlocking the Ilian route.
Total Restarts: 5. None here!
Turn Surplus: -9. Significant progress made.
Things I Regret Missing: A couple of uses of Marcus’s silver lance on Rude, a Chapter 5 nomad Marcus had to kill, two Chapter 12 fighters I couldn’t kill since I needed supports built elsewhere