Part 28
Perhaps the most brilliant and apt chapter name in the whole series. Poetic even.
It’s something of a breather chapter, but not a boring one. It’s fairly fast-paced, has a few interesting tactical objectives to take care of (like ballisticians and purge bishops not hidden behind walls), and is a good place to train some weak people. I’m running low on weak people though. It’s partly because of that that I didn’t post this update earlier. I’d done a highly successful run with a much cooler strategy and everything was going well. Then on the final turn Geese got killed by outrageously bad luck and I had to restart- and come up with a second-best strategy to try instead, as per my usual promise.
This is also where the plot finally gets some lasting momentum. We have at last come back to where we were on chapter 8x: allied with Etruria and ready to take the fight to Bern. Everything between then and now was filler and sidequests with maybe 2 important chapters. We made no progress toward beating Bern, we just tried to undo some major steps backward. It’s good to finally be moving forward.
Chapter Summary:
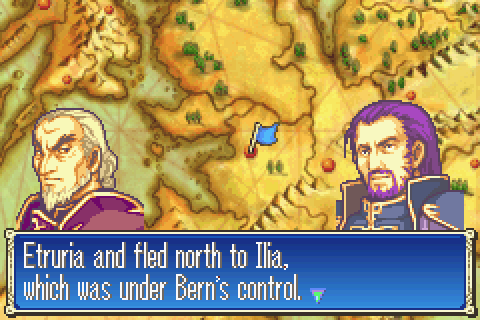
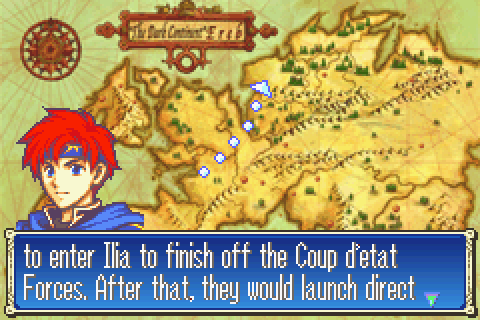
With the rebellion instantly defeated, the Etrurians and the Elimine church join Roy and he chases the fleeing Arcard into Ilia. Bern occupies that country at the moment, and Roy has decided to liberate it on the way to attacking Bern.

Or they flee to Sacae if Sue and Shin gained more levels than Thany and Tate. It would be cool if there was some reason for this, but there isn’t. Oh well.
Just in case you forgot, because you totally could have. Afterall, Bern took the country over offscreen before the beginning of the game. And that has affected absolutely nothing since then. I don’t think Zealot and the other Ilians even mention that Bern conquered their homeland.
It would have been a much more gripping story if Bern had attacked Sacae and Ilia over the course of the game. Just so they’re doing something instead of sitting and waiting for us to finally get around to killing them.
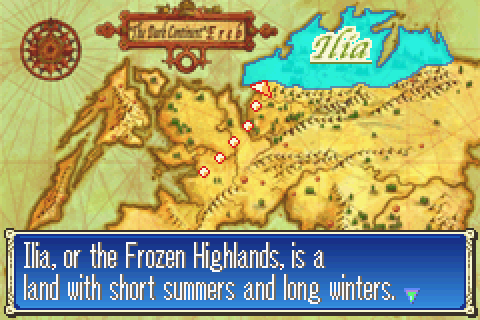
Time for another country introduction.
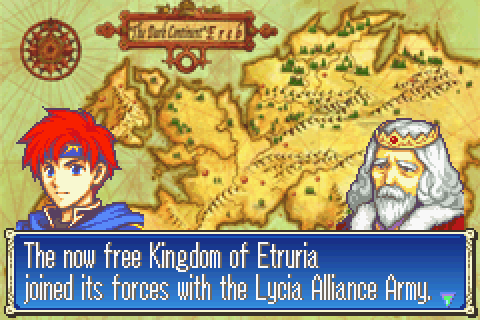
Just like they did after 8x! We’ve finally made it back to where we were 12 chapters ago!
You would think they would consider just marching right through Lycia, perhaps joining forces with Eliwood’s reunited Lycian league, and attacking Bern directly without wearing themselves down first. I mean, there are definitely risks with that plan, like being flanked. But it’s at least worth a mention as to why they don’t do it.
However, Lycia stopped existing a long time ago. On 11 Elphin said that Bern probably planned to attack Lycia while they were away. Bern never attacked Lycia. And I am fairly certain it has never been mentioned since. What’s more, I don’t think it’s mentioned again until the epilogue. This makes no sense.
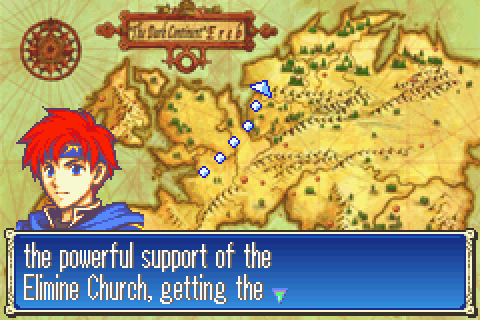
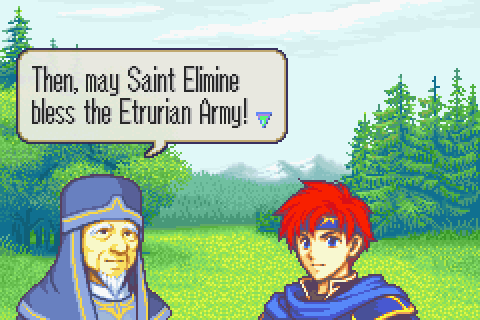
And the Elimine Church is supporting us too.
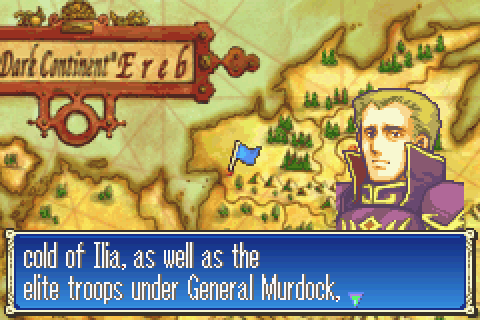
Oh no, the legendary Murdock, strongest of the 3 wyvern generals! But… actually we don’t deal with him in Ilia. At all. He deliberately lets us win here to be spiteful and never does anything to stop us. Or even really fight us.
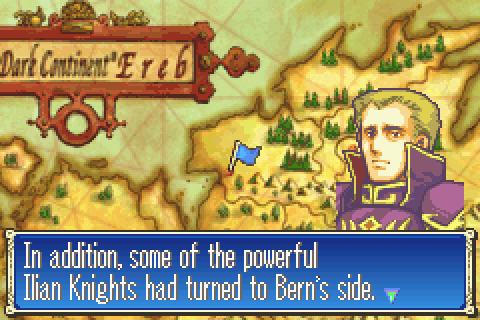
And more quisling factions to deal with. They end up being the only ones we actually fight.
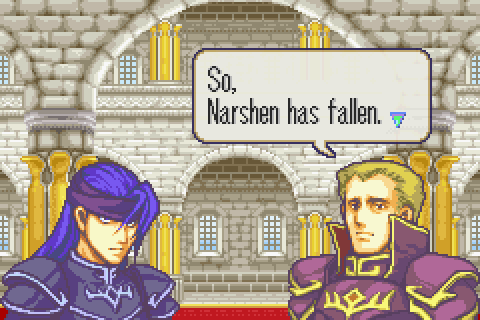
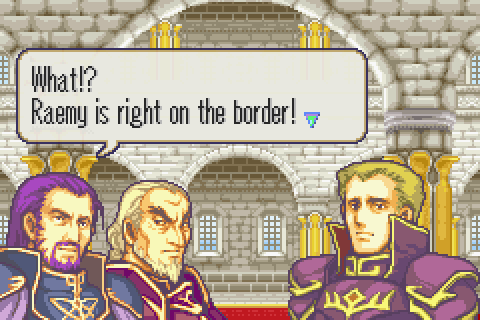
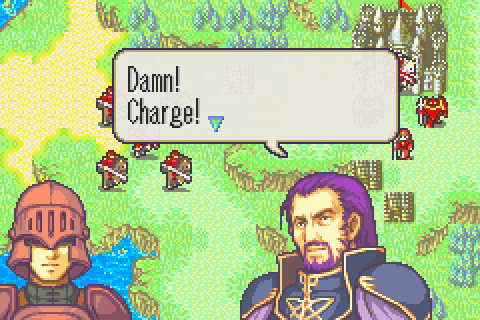
And you lost the war. I mean, that was it right there. You were already getting clobbered by the Lycians and your plan depended on the support of the Etrurians. Now they’re both united to crush you. Game over. And it’s all the fault of these two twerps for deliberately letting Roy beat Narshen even though they were in position to help.
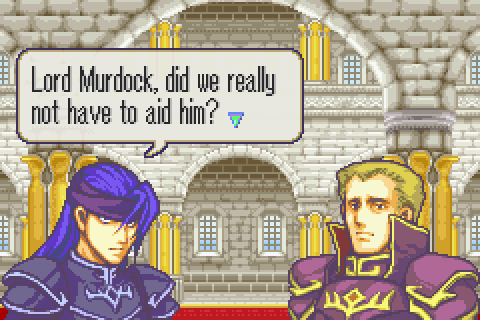
Ah, Gale is semi-reasonable at least. He recognizes that letting Roy liberate Etrurian and ally with them was probably not a good outcome.
Murdock claims the king told him to let Narshen lose. That… actually seems really unlikely. If it’s true, it’s 100% out of character for Zephiel. He’s totally committed to winning this war, even if it costs his own life. It’s all he cares about! Why in the world would he order Murdock to ensure the war is lost like that? Given what we see of Murdock this chapter, it seems much more likely that Murdock just lied to Gale.
They went to Bern for help. They were darned useful allies really and did their jobs pretty well until the sudden end.
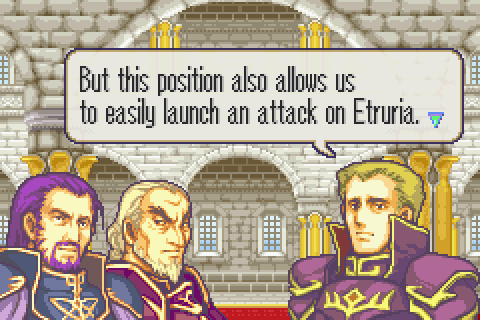
I think that’s the capital or something.
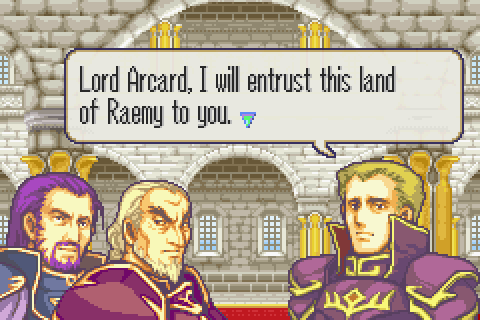
Yeah, it’s a complete suicide mission. They just barely got away from Roy and Zephiel is now telling him to stop and defend this unfamiliar land immediately.
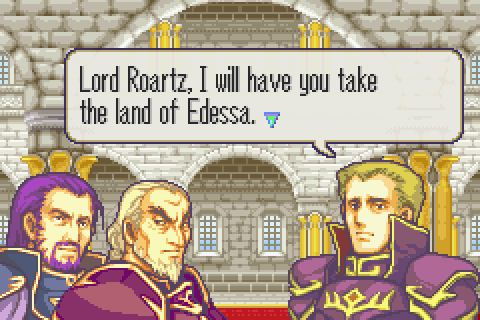
Ok, so fortify it with actual troops or maybe actually launch an attack. Don’t just throw it away in order to spitefully kill a useful ally. This guy might be an even worse general than Narshen. Narshen just didn’t get it. Murdock is losing the war deliberately.
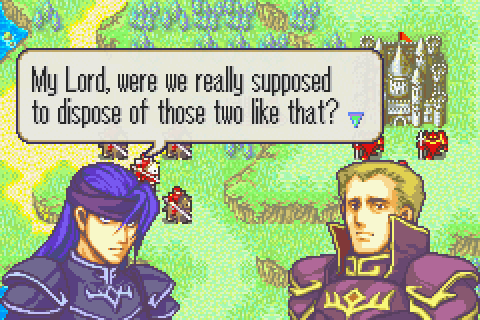
He's throwing away all of occupied Ilia and his whole army stationed there in fact. Gale should be in charge. Bern might have a chance then. But Zephiel just says it’s ok to let Arcard and Roartz die because they couldn’t clean up their own mess. But they DID their job. They did it really well. It was Bern that epic failed at working with them.
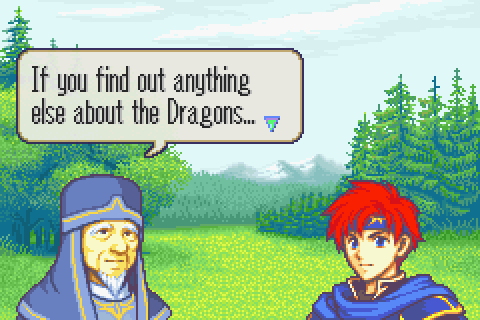
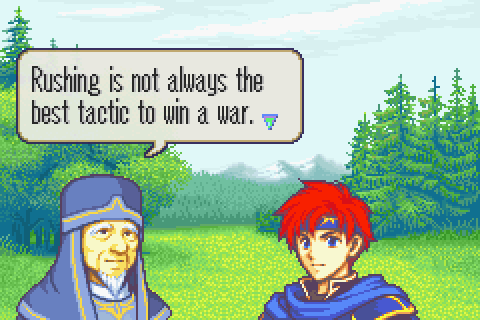
Yodel and Roy agree to keep learning what they can and comparing notes.

And he gives us this protip about the area. Since Murdock has had control of this area, he probably knew about it too. And he deliberately did not tell Arcard so as to let him be caught by surprise.
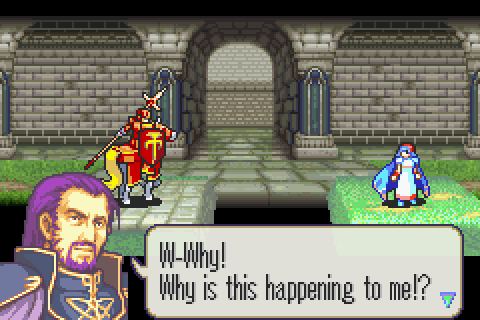
Who’s the fractactical genius around here?
Uh. Alright? What about us though?
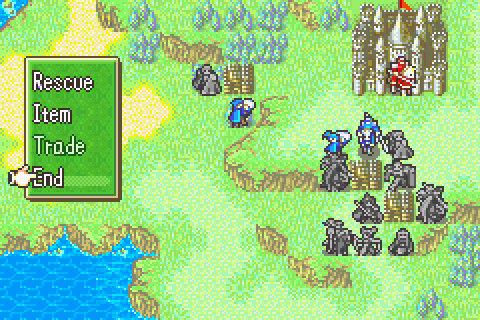
Battle Preparations & the Map:
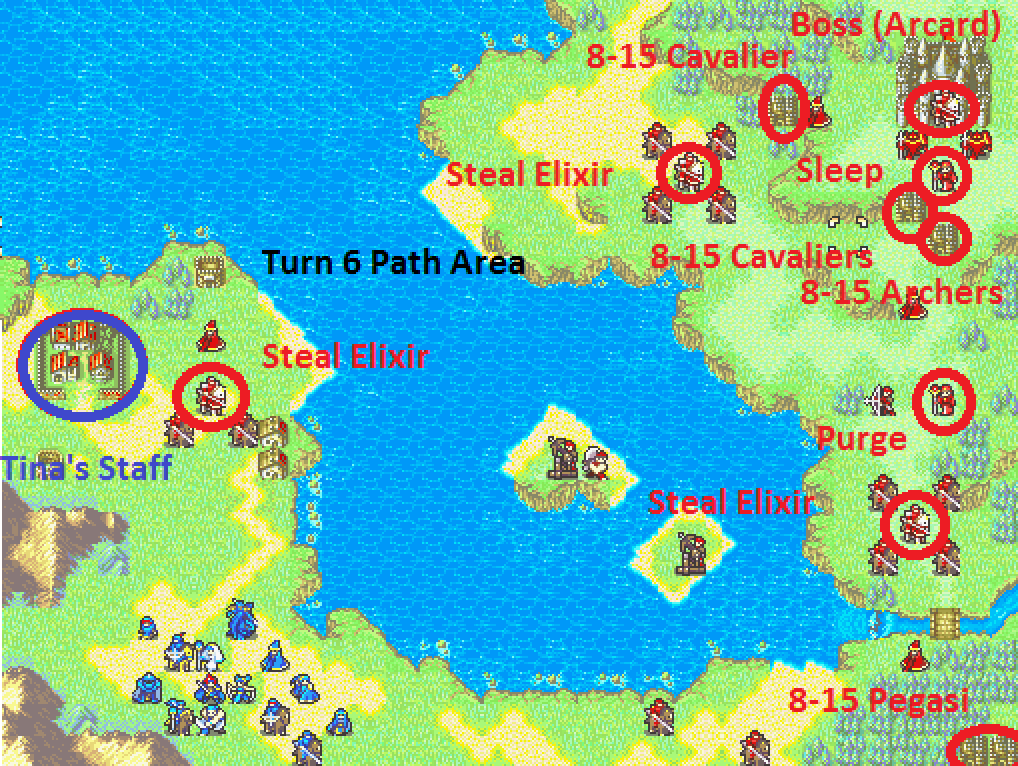
Secondary Objective: Get Tina’s Staff from the village
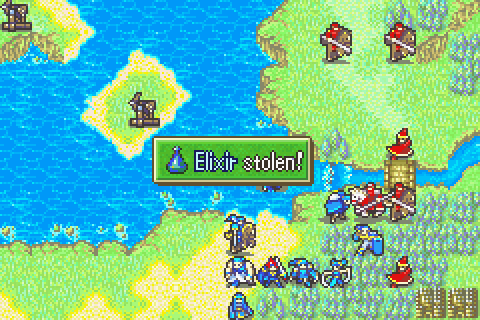
Secondary Objective: Steal the Elixir from the northwest paladin
Secondary Objective: Steal the Elixir from the northeast paladin
Secondary Objective: Steal the Elixir from the middle east paladin
Secondary Objective: Do some shopping
Reinforcements: Quite numerous and ALL have vulneraries. From turns 8-15 2 pegasi spawn with steel lances from the bottom right. Additionally, an archer with a steel bow spawns from the rightmost fort. A cavalier with a steel sword spawns from the fort near that one and one with a steel lance from the other one.
Turn Limit: 20. Generous as usual, though getting past the rapid reinforcements to kill the boss promptly is occasionally messy.
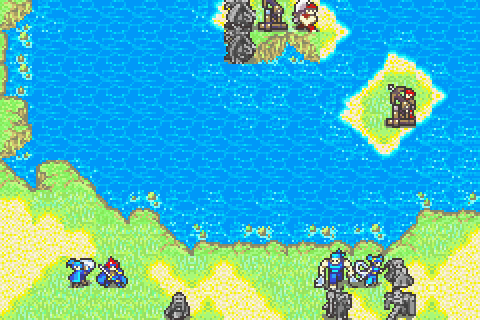
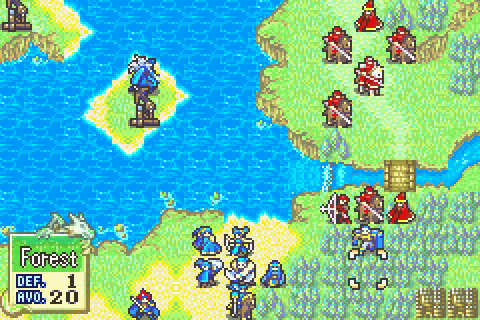
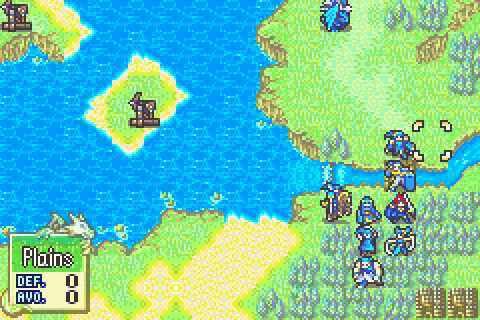
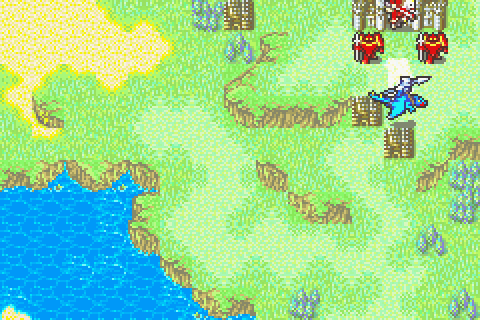
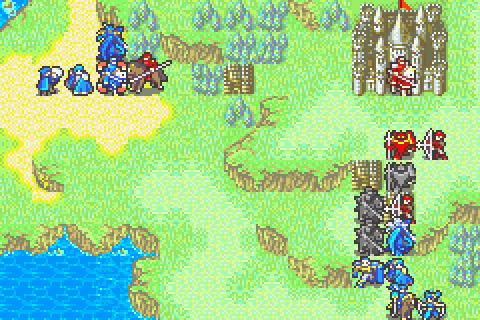
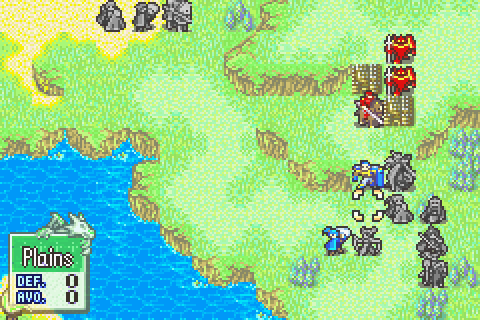
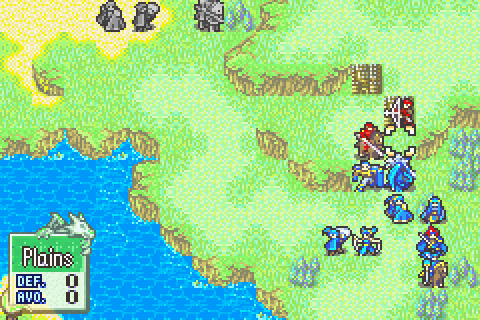
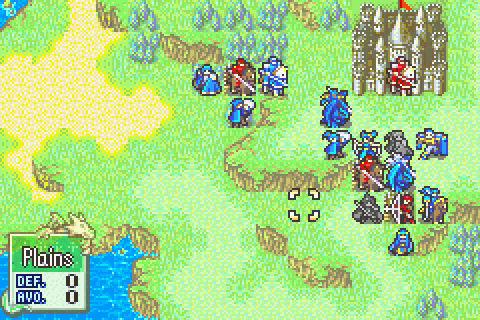
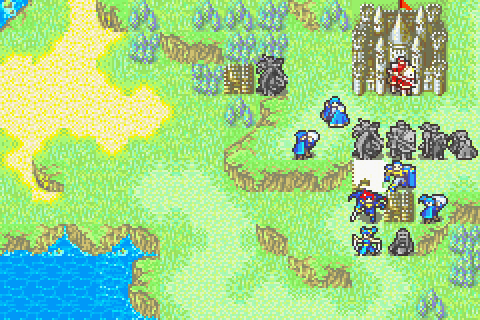
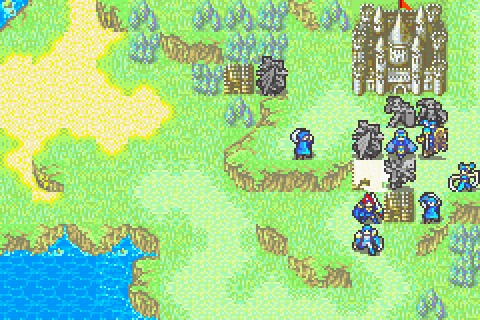
Another nice-looking outdoors map at last. Most of those maps are straightforward breather chapters, and this is no exception.
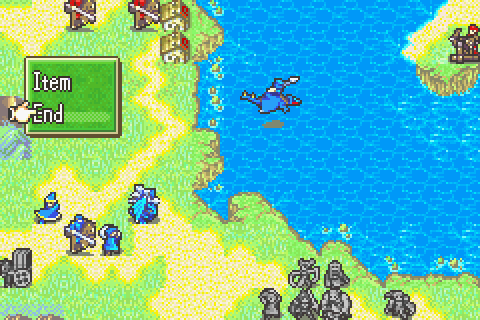
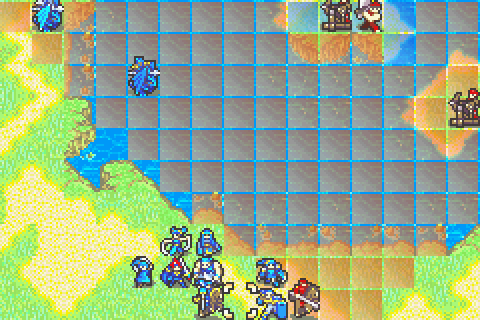
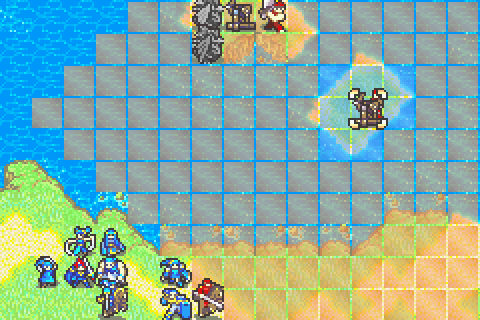
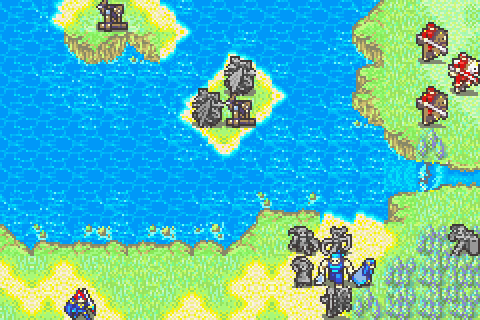
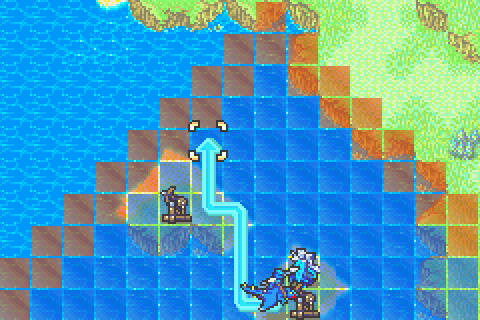
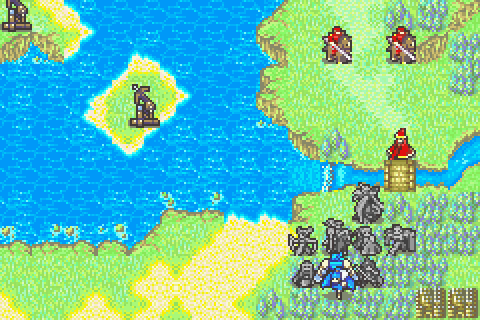
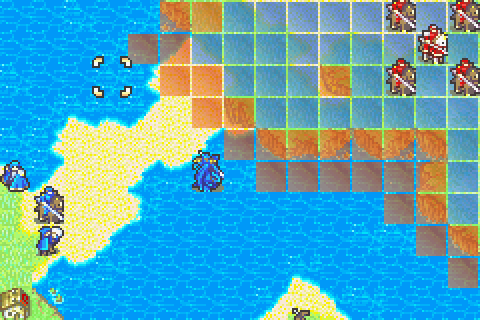
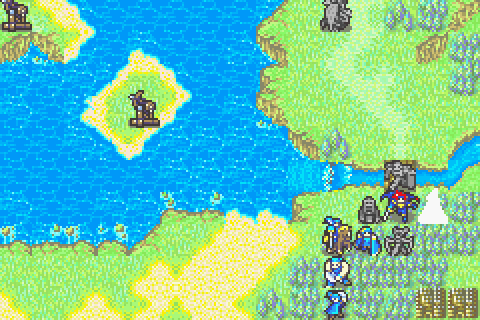
It does have one important gimmick:
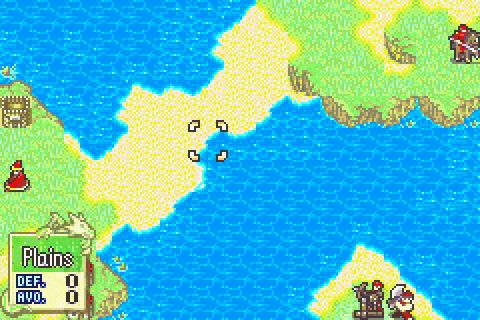
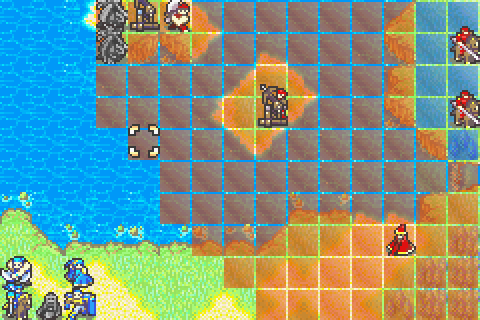
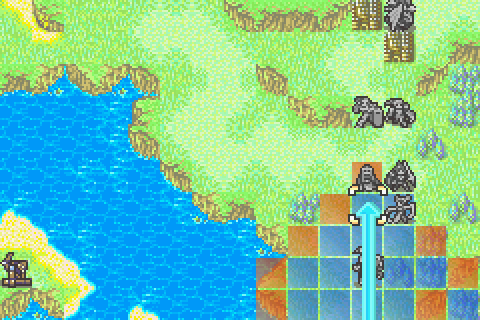
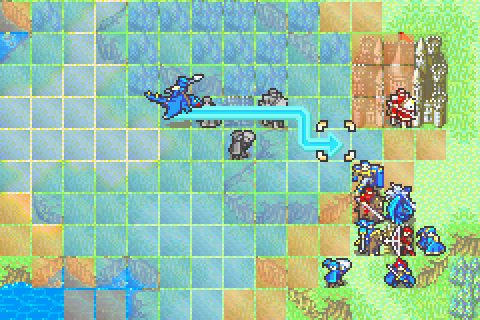
The tide goes out and this bridge pops up on turn 6, letting you open up a different front. That’s convenient because the terrain in the bottom right corner and the number of long-ranged weapons aimed at you along the bottom area would make it hard for your full army to make much progress there.
Don’t worry, the enemy makes basically no attempt to use this land bridge.
Oh and note that it’s WAY wider than it looks. Any tile that’s even partly land counts as a plain, so you can charge a huge group across at full speed.
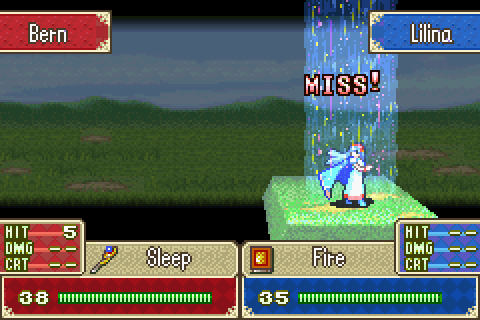
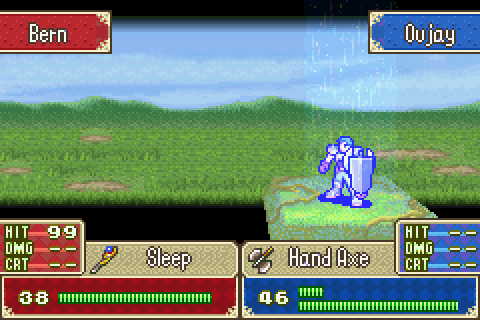
Anyway, there’s a couple of bishops on this map. One has Sleep (and doesn’t move) and the other has Purge and will start charging immediately. Critically, the Purge bishop will cover the right ballista, so you need to be careful as you take it out. And you really need to take those both out fast if you intend to march any kind of force down along the bottom area. One good flyer with a Delphi Shield should be able to handle it.
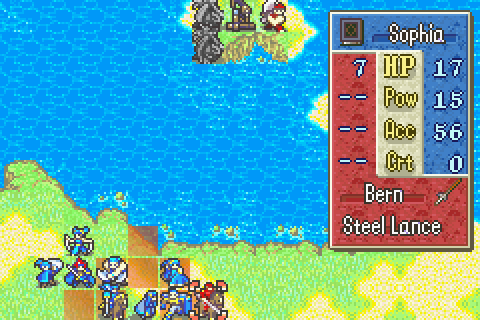
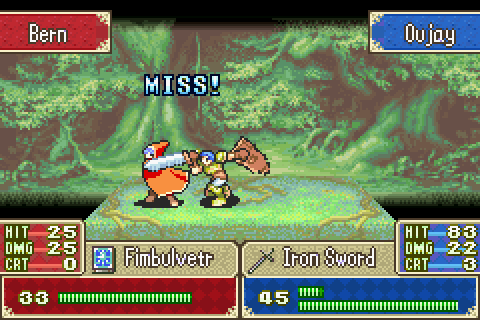
The mages are very strong and have great gear (including one with the mighty Fimbulvetyr) and the enemy are very well equipped in general. Besides 3 paladins with elixirs, quite a number have vulneraries. That can cause trouble sometimes because enemies run in more or less random directions to use those things; possibly putting them somewhere inconvenient. Oh and the cavaliers tend to have rather good weaponry; the paladins are outright packing silver lances.
Still, it’s pretty much just a fair brawl. And those are easy.
Furthermore, the XP requirement is incredibly easy at 1500. Partially makes up for the enormous 2500 last time.
Units Allowed: 13 + Roy. That’s a ton for a map like this; you can really flex your muscles.
Units Brought:
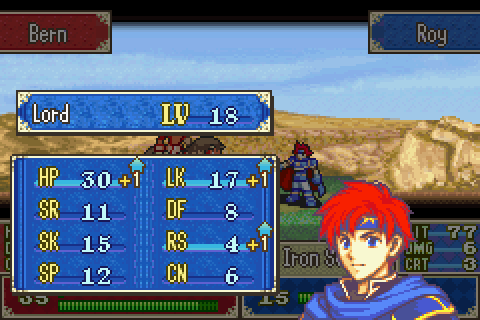
1) Roy. Required. He continues to not be good and is particularly so here where so many enemies have lances. The rapier has long since stopped being useful even against cavaliers anyway.
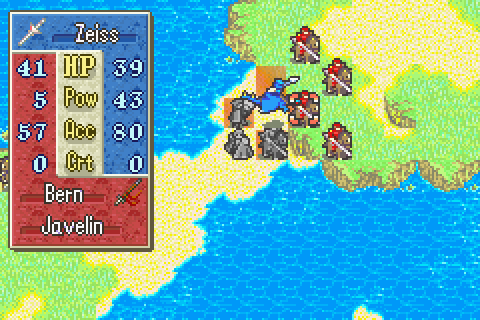
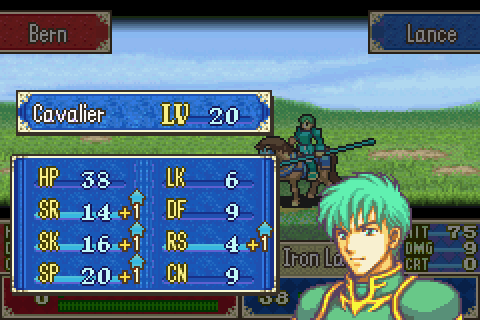
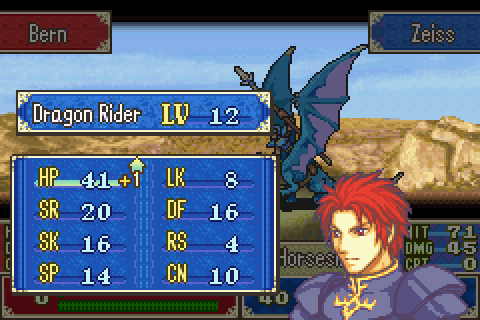
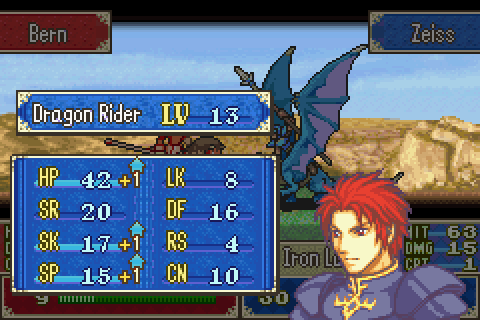
2) Zeiss. Easily my lowest level good person; it’s time to start training him- and building support with his sister. With the Delphi Shield and her support, he’s the best candidate for taking out the ballistae.
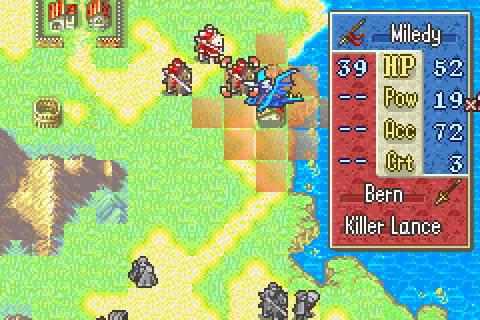
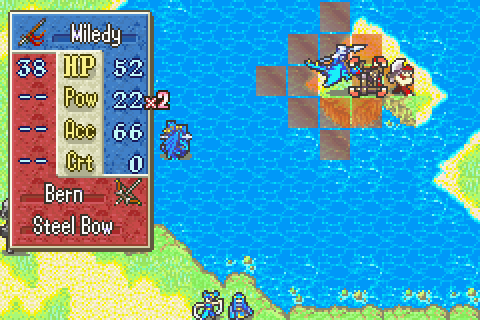
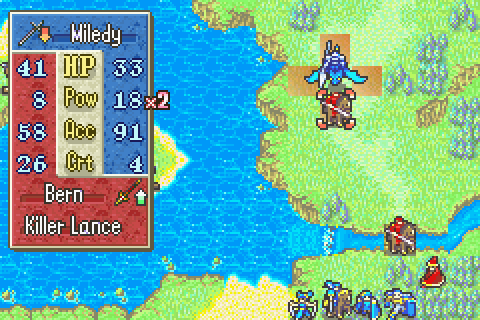
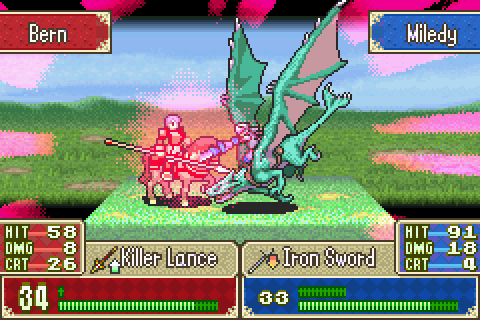
3) Miledy. Zeiss will need serious backup and Miledy is a dozen times better than Tate at that.
4) Lilina. I’ve decided to make Lilina the one I try to grind up to a respectable staff rank, so she’ll be my primary healer. She will probably need to fight when things get tough too of course.
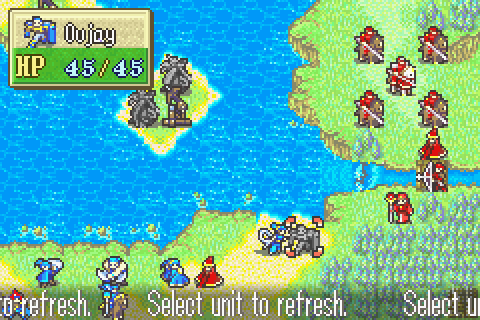
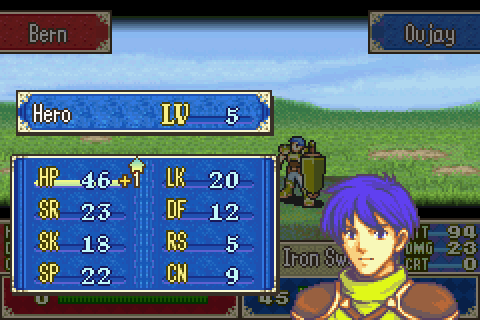
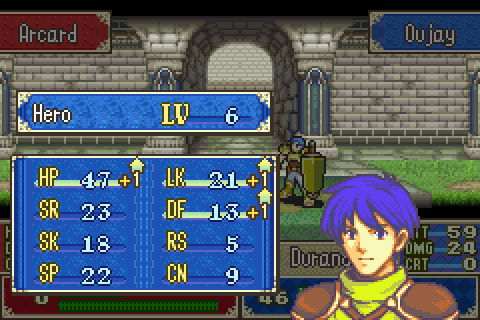
5) Oujay. It’s proven weirdly hard to build his support with Lilina, but I’m still trying. He’ll be my main physical damage dealer.
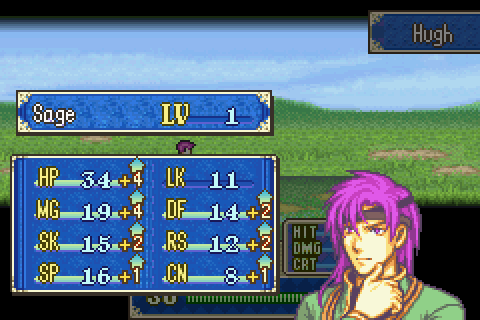
6) Hugh. Hugh is ready to promote and will be the healer for the smaller top group. And those are all my promoted units really, everyone else is someone I’m trying to train.
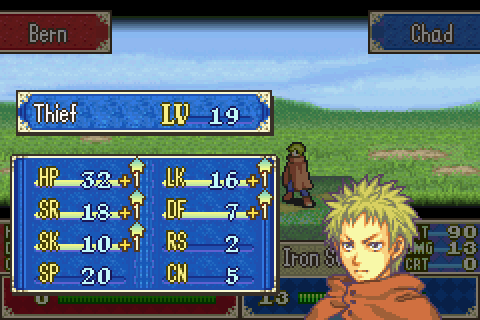
7) Chad. Chad remains an offensively powerful but fragile swordfighter. I’d like to finally get him to level 20. Plus there are some elixirs to steal.
8) Cath. I need at least 2 thieves to steal everything efficiently. And I’d really like to train her, hard though that is.
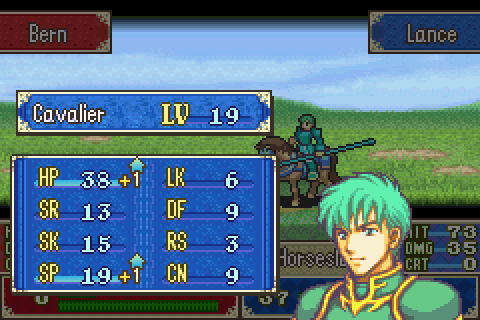
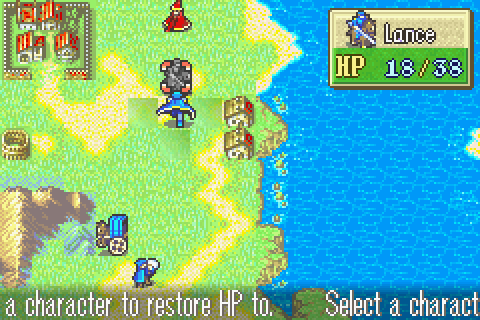
9) Lance. For too long, Lance has lagged behind because he’s unpromoted. It’s time I finally got him up to the same tier as Alan. He just needs a little more XP.
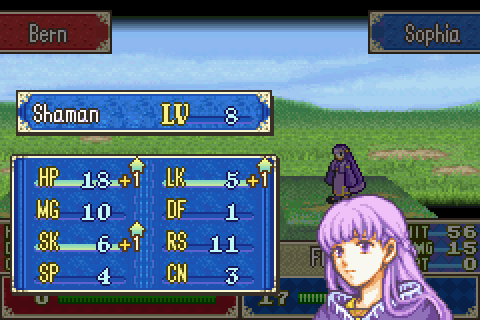
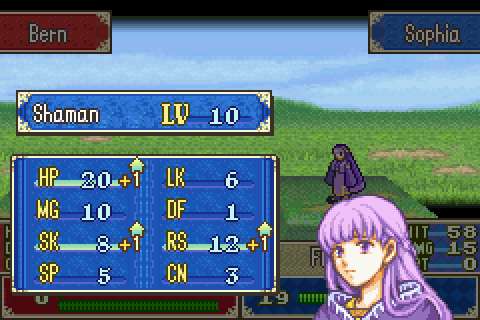
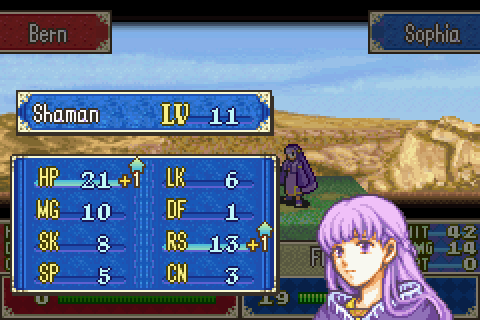
10) Sophia. I so want to bench her, but I’m determined to really give her a completely serious try. This was the first chapter in a while where I have enough control to bring her out and train her in the safety she needs.
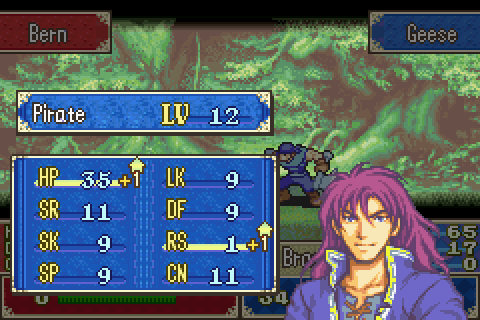
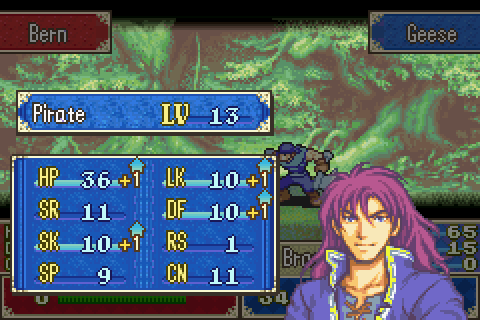
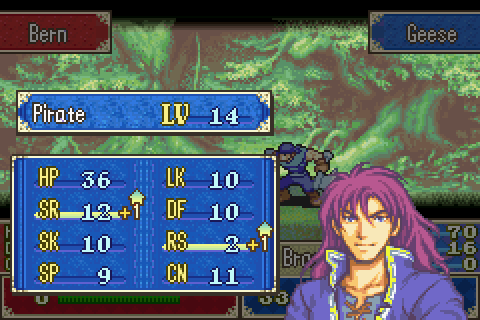
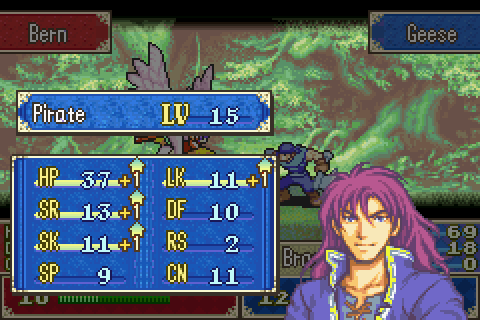
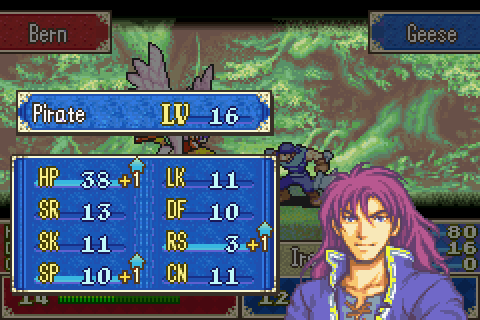
11) Geese. Another terrible unit I’m trying to train. Geese is really bad now. Everything doubles him and kills him in one round. And he’s less accurate AND less powerful than Sophia at higher level. Crazy. I am REALLY scraping the bottom of the barrel on people to train.
12) Clarine. I didn’t want to bring Clarine; she’s max level and really bad. On my first run of this chapter I actually went without a Restore user and succeeded, but for this new strategy I need someone to cure sleep. Clarine has the added edge of being able to carry people and I don’t need big magic power, so she’s the pick.
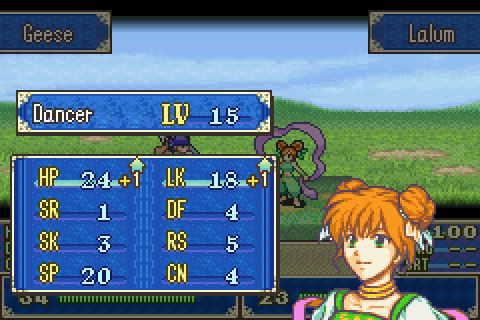
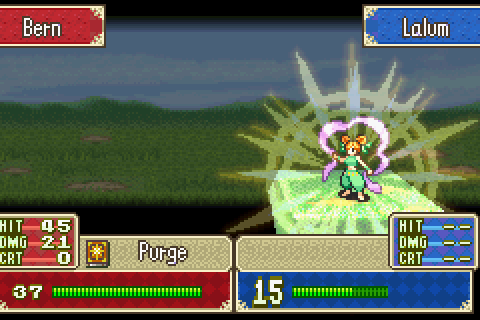
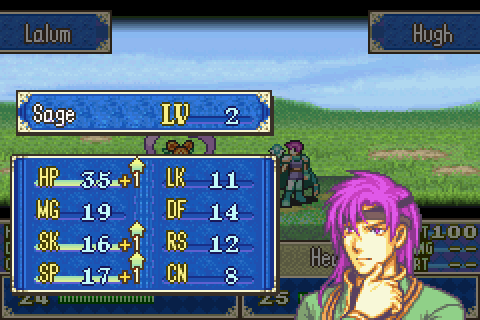
13) Lalum. Lalum is much happier here than she has been for the last couple of chapters. For some reason the purge bishop here seems to have much lower Mag, so she can actually survive a hit from him (albeit at very low HP). Useful as ever, and particularly for training pitiful people like Sophia or helping Lilina staff grind.
14) Merlinus. It’s a perfectly safe map if played right, so there’s not much risk in bringing him. I need to buy and sell a LOT of stuff at this store here, so he’s the man to take along.
Notable Units Rejected:
1) Tate. Tate doesn’t stand up to ballista bolts the way Miledy does and I really don’t need 3 flyers for this map. You only need 2 to take down the ballistae; after that it’s a land map.
2) Alan. I’m really not bringing many promoted people. Lance would appreciate the support, but I’m confident I can win without it and get Lance promoted.
3) Ward. I actually considered him instead of Geese as the axe user to train, but he’s just too bad and he can’t wield a Brave Axe, which is required for this strategy.
4) Gonzalez. He’s all ready to promote, but this isn’t a particularly good map for him and I’m leaving most promoted people behind.
5) Sue. I brought her to train on my first run of the chapter and she did very well, but there’s not really room for her on the team now.
6) Saul & Ellen. Level 20 and I only need one restorer.
7) Cecilia. Would actually be a good alternative to Clarine since she can gain XP and attack, but she's too much slower and thus would be one-round killed by too many things.
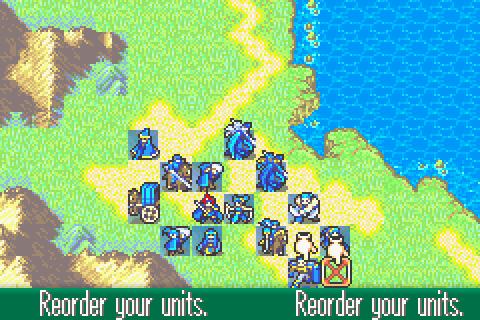
The party is going to split into 3 groups at first.
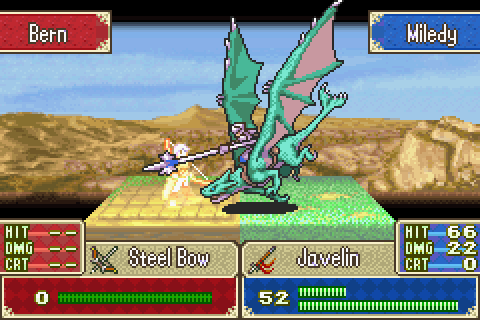
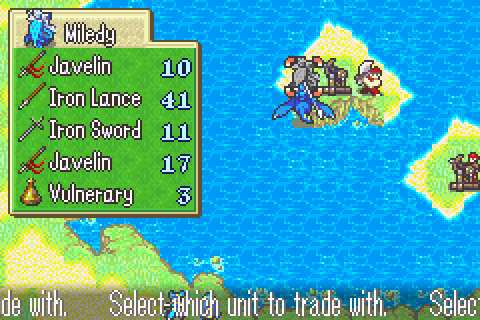
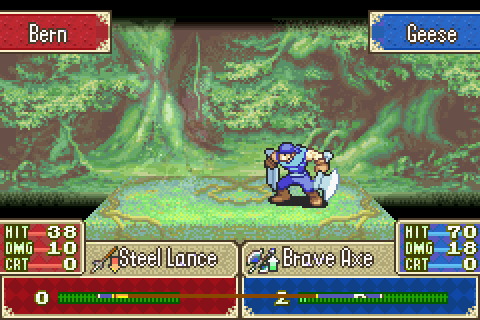
Zeiss and Miledy are going to fly out into the lake and eliminate the ballistae (and possibly the purge bishop) ASAP. Both have fairly standard gear except that Zeiss has the Delphi Shield (because Miledy has higher Def and HP and thus doesn’t need it). Miledy has a spare javelin since her main one began to run low on my first run.
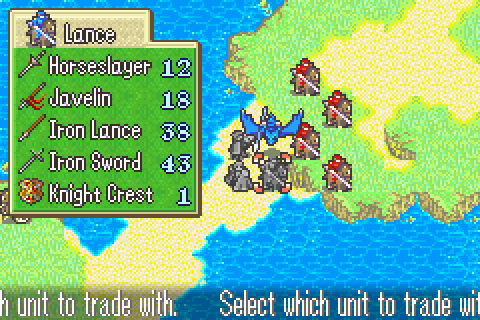
Chad, Hugh, and Lance will be responsible for clearing the top. They’re a small but fairly strong group- or they will be once Hugh promotes. Chad will be stealing elixirs of course, but also doing some serious fighting. As such he has not only an iron sword but also a steel once and a lancereaver. Hugh has typical mage gear plus a Heal staff and a Guiding Ring. Lance has an iron lance, iron sword, javelin, Horseslayer, and knight crest. Merlinus will be traveling with that group as far as the store and has an iron axe for someone to give to Lance after he promotes.
Zeiss will join the top group after his first mission is over while Miledy will join the bottom one. This is because the top group has lighter fighting to deal with and also lacks a really low level person to give most XP to.
The bottom group will consist of Lilina (primary healer and a major damage dealer), Oujay (primary damage dealer), Roy (Just there to leech some XP), Sophia (the main person I’m training), Cath (Gotta steal an elixir), Geese (Who am I kidding, he can’t do anything), Clarine (Restores and healing Lilina), and Lalum (letting the others do their jobs well and possibly allowing the assassination of the purge Bishop). Gear for the bottom group is mostly standard save that Geese has the brave axe.
The Characters:
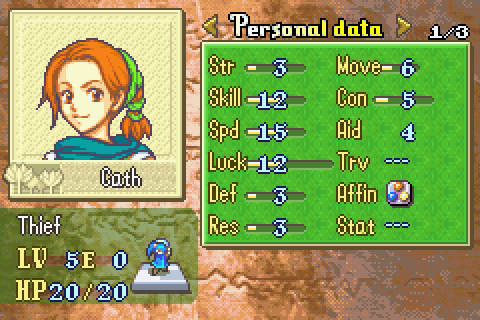
I know I promised Cath a proper introduction when she joins, but I’ve seen her enough times now that there’s little else to say.
Cath lived in a village that was destroyed by their ruthless Lycian ruler to prevent Bern from benefitting from conquering it. She has an entirely reasonable dislike of nobility and became a thief to steal only from them and give to peasants in need. Somehow she’s become incredibly accomplished in the… weeks? Weeks at best since her village was destroyed. She traipses all across the world, gets into the highest-security fortresses around, and basically always gets the better of thieves like Chad who SHOULD be more skilled. Among others. Roy is the only one who seems to ever get the better of her. She’s a fun character before she joins and a rare recognition by this series that rule by a hereditary nobility is an absolutely horrible system of government, but she’s kind of annoying in her supports once she’s in the party.
And she’s useless. Chad was decent at fighting and available early; Astol was tough enough to take a hit. Cath is neither of those things. She has basically the worst stats of the thieves in this game, joins very late, and contributes nothing of value. It doesn’t help that my Cath was unlucky in basically every stat with her HM bonuses.
I’d really like to train her anyway. Chad and Astol are both level 20 or close and thieves are great for your XP rank. But look at that Str.
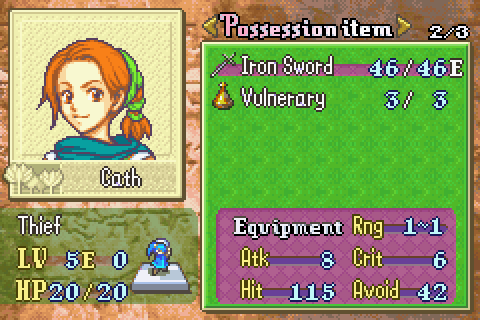
And look at this gear. She does 8 damage. And she has an E in swords, so you CAN’T give her a heavier weapon. The result is that she can’t inflict even 1 damage on any enemy on the whole level except for the two mages! This means you can’t actually train her even if you wanted to.
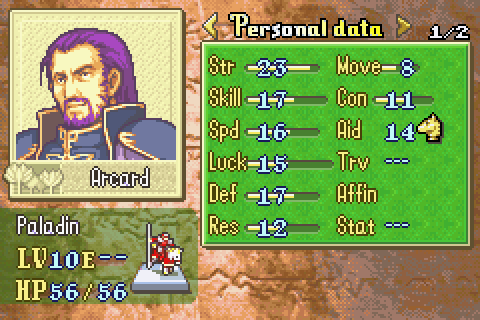
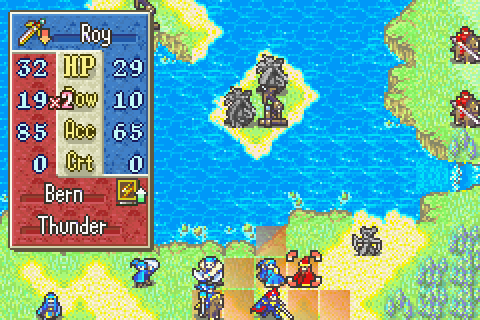
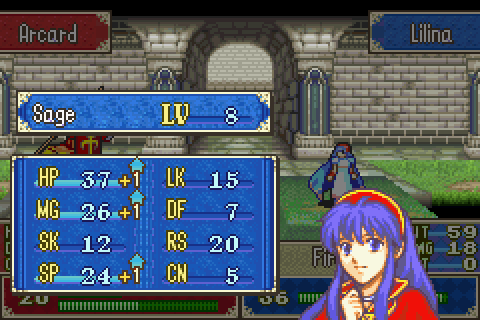
We’ve seen him before, but here he really is at last! Arcard was apparently a really minor Etrurian noble who for some reason was put in charge of the mines on the western isles. He may be solely responsible for the horrible conditions there. Plus he’s been working with Roartz to sell Etruria to Bern. Although Roartz massively outranks him, the two of them actually seem to work more or less as partners. They might be a fun pair if there was a real Etrurian arc and we saw more of them.
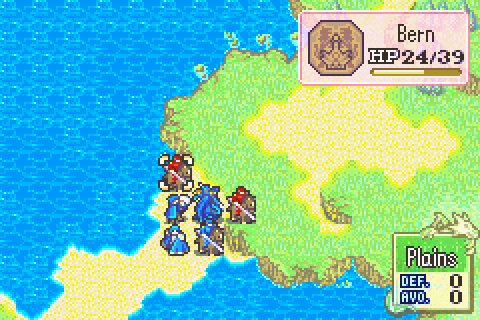
People say he’s weak, but actually this guy was the toughest boss since Ohtz for me. If not further back. He’s got really solid, well-balanced stats. His defenses are very hard on his gate, his strength is pretty massive too, and only a few of my characters can double him at all.
Playing Through:
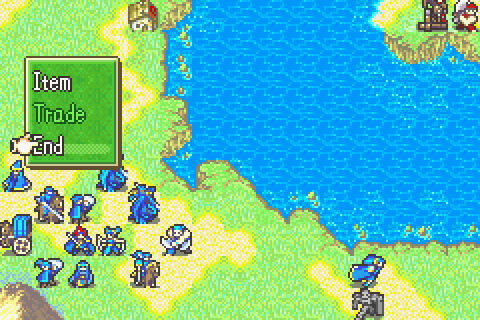
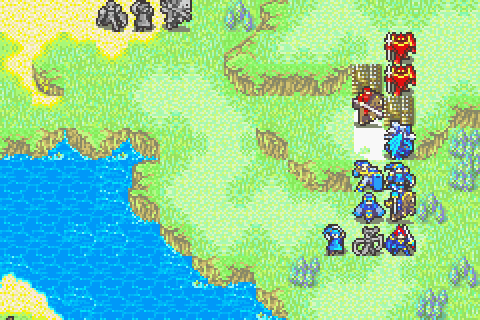
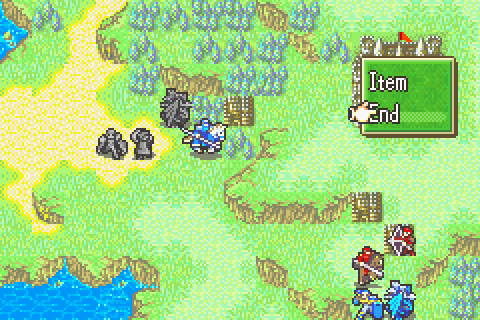
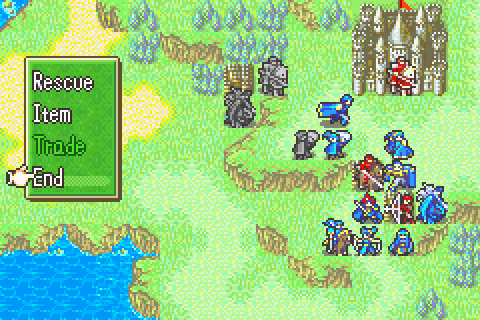
Lilina and Oujay wall up. Oujay and only Oujay is in range of the further back cavalier. He should leave it with just a few HP for Sophia. Lilina is in ballista range, but I’m confident the ballista won’t actually go for her when it has Miledy available.
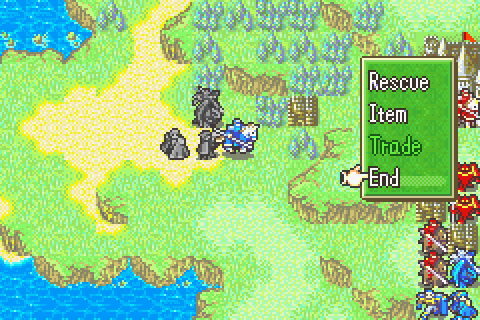
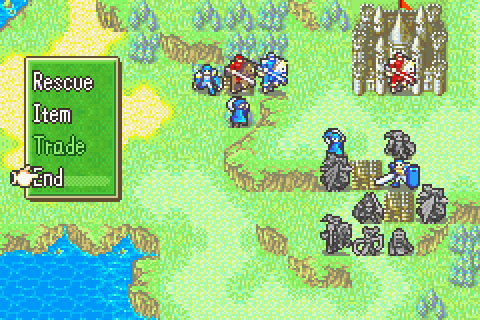
With some rescue-drops, everyone else crowds in.
Merlinus backs up 1 square to safety for now.
Zeiss is going ballista hunting.
Hugh scores some very nice promotion gains.
The top group is spread out so they can’t be focus-fired. Miledy tries to weaken this one for Lance.
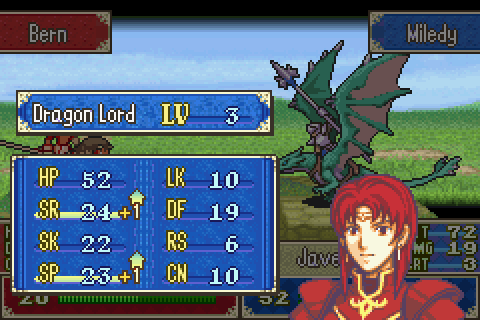
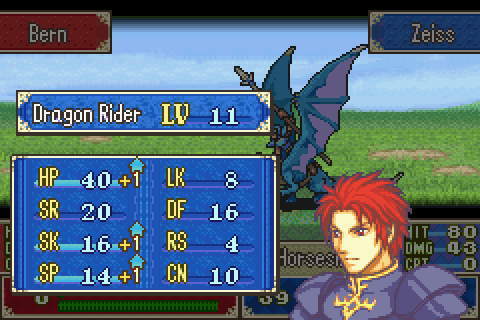
Well it didn’t go quite as hoped, but he should be able to finish it with his horseslayer. Also she just capped speed. That’s the problem wyvern riders traditionally have. Their stats are amazing but then their caps are terrible.
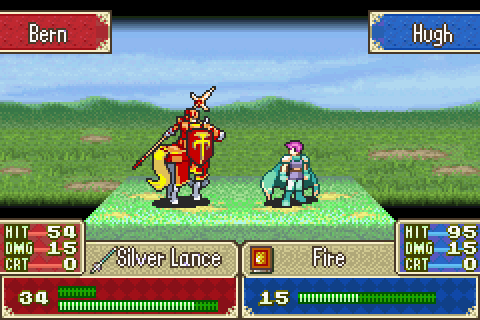
The enemy attacks. Hugh isn’t fast enough to double this guy, but you can see he’s a REALLY tough mage.
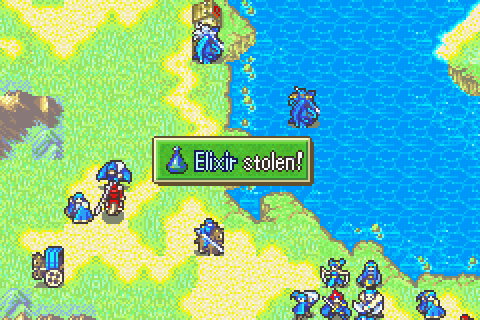
My turn. Unfortunately, the cavalier actually suicided to Miledy for some reason instead of Lance. That goes against everything I thought I knew about FE AI. Oh Well. Anyway, the first elixir is mine.
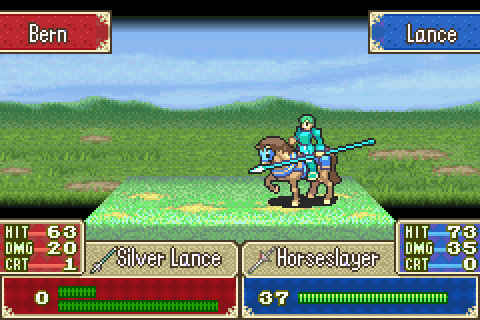
The horseslayer finishes the paladin easily.
Not exactly good, but acceptable.
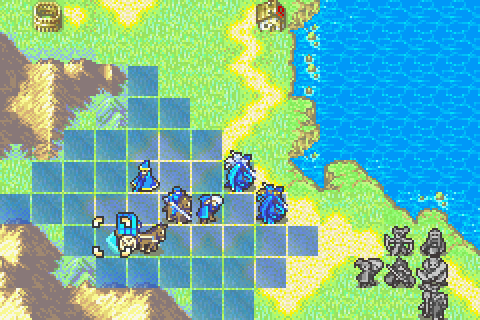
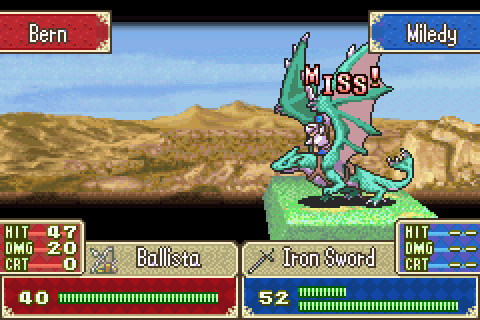
So now it’s time to think about the other groups. First I need to know what ballista range is so I know the consequences if the guy survives.
I’ve decided to take a minor risk and hope Miledy hits exactly once here. Then Zeiss can get the kill easily.
When you want misses, you don’t get them.
I want that fighter gone promptly, so I’ll have Zeiss trade Miledy back her iron sword and stay out of the way.
So there’s the range on the other ballista; that tells me how much space I have.
I’m not giving up! And neither are you! And neither am I!
… we’ll try again later.
So the other range to worry about is purge. That’s the reason I want that fighter to die, actually. Sort of. See, if the fighter is only injured, the bishop will heal him instead of moving closer and purging. That would mean I can’t kill him as early.
That 20 speed cap is ruining her.
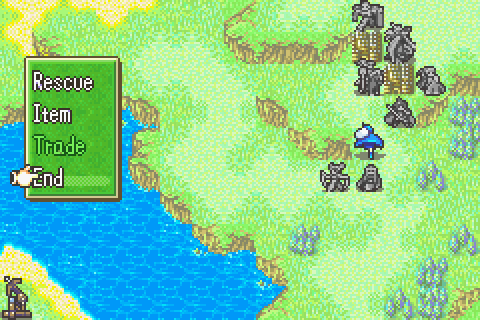
So everyone pretty much just moves forward via rescue-drops. Lalum was advanced as far as possible even though it means she’ll take some light fire (the ballista will go for Miledy) so she can more easily help other people reach the bishop.
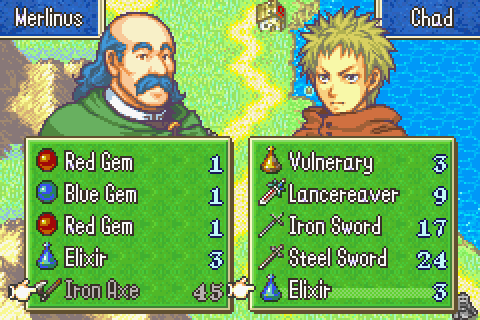
Merlinus had an iron axe for Lance. Lance isn’t ready and doesn’t have space yet, but Chad can hold it for him.
Quite a few misses this turn; very nice.
And one notable hit on exactly the person I wanted. Now I know he’s in range.
Lance goes for the mage while Hugh covers healing. This mage just does not move no matter what.

Next turn, Miledy repeats the same tactic on the second ballistician and this time it works.
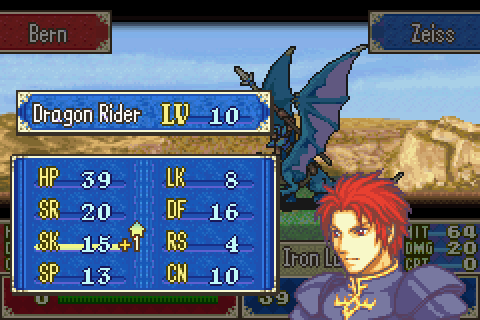
Welp. That’s a terrible Zeiss level for my considerable trouble.
Lalum launches Oujay at the hapless enemy.
Some really cruddy levels so far this chapter…
Argh, this mage is just too strong. Everyone either does no damage or is doubled and killed. I’ll have to use Lilina instead of feeding it to Cath as I’d hoped to somehow do.
And everyone else moves forward with some drops. All long-ranged attackers have been cleared, so it’s a much safer map.
Merlinus visits the village.
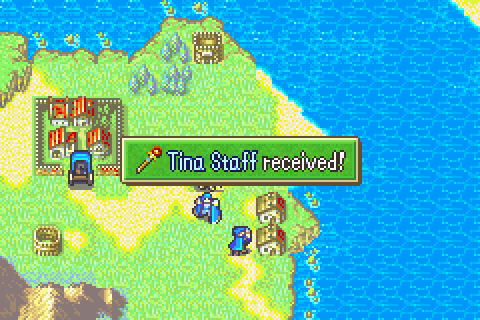
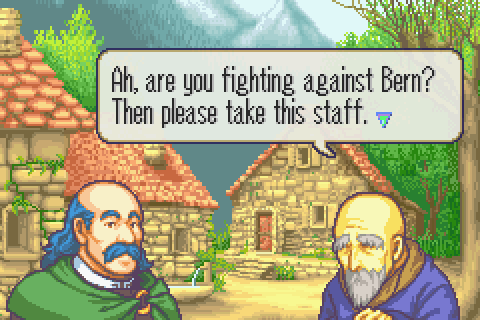
It’s the final anime character item. I still don’t get the reference at all. This is the only useful item of that set. It’s a staff in between Heal and Mend. So not really as good as either of them, but healing staves are pretty much always useful.
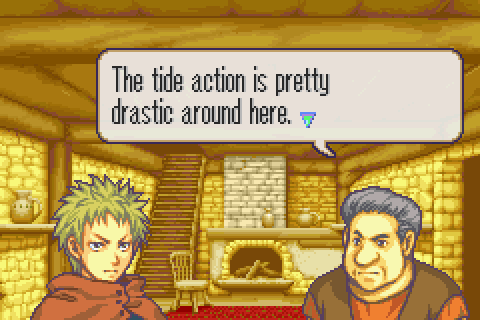
All the house people want to talk about the chapter’s gimmick.
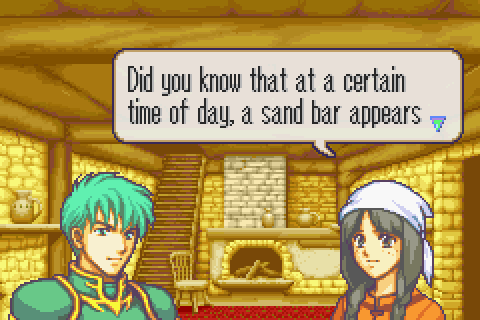
Yes.
Zeiss is ready to join the top group, so he starts flying that way.
Now what? My army is too spread out to work together well, the enemy are too strong for me to just take them out with weak people, and I need to crowd in there but the terrain is awful.

Oujay takes one out and I managed to get a kill for Sophia (using Lalum when she inevitably missed the first time). Now I’m in a tight spot though. That mage is lethal. I’ll need to keep everyone else back and basically just have them rescue Sophia out. Leaving me in the same darned situation when next turn comes.
Only worse because I needed to steal this thing.
Uh oh. Now I’m going to be in trouble. I need to kill a lot of strong enemies and I don’t have many guys.
The first thing is to clear the dangerous enemies that I can.

Roy actually gets the kill on the injured mage.
So there we go. Safe.
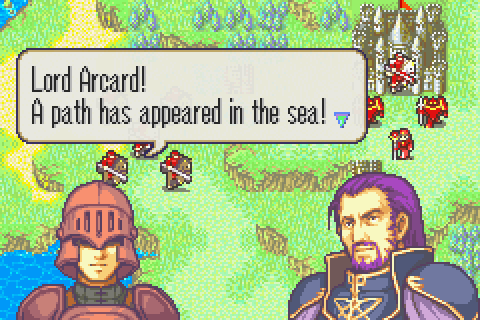
Surprise! Now apparently the locals told them this happens but they’re still caught off guard? And all these troops here hadn’t been deployed here before, so they didn’t know.
They don’t actually do this. Though perhaps it was intended as a warning about the reinforcements who begin in a couple of turns? I guess that could make sense. It’s really not obvious as a warning though.
So everyone is all set to move onto the sandbar and I examine the enemy ranges.
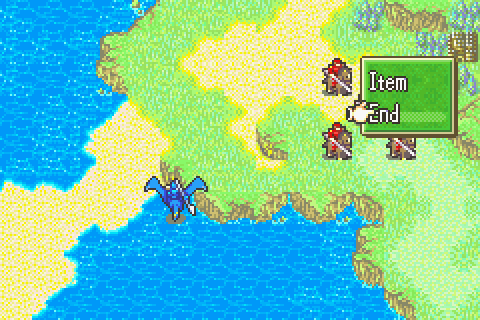
Here’s a good spot for Zeiss with a javelin.
Miledy weakens this cavalier and moves to bait the bishop into wasting some ammo.
Darn, a critical.

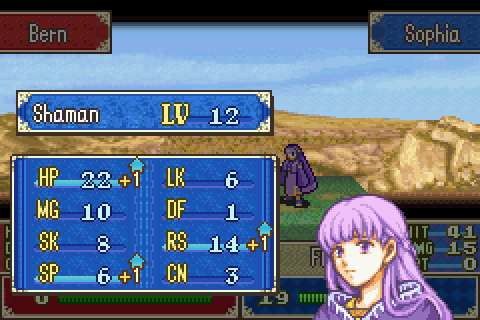
Well I still managed to get a level on Sophia, and she finally gained some speed!
And the mage goes down. I don’t have much time to clear out of here. Everyone pretty much just crowds forward.
Well that’s a really unexpected target when Miledy was right there.
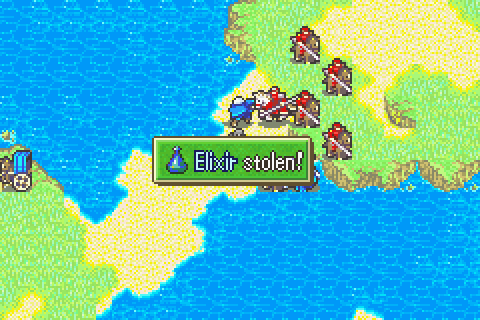
The last elixir is mine on the top front.
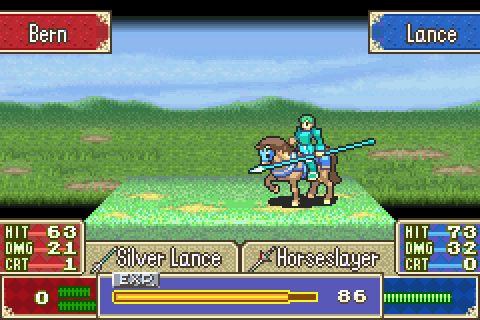
Once again, the horseslayer eliminates the paladin.
Zeiss then borrows it to kill another one while blocking for Chad.
He’s way better with it than Lance, of course.
I’ll take it!
So it’s turn 7 and I’ve got to get out of here. Fortunately there’s almost no resistance.

These folks are out.
Geese remains behind. And that’s the turn.
Much more expected. That’s pretty much it; every other enemy on that front is dead.
New turn for the top group. There’s just 2 guys left. And I really meant just 2 guys. There are basically no enemies left on the map. The reinforcements will soon change that.
Great!
Also great! No more cavaliers.
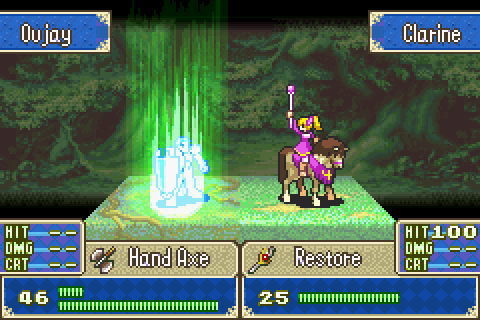
On the bottom front Clarine fixes Oujay.
Miledy zooms into the danger zone to take out the bishop right now.
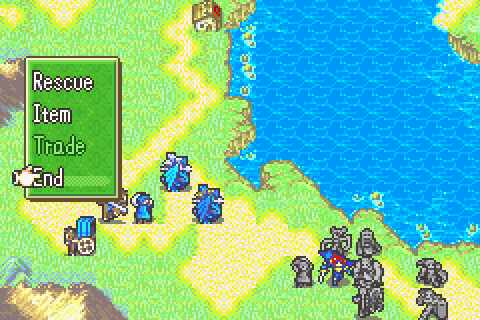
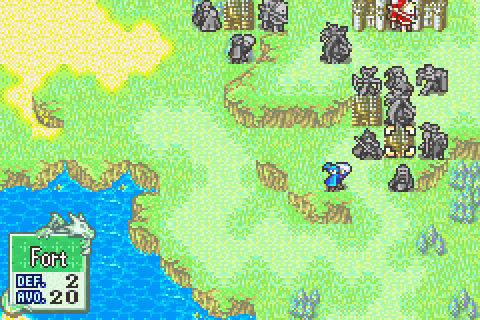
Alright, I got far enough away from the southern forts and walled up.
So the pegasi start spawning and have no choice but to go for Geese. He’s on a forest and has weapon triangle advantage. And with this Brave Axe he can one-round kill them (barely). Lousy first level here though.
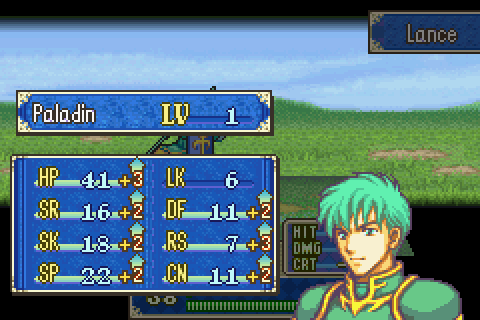
Lance moves in and promotes.
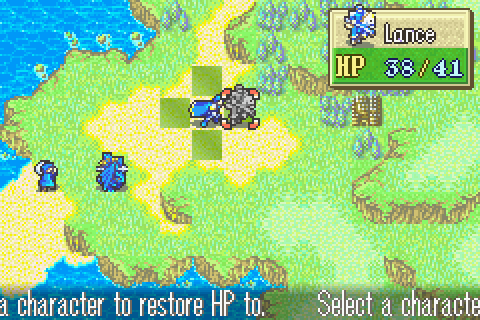
Then Hugh heals him again.
Oujay inflicts the perfect amount of damage on an enemy as their attack begins.
I’ve had time to give Lance his iron axe, so this poor fellow doesn’t stand a chance.
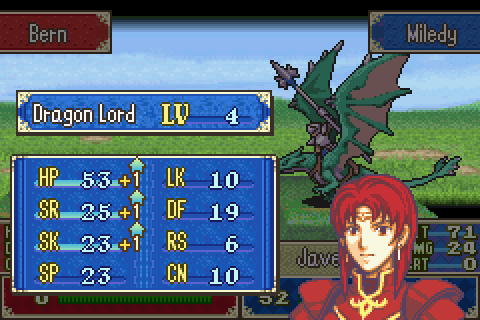
Miledy is a favorite target of the enemy where she stands as one of the blockers. Now that her speed has capped, this is about the best I can hope for.
The top group is ready to tank the next rein.
The bottom group gets into a bit of a routine of giving a kill to Sophia and then hauling her out.
Which leaves the enemy to break themselves on the walls of Miledy or Oujay.
Geese gets a better level as his anti-pegasus crusade continues.
Their hit chance is tiny, but he never dodges! Fortunately he’s ready with vulneraries.
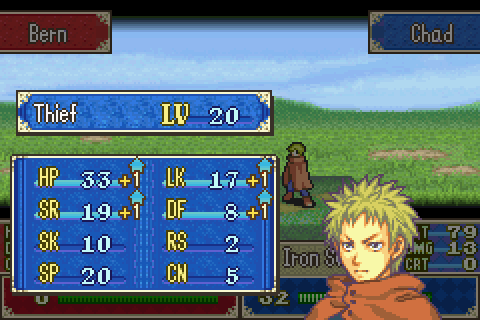
Chad kills a rein and gets an amazing final level. Best Chad I’ve ever seen.
That group presses in more tightly bit by bit.
On this front I might need to pull back a bit…
Another bad Sophia level first. All that skill still isn’t making her even remotely accurate.
Ah ha! The reinforcements are now penned in!
Geese is doing well on Res. That’s about it.
Turn 12. So I’m trying to get the top group right of this fortress, but it’s proving hard.
This group is ready to get to work at least.
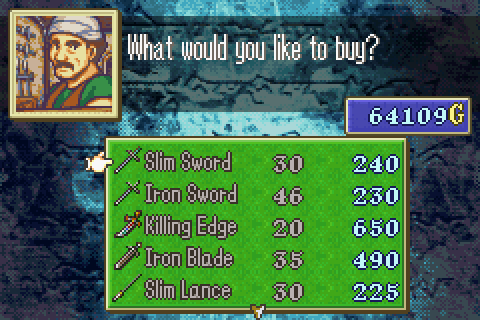
Merlinus is done selling things and goes shopping. Killer weapons are notably available here but rare elsewhere. Other than that, it’s a much needed chance to pick up on normal gear after a fairly long drought.
Murdock is trying to kill you!
But yeah, Lilina moved into his range on purpose.

Ugh. Geese has been hit WAY too often. Nearly every peg does it despite awful odds. So he drinks a vulnerary every turn and is still slowly dying. If he dies and I have to restart on the last turn AGAIN, I’ll be rather miffed.
A new turn. I’m getting some misses that are making killing these guys as fast as they spawn hard.
Well that’s a lousy level.
Just barely managed to kill those 2 off.
Lance breaks through after I finally take out the left fort enemies.
Hit again!
And AGAIN!
Roy gets another bad level.
At long last, the top group has broken past that fortress.
Lilina just gets better and better as she starts weakening Arcard.
Sophia… ugh.

Roy has to heal himself to keep blocking this cavaier.
Well... a bit of speed at least?
And Roy gets a kill that wave too.
Finally a speed point for Geese!
Zeiss too.
Now what? It’s turn 16. This is it.
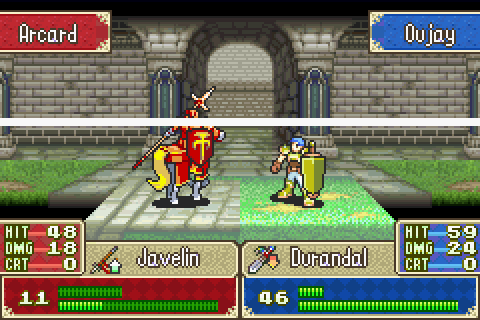
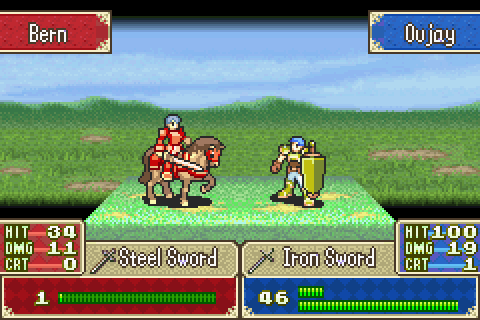
Well Oujay finishes Arcard with Durandal.
Pretty good!
Sophia gets the final kill.
Hugh gets the final heal and a good level up.
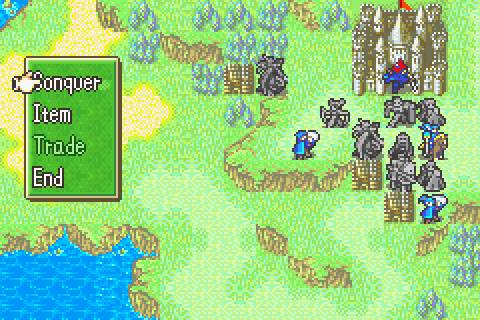
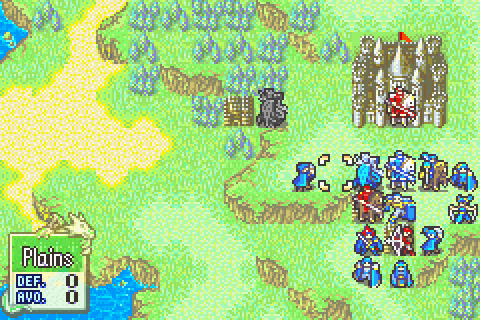
Turn 16 win! That’s the earliest possible turn to kill all enemies. Plus I stole all 3 elixirs. And I did it with a really underleveled party. Oh and I got more than 1000 more XP than required.
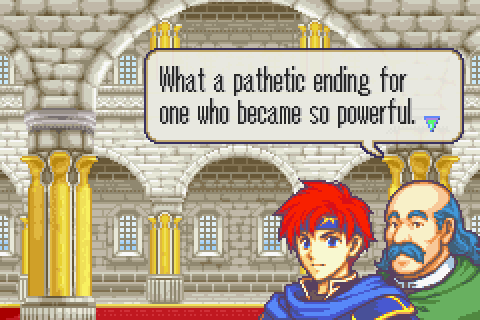
Huh? I mean, he died in battle and did REALLY well. He held his own against Lilina and could only be killed by one of the legendary weapons! That’s not really pathetic at all.
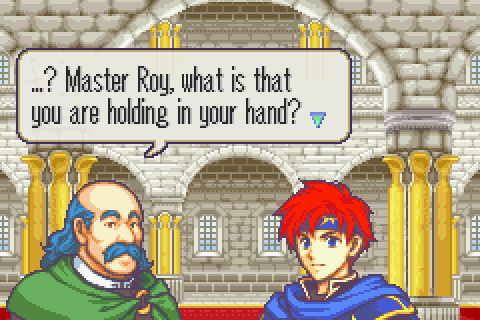
Good question!
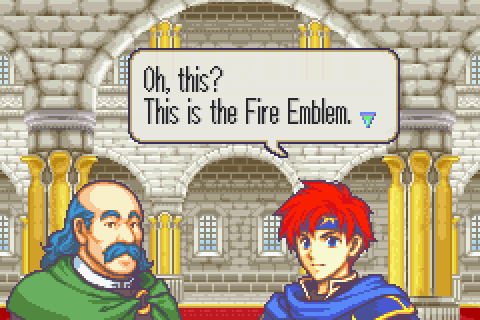
Why are you just holding it?
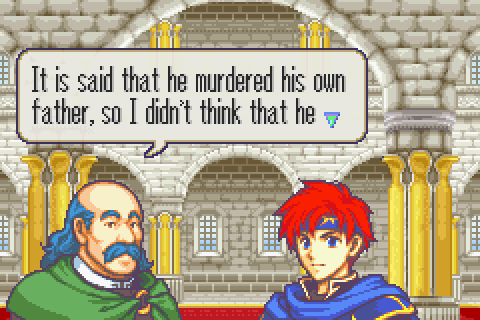
Merlinus brings up totally irrelevant rumors that Zephiel killed his own father for the throne.
Total Restarts: 16 (One really annoying one on the last turn)
Turn Surplus: +22 (Another 4 turns scored)
Things I Regret Missing: A couple of uses of Marcus’s silver lance on Rude, a Chapter 5 nomad Marcus had to kill, two Chapter 12 fighters I couldn’t kill since I needed supports built elsewhere, a pirate and a wyvern rider on 14x who I didn’t have time to go after.
Legendary Weapon Scoreboard: Durandal slew Ohtz using Oujay on chapter 14x, turn 2; and the top left mamkute using Oujay on chapter 16, turn 9; and Arcard using Oujay on chapter 17, turn 16. Forblaze slew the top right mamkute using Lugh on chapter 16, turn 6.