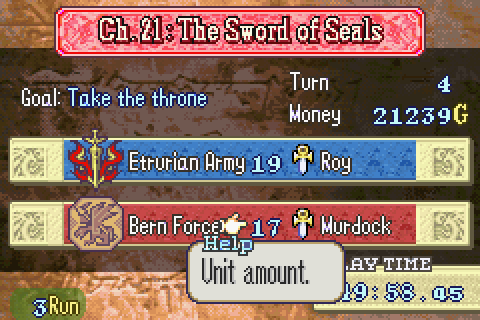
Part 33
… is not available in this chapter! You only get the sword after the sidequest. This makes the title rather bad, but on the other hand it’s more appropriate narratively.
One really annoying thing about this game is the horrible dramatic timing of the sidequests. They’re positioned so that they maximally interrupt the action and kill most dramatic moments. Ostia has been liberated and Lilina saved but there are 5 minutes to get ready before Narshen shows up with his army? Sidequest time! The western isles have been saved but a rebellion has broken out in Etruria and Lycia may be about to be attacked? Sidequest time! Etruria is free and it’s time to finally take the offensive against Bern? Sidequest time!
This chapter’s sidequest is the only one that’s well positioned.
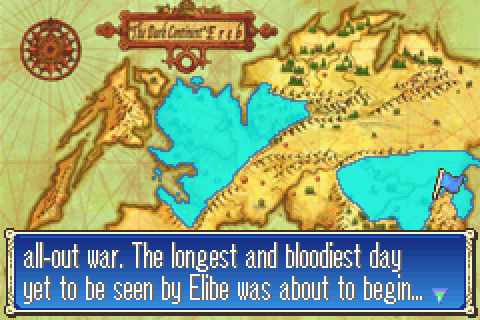
Anyway, this map is FE6’s Cog of Destiny. It’s much worse than the FE7 version as usual and has several terrible aspects, but is still one of this game’s more interesting and well-done maps.
Chapter Summary:
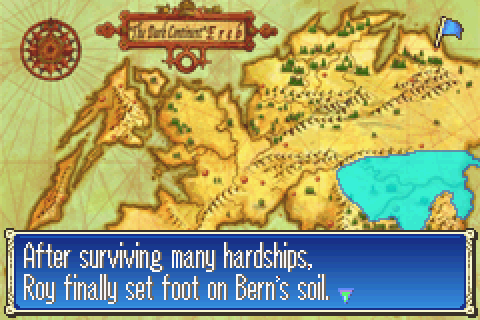
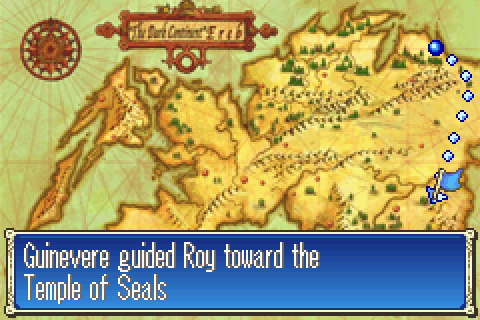
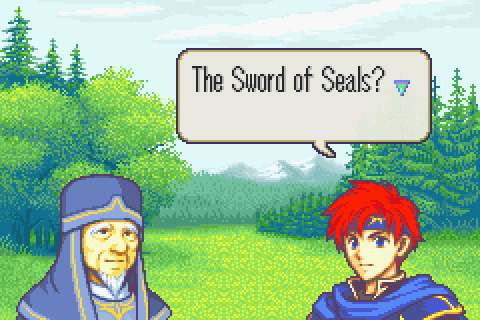
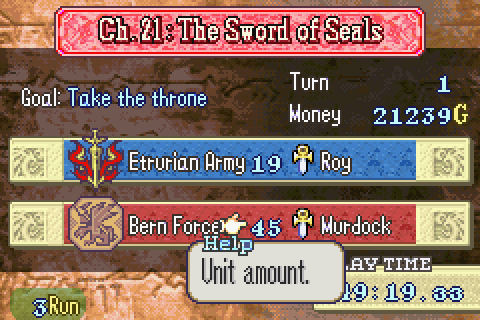
Roy at last arrives in Bern and fights one gigantic battle against Bern's army led by General Murdock. Then he arrives at the Shrine of Seals.
There’s finally a good world map theme playing as this last stretch of the game begins. I can’t seem to find a version of it that isn’t an arrangement, but it’s track 32 on this Serenes page:
http://serenesforest.net/music/binding-blade-game-rip/
Why? That’s not any kind of important military objective. And it looks like it’s right in the middle of the country. Don’t we have border forts and whatnot to take? But apparently we just get there without incident.
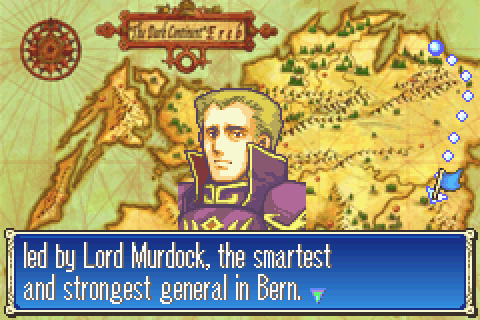
Well the strongest anyway.
Stop pretending Etruria is helping! They aren’t!
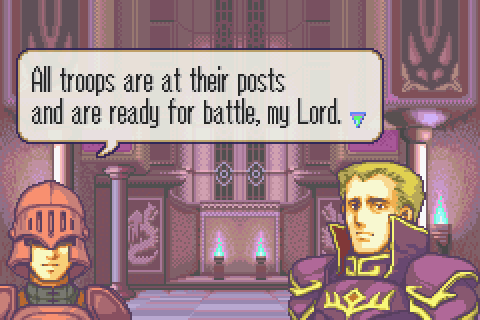
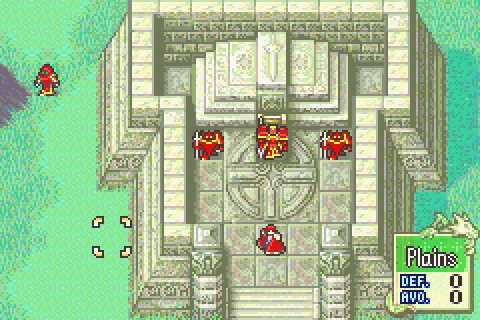
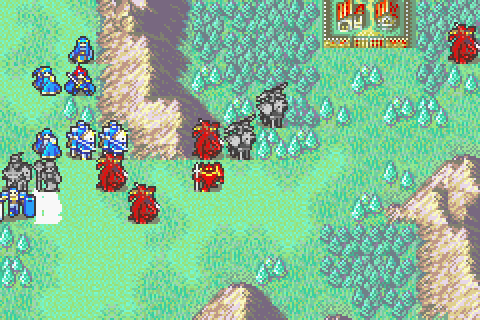
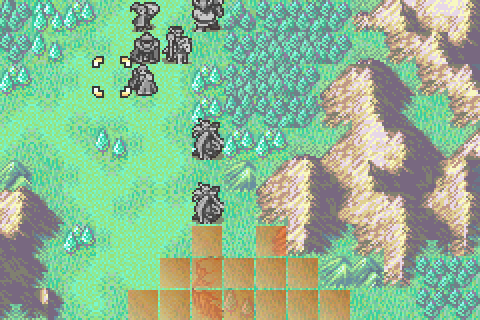
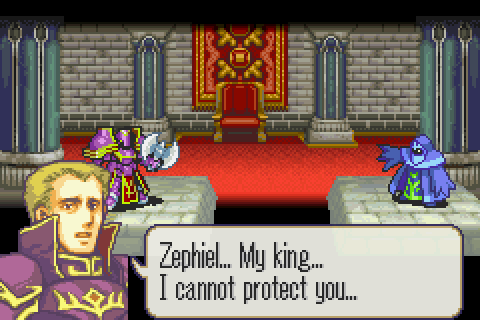
Murdock meets with his officers to finish their battle plans.

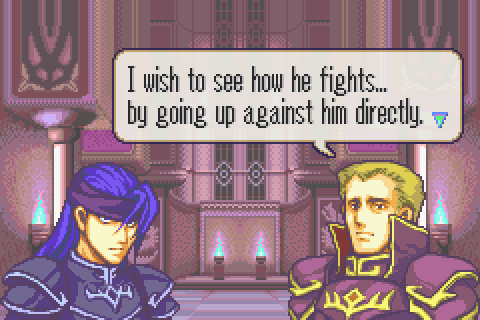
This is your only warning about how his squad will appear out of thin air. However, his squad is tiny and insignificant. The notion that they could turn the tide of this battle is nonsensical.
Murdock apparently thinks Roy- by virtue of being a successful general- must be a great warrior. Maybe if he’d learned anything at all about his enemy he wouldn’t be in this situation.
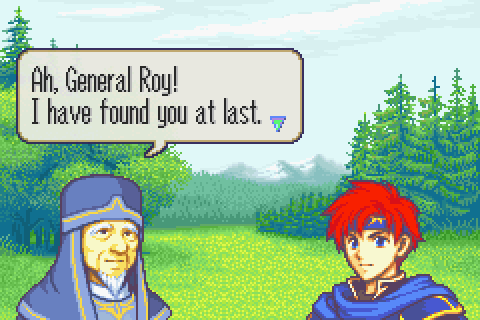
Yodel has apparently come all the way across Sacae on his own to talk with Roy.
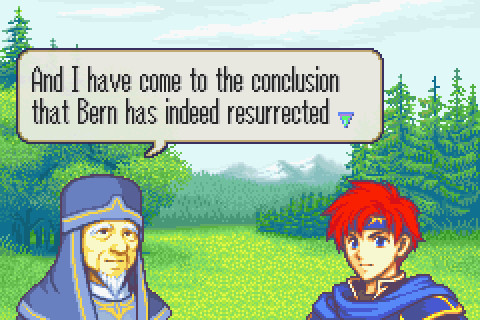
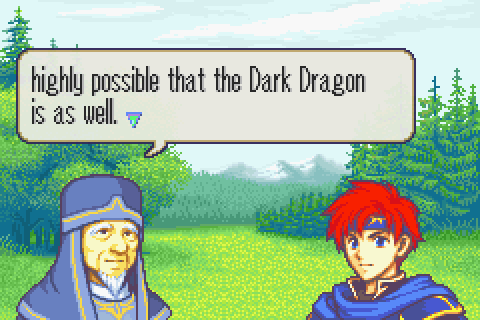
He confirms what Roy already thought and the player definitely knew: Bern has been working with the Dark Dragon.
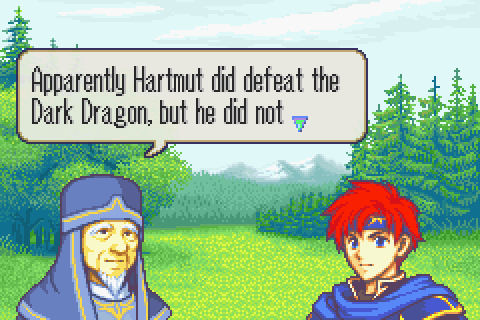
Because Hartmut didn’t actually kill it when he had the chance.
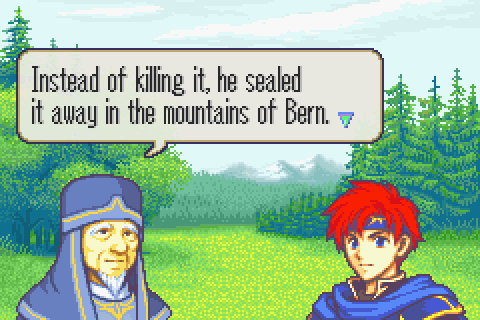
This seems like the kind of critical information that should not have been lost.
Oh really?
…
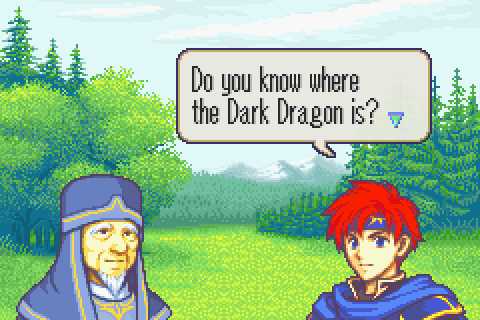
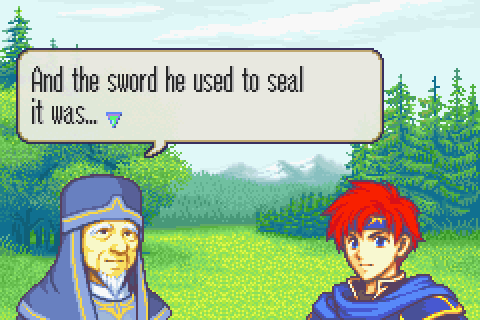
Roy asks an actually important question.
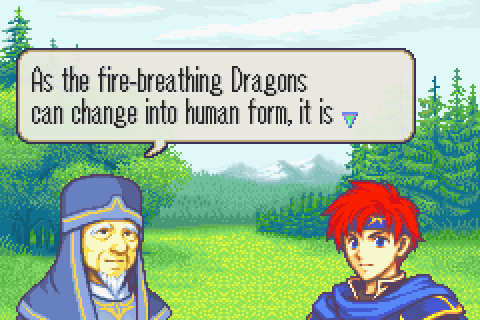
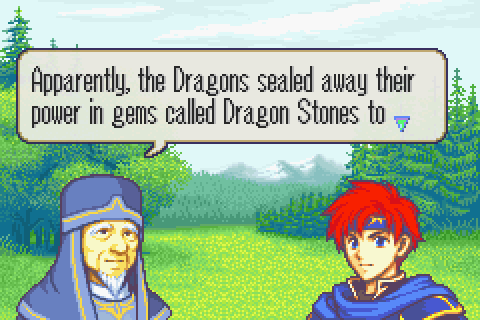
… No. We’re not having this discussion about how dragons take human form again!
We talked about this too!
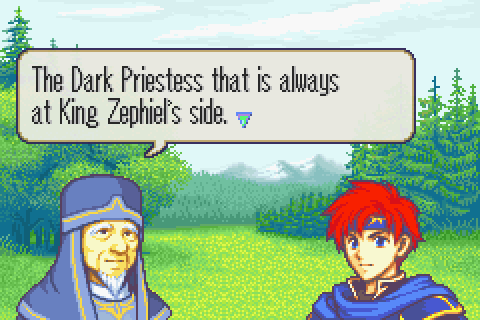
NOW we’re getting somewhere. Of course, the player has known about this for 20 chapters.
Shut up! How many times have we been over this?
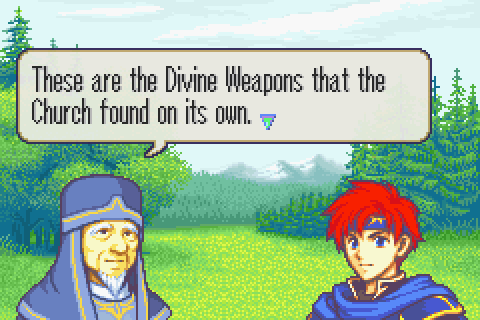
Ok, hand them over and stop talking.
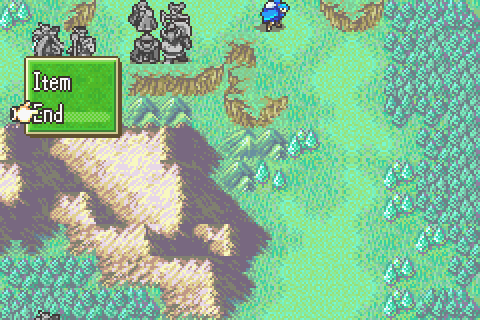
Battle Preparations & the Map:
Secondary Objective: Get the Knight Crest from the village
Secondary Objective: Steal the Knight Crest from Murdock
Secondary Objective: Build some supports
Secondary Objective: Do some shopping
Secondary Objective: Do some secret shopping
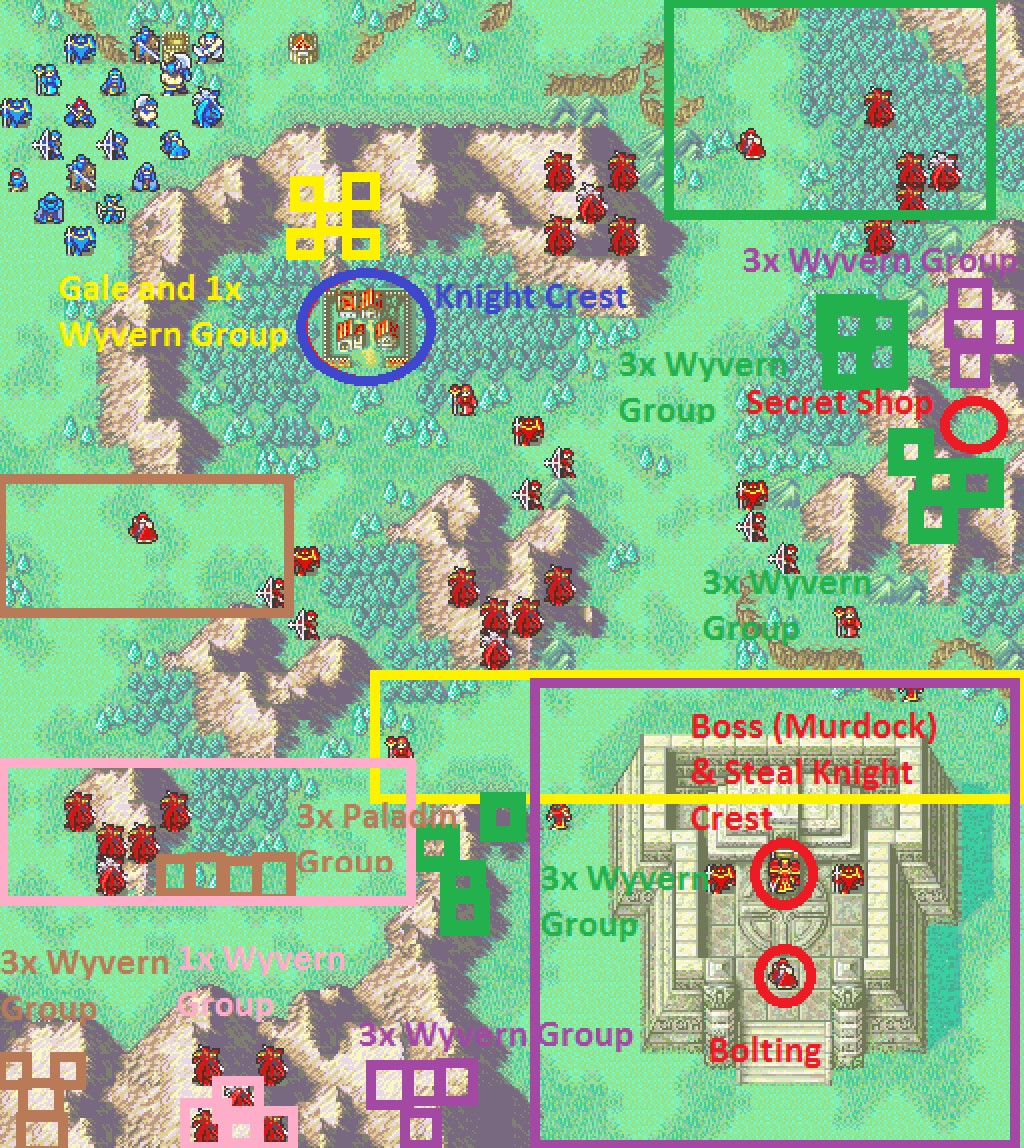
Reinforcements: Tons and tons, triggered by walking into areas in completely different parts of the map. They’re nearly all wyverns, though there’s also one spawnpoint for sets of 4 paladins. It’s all noted on the map.
Turn Limit: 30. After that, you can’t get the sidequest either. Is it even possible to take this long though?
I think of this as being one of the game’s biggest maps, but it’s really not. It’s average size at best. Which means huge. But for once the hugeness is appropriate. This is a giant battle against most of Bern’s army. Which is wyverns. And pretty much nothing else. By my count, you will fight 106 wyverns on this chapter. Hope you like fighting swarms of one unit type for twenty turns in a row!
Anyway, there are basically no non-wyvern enemies. A smattering of weak archers and knights, a couple of bishops with unimpressive gear, and two mamkutes way out of the way. None of the bishops have problematic staves or purge or anything. Nor are there, say, ballistae. It’s a completely straightforward and simple giant battle against nothing but wyverns.
The only complicating factor is how the reinforcements work. Kind of like Cog of Destiny and Victory or Death and a few other maps, they’re triggered when your units enter certain areas rather than on specific turns. Unlike most of those maps, they poof out of thin air in the middle of the map. They often do so in areas nowhere near the trigger zone too.
And since this is FE6, they appear and move immediately on the enemy turn.
So basically if you don’t know all the possible spawnpoints- and what triggers them- you will randomly lose. It’s terrible and stupid, even worse than most of the spawn-moving reinforcements in this game.
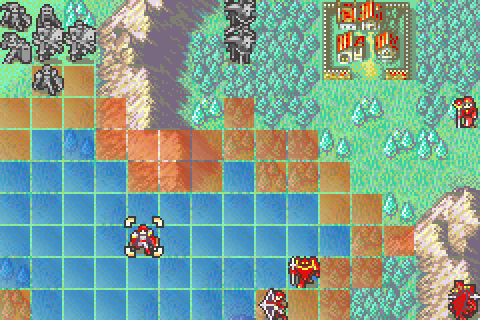
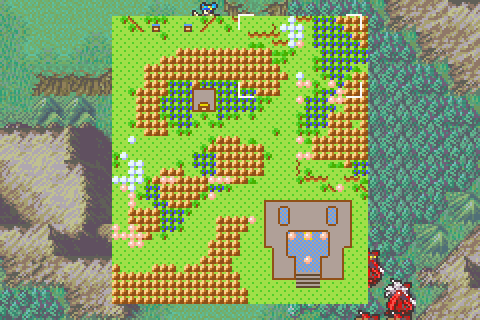
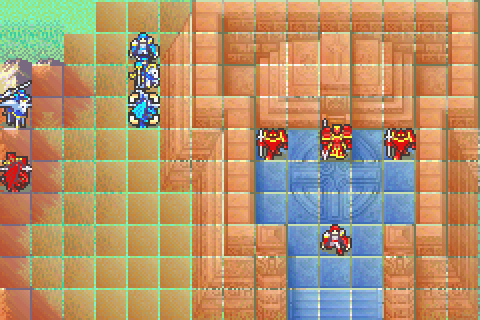
If you do know all about them, the map is much better. I’ve color-coded the spawn zones and the trigger zones. As you can see, they’re usually very distant from each other and there’s no way to guess where they might be from looking at the map. Anyway, every set of reinforcements (except for these sets of 4 paladins in one area) consists of one wyvern lord and a bunch of wyvern riders. Most of them spawn every turn for 3 turns after one of your characters ends his/her turn in one of the trigger zones, though there are a couple of one-time sets.
Oh and for some reason Murdock has a knight crest to steal? That’s kind of annoying since thieves are absolutely horrible for anything else on this map.
There are also stores with very good inventories near the starting position and the game’s second and final secret shop. It has amazingly good wares: long-ranged tomes and buyable stat-boosters, including boots!
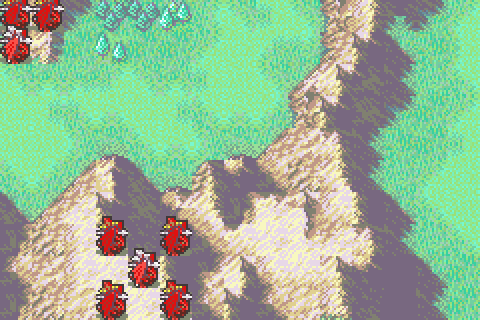
Oh, for no good reason, there are 2 groups of wyverns that poof out of thin air the instant you start the map but are not visible during battle preparations. Just to screw up your plans.
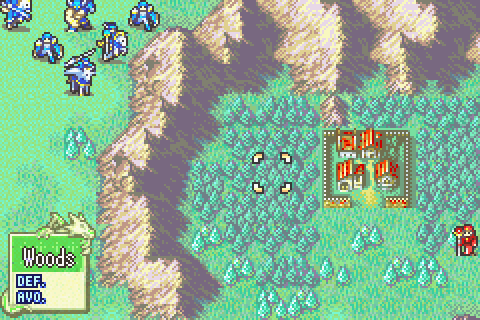
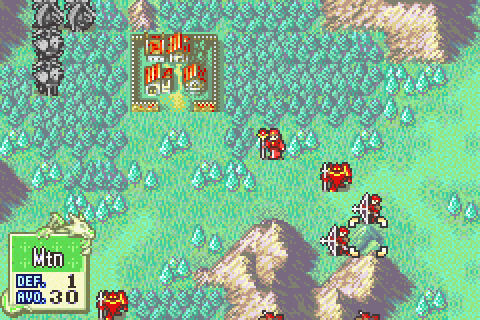
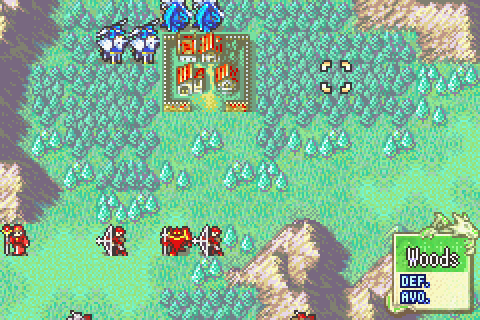
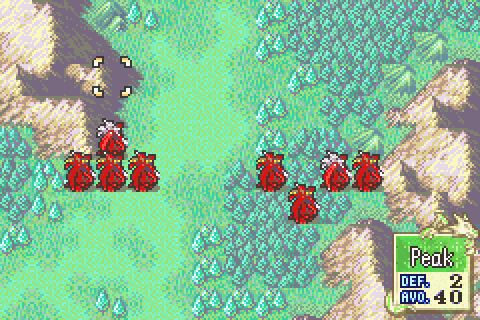
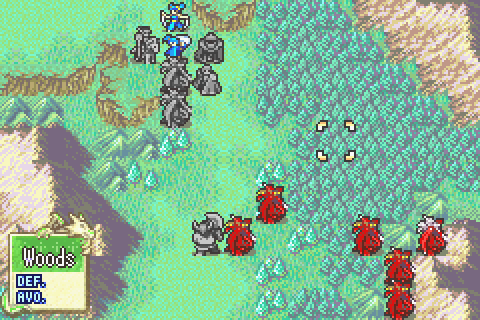
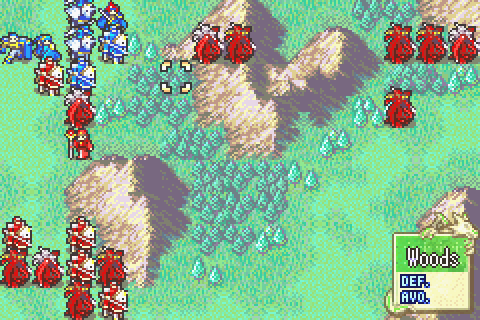
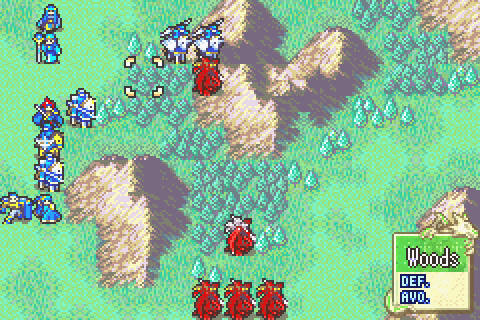
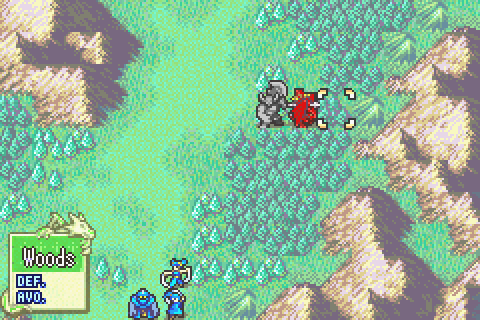
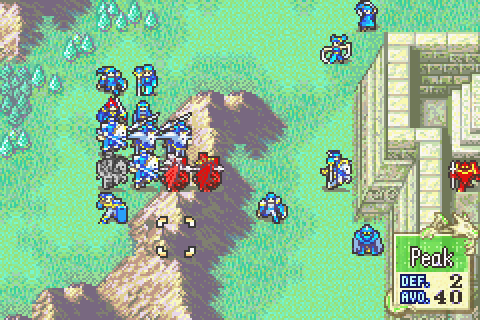
Oh, all those forests you saw are “Woods”. They're like FE7 thickets, completely impassable even to people like Gonzalez. That makes the map a lot harder to traverse and less interesting than it looks.

And as one last sidenote, they really just aren’t trying with this translation anymore.
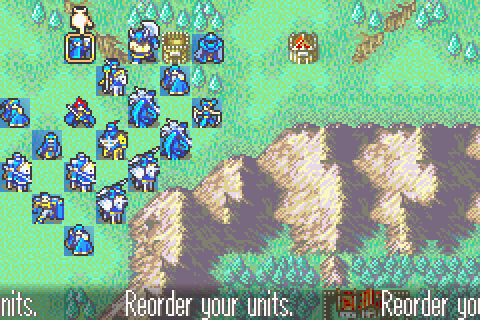
Units Allowed: 17 + Roy + Yodel. That’s the most units ever allowed in the game. It’s a pretty good number for this giant battle.
Units Brought:
1) Roy. Useless.
2) Yodel. Surprisingly handy because wyvverns are so weak to magic and he can stand up to an attack or two.
3) Lalum. Yeah… I never leave her behind.
4) Cath. I need someone to steal the knight crest. There are actually no enemies on the map she can even scratch though.
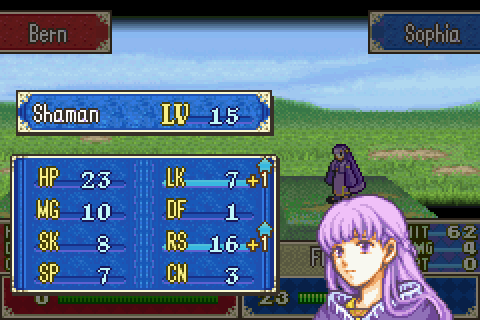
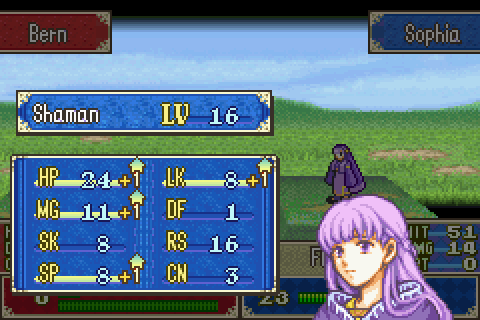
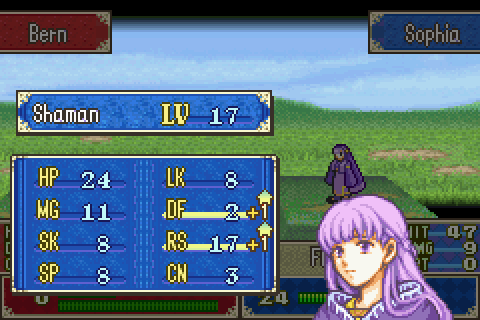
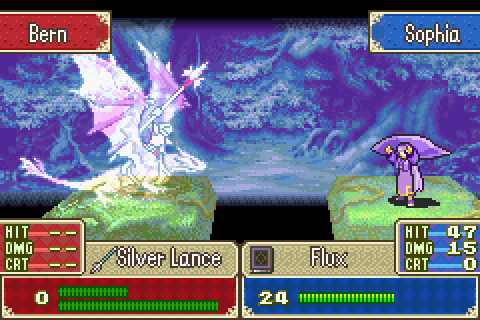
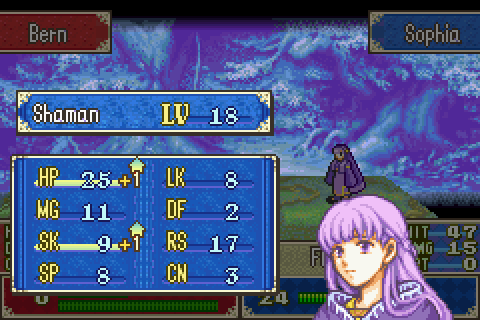
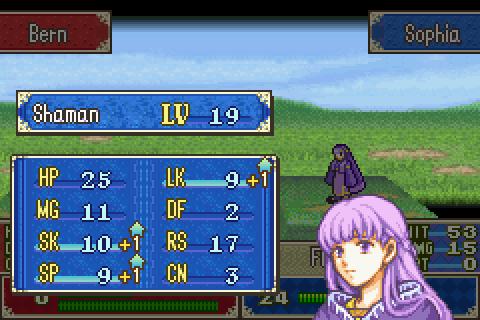
5) Sophia. I’m not really going to train many people on this chapter because I’m tired of that, but I AM going to get Sophia to level 20.
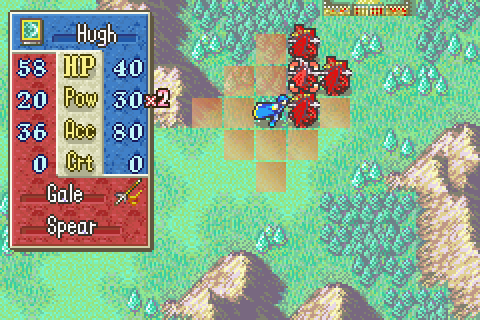
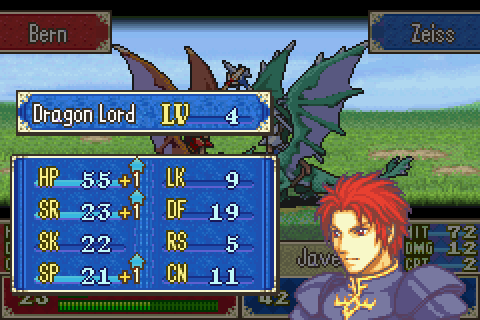
6) Miledy. You can use her to uselessly talk to Gale, but this serves no purpose at all other than to waste your turn and deny you XP. The important thing is that she’s an extremely powerful flying unit on an air map.
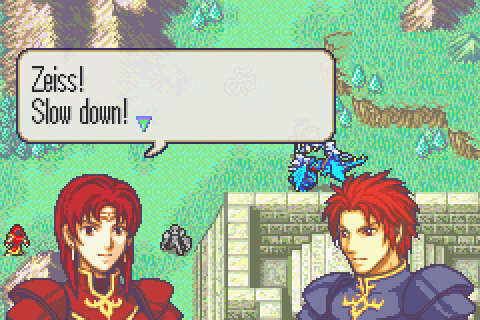
7) Zeiss. Almost as good as Miledy now. I want them to build up their supports too.
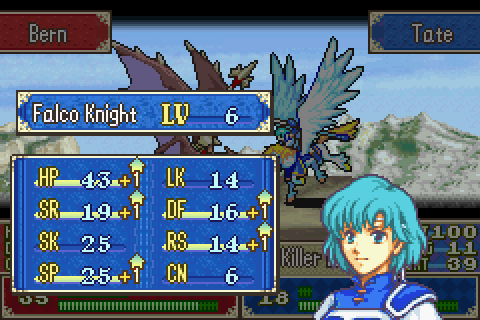
8) Tate. Nowhere near as good as Miledy or Zeiss on this chapter since she sucks against wyverns, but she’s still a reasonably powerful flyer.
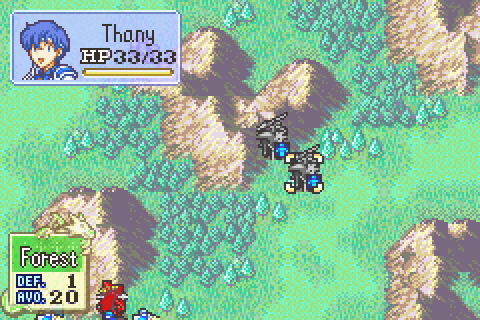
9) Thany. Like Tate but worse. They have some support to build too.
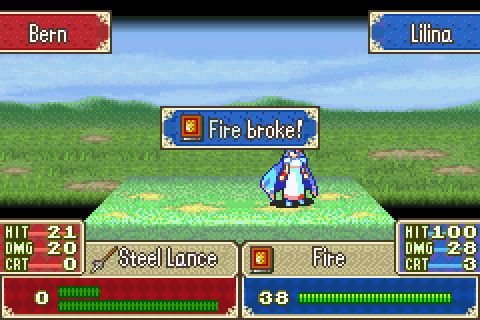
10) Lilina. My best unit and primary healer. Magic users- especially sages- are tremendously useful here.
11) Hugh. Almost as good as Lilina on offense, much tougher, and also capable of healing.
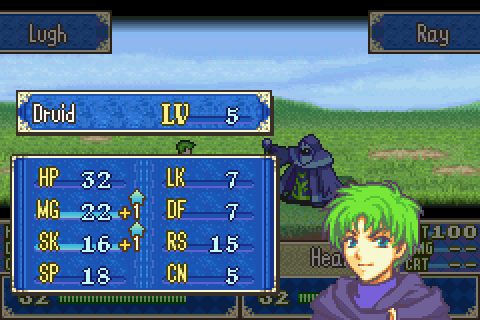
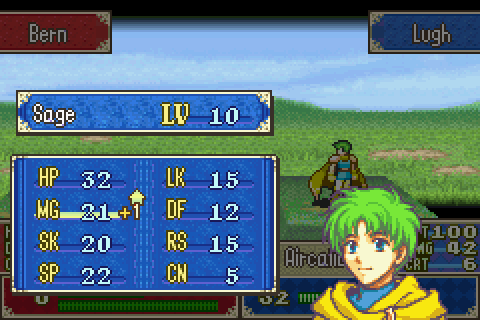
12) Lugh. Not quite as good as Hugh.
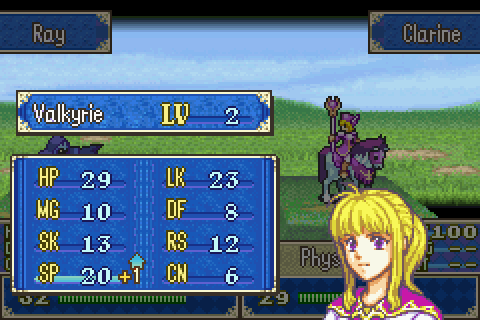
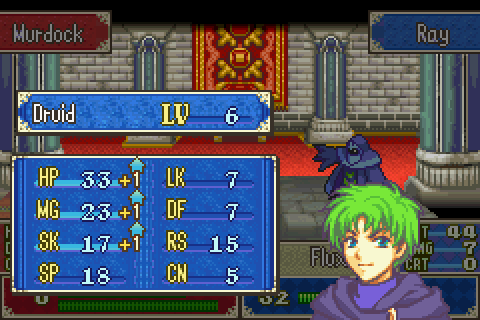
13) Ray. Not quite as good as Lugh.
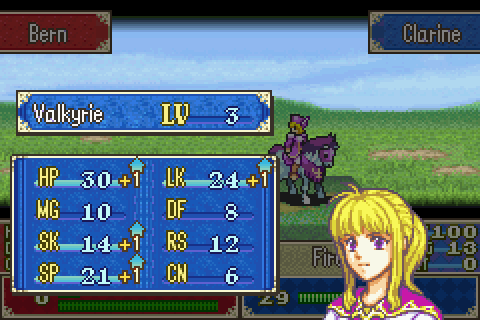
14) Clarine. More healers are very good on a giant map like this where I need to split up. And wyverns have even less Res than she has Mag, so she can deal decent damage.
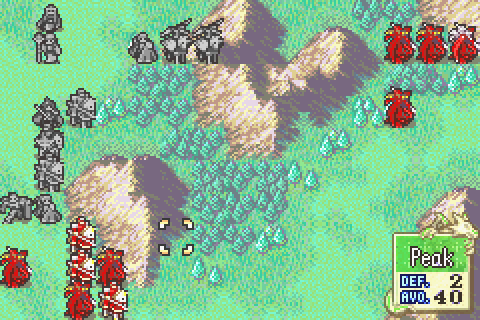
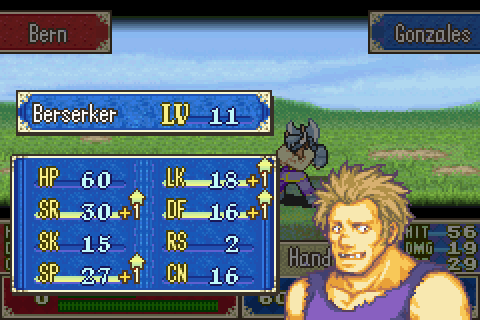
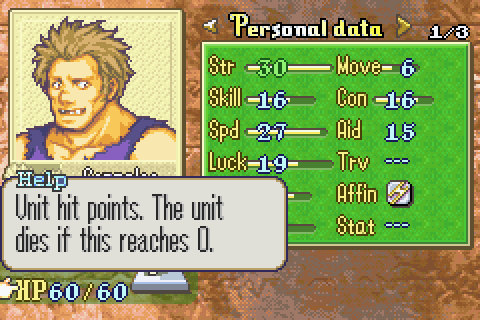
15) Gonzales. This is his map. He could solo the whole thing. No one fights wyverns like he does and there are peaks everywhere for him to walk on.
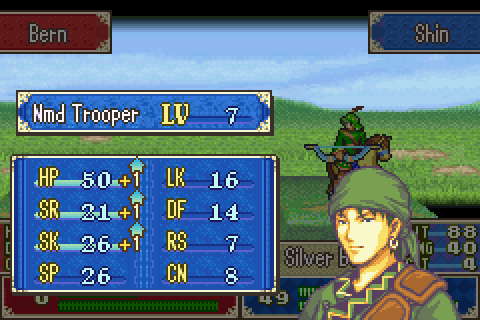
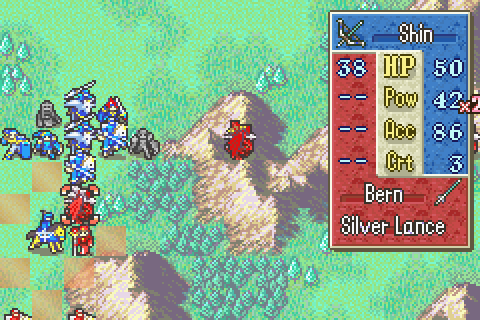
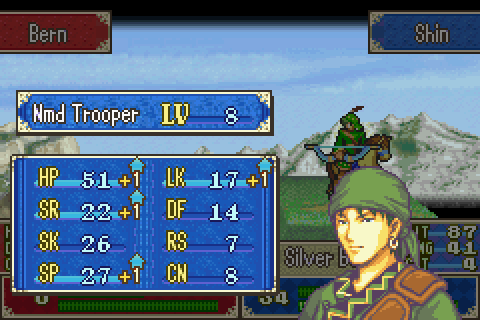
16) Shin. Surprisingly bad. See, the wyvern riders with javelins are almost always in the back of the enemy formations. Which means you can’t easily put Shin on the edge of their range with a bow. And iron swords are totally ineffective here. Still, he’s got good move and can reliably kill 1 wyvern per turn.
17) Oujay. Gonzales is a bit better than him on this particular chapter, but he’s still one of my best units. Especially since he can use axes as well as Durandal.
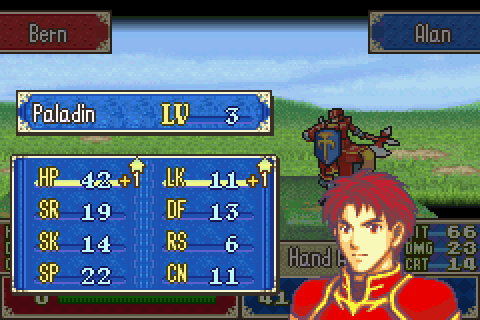
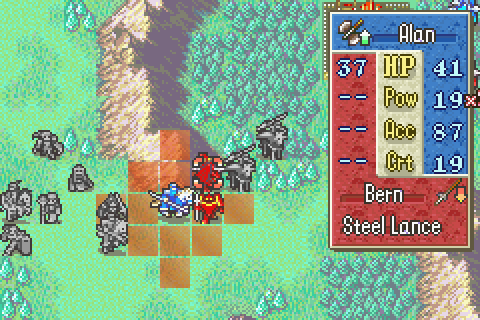
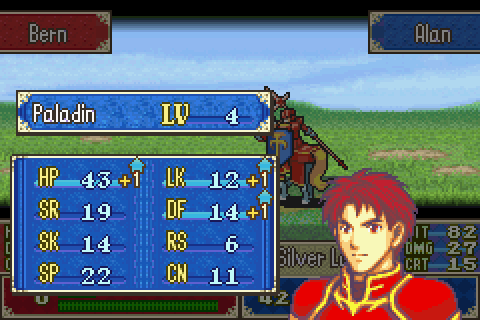
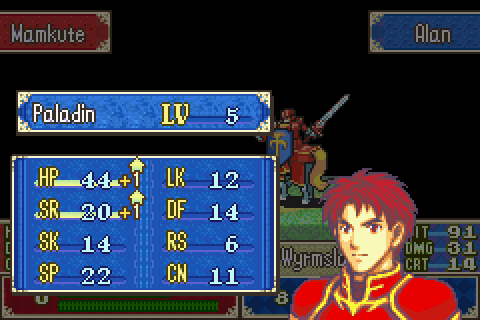
18) Alan. Making his triumphant return after 6 chapters! Alan is still one of my best offensive fighters when supported. He can use axes or the new Wyrmslayer to fight wyverns very effectively. And his mobility is great.
19) Lance. Like Alan but not as good.
Notable Units Rejected:
1) Merlinus. My storage is at 94 with everyone holding 5 items. I’d REALLY like to bring him and sell some stuff, but by my count I can juuuuuust collect everything else in the game without selling anything as long as I continue to break weapons along the way. It will be close. I may need to discard a 1 use javelin or something.
2) Anyone else. They’re either level 20 or pitiful. It’s not an accident that I have exactly enough good people to fill the team on this chapter.
Gear is VERY important here. You cannot be too prepared. There are literally over 100 wyverns to fight and some other enemies too. That means well over 200 weapon charges will be consumed. You do NOT want to run out of weapons on one of your important characters before the battle is over, so give them piles of stuff.
Just about everyone has 2 silver weapons and 2 javelins/handaxes and possibly a killer weapon too.
All the sages have 3 Aircaliburs (Remember when I bought more than a dozen of them? This chapter is why). They also have Heal staves. So does Ray. There aren’t really many dark magic options in this game, so he just has a couple of fluxes and nosferatu (as does Sophia).
Clarine has no Mag and can’t use aircalibur, so she just has Fire. And Mend since she can’t heal enough otherwise. Plus Physic and the Silver and Member cards to trade to a flyer later.
Shin has a Physic staff for Yodel to take in exchange for Miugre. Plus an iron sword and a bunch of bows.
Cath is just carrying an iron sword and 3 junk items to leave one spot open for the Knight Crest.
Lalum has spare aircaliburs and heal staves and such.
The paladins have silver lances, javelins, handaxes, and wyrmslayers.
Gonzalez has Armads, Oujay has Durandal, Lugh has Forblaze, Miledy has Maltet, and Shin will get Miurgre. No one will ever be able to wield Aureola.
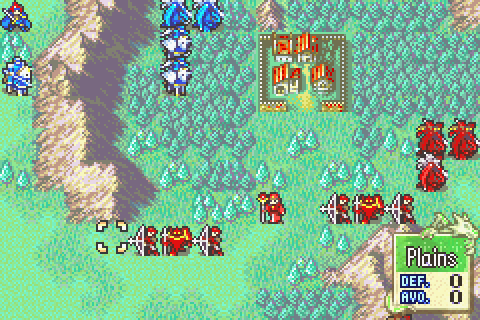
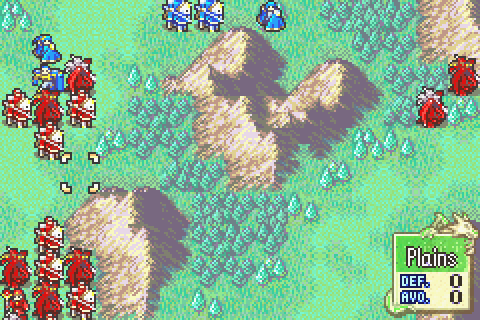
Now just knowing about the zone-triggered reinforcement spawns is not enough to smash this map. To play efficiently you also need to notice two other things. First of all, basically no enemies spawn in the middle of the map. A classic mistake is to commit a bunch of troops there. That will weaken your army greatly since some of your characters will end up uselessly standing around. Instead you should commit roughly half your forces to traveling down the left edge and half to going across the top.
The second point to notice is that the enemy starts with nearly 50 units on the map and some of the nearby spawn zones will try to create 12 or more reinforcements per turn. If you don’t thin the herd a lot before moving into the spawn zones, numerous reinforcements will never appear due to the 50 unit cap, so you’ll permanently miss out on XP. Furthermore, if you trigger the reinforcements immediately, you’ll be running into them at the same time as the waves of standing forces. That can be overwhelming and bog you down while forcing you to use only the strongest units. The best way to go fast AND maximize XP gain is to take it slow at first.
Each of the two group needs to have at least 2 healers, 3 would be better. They also both need tons of strong units. Thany, Sophia, Roy, Cath, and Yodel are basically worthless, which leaves me with 14 good units to divide. I sent 7 each way, mainly keeping support groups together. The details are relatively unimportant beyond that.
The Characters:
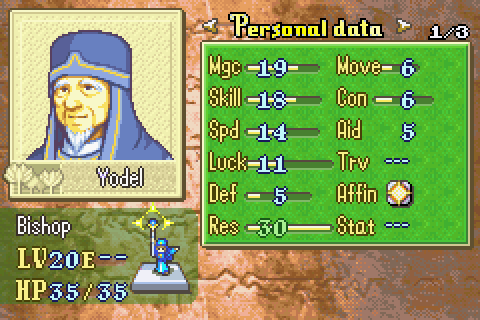
Yodel is a serious, respected, and helpful Bishop in the Elimine church. As far as the story is concerned, he might as well be in charge of the whole organization. He uses that power to help Roy quite a lot. He also knows and finds out useful stuff, much more than Niime even. Or the Arcadians. He’s also kind and friendly and has some fairly nice supports, though he’s too critical of the unorthodox but highly effective Saul for my taste.
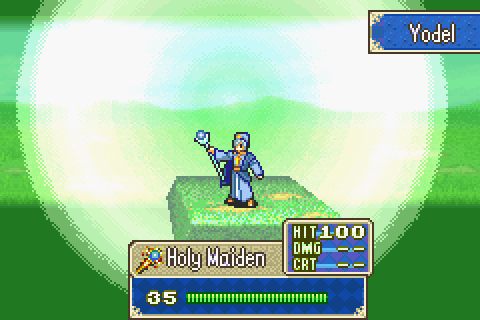
Yodel, not Niime, is the game’s best pre-promoted staff user. Not that that’s saying much. At all. He’s not slowed by his gear, has just enough Con to carry the many tiny party members around, has way more HP than Niime, is actually a heavy duty magic tank, and has comparable magic power while actually starting with an S in staves. He’s not a good character, but he’s way more usable. And quite effective on this particular chapter since wyverns can’t instant-kill him, can’t double him, and crumple before even weak magic attacks.
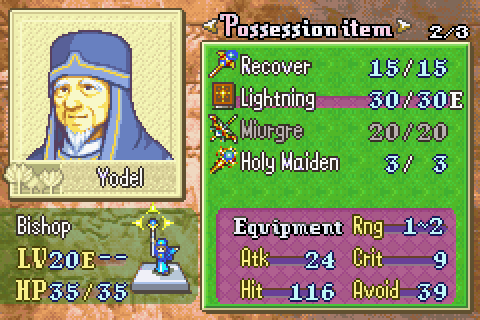
He also comes with a pretty great set of stuff, some of which he can put to good use. This is actually the one and only Lightning tome the game will ever give you. Recover is of course a very valuable healing staff and is actually somewhat useful in this game since so many healers have terrible Mag. Miurgre (or Maltet if you did the Sacaean route) is a very nice weapon. And Holy Maiden might be best of all. That staff fully heals AND fixes the statuses of every unit on the whole map. Fantastic. And he’s all set to use it. It’s also not worth any money and you don’t need it unbroken to get the true ending, so don't think twice about using all 3 charges.
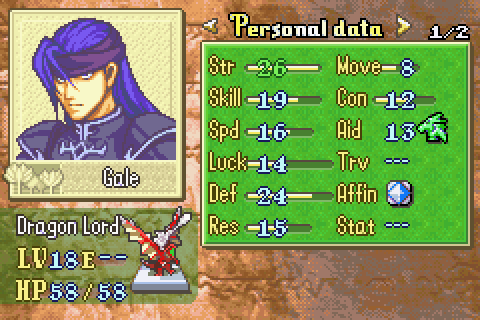
Gale may or may not now be an official Wyvern General of Bern. He was going to be given that post years ago, but Narshen weaseled into it instead. Then was going to get it and replace Narshen as a punishment for Narshen’s failures, but we’re never really told what happened with regard to that. He seems to be commanding only 4 people and just working as a minor officer under Murdock at this point. Anyway, he’s a serious and reasonably clever and honorable person and was Miledy’s lover and Zeiss’s friend.
Despite several rumors, he does not join you under any circumstances. If Miledy and Zeiss talk to him, he leaves the battlefield and his squad just flies around peacefully. But that doesn’t help you at all. You might as well just kill him for the XP and not waste valuable turns.
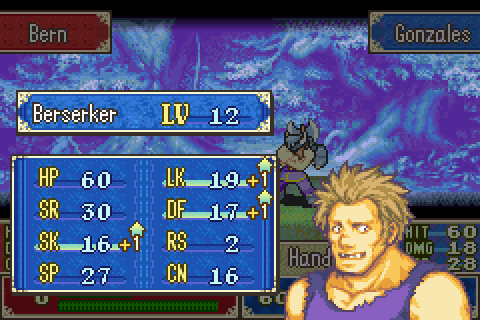
Anyway, he’s decently strong but nothing too impressive. We’ve been fighting wyvern lord bosses for ages now and they’re not a big deal anymore.
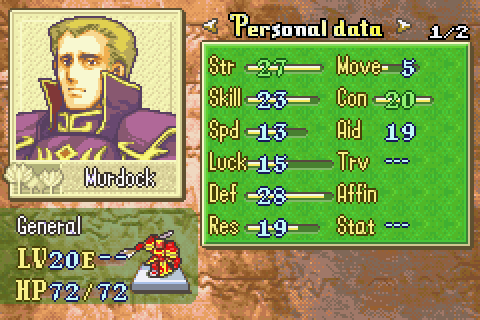
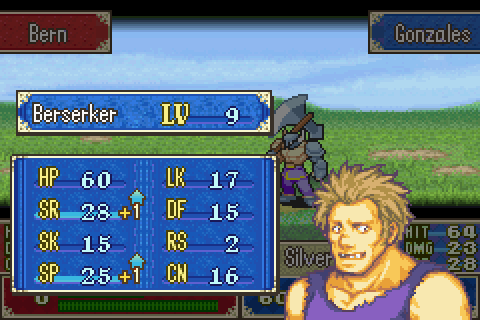
Murdock is the allegedly smart, honorable, dutiful, and amazingly strong best general of Bern. For no reason, he was sent to conquer the inconsequential country of Ilia and then did nothing but deliberately sabotage his own country for the rest of the war. He’s stupid, petty, and treacherous but this is never acknowledged in game.
Why the heck does he have 20 Con? Why does no one remark about how absurdly huge the guy is? Anyway, he’s just another general. Only slightly more problematic than wyvern bosses at this point.
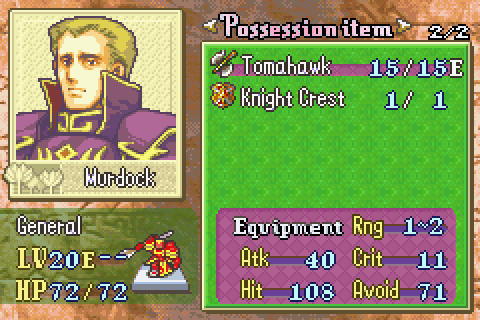
Just in case you feel like promoting a cavalier during the last 2 real chapters and somehow didn’t have too many knight crests already after the one from the village here and the secret shop, Murdock has another to steal. Having to drag Cath along through this whole map to get it is kind of unpleasant.
Playing Through:
This map really deserves a cool and dramatic map theme like Inexorable Fate or one of the many other wonderful FE lategame themes. Instead it has Beneath a New Light:
https://www.youtube.com/watch?v=T0N6UCet_hk&index=13&list=PLwvweEKnS3AHZ4pYIYqzKdBKGFxnZNsNQ
While this is one of the better map tracks in the game, it’s completely lacking in weight, seriousness, and awesomeness and feels totally inappropriate for this giant battle and turning point of the war. It would have been much better earlier in the story.
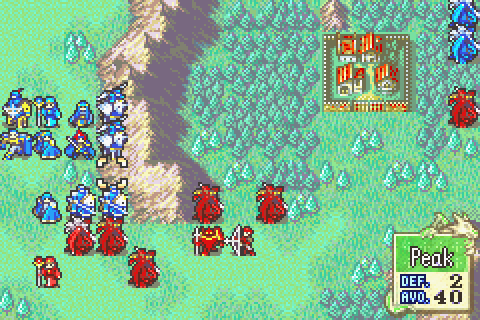
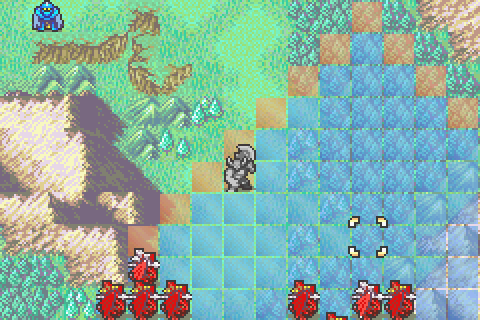
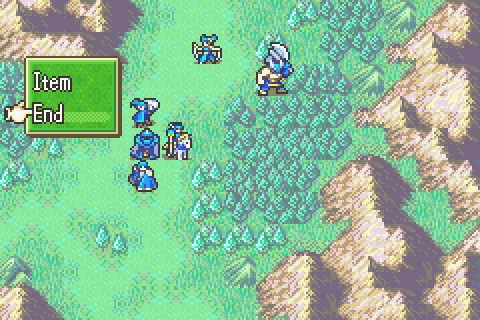
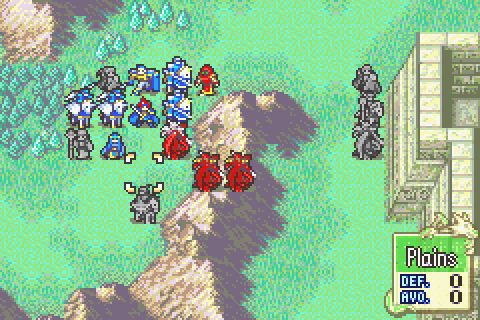
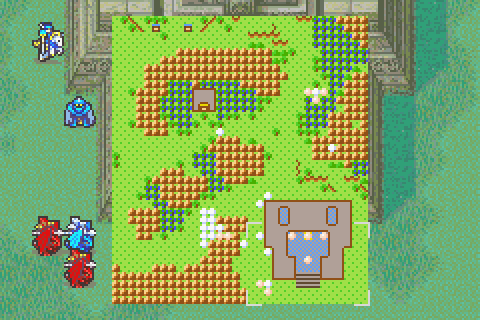
I’ve got to thin the herd before I step into any spawn zones, or I’ll forever miss out on XP.
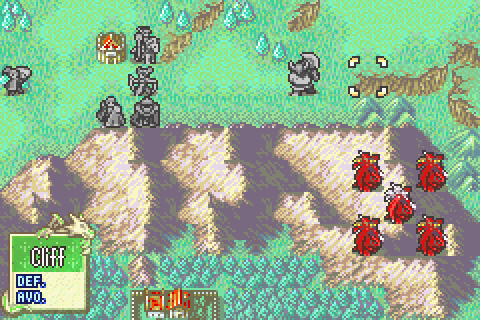
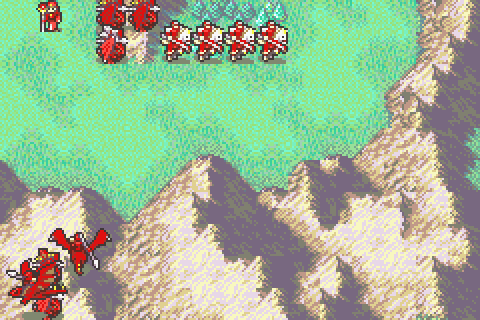
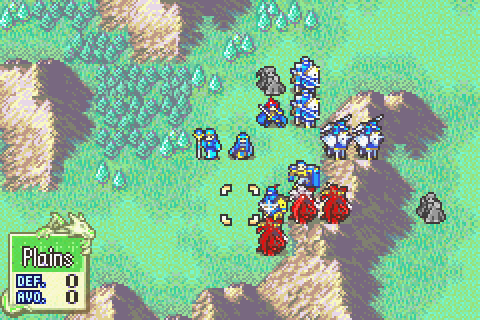
The right team moves in, with Gonzales ready to do most of the work.
The air team moves in. Miledy and Zeiss will ultimately go right and Tate and Thany will go left.
However, they might first make a quick strike on the middle units depending on how those move. And they’ll certainly pick up the village.
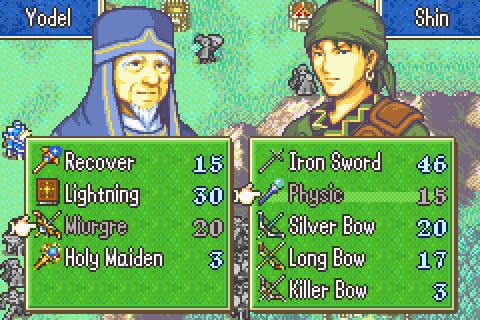
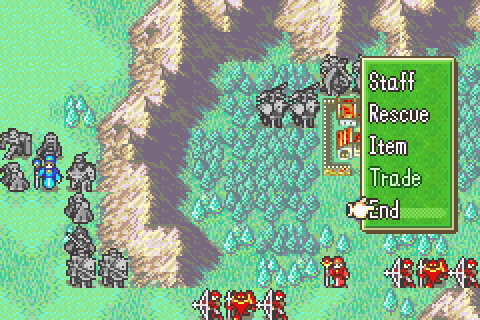
Yodel trades Miurgre for a physic to use.
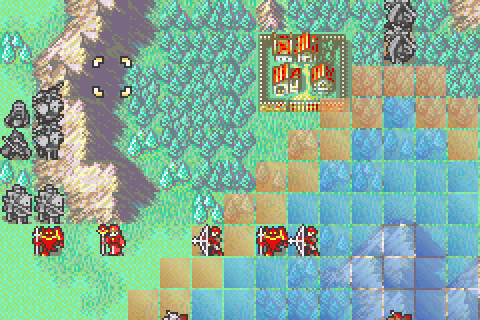
And the left team is in position.
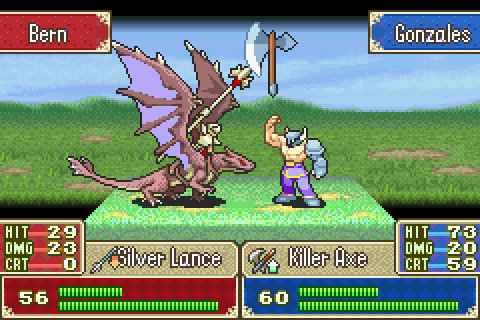
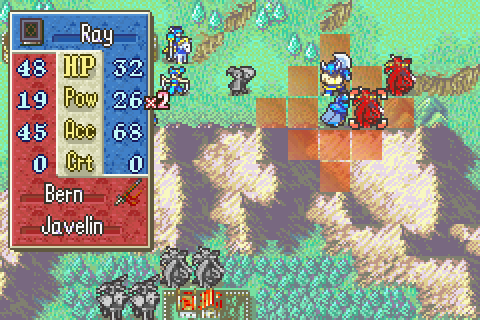
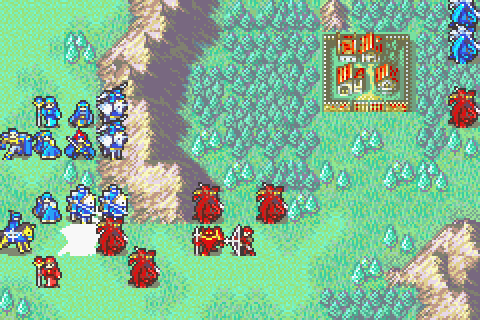
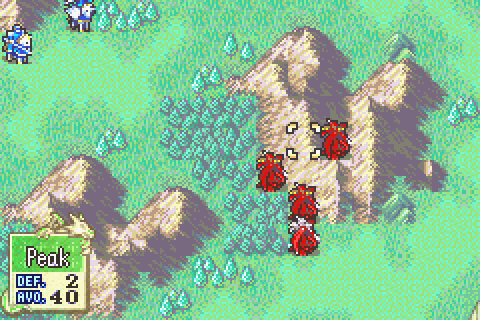
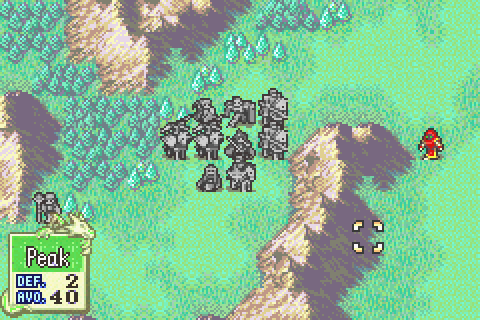
Gonzales is in his element. Note that if he was on a peak, this wyvern lord would have a -11% chance to hit. Gonzales can solo this whole chapter.
Turn 2. I must not enter or cross the horizontal line marked by the cursor. That restriction will make fighting these newcomers hard.
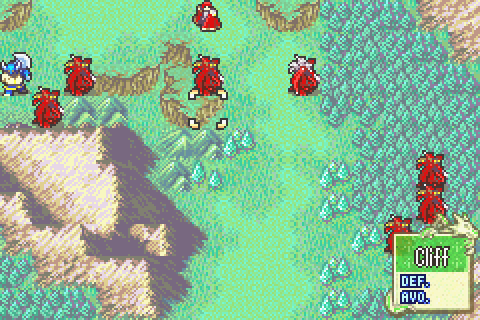
And I must not enter or cross this vertical line. That’s easier.
In the middle, the archers were not very obliging, so I give up on an air strike on them. Instead Miledy waits with Maltet to take down the bulk of this wyvern wave.
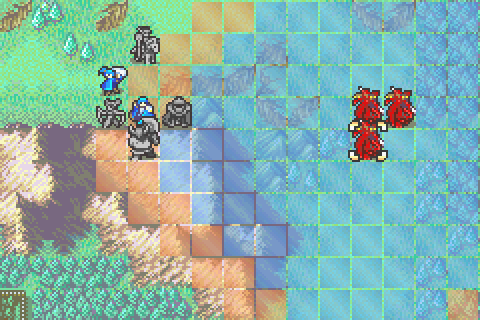
On the right, Ray and Lugh get to work. You can see that Ray is just not that effective due to his poor accuracy and defenses.
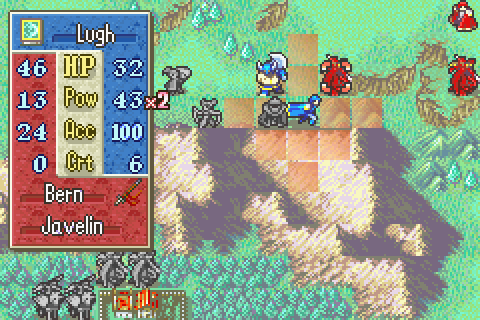
Lugh can’t quite manage instant kills, but he’s darned close.
The sage is blocked out, so everyone is safe as the enemy continues to advance.
Clarine gets a bad level.
Sophia finishes off the sage and gets a worse one.
Sophia was pulled back and I set my group up to deal with the incoming enemies (the left archer has a longbow unfortunately, so I can’t do much about him).
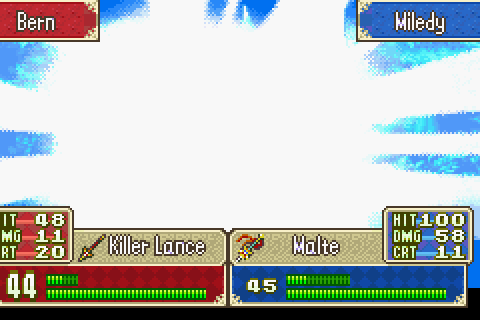
Miledy gets a crit with Malte.

And is so close to instant-killing this wyvern lord.
Gonzalez gets another in a string of recent bad levels.
Turn 3, the right side gets healing as the dwindling supply of wyverns keeps up the attack.
Well that’s pretty bad too.
The right group is having no problems.

The left group is struggling because they can’t advance any further south to keep up the attack.
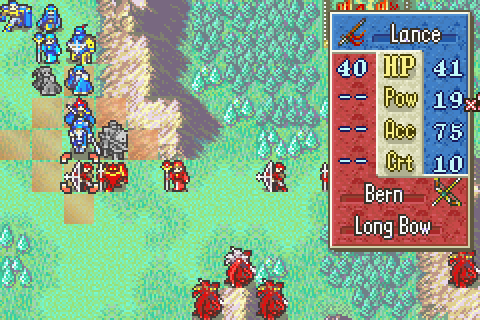
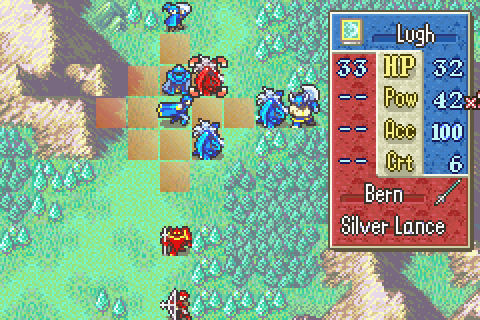
The weakness of javelins lets Lance injure this person for Sophia.

She had to fire from counterable range, but luckily longbows are heavy, so she couldn’t quite be doubled if she missed.
Then she’s pulled back to safety.
What about the middle group? They still can’t safely attack.
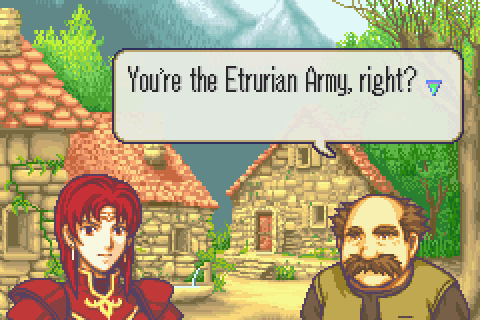
I decided to just have them split up and join the side armies. Miledy stops at the village. Somehow this Béarnaise wyvern rider of the royal guard serving with a Lycian army is mistaken for an Etrurian.
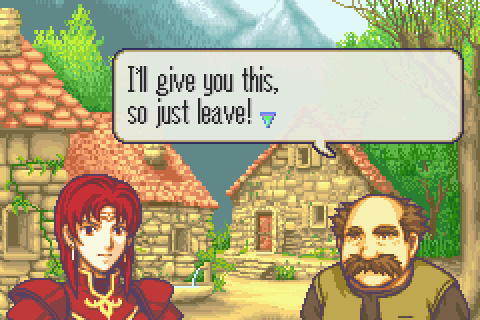
The people are afraid of us… so they give us amazingly valuable presents. Same as when they like us. Or are indifferent to us.
Come to think of it, I don’t think this game claimed that the location of the Shrine of Seals is secret. That makes WAY more sense than the FE7 version. I mean, there are villages all around it and several armies have fought pitched battles there.
So the flyers split up and are ready for action next turn.
Alan gets a bad level.
Miledy gets a worse one. At least she has an excuse.
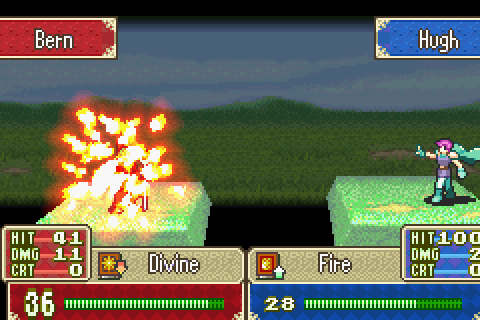
Hugh is really bad at fighting magic users.
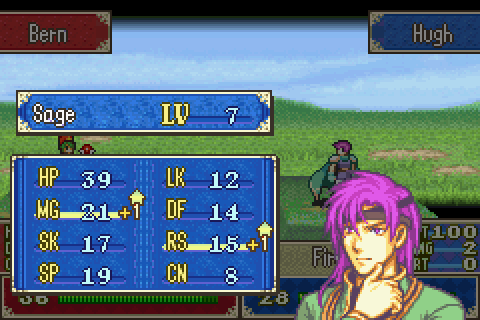
He sees the problem and sets about fixing it.
Ok! Here’s the most interesting turn. I need to crush ALL of these enemies and do it while moving Hugh full south. And he needs healing, so Lilina can't fight either.
It’s super-effective!
It’s like using Bombers against A-Airs in advance wars.
And another one down.
Killing the bishop clears Hugh’s path.

So Hugh sets off with a heal while the paladins try to finish the survivors.
Sophia gets her first good level from the wyvern Yodel weakened for her.
Alright, I couldn’t kill every single one but this is good enough.
Hugh is now in range of this whole group. That’s important, because I’m triggering both of the biggest spawns on the map at once. I need to wipe out most standing forces right now, before those arrive.

Zeiss gets a kill. It’s unfortunate that Miledy can’t carry him. Stupid 20– Con instead of 25– Con rescue limits for women…
Cath moves to trigger the other big reinforcement group.
I’ve wiped out nearly all of the standing army, so it’s most efficient to fight the maximum number of reinforcements at once as possible.
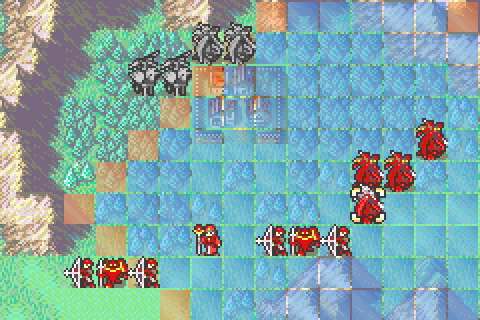
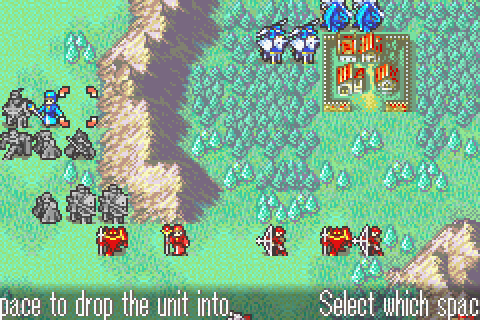
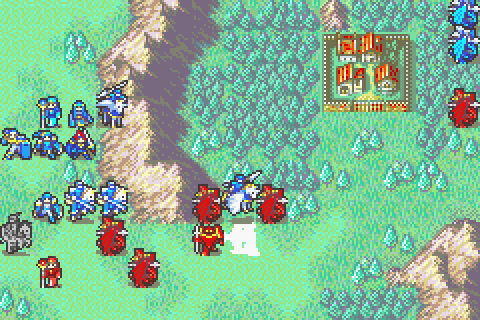
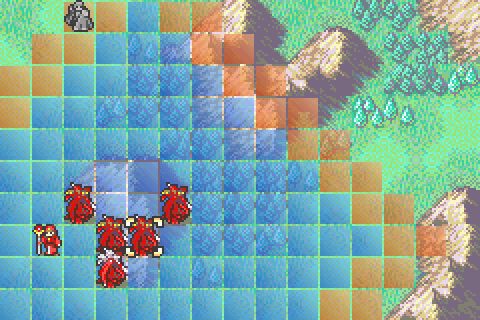
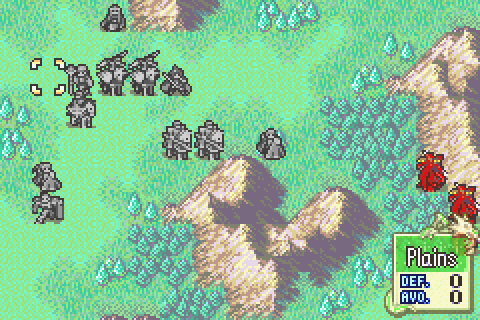
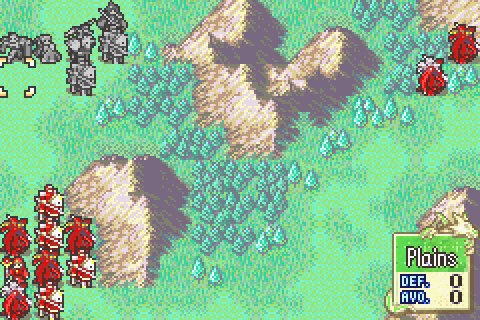
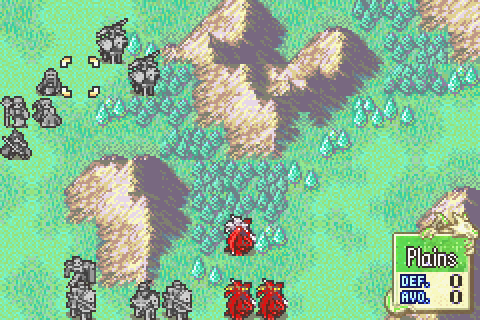
Bam, giant army out of nowhere. And this is only a third or so of all the spawns.
Another 2 armies spawn together over there. And there are yet others.
I decided to just send in Gonzalez. He can reliably tank the whole lot. Other people can aggro and kill the survivors.
Oh and another group is coming in over the center, but should veer left.
Oujay saves this wyvern for someone else, but moves into position with a Halberd to kill the approaching paladins.
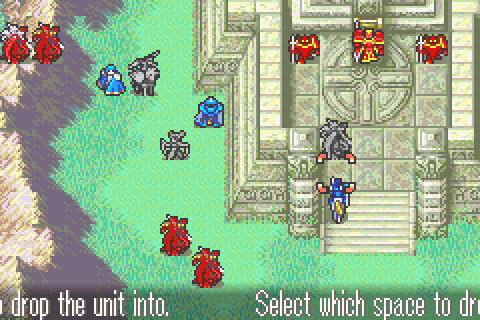
Hugh is dropped to intercept the group coming from the middle area.
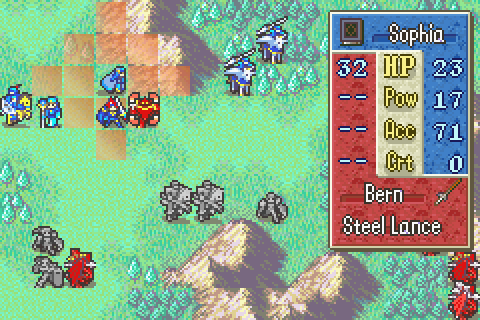
Sophia doesn’t take this attack of course. I just want to point out that at level 16 or so she can neither accurately hit nor double knights. Nor could she if her speed was average. Look on these combat stats, ye Sophia fans, and despair.
I eventually end up in this safe, if disorderly formation.
That’s a bad level, but she already capped the good stuff.

Lugh does better.

As does Gonzalez. Def is always welcome.
Honestly, most of this chapter is just people leveling up and wyverns dying.
Gonzalez cleared the whole wave that was present last turn and part of the new one.
I have enough scattered injured guys that I decided to burn a Holy Maiden to make sure there was no chance of defeat.
Operation: Kill Paladins with Oujay’s Halberd was a failure. This one wyvern stepped in the way, got an incredibly lucky dodge, and thus blocked all the paladins from actually getting next to Oujay. Now I have a dangerous number of enemies to deal with.
Nothing for it but to get to work. I think I see a way to chokepoint most of the southern group. Shin gets a good level.

Not bad.
This is a fairly hard defensive position, but those are some fierce enemies. This was the best arrangement I could get.
Over on the right, the enemy is thinned just the right amount to start moving in.
Decent. He’s well ahead on speed and that’s nice and all, but he’s not doing so great in the other stats- and he always caps speed and Str regardless.
Better. This fellow could use more Def.
As of this turn’s beginning, the main reinforcements are done with.
The right side is already nearly cleared.
But the left side is in some trouble.
Well… def is nice.
Shin is great at killing 1 wyvern lord per turn.
The pegasi take out the nearby wyvern threat.
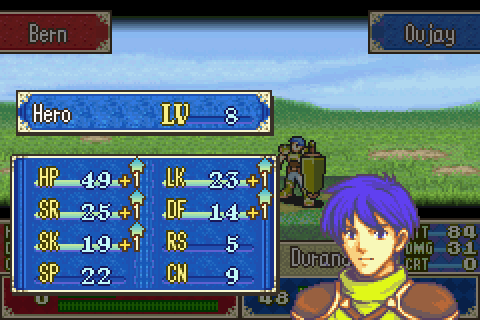
Durandal kills a paladin with Durandal and gets an excellent level.
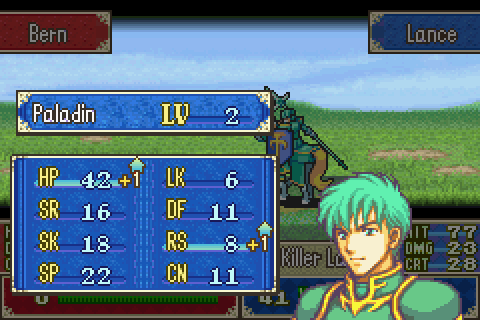
Lance gets a bad one.
And a wall of sorts is set up. This should be the last tough turn.
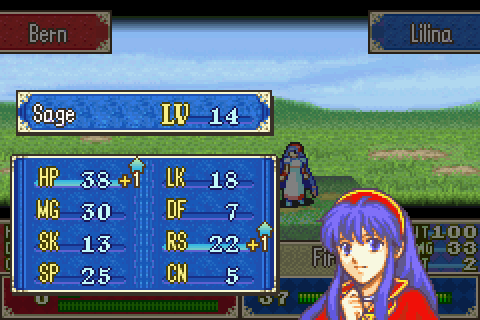
Unfortunately, I can’t avoid people attacking Lilina and she gets an empty level. I really want to have her fight less.

This pesky wyvern survives a crit from Tate.
A LOT of attacking for a unit I didn’t want to use in battle.
Tate gets a wonderful level.
The last right side lord drops.
That’s a pretty bad level, though I guess Lugh likes that stat pretty well.
Clarine keeps being Clarine.
Zeiss stops just out of Bolting range.

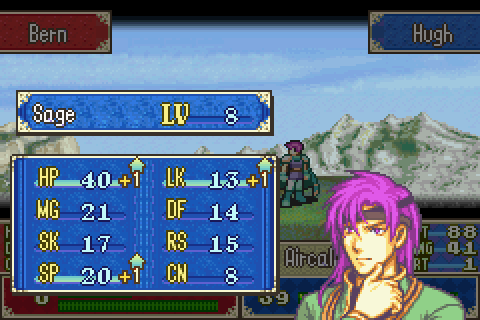
Whoo! Hugh and his Def. You’re making Canas proud!
The rest still have some light fighting to do. The trouble is, they’re kind of out of range of the enemy and can’t attack effectively.
And it’s slow going because I can’t advance the fragile people.
I’m always working to give Sophia kills.
And she’s always getting bad levels.
I use rescues to get over the peaks.
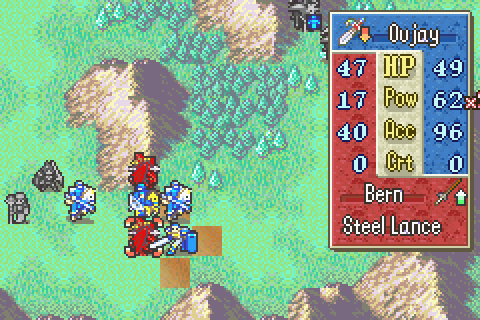
Oujay breaks out Durandal to secure a kill for sure.
The map is nearly cleared. There are a few more reinforcements coming, but not many.
Miledy and Zeiss move into the reinforcement zone, which is also the Bolting zone. Time to start using up his ammo.
Gonzalez gets ready. Reinforcements are coming up there.
On the other side, everyone is dropped and packed in. Reinforcements will be coming from the south.

Screw you, man!
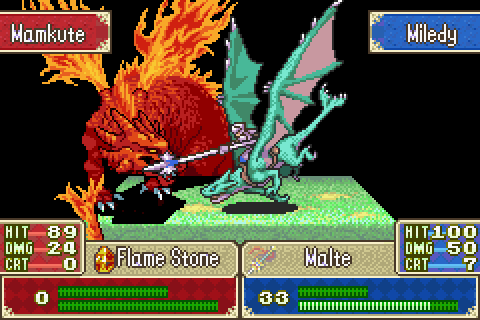
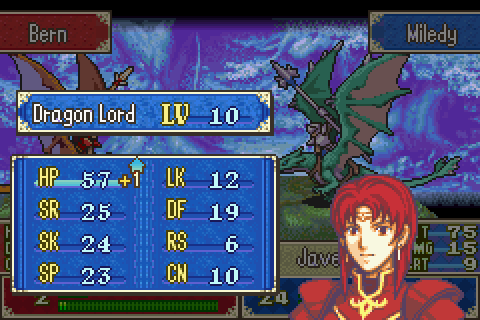
Miledy takes out the right mamkute.
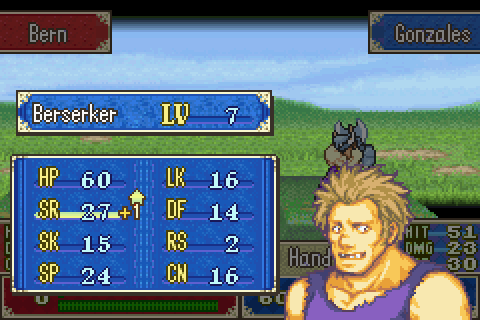
Another Str and speed level for Gonzalez. On anyone else it would be great.
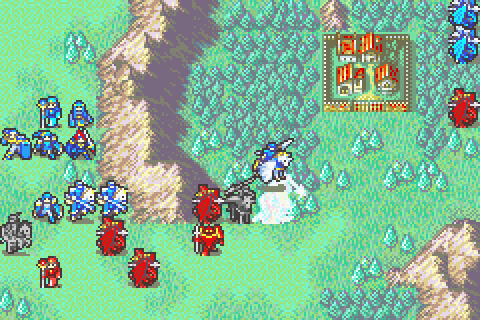
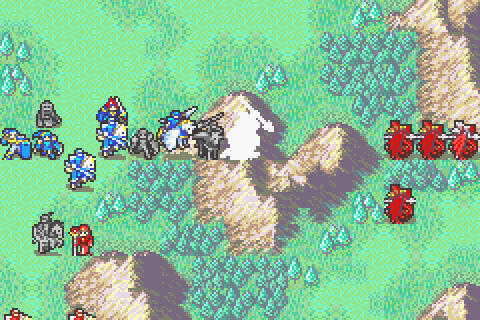
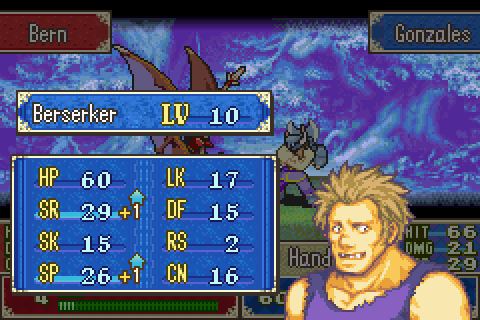
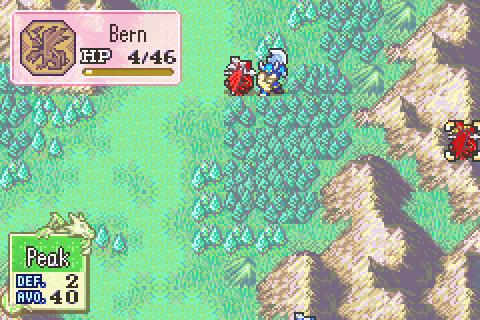
Hugh was lying in wait for Gale and takes him out immediately.
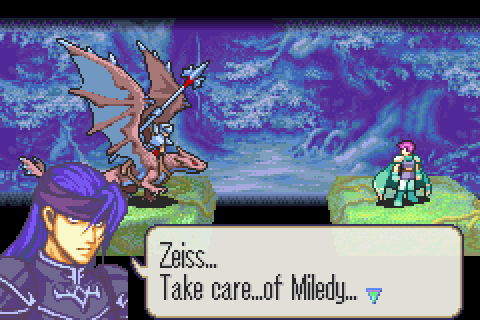
Give me your XP and shut up.
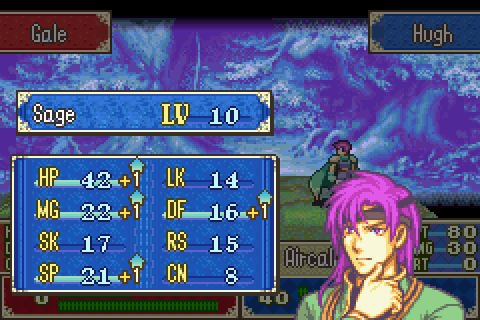
Gale gives Hugh a truly excellent level.
Gonzalez stands alone and untouched, soloing wave after wave.
Miledy supports Zeiss for the second time. Their supports are pretty lame. She also takes the silver and member cards that Clarine had given to Zeiss.
The left group works on the enemy.
Alan gets a bad level.
Sophia gets a good one.
Nearly clear.
Turns out the Bolting sage doesn’t move, so this is his true range.
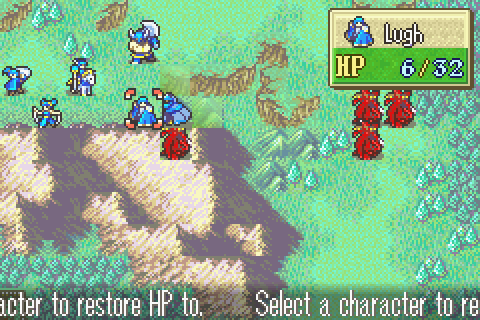
Knowing that, Lugh clears a wyvern.
Now how to give one of these to Sophia without anyone ending up in range of the next wave?
Shin gets a great level from one.
They’re cleared with some units to spare.
This one wyvern has flown away for some reason. There’s nowhere to heal on the map…
There we go! Def. I love Def.
Pretty good level, though he’s getting close to his caps.
There will be no more spawns.
No more Bolting.
What to do here?
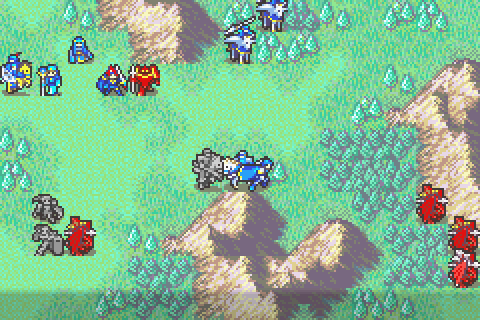
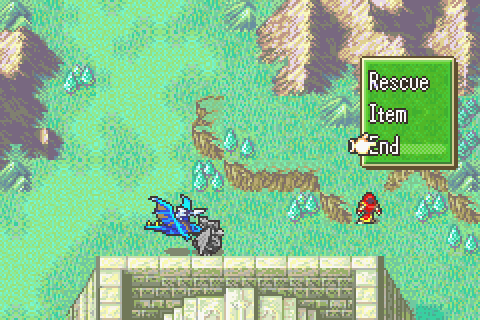
I did an impromptu rescue chain and got Roy dropped all the way over here.
The path is cleared and I got a lot of other people moving in.

Sophia gets her final level from this last wave. She’s terrible to the very end.
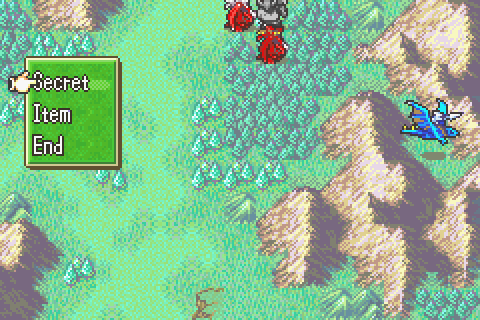
Miledy visits the secret shop.
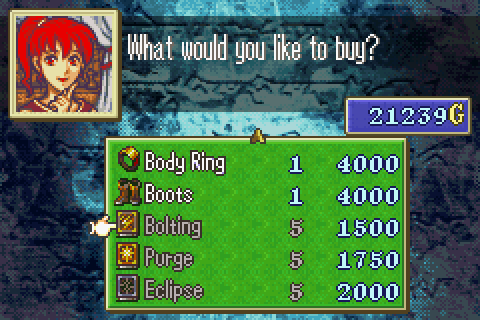
You can buy any stat-booster. But I pledged not to buy any of them at the beginning. I will pick up a few Boltings though. Probably won’t use them, but I do have enough sages to consider it.
Whoo! That’s about as good as it gets for this guy.
Gonzales clears the last one.
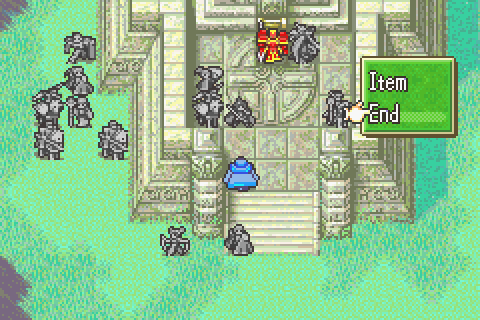
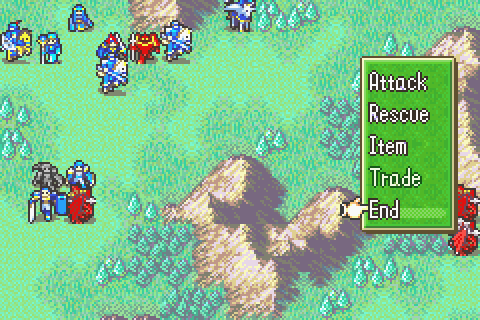
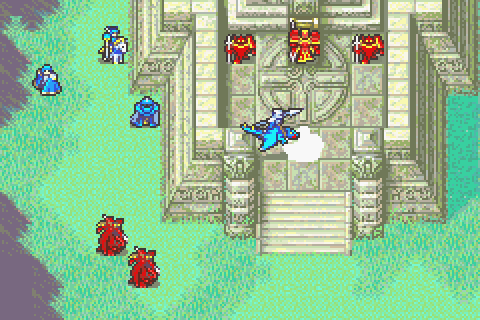
I can’t attack Murdock well, but I crowd everyone in as best I can for now.
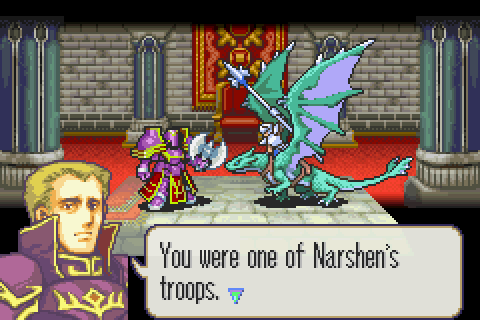
He recognizes Zeiss but attacks anyway.

Next turn, Cath steals the Knight Crest.
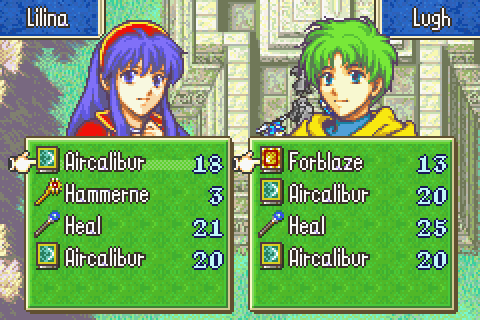
Lugh and Lilina trade around Forblaze to attack since nothing else can really scratch him.
Ray finishes him.
Not bad I guess, he’s got a serious accuracy problem.
Gonzalez was in the lead in every fight, downing dozens of wyverns, and came through completely unharmed.
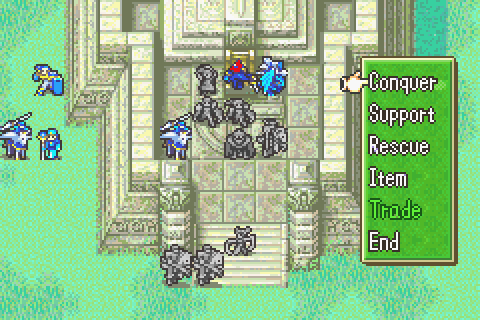
Turn 15 win.
I smell a sidequest!

…
Come on, man. You’ve had MONTHS to learn about the Divine Weapons since you learned of their importance and you still don’t even know the basics of their number or location?
Total Restarts: 16 (None here)
Turn Surplus: +63 (I scored fifteen turns here!)
Things I Regret Missing: A couple of uses of Marcus’s silver lance on Rude, a Chapter 5 nomad Marcus had to kill, two Chapter 12 fighters I couldn’t kill since I needed supports built elsewhere, a pirate and a wyvern rider on 14x who I didn’t have time to go after, 2 enemies in a room I didn’t have time to kill on chapter 20x.
Legendary Weapon Scoreboard: Durandal slew Ohtz using Oujay on chapter 14x, turn 2; and the top left mamkute using Oujay on chapter 16, turn 9; and Arcard using Oujay on chapter 17, turn 16; and a bottom left paladin using Oujay on chapter 21, turn 7; and a bottom left wyvern rider using Oujay on chapter 21, turn 9. Armads slew Teck using Gonzalez on chapter 20x, turn 10. Forblaze slew the top right mamkute using Lugh on chapter 16, turn 6. Forblaze slew the left section hero using Lugh on chapter 20, turn 2. Forblaze slew the purge bishop using Lugh on chapter 20, turn 5. Maltet slew a middle area wyvern rider using Miledy on chapter 21, turn 2; and a middle area wyvern lord using Miledy on chapter 21, turn 2; and the right mamkute using Miledy on chapter 21, turn 10.