Part 35
The last sidequest! And the last fog of war chapter! Good riddance to both!
This is a bad chapter. They really should have done better on as momentous an occasion as the final sidequest. But instead of anything cool, we got a pile of luck-based traps, time-wasting walls and water to pad things out, and yet another enormous map with nearly nothing on it. Disappointing.
Chapter Summary:
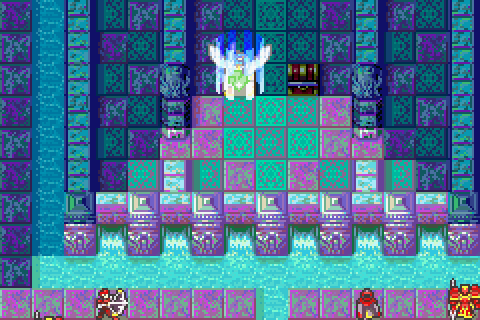
Roy dungeon crawls through the area below the Shrine of Seals and retrieves yet another legendary weapon. Then he finally claims the Sword of Seals and becomes slightly less terrible. And also sees a weird vision that never really pays off in any way.
Pereth and his group were late to the party because I finished the last chapter in time. If only Murdock hadn’t procrastinated until the last second, they could have destroyed this legendary weapon months or years ago.
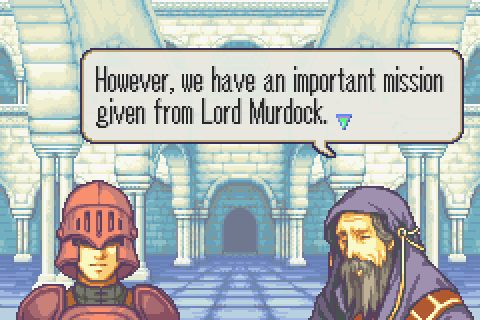
Kind of like in Arcadia- with a guy this one is just a palette swap of- it would have made waaaaay more sense to have Pereth’s group just fight alongside Murdock’s. They might have actually been able to beat us then, thus obviating the need to frantically try to destroy the tome outright. Or, in this case, better yet they could have destroyed it before the game even began.
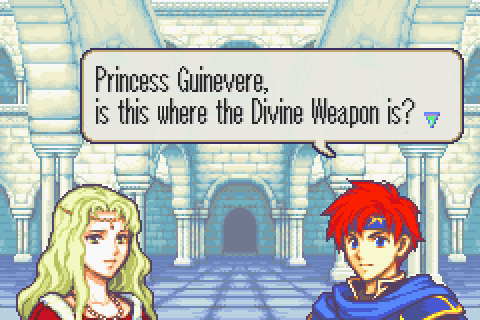
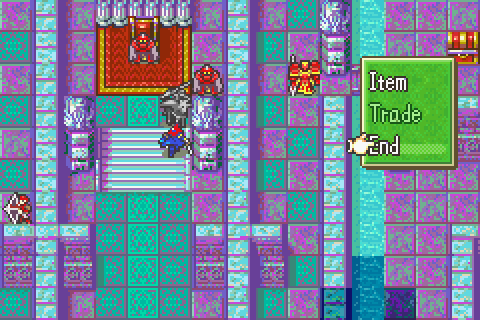
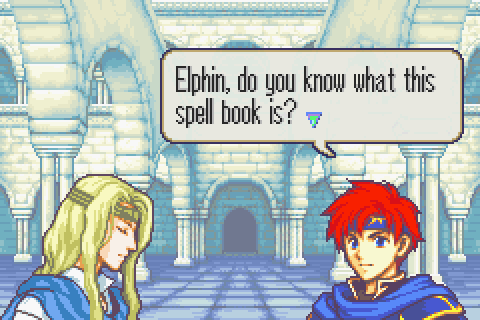
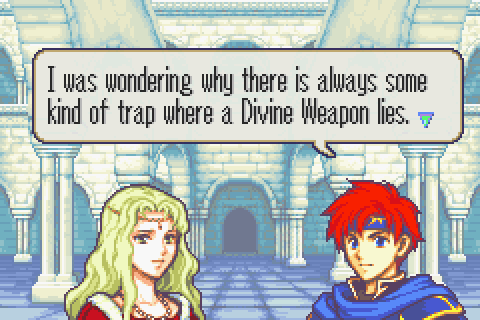
One of the natives is consulted.

And knows something! Rumors are always true in videogames.
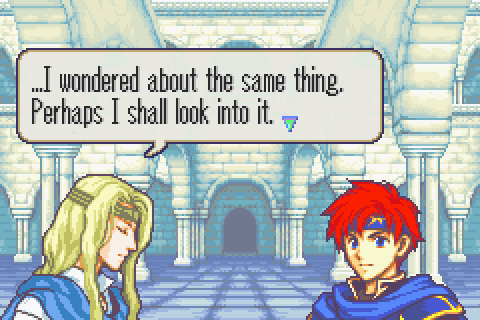
Yeah. Obviously. And we should know which one by process of elimination. As if it wasn’t bad enough that Roy mysteriously knows nothing about anything half the time, Elphin sometimes is totally ignorant too. I’m entirely unsure what the writers thought would be gained by having the characters sit around talking about how they don’t know what the divine weapon is this time before each chapter.
It’s like a clue that you might actually need them. But not quite. Let alone any kind of indication that you can’t unlock the true ending without them. The worst part though is that it’s too late. You already HAVE the final sidequest and cannot avoid getting this weapon by the time you see this message. He should have said this kind of thing on 8x or something.

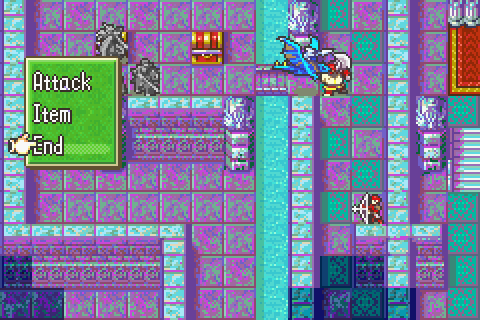
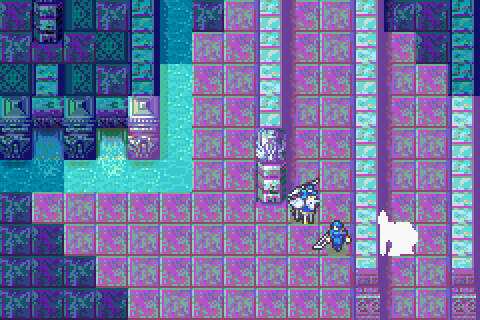
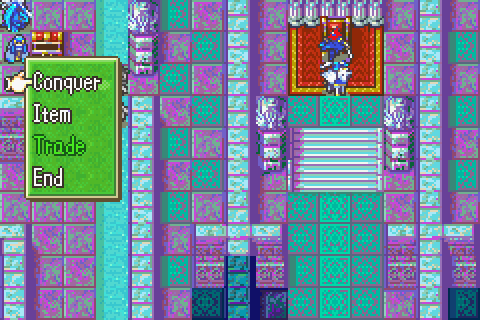
Wonderful. Get out your d20s, it’s time for an old-fashioned dungeon crawl.
Roll up a rogue. Yeah, this advice is worthless. Or less than worthless even, as I'll soon explain.
Battle Preparations & the Map:
Ever read one of the old D&D adventure modules from when everyone was a terrible GM? Back when fantasy worlds were apparently full of enormous, sealed underground complexes full of implausible traps in ludicrous locations and monsters that look like treasure chests?
Meet the Fire Emblem version.
Secondary Objective: Get the elixirs from 50% of the chests
Reinforcements: None.
Turn Limit: 20. This is more or less impossible if you’re just walking along the course set out for you. Fortunately, it’s late enough in the game that that’s not the only option.
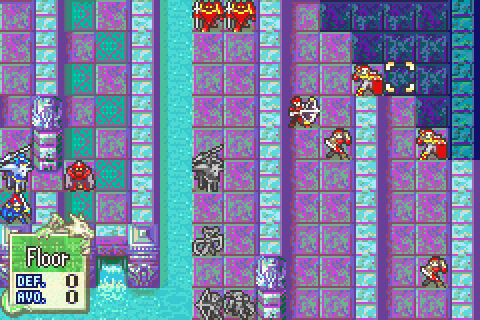
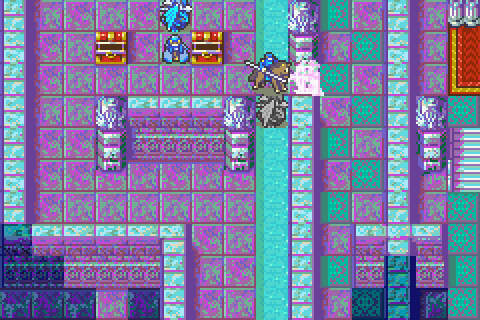
A long time ago, when writing about chapter 8 of this game, I commented that the map was so enormous and the hallways so twisted that it would take Roy 19 turns to get to the throne if there were no enemies at all. I said I didn’t think there was a bigger map in the whole series. I was wrong.
By my count, Roy would need twenty-one turns to walk from start to throne with no enemies (and no traps). And when he had done all that, he would still only have covered half the map. 8 at least had stuff going on. Real treasure to acquire, characters to recruit, Lilina to protect, etc. This one is just a mostly linear slog through mediocre enemies in fog of war. And as usual for this game, the enemies are really spread out and not concentrated enough anywhere to present a real challenge.
So this is another generic, lousy FE6 map. Maybe slightly worse than usual. Plus fog of war of course.
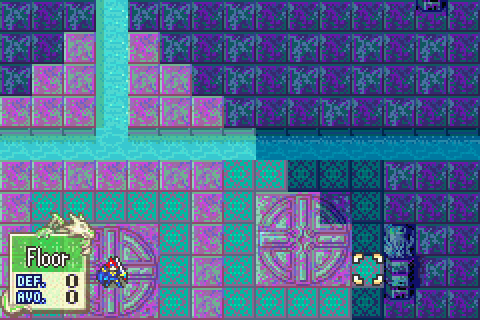
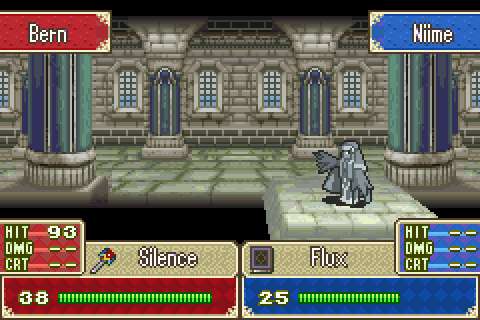
Fog doesn’t actually affect things much. Everyone has +5 vision over normal on this chapter. Still, it DOES mean you don’t know about that perfect Mag Silence druid when deploying.
I’ve realized I was wrong about some of my earlier comments about how Fog of War works in this game. Back on chapter 9 I thought every unit just had 5 base vision instead of FE7’s much more restrictive 3. But actually it looks like the amount of vision varies wildly from character to character and from chapter to chapter for some reason. You always do have better vision than in FE7 though, which makes Fog easier to deal with (and more pointless).
But enemies hidden in Fog of War are really not the biggest source of unpleasant surprises in this chapter.
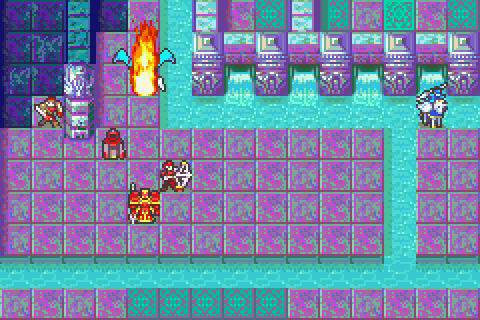
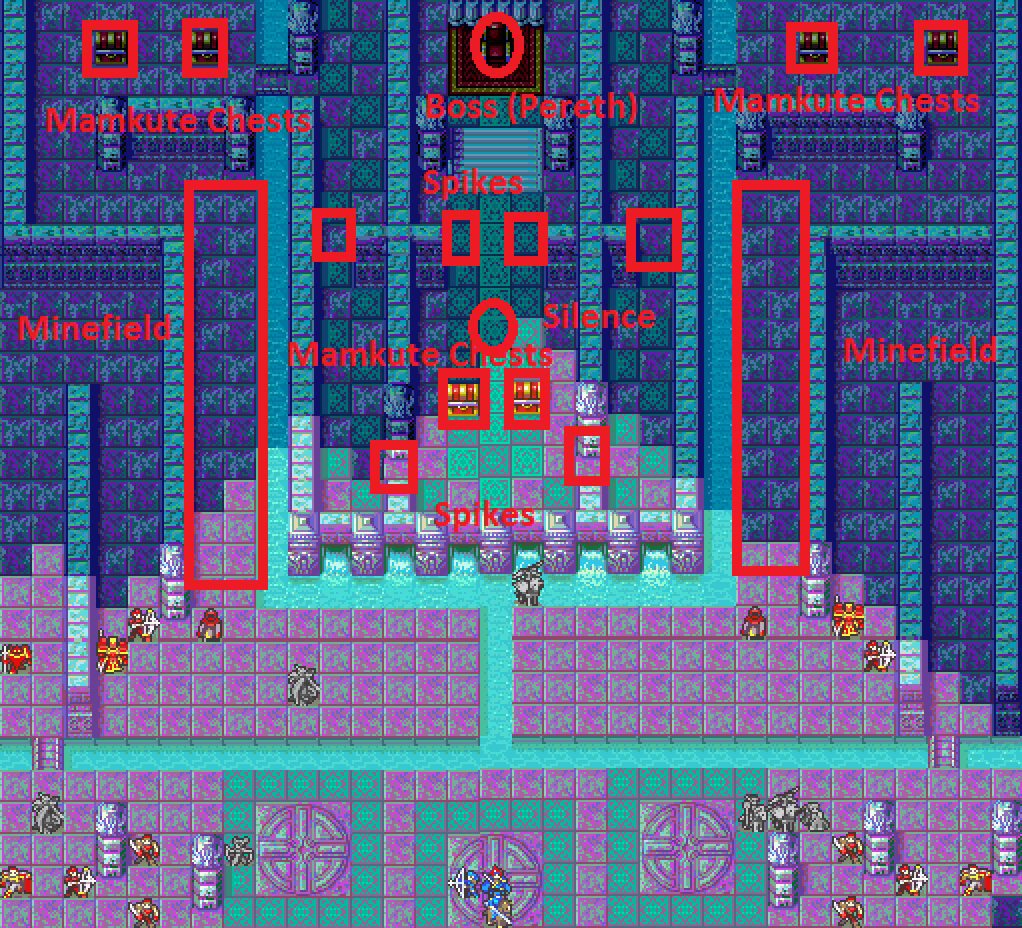
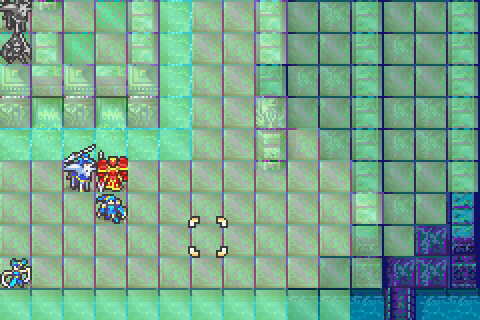
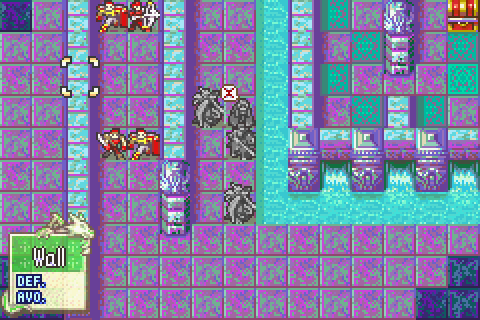
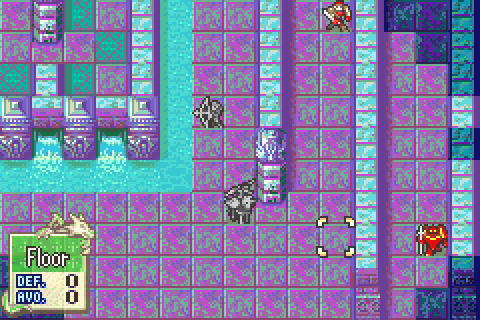
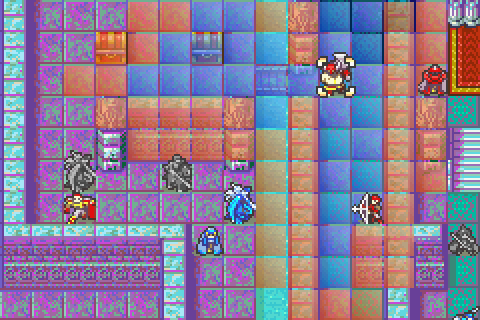
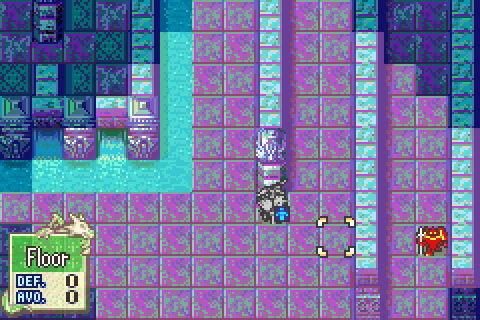
There is no indication that any of the squares in this long hallway (or the mirror image one on the right) are unusual, but actually it’s a minefield. Step onto half of the squares and your units take 10 damage. This only happens once. Honestly, the game might as well just flip a coin and give you 10 damage if it comes up heads whenever you move. This is not an acceptable mechanic for a strategy game.
If a thief steps onto one of the traps, I believe it’s disarmed (This also happens with lava traps in FE8 as I recall). But since there’s no way to know which squares are trapped and the traps are single-use anyway, this is completely worthless. If you tried it, you would have to slow your entire army to a complete crawl.
There’s no more indication of where the minefield ends than where it begins, but it turns out to be just that one hallway. Then when you think you’re safe, suddenly there are spikes that stick out of the walls when you end in certain squares. It’s… basically the same as mines except always next to a wall at least. Oh and the damage is 10-Def or something instead of a flat 10. Yet another trap that’s purely luck-based on your first play and that doesn’t actually make much difference.
Pretty much no one takes any damage at all from these, which is conclusive proof that the development team didn’t actually do much thinking about what they were doing. I’m not sure if thieves can disarm these or not, or if they’re single-use or not. Doesn’t really matter at all. This trap is harmless, just another point of bad map design.

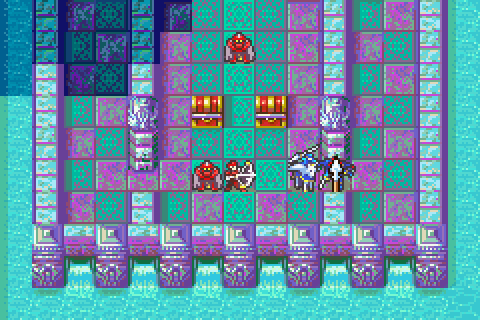
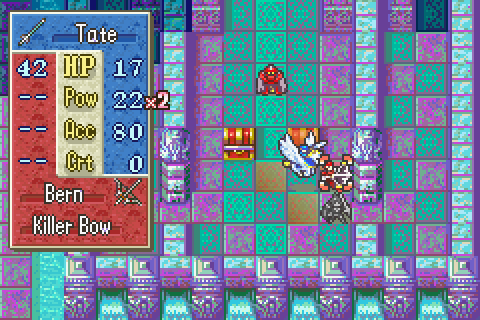
All of that was just to make you lower your guard for the most brutal and stupid trap in the entire series. 50% of the treasure chests on this map (determined randomly every time, no less!) inexplicably contain mamkutes. Yeah. There are dragons stuffed into the treasure chests just waiting for you to open them so they can walk out and attack. Oh and opening the chest with a thief does NOT help. All it does is guarantee that you have a unit in range who will be instant-killed.
It is completely reasonable to step on your cartridge or delete your emulator file and never play this game again when you see this. Actually, we passed that point a long time ago. Chapter 11 probably.
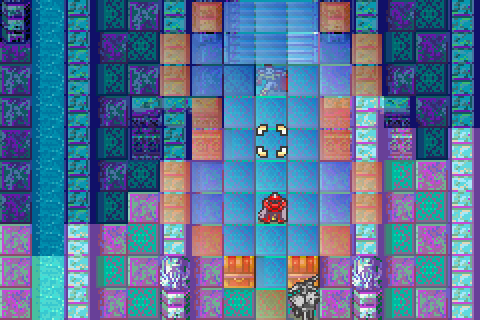
http://www.fireemblemwod.com/fe6/guiafe6/cap21x.htm
As usual, the folks at FireEmblemWoD have a de-fogged picture of the map which even notes all the trap spots if you’re interested in that.
Units Allowed: 9 + Roy. Very few considering you must do at minimum 2 groups. It’s much, much harder when one attempts 3. This is another reason that bringing along thieves to disarm traps is not viable.
Units Brought:
1) Roy. Last chapter was his nadir. This chapter he’s still awful but at least not every enemy is a lance-toting wyvern rider. And it’s all going to get better from here.
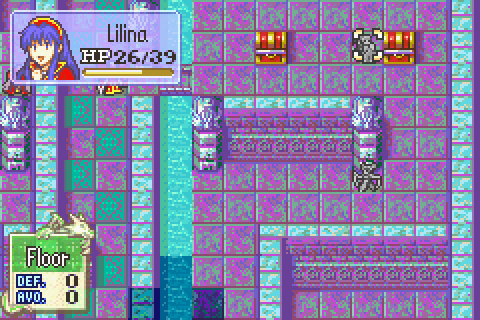
2) Lalum. Always great even though she’s max level now. She’s going to be essential for some tricky maneuvers I’m doing this time, plus she’s always good for training weak people.
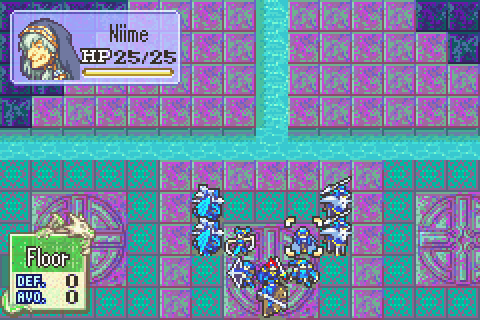
3) Niime. Actually, come to think of it, Niime is here by mistake. She’s an artifact from an earlier version of this strategy where she still wasn’t very useful. All I really needed was a staff user with 12 or more Mag, which is absolutely everyone except Clarine. I only brought Niime because the others are level 20. With this current strategy. Clarine would have worked much better. Oops.
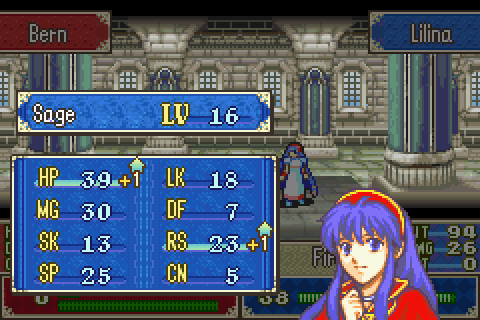
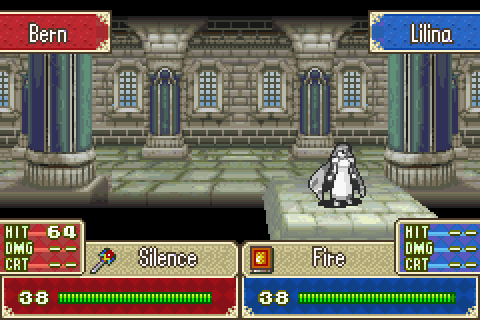
4) Lilina. A real staff user. I’d love to finish staff-grinding her up to an A rank here, but the map is really not conducive to that since I need to spread out and move fast. And she’s also problematic since she’s just too powerful. Except for the very toughest units (like high level generals) she ORKOs everything in the game even with Fire. Which means I can’t use her to feed any of the low-level guys.
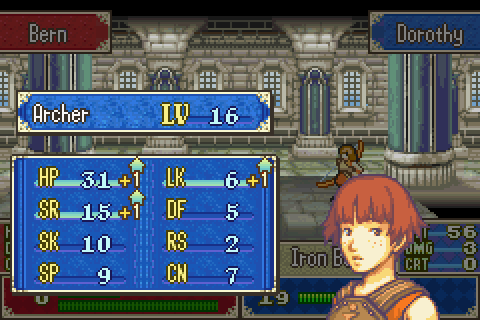
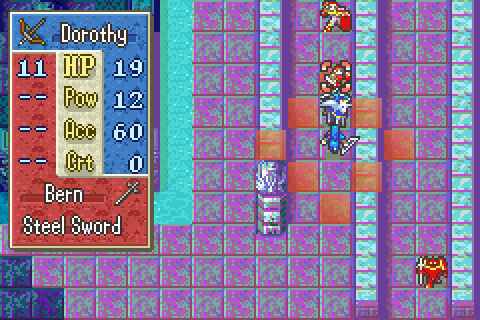
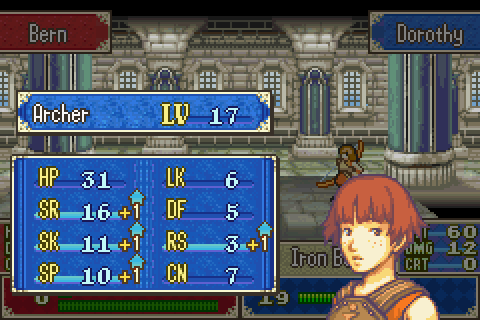
5) Dorothy. One of the low-level guys in question. Nearly everyone else is level 20 or close to it. Of those that remain, Dorothy is the lowest level and also the most usable at this point due to her ridiculous Str gains.
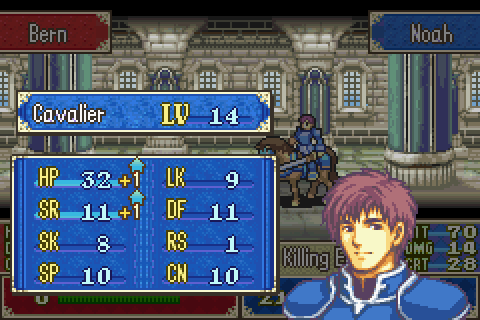
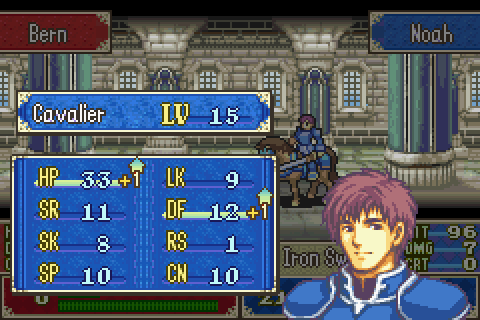
6) Noah. Actually harder to train than Dorothy now because of his awful previous levels. He can’t scratch a lot of these enemies even with a killing edge (the best weapon he can equip). Bringing him and Dorothy is of course unnecessary and just a way of trying to make things interesting.
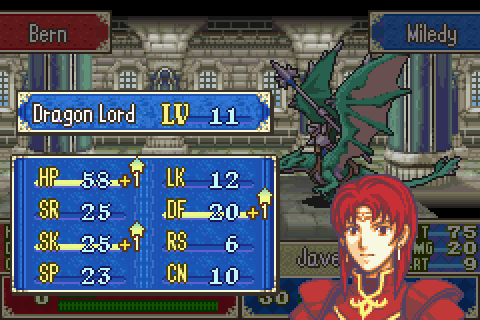
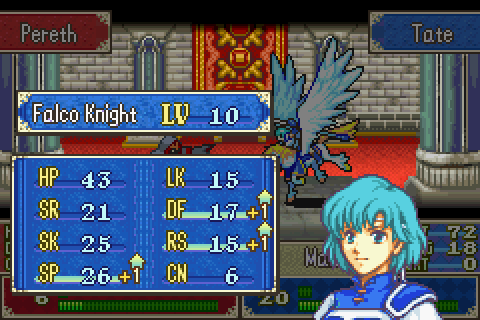
7) Miledy. My best air unit. The strategy I’m going to employ for this map requires every air unit I can bring (except Yuno, who totally doesn’t count).
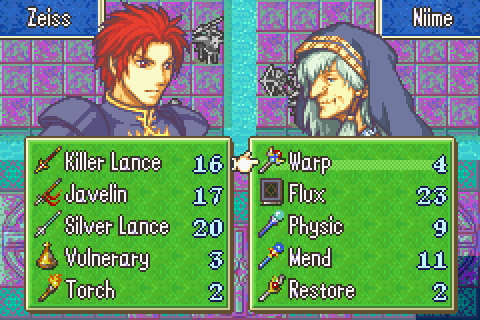
8) Zeiss. Almost as good as Miledy at much lower level.
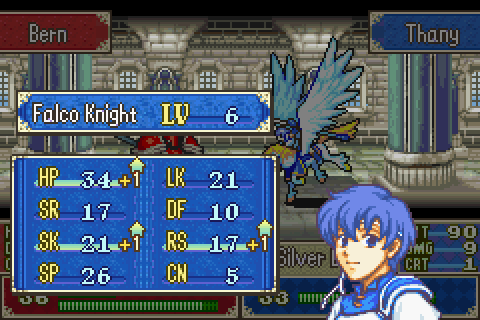
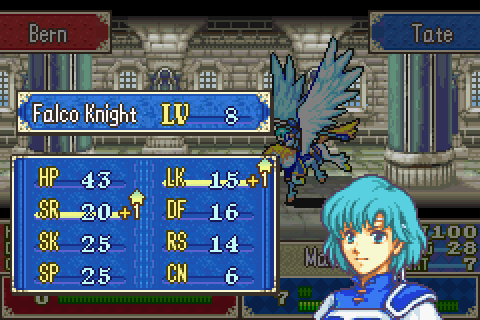
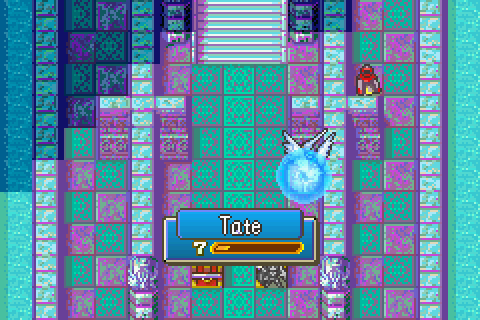
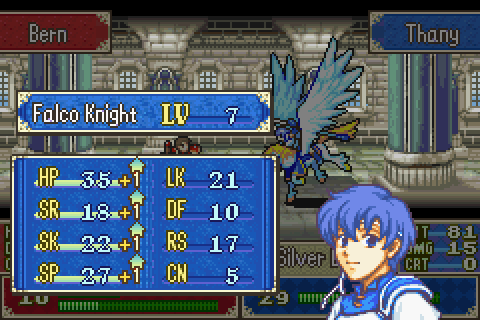
9) Tate. Not as good as the wyvern riders, but still quite strong.
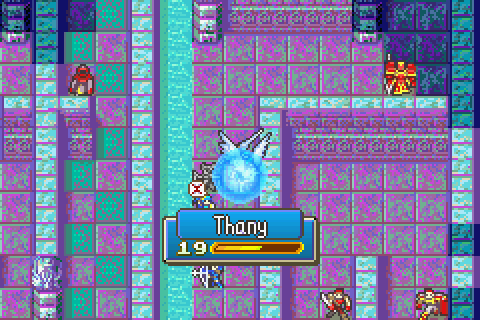
10) Thany. Ugh. Yeah, she just kind of has to be here and will be mostly a liability on this chapter.
Notable Units Rejected:
1) Cath. WAY too weak. The enemies here are pretty elite. Plus I don’t need her vision since everyone else sees really far. And I have more than enough chest keys to open all these boxes, there’s nothing to steal, and disabling traps is completely worthless.
2) Yuno. I’m not that desperate.
3) Ellen & Saul. Both could totally do Niime’s job despite being unpromoted, but they’re at the level cap.
4) Clarine. Oops. In my first strategy, Clarine had 1 less point of Mag than necessary for a trick I wanted to do so I switched her for Niime. In my second strategy, Clarine would have been way better than Niime but I didn’t remember to switch her back in. Oh well.
5) Gonzalez. Would have been both very good and very handy for what I’m going to do, but he’s too high level and would crowd out either someone more important or one of the newbs I’m trying to train.
6) Hugh & Lugh. Crowded out by Lilina because she can use Hammerne and they can’t.
7) Most other people. Either they’re level 20 or they’re not even worth considering because they can’t cross lakes (Note that the water is all lakes, not rivers or seas or anything else easy to cross).
Now with my strategy there will be an initial 3-way party split. And then I may end up with as many as 5 groups by the end. This means I need to be sure every group is as self-sufficient as possible.
Healing is going to be scarce since I need to split up a lot, so nearly everyone has a vulnerary too. Elixirs are tempting and would help, but I think I can scrape by without them.
This is the last fog chapter, so there’s no reason to conserve torches. I brought out all the ones I have left and distributed them around. Chest keys too.
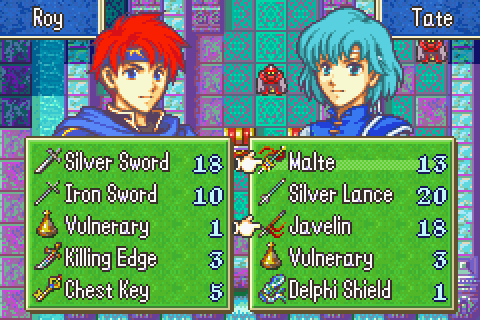
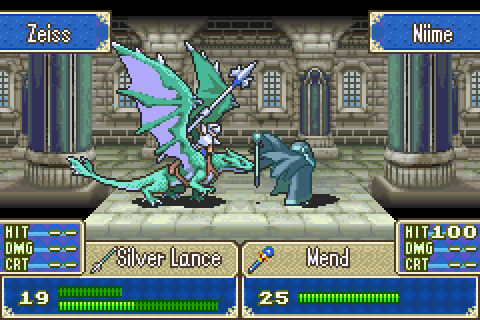
Tate will be going with only Roy into a very dangerous area and will need to fight some Mamkutes as well as snipers and more. Consequently she’s taking Maltet and the Delphi Shield.
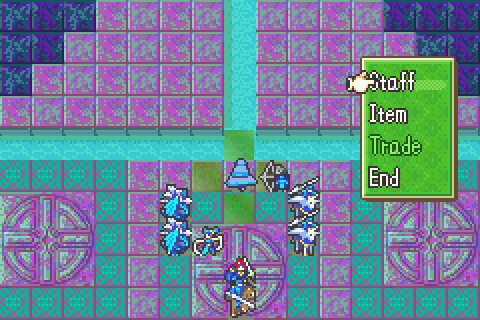
Niime has Warp and an assortment of staves. Lilina has Hammerne and also Forblaze for any dragons she runs into.
Everyone else pretty much has a mix of silver weapons, javelins and handaxes, and really weak weapons like slim swords that should hopefully be able to just barely leave enemies alive for other people to finish.
The Characters:
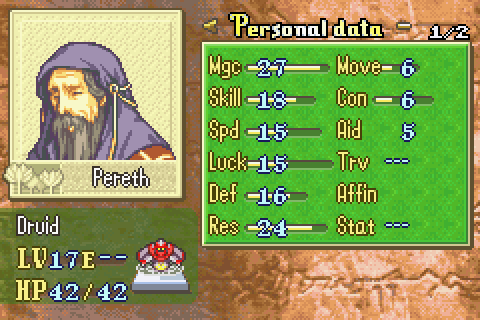
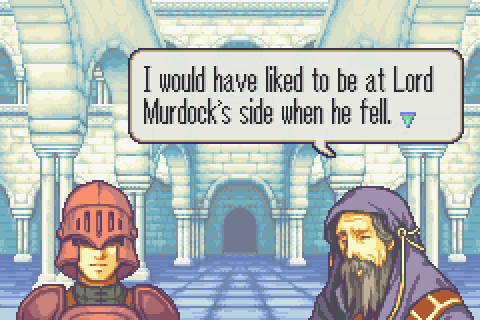
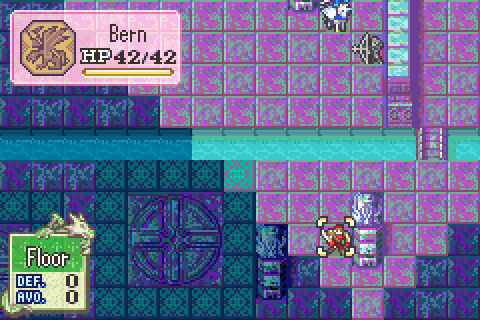
Another fairly generic Bern officer with no background and no future. Pereth does show a very strong loyalty to Murdock and is disappointed not to have been able to die alongside him. That might be interesting if we hadn’t already seen some characters like that and weren’t about to see more.
He’s actually weaker than some of the generic druids on his map. In particular, he has less Mag and is using Nosferatu instead of Fenrir. Now Nosferatu is better overall, but Fenrir hits HARD. If you can beat his many underling druids, you can beat him.
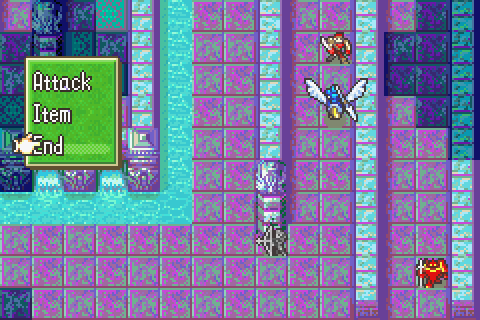
Playing Through:

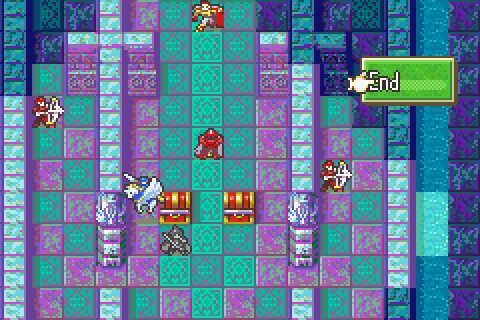
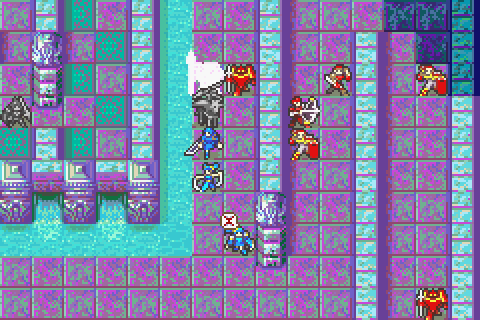
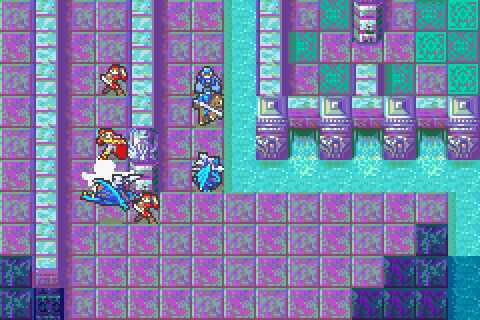
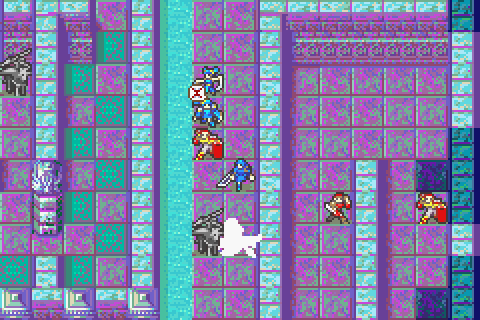
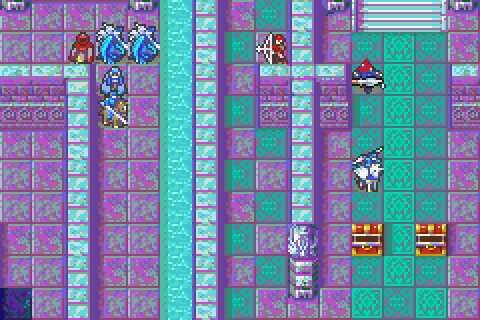
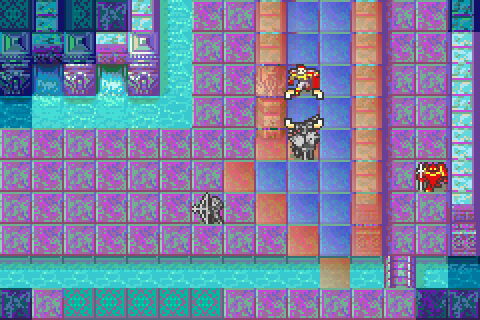
Alright, the first turn is going to be pretty cool. Lilina starts things off by using Hammerne on the Warp staff. This is one of the best things to use Hammerne on in every FE game that has both. Warp is hugely expensive and amazingly valuable. Way more so than any lame legendary weapon.
Dorothy then picks up Lilina so that Niime can Warp them both across the lake at once. Note that even 0 Mag would be sufficient for this purpose, so once again Niime’s only strength is not actually helpful.
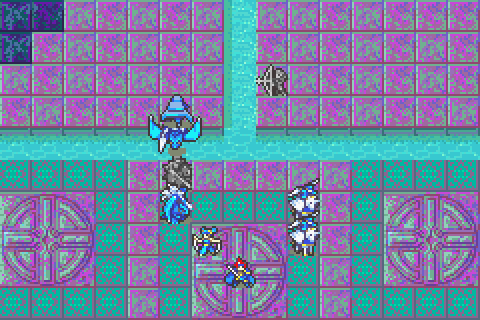
Then Noah and a wyvern drop Niime across the river. It may not be obvious at first, but this is a VERY important move. It’s only the use of Noah that allows me to drop Niime immediately instead of next turn and to bring the wyvern back to rescue someone else. That’s key.
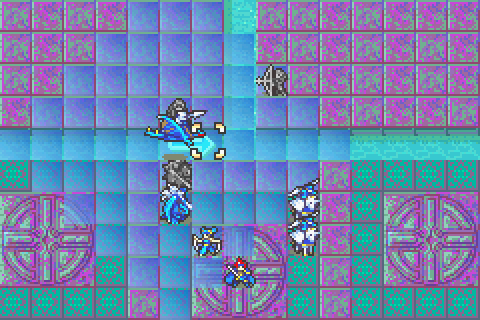
The wyvern moves to where it can be danced for.
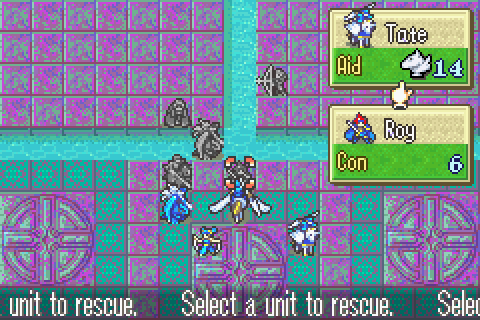
Tate picks up Roy, who’ll be her partner for most of this map.
And they fly over there, out of the way.
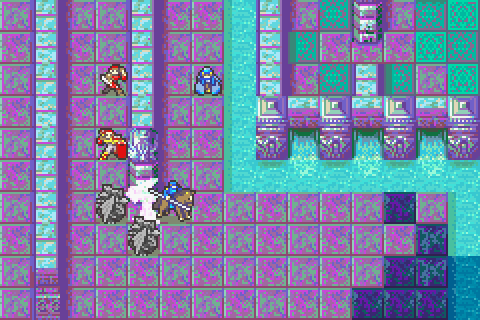
Lalum dances for the wyvern who will now carry her across the river.
She’s powerful to have ready, so Thany takes and drops her immediately.
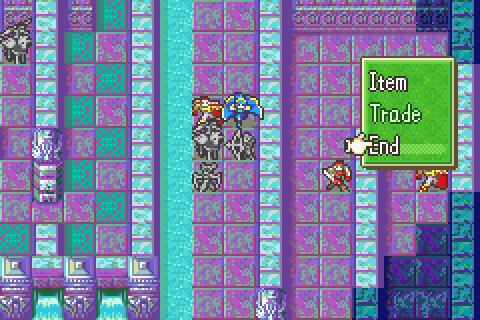
Zeiss trades with Niime and takes away all of her staves. As Omni helpfully pointed out months ago, it turns out that enemy Silence staff users do not target people with no staves in this game. Weird but true.
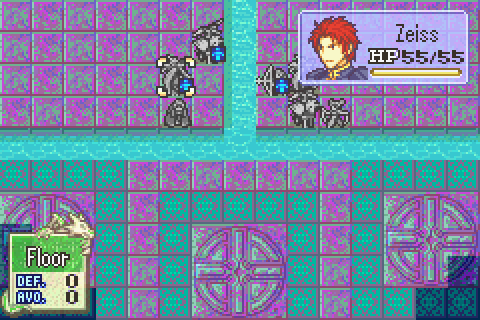
Anyway, he then picks up Noah (precise positioning was critical every step of this turn) and then moves so that Niime can take back her staves and then warp Tate at the same time next turn.
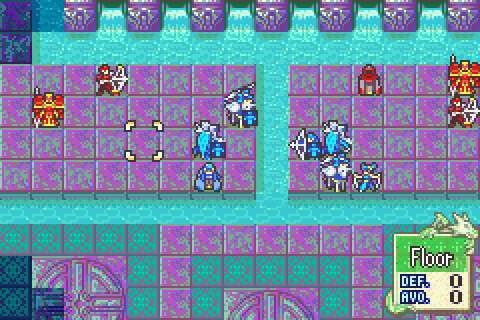
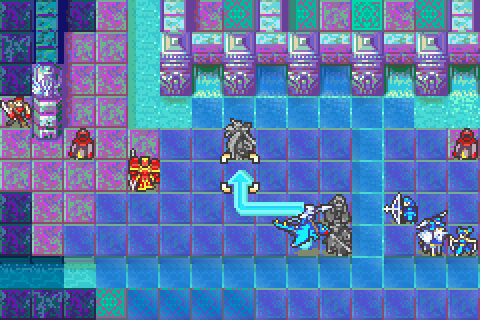
Bam! I got 10 units across the river in one turn with only 4 flyers, and I even got a bunch of them unloaded and ready to fight.
Why did I do this? Well for one thing, it saves a ton of time. Most of the enemies from the southern parts of the path will now come charging up this way, which saves me a lot of walking, but doubles the number of units I have to fight at once. For another, it’s a good stepping stone to the center area for Tate and Roy.
The disadvantage is that this is going to be a much harder fight and my forces are going to be split up more ways more quickly. Plus for one turn I have my pants down with most of my best units either carrying someone else or being carried.
So this will be a tense turn…
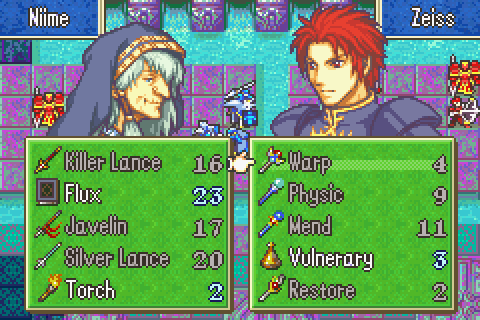
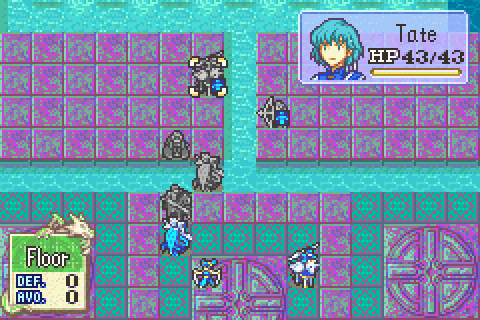
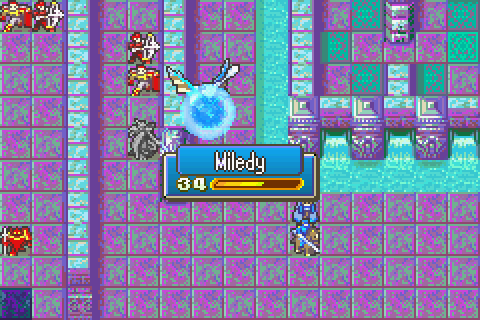
And I need to make it even worse by spending Niime’s turn to send Tate and Roy elsewhere. She takes back her staves.
She warps Tate and Roy in.

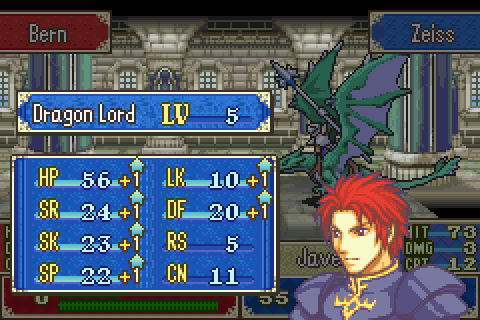
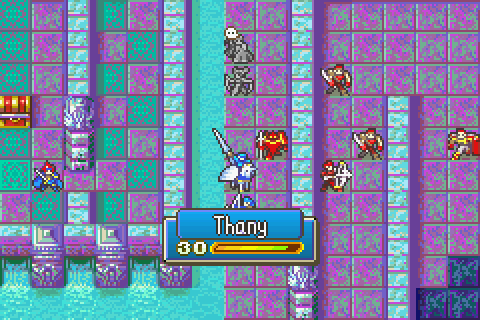
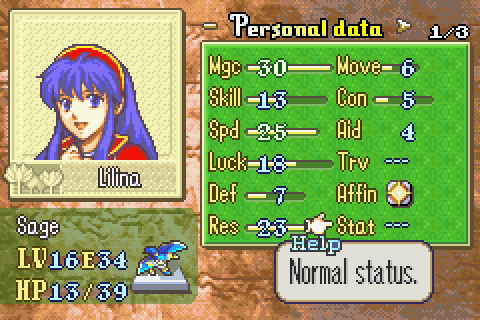
Well, that’s a lousy final level. About average for her. I may have mentioned before that she’s terrible.
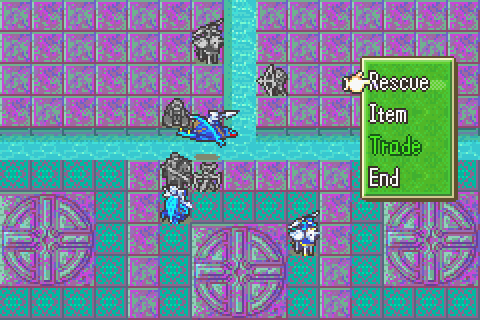
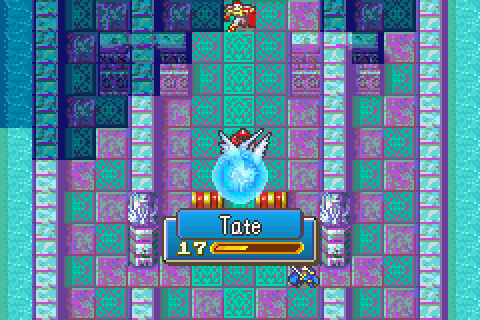
Tate drops Roy and gets ready to fight. It’s going to be a tough few turns.
Alright, I had to pull in one of the right group wyverns, but the left side is now stabilized.
Dorothy drops Lilina and Lalum dances for her. Lilina is the most powerful piece I have available, and I need to get her into play immediately even if I’d rather not have her OHKOing some of these enemies.
A little weak, but she capped most of the good stuff already. And with that, every group is safe.
Unimpressive.
Niime is silenced, but that’s alright now.
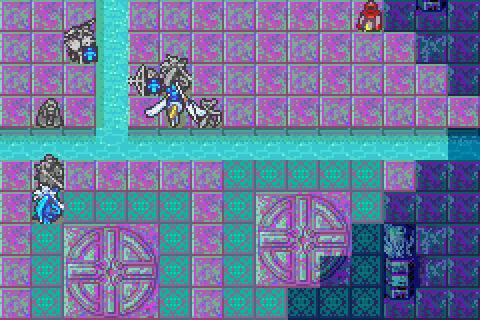
Things are not going so great in the top front, so Tate switches sides and breaks out Maltet to secure the instant kill.
Roy switches her back to a javelin for the remaining sniper and druid while getting into the safe space below her.
Noah can’t scratch the general, so Zeiss and Miledy take it down. Each of them now has a javelin out, which means one of the mercenaries should survive for Noah.
Sweet! I’m particularly glad to have that Def since he’ll cap the left side sooner or later.
Not much to do but move in and wait.
I believe this marks the true edge of the druid’s enormous silence range since he doesn’t move. I can’t let Lilina get silenced yet, so she’s out of there.
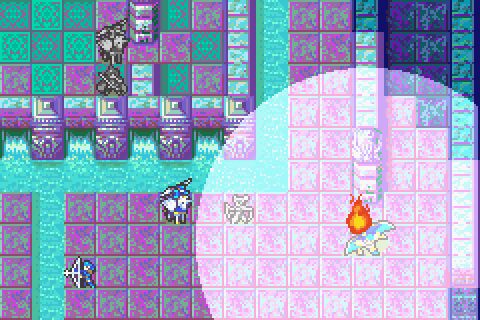
Here is safe. She lights a torch.
Everyone gets in position to start killing.
Lilina gets in a heal.
Now where to go? Thany is no match for one of those heroes, so Lilina has to deal with them. There’s enough guys back there that I’d like to go back and fight them instead of letting them come in behind me, but I don’t want to spend the time.
On the left, Noah is all ready to get a kill while the others keep fighting.

Huh. That’s actually a good level.
There’s no choice but to have Roy finish a druid off. He then takes like 2 damage from a spike trap. No one cares.
The other druid bites the dust and now things are stable. A sniper is bad, but a druid with 29 Mag and Fenrir is an instant kill on Roy and not much less on Tate if it hits.
Miledy gets a very good level as enemies come out of the fog.
Lilina gets silenced. It’s annoying, but unavoidable. If the center fight had gone more smoothly I would have been able to kill the silence druid this turn and prevent this, but oh well.
So next turn the center is under control with this kill.
This hero is my next big foe and he’s a piece of work with his high stats and brave sword, but I have all the time I need to prepare.
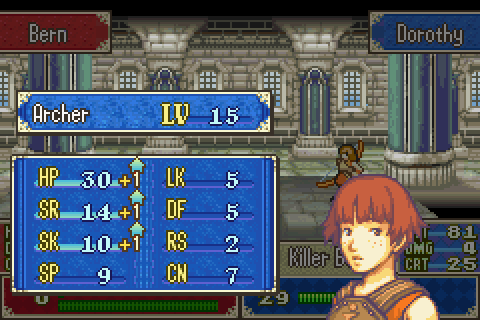
Dorothy pulls out her killer bow and drops a knight THany had weakened twice. This side is now in crisis. Lilina can’t fight, Thany is no match for several of the enemies, and 50% of my troops need to be protected from two sides.
The left side has it easier. Only the snipers can threaten the wyverns. Noah can’t scratch many things though.
Tate chugs a vulnerary and I take a risk. She can now survive both hits from the hero’s brave sword and she can kill the druid with Maltet, but if the druid is lucky enough to hit then she will die.
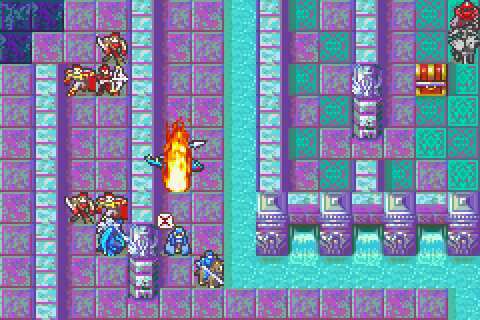
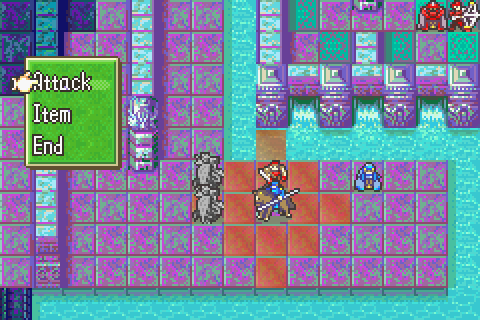
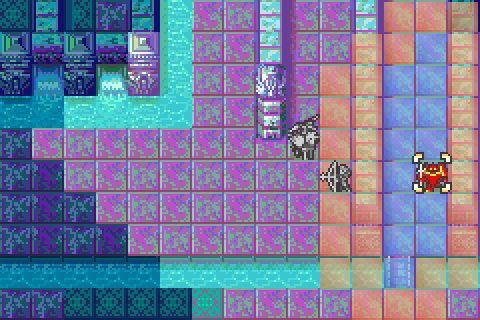
On the left side, I begin wandering into the minefield. You pretty much have to just ignore it since you’ll need to stop on some mined squares to fight effectively.
They make a tactical retreat to make sure only the ideal units are attacked by the sniper and hero.
Thany heals herself and prepares for more action.
My Dorothy continues to be my Dorothy as she kills the knight.
Zeiss pulls down a pretty good level. He’s getting close to his caps.
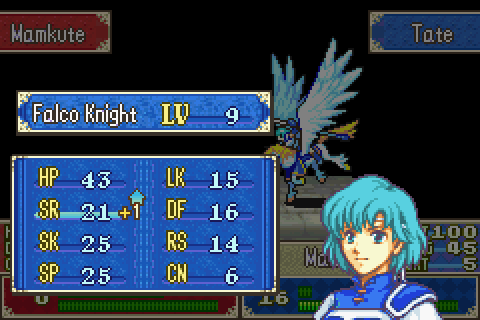
Maltet kills the Silence druid and Tate gets a solid level.
Next turn she finishes the hero.
The last left sniper bites the dust and now the hero is blocked from helping the mercenary.
Noah snags the kill.
And Niime gets healing.
Thany chugs two vulneraries in one turn thanks to Lalum as I keep up my fighting retreat. I’m now up against the wall because of that hugely powerful general. Fortunately I’ve bought enough time and Lilina will fairly soon be un-silenced.
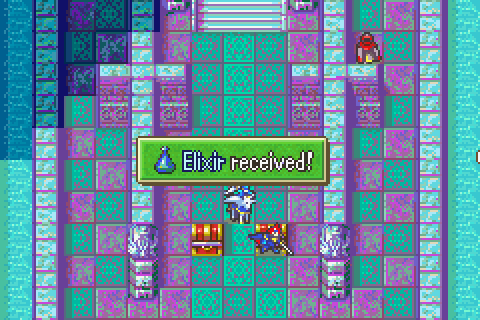
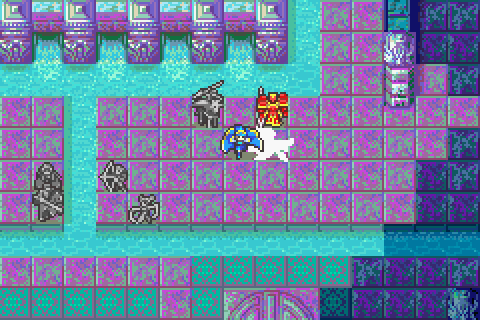
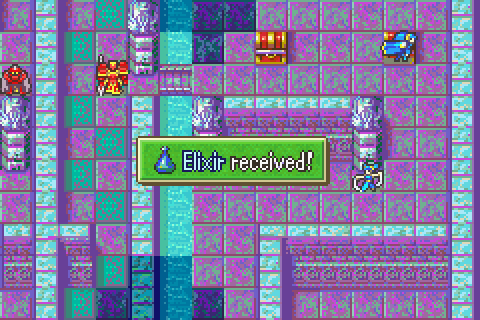
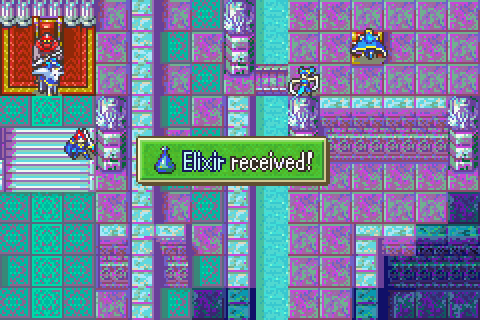
I was all ready to kill a mamkute and it’s almost disappointing to get an Elixir instead.
Well instead of a dragon, she’ll just fight a shaman I guess.
The right group is able to drop the sniper.
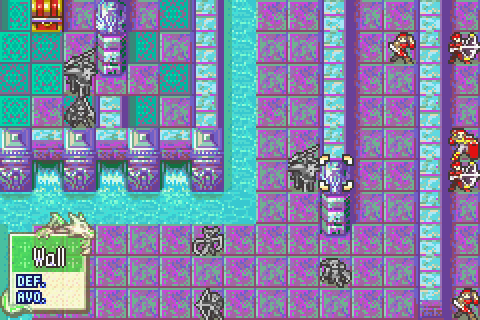
And then they wall up. Not much longer!

The left group just moves up.
Beautiful! Alright, right group enemies, your turns are numbered
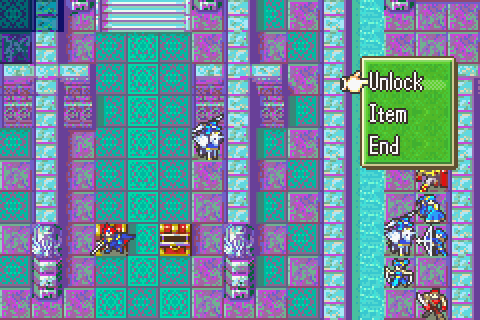 !
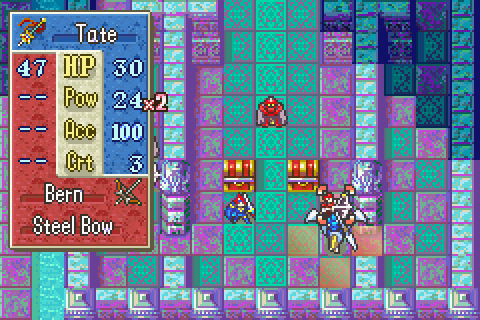
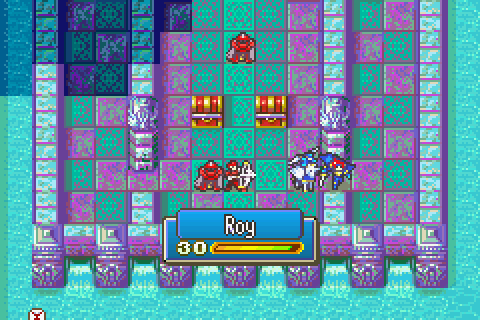
!Roy tries the next chest.
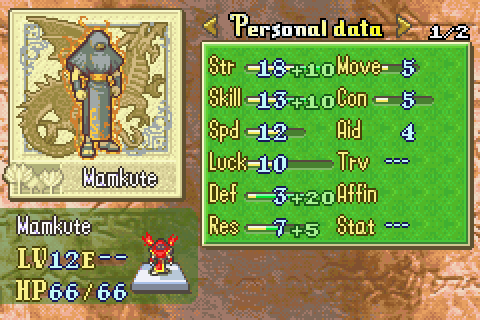
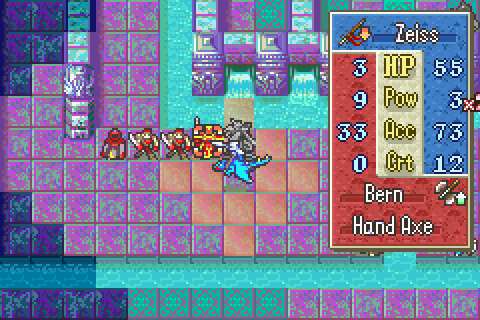
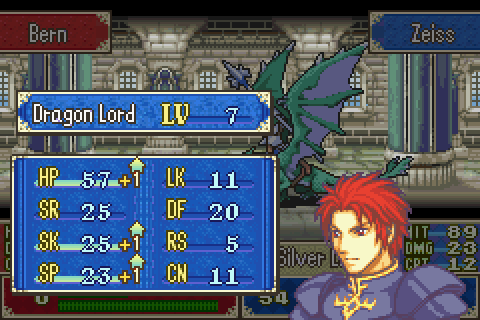
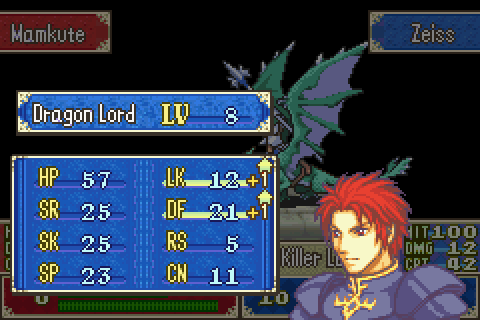
A wild mamkute appears! These are the strongest ones yet.

I made sure not to move the left group before finding the chest contents so that I could do this if there was a dragon.
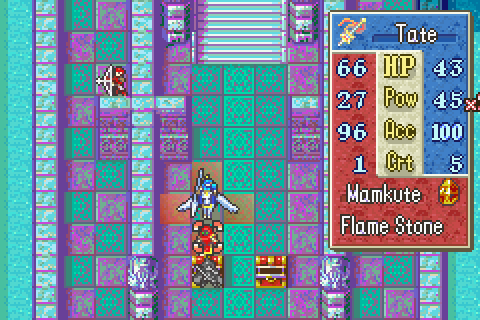
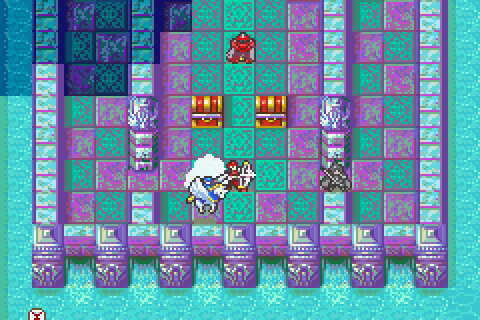
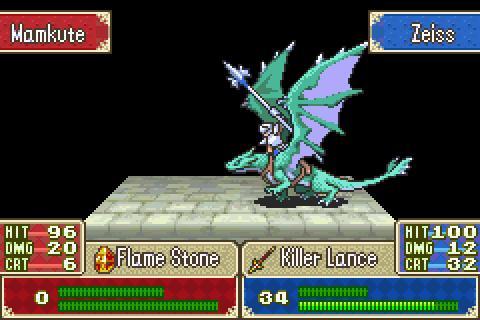
So Tate takes down the Mamkute with the only weapon that can do it.
Only Str, but honestly that’s not so bad. She could use more.

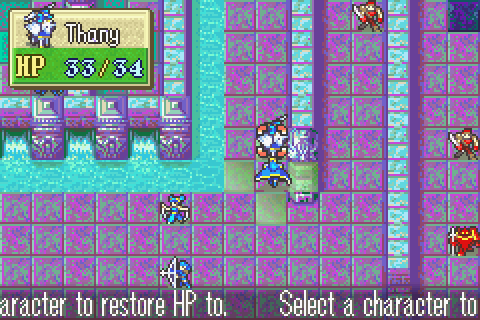
Well with the physicing done, Miledy and Zeiss carry Niime up and drop her off safely.

This is what Thany has been dealing with. Heroes are hardcore. But I think I can give this one to Dorothy with Lalum helping Thany.
Ooh, nice.
Dorothy. Well she hit! Nothing is more disappointing than concocting a careful plan to feed a kill to someone weak and then having them miss.
Roy takes a nuisance poke as he moves up.
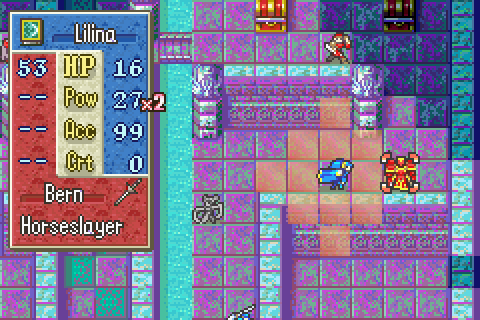
Lilina really gets to work, tearing this general apart. I’ve decided to have Lalum and Lilina go top to deal with the highest def enemies while Thany and Dorothy try to kill the remaining southern ones.
There’s not many left, but there’s one unseen hero and even a mercenary is tough for Thany and Dorothy.
Noah is trying to be Dorothy.
Not much left over here.
Solid.
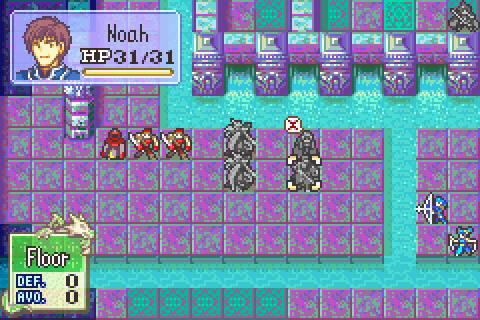
These druids are well positioned to support each other. Even with healing from Niime, Tate will not be able to kill them easily.
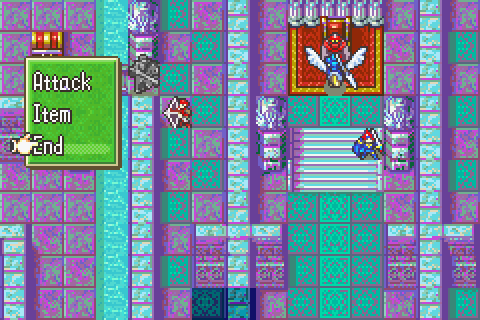
Pereth attacks. That line would make more sense if he was wielding Apocalypse.
Thany prepares the way.
I’m going to be properly ready before opening that chest.
Tate moves to deal with the next druid and Roy comes into throne range.
Darn, that was kind of anti-climactic.
These guys get a mamkute though.
Zeiss and Niime take it down immediately.
MIledy is ready with an iron sword.
This will be a tricky business; that hero is bearing down on us.
Nice, nice.
And then Thany pulls her to safety.
The last right side guy is cleared.

This fellow will be an easy kill for Noah.
Pretty bad, but who cares at this point?
To counteract Nosferatu, Tate just moves next to him instead of attacking.
Thany drops Dorothy off and then returns.
Good!
Another Elixir. No chance to use Forblaze afterall.
Another mamkute.
Nice! Zeiss has been gaining some sweet Def this chapter.
Dorothy is ready for action.
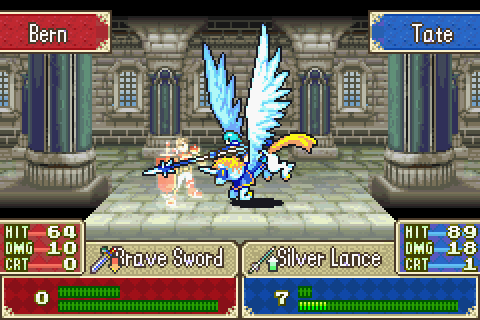
Maltet finishes Pereth off.
And Dorothy kills the last right side enemy on the next turn.
Noah kills the archer.
This actually doesn’t wipe out the enemy. There’s this one straggler over here who apparently doesn’t move. Whatever, I’m not wasting another turn just to kill him (Thany can’t double)
Turn 15 win.
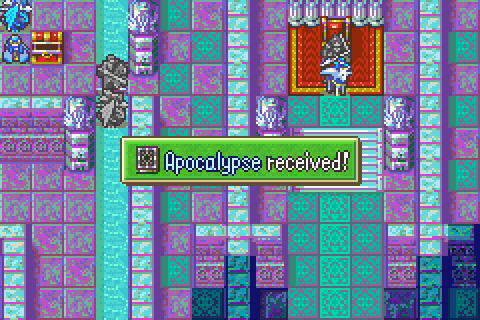
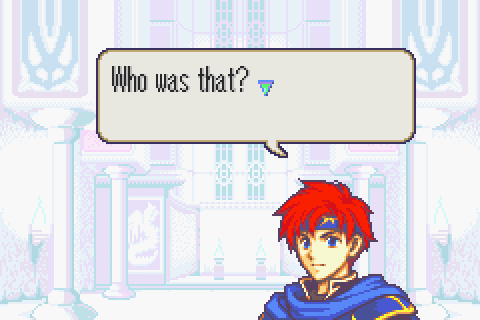
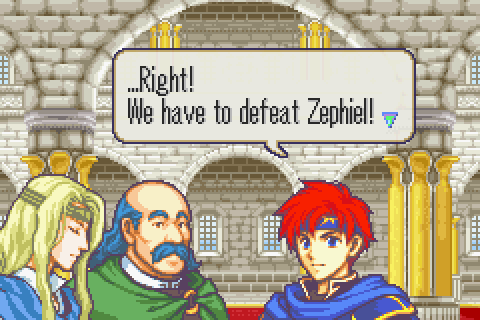
By process of elimination, there is only one possibility…
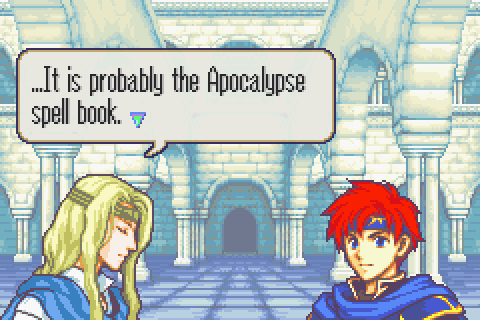
Duh.

It never occurred to me until this playthrough that seeing Bramimond in FE7 was probably meant to be a pretty serious reveal for fans of FE6 who’d been wondering what the truth about him is since this conversation.
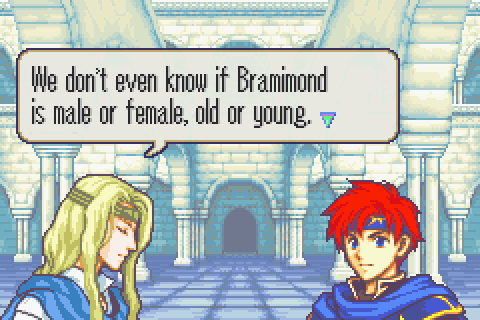
How WAS this forgotten though? I mean Athos knew the whole truth, the other legends must have known at least most of it, and they all went on to be the heads of countries.
“And why they’re usually an annoying gimmick that adds nothing interesting to the battle.”
Too late! But yeah, there actually isn’t a reason anymore, it was all pointless.
Alright, I’ve got the last legendary weapon!
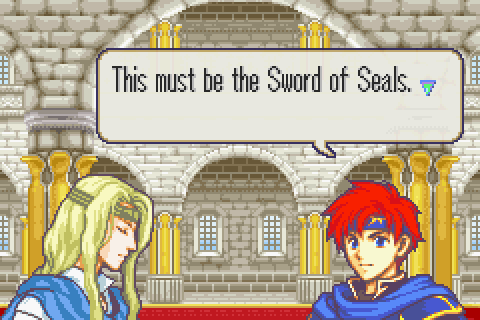
At long last!
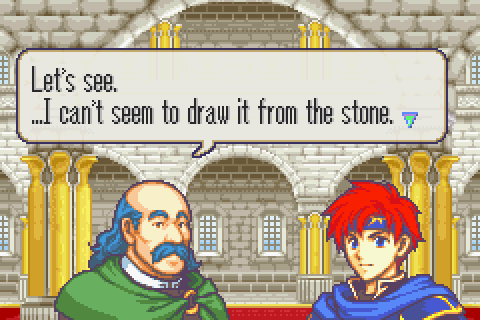
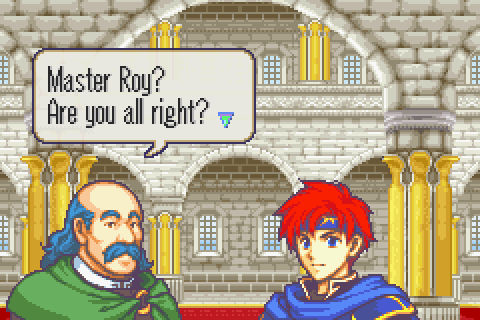
Merlinus, why were you even trying to?
When exactly was this established, actually? Roy suddenly knows all about it.

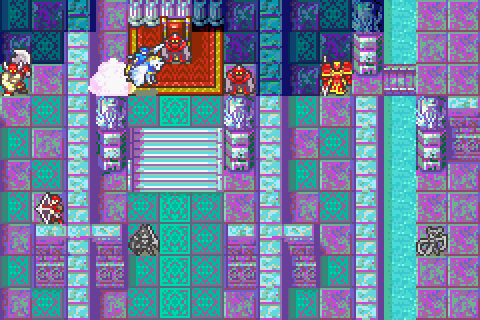
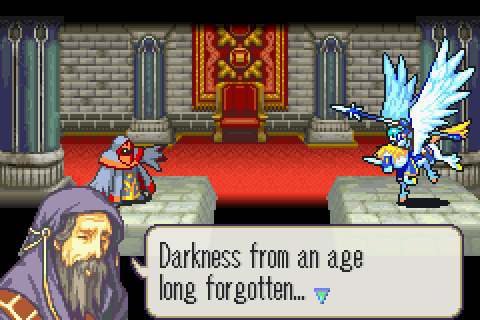
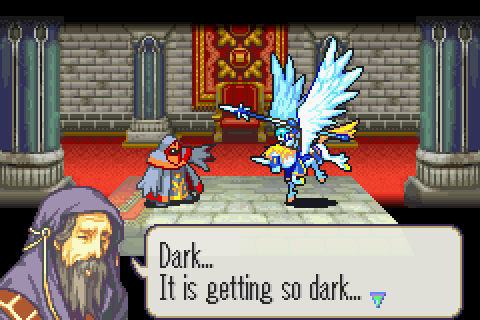
Time for a weird vision that never really pays off!
.png)
https://www.youtube.com/watch?v=iXHMIHrlisU
It’s a weird piece of music. And despite being called Idoun’s theme, it really isn’t played much when she’s around. Oh well. I think this is actually one of the game’s better tunes. I mean, I’d never just listen to it, but it seems to set the appropriate mood in-game for once.
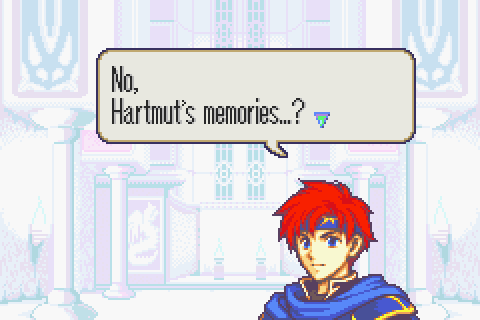
He somehow immediately realizes that this is from Hartmut’s memory. It makes no sense.

Idoun appears for maybe half a second.
Too bad his memories apparently don’t include any information whatsoever. Why does the sword even HAVE his memories though?
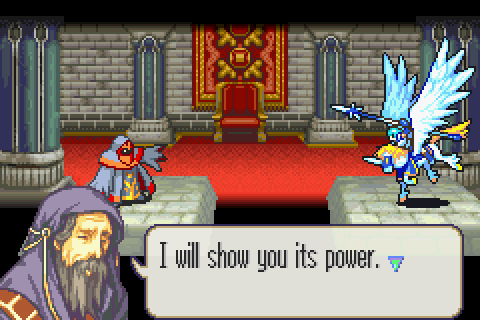
And the Fire Emblem theme plays as a critical plot moment arrives. It’s pretty awesome, but they totally already did it before, so some of the effect is lost.
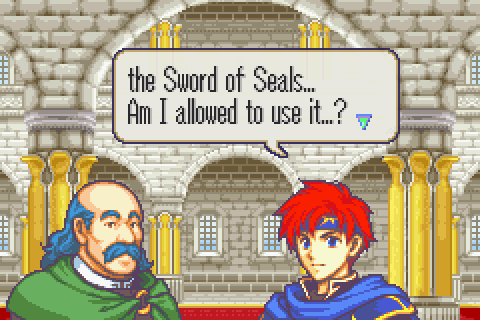
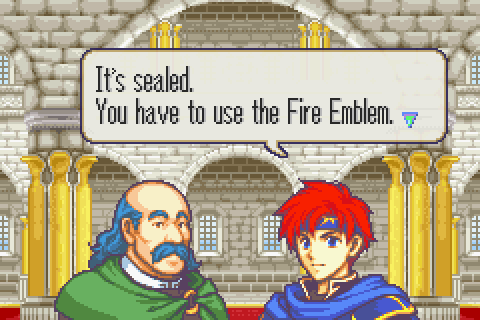
Why did we even come here if you didn’t plan to take it?

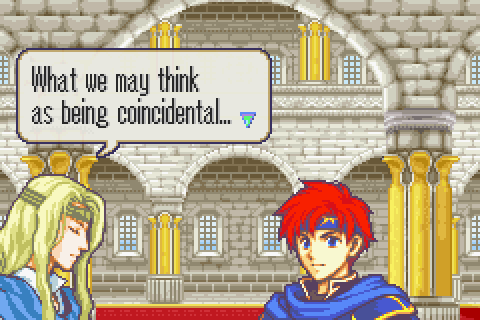
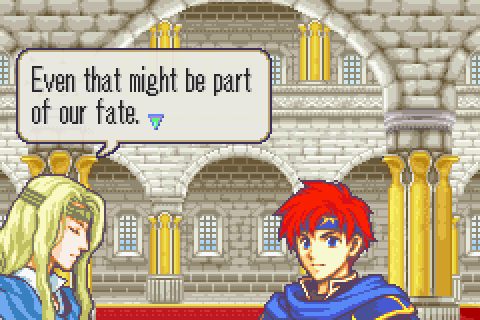
You know, I think it might have been THIS sequence of conversations that most influenced FE7. So many ideas and themes and questions brought up here play a much bigger role in the prequel.
Back to the plot!
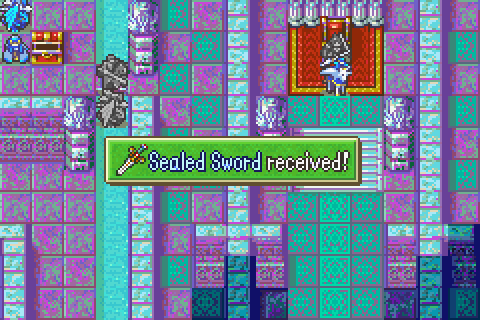
Yay! They just can’t make up their minds about the name though. Also, I’m not sure where the sword was canonically being held. This chapter makes it look like it was underground here, but if you don’t unlock the sidequest then instead it looks like it was outside?
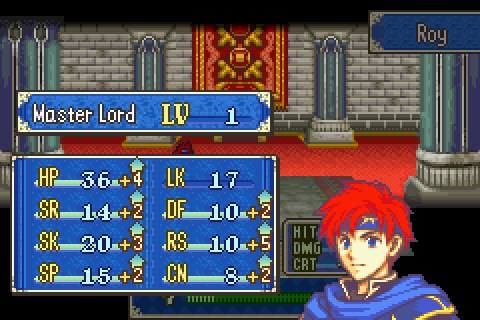
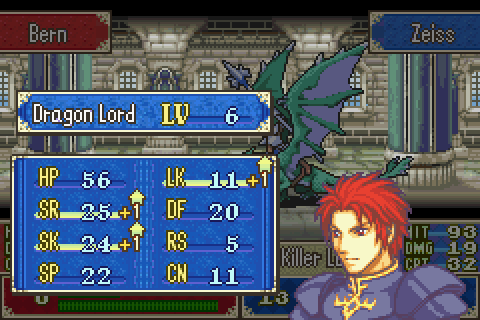
Yay. These gains aren’t even that good. At all. He’s still one of the most worthless members of the team.
Well I came in a few turns under time and scored 3 levels more than I needed to since I worked so hard to train Dorothy and Noah, and I got precisely the average number of elixirs. Not a bad outcome. But man, that level was boring enough that I stopped updating for weeks just to avoid it.
Total Restarts: 16 (None here)
Turn Surplus: +68 (Another 5. Every little bit counts)
Things I Regret Missing: A couple of uses of Marcus’s silver lance on Rude, a Chapter 5 nomad Marcus had to kill, two Chapter 12 fighters I couldn’t kill since I needed supports built elsewhere, a pirate and a wyvern rider on 14x who I didn’t have time to go after, 2 enemies in a room I didn’t have time to kill on chapter 20x, this one lazy mercenary on chapter 21x.
Legendary Weapon Scoreboard: Durandal slew Ohtz using Oujay on chapter 14x, turn 2; and the top left mamkute using Oujay on chapter 16, turn 9; and Arcard using Oujay on chapter 17, turn 16; and a bottom left paladin using Oujay on chapter 21, turn 7; and a bottom left wyvern rider using Oujay on chapter 21, turn 9. Armads slew Teck using Gonzalez on chapter 20x, turn 10. Forblaze slew the top right mamkute using Lugh on chapter 16, turn 6. Forblaze slew the left section hero using Lugh on chapter 20, turn 2. Forblaze slew the purge bishop using Lugh on chapter 20, turn 5. Maltet slew a middle area wyvern rider using Miledy on chapter 21, turn 2; and a middle area wyvern lord using Miledy on chapter 21, turn 2; and the right mamkute using Miledy on chapter 21, turn 10; and the middle right sniper using Tate on chapter 21x, turn 3; and the silence druid using Tate on chapter 21x, turn 7; and Pereth using Tate on chapter 21x, turn 14.