Part 38
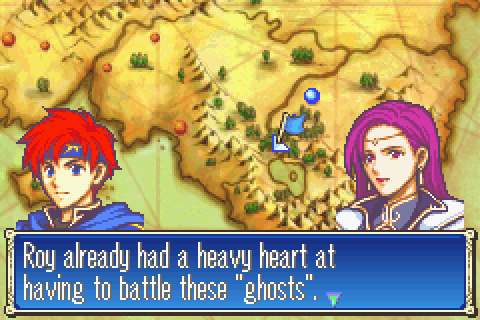
It’s a pretty generic, conventional FE battle. Hardly worth keeping secret. Story-wise it’s pretty much 100% filler as you fight an enemy who’s already been defeated and who doesn’t really have a good reason to oppose you now. However badly placed it may be though, it’s one of the game’s better-designed chapters and it’s a refreshingly fair fight after many maps of outrageous nonsense and hidden traps.
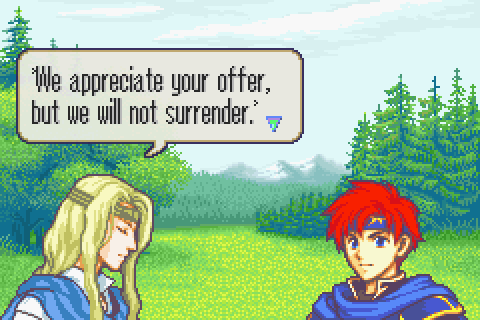
Chapter Summary:
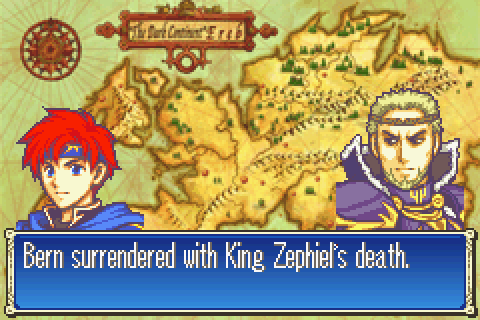
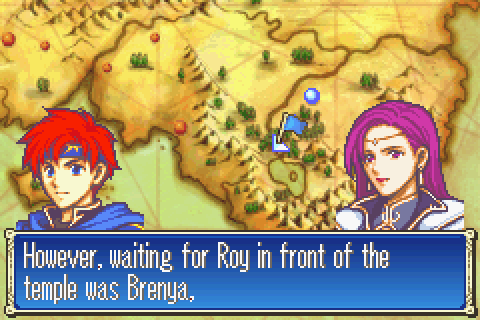
Roy follows the Divine Weapons’ guidance to the allegedly secret Dragon Temple. Brenya’s whole army is waiting to attack him even though that will only be bad for them and their families. Roy trounces them and gets on with the plot.
I wonder who actually did that? It might have been nice to see some Bern citizens/courtiers reacting and such. Maybe dig up someone like Knoll in the basement to fill us in on things.
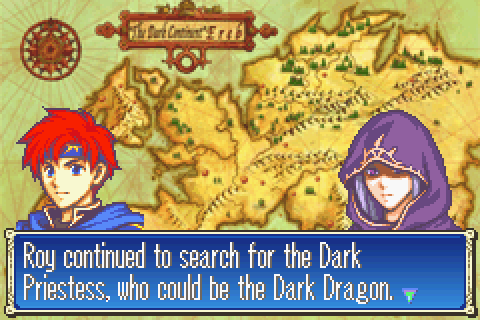
Could? It’s not even a mystery anymore. We’ve been over this.
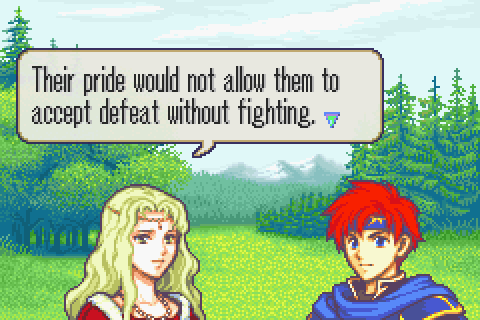
I’m mostly just feeling pre-emptively bored. Almost every FE has one of these chapters where some “honorable” enemy leader makes you fight a totally pointless battle even though you should be on the same side. Selena, Brenya, Lloyd, Ena, a bunch of people in FE10, that alleged pacifist who actually isn’t one in 13, etc. Honestly, I find the whole trope pretty annoying. Particularly because a lot of these people aren’t just fighting for misguided or unreasonable motives like revenge for a war you didn’t start, they’re also usually endangering the whole world by deliberately trying to kill the only people working to save it.

Here Brenya is deliberately and knowingly working with one of the dragons who wants to exterminate humankind and take over the world. But we’re apparently supposed to think she’s an honorable and ok person who just loves her country and doesn’t want to admit defeat. Honestly, this chapter feels out of character for her given how upset she was at being sent away with Idoun and how she never liked Idoun or trusted her, and she certainly has expressed no desire to see the dragons take over the world again.

Surprise.


You’ve got about 5 minutes to figure things out before we’re coming after you, Yahn.
The translation has gotten worse as it went along, which makes sense I suppose.
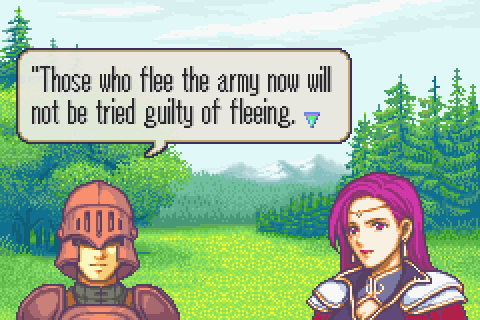
Yeah, she told them they wouldn’t actually be executed if they fled, but what kind of situation does that really leave them in? They’d be under enormous pressure to stay and fight from all their officers and most of the other soldiers. And they probably assume Brenya has some idea what she’s doing. And they probably don’t have much of a life outside the army.
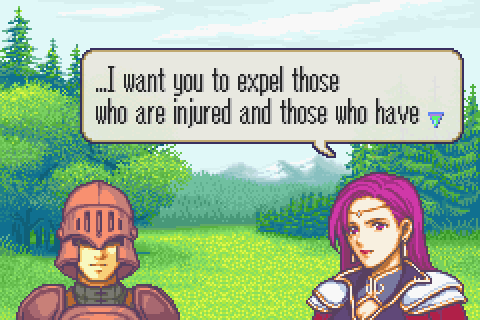
This, I’ll admit, is actually a start. She does order everyone injured and people who have dependents to leave. But… it’s really just not enough.
If she actually cared about her men OR her country, she would send them home and start rebuilding instead of throwing all their lives away and allying with a person who will murder every last citizen of Bern if he can.
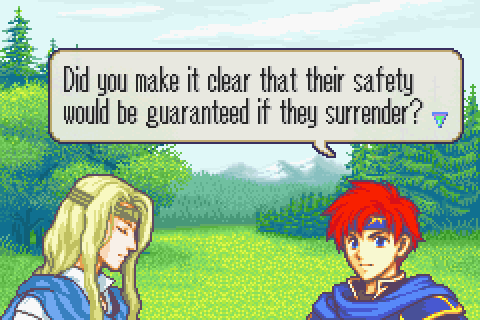
Roy actually offered them a chance to surrender? What happened to the Butcher of Djuto?
Screw it, they’ve sided with the dragons, let’s just kill them all already.
Maybe this whole trope goes over better in Japan, but at least from my perspective all the Brenyas and Selenas and whatnot are thoroughly contemptible.
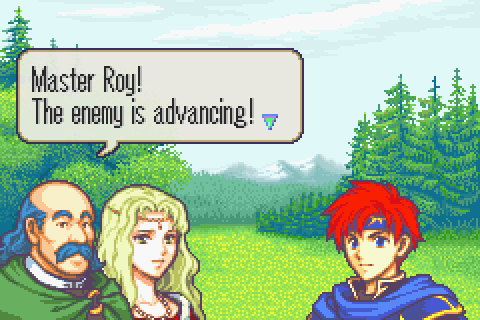
Screw it, kill ‘em all.

We kind of already had this exact same angsty conversation when the invasion of Bern began and it worked much better then. Oh well, it’s still always nice when a real character gets lines.
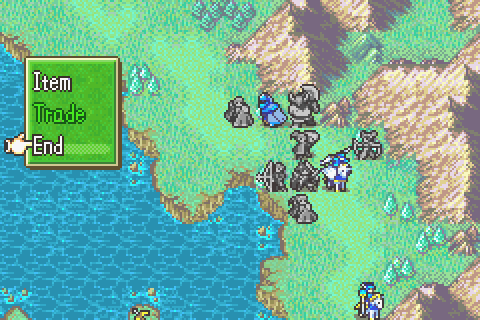
Battle Preparations & the Map:
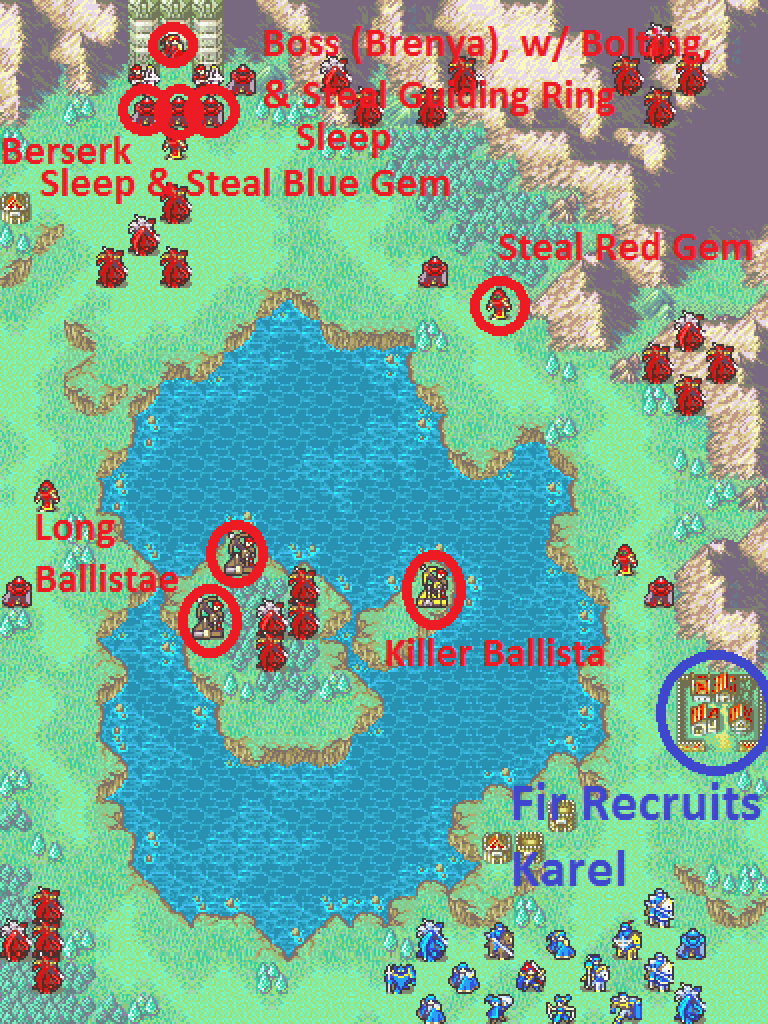
Secondary Objective: Recruit Karel by visiting the village with Fir (or Bartre)
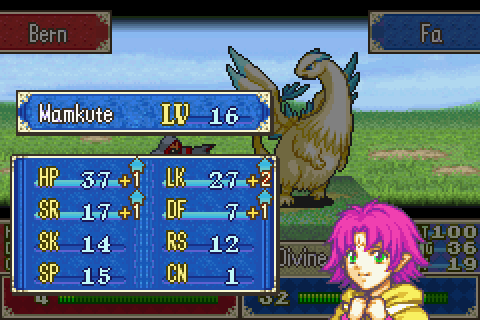
Secondary Objective: Steal the Red Gem from the top rightish mamkute
Secondary Objective: Steal the Blue Gem from the middle staff druid
Secondary Objective: Steal the Guiding Ring from Brenya
Reinforcements: None. It’s awesome!
Turn Limit: 20. More than enough as usual.
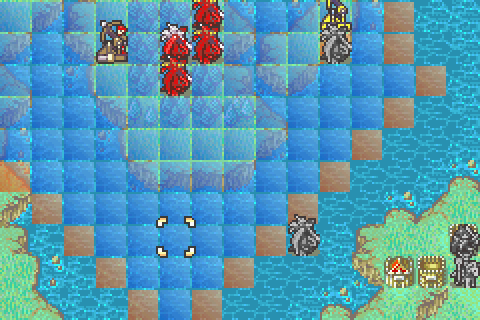
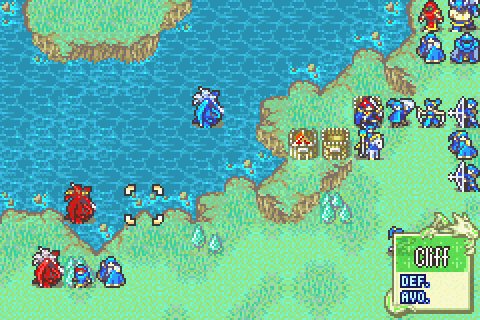
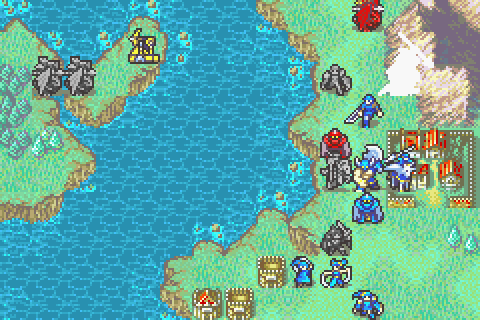
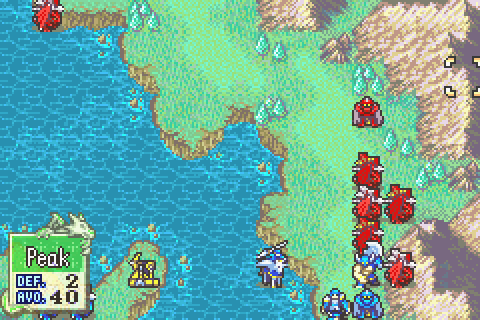
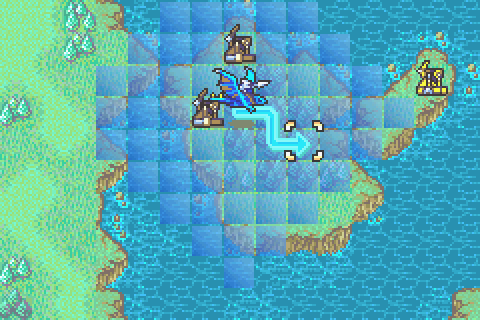
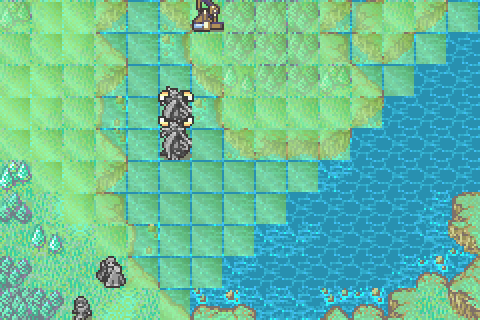
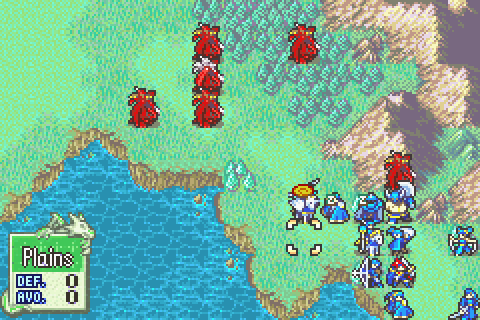
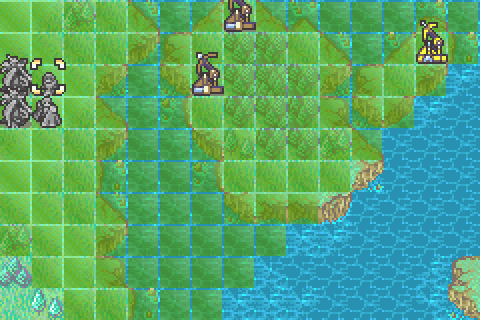
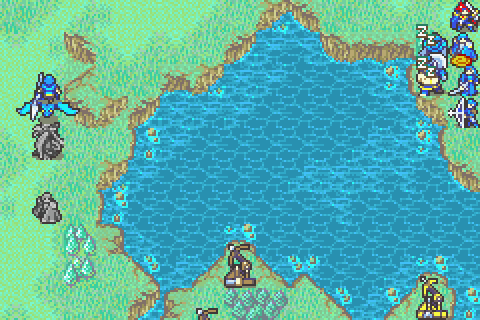
You know, a lot of the time the battle map seemed to correspond to part of the world map. In this case, it’s upside down. The dragon temple was clearly in some mountains SOUTH of the lake on the world map.
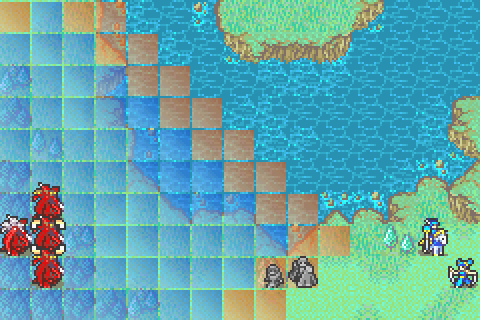
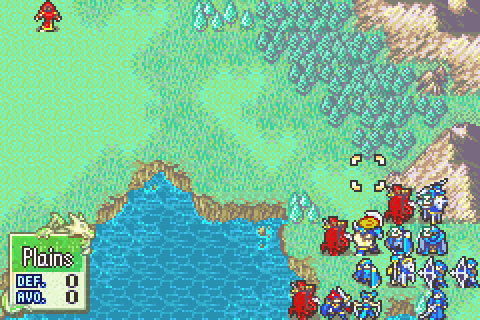
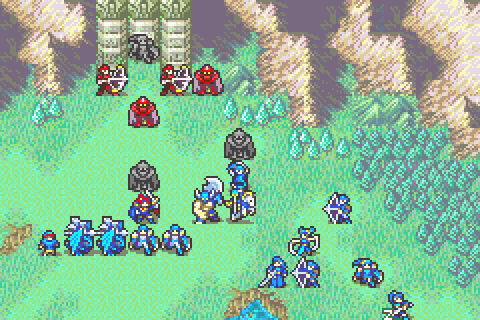
Anyway, what you see is what you get. This map reminds me a lot of some of the decent FE7 ones. It’s only moderately too big, the enemies are actually fairly concentrated, and the ballistae and staff users are placed in interesting locations. There’s no reinforcements, no enemies that spawn right after battle preparations are finished, no traps, no fog, no hidden time limit, or anything. It’s nice.
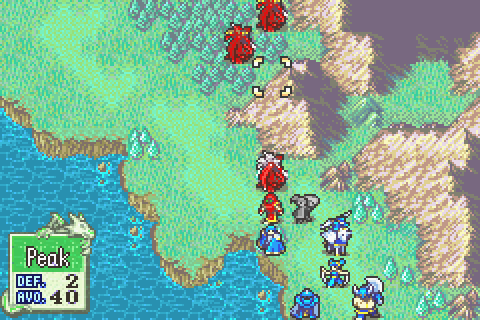
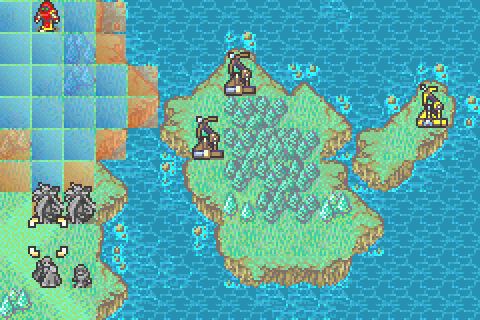
At first glance it’s an air map, but don’t be fooled. The ballistae are way too hard to get too and- worse yet- the left two are in the massive staff zones of the druids. Instead, you’ll need to make your way carefully down one of the narrow shores while dealing with flyers over the mountains. And then find a careful way to approach that tight formation of staff druids and the boss with her bolting. Good stuff.
Oh and as a sidenote, like pretty much all water in the game, this is Lake rather than Ocean, so berserkers and pirates can’t cross it effectively. Also it’s surrounded by cliffs on all sides. They really worked hard to make pirates and berserkers less useful than they should have been on a lot of these chapters.
Compared to chapter 21, you fight pretty much the exact same units, but things are less boring because the terrain is less annoying and huge and there are other threats to deal with.
Oh and notice that there are now a pile of items to steal! FE7 often had that, and this game never had enough of it. Finding ways to steal stuff under fire is a fun little challenge.
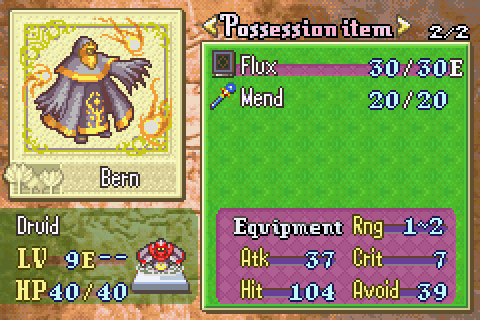
For whatever reason, the enemy druids have had a MASSIVE gear downgrade. Now they all have Flux instead of Fenrir and Mend instead of Physic pretty much. That makes them a lot easier to deal with.
Units Allowed: 15 + Roy (More than you can effectively use)
Units Brought:
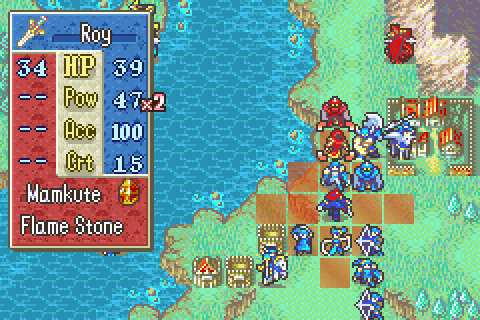
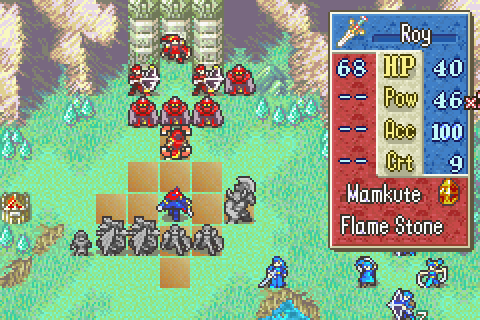
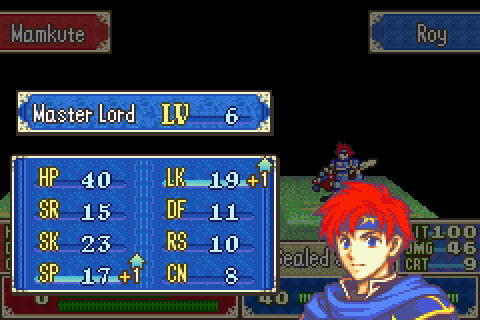
1) Roy. I haven’t even used him much and he’s only level 4 or 5 or so, but the Sword of Seals is already half-broken. Oh well. He’s decently handy here because a lot of the more challenging enemies are mamkutes, which he can be super-effective against.
2) Fir. Required to recruit Karel.
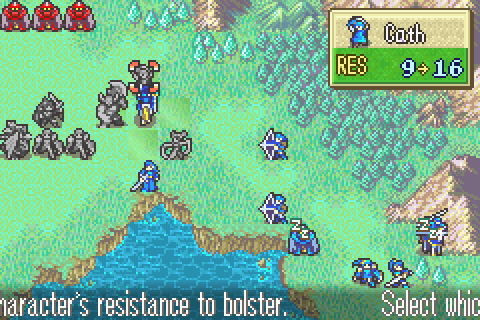
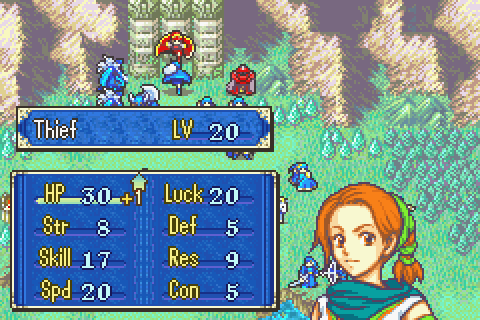
3) Cath. She’s very close to level 20 and I aim to get her there. Plus there’s stuff to steal, so a thief is required.
4) Lalum. Always an excellent choice.
5) Zeiss. I need a flyer to tear up the ballistae and Zeiss is the best man for the job due to his Def.
6) Miledy. Good backup for Zeiss, even if she’s not quite as good.
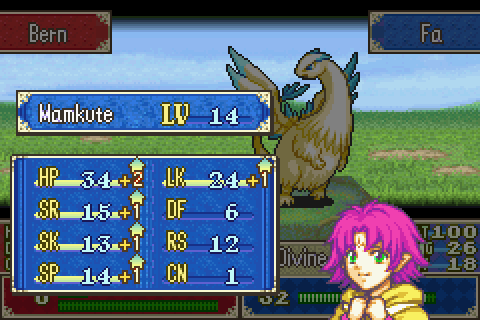
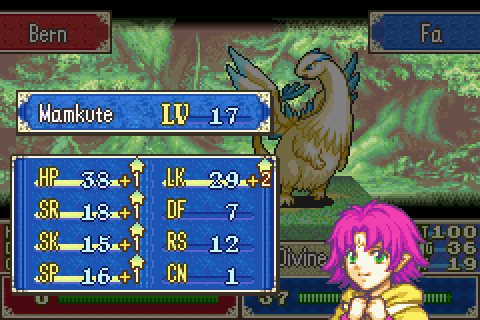
7) Fa. I got confused and thought she was super-effective against wyverns, but she’s quite effective here anyway. There are only a few enemies on the left side path, and with a little bit of backup she should be able to take them out and get to level 20 due to her great tankiness.
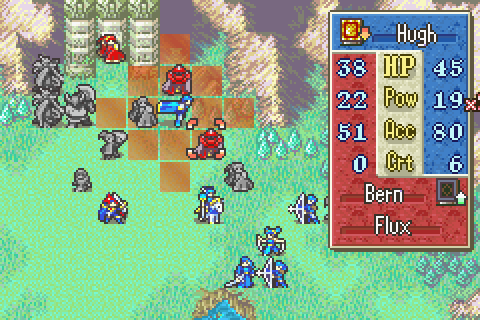
8) Hugh. Strong enough to bolting down a ballistician, tough enough to fight wyverns without a healer, and capable of healing Fir. He’s the best choice to back her up.
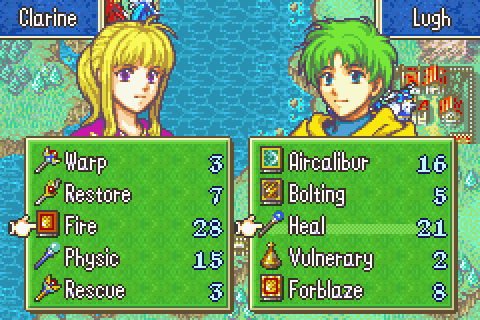
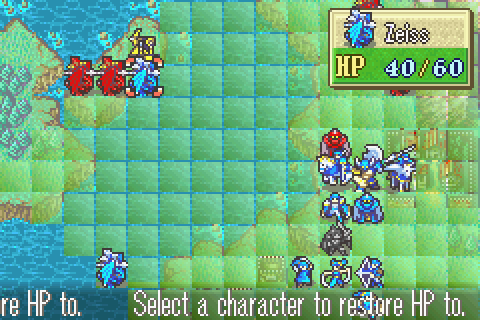
9) Clarine. I’m going to need Restore users- and Physic will be handy too. Actually, there are a lot of staves that are handy here in general. Barrier will be important for approaching Brenya, Hammerne to keep the other staves intact (or fix Maltet), Warp for getting across the lake and smashing the staff users from outside their range, Rescue if a flyer gets statused over the lake, etc.
10) Lilina. My other uber staff user and also my best Bolting user in case I try to take out one of the staff druids like that.
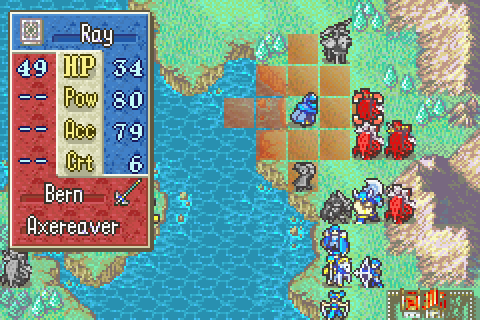
11) Ray. Mages dominate this level, so bring all you can. Even Ray is amazingly effective.
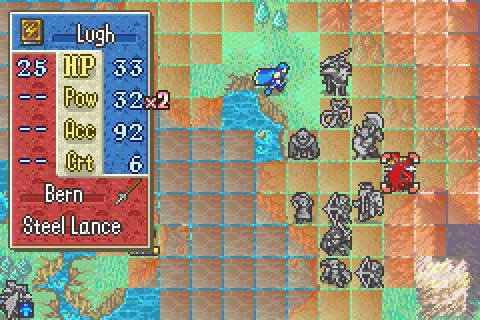
12) Lugh. Better than Ray, as usual.
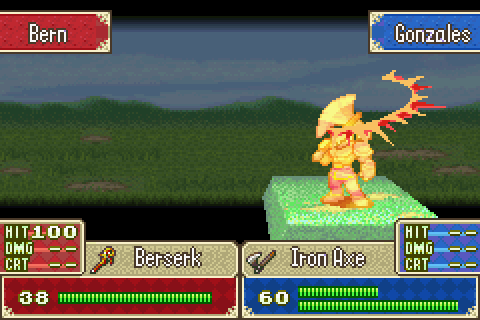
13) Gonzalez. Remember how Gonzalez slaughtered 20 or 30 wyvern riders and lords singlehandedly without taking any damage on chapter 21? This is his kind of chapter.
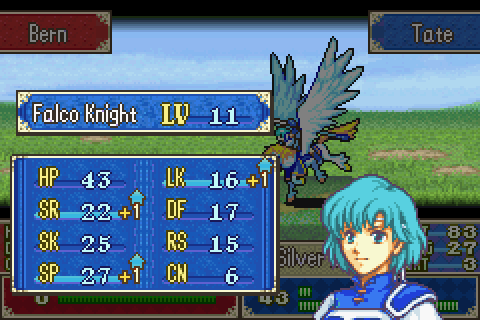
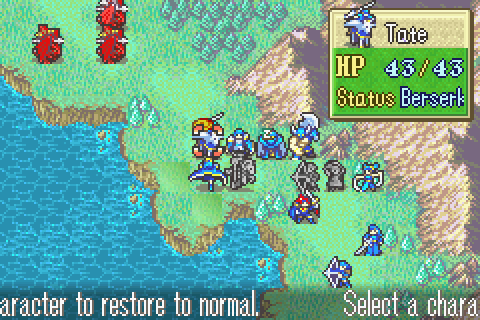
14) Tate. I need a flyer with Maltet to snipe some problematic enemy wyverns before they get to my squishy people. Tate can handle that well enough.
15) Dorothy. This is the last chance to train her and it’s pretty easy here since the level is 80% flyers.
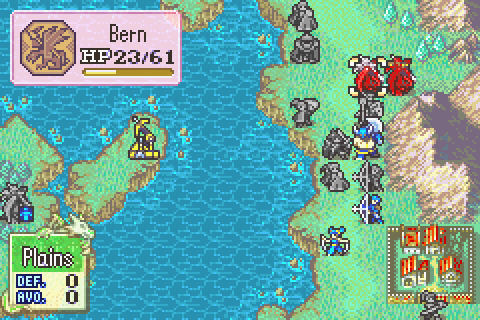
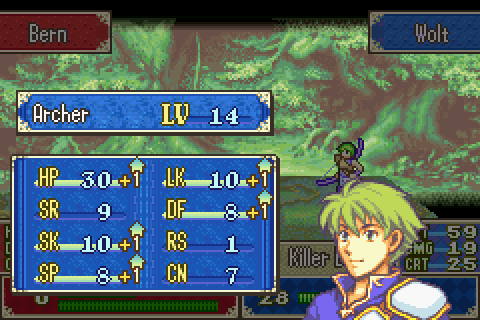
16) Wolt. Like Dorothy only worse.
Notable Units Rejected:
1) Bors. Incapable of doing even scratch damage to wyvern riders with a killer lance, so completely untrainable.
2) Ward. Does only 3 damage or so to wyvern riders and has <40% hit chance at the best of times, so completely untrainable.
3) Wendy. Ha!
4) Yodel. I did actually consider him since more uber staves would be handy and it would also be nice to have one person on the team who can’t be statused. And he could use Purge against the staff users and ballisticians. But he’s level 20 and I just don’t need his help that badly.
5) Oujay. No more support to build with Lilina and swords are not that effective here.
6) Alan. Not enough power to damage wyverns heavily and can’t wield any legendary weapon but Maltet (which Tate needs)
7) Lance. Alan but WAY worse after his cruddy levels last time. He’d be useless here.
8) Thany. Can’t do damage.
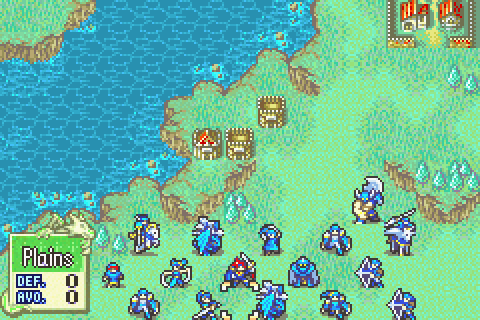
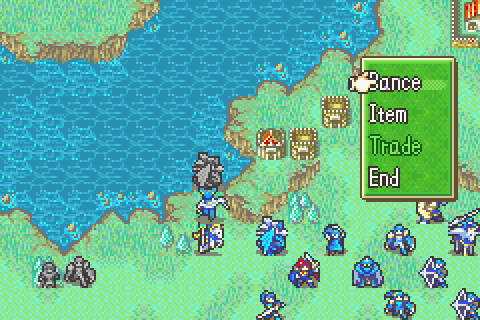
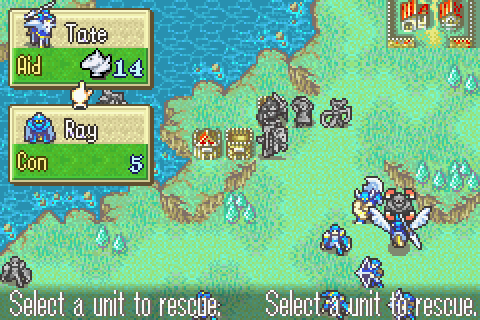
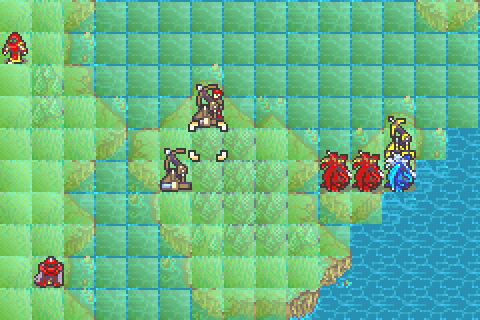
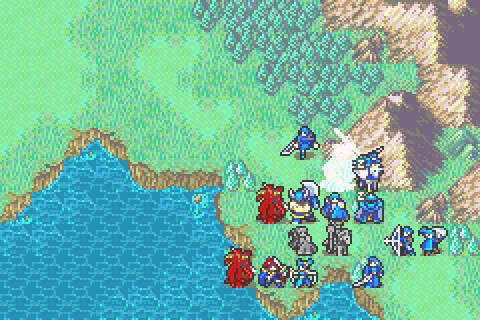
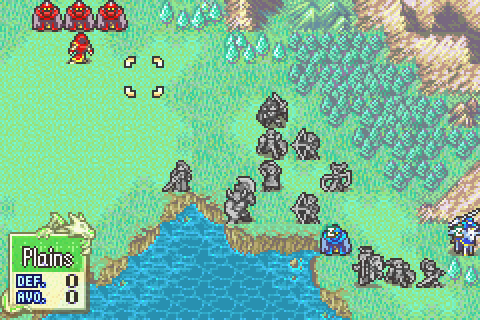
So my formation here is actually clever enough to talk about for once. Basically, in order to strike down the killer ballistician on turn 1, I need to put Zeiss on the edge of the lake and have Lalum dance for him. But that would put her uselessly out of the way when I definitely want her with the main group. So I’ve positioned Clarine next to the ideal spot for Lalum to end up and can carry her out immediately, then have other people take and drop her for extra distance.
Fa is in position to reach the forest and use it for defense against the first wyvern group while allowing Hugh to get up really close without being attacked. Next turn he should be able to Bolting one of the ballisticians.
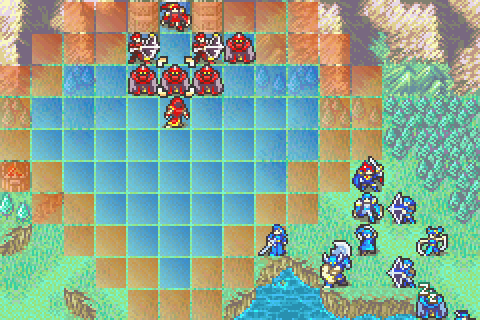
Then among the main group, people are positioned so that with rescue-dropping I can move Gonzalez, Tate, Lugh, and Ray up at greater than normal full speed and deploy them immediately into a wall.
With regard to gear, everyone is carrying the most powerful weapons available, plus javelins and handaxes.
Every sage has at least one bolting and also an aircalibur and everyone who can wield one has a Heal staff of course. Cath is keeping 3 inventory spots free to steal.
Lalum is carrying some spare staves that Lilina or Clarine may want later but not right now, such as Barrier and spare Restores and the like.
Clarine has Fire, Physic, Restore, Warp, and Rescue. Lilina has Aircalibur, Bolting Heal, Physic, and Silence. I realized she has 100% odds to silence any of the enemy staff users from range superior to theirs, which could be handy.
The legendary weapons are held by the usual suspects.
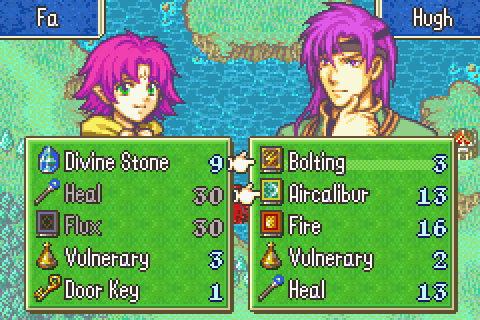
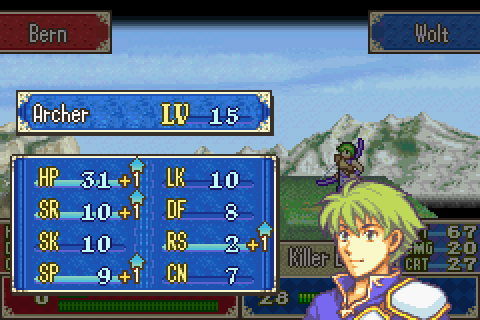
The Characters:
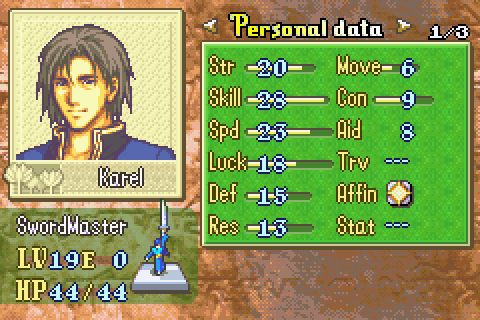
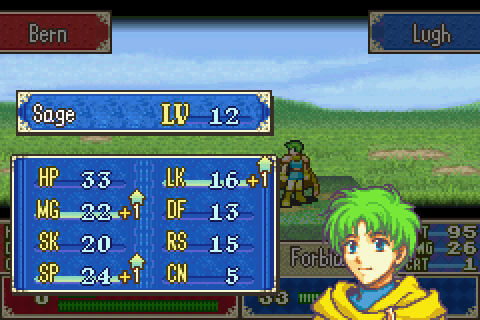
Arguably the worst FE7 character returns, completely different, in the prequel ^ (-1). Instead of being a murderous psycho, he’s now a more or less normal guy who’s hiding from his terrible past in this out of the way village. Oh and instead of feeling compelled to murder all members of his family, he’s now quite friendly to them and can only be recruited by them. Oh and he’s completely changed his title from the Sword Demon to Saint of Swords, which was actually Guy’s title. It's like for once it's FE7 that had no idea what it was doing.
In another dramatic departure from the previous game, he’s actually not horrible in this one. I mean, he’s bad because swordmasters are a bad class and he’s not really a good swordmaster for his level, but he’s usable. As some kind of weird joke, all his growths are over 100%, but he can only gain 1 level.

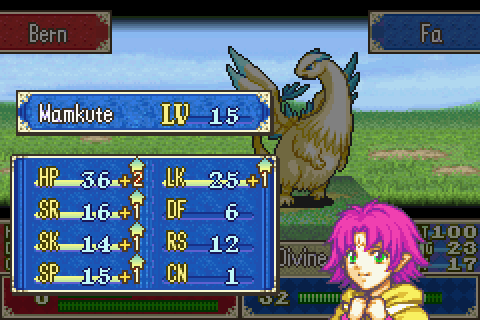
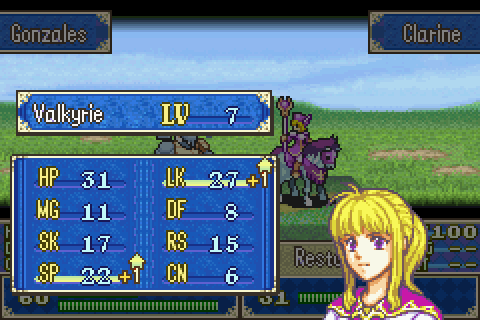
Brenya is the most interesting and least annoying Bern general and – perhaps relatedly- the one who gets the least screen time. She’s semi-secretly in love with Zephiel but also distrusts and dislikes Idoun. Unfortunately neither of those traits or subplots really go anywhere because she does nothing all game. She doesn’t even show up to sabotage Narshen or other villains like Murdock does. What a waste of a decent character.
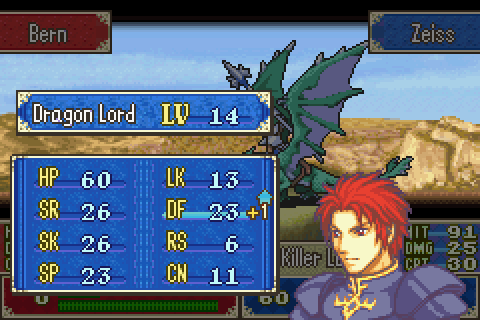
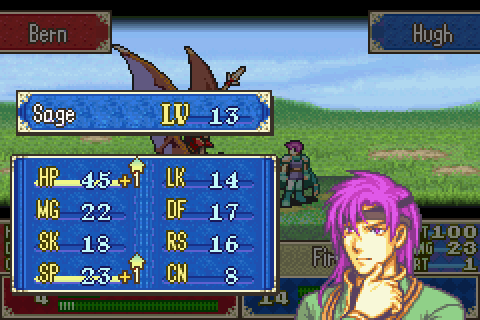
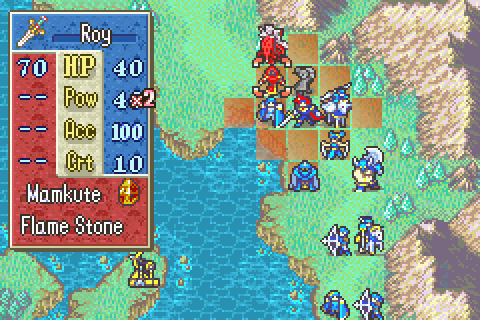
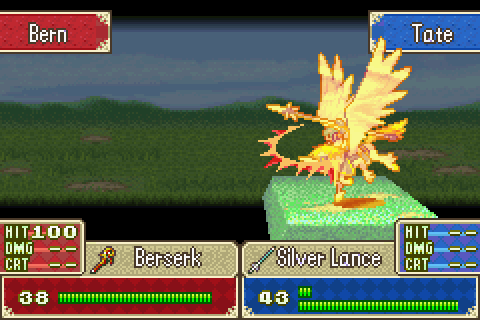
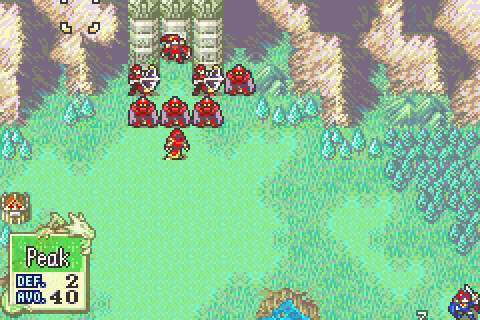
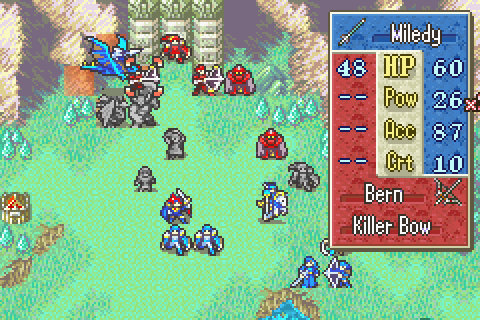
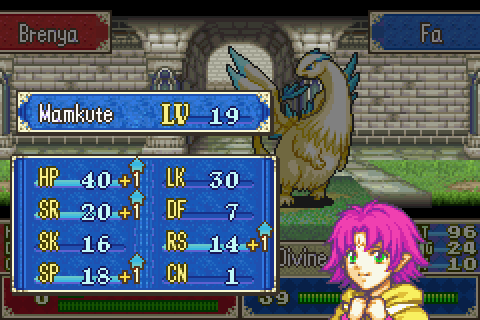
Brenya is, apparently, the most powerful warrior in Bern. Just look at those stats! Capped Mag, huge speed, capped Def, capped Res, and enough skill and luck to never miss and be really hard to hit. She could absolutely flatten Murdock or Zephiel in a fight with no difficulty at all, but somehow it’s Murdock who everyone says is the strongest.
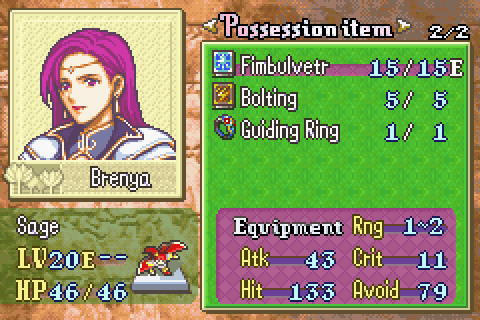
And she’s got uber gear that let her instant-kill many of your people and 2-hit kill pretty much everyone. Often from across the map. She’s definitely one of the most powerful bosses in the game, however she’s actually a bit less threatening for her point in the story than Ohtz was.
For some reason, she has a Guiding Ring. Any magic user you promote now is going to be completely worthless, but I guess it’s good for your funds ranking.
Playing Through:
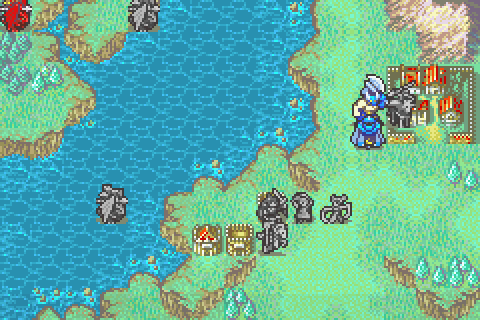
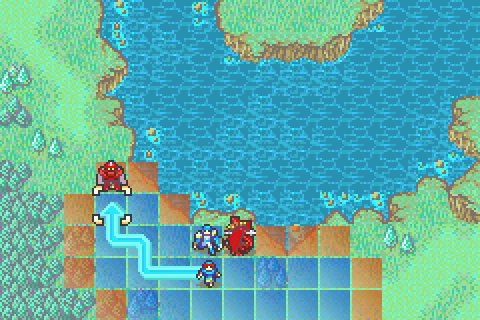
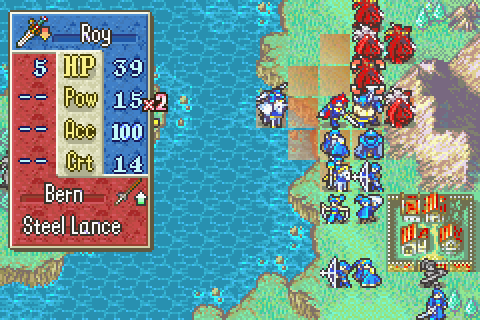
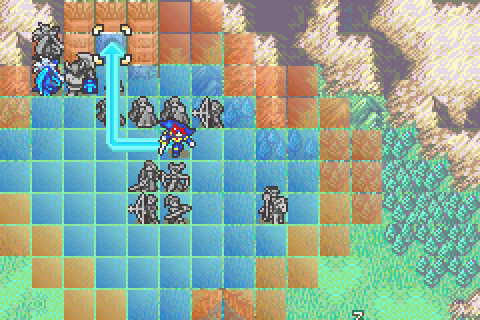
Fa takes the lead. The only guy who can go for Hugh is this one with a javelin who I want to go after him anyway.
Notice that Zeiss was NOT the closest wyvern to this point. That would have been a waste of move.
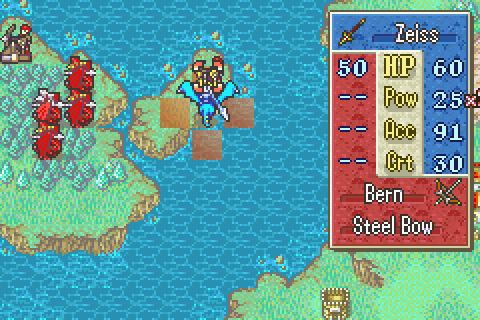
He immediately takes down the killer ballista.
Yay!
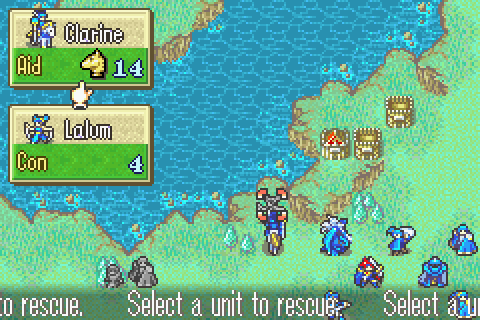
And Clarine immediately carries Lalum back toward the front.
Roy and Cath team up to drop Lalum even further along.
Miledy gets into range of the Long Ballistae but she’s out of wyvern range, so she’ll live.
Ray moves so Tate can pick him up.
Gonzalez takes point and drops him safely.
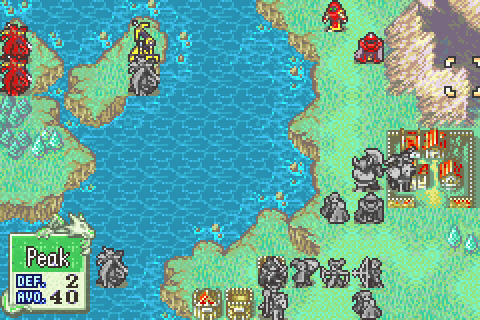
And everyone else moves in.
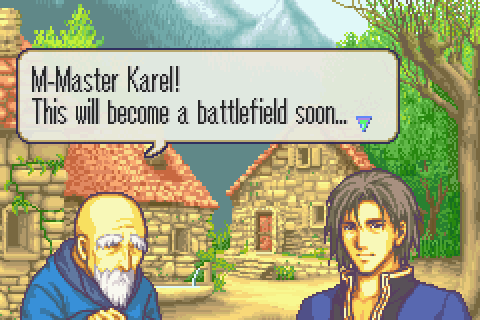
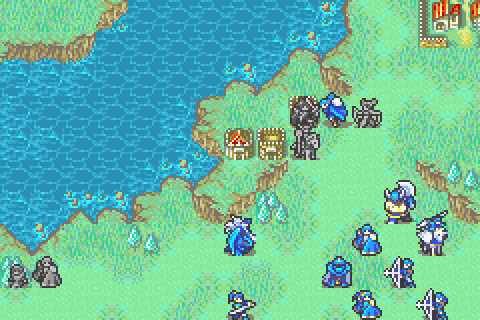
This temple’s location was totally not secret.
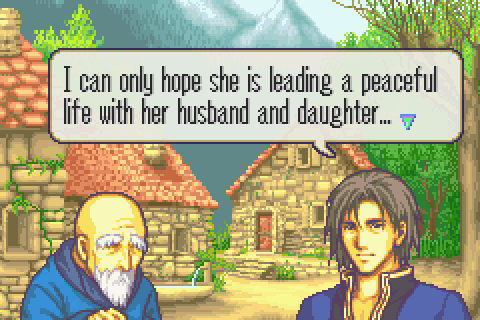
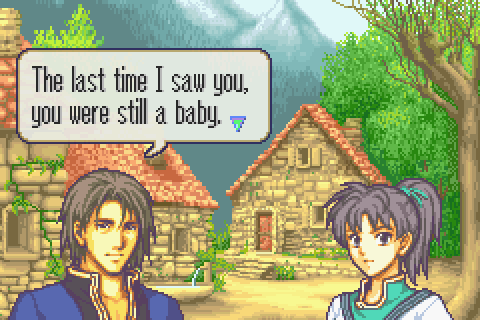
Karel wonders how his sister is doing. Dramatic irony! This clue doesn’t really help us know who to recruit him with at all though since he doesn’t give the name of the husband or daughter (and the husband was never seen in this route anyway).
Sweet!
Fa is doing well too.
Zeiss scores a helpful crit and tears apart the enemy wyvern lord in one round.
Turn 2!
Hugh runs around to the planned Bolting spot and kills the closer ballistician. Now only one remains.
Then Fa moves by him and trades a good weapon back to the top of his inventory before firing away at the wyvern lord again. It’s fun how I was finally able to dig up a lot of the old tactics I built my FE7 run on and use them here. I’d gotten really bored with slugfest chapters where I didn’t need to do anything fancy but know where reinforcements were in advance.
Very nice.
I’m trying to figure out the true maximum range of the Berserk user. It looks like it really will completely cover this ballistician even at 2 range, so there’s no safe way to take him down with a flyer...
I want to level Roy up a fair amount. It’s really helpful if he can have 20 speed by the final chapter. My Roy is slow so I don’t think I’ll get there though.
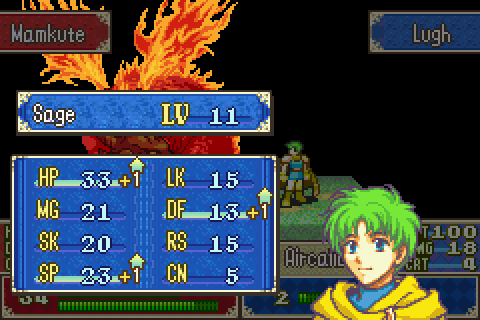
Now my main concern is how to give some kills to my archers. I checked the numbers and figured out that Lugh can leave one wyvern just barely alive if he attacks with Fire and does NOT have Ray nearby. So I killed that Mamkute so that Clarine could run into its spot and give her Fire to Lugh.
While she’s at it, she keeps Zeiss going.
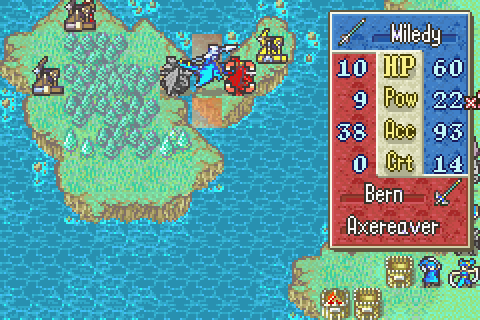
He and Miledy take down the wyverns and stand by.
Lugh weakens the target, so Wolt is able to finish it.

And then Dorothy shoots down the druid and gets a nice level for her trouble.
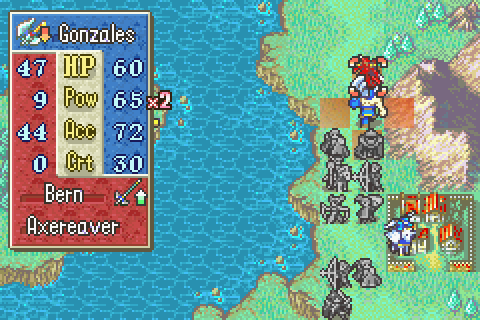
I need Armads mostly for accuracy rather than power since this guy has an axereaver.
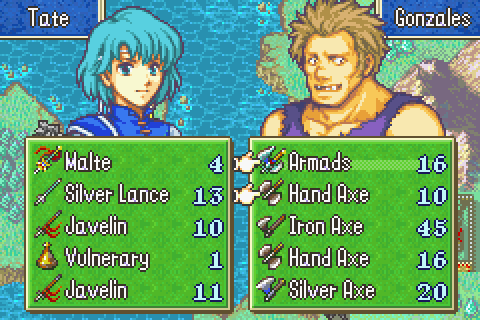
Then Tate switches him back to a handaxe.

And then she flees. The wyverns can pretty much only attack Gonzales at this point and he should wreck most of them.
Hugh gets a decent level as he’s attacked. He can’t dodge to save his life.
Gonzales… totally sucked this turn actually. He got no crits and actually missed tons of attacks even though his hit chance was good. That hurts my plans a fair amount.
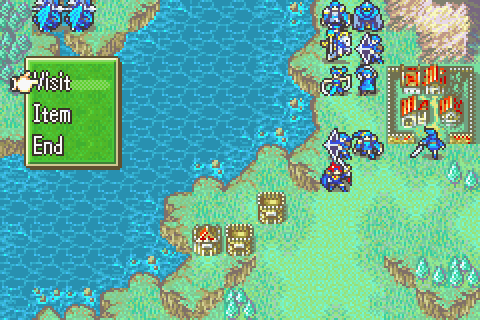
Well I was in no hurry to recruit Karel, so Fir only now reaches his village.

So she immediately recognizes him, remember that.
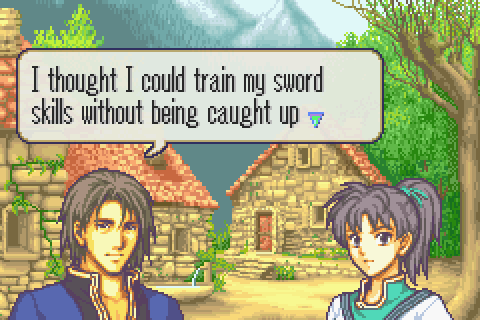
He wanted to find somewhere quiet to practice swordplay without having to actually fight anyone. Really he talks a fair amount like Renault, though unfortunately he doesn’t have any interesting secrets we can find out.
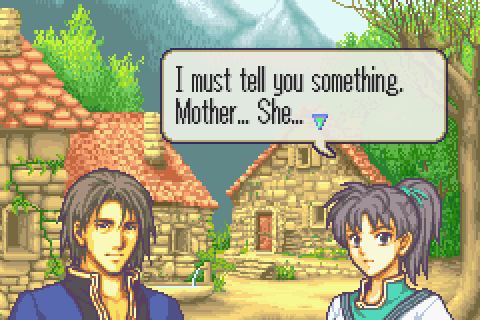
Fir tells him that Karla is dead.

And he joins for reasons that don’t really make a ton of sense.
Remember how she immediately recognized him? Yeah. The writers completely forget about things they said 4 sentences ago.
The left front is nearly empty.
Ooh, some Def, nice.
Miledy flies into Berserk range and kills the last ballista operator.
So Zeiss grabs her and then flies out! Mission accomplished.
Like Fa’s weapon, I’d forgotten that the Sword of Seals isn’t actually effective vs wyverns.
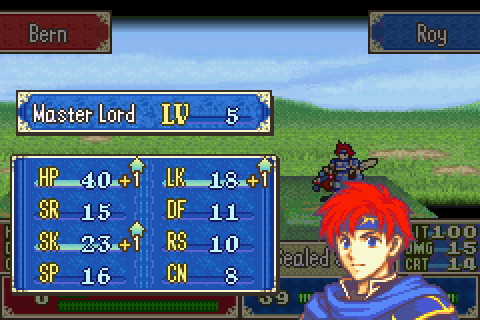
Ugh, you’re so bad, Roy. It really doesn’t look like I can get him to 20 speed in time, which will make dropping Idoun in one turn much harder. So will his cruddy Str.
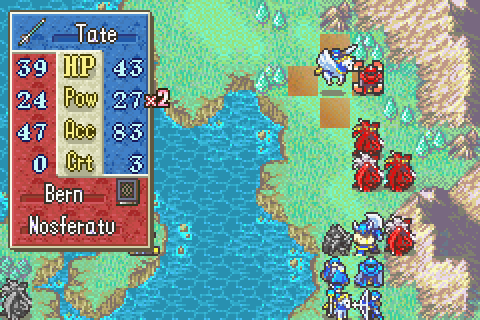
Tate goes for the target only she can reasonably reach.
Wow, that’s great.
Because Gonzales killed so few guys. I need to break out the big guns to wipe these guys out.

Pure offense is what my Ray has been doing all game, and he’s way above average in speed, but still just not that good.
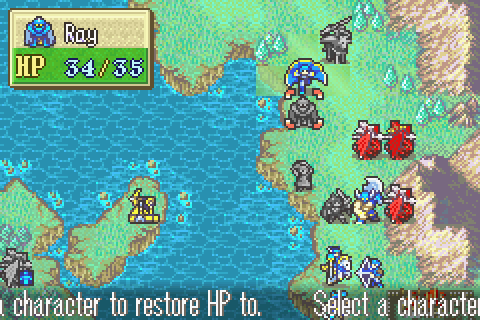
Even on tough turns, you have to heal while you can.
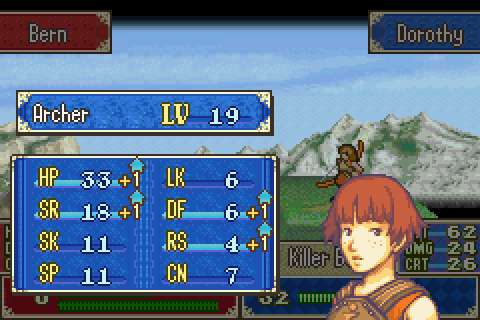
Dorothy drops one of the remaining ones and continues to be my Dorothy.
2 left. Unfortunately, I don’t really see a way to give them both to Wolt since the wyvern rider is uninjured.
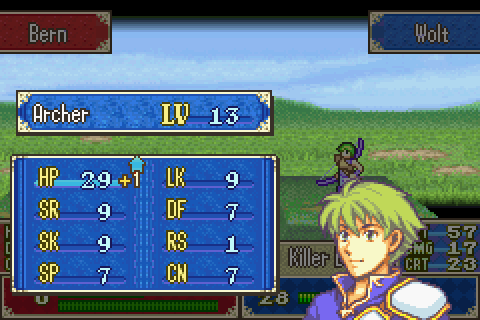
Wolt continues to be my Wolt.
I thought over my options and because this wyvern rider, even with a steel lance, can double my horrible Wolt, I need it dead now. I also need to put someone in the spot Lugh is in to lure the mamkute, so my only option was to have him use Bolting.
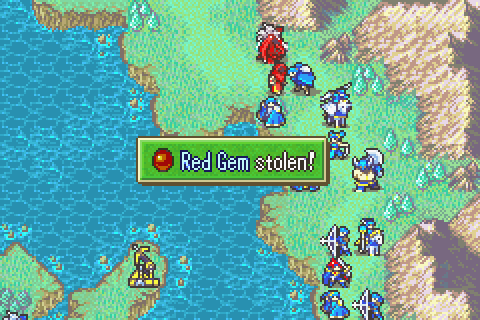
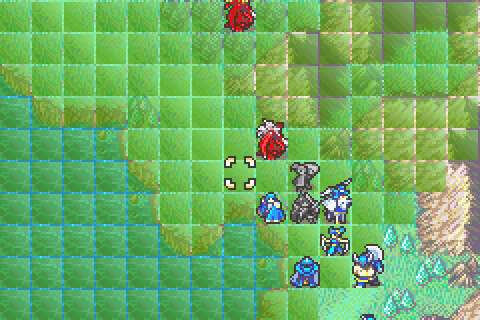
The Mamkute obligingly arrived and I stole its red gem.
These guys will be tough customers though because they’re out over the mountains- AND in staff range.
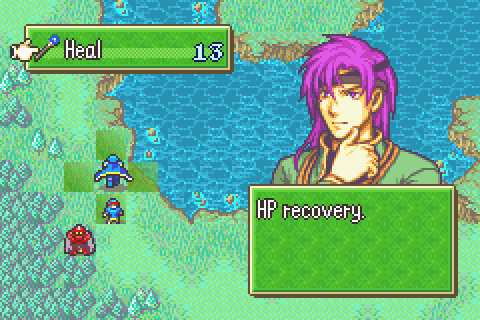
I’ll handle the easy left front first. Hugh heals Fa BEFORE she attacks.
Because she’ll gain more HP, so now he can heal her again and I’ll get more XP overall.
I drop Miledy juuuuust into Sleep range of the middle druid- the one with the gem. I’d really like to run him out of ammo first if I can.
But I don’t really have that luxury, come to think of it.
Once again, I see a good chance to give Roy a kill.
I believe this is the true range of the closest druid, so the beserk one is 2 spaces from that.
Wolt gets a better level.
And everyone walls up in staff range.
Tate is one of the best Res tankers in the game. Even at the absolute limit of the enemy range, she can’t possibly dodge despite being really high level.
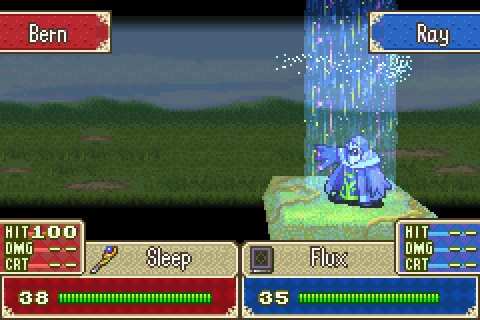
Ray, rather than Miledy, is hit with Sleep for some reason.
Sure would be nice to have the Holy Maiden Staff.

Well time for another heal, everyone starts moving up.
They’ll lure this mamkute for Fa.
Wolt kills one of the many wyverns in range. He’s actually turning around.
The immediate threat is now clear.
Time for some restoring. I only have 2 restorers and I often need to use Lalum for other stuff, so some people are going to end up still statused.

Lilina and Lugh team up and kill that dangerous wyvern lord. I am NOT going to restart over a critical on this turn if I don’t have to.

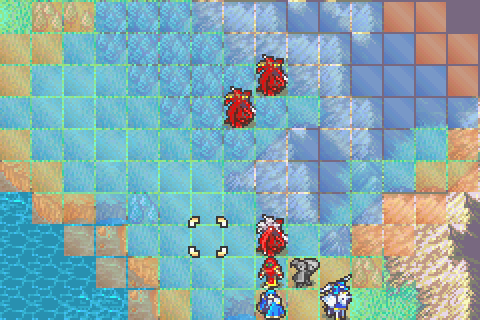
And Gonzalez takes point again.
More statuses.
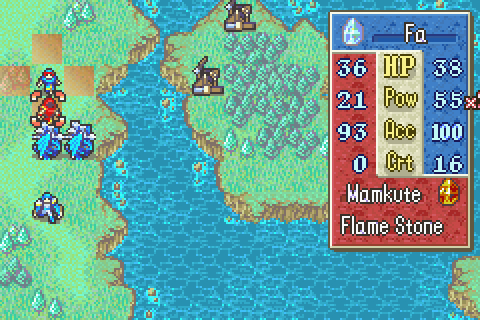
Fa owns the mamkute.
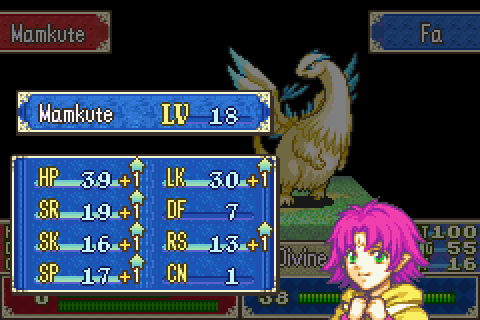
Nice, nice.
Only Fa is in true Berserk range, and since she has 32 Res or more, that’s actually ok. She can’t be hit.
Now that there’s only 1 turn left of status staves, Dorothy and the others can charge in.
The last one is down.
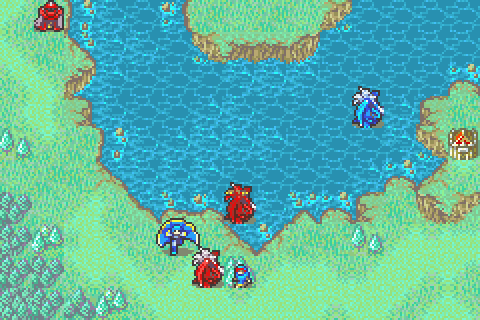
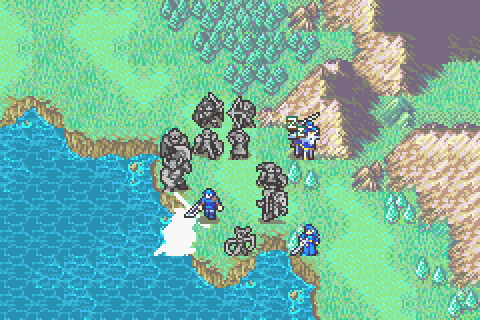
And as turn 7 dawns, these are the only surviving enemies. They pretty much don’t even move. Now here’s the question: can I kill all of them, steal both remaining items, AND seize the throne in 3 turns?
The wyverns help Fa make a rapid advance.
Clarine gets a level from some restoring.
The Restore staff is now broken so Ray and Tate stay asleep, but I still have all the guys I need.

Did you pay any attention to ANYTHING Bern did all game long? You guys won offscreen in the prologue against useless backwater countries that aren’t even necessarily shown in game and then never accomplished anything ever again!
As you can see, these guys won’t move.
Roy blasts away.
Well… speed!
Cath can juuuust barely survive a Bolting if she has Barrier on her first, so Lalum gives that to Clarine who then uses it.

This is the edge of Bolting range. And everyone beyond there would be killed in one hit, so there they must stay (barring some rescues around the edges).
Ok, the two outer staff druids suddenly DO decide to move, but they don’t attack. Huh?

Fa is finally powerful enough to instant kill a promoted enemy.
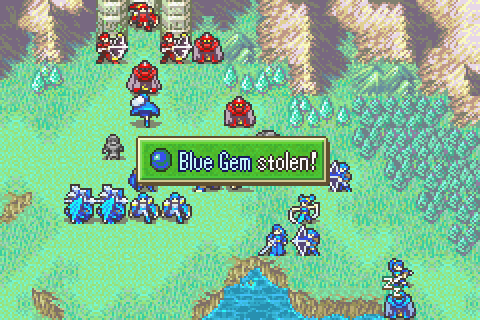
Cath takes the next gem.
I start shredding all the enemies.
Another empty level.

Forblaze is necessary to secure the kill.
Nice.
Hugh borrows Forblaze and opens fire with it too.

Next turn, the final item is mine.
Cath finishes as bad as ever.
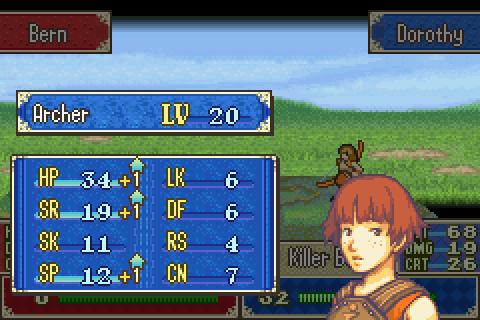
Dorothy kills the final druid and is my Dorothy to the end. She came out pretty bad overall, but that strength is awesome.
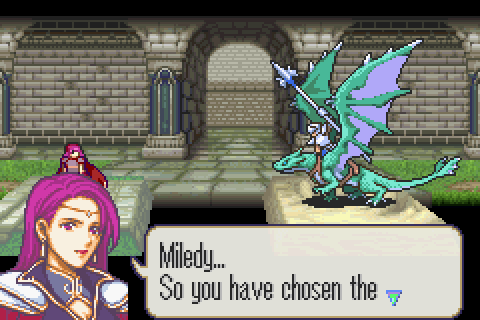
Brenya delivers her special line for talking to Miledy…

To ZEISS! I checked and she gives Zeiss’s line to Miledy. I don’t know if this is a translation screwup or a problem with the game itself. Either way, poorly done.
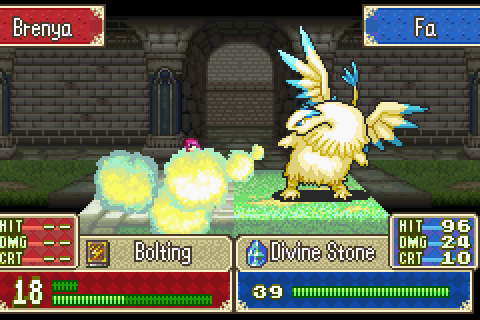
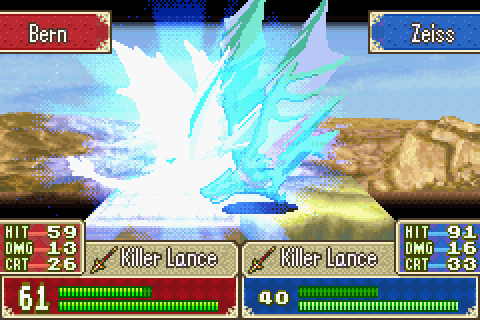
And Fa gets the kill. Brenya isn’t too hard to smash when she’s stuck with Bolting still equipped.
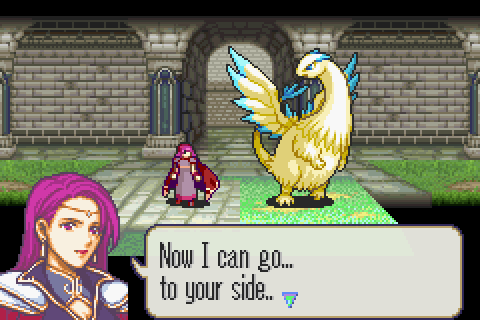
Not bad.
And turn 10 win; nice!

That WAS the whole point of coming here. And would explain all the dragons outside.

Elphin gives this weird spiel about how the dragons inside the temple will definitely be much stronger, so our old tactics won’t work. This is absolute nonsense; the only way to effectively beat them is to double down hard on the old tactics of using Wyrmslayers and legendary weapons.
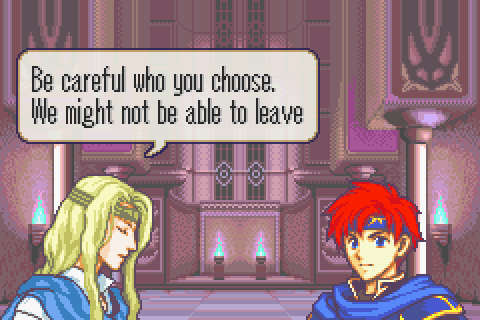
This warning is semi-useful at least. Basically, the people you use for next chapter must be used for the final one as well.
Well the chapter is over. That was pretty fun, actually. The map design is actually decent and I also liked that it gave me a chance to show off lots of the little tricks I’ve been talking about in my war rooms one last time.
I won 10 turns ahead of time and stole every item and got 23 level ups (15 required) by training some really low level guys. Pretty darned successful.
Total Restarts: 16 (None here)
Turn Surplus: +84 (That’s 10 more gained. I can probably get 9 on the final chapter. So I need to find a way to save 7 on the next one to hit 100. That’ll be tough)
Things I Regret Missing: A couple of uses of Marcus’s silver lance on Rude, a Chapter 5 nomad Marcus had to kill, two Chapter 12 fighters I couldn’t kill since I needed supports built elsewhere, a pirate and a wyvern rider on 14x who I didn’t have time to go after, 2 enemies in a room I didn’t have time to kill on chapter 20x, this one lazy mercenary on chapter 21x, Zephiel’s steal-only Hero Crest
Legendary Weapon Scoreboard: Durandal slew Ohtz using Oujay on chapter 14x, turn 2; and the top left mamkute using Oujay on chapter 16, turn 9; and Arcard using Oujay on chapter 17, turn 16; and a bottom left paladin using Oujay on chapter 21, turn 7; and a bottom left wyvern rider using Oujay on chapter 21, turn 9. Armads slew Teck using Gonzalez on chapter 20x, turn 10; and a middle right wyvern using Gonzales on chapter 23, turn 2. Forblaze slew the top right mamkute using Lugh on chapter 16, turn 6; and the left section hero using Lugh on chapter 20, turn 2; and the purge bishop using Lugh on chapter 20, turn 5; and one of Brenya’s snipers using Lugh on chapter 23, turn 8; and the last staff druid using Hugh on chapter 23, turn 8. Maltet slew a middle area wyvern rider using Miledy on chapter 21, turn 2; and a middle area wyvern lord using Miledy on chapter 21, turn 2; and the right mamkute using Miledy on chapter 21, turn 10; and the middle right sniper using Tate on chapter 21x, turn 3; and the silence druid using Tate on chapter 21x, turn 7; and Pereth using Tate on chapter 21x, turn 14. Miurgre slew the throne room mamkute using Shin on chapter 22, turn 15. Apocalypse slew the top left general using Ray on chapter 22, turn 8; and a top rightish wyvern rider using Ray on chapter 23, turn 3. The Sword of Seals slew the right area Sniper using Roy on chapter 22, turn 2; and the top right Berserker using Roy on chapter 22, turn 6; and a top middlish druid using Roy on chapter 22, turn 7; and the right throne room mamkute using Roy on chapter 22, turn 15; and a throne room sniper reinforcement using Roy on chapter 22, turn 16; and Zephiel using Roy on chapter 22, turn 17; and the middle right mamkute using Roy on chapter 23, turn 2; and a top rightish wyvern using Roy on chapter 23, turn 3; and the Red Gem mamkute using Roy on chapter 23, turn 4; and the final mamkute using Roy on chapter 23, turn 8.