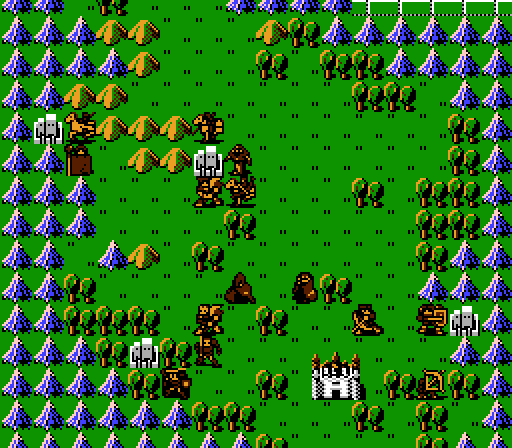
Part 8: Dragons
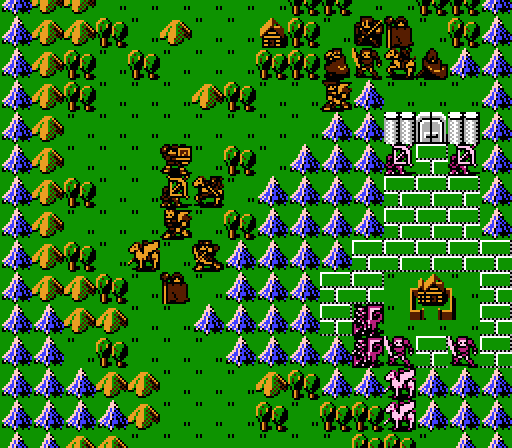
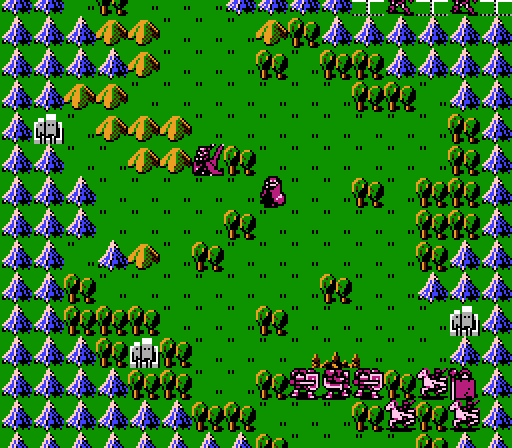
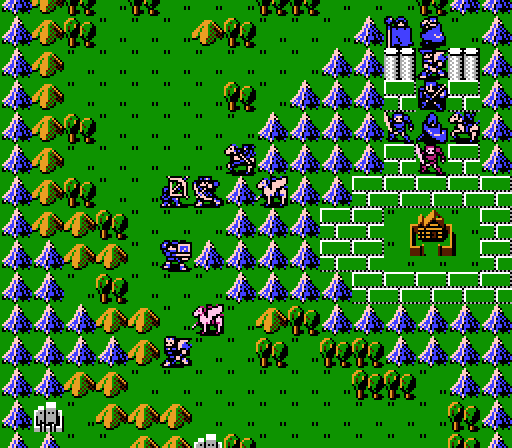
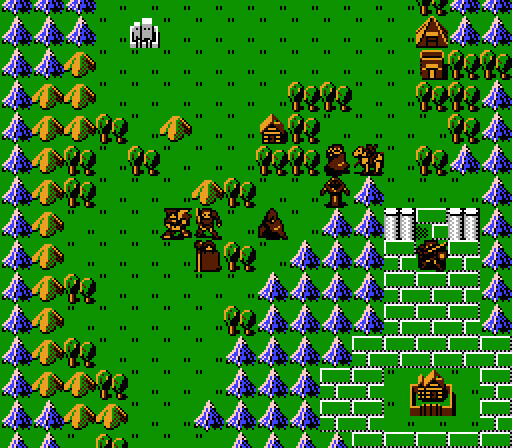
We set off on our quest to 'liberate' the world and are immediately accosted by a mish-mash of enemies and once again get to overhear their conversation.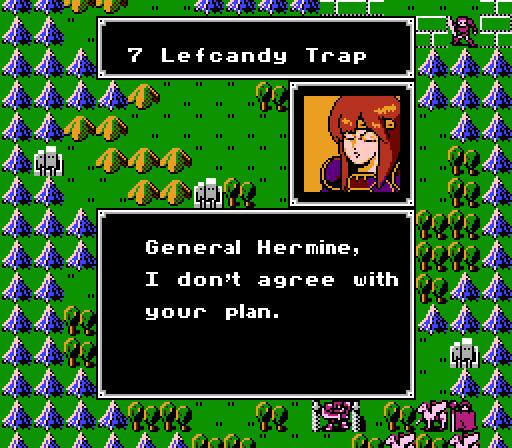
 As a Macedonia Knight I'd like to fight fairly.
Two chapters ago you spawned surprise reinforcements out of nowhere. Last chapter you sent Thieves to run off with treasure in a way that they would've been impossible to stop. What's coming up now that you consider to be un-fair?
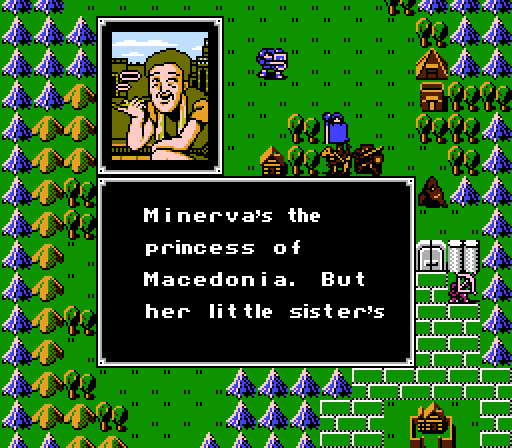
Oh hey, another princess. And another identical-looking boss who must be Hermine, twin to last chapter's boss, Mariones.
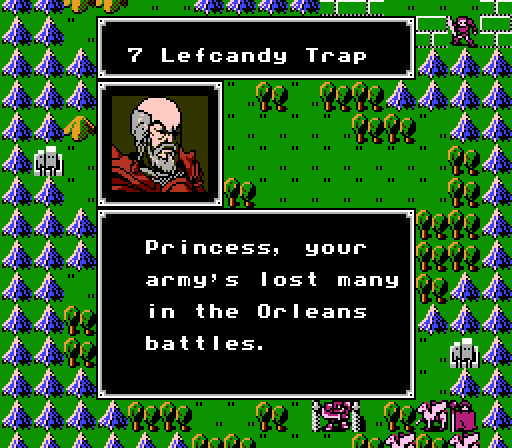
 We must stay in the castle and stall the enemy. I've been placed here by the king and I want you to obey, or I can't assure your sister's safety.
Yeah, the princess's sister is being held hostage or something. Nice bright line dividing the straight-up enemy bosses and the future recruitable enemies.
... Fine, but I don't believe we'll be able to defeat Aritia's Knights with these plans. You'll regret this.All right, let's see what they have in store for us.
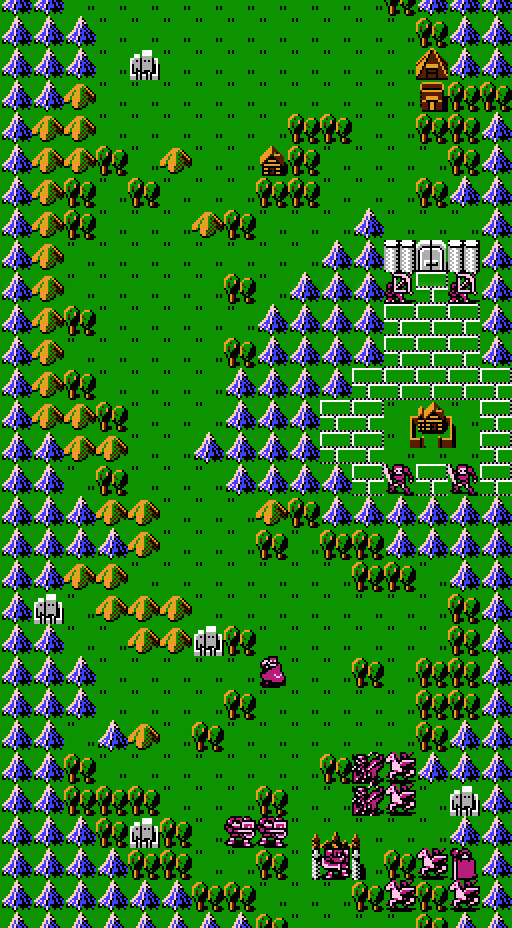
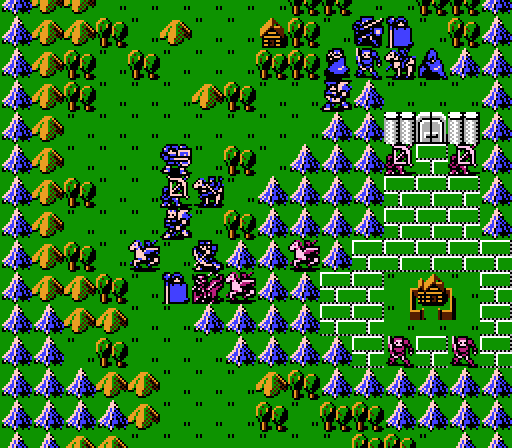
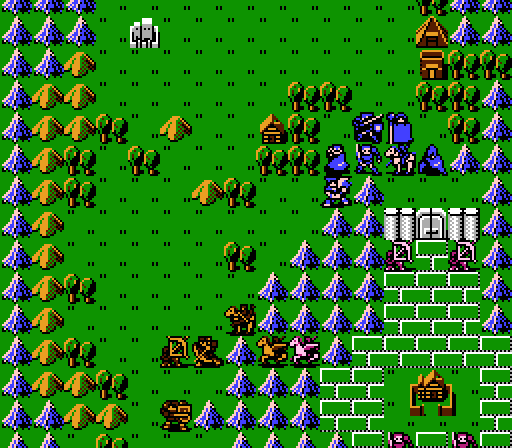
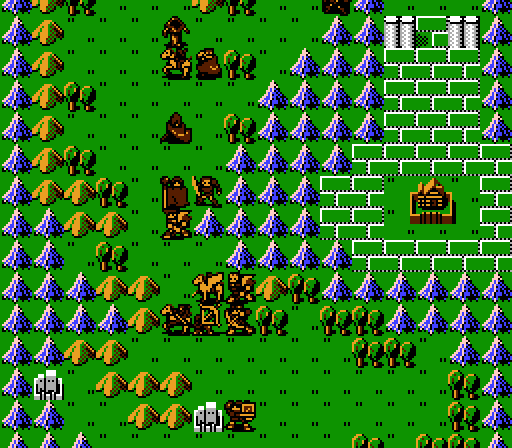
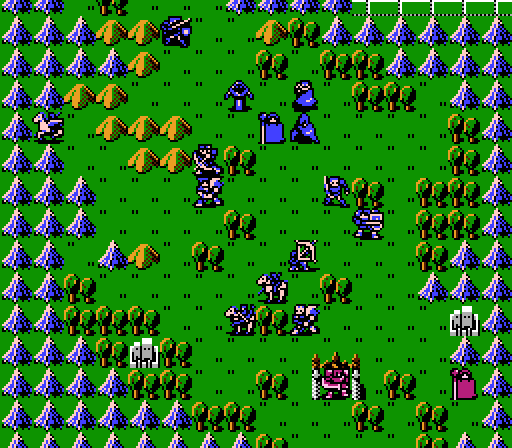
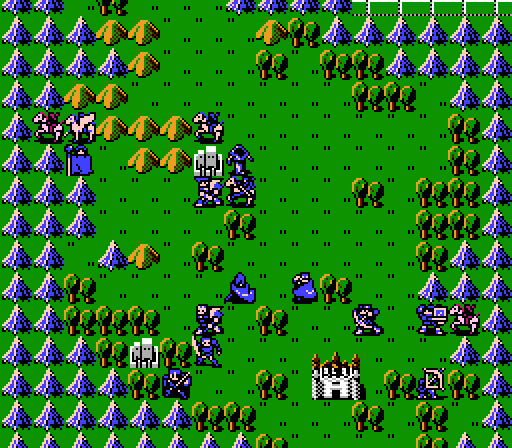
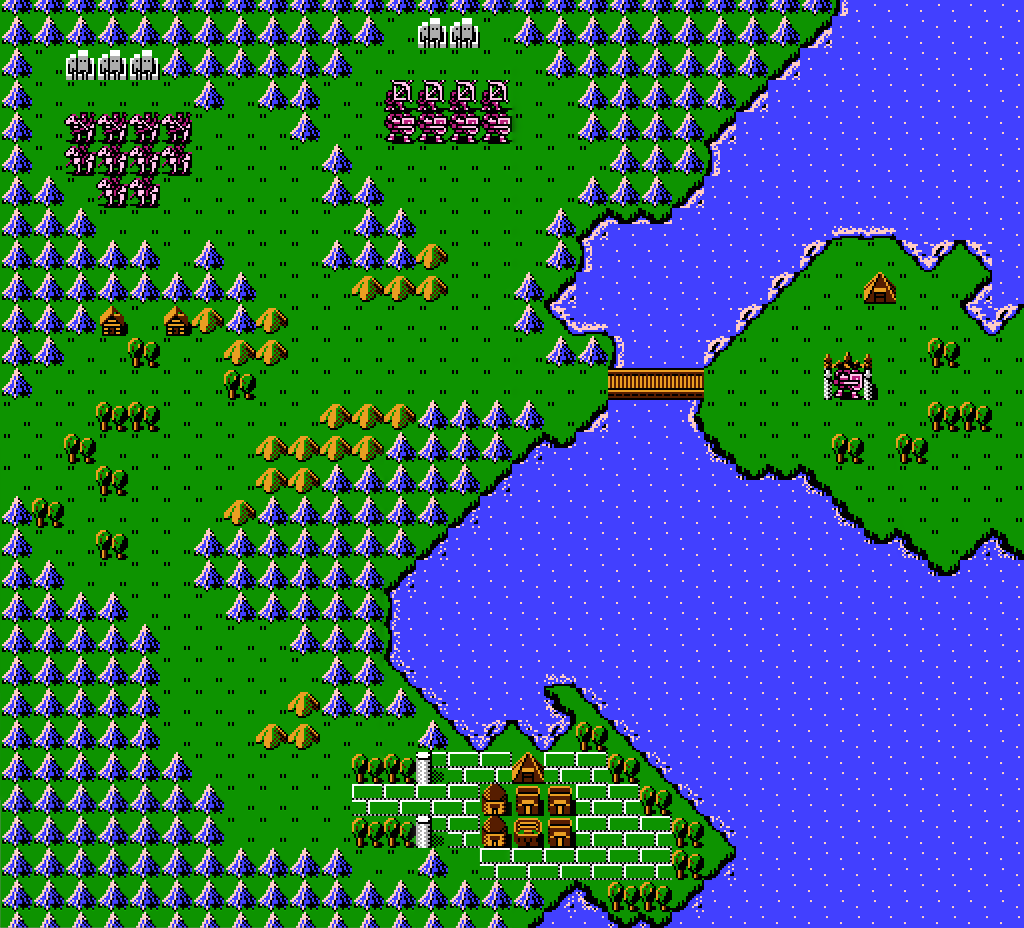
Surprisingly underwhelming so far. We've got a relative legion of flyers, a squad guarding a village that the enemy Thief will never even reach, and a couple Armor Knights and a Cleric hanging out with General Hermines. There's also a fort near our starting position to the north, and four more scattered across the south, so enemy reinforcements are a possibility here.
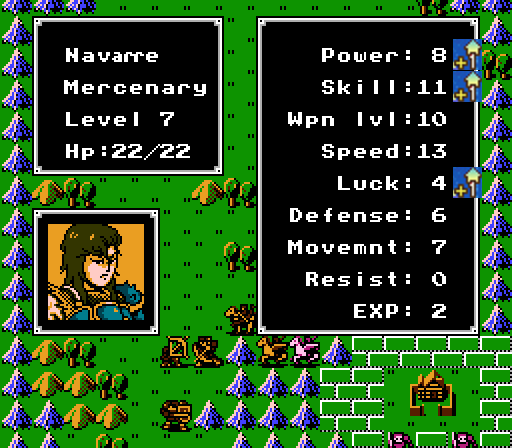
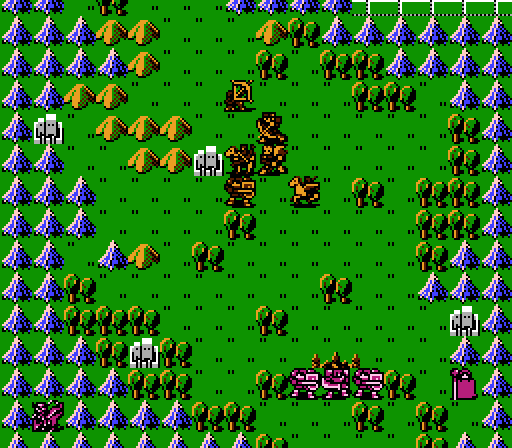
Our Macedonian Princess is one of the new dark flyers:
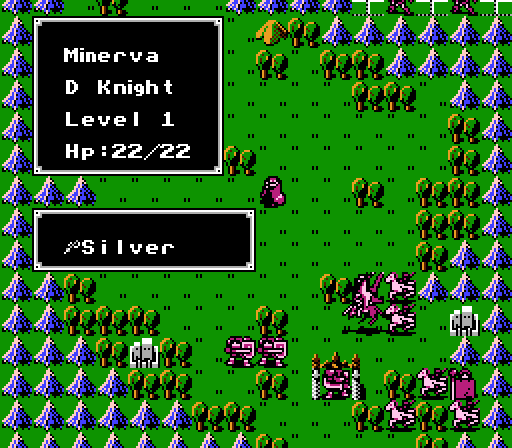
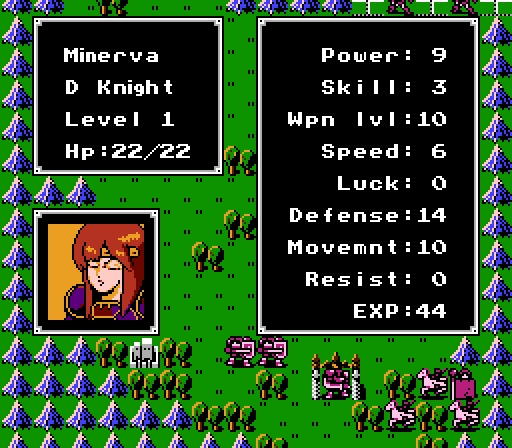
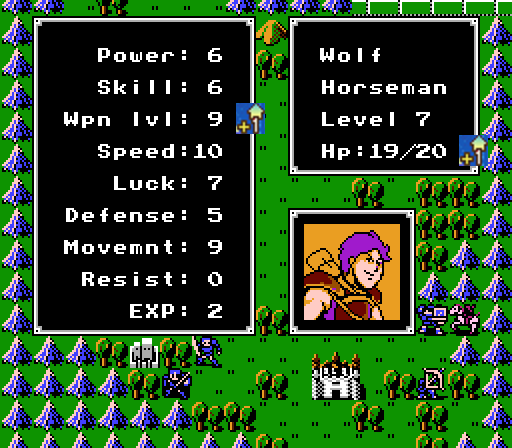
Meet Minerva. In this case, the 'D' is for 'Dragon'. Dragon Knights are the promoted form of Pegasus Knights. Because somehow promotion either morphs the pegasus into a dragon, or allows the rider to callously dump the pegasus and capture a fancy new dragon to ride. You'll notice that Minerva is about the opposite of Sheeda - great Power and Defense, terrible Speed and Luck. In some games, the Dragon Knights can use Axes, but here they're stuck with the same Swords and Lances that the Pegasus Knights use. Dragon Knights do get an extra 2 Move over their lesser cousins though.
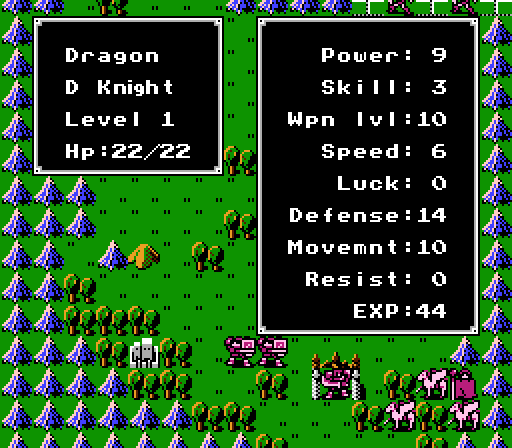

The generic Dragon Knight next to Minerva has the exact same stats. The two generic Pegasus Knights next to Minerva both look like Pegasus Knights, but with zero Luck for some reason. In fact, all of the enemy units continue to have no Luck. I'm sure there's a joke in there somewhere.
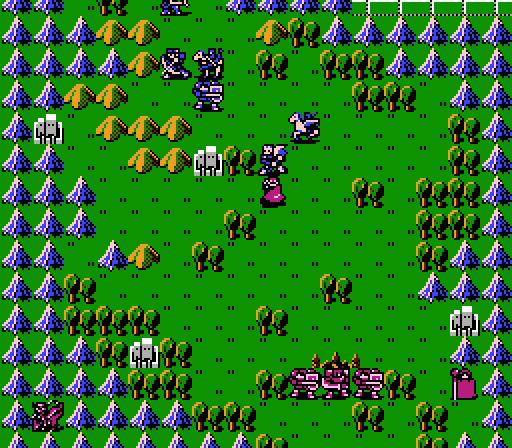
The three Pegasus Knights further to the southeast are also special...
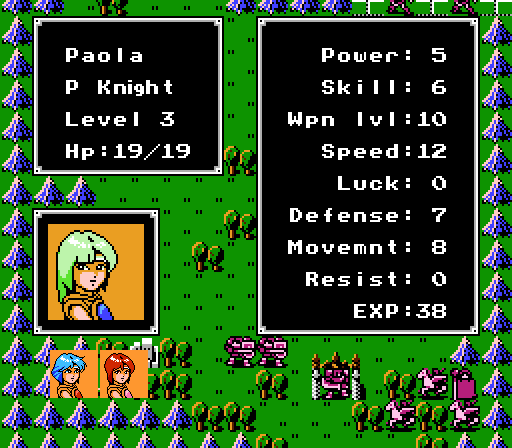
Paola (top), Katua (lower left), and Est (lower right) manage to have slightly non-identical portraits but otherwise have identical stats in their appearance here.
Together all of these flying units make up the Dragon Knight Party, some kind of elite Macedonian unit. Minerva has a Silver Lance, the rest are stuck with Iron Lances.
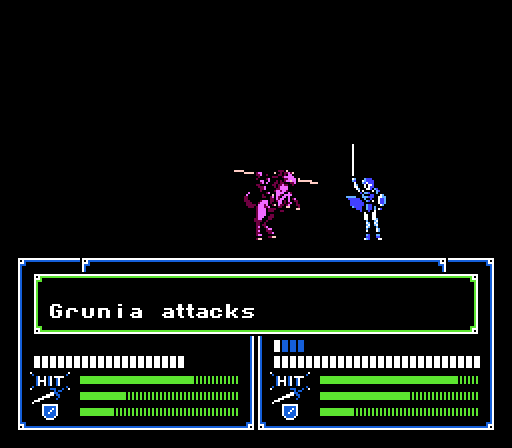
The rest of the enemies are generic Grunians with a mix of Iron and Steel weapons, with the Cleric sporting a non-threatening Live Wand.
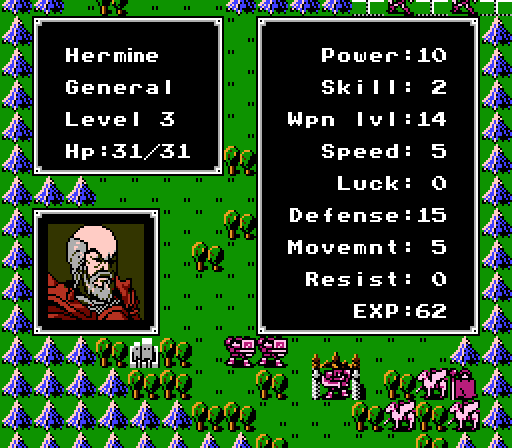
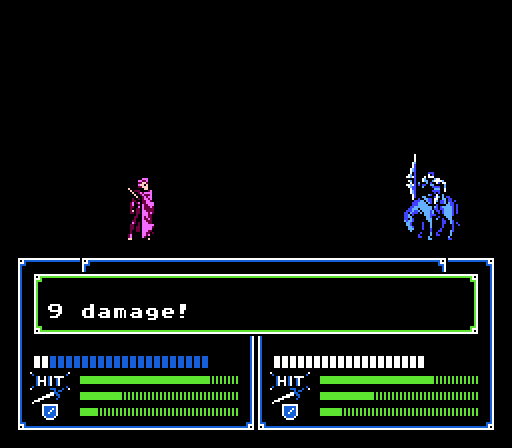
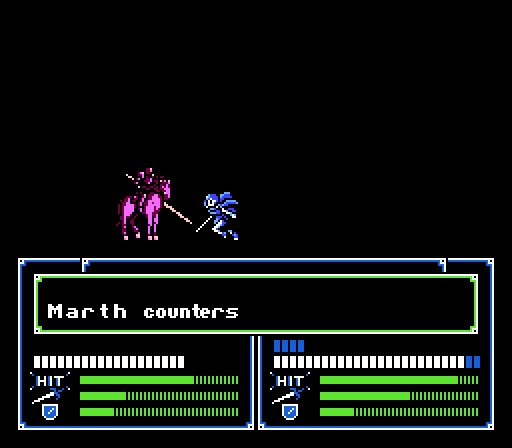
Hermine is another General, and carries extra points in every stat except Luck than identical twin Mariones from last chapter. Hermine must be the older twin. Like Mariones, Hermine carries a Silver Sword and thus can strike with a 22 Attack (but only 2 Attack Speed) on anyone foolish enough to move onto an adjacent square. The only ranged unit we have that can do any real damage to him is Marich, who gets to cheat by using magic.
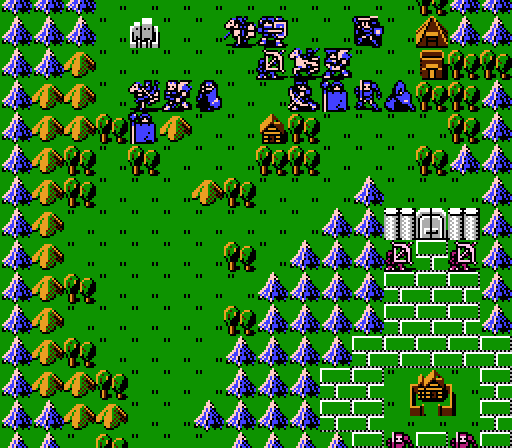
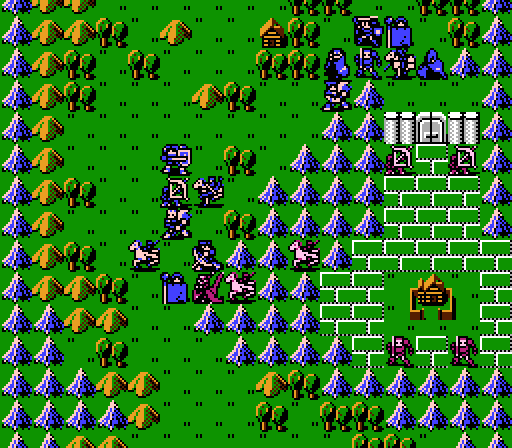
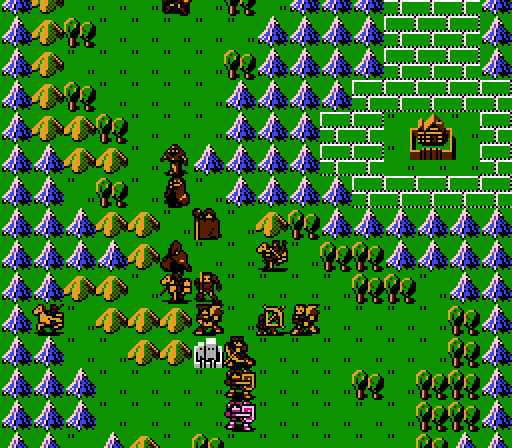
Our army starts all the way to the north, starring the same crew as last time, plus Riff filling the obligatory dead-weight role. General goals for the map - unlock the door to the village, wipe out its protectors, and 'visit' it; journey south and meet with the Dragon Knight Party; wipe out the boss and his retainers and seize the castle; and watch out for surprise reinforcements all the while.
Turn 1:
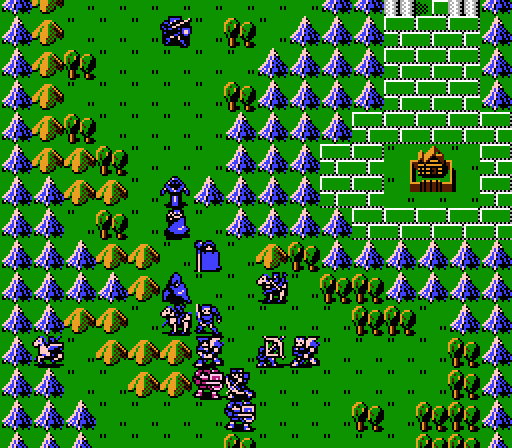
We split into two groups, one to secure the village, one to meet the flyers (which includes all of our bow-users). Julian will need to unlock the door next turn and allow the eastern squad to rush in. Wolf also hands the Angel Robe over to Marth to use next turn.
Barts also visits the lone house on the map:
 been captured so she has no choice but to fight. Is there something that could help her?
Probably rescuing her sister? Also I like how by capturing and holding hostage Minerva's little sister, Grunia was able to turn the entire country of Macedonia to their side, and put them first in line in the path of our liberation army.
The flyers advance on the enemy phase, rendering my strategy of splitting the army useless by flying straight over the mountains to lurk near the village instead. The enemy Thief doesn't even bother to move, knowing that it wouldn't do any good.
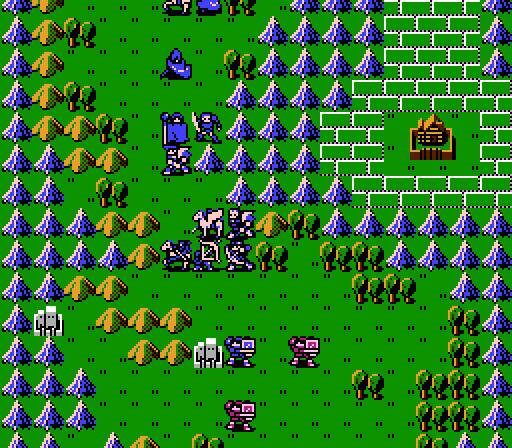
Turn 2:

I have a bit of a problem since those Dragon Knights can reach pretty much anyone in my army now, and the Pegasus Knights will be in range of anyone passing through the door to the village area.
Riff is going to meet the flyers head-on and try to present himself as a high-priority target with a deadly backup squad. Marth and Rena hide behind the rest of the eastern group so that the flyers can't reach them.
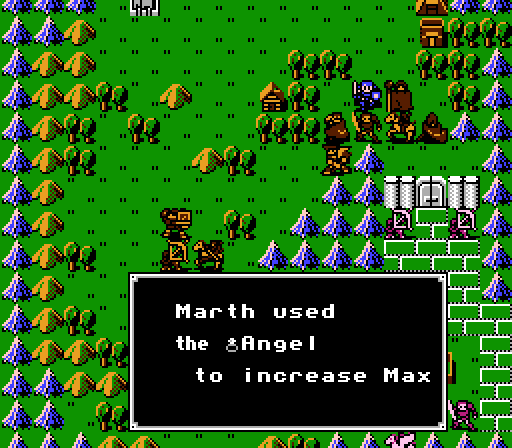
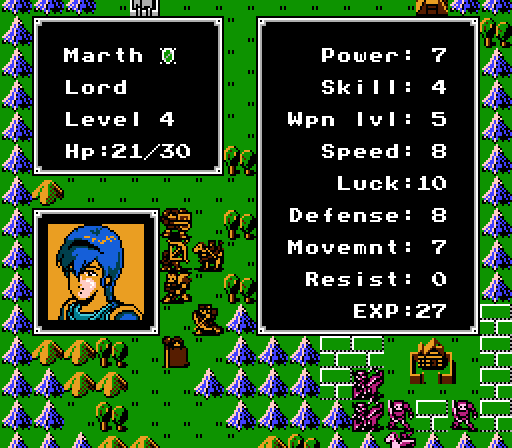
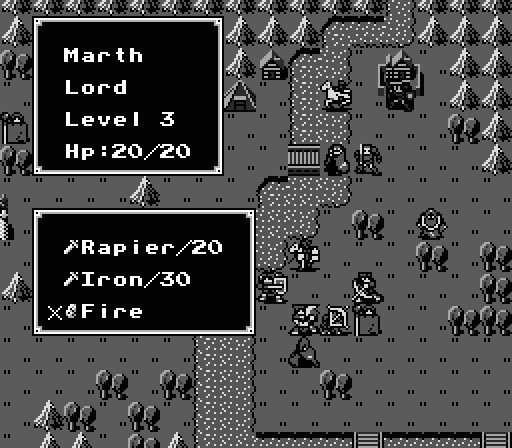
Marth takes the time to use the Angel Robe, gaining 9 Max HP. Unfortunately this doesn't affect his current HP at all. Also worth pointing out, that funny symbol now showing up next to Marth's name on his unit screen is supposed to represent the Fire Emblem/skeleton key that only works on chests and only for Marth.
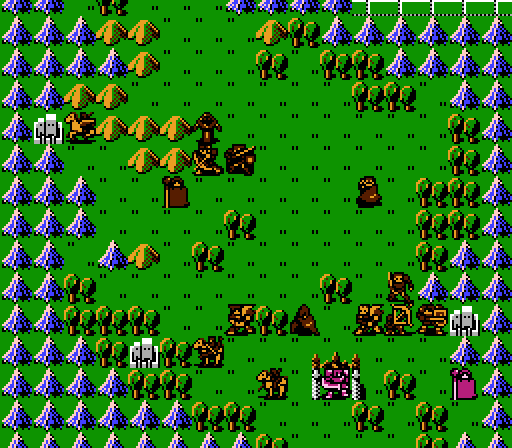
Time to brace for the enemy phase...
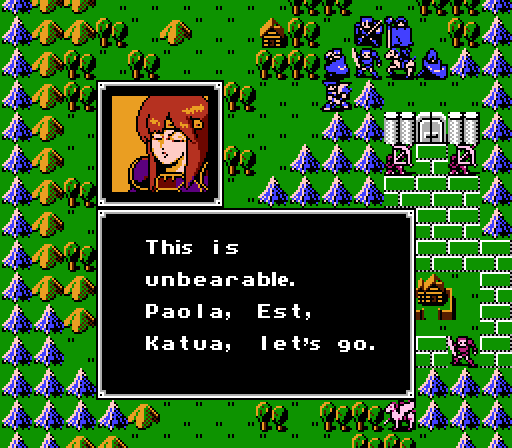
Or Minerva could turn around and leave, taking the three pegasus sisters with her. Still not sure what the plan was or what Minerva finds so detestable about it, but that's four less enemies to deal with.
The three generic members of the Dragon Knight Party stick around to cause trouble though.
_-_Chapter_07_-_Turn_02.gif)
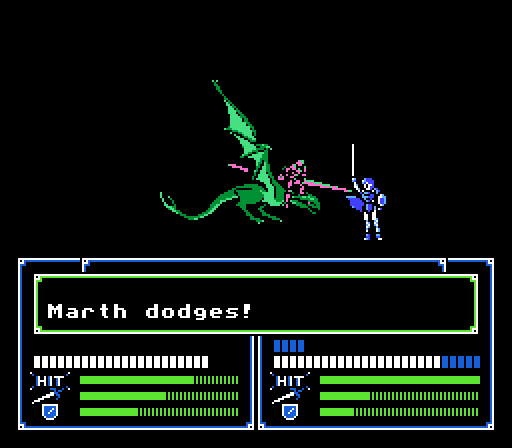
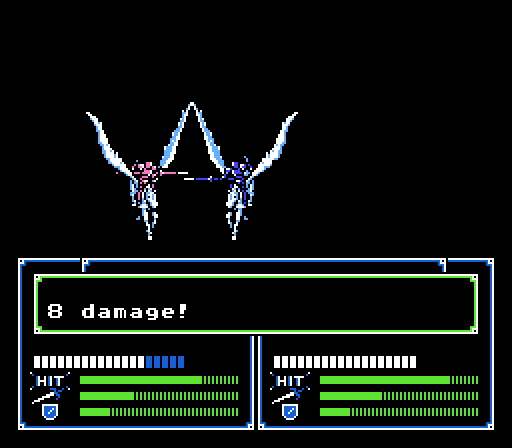
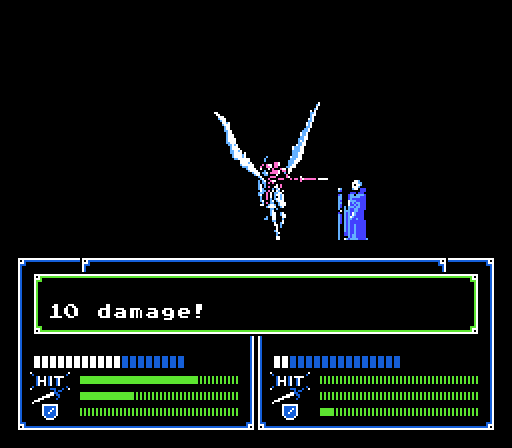
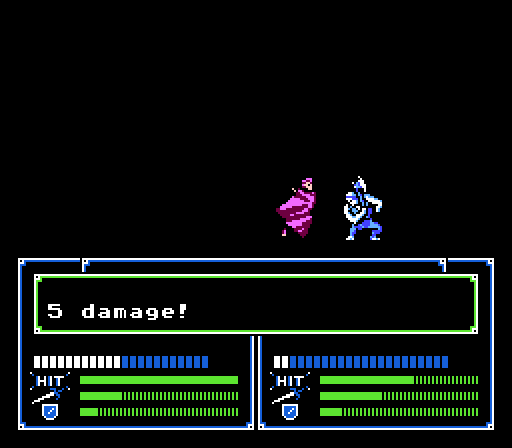
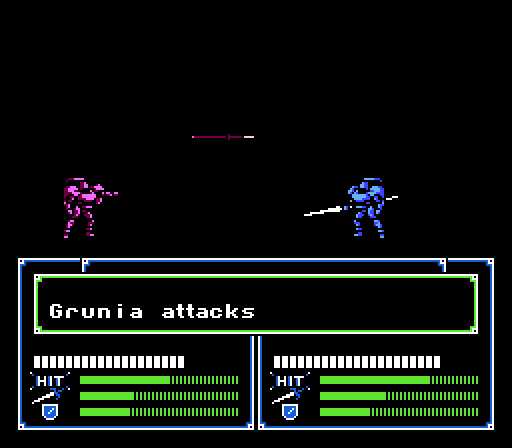
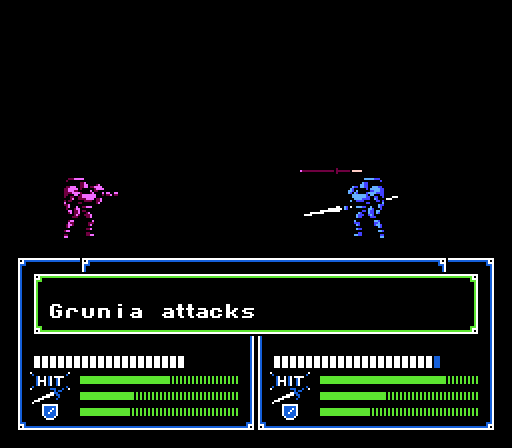
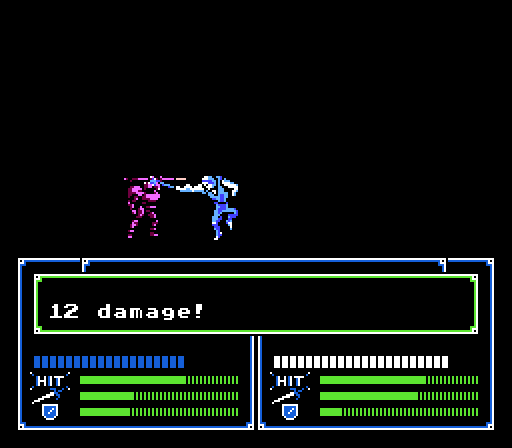
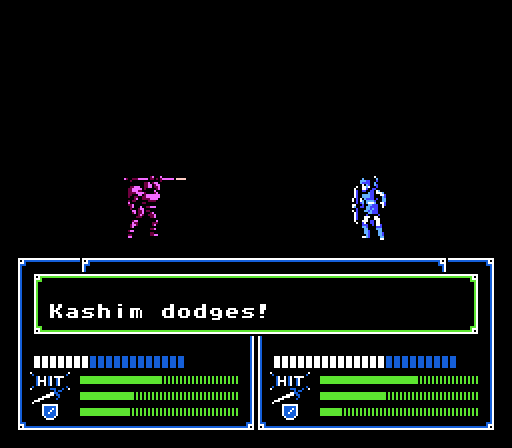
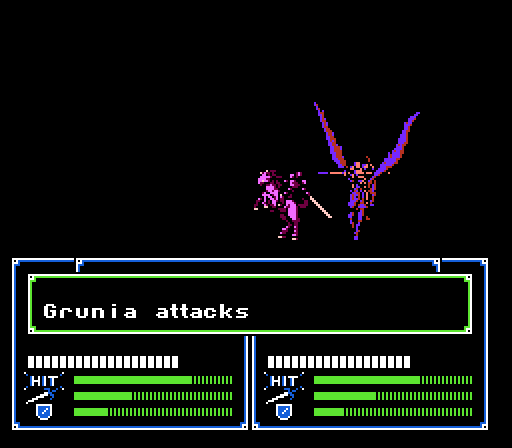
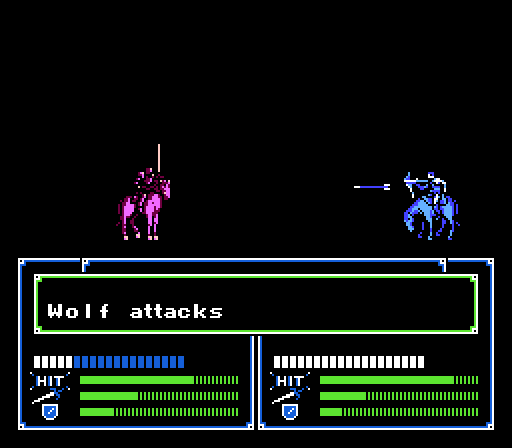
Riff takes a lance to the face like a champ. (If only the Dragon Knight could wield axes like in the DS remake, then this would've been an axe to the face!)
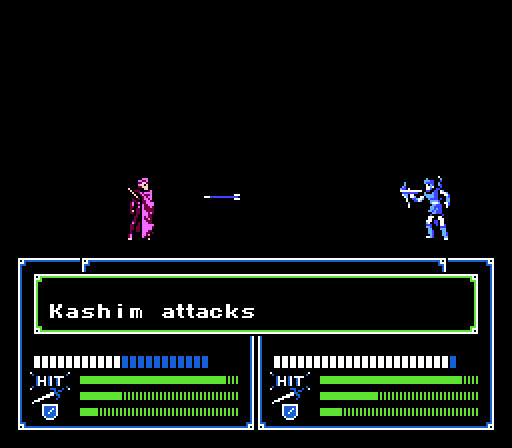
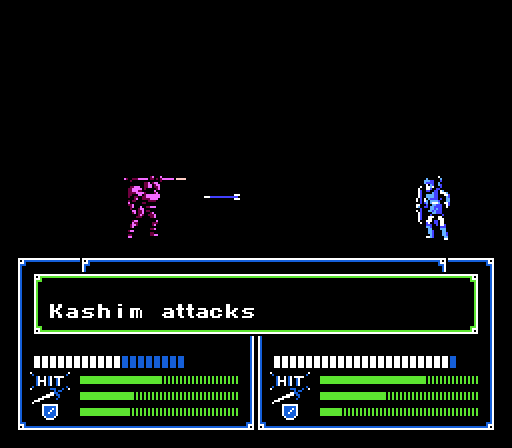
The other Pegasus Knights can't reach anyone but one foolishly strays into Kashim's range for next turn.
Turn 3:
 Alternate Timeline Alert!
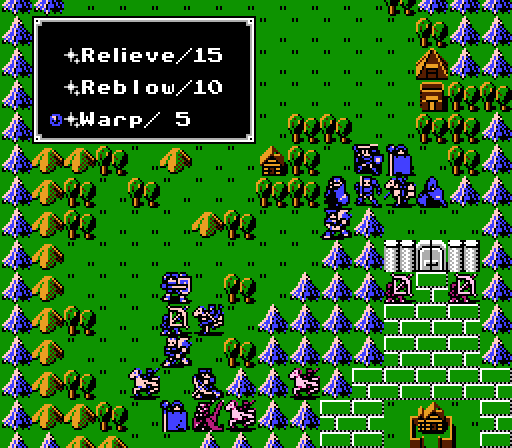
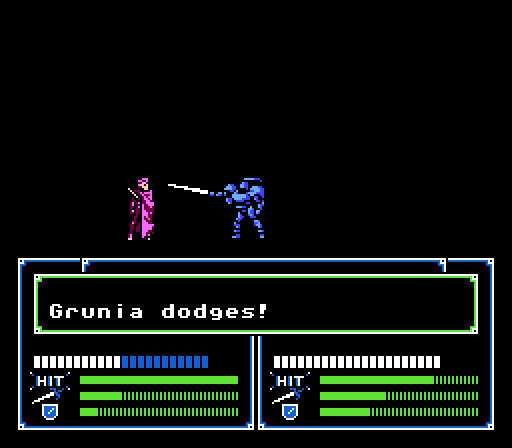
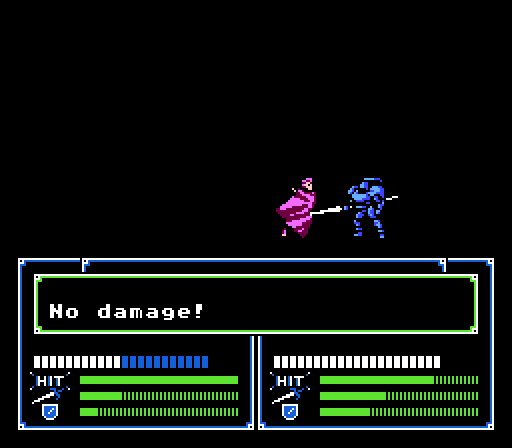
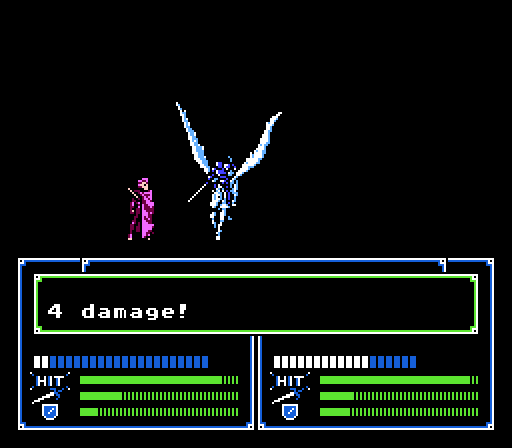
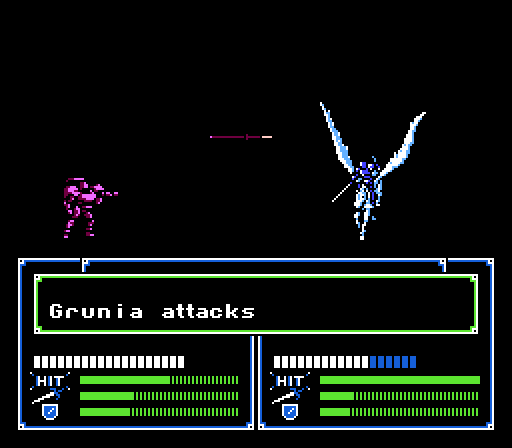
Rena sends Marth down to have a chat with Minerva, but she's not in a talking mood. Well, fine then, take this Rapier!
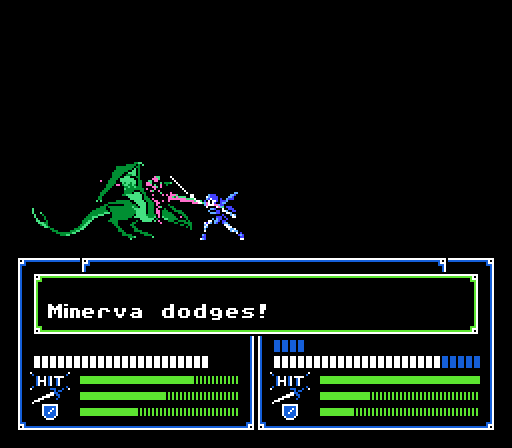
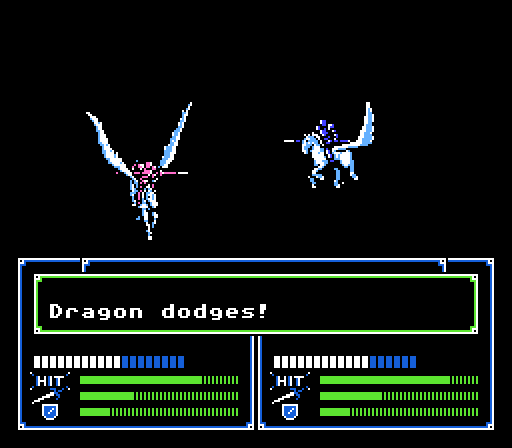
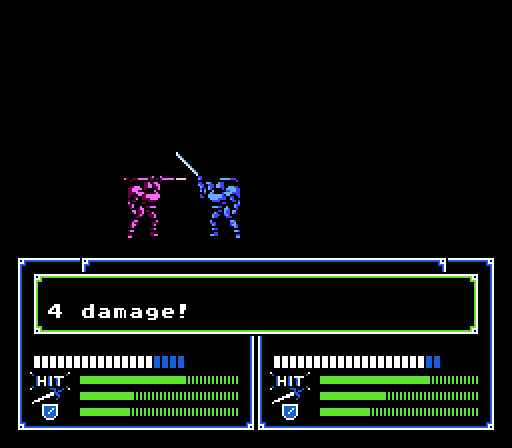
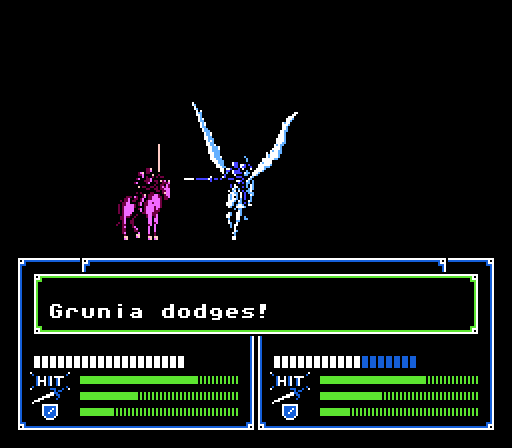
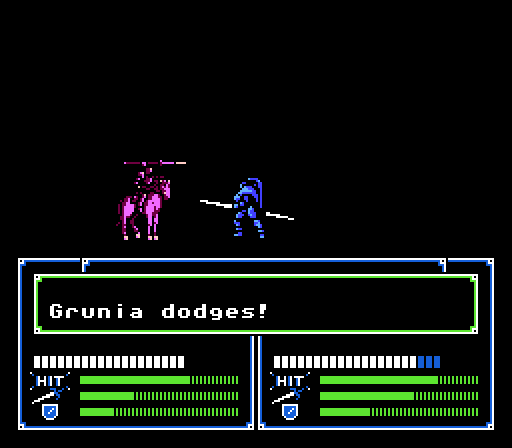
Yeah Marth just missed twice with a 100% hit rate. Minerva 'misses', too. I don't know that I can prove it conclusively, but it sure seems like the game is making sure we let Minerva retreat safely. (The same happens with any of the pegasus sisters, by the way.)
End Alternate Timeline Alert Back to reality...
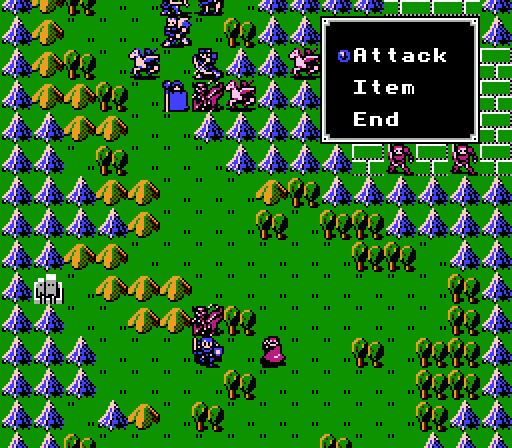
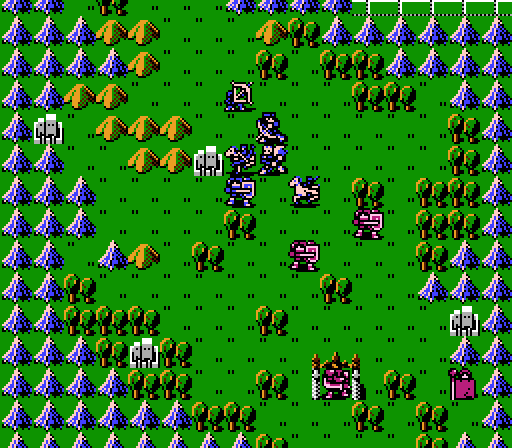
We can go back to the original plan now. The Dragon Knight and one of the Pegasus Knights are in range of our bow-users, and we can use Sheeda to attack the other.
_-_Chapter_07_-_Turn_03.gif)
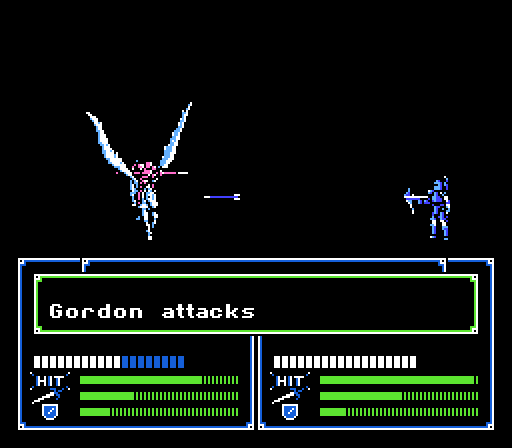
Gordon has his most impressive moment of the game by taking out a Dragon Knight solo in one round. Go effective weapons!
Neither Kashim nor Wolf can double-attack the Pegasus Knight so they team up to take it out instead. Kashim gains a level:
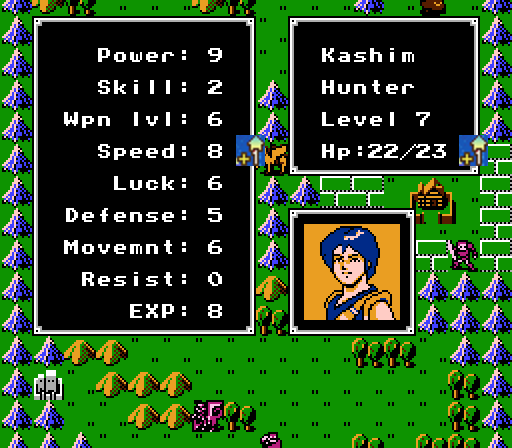
Kashim has now officially had the lamest levels (total of 3.4 below averages). He's still plenty useable which is a good thing since we don't get another Hunter to replace him.
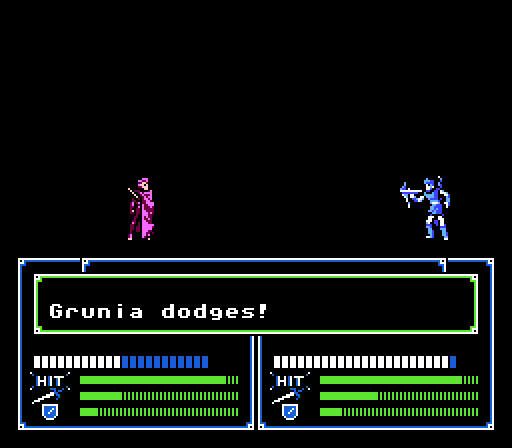
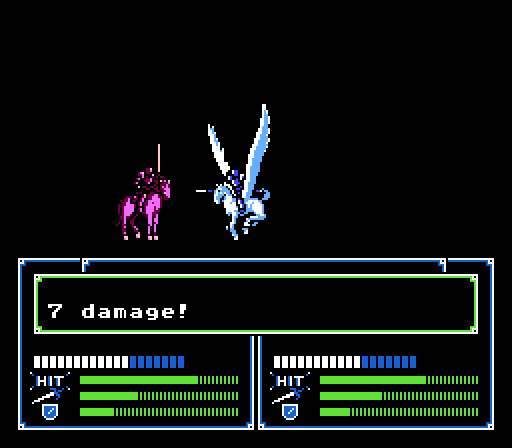
Sheeda trades blows with the last Pegasus Knight and then misses on her second attack.
The eastern group is finally ready to advance. Julian opens the door to begin the assault.
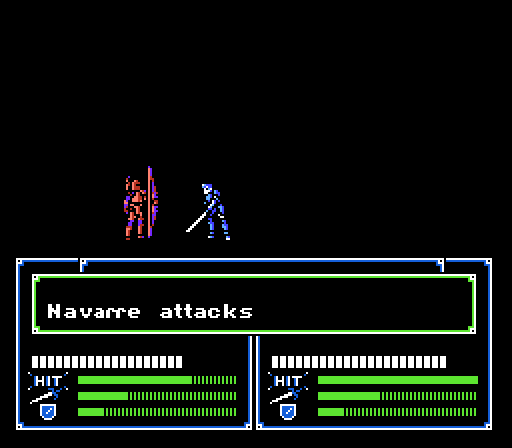
Navarre goes after the first Archer and leaves him with just 1 HP. He gains a level in the process:
Keeping up well, more damage, more accuracy, and more crit chance.
_-_Chapter_07_-_Turn_03_-_Part_02.gif)
Marich finishes off the Archer. Abel and Marth move in to take out the other Archer, leaving just the two Mercenaries.

No one's open to attack from more than one of the Mercenaries at a time so we should be okay.
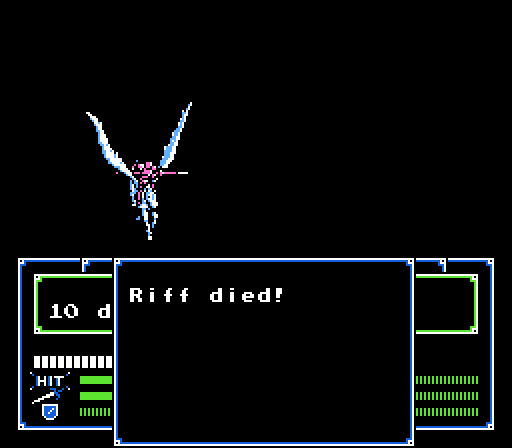
Riff sacrifices himself to keep the Pegasus Knight occupied. He doesn't even get a death quote, probably because this is the only time anyone has ever used him.
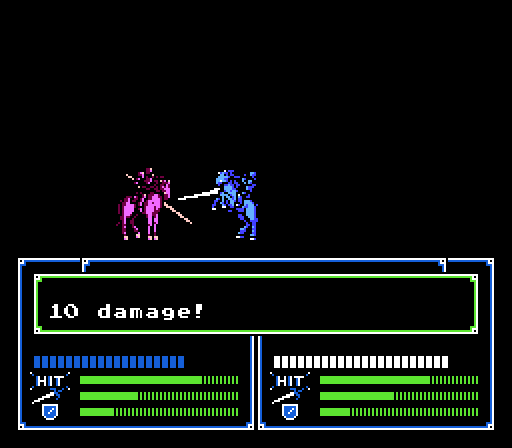
One of the Mercenaries goes after Marich for 10 damage, taking 6 in return. The other takes a shot at Navarre, and, well...
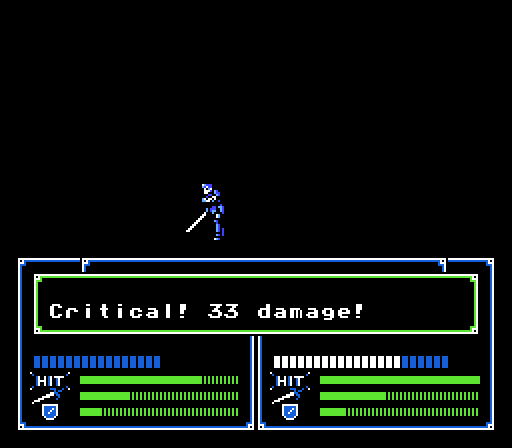
This happens to him. I like to think that the extra 1% crit chance that Navarre got on that last level is what triggered this crit.
Minerva retreats to the very bottom of the map, and the pegasus sisters all leave entirely.
Turn 4:
Just a couple units from the first wave left to clean up.
Gordon easily takes out the last Pegasus Knight.
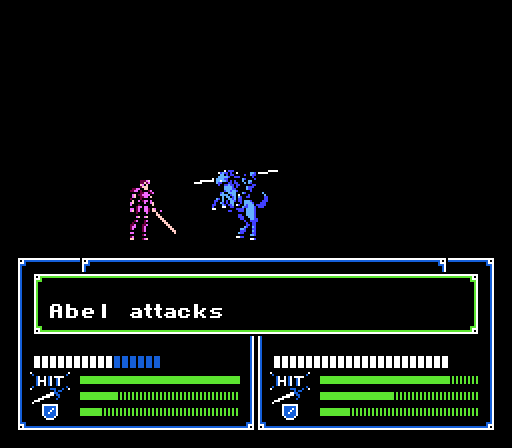
Abel does the same with the last Mercenary.
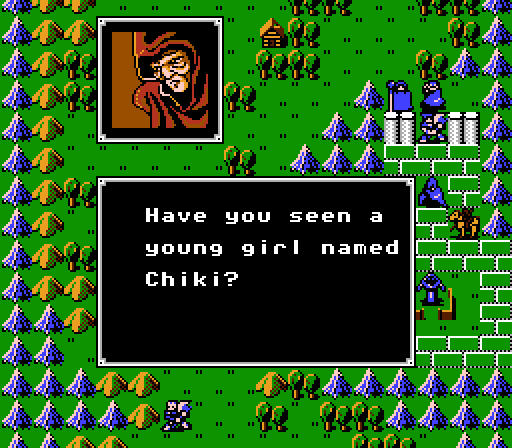
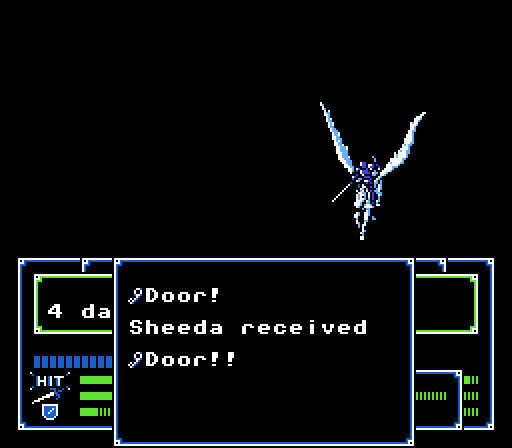
With the enemies cleared away, Marth visits the village:
Uh, no?
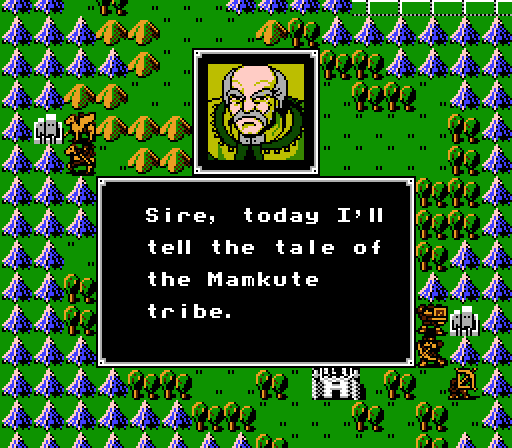
 She's the sole survivor of the Narga family. She can defeat the Mamkutes loyal to Mediuth.
 Mamkutes = Dragons according to some random peasant a couple chapters ago.
I'm a Fire Dragon, but I lost my stone, so I can't fight. I'll join you. Please help me find Chiki.Speaking of a couple chapters ago...
That same peasant also gave us this stone. Wonder if it has anything to do with the stone that this guy lost.
Anyway, first we fight Dragon Knights, now a full-on Dragon joins our army:
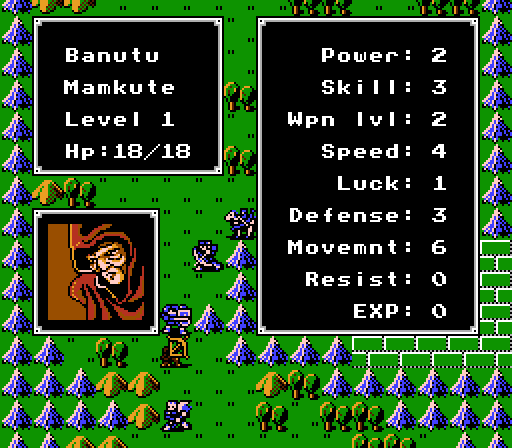
Banutu looks pretty terrible at first glance, but we'll revisit him in a couple turns.
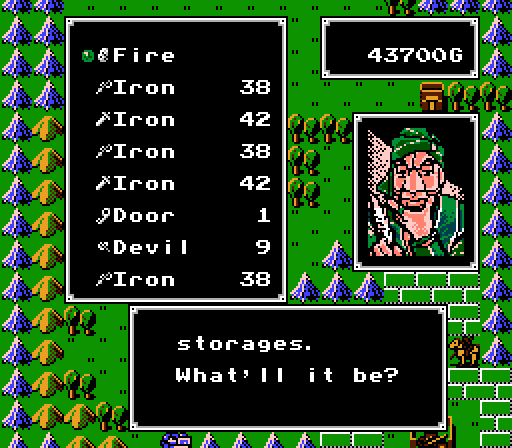
Julian fetches the Fire Stone out of the Storage.
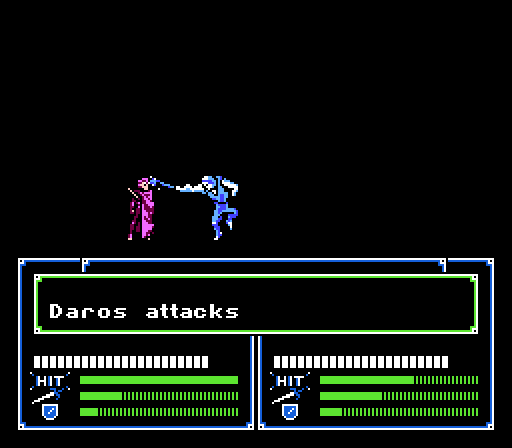
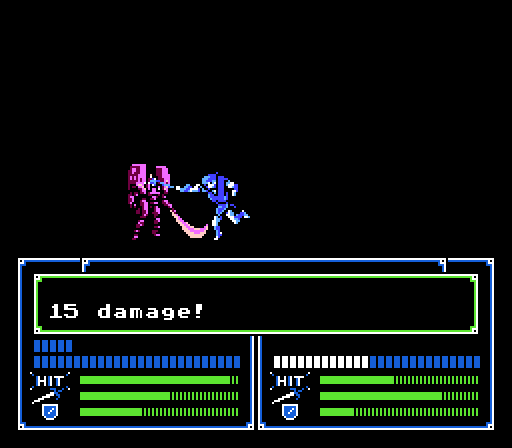
Daros can just barely reach the enemy Thief and gets in a hit on him for 11 damage, but takes 10 damage in return.
 Daros!
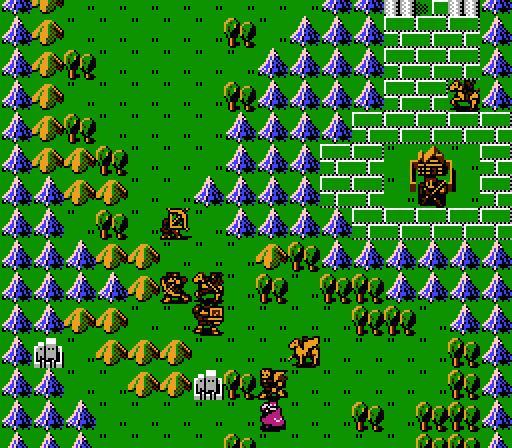
I'm not being as cautious as I normally would here since we're moving pretty quickly and reinforcements typically take more than a few turns to start showing up. Because it's not a fuck-you move to make you reset unless you're already a bunch of turns into the chapter. Anyway, everyone in the eastern group not pictured is circling back around.
The enemy Thief doesn't bother attacking anyone, since he can't get in a kill and everyone in reach would kill him with a successful counter-attack. Well, except Wolf, I'm not sure why the Thief didn't go after him, maybe he's literally scared stiff?

Turn 5:
Minerva moves off to the southwest corner. I'm not sure why she's even still here, really.
Doga's doing pretty well for himself so far so I try to feed him the juicy Thief kill, but he screws it up for the most unproductive round of combat ever.

Daros also misses and nearly lets the Thief kill him. Daros's accuracy is going to be a major issue later in the game - he only has 2 Skill, and 0% Skill growth.
Kashim is also unsuccessful. This enemy Thief is surprisingly persistent.

Wolf hits but isn't strong enough to finish off the Thief.

Sheeda has to put herself in range of one of the Armor Knights but finally puts an end to this nonsense. She also gets a Door Key from the Thief (just in case we didn't bring Julian and couldn't open the door to the village).
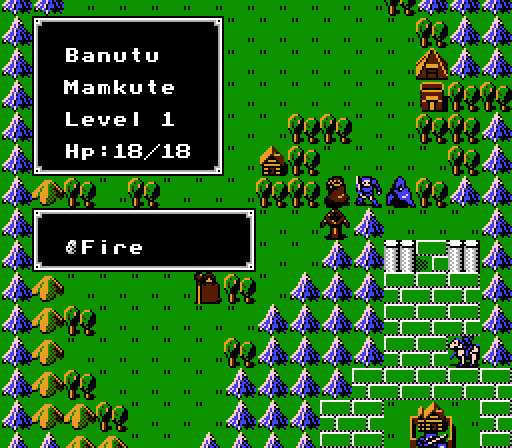
Julian gives the Fire Stone to Banutu. The Fire Stone is interesting - it not only has a 16 Might, it gives Banutu a 12 Defense bonus in combat, so that even with his pathetic base stats he's immune to all non-boss enemies for the next couple chapters and can dish out decent damage. The Fire Stone also has infinite durability so we don't need to worry about saving it. Of course, just like Armor Knights, Banutu is still vulnerable to magic. However, there's a better reason to not use Banutu - he literally has worse growths than Jeigan. Unfortunately he's the only Mamkute we get for awhile.
The eastern group is still trying to rejoin the others. The western, now southern group is bunched up around the central fort and in position for a boss rush next turn.
The western Armor Knight does 6 damage to Sheeda from range. The other Armor Knight also advances.
Turn 6:
Minerva's finally retreated fully off the map. All we have left is two Armor Knights, a Cleric, and Hermine. Plus whatever surprise they're planning on throwing at us that was so horrible Minerva couldn't be a part of it.
So, the southern group isn't really well-equipped for Armor Knights. Our bow users can barely do any damage, and the Armor Knights both have Javelins to retaliate with. Daros and Sheeda will each die from one more hit. That just leaves Doga, and he's great for making a stand but not exactly an offensive powerhouse. So I do the unthinkable and retreat a bit, also buying time for the other half of the army to join up.
Doga stands alone before the two Armor Knights. We've really gotten rather spread out, hope no reinforcements show up next turn.

Both Armor Knights toss their Javelins from range at Doga for a grand total of 2 damage. Fortunately no reinforcements.
Turn 7:
Sheeda moves down to the western fort to heal up, while Rena directly patches up Daros. In turn, Daros straps on his Hammer and goes hunting Armor Knights.
Daros not only is fast enough to double attack somehow, he lands both of his hits and dodges the counterattack to kill the eastern Armor Knight.
Doga goes on the offensive for 8 damage to the remaining Armor Knight, and also dodges the counterattack.
I get a little aggressive and move Kashim into the forest but he only does 4 damage to the Armor Knight, and takes 8 damage on the counterattack. Can't win 'em all, I guess.
Starting to put our formation back together a bit. Marth is still lagging behind from having had to visit the village.
The Armor Knight moves up onto the fort and attacks Kashim (who is adjacent and can't retaliate), but fortunately Kashim dodges. Unfortunately the Armor Knight is going to heal up a bit now.
Turn 8:
The good news is, we have plenty of units with which to finish off that last Armor Knight.
Barts does the honors, with style.
Hey, Marth finally made it back into the picture. Welcome back, Marth!

Turn 9:
Daros is the only one who can do significant damage to the boss and reach him this turn, but it'd be suicide to send him in alone.
Barts and Marich join Daros in the boss-killing squad while the others spread out to guard the forts. You know, just in case.
Turn 10:
Still no reinforcements or any other surprise.
The boss has 31 HP so I decide to have Marich soften him up first.
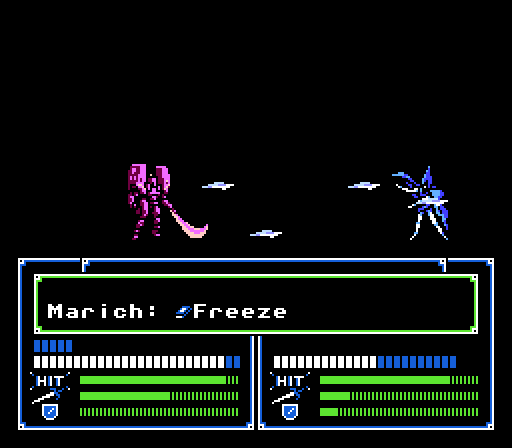
So far, so good - Marich does 14 damage. I could let Daros take a shot but he'd only do 9 damage even with the Hammer, and at only a 40% hit rate besides, and then get murdered for 17 damage on the counterattack. Instead we'll try old reliable, Barts:
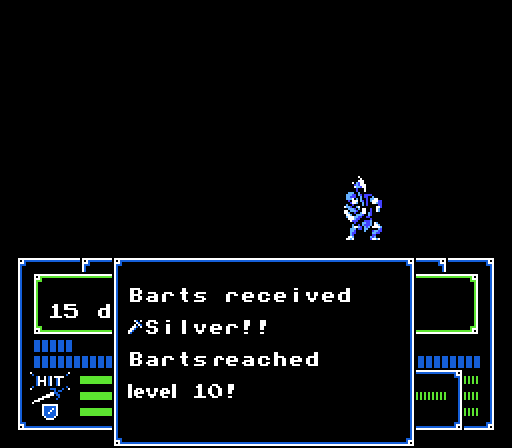
And Barts comes through, managing to land both hits with the Hammer. He gets a Silver Sword for his trouble, and a level:
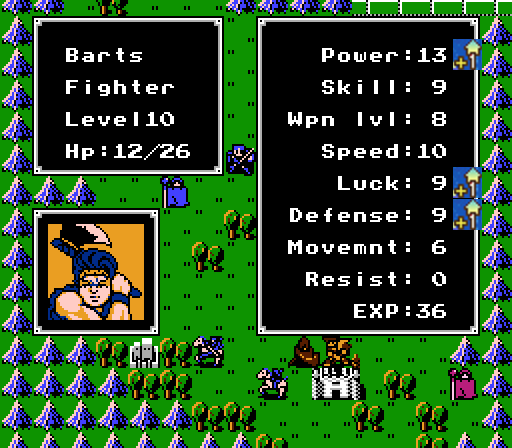
Barts is still rolling along.
There's just the Cleric left, so I give Daros one more chance:
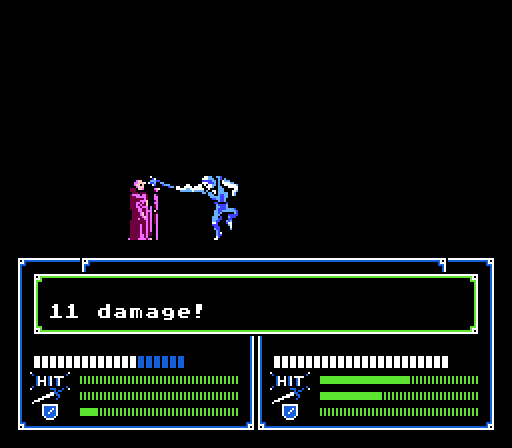
He does 11 damage and gains a level:
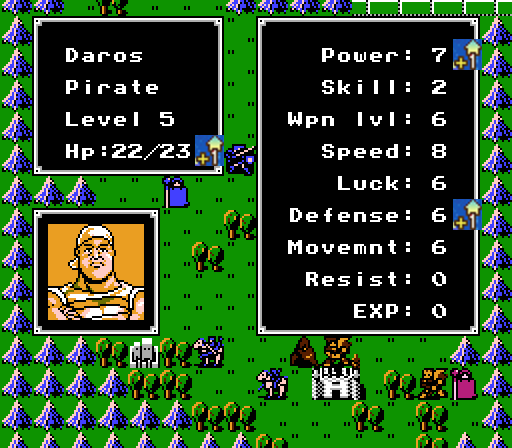
Good level considering his growths - just enough to keep my hopes up.
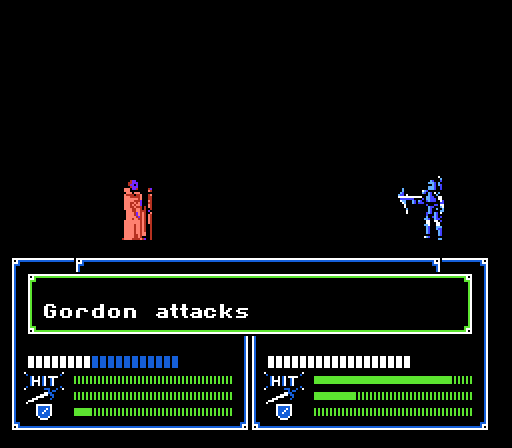
Gordon finishes off the Cleric, also gaining a level:
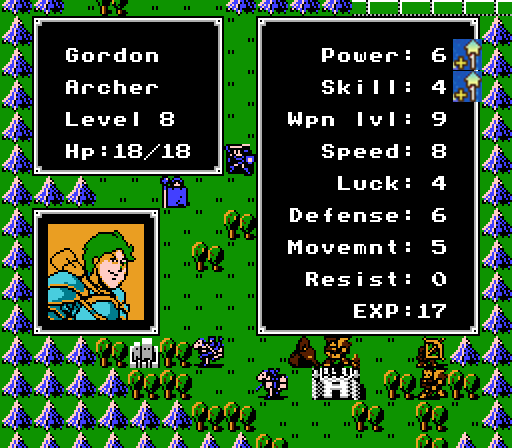
He was in desperate need of more Power but that's still continuing a pretty underwhelming streak.
Marth moves up to seize the castle next turn while the rest of our army spreads out to guard the forts.
Turn 11:
Still no reinforcements. I haven't exactly been hurrying the last few turns in an attempt to draw them out, but I'll be straight here - they don't show up until Turn 13. If you're being very cautious and really don't know when it's going to happen, it might take you that long to advance all the way south, and then just when you think you're safe, that's when they'll hit. But most veterans would probably clear the map long before they ever showed up. So they're really only there to punish new players.
 Way to go, IntSys.
Let's skip ahead a bit...
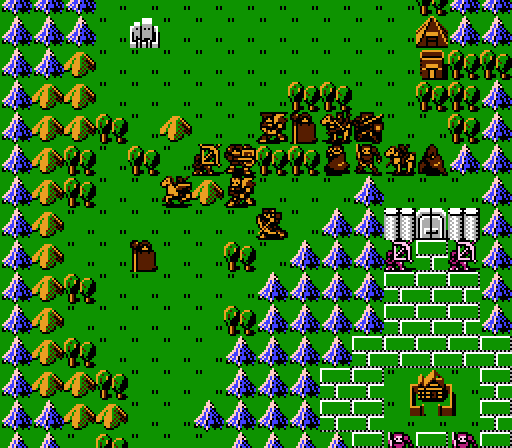
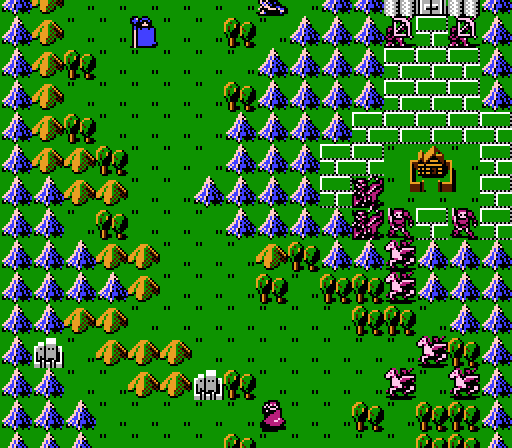
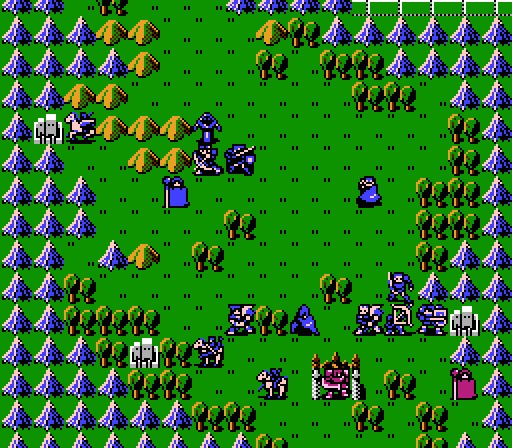
Turn 13:
Sheeda is guarding the northwest fort, with Rena as backup for healing. The northeast fort is well-surrounded by Abel, Banutu, and Barts with Wolf ready to take a shot if needed. The southwest fort has Marth with his Rapier at the ready acting as bait, with Daros and Navarre as support. Doga has the southeast fort blocked off with his Knight Killer, with Gordon and Kashim supporting him. Julian and Marich are in the center as rovers. It really isn't fair when you know what's coming.
A Social Knight appears at the northwest fort with a Steel Sword and, with no other option, attacks Sheeda for 7 damage. Sheeda somehow misses with both of her attacks. So that first trap has worked out great so far.
Another Social Knight appears at the southeast fort, this time with a Javelin (which is why I kept Gordon and Kashim at a distance). He does just 1 damage to Doga, but Doga also misses.
Yet another Social Knight appears at the northeast fort, armed with an Iron Lance, and targets Abel. This time, it's Abel who dodges, and gets in a kill on the second attack and a level:
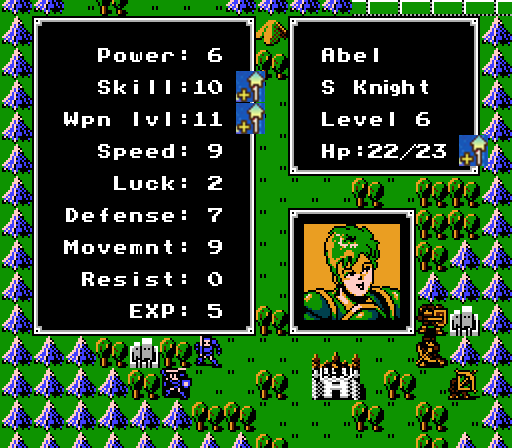
Well, it looks like Abel may have been the wrong choice - he's now behind by 2 Power, 2 Luck, and 1 Defense. But he's 1.5 ahead in HP!

The final reinforcement, another Social Knight, appears at the southwest fort and immediately goes after Marth with a Knight Killer. Marth takes 3 damage but kills the Social Knight with a pair of strikes from the Rapier.
So I guess the nasty surprise here is a Social Knight appearing right by the castle with a Knight Killer - I believe it's the first enemy with a Killer weapon like this, and he shows up at a time when you've just been given a bunch of Social Knights to use. Plot-wise, it could be interpreted as a dirty trick, I guess? If so then I guess waiting in ambush with Marth and his Rapier is justice.

Turn 14:
Two of the reinforcements still live. Let's fix that.
Sheeda does 14 damage this time but it's still not quite enough. Rena moves out of the way but uses the Reblow Wand to heal up Sheeda from a distance.
Wolf finishes him off and gains a level:
Dammit Wolf, why did you tease me with that great first level if you're just going to follow it up with crap like that?

Doga tries to take another stab at the last Social Knight but misses again.
Gordon manages 6 total damage but takes 7 in return.
Kashim finishes him off.
There's actually only the one round of reinforcements on this map so with them all cleared out, Marth seizes the castle for an epic plot dump:
This guy is Morodof, some Aritian noble who's been here helping out Marth all along but we haven't seen much of until now. You'll probably remember his face after this:
 A long time ago, the Mamkutes lived in Durhua in three groups: The Divine Dragon tribe Narga, the Demon Dragon tribe Bajilisk and the Fire Dragon tribe Salamander. The Narga tribe was the strongest and defended humanity when the others attacked it.
Go team Narga!
Mamkutes are able to seal their dragon forms inside Dragon Stones and appear human.Thus, Banutu. He's a pretty shitty dragon though, all things considered.
There was an age of peace, then the Earth Dragon Mediuth appears.Cue bad guy.
 He used his tremendous power to defeat the Narga tribe and established Durhua. He invaded the lands owned by humans and took over the world. Suddenly a youth named Anri set out to defeat Mediuth, wielding a shining blade named Falchion. Eventually Mediuth was defeated by Anri. Then Anri established Aritia.
Hey, I think we're from there! Go good guys.
 100 years later, Mediuth revived.
I guess that's our cue.
Sire! You're the chosen one, direct descent of Anri. You must defeat Mediuth!Got it, boss. Liberate the world and then slay the evil super dragon. Let's get on with it then!
New Characters
Banutu - MamkuteBanutu is a Mamkute, able to use the Fire Dragonstone to transform into his dragon form and wreak havoc on the enemy. He can prop up your team for a couple chapters but ultimately he's just another Jeigan, as these growths will show.
Growth Rates:
- HP: 10%
- Power: 0%
- Skill: 10%
- Weapon Level: 0%
- Speed: 0%
- Luck: 10%
- Defense: 0%
- Total: 30%
New Weapons:
Fire Dragonstone - Item used by Banutu (and enemy Mamkutes) to transform into a Fire Dragon during combat. Has a high Might and a bonus to Defense, so a Mamkute can have deceptively low stats but still be dangerous.
- Might: 16
- Uses: Inf
- Weapon Level: 0
- Hit Rate: 80%
- Crit Rate: 0%
- Weight: 3
- Special: Adds 12 to Defense
Our current roster, with the active units in bold. (Full stats in this post.) If you want to make a change, propose a recall motion and, if seconded, we'll have a recall vote. If that's successful, we'll vote on a replacement. (Only applies if there is a replacement, of course.) Only new unit is Banutu who sucks but we don't have an alternative. Abel is looking pretty weak - now might be a good time to switch to Kain or maybe even Hardin and see if they can turn out any better.
Lord: Marth
Pegasus Knight: Sheeda
Social Knight: Abel, Kain, Machis, Hardin, Biraku, Roshe,
Armor Knight: Doga
Archer: Gordon
Cleric: Rena,
Mercenary: Navarre, Oguma
Fighter: Barts, Maji, Saji
Hunter: Kashim
Pirate: Daros
Thief: Julian, Ricardo
Magician: Marich, Wendel [Priest]
Bow Knight: Wolf, Zagaro
Mamkute: Banutu
I need two votes from everyone this time around: 1) We need a new sacrifice - clearly Riff was not pleasing to the RNG gods. Any non-bolded unit above still alive can serve.
2) We can only bring 13 units with us next map. We now have 14 classes. Plus we need to bring another sacrifice, so that leaves 12 classes we can take, with two classes getting benched. Mamkute's a good choice since Banutu is so terrible, and we don't need a Thief, but I'll leave it up to you. The Lord is required, and I'll be forcing the Cleric along as well, but vote out any two other classes for next chapter.
Next time:

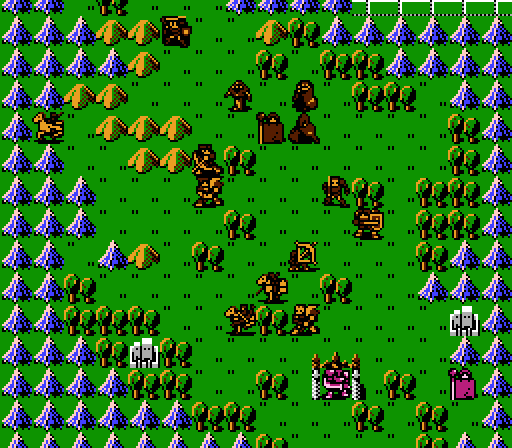
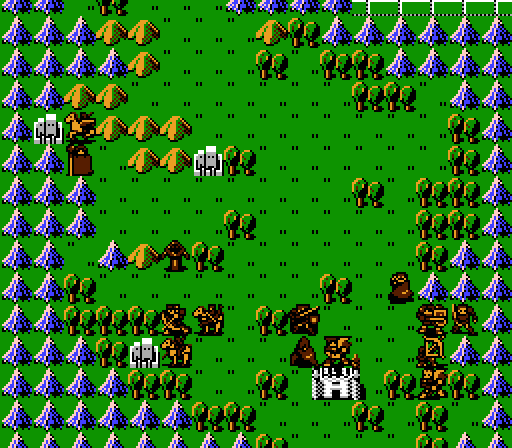
Oh my god what is this chaos the world has been torn asunder! Wait, oops - that's just what I somehow got when I tried to stitch it together the first time. Took a few more tries but I eventually got one that worked:
A large, winding map with a surprisingly isolated boss. What could go wrong?