Part 25: Fall of Garnef
Not much to say here, just three chapters left so it's time to take out Garnef, take back the Falchion, and rescue Marth's sister.
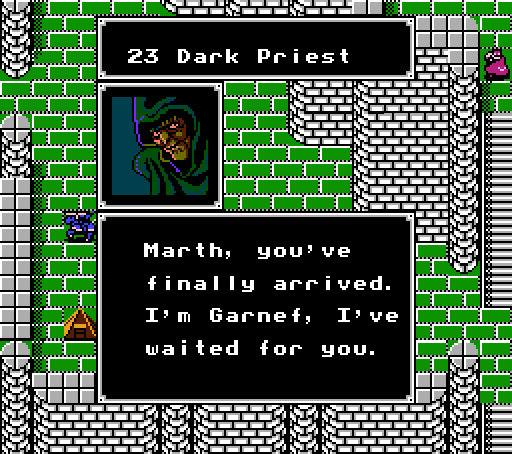
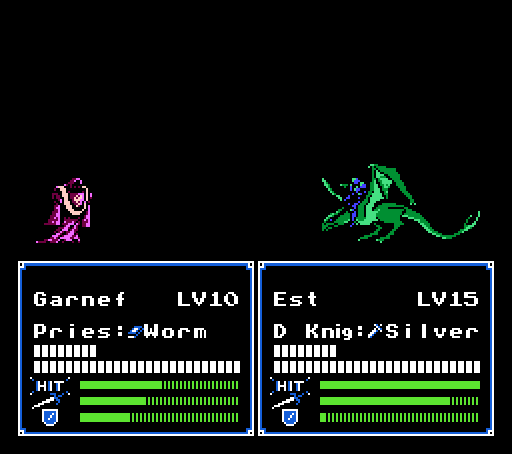
 In order for me to own the world, I have to kill you.
Come again?
I'm not under Mediuth's control. With the Falchion and Maph, I can control Mediuth! Come, Marth! Defeat me if you want the Falchion!Kind of an under-played aspect of the plot here, but Garnef is playing the old underling who betrays his boss to take over the world schtick here. The DS remake does have an extra line pointing out how Marth has killed off all of Garnef's competition and delivered all the royal weapons to him.
Note that this conversation doesn't play out any differently if you don't have Starlight.
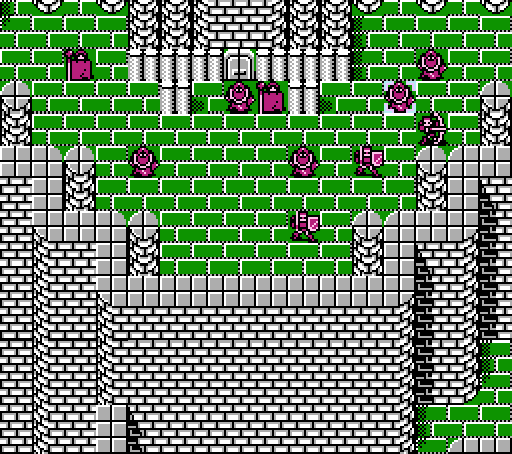
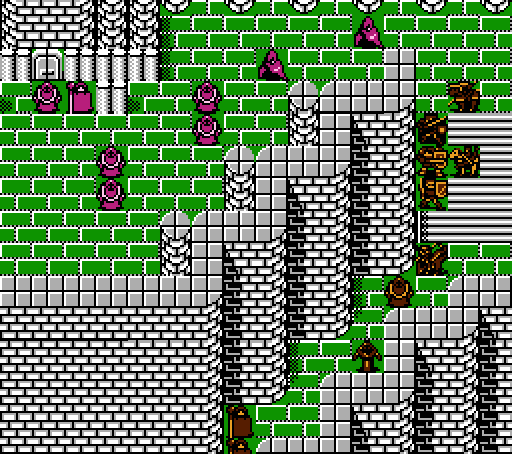
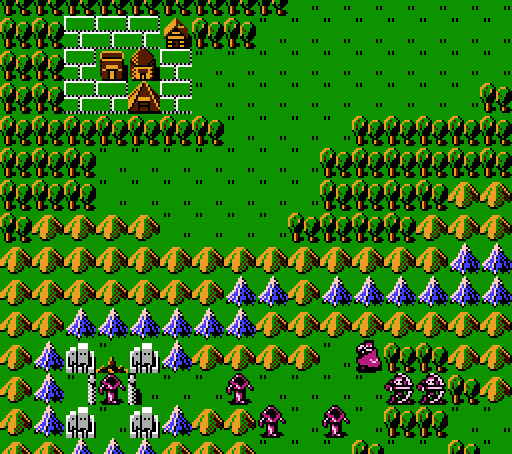
Turn 1:
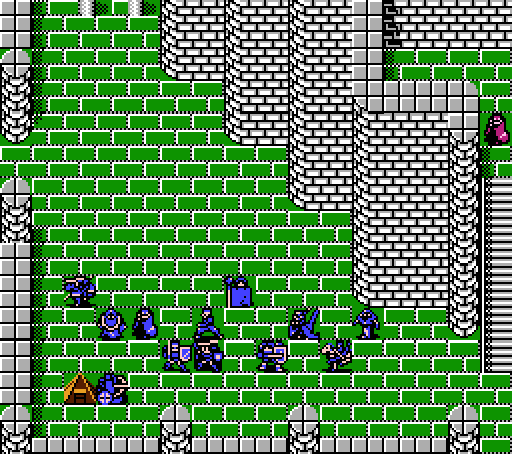
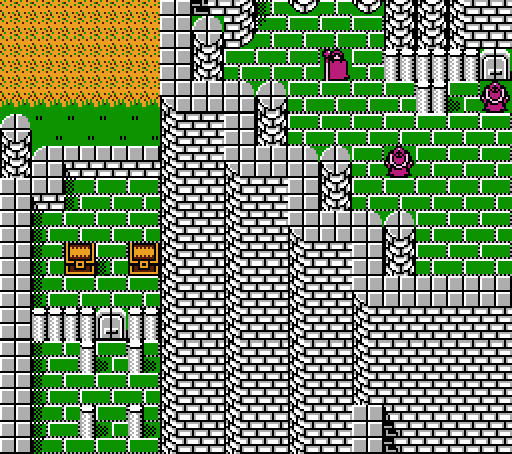
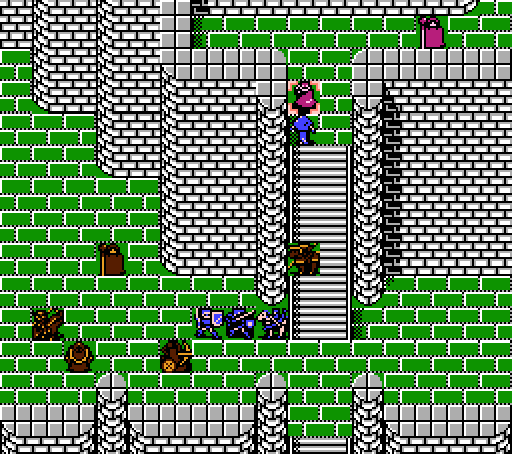
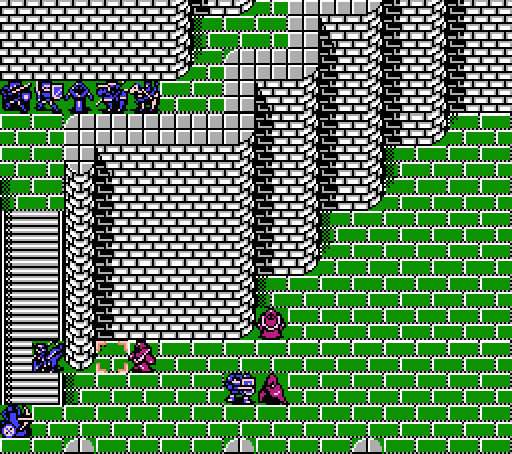
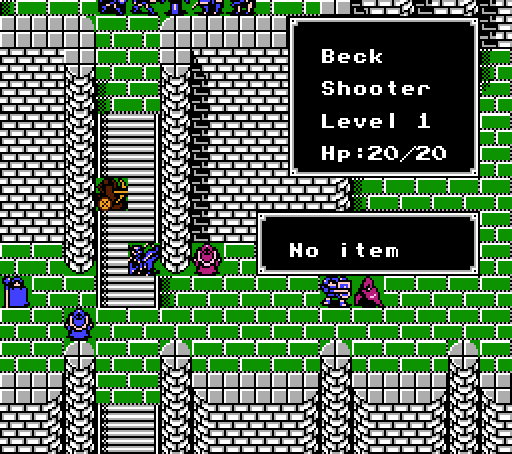
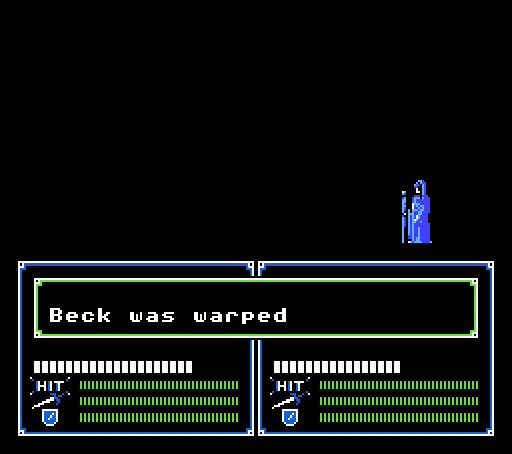
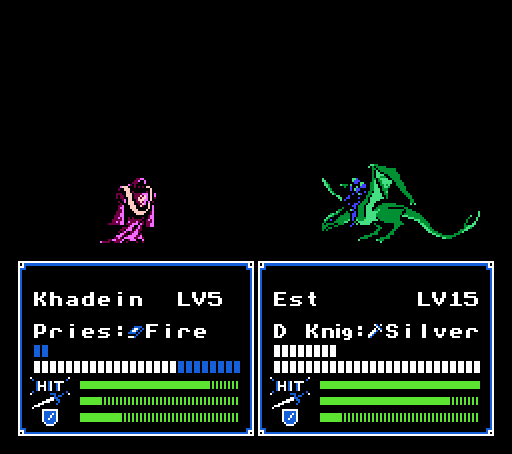
We have a smaller group with us this time for some reason. Mainly units who still have some levels to gain, plus Roger since he's our only guy with any Resist, plus Wolf because you guys voted for him for some reason. Also Beck comes along, because he's a loser, baby, so why don't we kill him?
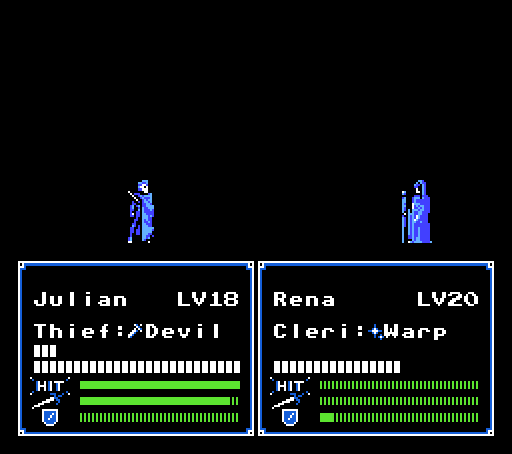
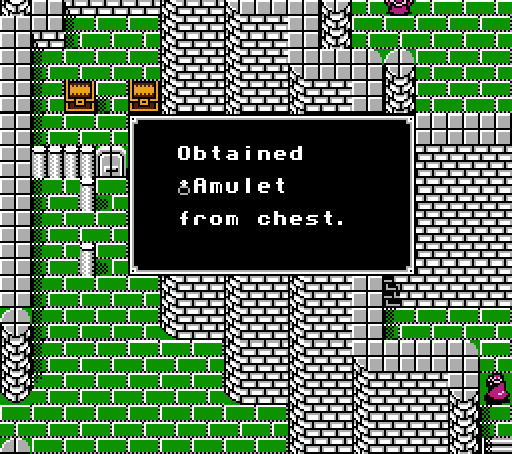
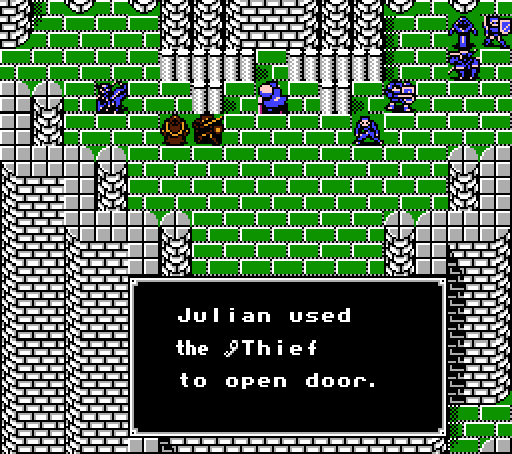
Julian warps straight up to the treasury so that I can grab this item right away. With all the mages in this chapter, it's going to be immediately useful on Linda.
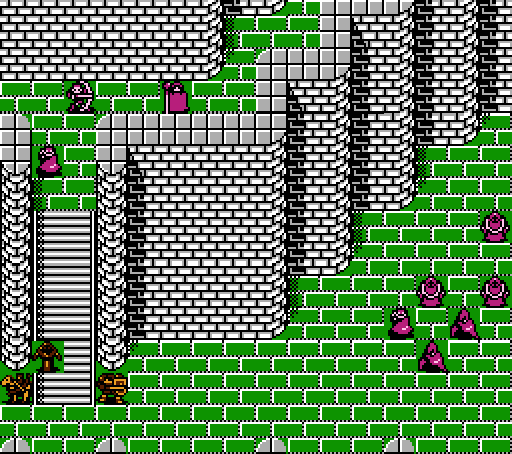
Chiki's going to clear out the small force holding the stairs, while Roger heads off on a side mission to take care of this group of mages.
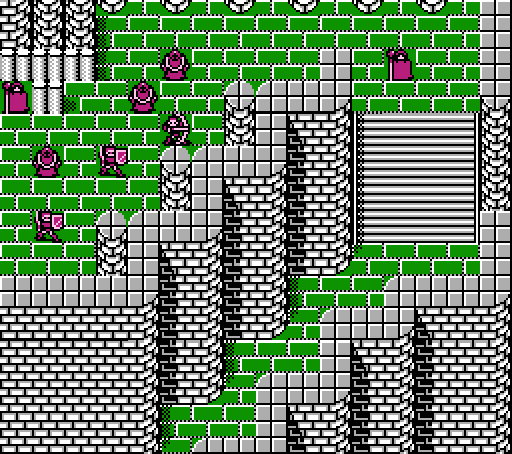
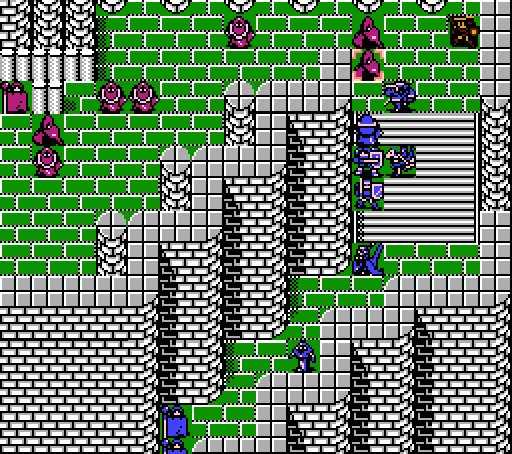
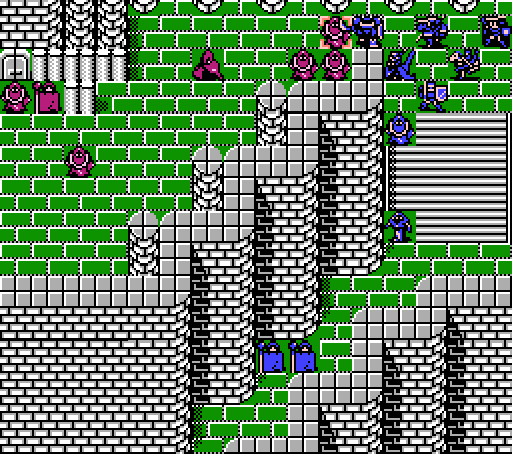
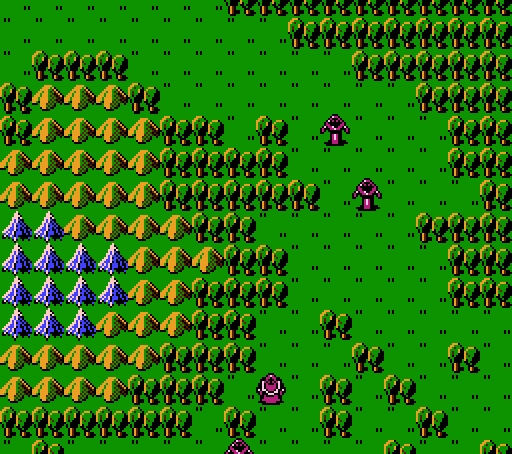
Have I mentioned this chapter's gimmick yet?
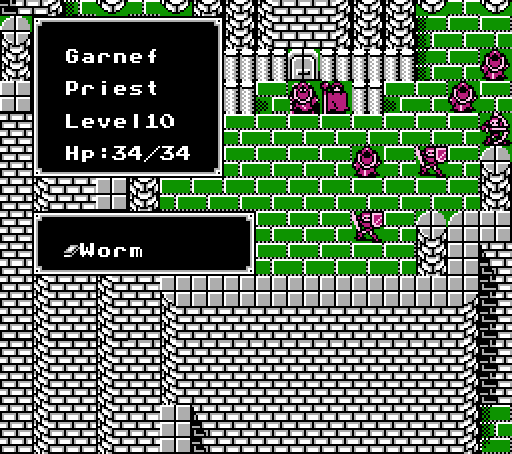
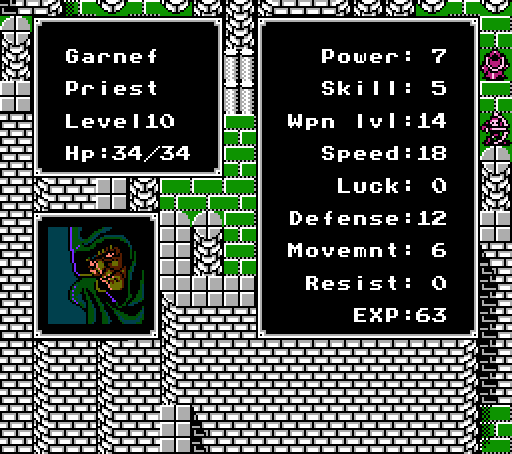
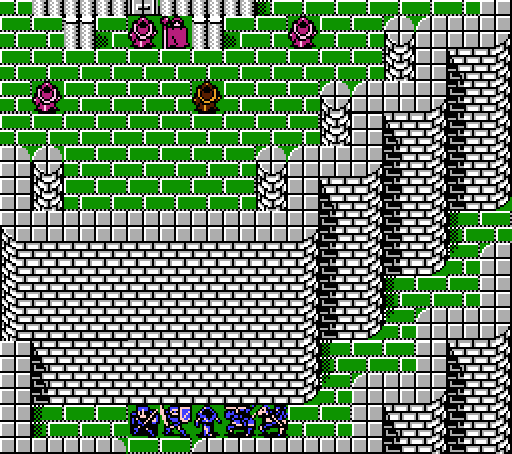
Dude on the throne is clearly Garnef, right? Except, where's Maph?
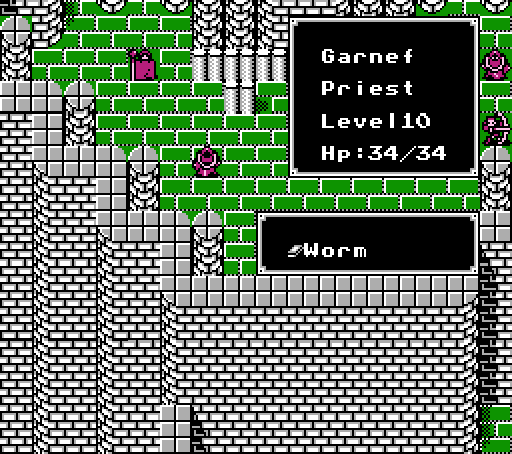
This guy's also Garnef.
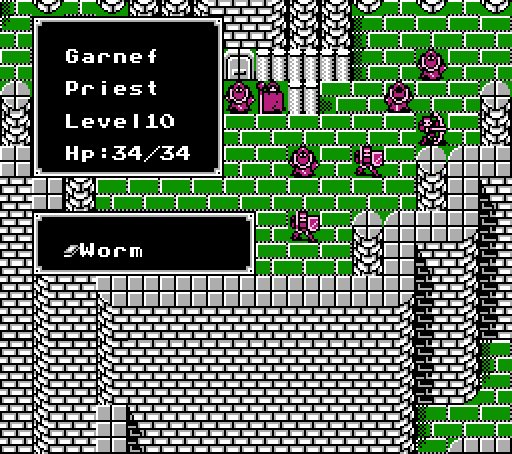
As is this one.
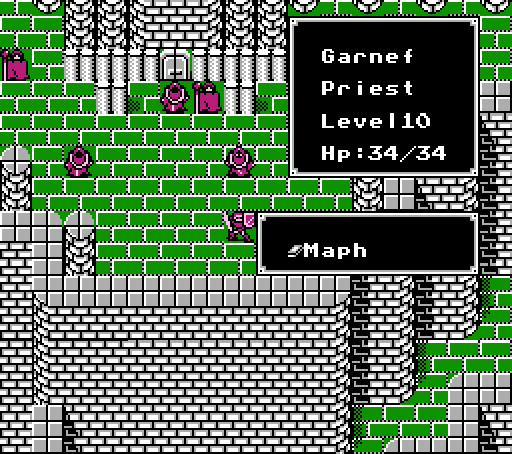
The real deal is this Priest, actually wielding Maph. It's a weird gimmick that ultimately falls a little flat since it's obvious which Garnef is the real one. In the DS remake it's a little more effective because the fake Garnef's all have fake Maph Tomes as well, but even then one use of the Earth Orb reveals the true Garnef as the only one to not take damage.
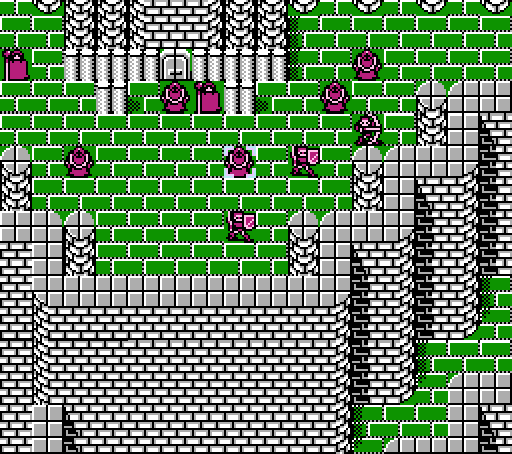
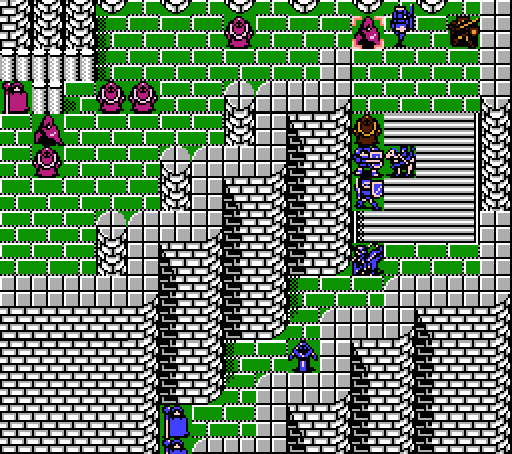
Turn 2:

He's got two turntables and a microphone but no actual weapons.
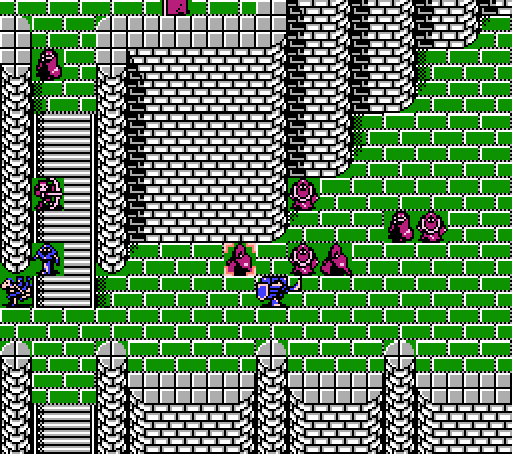
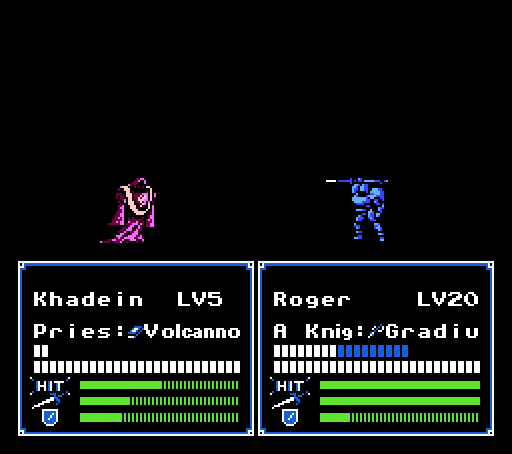
This mage group can do a grand total of seven damage to Roger, and with the Gradius he can counter-kill all of them with ease, so he gets to work.
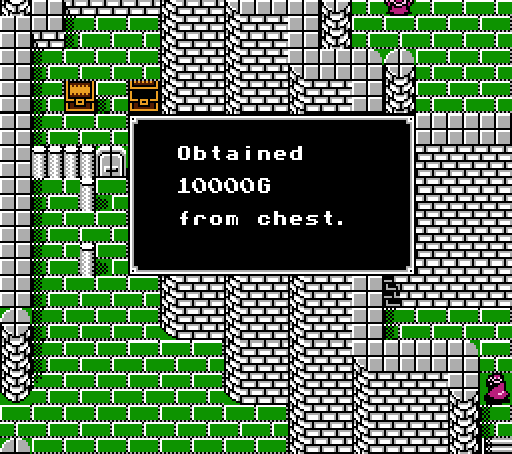
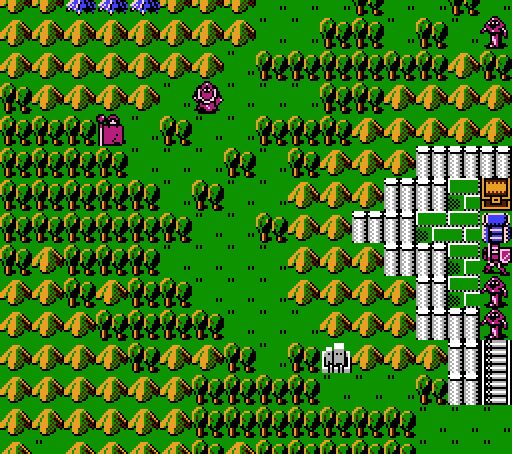
The other chest just had some more money for our pile. I like to think Morodof spends the chapters diving around in the treasury like Scrooge McDuck.
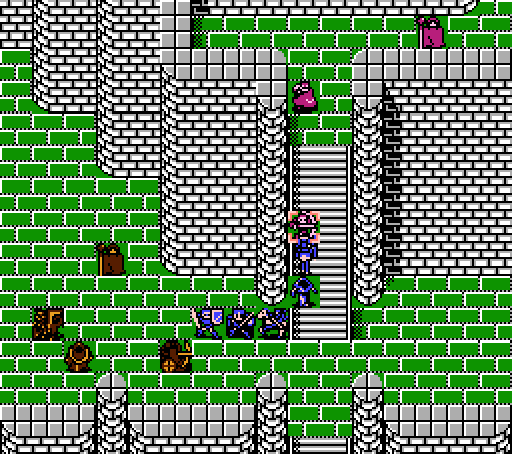
Hardin clears out the Sniper to give Chiki a free shot at the Thief. Both gain levels, neither gain anything important.

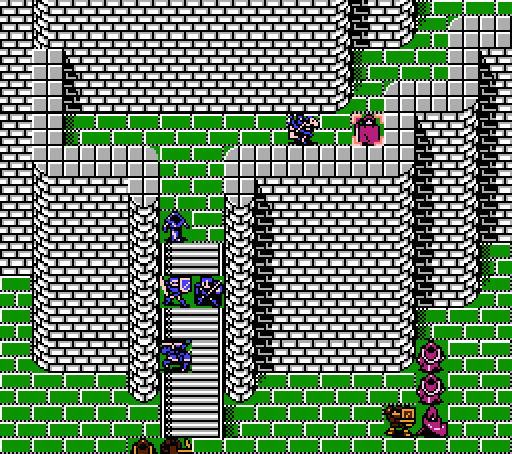
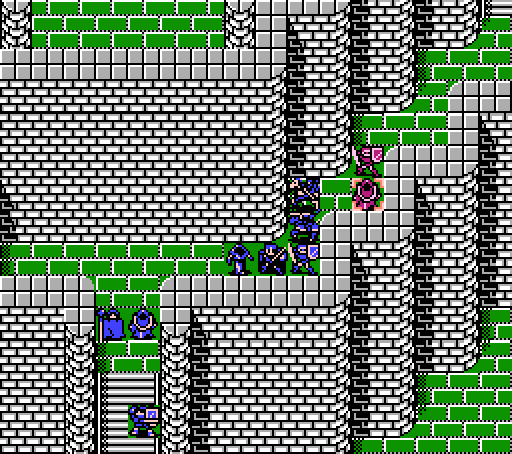
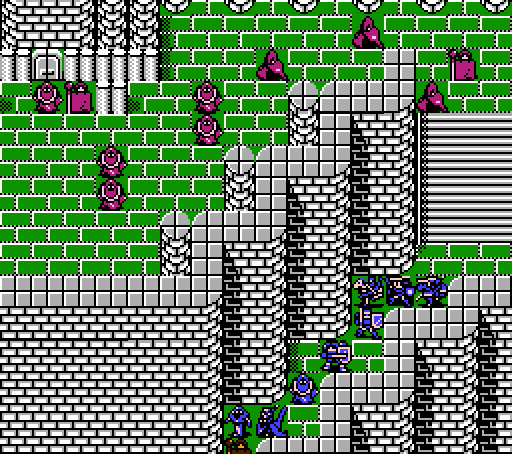
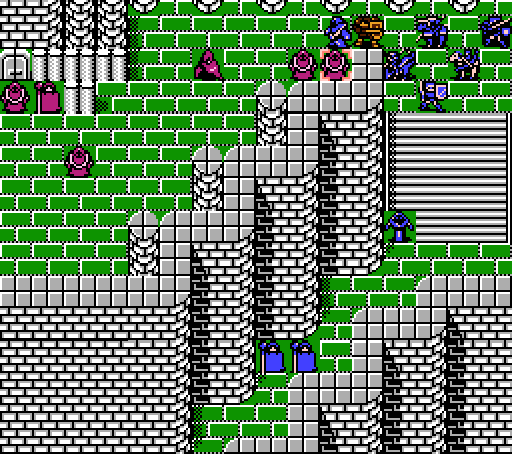
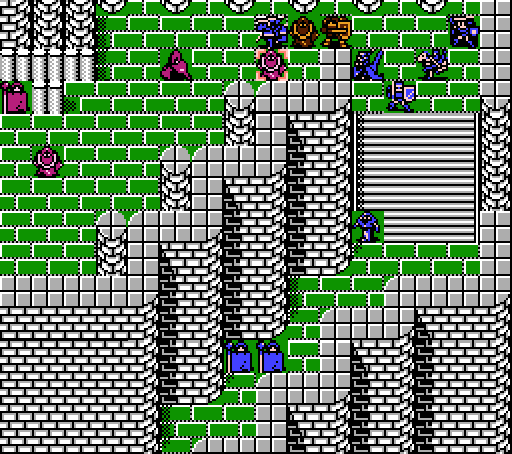
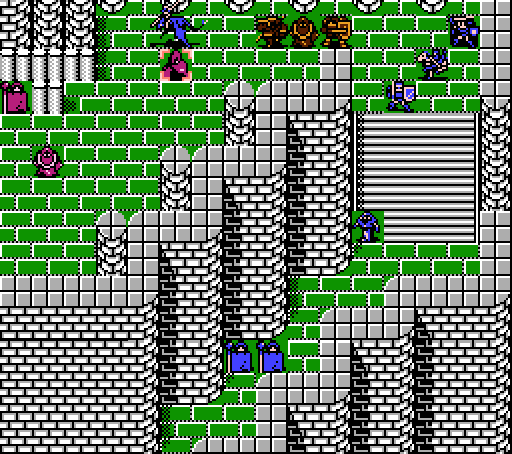
This chapter seems like it was designed to have a bunch of siege tome mages hammering at the player's army as they slowly traversed the winding path up the stairs/walls/whatever this place is. As it is here, the level layout is just a long hassle-free chokepoint.
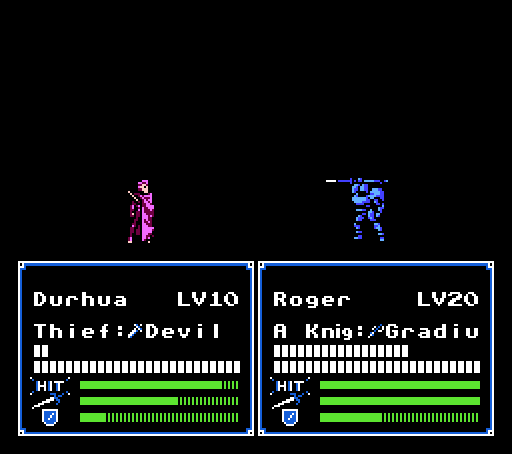
The mages were far too clever and decided not to suicide on Roger, but this Thief thought the Devil Sword might give him an advantage (it didn't).
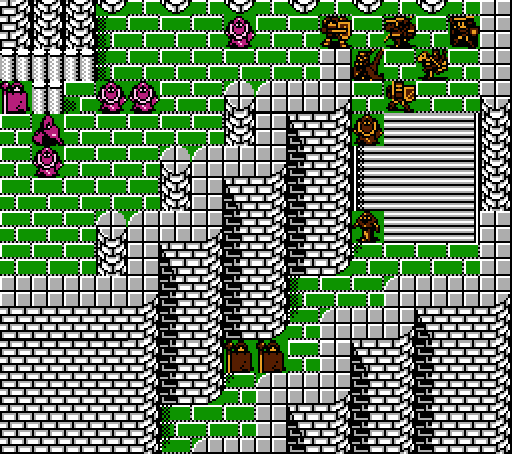
Turn 3:
He's been drifting along in the same stale old shoes.
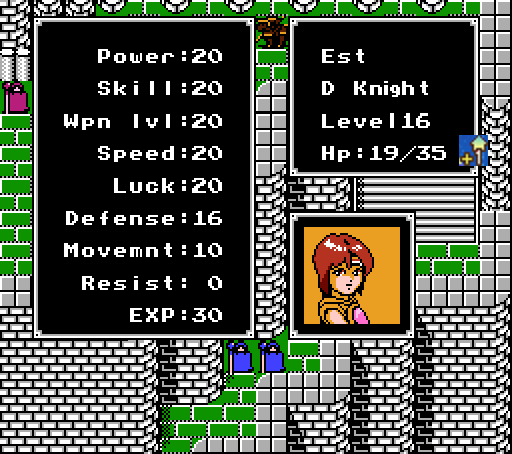
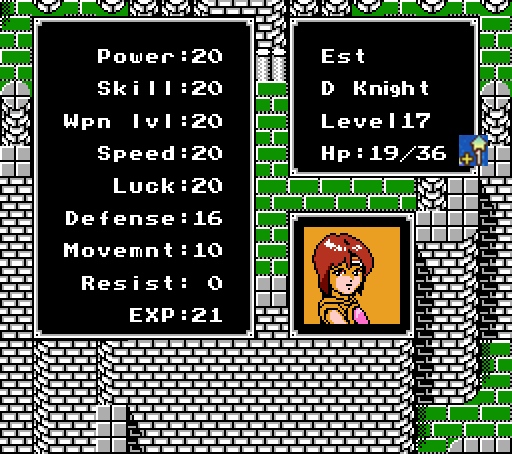
Chainy grants Est some useful Resist.
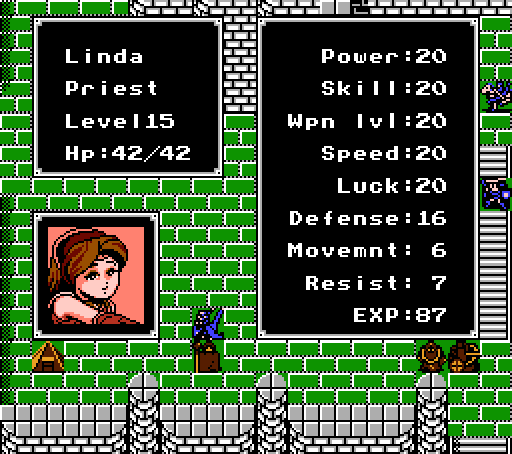
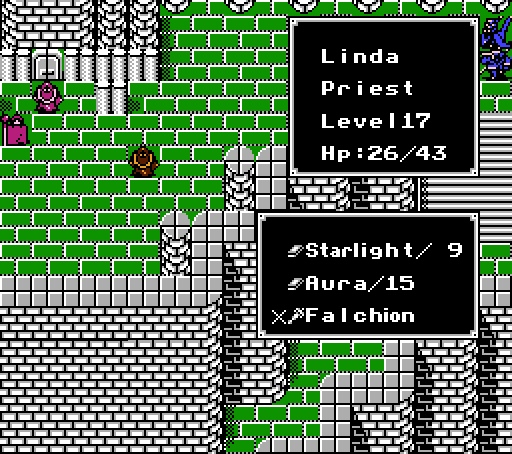
And Linda powers up with both the Amulet and the Dragon Shield from last chapter.
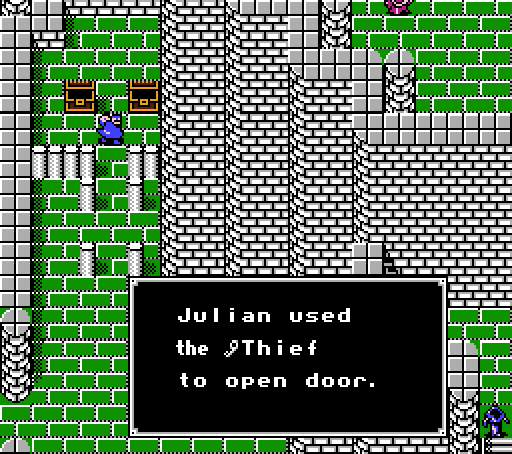
Meanwhile Julian lets himself out of the treasury, though I doubt he'll catch up to the rest of the army before the chapter's over anyway.
Roger continues his wanton mage-slaughtering.
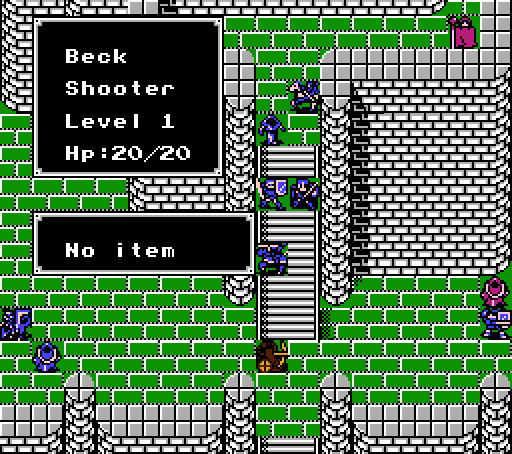
Wolf takes out the Cleric for a clear path to the third floor. He picks up a timely Pure Water (acts like the MBarrier Wand), but his hands are full with four bows so it goes into storage.

This would be an opportune time to pepper us with siege tomes, good thing they don't exist in this game.
Yet another way to spot the real Garnef - he always goes first and immediately ends his turn without moving.
I left Est in range of this Priest, but he just has a Fire Tome so can't do any damage. Est can't counterattack though, unfortunately.
The other mages continue to hope that giving Roger mean looks will do some damage to him.
Turn 4:
He's been walking on these streets so long, he don't know where they're gonna lead anymore.
He climbs a hole in the sky.
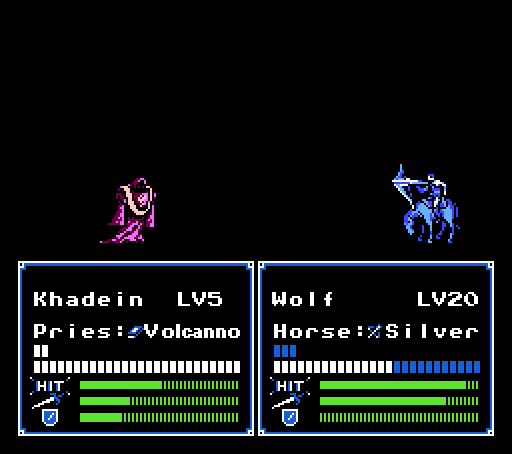
 I don't know where I've been, but I know where I'm going - to that volcano.
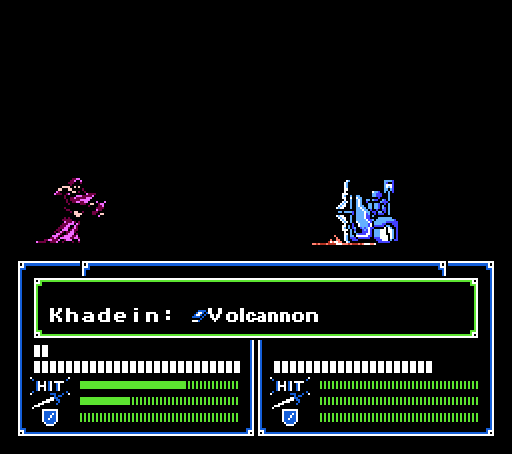 I don't want to fall in, though.
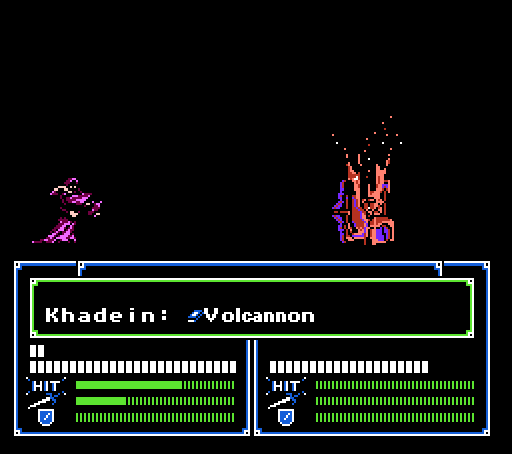 Just want to warm my bones on that fire awhile.
 Tell me that it's nobody's fault, nobody's fault but my own.
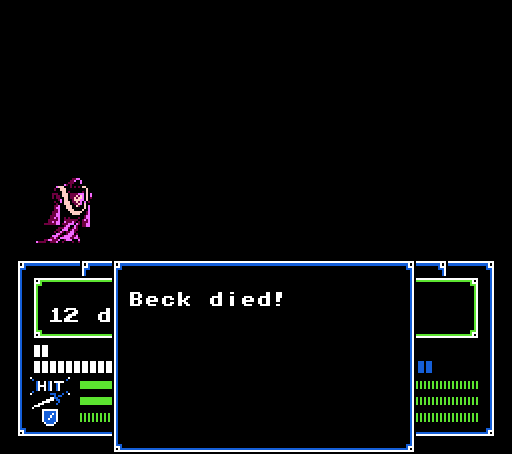
Just like a paper tiger.
Turn 5:
Est and Roger mop up the last of the lower group.
Turn 6:
The Wolf is on the hill, looking for the kill to avenge his friend Beck.
Banging like an 808.
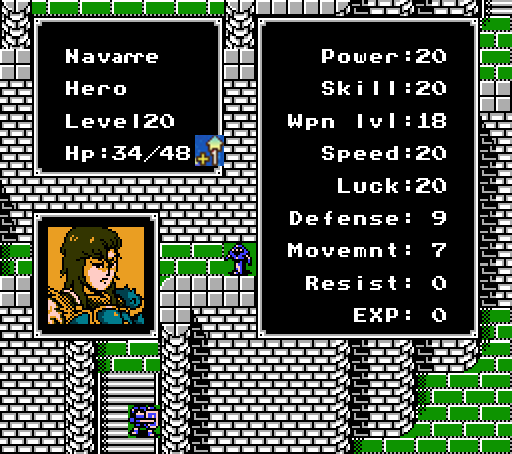
Navarre's had enough so he rams full-speed into the level cap.
Turn 7:

 The witching hour is summoning up armies where they don't belong....
 Bucket full of blood, got you on my mind, gonna break my face on the sweet sunshine....
Stay dead!!
Turn 8:
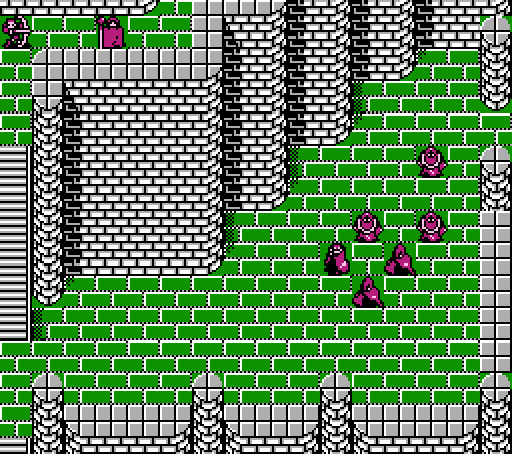
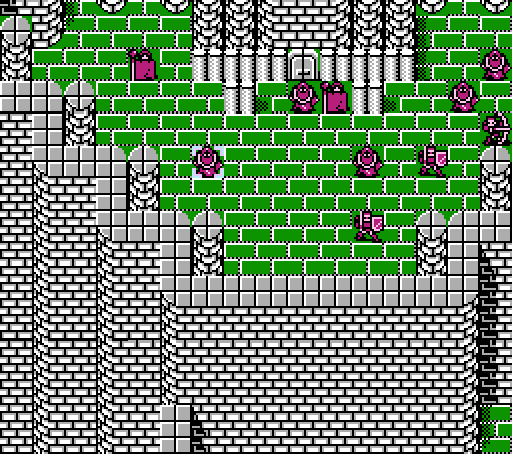
The reinforcements are nothing special - four Magicians with basic tomes, and two Priests with Torron. They're also the only round of reinforcements to come in, so we can sweep through the top floor here now once we get Linda back to the front to deal with Garnef.
_-_Chapter_23_-_Miracle.gif)
Marth shows off the Miracle for the first time and pulls an overkill crit out of his ass.
Awaiting the mage rush. Marth takes six damage from a Thunder Tome but that's it.
Turn 9:
Linda and Hardin clear out the two Magicians.
Roger is out front to intimidate all the Priests into not attacking him again.
A fake Garnef gets to Est through the wall anyway, but nothing she can't handle.
Turn 10:
Roger and Linda lead the way.
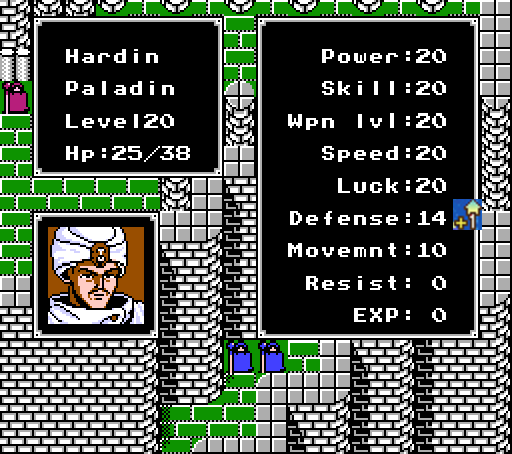
Hardin takes out another Priest and picks up some Defense for his final level.
And Est clears out the Magician and acts as bait for the real Garnef.
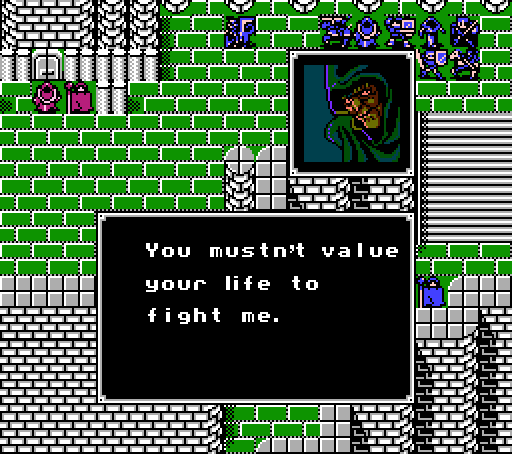 I'll show the power of Maph!
If it weren't obvious enough already, only the real Garnef gets pre-battle dialogue before he attacks you. If you don't remember, it's just the exact same thing he says back in Chapter 15.
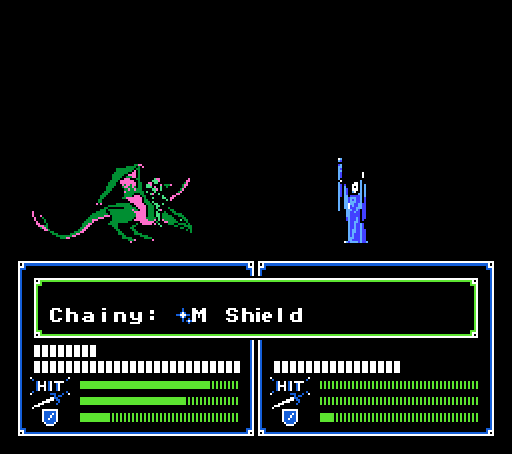
_-_Chapter_23_-_Maph.gif)
I showed this animation back in Chapter 15, but it's been awhile so here it is again.
Turn 11:

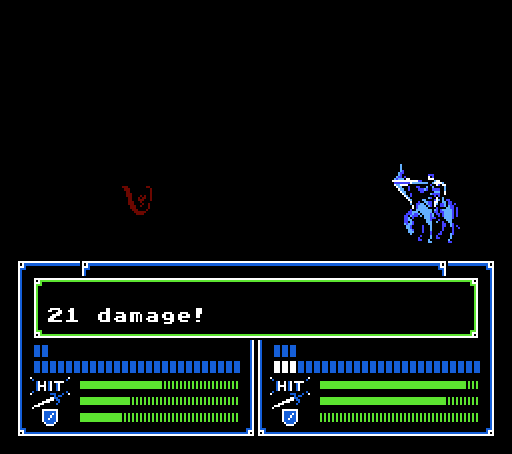
Time for Garnef to feel some pain for the first time.
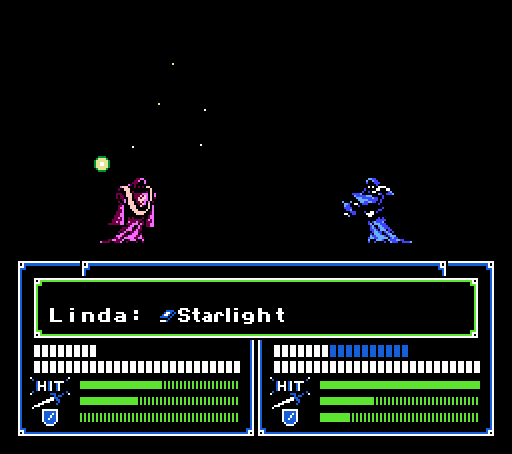
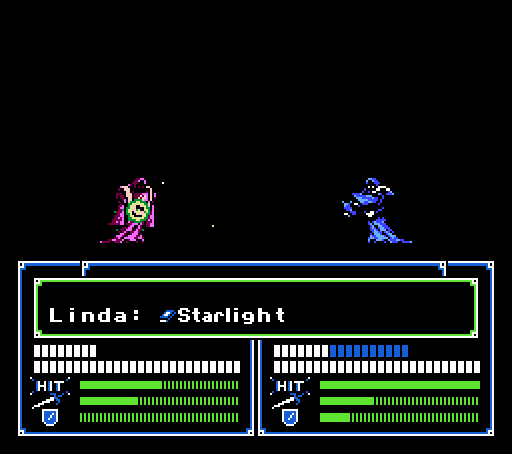
The animation kept corrupting the recording, so here's a couple screenshots instead. Starlight isn't very exciting - some pixels (stars) float down from the sky and gently explode near Garnef. It's also not strong enough to kill him off in one turn, even with two attacks.
Linda does manage to pull some Defense out after employing it, though.

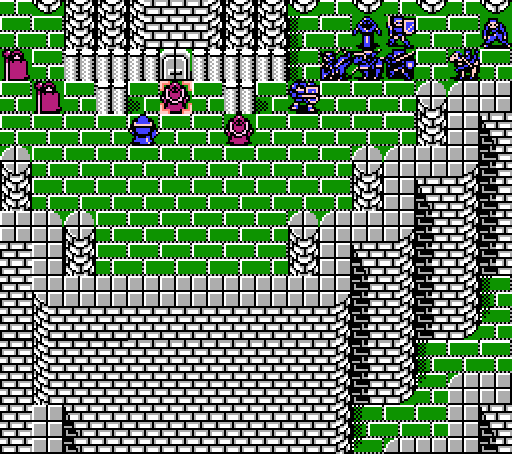
The rest of the army retreats to try and force Garnef to attack Linda. Instead he runs away. Fortunately the Reserve Wand Clerics don't think to heal him up.
Turn 12:
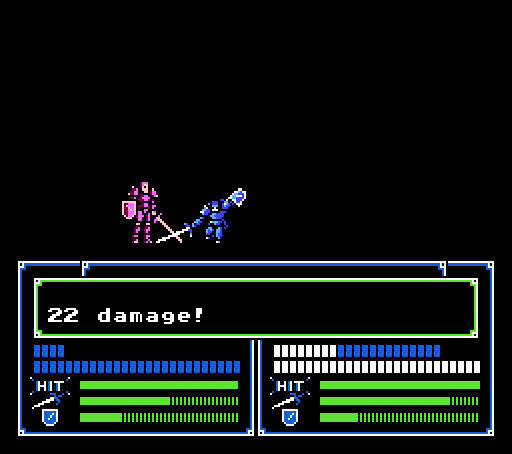
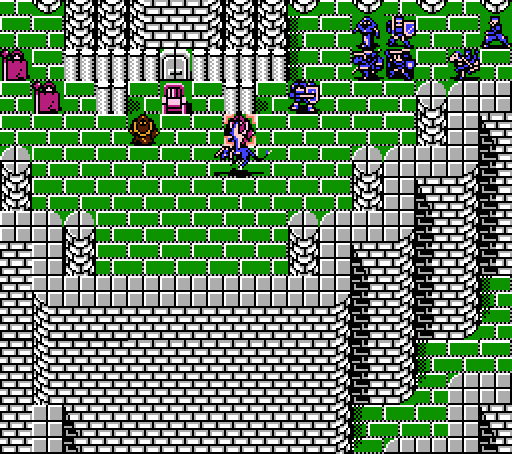
Linda chases down Garnef and finishes him off.
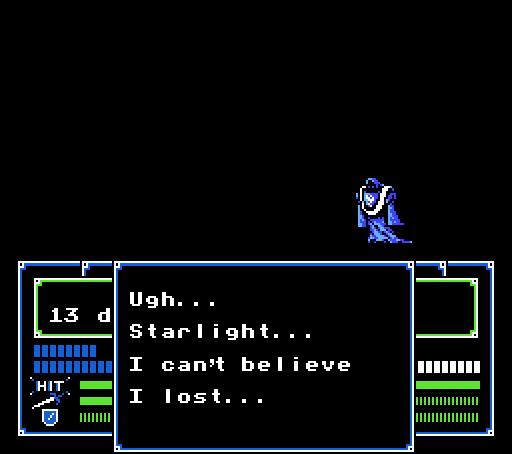 But remember.... Even if I die, your power's no match for Mediuth. I'll wait patiently in hell.
Garnef, fittingly, is the first enemy with a death quote. More of a speech, really.
Linda takes the Falchion from Garnef's corpse, to be given to Marth later. Notice that the Falchion has infinite uses - IntSys hadn't yet thought of making the weapon needed to defeat the final boss able to break before you ever got there.
What happens if you don't have Starlight? Well, Garnef's not guarding the throne, so basically you have to rush and then have Marth seize it while Garnef keeps harassing you. The end of the chapter plays out the same.
Turns 13+:
Just some mopping up left to do now. Linda and Est start with the two remaining Priests. The one on the throne gives up a Priest Ring.
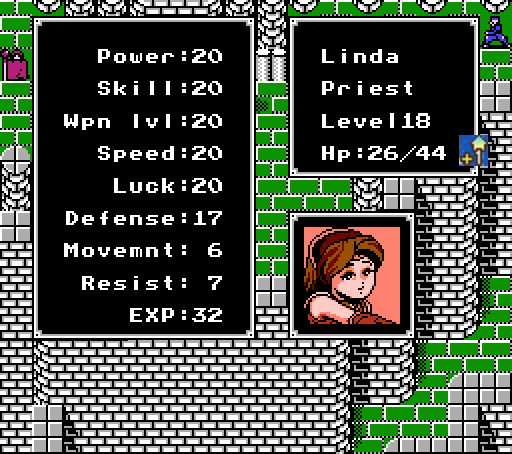
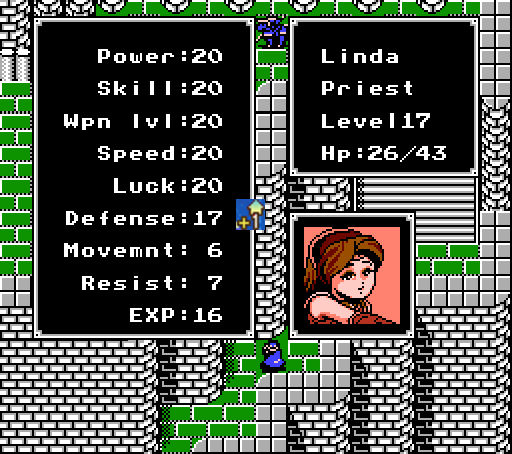
Linda gets more HP. She's become a more effective tank than Roger - more HP, more Defense, same Resist.
Est gets another level and another HP the following turn cleaning up the Clerics. One of them drops a spare Reserve Wand.
Did you notice the door behind the throne again?
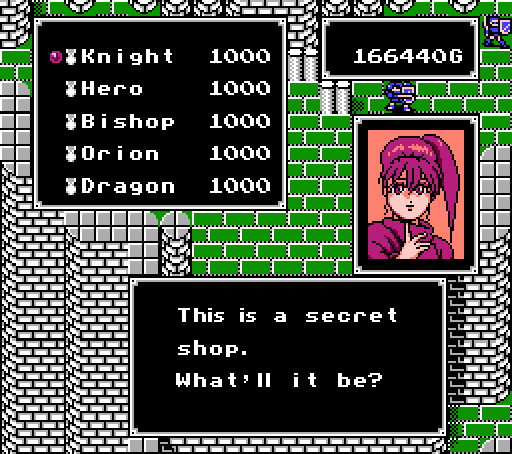
There's another Secret Shop here. Not as exciting as the last, but if there's anyone you've been unable to promote before, you can now do so. It's a little late in the game to be promoting people, but if they're strong enough to survive the next two chapters there will be plenty of Exp available for catching up.
Without further ado, Marth takes the throne.
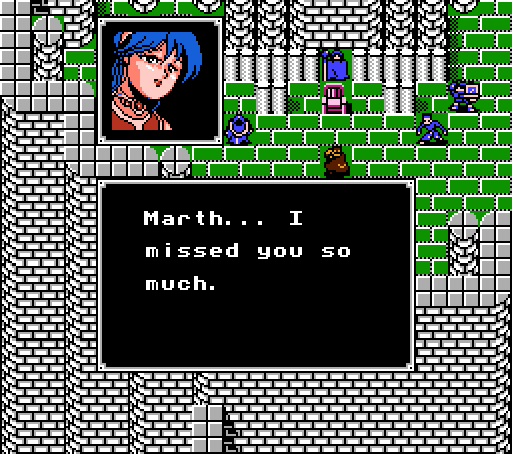
Meet Ellis, Marth's sister.
 I'm sure father would be proud.
 Sister! I was worried. I'm glad you're safe now. Garnef took me because he wanted this, the Oum Wand, which I got from Gato. If I were to use this wand in a temple in Durhua, it would resurrect a fallen ally. Marth.... Let's go to Durhua.
And with that, we're off to the final phase of the game, conquering Durhua.
New Characters
Ellis - ClericWe haven't officially gotten to see her yet, but she'll be in our army selection screen for next chapter. Ellis is a Cleric, as you may have guessed. Her most notable feature is coming with and being the only character able to use the Oum Wand, which can be used to resurrect a fallen ally next chapter. Her growth rates are actually great - including a notable 30% Defense growth - but she joins at just level 4 with terrible stats and will have trouble surviving enough hits to gain any Exp at this stage of the game.
Growth Rates:
- HP: 80%
- Power: 0%
- Skill: 50%
- Weapon Level: 90%
- Speed: 60%
- Luck: 80%
- Defense: 30%
- Total: 390%
New Weapons:
Falchion [Sword] - It's a bit weaker than a Silver Sword, but has infinite uses and is effective against the final boss. As a bonus, using it as an item will heal Marth for 10 HP.
- Might: 10
- Uses: Inf
- Weapon Level: Marth only
- Hit Rate: 100%
- Crit Rate: 0%
- Weight: 3
- Special: Effective against Mediuth; acts as Vulnerary on use
Oum Wand - Ellis brings this wand along with her, and is the only one who can use it. It has one use, and when used in the right location, will bring a dead ally back to life. I think we might have a few of those.
- Might: N/A
- Uses: 1
- Weapon Level: Ellis only
- Hit Rate: 100%
- Crit Rate: 0%
- Weight: 0
- Special: Revives dead ally at a particular location
Our current roster, with the active units in bold. (Full stats in this post.)
Lord: Marth
Pegasus Knight: Est [Dragon Knight], Sheeda, Minerva [Dragon Knight],
Social Knight: Hardin [Paladin],
Armor Knight: Roger, Doga,
Archer: Gordon [Sniper], Thomas,
Cleric: Rena,
Mercenary: Navarre [Hero],
Fighter: Barts, Maji,
Hunter: Kashim
Pirate: Daros
Thief: Julian,
Magician: Linda [Priest], Marich,
Bow Knight: Wolf,
Mamkute: Chiki,
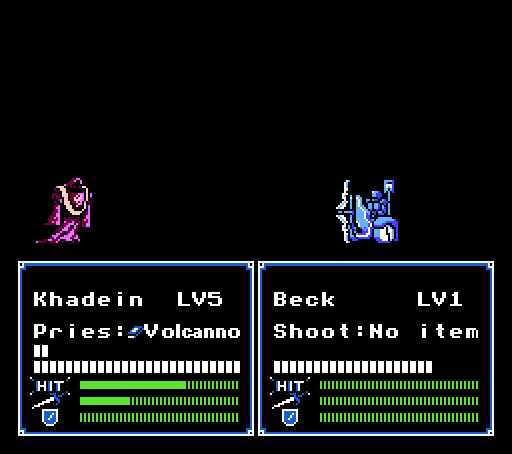
Shooter: Jake, Beck
Commando: Chainy
* Non-violently retired
I have some ideas already for the sacrifices the next two chapters, but I still need some suggestions on which two units (plus Daros) to leave behind. I'm leaning towards Jake (for his bad Movement) and either Barts or Kashim.
Next time:
The invasion of Durhua begins.