Part 71: Endgame: Night Breaks Through (Map Overview)
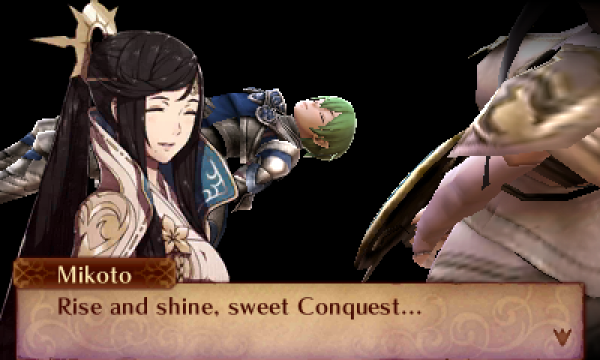
Wake up, Corrin! Turns out it was all a dream. Being kidnapped by a foreign king and raised as his daughter in a remote castle? Large conflicts with deadly weapons that result in 0 casualties? Inevitable End and Staff Savant? It was all a little too hard to believe.
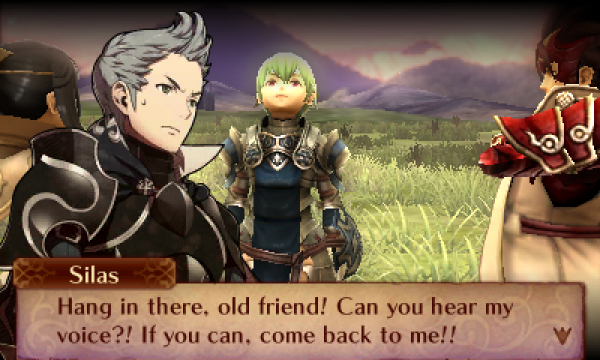
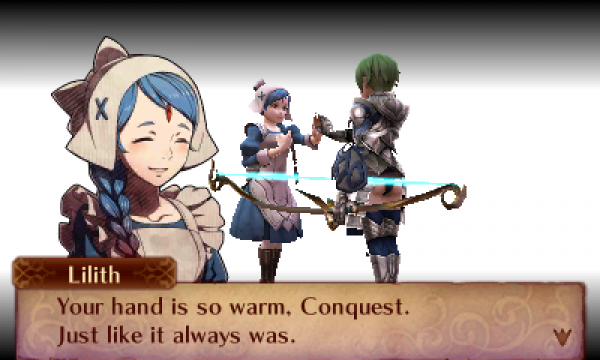
Just kidding, Corrin got shot a bunch and now she's on a near death spiritual journey. All the allies we deployed last chapter are here to cheer her on to bring her back from the brink. Surely "old friend" isn't what you'd call your wife...

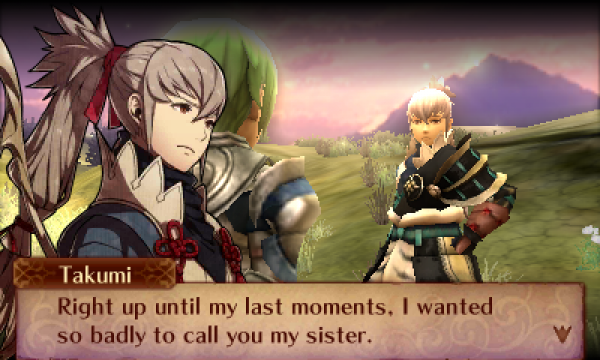
Turns out Takumi's effectively dead too, there's just a monster puppeting his body. Presumably the fall off of the great wall killed the last part of his true self. I can buy that in death Takumi can let go of his feelings of hatred towards Corrin and be willing to work with her for the greater good, but the rest of this scene is dumb. I had some more to say on the subject but beating the dead horse of Conquest's terrible plot isn't what this LP was made for so I'll leave it at that.
Now it's time to wake up and take the Fujin Yumi and remake Shadow Yato out of it. It looks way cooler, can I keep it?
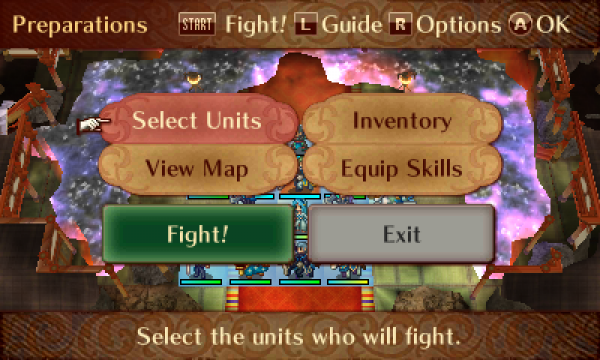
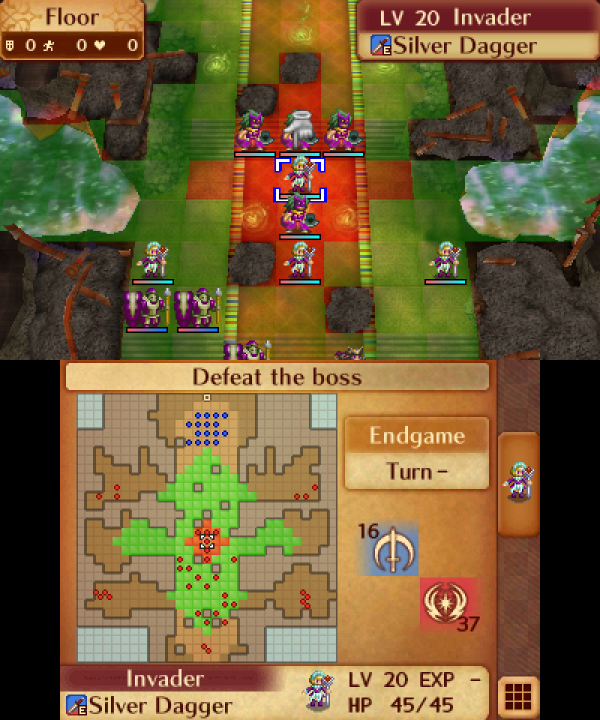
Alright! That's the plot out of the way. I said I wouldn't complain about that too much. What I will complain about is this last map: fuuuuuuuuuuuuuuuuuuuuuuuuuuuuuuck this map! It sucks! Why would you not put a save point before the most difficult challenge of the game??? I love Conquest for all of its flaws and I'm willing to defend some of its more contentious gameplay decisions, but this is just pointless frustration that ruins what might otherwise be a fun map. I can kind of understand not letting you save before final boss maps that consist of a battle against a single enemy, just to make fishing for lucky crits against a single opponent a less viable strategy, but this is a full map that throws many obstacles at you you will not not have seen before and cannot predict just by looking at the prep screen. Even on Hard mode this map is a nightmare.
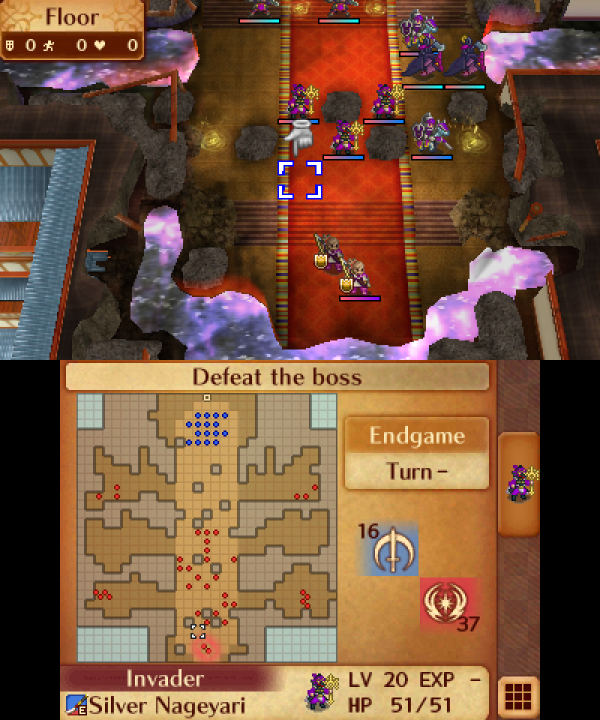
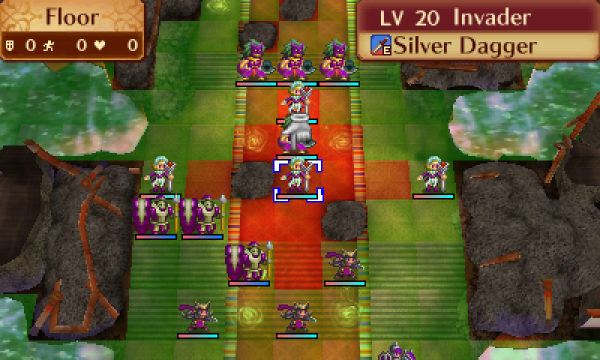
At least it's fairly short. This map is one long hallway with a boss you have to defeat at the end. Or well technically 2 bosses, but one is a replica of the other, it shares the same HP pool and stats as its clone. Various powerful enemies block the way, including some hiding in side paths with terrain that you cannot traverse but they can. The enemies themselves are all level 20 with some capped stats, but compared to what you've already been fighting they're not so bad. What is bad is the status staves, and I'll get to those.
The boss itself is Takumi, or at this point what is essentially Takumi's possessed corpse. He's a Sniper standing on normal terrain who doesn't move. In a vaccuum that's not very threatening, and even with his pair-up I'm pretty sure statwise he's the weakest boss of all 3 routes.
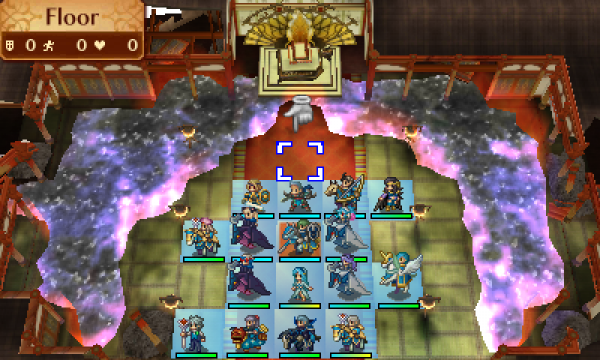
Rescue skipping or not, the goal of this chapter is to rush Takumi as soon as possible before you get overwhelmed by 5 flavours of hell. He might not be particularly imposing compared to the big scary dragons you fight in the other 2 routes, but he's got some skills to mess you up.
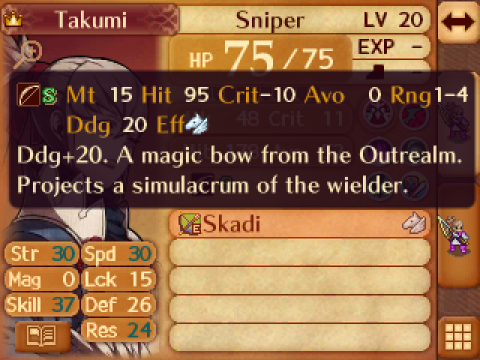

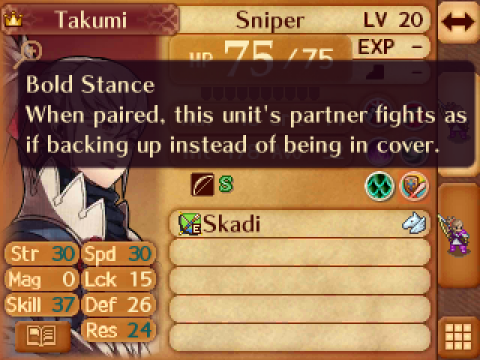
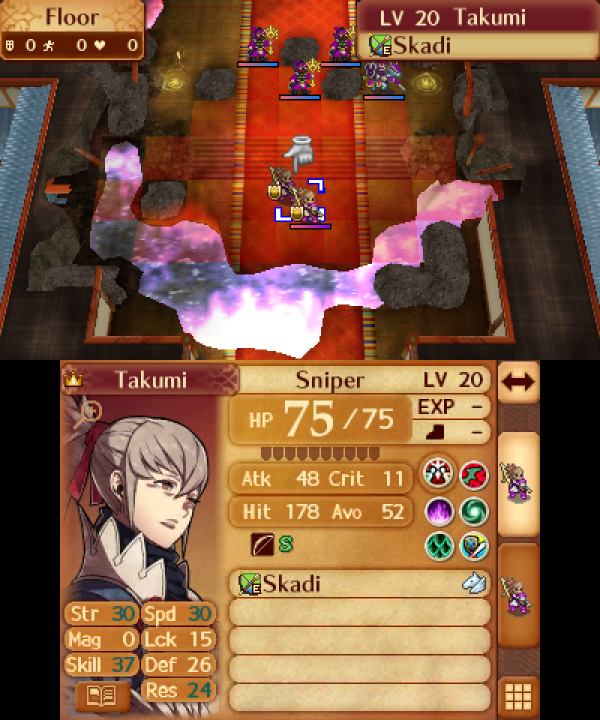
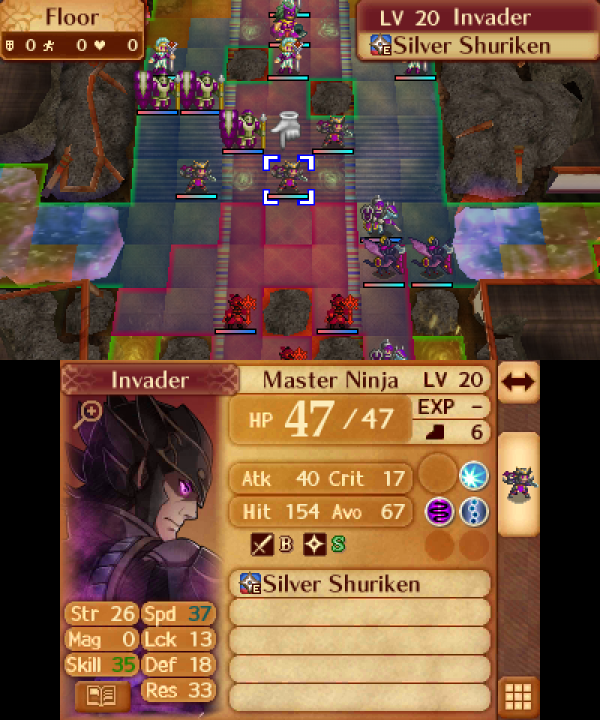
Skadi is a 1-4 range bow that Replicates the user, allowing Takumi to boost his own stats and benefit from both forms of pair-up thanks to his ability. This means he can dual attack and dual guard at the same time like in Awakening. What's even more annoying is that this also activates his personal skill, giving him extra damage and crit. Although in a rare example of mercy Skadi reduces his crit rate, effectively counteracting the crit bonus his skill gives him.
He's also got a few other skills. Dragonskin makes Corrin your best bet at defeating him. Vengeance makes him a lot more dangerous when on low HP. Draconic Hex makes him nerf his attacker, and Lifetaker exists to make throwing warm bodies at him to chip down his HP less of a viable strategy.
All easy strategies for this map involve using a variety of movement boosting methods to speed one attacker to Takumi and take him out in one round. This usually involves Corrin and the Shadow Yato, but other methods like Berserker Camilla, a magic-stacked Ophelia, or even Spendthrift Mozu can work too. The threshold for cleanly 1 rounding him with Corrin I believe is 76 effective might with the Shadow Yato, but with less they can still hope for a crit or skill activation to make up the difference.
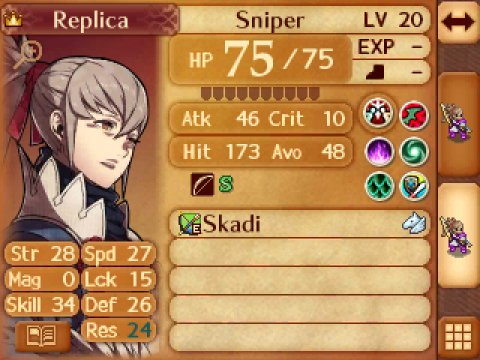
These are Taco's "real" stats without boosts, although the map ends when one of his clones dies so in practice they're meaningless. All of his non-defensive stats are lower here than they were in Chapter 23.
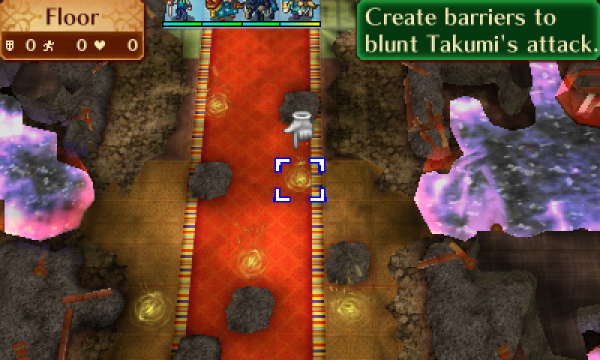
Oh and every 2 turns (as opposed to 3 on lower difficulties), Takumi will blast your entire army for approximately 50% of their max HP in damage unless they're hiding behind walls created by these dragon veins. These attacks are non-lethal but they do make survival even harder, and the walls that block them will also block your movement and are destroyed with each attack. I don't know why they thought this was necessary on top of everything else.
Enfeeble! Staff Savant! Inevitable End! This map is already fast paced enough that getting -4 in each stat is deadly, but what if that staff had 3 more range? What if getting hit twice gave you -8? What if it never ran out of uses??? What if there were 5 of these assholes and between them were guys with Freeze and Hexing Rods? What if you pretended the game ended after Chapter 27 and turned your 3DS off.
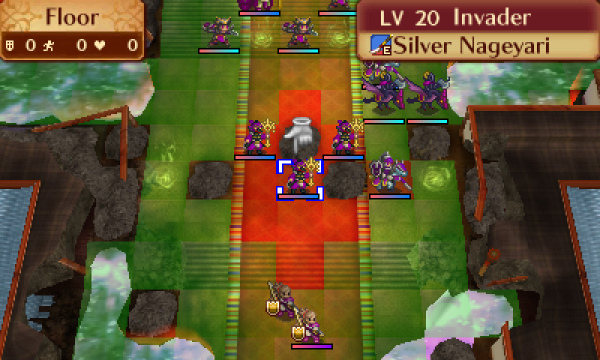
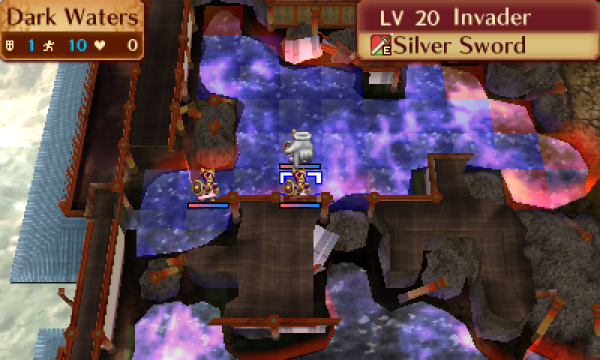
This is the range of staff users in this map. If you get hit by one of them you are likely getting hit by a load, and if you're Enfeebled enough then you are basically dead for the rest of the map. This is what the Silence staff in Chapter 25 is for. And even then you've only got 1...
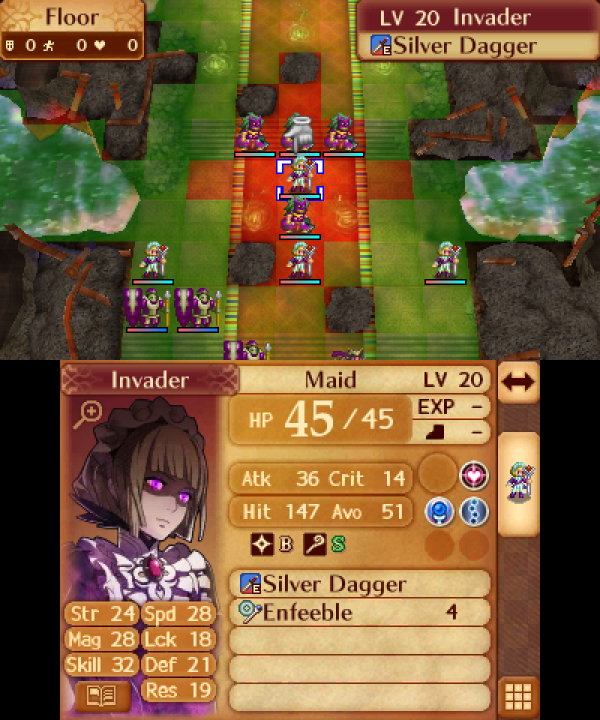
This Maid in between 3 Enfeeble users has Freeze, and some staff users behind her also overlap her range. Take her out and you don't have to worry about getting frozen by any other enemy, but good luck actually getting to her.
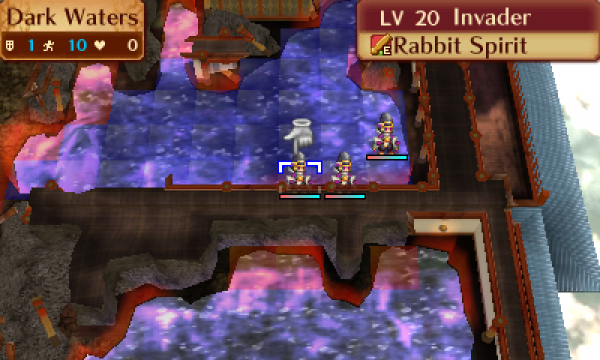
This happy fellow also has a Hexing Rod, and his two pals ahead of him have Enfeeble too. The Maids ahead of them are just off screen, but they are close and their ranges do overlap.

This is how far their range extends. Taking out all 4 Maids will require you to put multiple units in Enfeeble and Hex range. I'm sure doing this is possible without any staves of your own, but good luck figuring that out when every death sets you back 10-15 minutes!!!
Oh and these guys have Inevitable End too. Why would they not?
Hiding in the wings are more enemies who will advance on you as you progress. From turn 4 and onwards, infinite Faceless reinforcements will also spawn from the sides with Counter, Inevitable End, and the unique Self-Destruct which causes them to explode and deal heavy damage to you if you don't defeat them after they attack, also destroying any nearby barriers. The purpose of these guys is to force you to play fast and not turtle - I don't think the developers actually intended you to be fighting them.
As for how the developers intended you to do the rest of this map, uhh... Well search "Conquest Endgame 1 turn" on Youtube. Or 2 turns if you only have the one Rescue staff.
Like I said before, at least the map itself is short! With the power of map saves I will try my best to come up with a solution that does not involve skipping the entire map with a solution I found online, but if push comes to shove I will do just that. This map sucks complete ass and is a sour note on a game I otherwise genuinely like, I almost wish I could just not play it and end the thread here so "Conquest is bad" wouldn't be everyone's takeaway from this LP. Alas...
Just like chapters 25 and 26, I'm splitting this into two different updates. I'll see you on the other side...