Part 5: Chapter 1, Part 4: Ram Valley
Before we get started, we have some unfinished business from last chapter.

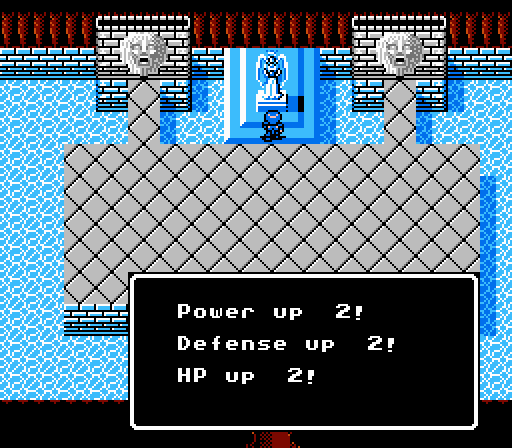
Cliff gets a solid boost to Skill and Speed from his promotion.
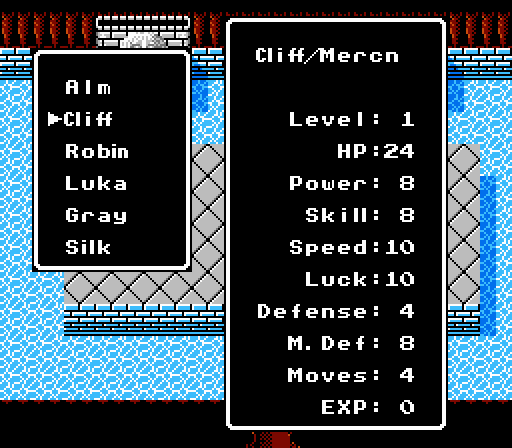
He's already sporting a base 9% crit rate now, though Power and Defense still need a little help.

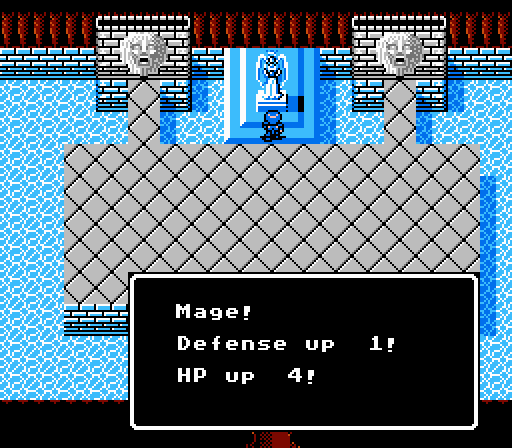
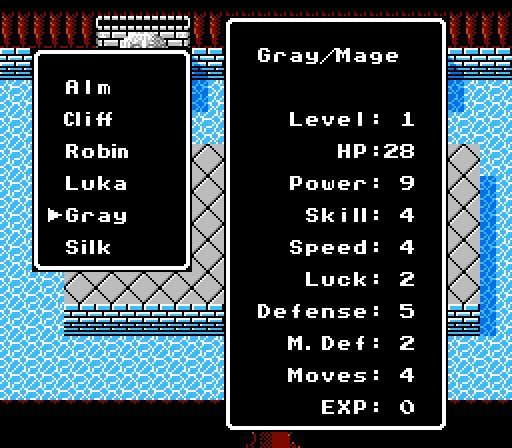
Gray doesn't get as much help, but does get more HP to fuel his magic.
Not quite as impressive, now.
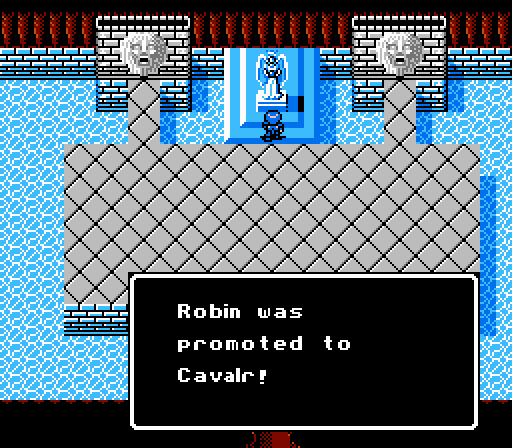
Robin gets a much-needed power-up from his promotion.

He also gets a +3 to Moves, the main perk for choosing the Cavalier path.

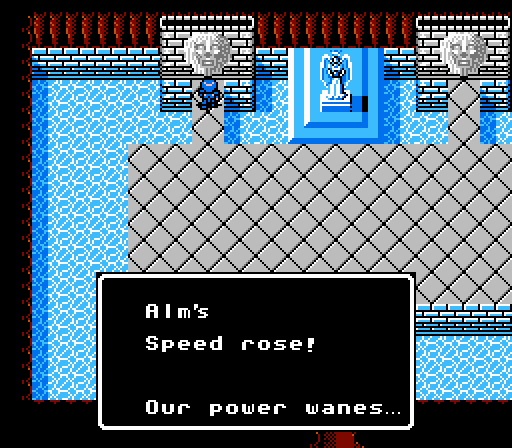
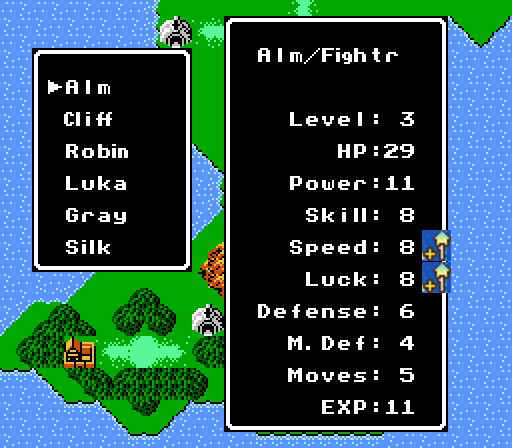
Silk, Cliff, and Alm also all get a point of Speed from the shrine, which then de-activates.
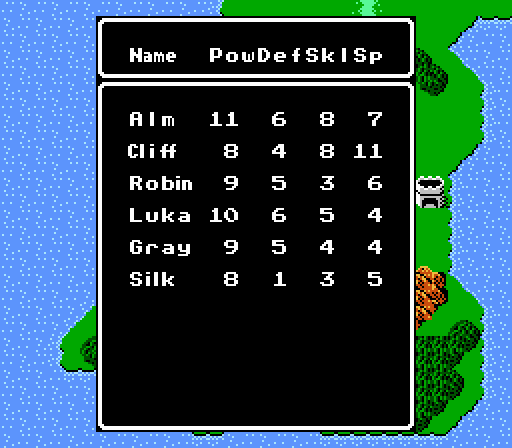
Cliff's got a solid lead in Speed, though Alm and Luka will still be the main front-liners for now. The once-villagers also all had their Level reset to 1, giving more room for growth as the game progresses.
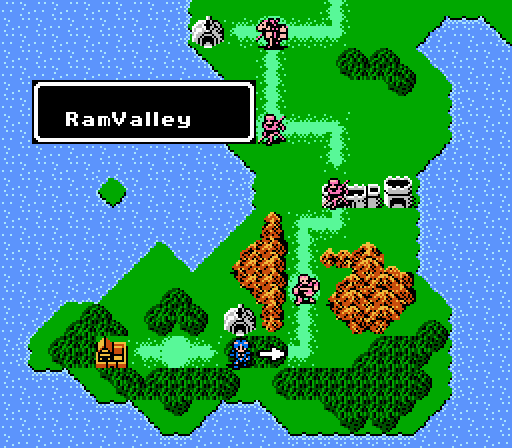
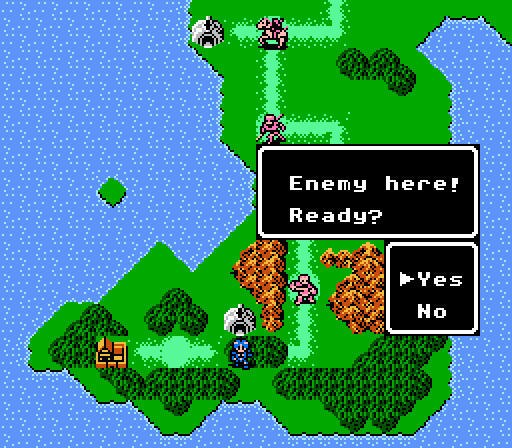
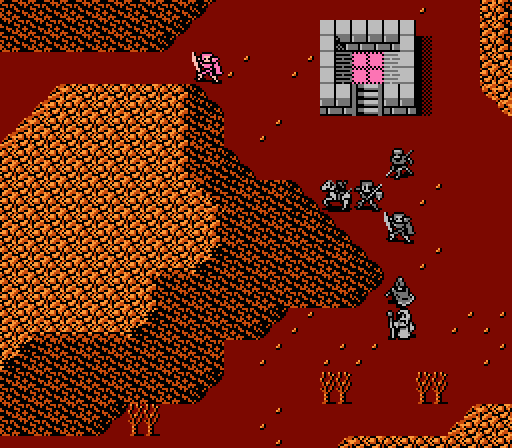
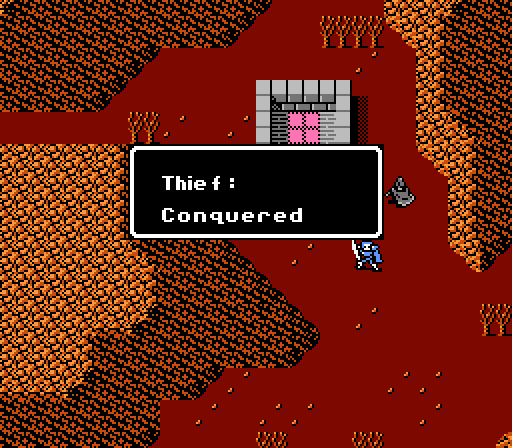
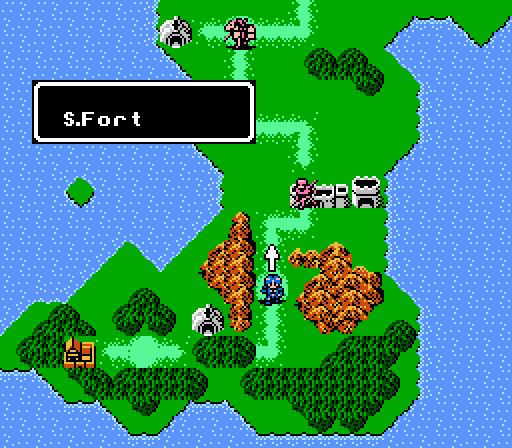
We leave the Thief Shrine to find ourselves back at the world map. No need to go backwards, so we head for the next battle.
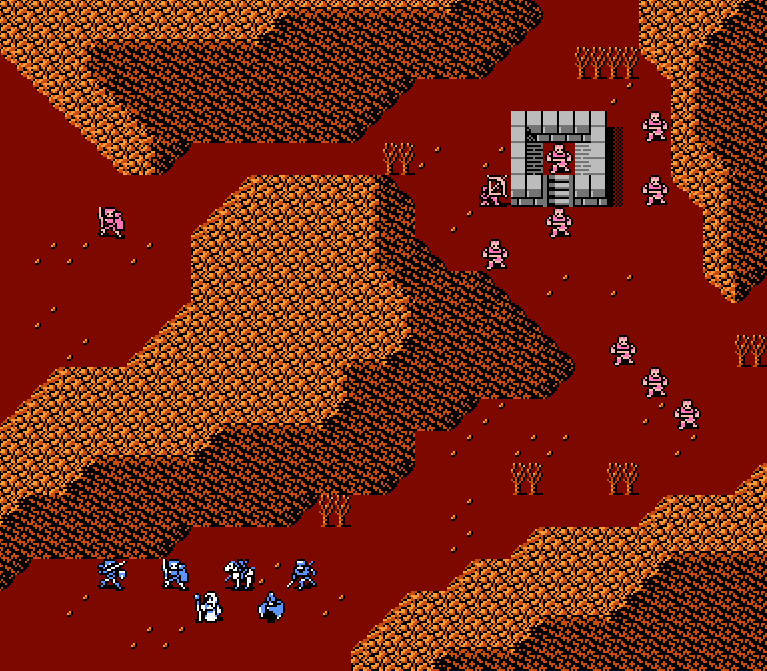
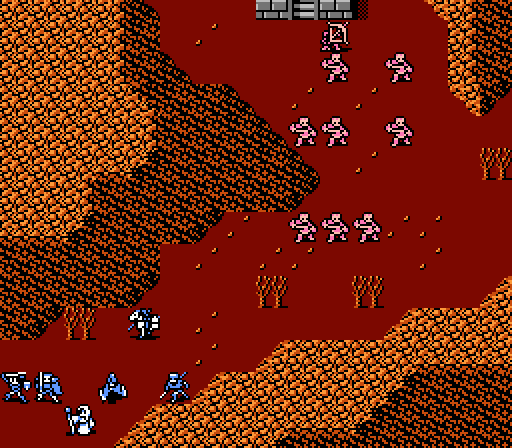
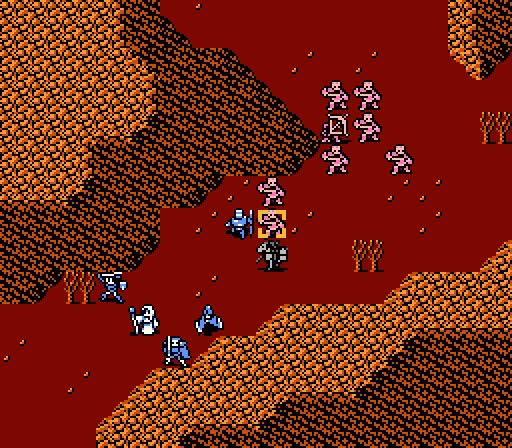
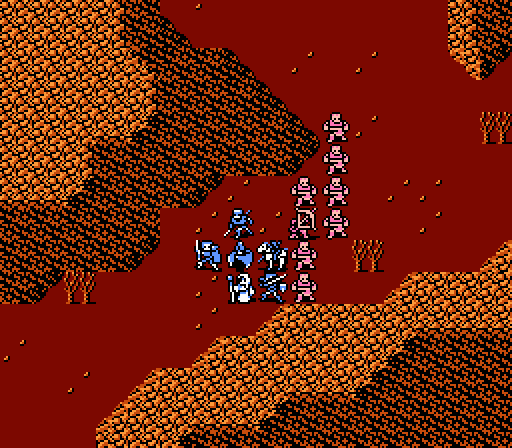
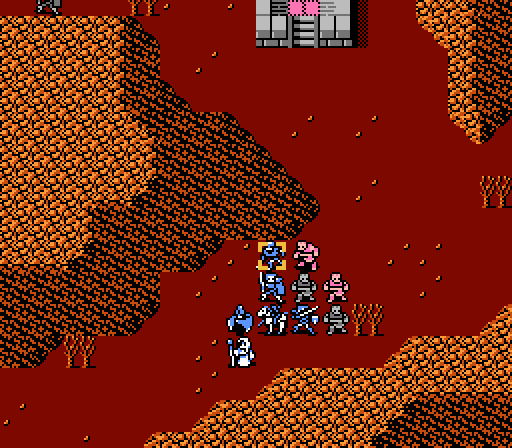
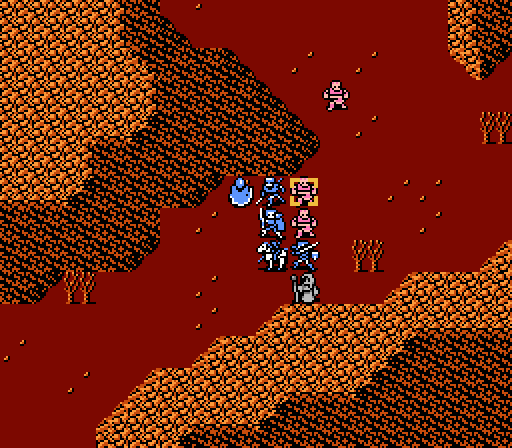
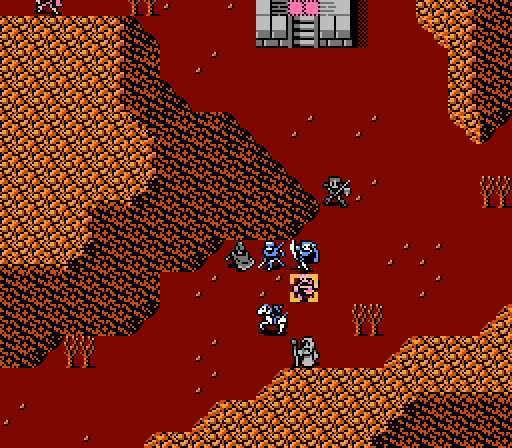
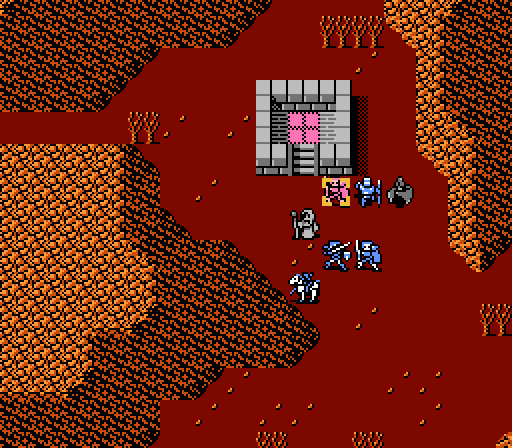
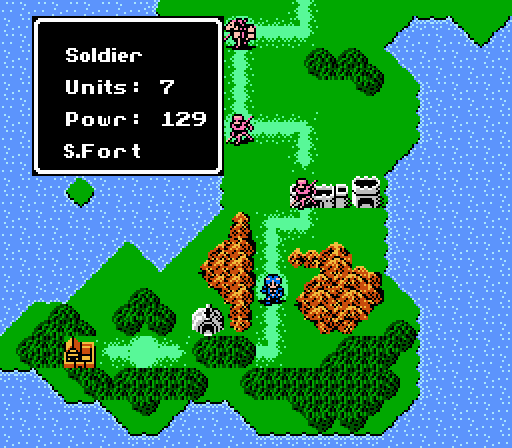
Oh good, more thieves. And another archer. And....a mercenary.
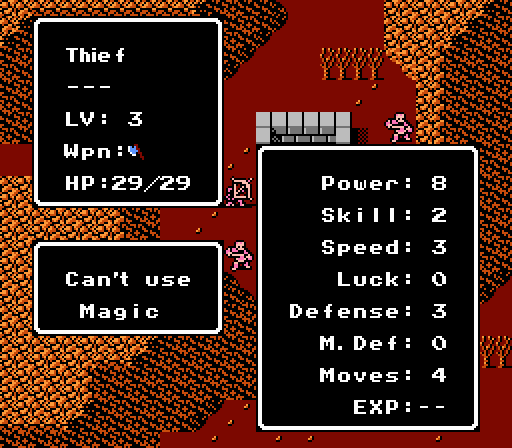
Most of the thieves are the same garbage we've been fighting all game so far, but the one inside the fort is marginally stronger.
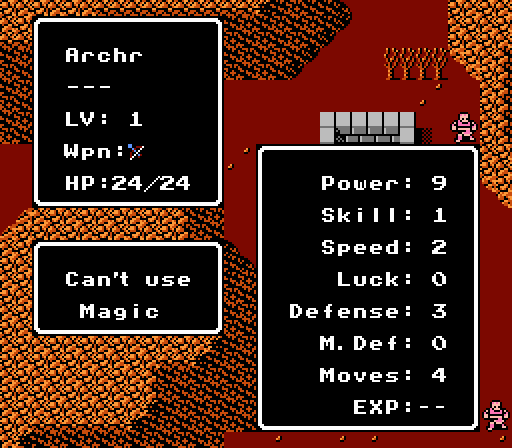
The archer isn't too tough, either. 9 Power could hurt a couple of our units, but his Speed is too low to get in two attacks.
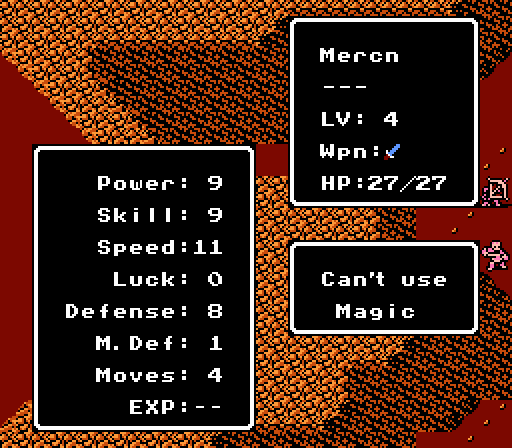
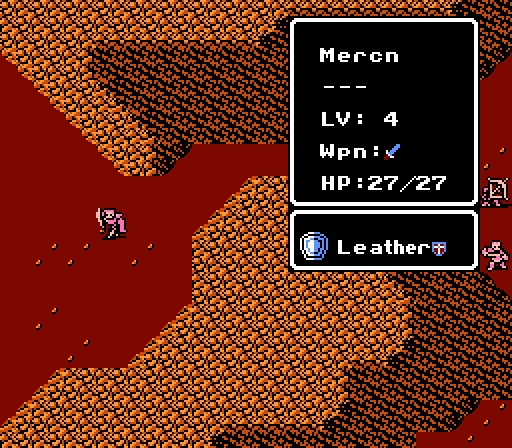
The mercenary here is another matter. It can double-attack everyone in our army except for Cliff, with enough Power to really hurt and a non-trivial 4% crit rate. And the 8 Defense will make it difficult for our physical units to damage him - Alm can manage three damage, Luka two, Robin one, and Cliff none at all. The Defense is getting a boost from the Leather Shield - an item that gives a +3 to Defense while held. His weakness is the single point of Magic Defense - good thing we brought a mage.
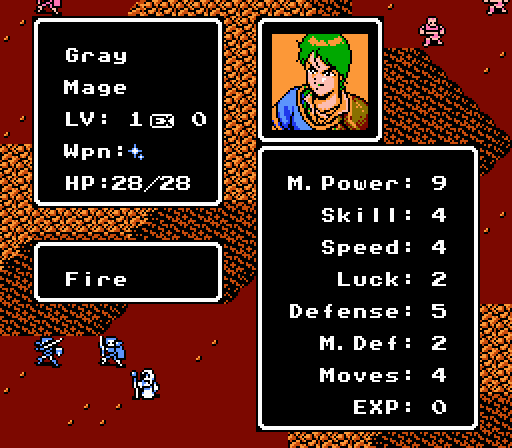
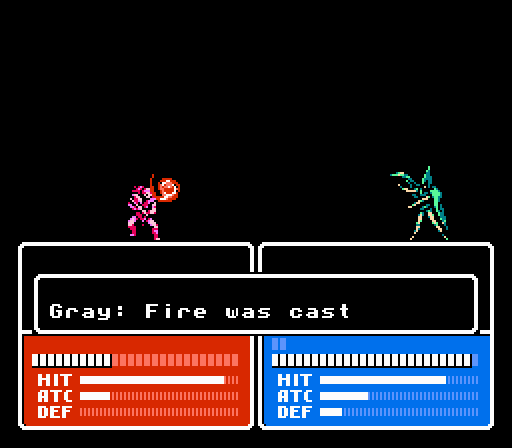
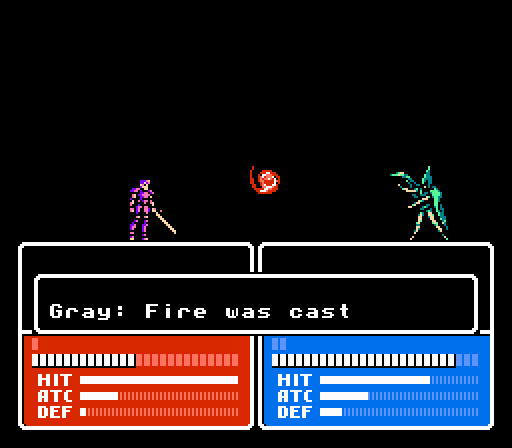
Gray only knows one spell at the moment. Fire has 3 Might with 80% accuracy, a 1-2 tile range, and a rather high 3 Weight all for just a 1 HP cost. Combined with Gray's current 9 Power, he can dish out 12 magic damage (mitigated by Magic Defense, of course) but he's only going to hit once.
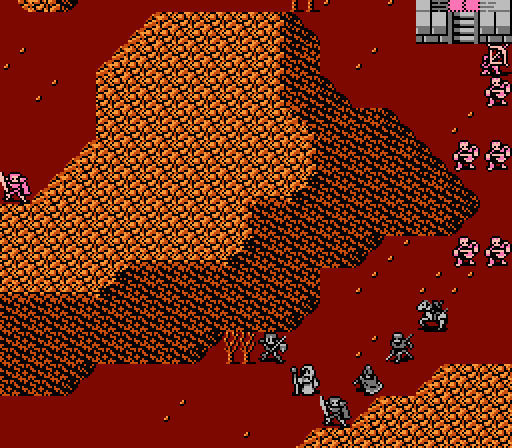
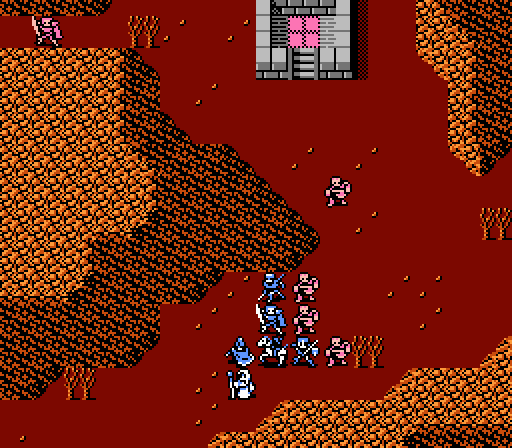
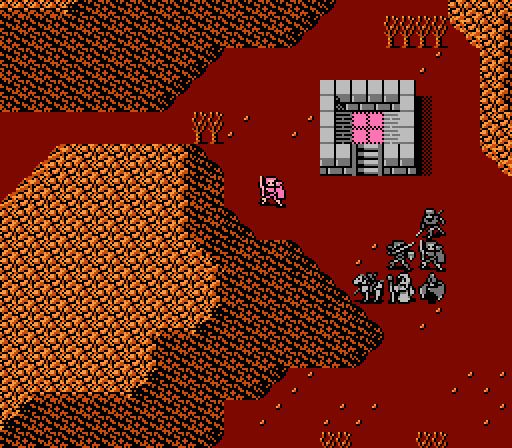
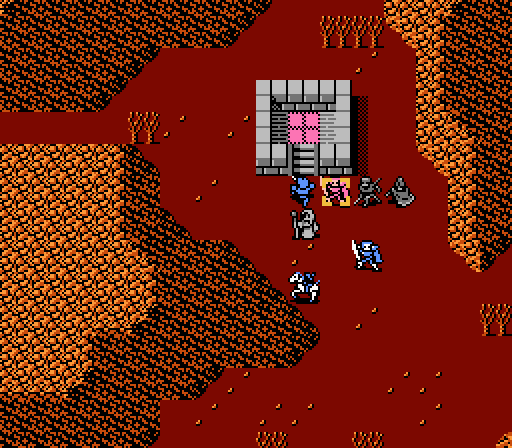
Turn 1
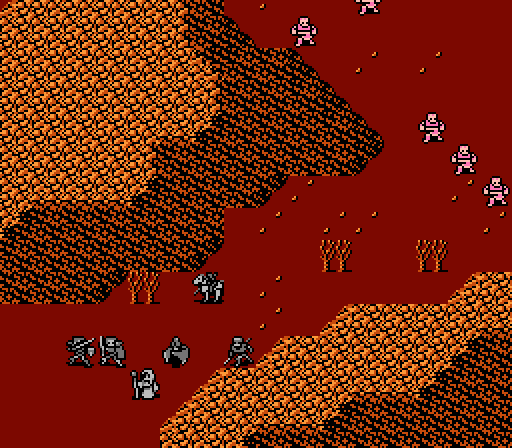
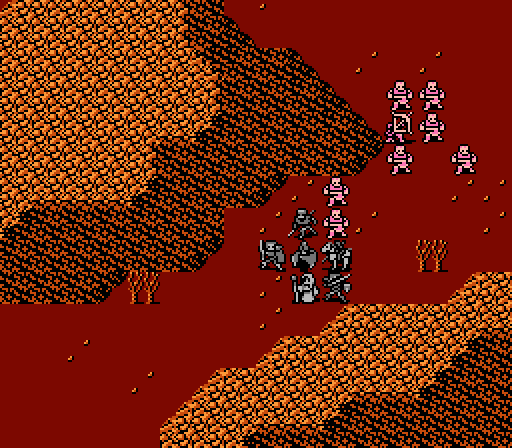
We start off kind of far from the action, so not much happens right away.
The enemies likewise advance.
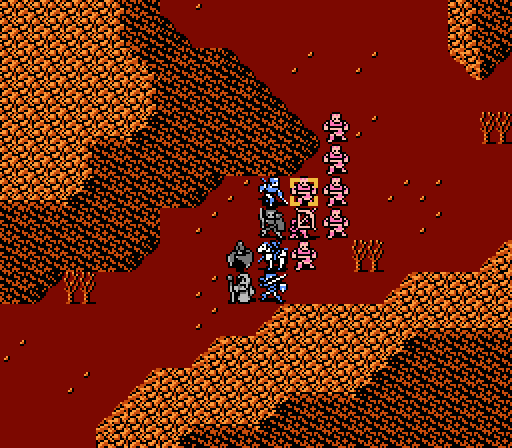
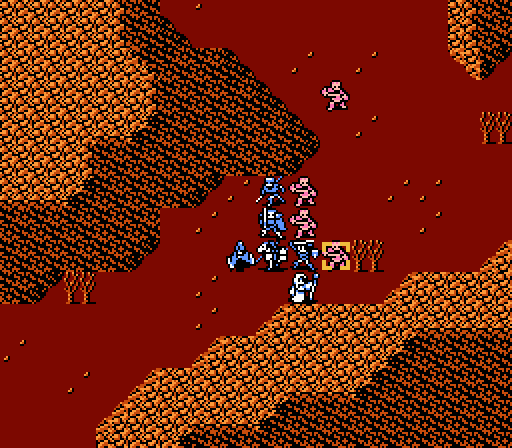
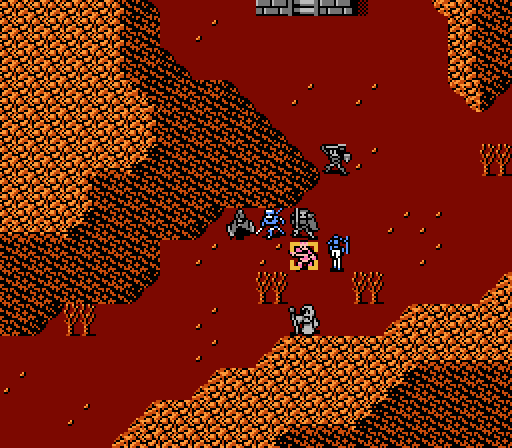
Turn 2
Robin parks himself in a tree to draw in and more easily dodge the incoming thieves. Because that makes sense.
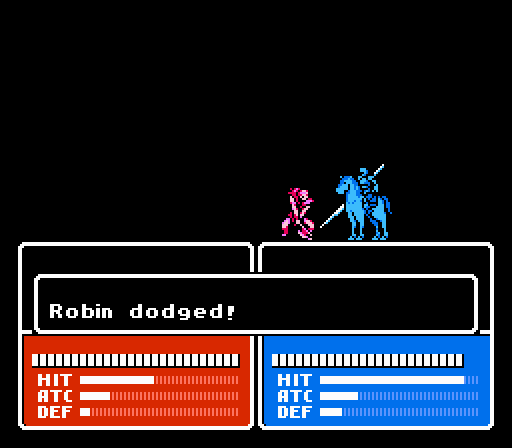
The plan works out, as Robin dodges both thieves and counters for 14 damage on each.
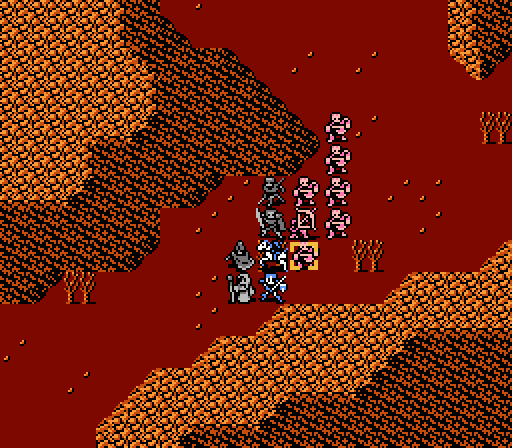
Turn 3
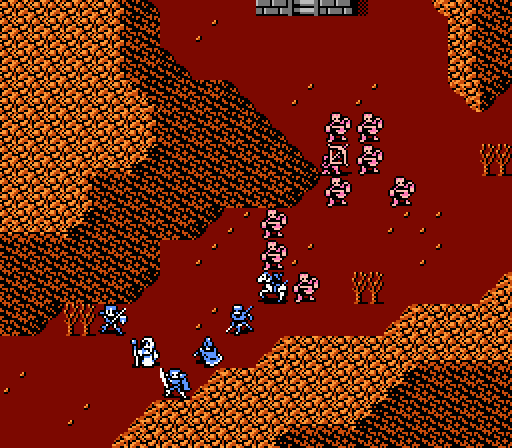
Fortunately the enemy mercenary is still well back from the others, giving us time to deal with the scrubs first.
_-_Chapter_1_Part_4_Battle_1.gif)
Robin starts off by killing one of the nearby thieves. Still no answer to why the horse is white on the map but blue in battle.
Luka tries to kill the other, but misses one of his attacks. That's okay, 'cause we can just have Gray follow up.
_-_Chapter_1_Part_4_Battle_2.gif)
...Or not. Gray's not going to be the most accurate of mages.
Alm and Silk fill in behind.

Horses are good at hiding in trees, didn't you know?
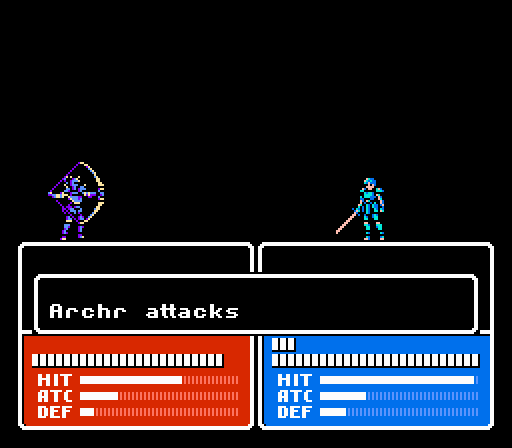
The archer makes his presence known, but Alm shrugs it off - only 3 damage.
The thief scratches Alm as well, but nothing to worry about yet. Alm counters for 18 damage.
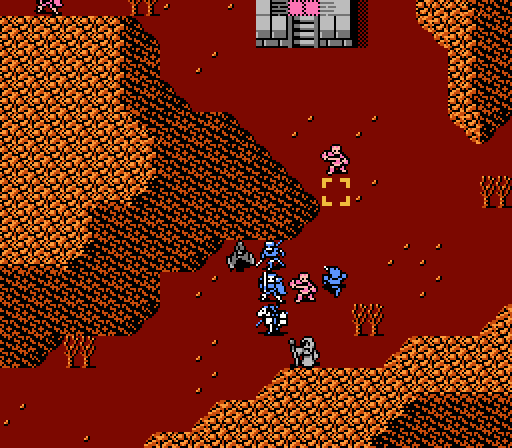
Turn 4
The battle is joined! We want to take care of this crew before the enemy mercenary catches up to us.
_-_Chapter_1_Part_4_Battle_3.gif)
Silk joins in and grabs a kill thanks to that extra point of Speed we gave her. (Without it, she wouldn't have gotten the second attack.)
_-_Chapter_1_Part_4_Battle_4.gif)
Gray earns some redemption by roasting another thief, though he can't get the kill himself.
_-_Chapter_1_Part_4_Battle_5.gif)
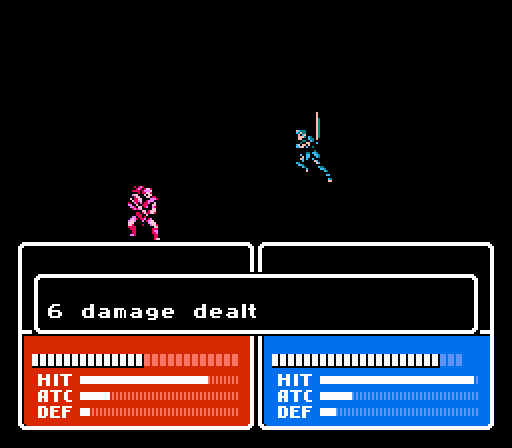
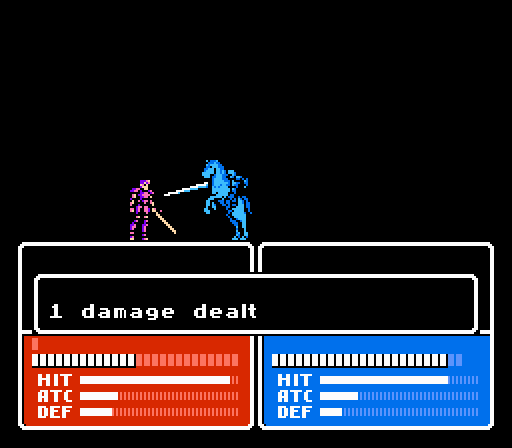
Cliff sees his first action against the archer, but can't muster much damage.
Luka takes a shot at one thief, while Robin finishes off his target.
_-_Chapter_1_Part_4_Battle_6.gif)
And Alm ends the turn by getting rid of the archer.
_-_Chapter_1_Part_4_Battle_7.gif)
On the enemy phase, Cliff makes this thief pay for attacking him, landing a timely critical.
Counter-killing one thief just open up the space for another to come in. Cliff flies in again but doesn't crit this time, settling for 'just' 12 damage instead.
Another thief tries for Alm, with as little success as before. Alm gets in another 18 damage of his own.
The last thief takes a shot at Luka for 1 damage. Luka counters for 16 damage.
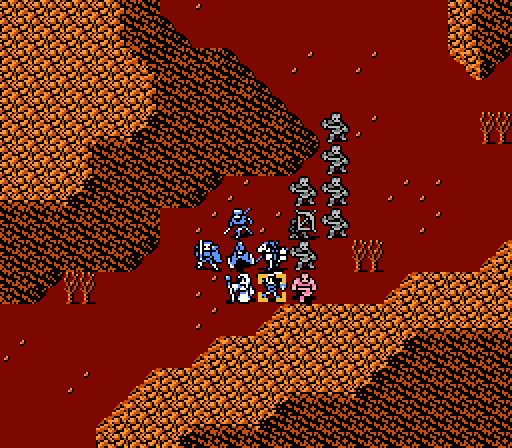
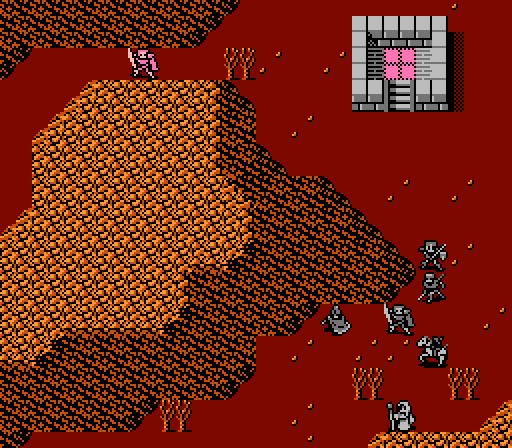
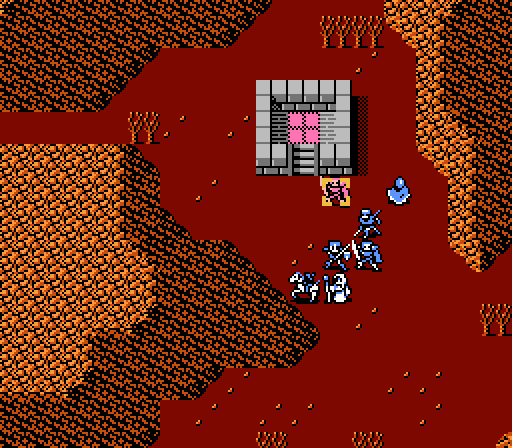
Turn 5
Only a few thieves left. The mercenary is slowly creeping up on us.
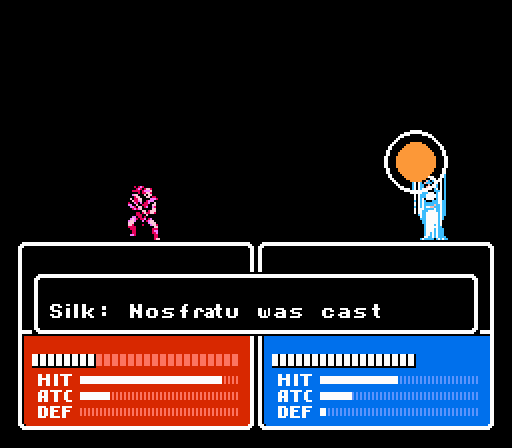
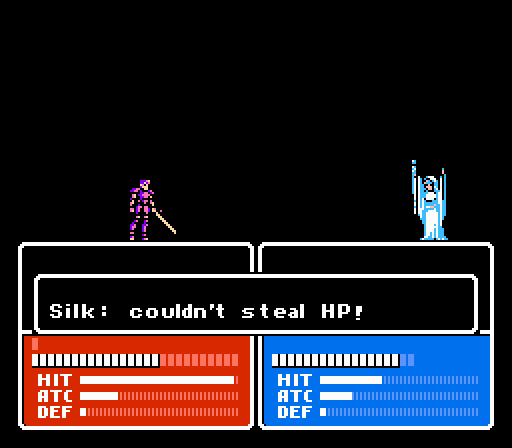
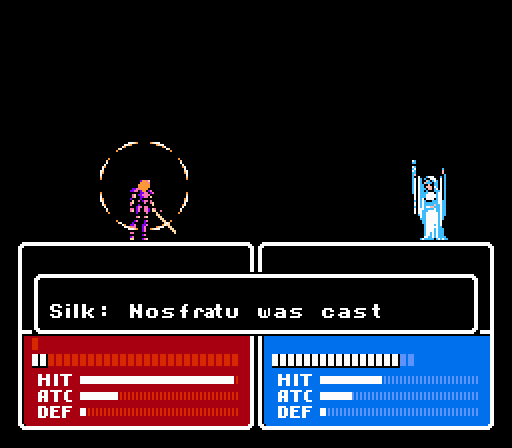
Silk starts off landing another drain to kill off one thief.
Gray lands another fireball to turn this thief to cinders.
Alm tracks down and eliminates the runaway.
Finally, we get some Speed the natural way.
Cliff and Robin combine to take out the final thief.
Last man standing.
Turn 6
Music: Battle - Healing
_-_Chapter_1_Part_4_Battle_8.gif)
Silk patches up Cliff on the way.
Just a little closer....
Turn 7
And the trap is set. Also Silk heals up Alm this time.
Turn 8

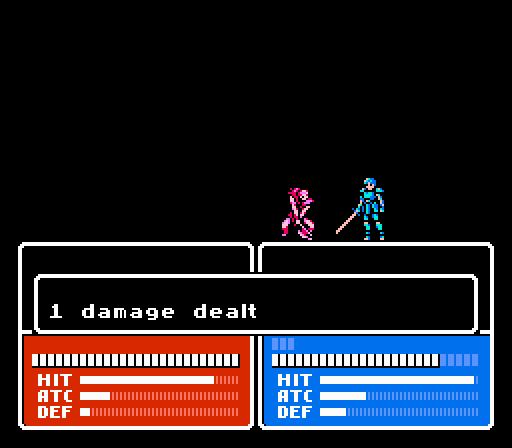
The mercenary is now in range of everyone, so Gray starts things off with an 11 damage fireball.
Silk tries to help out, but misses.
Luka and Alm combine for just 5 damage thanks to that Leather Shield, and each of them eat a double-attack.

This single point of damage is actually rather important. It brings the mercenary down to 13/27 HP - less than half of his maximum. That puts his AI into 'retreat' mode, so that even though a counter-attack wouldn't kill him, and even though he can't actually move anywhere, and even though he could actually kill Robin with a crit - he won't attack on the enemy phase at all.
Turn 9
Gray lands another fireball, bringing the mercenary to the brink of death.
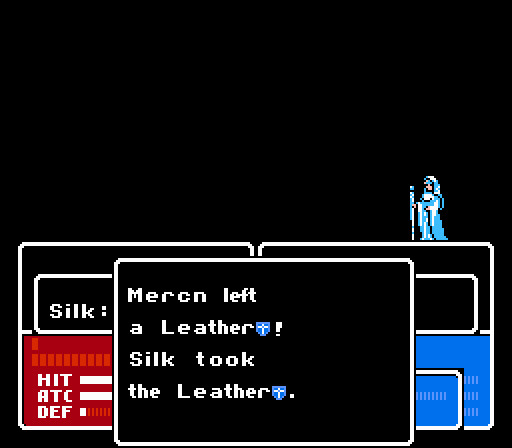
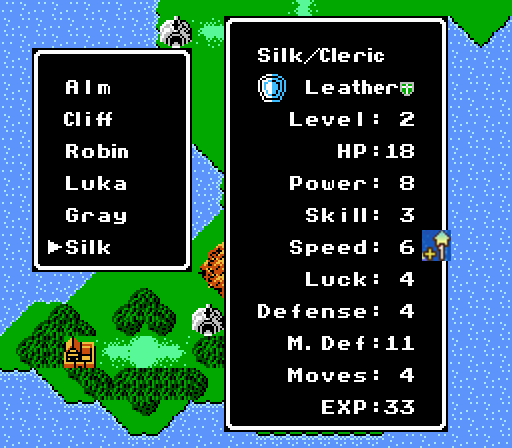
Silk manages to land the killing blow, picking up the Leather Shield in the process. Anyone in our army could use this, but Silk is probably the most in need with only a single point in Defense currently.
She also gets one of the more useful single-stat levels.

Another battle down, and our shiny new units got to strut their stuff. We even got a Defense-boosting item out of it! If you want someone other than Silk to hold onto it, make your voices heard.
Current Roster:

Next time:
Rebel soldiers have control of the fort and stand between us and the liberation camp; let's do something about that.