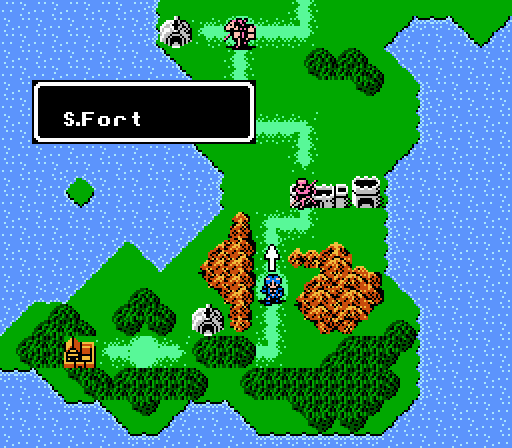
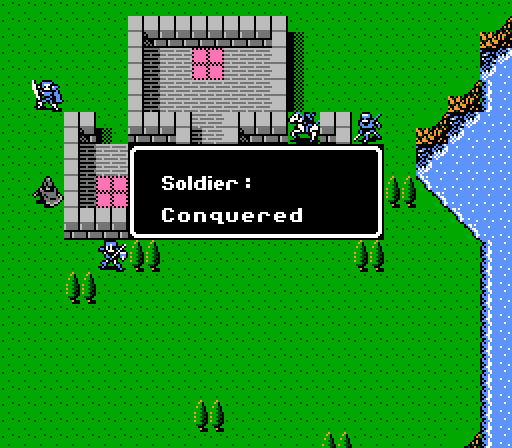
Part 6: Chapter 1, Part 5: Southern Fort
Today, we're finally done with thieves as we encounter General Dozer's forces for the first time.
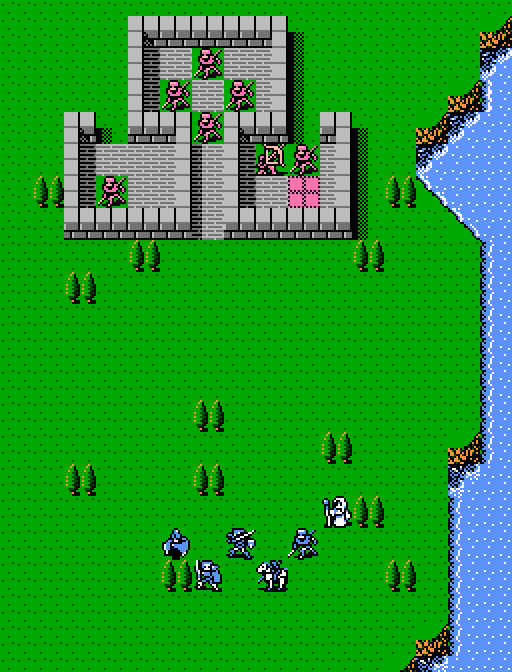
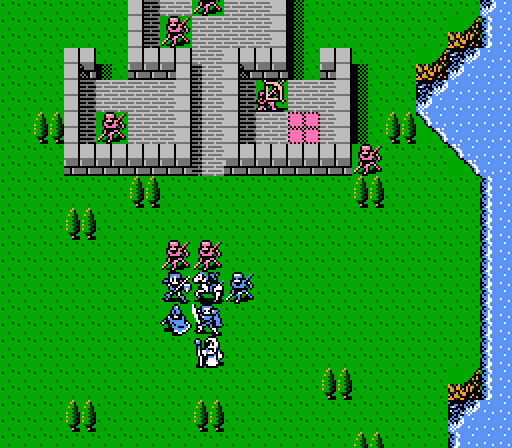
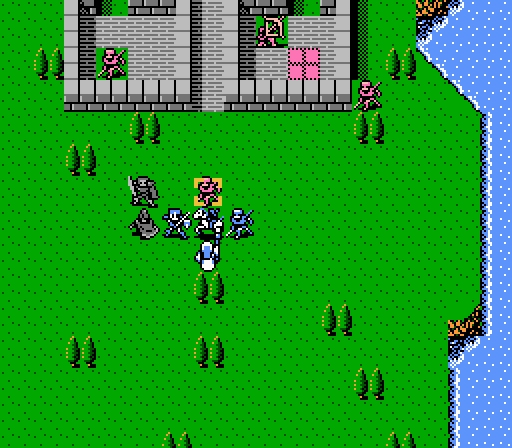
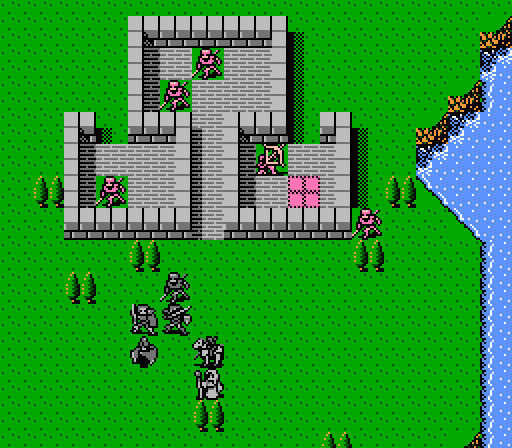
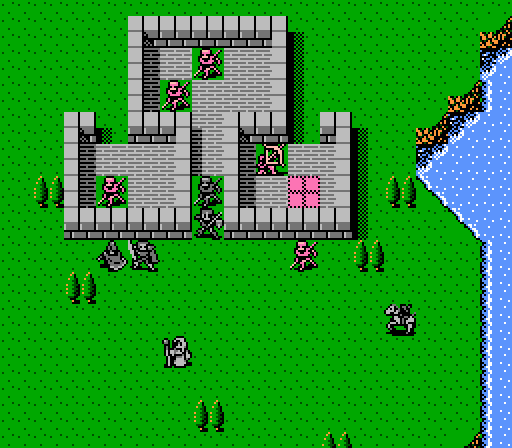
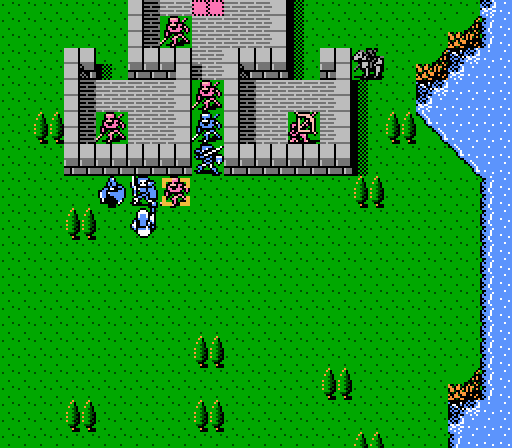
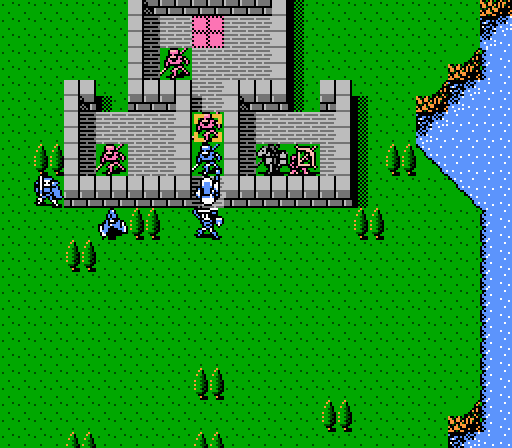
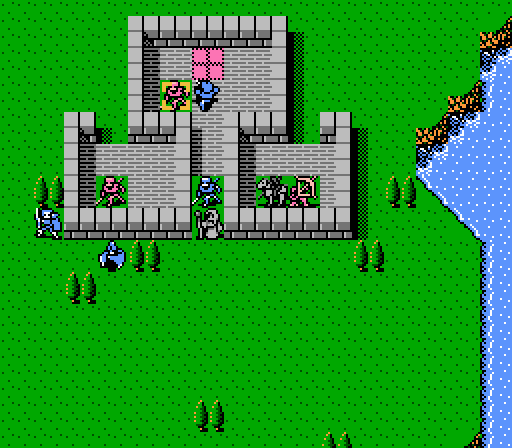
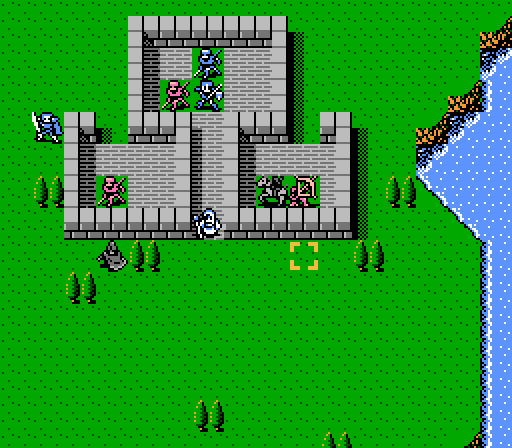
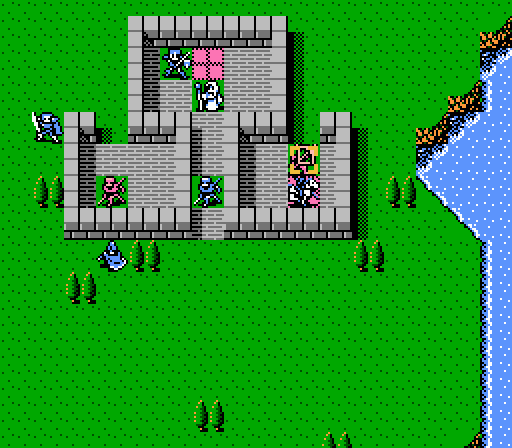
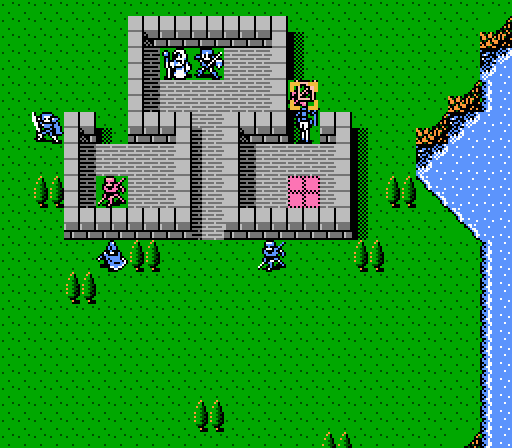
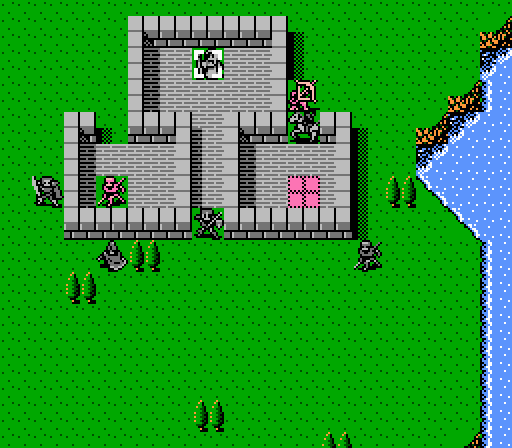
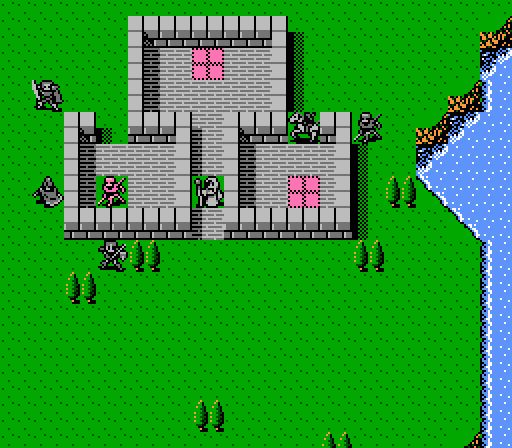
A small map, but the first real difficulty of the game. That archer hidden away in the fort is going to cause us no end of trouble. There is a recovery tile in each compartment, though two are hidden beneath enemy soldiers at the moment.
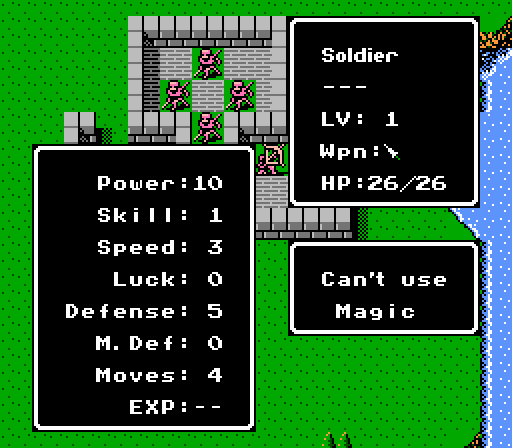
The six soldiers are a significant upgrade over the thieves we've faced so far. That 10 Power will hurt all of our units, and they have enough Defense and HP to be a pain to kill as well. The only upside is their Speed is too low to double-attack most of our units.
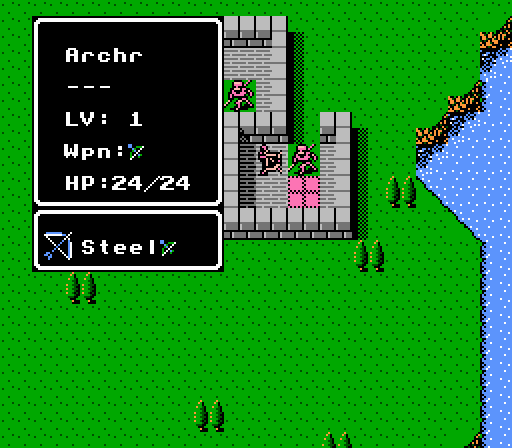
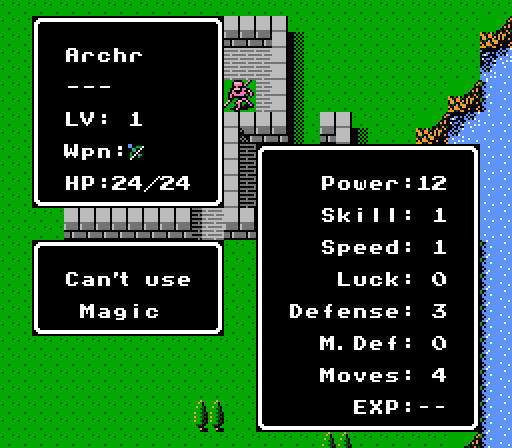
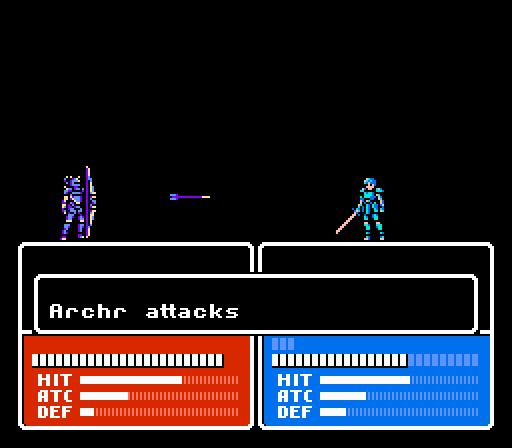
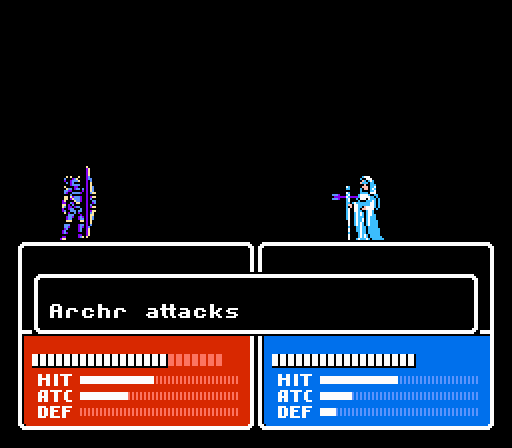
There are a few problems with the archer. The first is that he's difficult to reach. Then, as soon as we approach, he'll hide on the recovery tile for free healing and a massive dodge boost. And if that weren't enough, the Steel Bow he's wielding not only has +3 Might (included in the archer's displayed 12 Power) but has an extra two range (1-5 tiles). The upside? It has the same 70% accuracy as the basic bow, and its 1 Weight will bring the archer's attack speed down to zero.
Turn 1
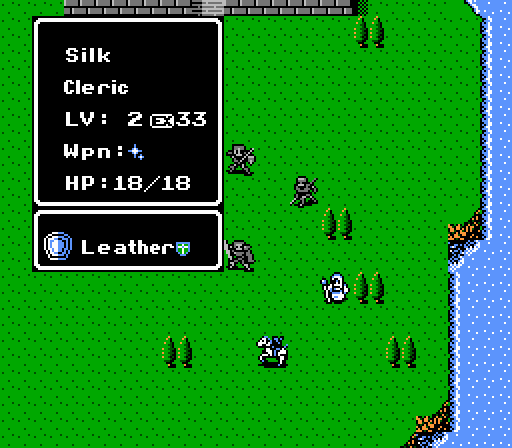
Silk has the Leather Shield, bringing her terrible base 1 Defense up to a slightly more respectable 4 points.
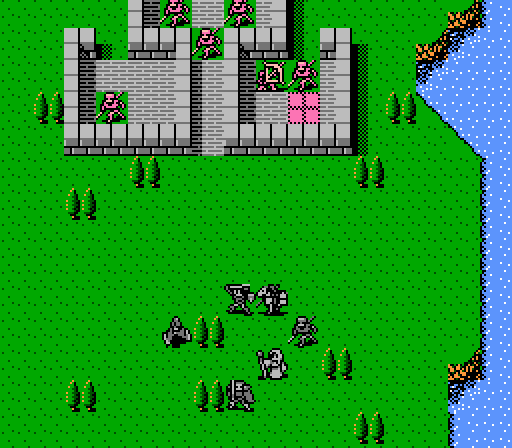
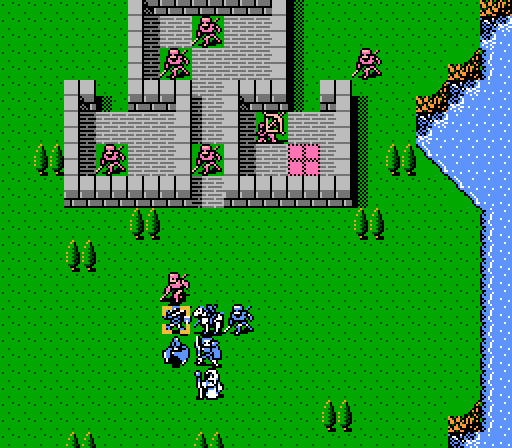
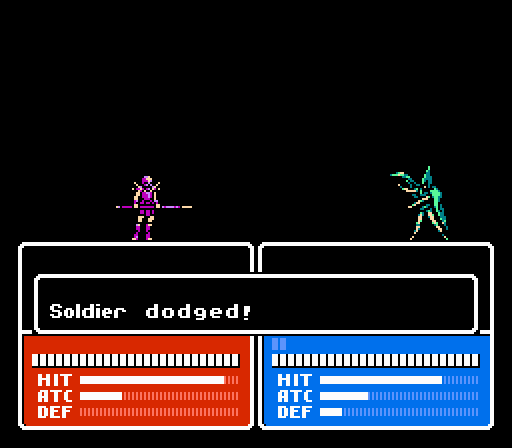
The archer casts a rather large shadow. We set up just outside of his range, as about half of the soldiers leave the safety of the fort to rush out to meet us.
Turn 2
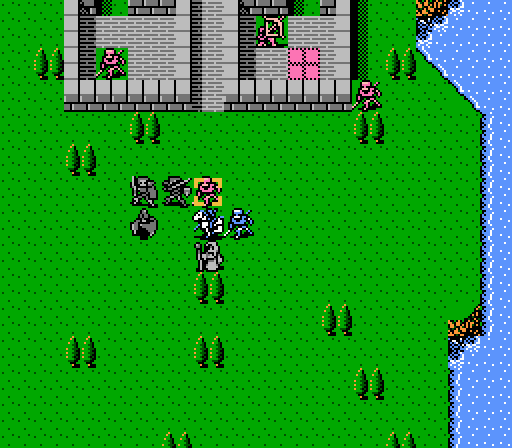
Preparing for the first couple soldiers to rush us.
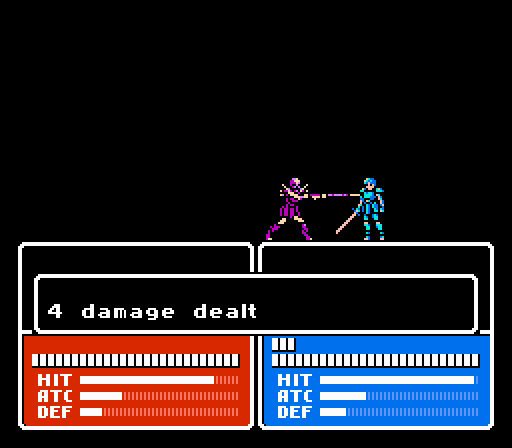
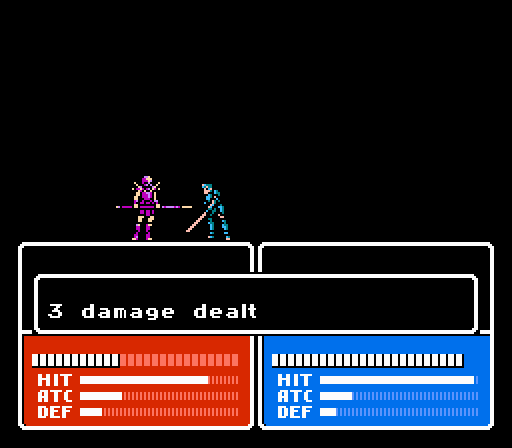
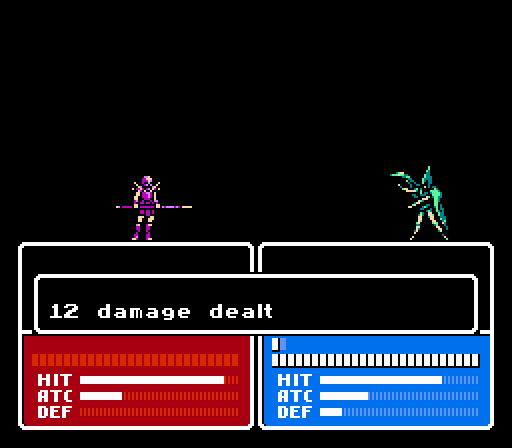
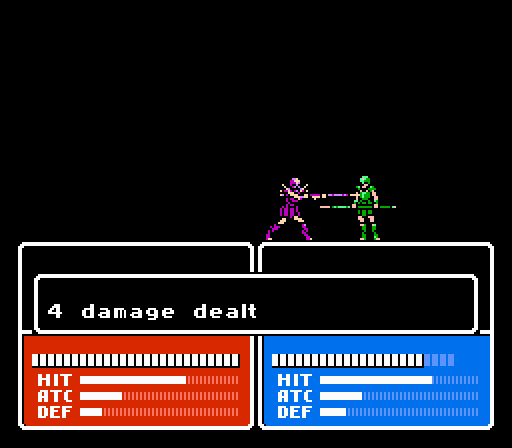
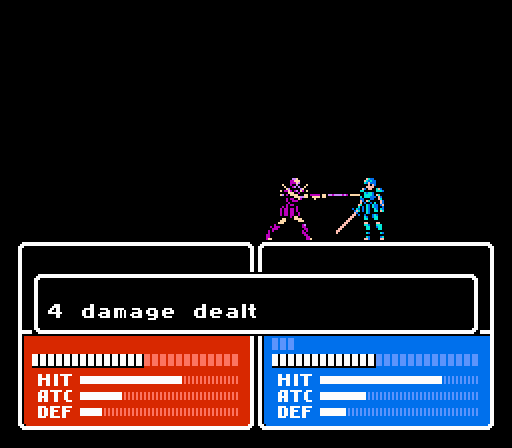
Alm holds up pretty well, taking 4 damage but countering for 12 himself.
Robin is almost as sturdy but only counters for 8 damage.
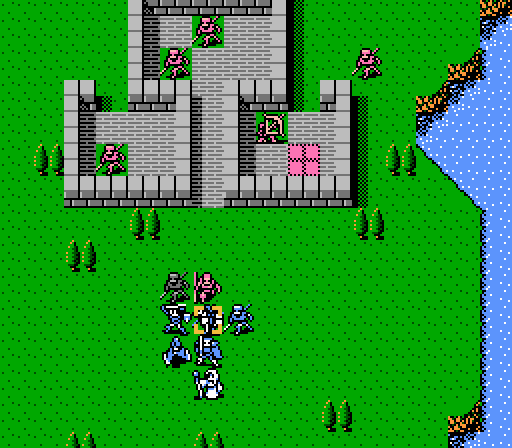
Turn 3
Right, time to strike back. While still avoiding the archer for now.
Cliff is still struggling a bit - he gets in two attacks for 6 damage, but takes 6 damage in return.
Gray cleans up.

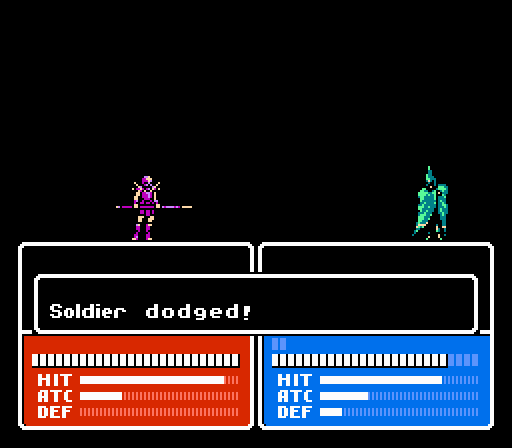
Silk tries to get started on the other soldier, but misses twice.

Alm and Robin combine to get rid of it instead.
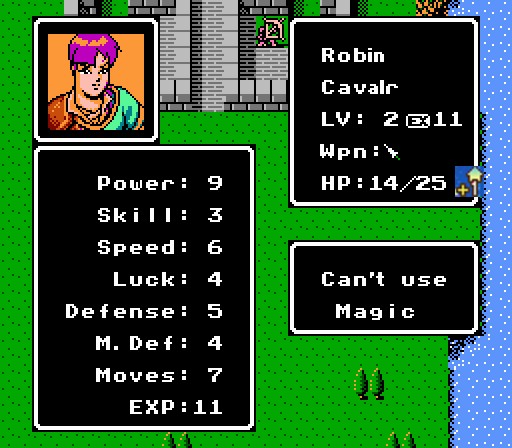
Robin's first level as a Cavalier leaves a lot to be desired.
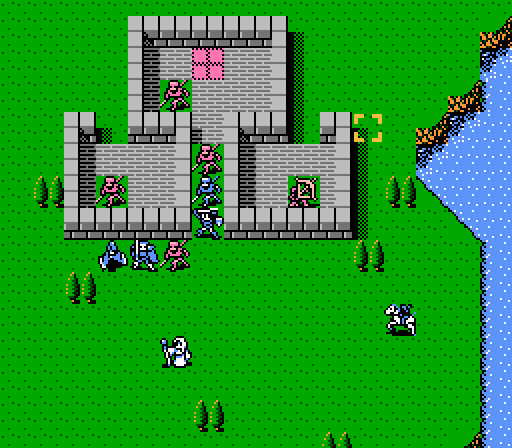
One more soldier is coming for us, but we'll have to dig out the rest ourselves.
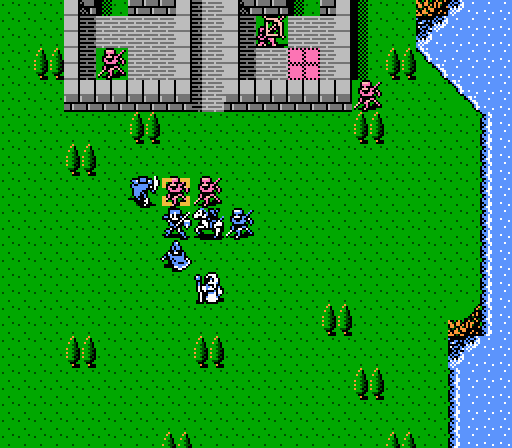
Turn 4
Gray starts off trying to handle one of the hiding soldiers, but misses an 80% chance.
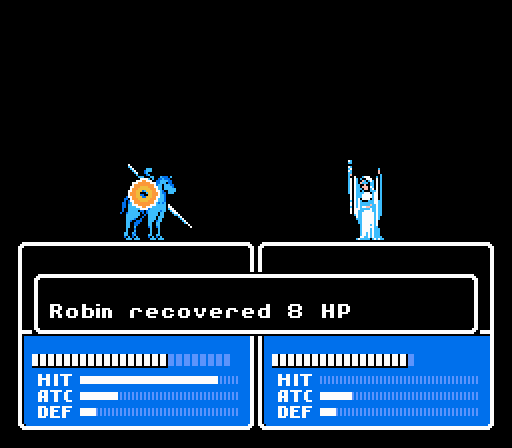
Robin's taken a few hits so he gets patched up a bit.
Alm and Luka are best-suited to taking hits right now so they charge right up the middle, while Robin heads around to try and take care of the archer. Meanwhile Cliff is going to give Gray some backup with the southwest soldier.
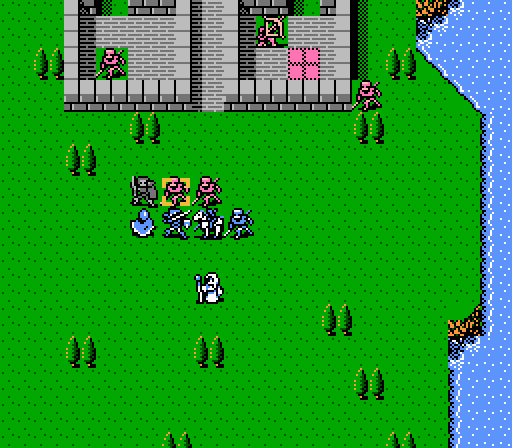
Luka tanks the center well enough, but somehow misses both of his attacks.

At least the archer missed Alm.

There's still one soldier running around behind our lines and he takes a shot at Cliff.
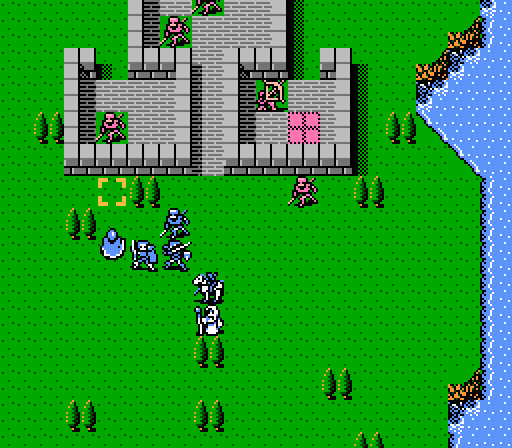
Turn 5
Robin will reach the archer next turn. In retrospect I might've been better off sending Alm or Luka since they have more firepower, but that would've taken longer.
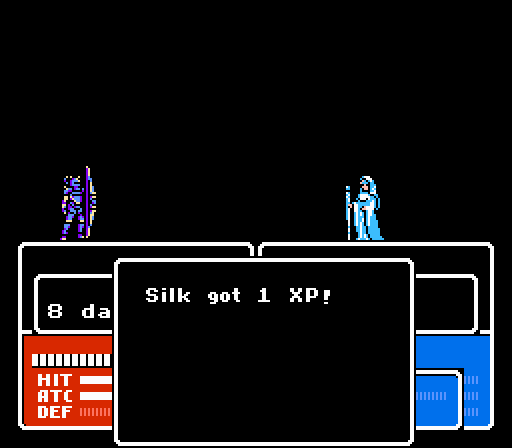
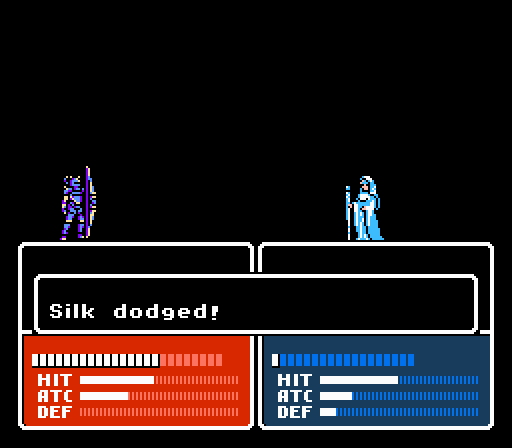
Silk starts off the action by missing twice more. I'm pushing a little to try and get her levels, but probably should've had her heal someone instead.
Alm comes back to put the soldier into critical condition, and Gray finishes him off.


Luka actually lands one of his hits this time, but I felt like showing his third miss in four tries. That's supposed to be a 71% hit rate there, Gray. The floor tiles actually give a 20% evasion bonus, but this is ridiculous.

Well, this could've gone better. Five turns in and only three soldiers down.
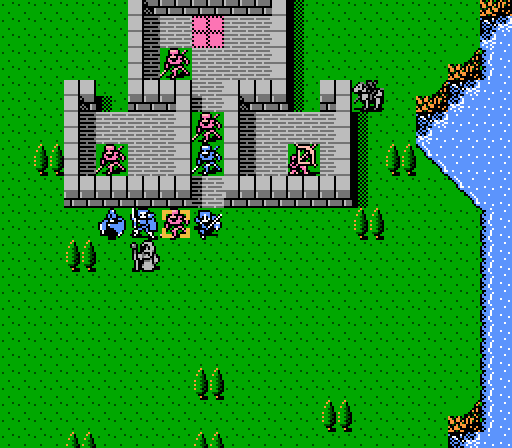
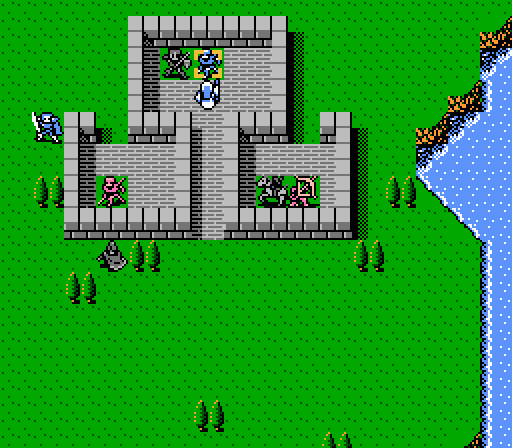
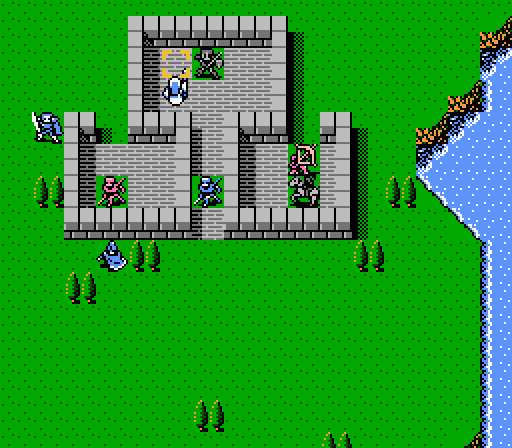
This image is actually a new one, Luka just missed another one of his attacks on the enemy phase.
Alm dodges another arrow. He's really been the only reliable unit in a battle plagued with misses.
Turn 6

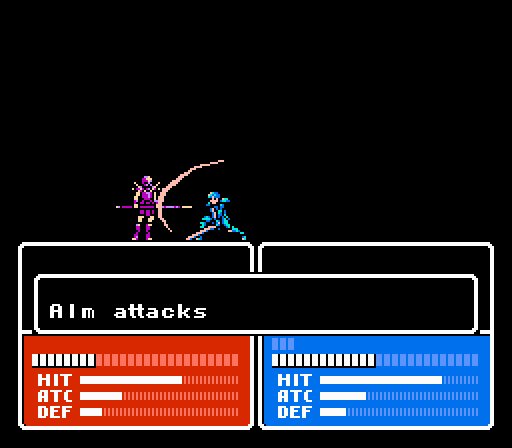
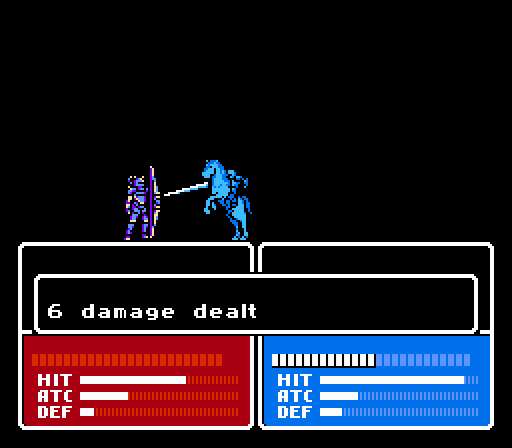
Robin finally reaches the archer and lands both attacks. Unfortunately the archer is sitting on a recovery tile so will heal up next turn.
This isn't really a good idea. Silk tries to clear out the soldier from the chokepoint, but puts herself in a position where the archer can attack her without leaving the recovery tile.
Still, at least she did manage to kill the soldier this time.
Alm's now free to move all the way up and attack this soldier for 12 damage.
Luka's hurting a bit at this point so he takes a break on the recovery tile.

Attempt #2 at frying the southwest soldier is as unsuccessful as the last.
Cliff decides to park himself in a spot where the soldier can't reach him. Unfortunately he can't reach the soldier, either. I spend the next 2-3 turns indecisively letting Cliff sit there uselessly.
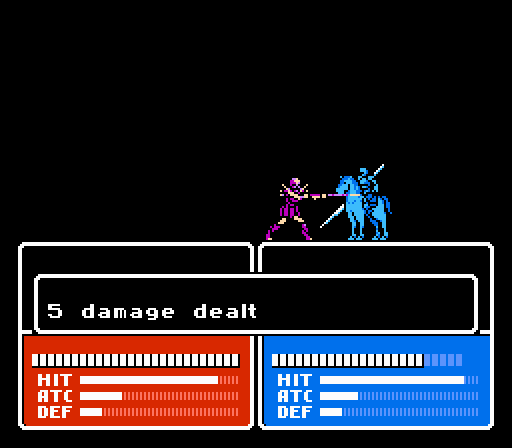
Alm's opponent gets in another hit, but Alm lands one of his two attacks to bring the enemy down to 8 HP.
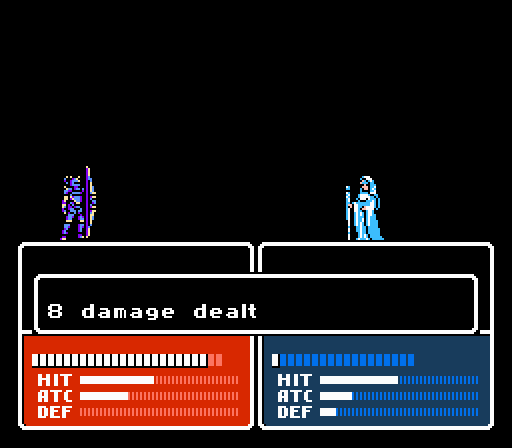
The archer doesn't waste his opportunity, hitting Silk for 8 damage.
In Fire Emblem Gaiden, we level up with an arrow to the face instead.
Turn 7
The army is kind of in rough shape right now. Cliff can only take one hit from the soldier so can't get close. Silk likewise can only take one more hit from the archer and still survive.

Robin kicks things off by missing the archer twice. Now at the start of the enemy phase the archer will be back near full health. Fantastic.
Gray, meanwhile, takes the opportunity to miss this soldier for the third straight time. Keep in mind that terrain doesn't even help magic evade, so Gray's just straight up whiffing on an 80% hit chance each time.
I contemplate having Silk attack the archer directly. However if the archer lands his counterattack and then gets in another attack on the enemy phase, Silk is toast, so I chicken out and do something worse instead later.
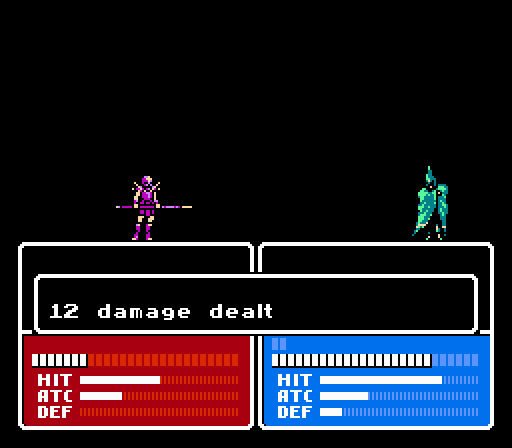
But first, Alm lands a crit to get rid of the last soldier in the central area.
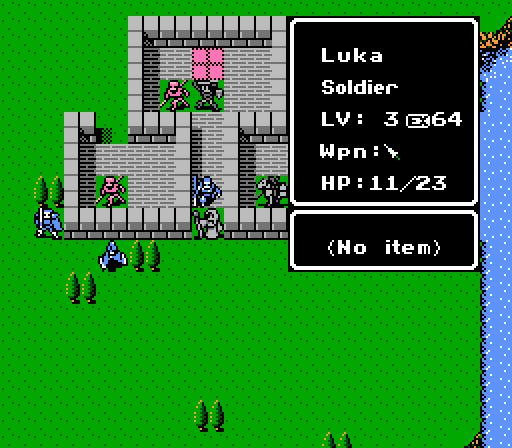
And Silk moves deeper into the fort to heal up Luka to full. Keep in mind that there are no enemies left in the center area so Luka has already seen his last action this battle (he's going to try and chase down the archer anyway, though), and Silk is now not only stuck in-range of the archer, but won't be able to get away next turn either.
The only upside is that the archer has to leave the recovery tile in order to attack Silk.
And now Silk is down to 1 HP - she can't even cast her Recover spell.
Turn 8
Robin sets up camp on the recovery tile himself, and smacks the archer around some more.
Meanwhile I decide it's a great idea to move Alm to the recovery tile and have Silk fend for herself in the corner. Because giving her the extra evasion and healing when she's one hit away from death would just make too much sense.
Oh and Gray misses again. He's 0 for 4 on that soldier now.
And I luck out as Silk dodges the arrow that would've pierced her poor heart.
Turn 9
Robin's still working over the archer, landing one of two attacks. It's a good thing everyone is fast enough to double-attack or this battle would really be going nowhere.
And fifth time's the charm for Gray.
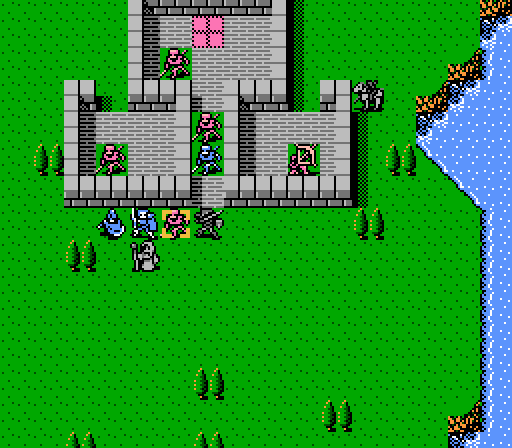
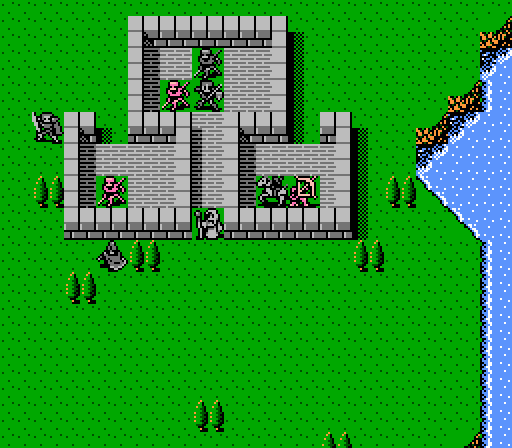
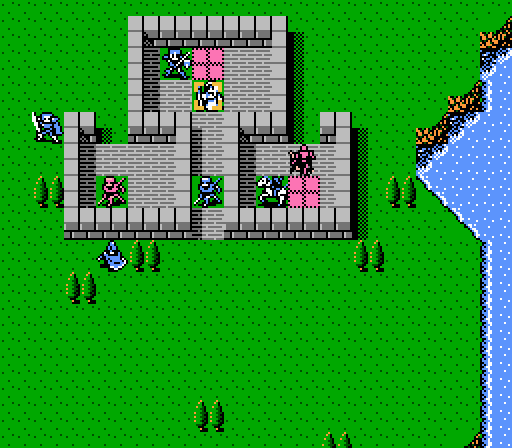
This image is the point in the battle where I realize that Cliff can't actually reach the soldier from where he's been waiting all this time. So instead Cliff moves down to the forest for no real reason.
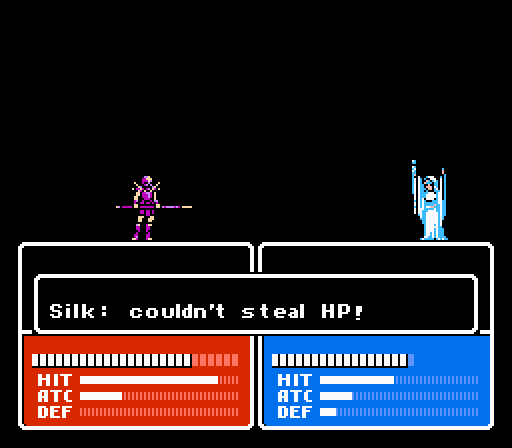
Also Silk moves onto the recovery tile this turn. She could've tried to drain the archer, but if she'd missed a 50% hit rate then she'd be facing a 50% chance of dying herself. From the recovery tile at least she'll be facing only a 30% hit rate. That was the thought, at least. In reality the odds of failing two 50% chances is 25% so I would've been better off staying aggressive. However I ended up making the right decision for an entirely different reason - the archer had been knocked below 50% so he was in retreat mode and thus didn't attack anyone at all on the enemy phase, even though he had a free shot at Silk with no chance at a counterattack. Fire Emblem AI.

Turn 9
One turn before Luka arrived to help out, Robin finally lands both attacks on the archer and ends the threat.
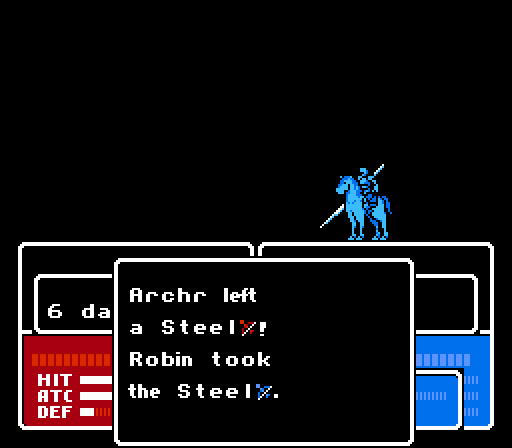
Robin loots the Steel Bow from the archer's corpse. We don't have an archer of our own yet, but will after a few more battles, and this item will definitely help out.
Two in a row for Gray!
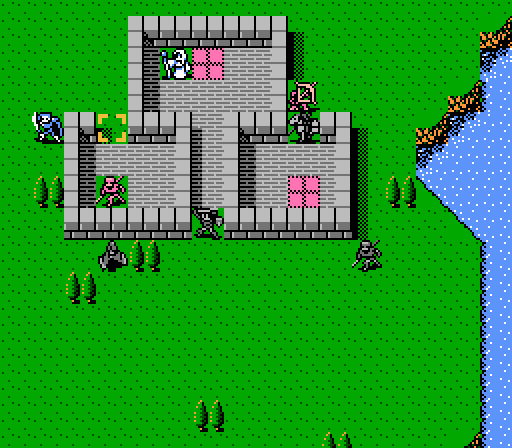
There's just the one soldier left, and Cliff's actually in a position to draw him out, something I should've done four turns ago.
Turn 10
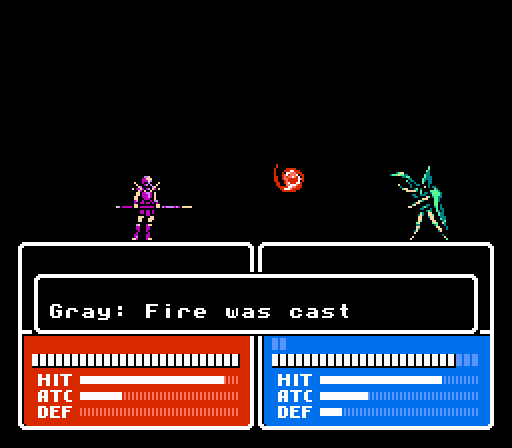
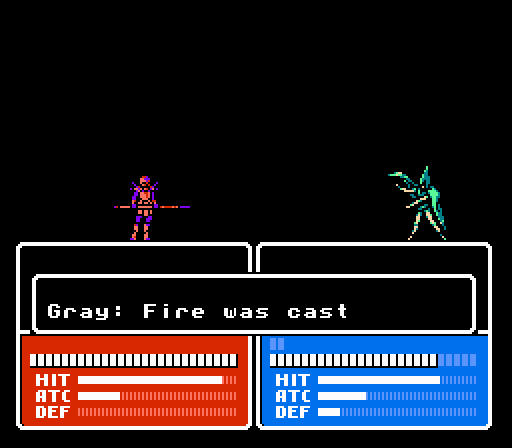
Of course, after Gray landed two fireballs, the soldier was down below 50% HP even after healing at the start of the enemy turn, so didn't feel up to coming out after Cliff. Oh well, let's see if Gray and Cliff can outright end this right now.
The soldier has 12 HP remaining, which is exactly as much damage as Gray could theoretically do with a fireball. Can he land three in a row after missing his first four?
_-_Chapter_1_Part_5_Battle_1.gif)
Success!
More power and more fuel for Gray, not bad.
And another battle complete. That one was a little touch-and-go there for awhile - the RNG is a fickle beast but saw fit to let us live this day.
But we're not done yet - with the fort cleared out, let's explore a bit.
Music: Castle
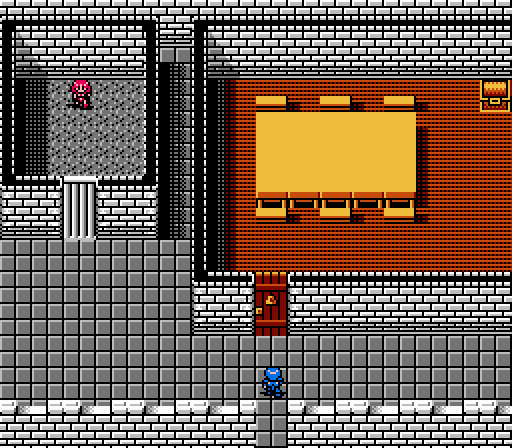
Two items of interest here - an apparent prisoner, and the first treasure chest of the game! Treasures actually work a bit differently in Gaiden than the rest of the series - you can find some treasures in the free-roam areas, but there aren't any to be found in the battles themselves. Thus we won't actually be getting any thieves to join our army in this game. (Judging by the quality of the thieves we have been fighting until now, I can't say I'm disappointed to not have any of our own.)
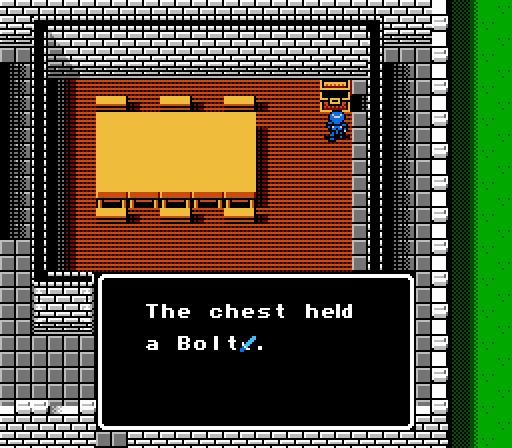
Of course we go for the treasure first, that prisoner isn't going anywhere. The Bolt (Thunder) Sword is similar as in the previous game - it attacks with a fixed 15 magic attack against an enemy's magic defense, and can attack from one or two tiles away. This sword is a god-send for Cliff, who has been having trouble damaging enemies thus far. Alm is also an option, but he doesn't really need the help.
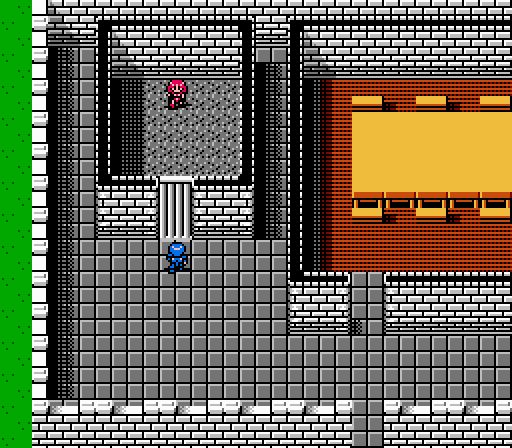
Right, the prisoner. Fortunately we don't need a key, just bashing our head against the door is enough to open it.
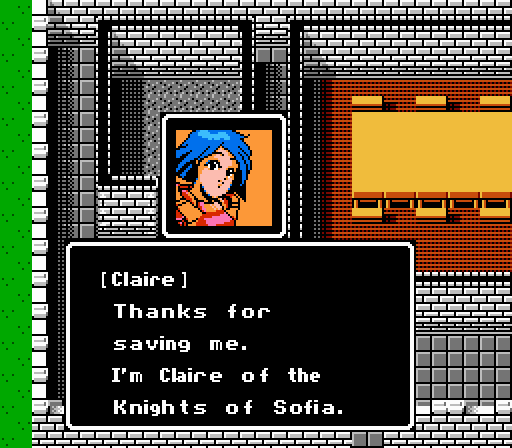
 My older brother Cleive leads the liberation force. Let's go to the base together.
Another recruit! But wait, it gets better:
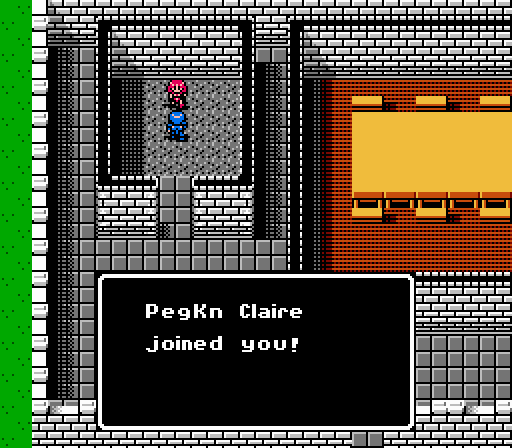
Claire is a Pegasus Knight. She gets to move as far as Robin, with stats similar to Cliff and average growth rates. The best part, though, is she rides a flying pegasus. She can move through any terrain without any movement penalties - even normally impassable terrain such as walls. That's right, Claire can fly over/through(?) walls in Gaiden. That would've come in handy last battle, were it not for the pegasus' weakness - the non-basic bows (such as the Steel Bow) have triple attack against flying units, and at this point in the game would kill Claire in one shot. Fortunately going forward we won't have to worry about that.
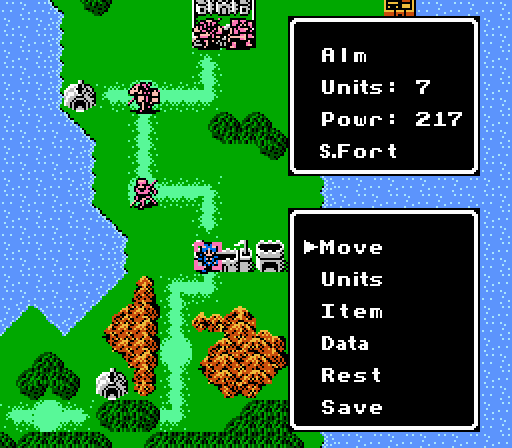
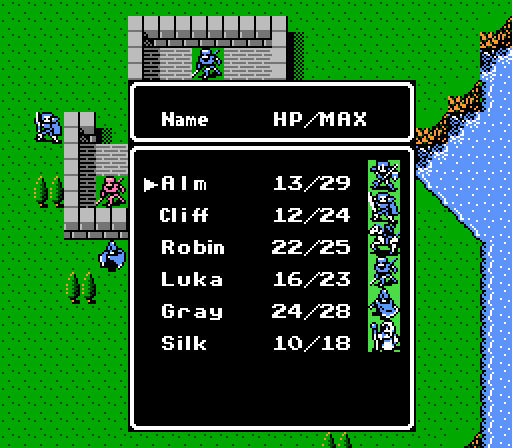
Alm's army is now up to seven units with a total of 217 'power' (quality).
Current Roster:
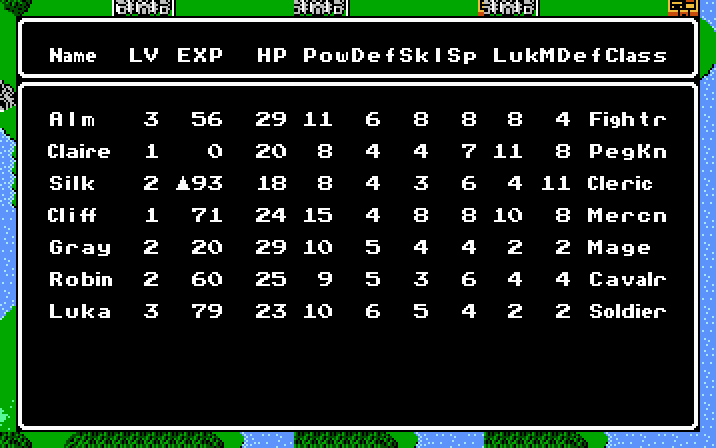
I'm not sure what the arrow next to Silk's XP means. Maybe she'll gain a level from Group XP or something?
New Characters
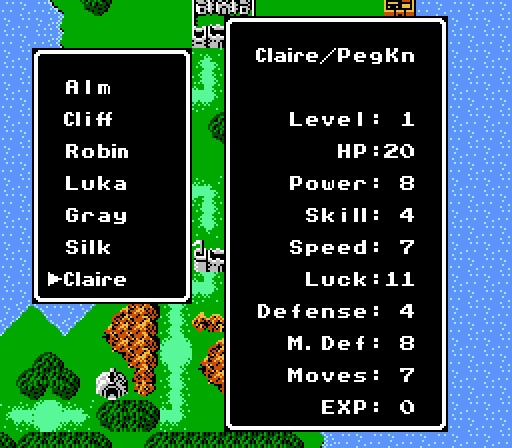
Claire is a flying combination of Robin and Cliff. She has high movement and ignores terrain. She's vulernable to arrows, but only if the archer has more than the basic bow, which isn't very often. Initially, she's going to suffer from the same problems as Cliff - too little damage dealt, too much received - but she should eventually be a great asset.pre:
Stat	Base L1	Growth
HP	20	20
Power	8	30
Skill	4	50
Speed	7	40
Luck	11	50
Defense	4	10
M. Def	8	0
Moves	7	0
Quality	34	180
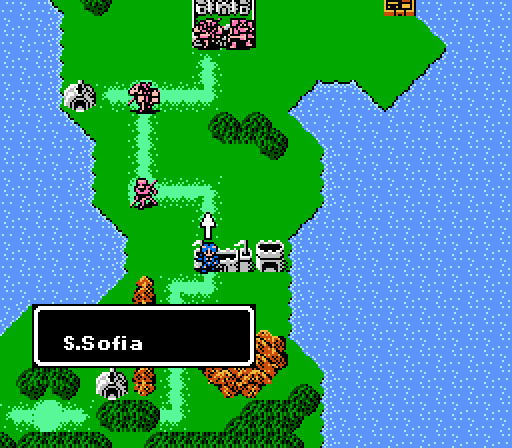
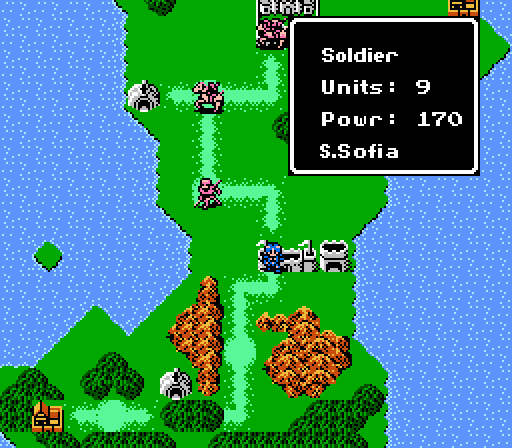
We enter southern Sofia and battle another group of soldiers.