Part 10: Chapter 1, Part 9: Southern Gate
Before we start, some leftover business from last time....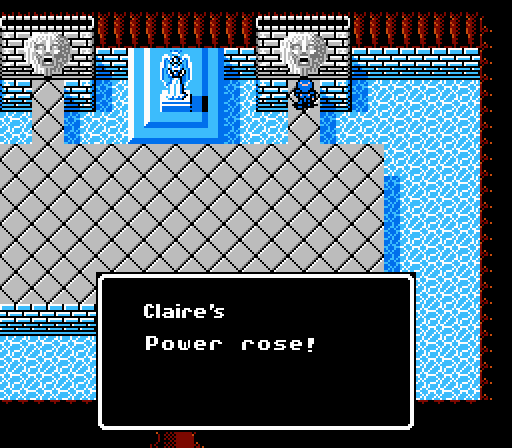

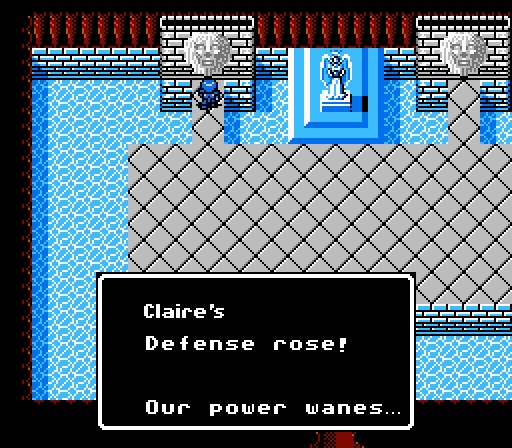
The thread input was pretty clear about how to use the lion head statues, so 1 Power each for Claire and Silk and 1 Defense for Claire. Claire also gets the Steel Lance to be come our flying murder machine.

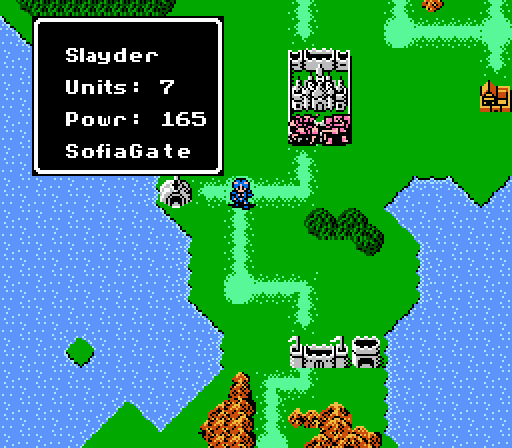
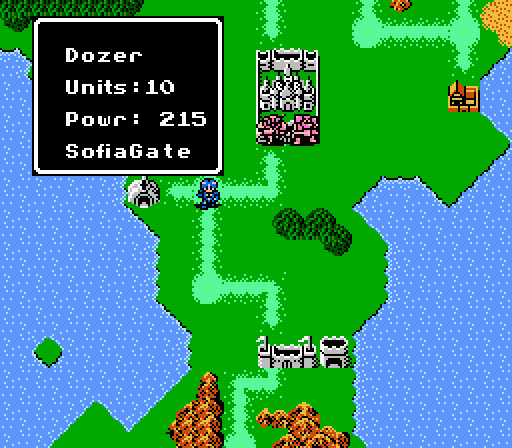
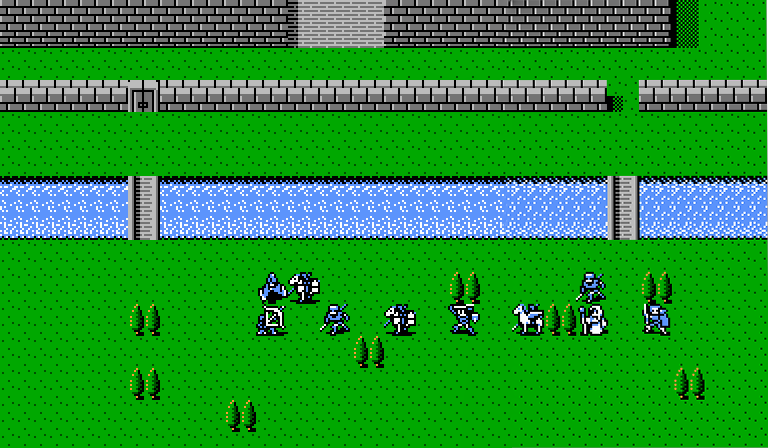
The final battle of the first chapter pits Alm's powerful army against the combined might of Slayder and Dozer. While we're outnumbered, our units are still plenty stronger on average.
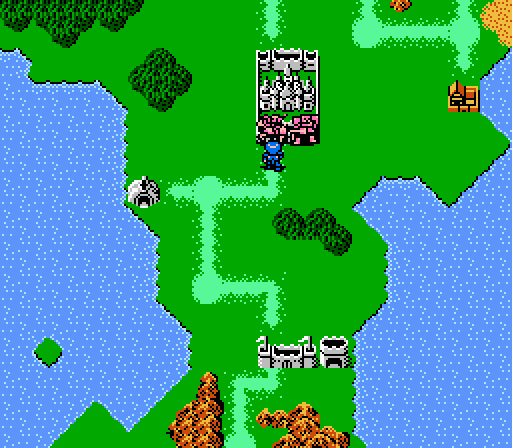
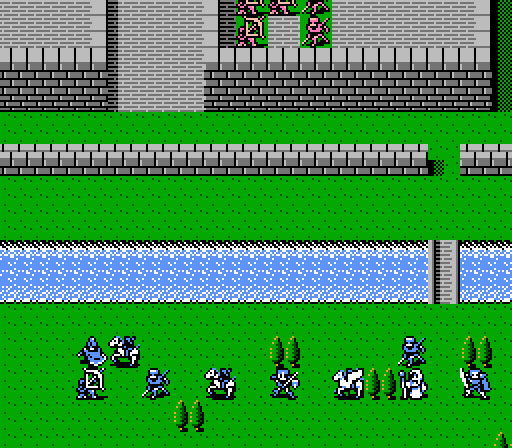
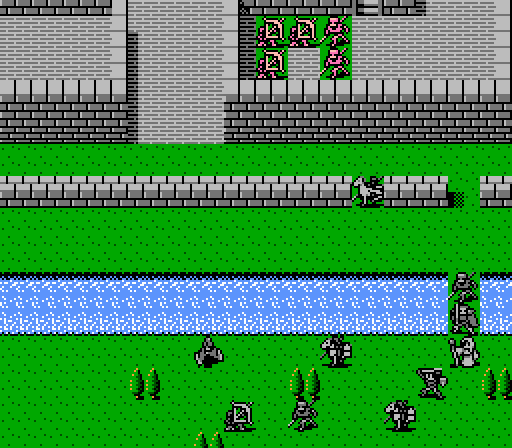
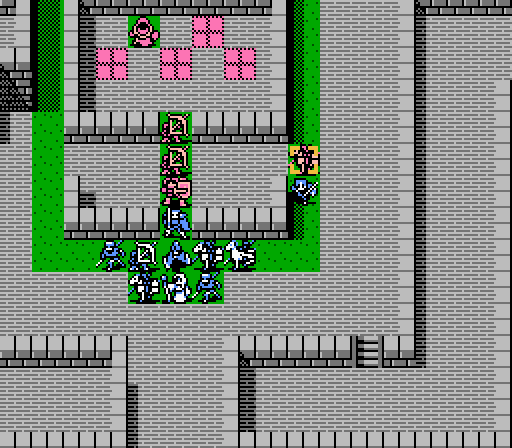
So, without further ado, Alm and his army storm the Southern Gate.

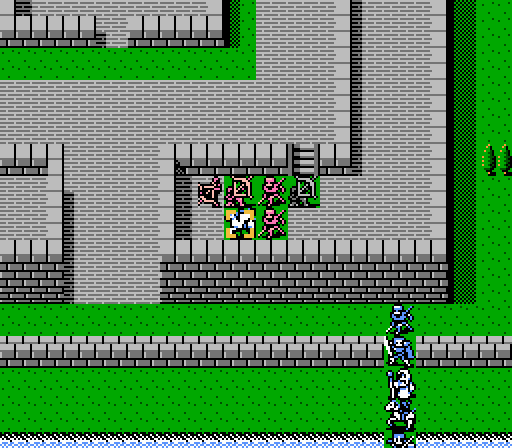
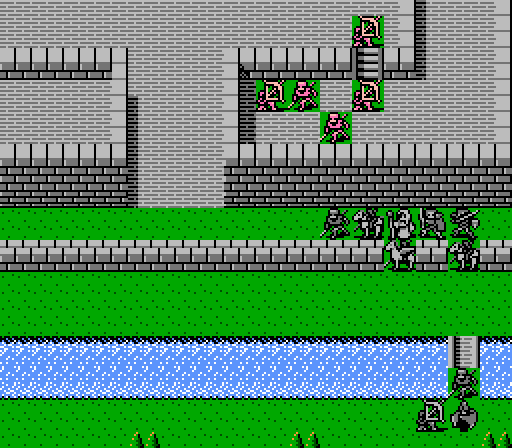
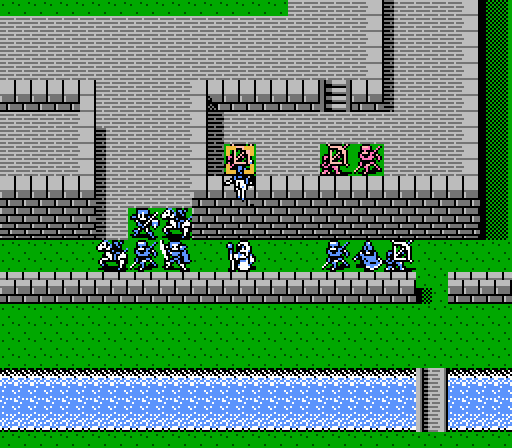
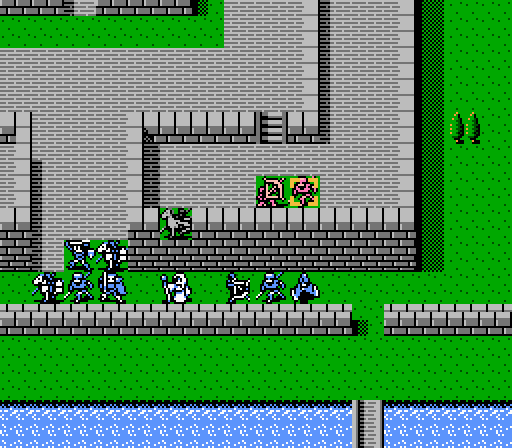
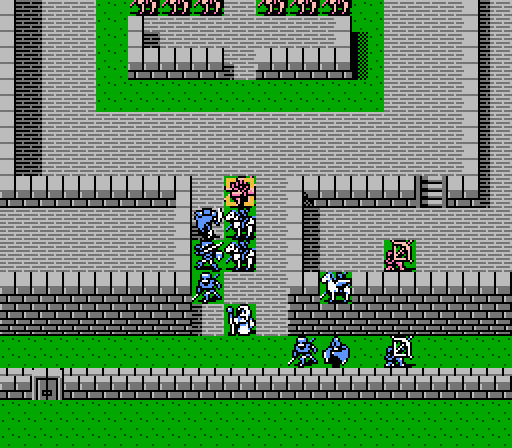
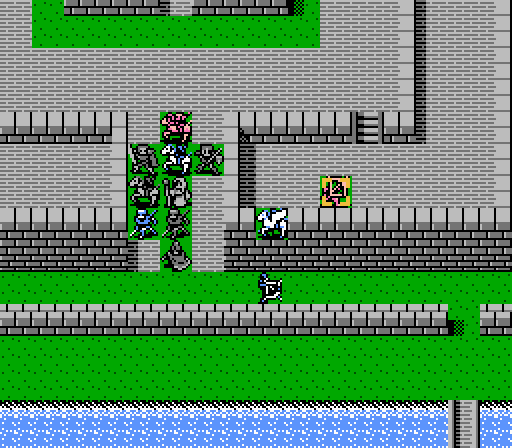
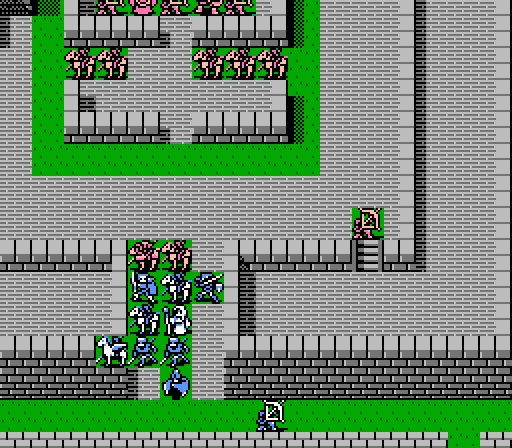
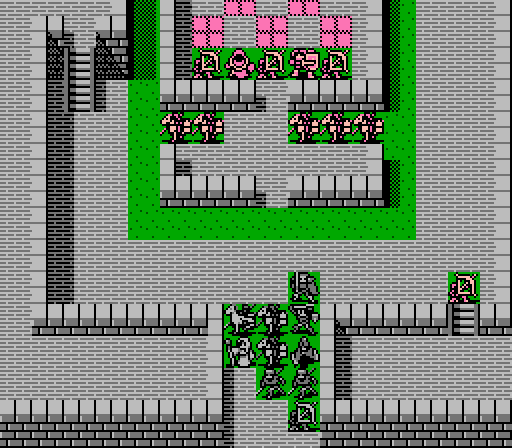
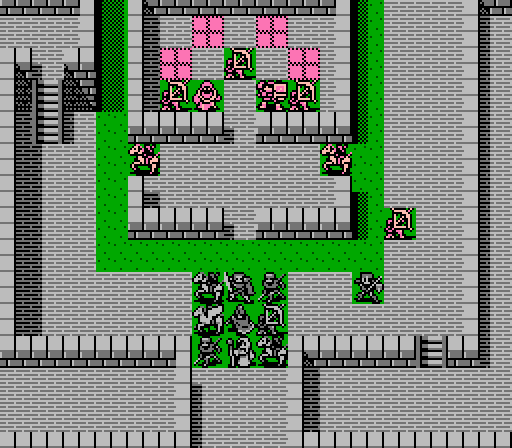
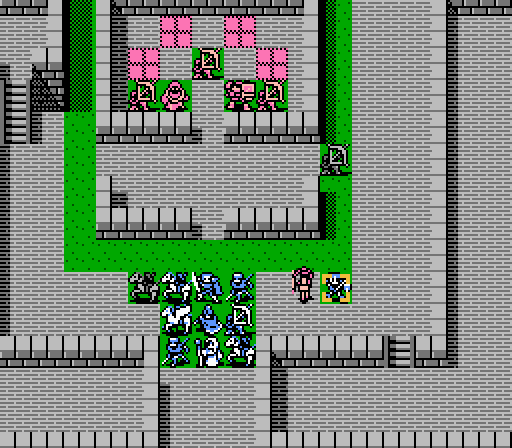
Easily our most complicated map thus far, with plenty of new enemies. Unfortunately the doors are just for show so we're forced to proceed single-file in front of a few archers that can hit us through the 2-wide wall with impunity.
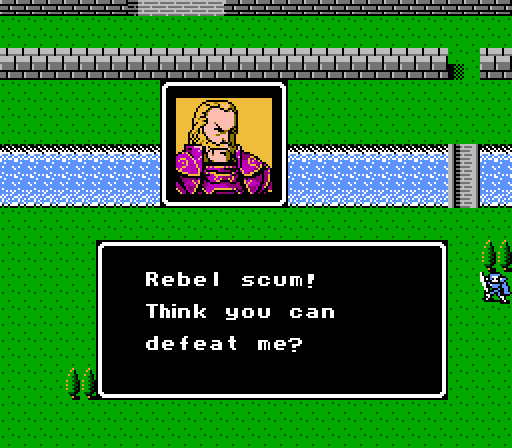
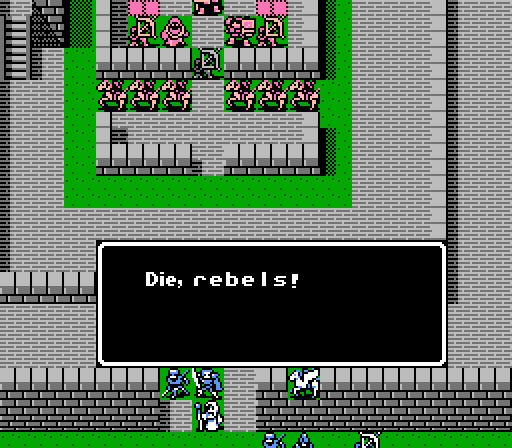
 Slayder, use my army to scatter those swines!
Dozer himself immediately accosts us as the battle begins, though he doesn't have much to say beyond generic villainry.
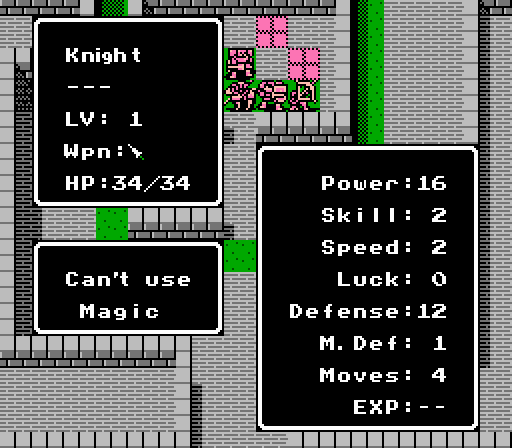

The archers, soldiers, and cavaliers are all the same level one generics we've been dealing with already. The cluster of four units at the top-center of the map is new, however. The right-most hulk of armor is a knight, the promoted form of a soldier, and has a pile of Power and Defense but is conspicuously light on Magic Defense. The mysterious robed figure on the left is a wizard, an enemy-only magic class with both Recover and Dora, a dark-flavored spell that is otherwise identical to Fire in every way.
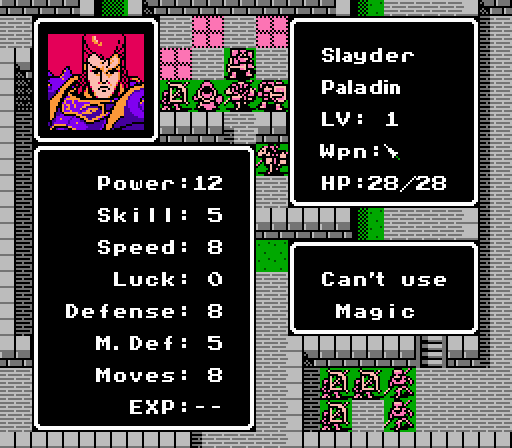
Slayder is a step up from the rest of this troops, even deserving of his own portrait. Solid Power, Speed, and Defense, with enough Magic Defense to be no pushover in that department, either. He's also another new class, the paladin - the promoted form of a cavalier.
Promotions in Gaiden work about like what you'd expect from the rest of the series - at a certain level, a unit can 'promote' into a more powerful class. We've already seen a basic instance of this mechanic when the villagers were promoted back at the start of the chapter. Usually the level for promotion is well below the maximum - for instance, soldiers and cavaliers can promote at level 7, but can also gain levels in their own class up to level 20 first. Since a unit's stats are raised to the promoted class's base levels, rather than applying a fixed bonus, there's a tradeoff between gaining more power in the base class vs. achieving the more powerful class more quickly.
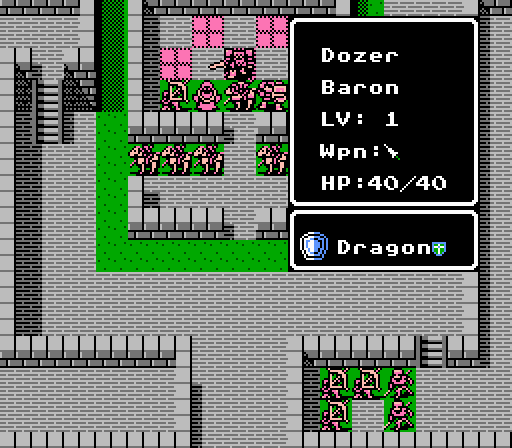
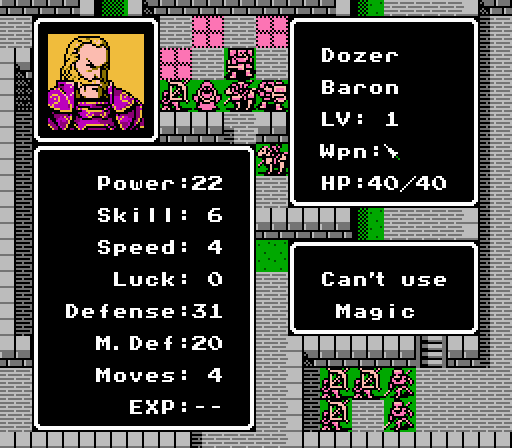
Dozer is a monster, and thanks to that Dragon Shield - +13 to both Defense and Magic Defense, plus 5 HP of healing at the start of each turn - we have no chance against him. Fortunately he is content to let Slayder do his fighting for him. His class, the baron, is the promoted form of the knight - that's right, some starting classes have not one but two promotions in Gaiden.
Turn 1
Given the map layout, we have to start off by sending everyone over the right bridge and through the gap in the wall, exposed to the group of archers along the way. The exception, of course, is Claire, who can fly over and even land atop the walls without any trouble.
Turn 2

Claire charges straight into the group of archers and brings one of them down to critical condition right away. Normally this move would be Fire Emblem suicide, but in Gaiden archers only get effective damage against flying units if they have a special bow equipped - the default basic bow doesn't get any such bonus.
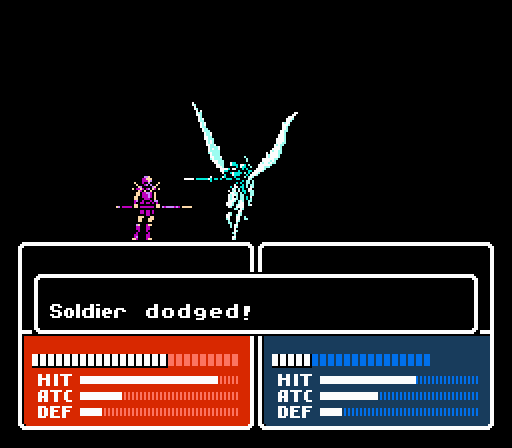
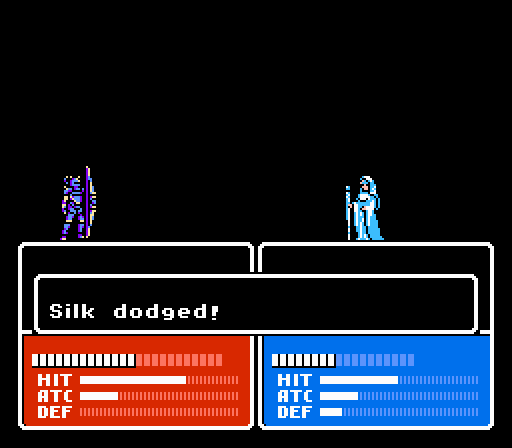
Of course, now she's going to have to suffer on the enemy phase. If everyone actually lands their attacks on her, Claire would be toast, but she's already dodged the first archer's counter-attack so should make it through the rest of the turn.
The enemy phase starts off with both healthy archers missing Claire, while the wounded one retreats to head for the healing tiles.
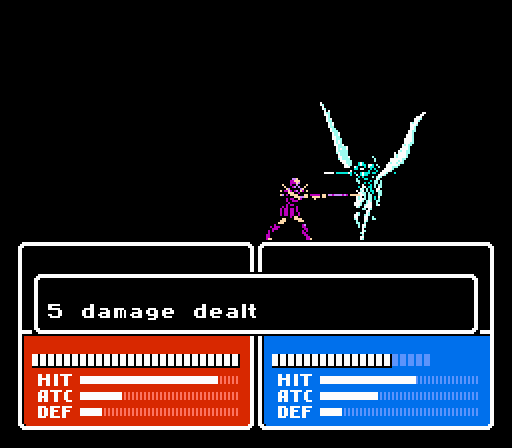

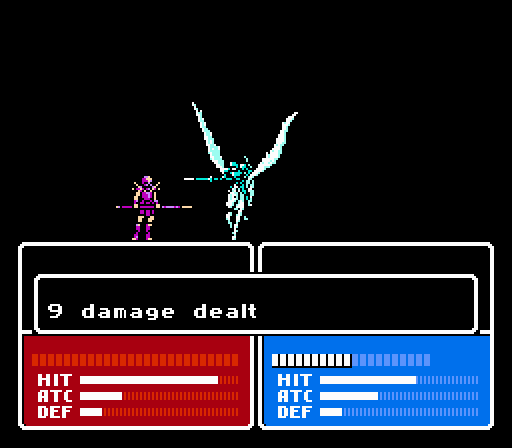
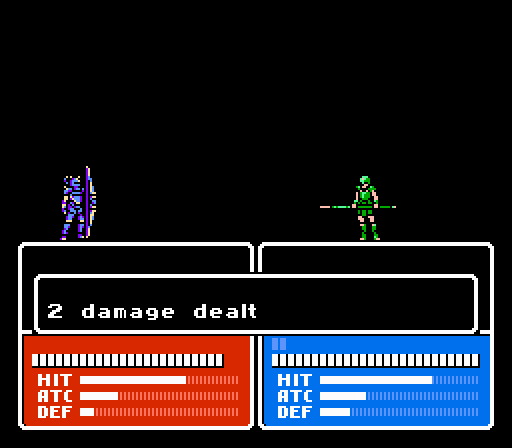
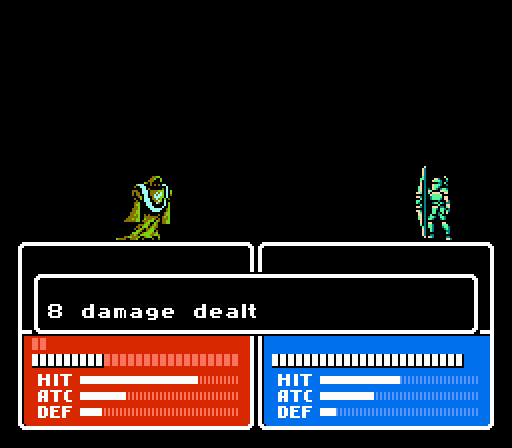
The two soldiers both connect for 5 damage a piece, but Claire gets in a few attacks of her own.
Turn 3
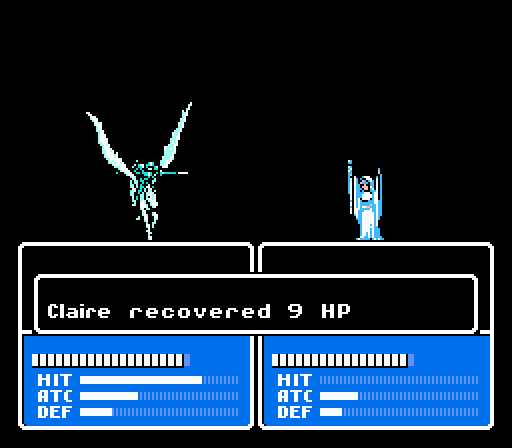
Claire retreats, allowing Silk to patch her back up.
The only unit we have that can strike the group on the wall from the outside is Python. Unfortunately he's stuck at the end of the line due to some unfortunate placement of the units at the start of the battle. If I had to do it over again, I would probably have re-arranged the roster order to make sure he started closer to the front, but oh well.
Silk takes four damage from one archer, while Cleive shrugs off just two damage from the other. The third enemy archer just continues to retreat.
Turn 4
Claire starts off by going after the archers again, but only lands one of her attacks this time.
From there, it's more of the same as the rest of the army slowly shuffles forward.

The archers go after Silk and Alm this turn, both shots finding their targets again. Making up for missing three straight against Claire, I guess.
A soldier goes after Claire, but gets counter-killed for his trouble.
Of course, that opens up the space for the other soldier to also attack. Claire misses one of her attacks this time, as she falls into critical condition.
Turn 5
Python finally reaches the front lines...and misses with his one attack.
Claire retreats back to the first wall for some more healing, though it leaves Silk exposed to another arrow on the enemy phase.

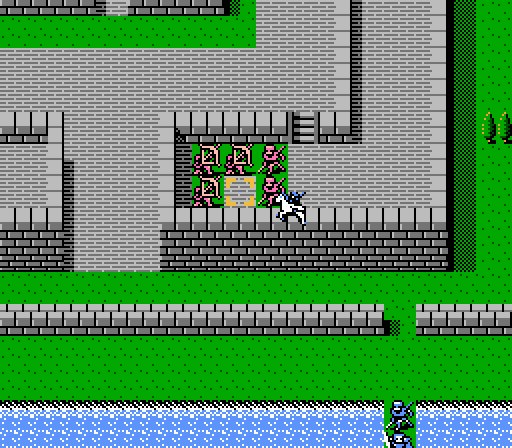
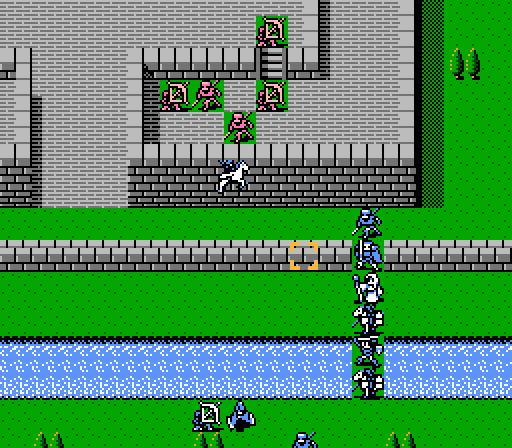
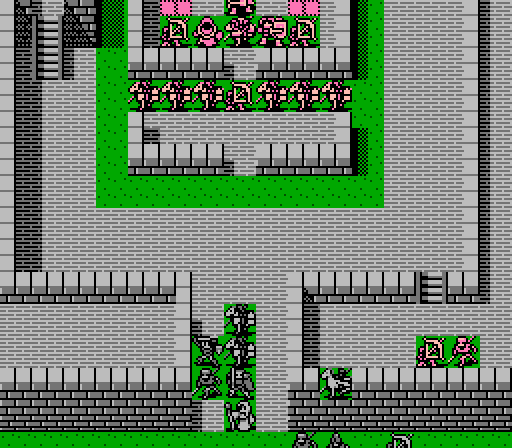
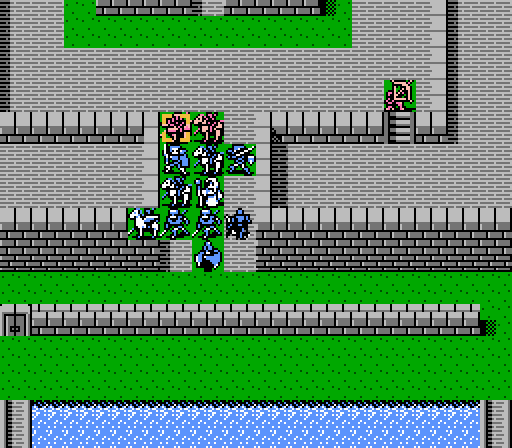
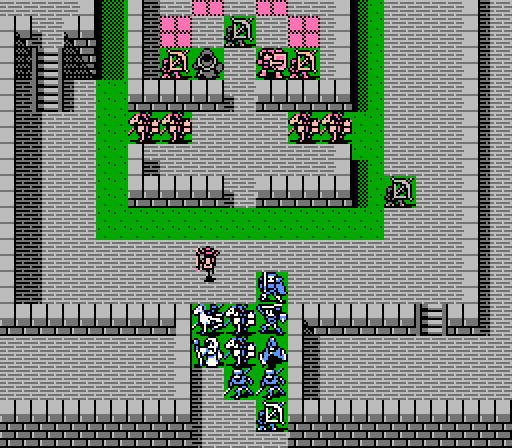
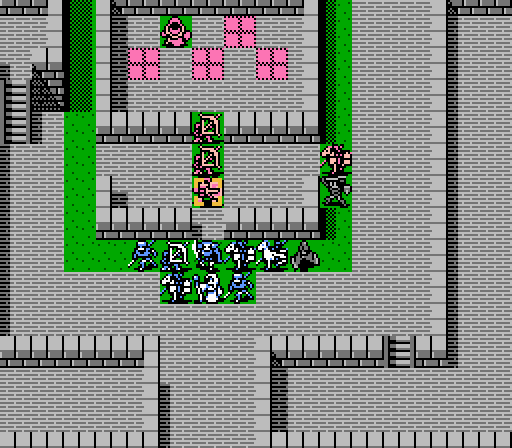
Assembling in front of the gate, preparing to lure out Slayder and the cavaliers.
Silk manages to dodge this time, though I should probably keep her away from the archers now. The other archer scratches Force.
Turn 6

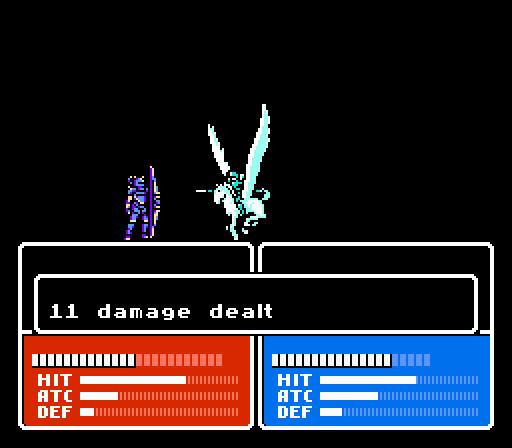
Claire dives right back into the fray and outright kills this archer with her two attacks.
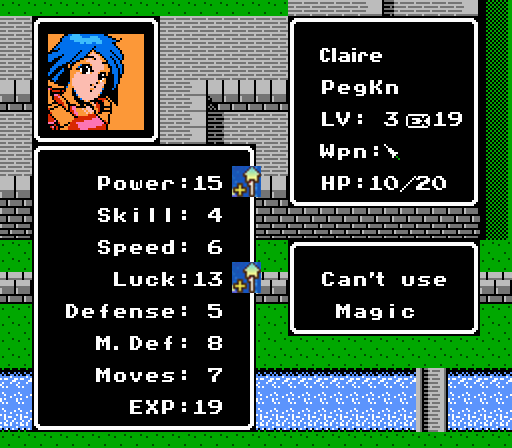
Pretty good level for her, though she could probably do with more Speed soon.
Python takes another shot at the last soldier, missing again.
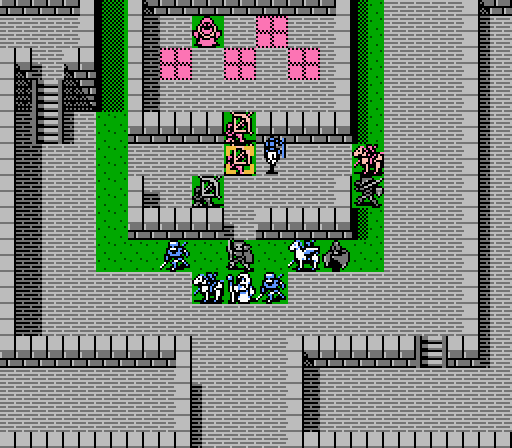
Cleive takes the point of the formation to draw in Slayder, who will move first and then take up the only available space from which to attack.
First, through, the archer and soldier up front both attack Claire. She not only survives thanks to the extra Defense we gave her (and the extra healing Power we gave Silk) but is able to counter-kill the soldier as well.
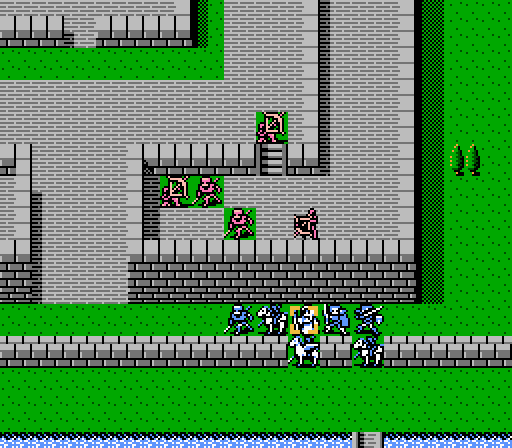
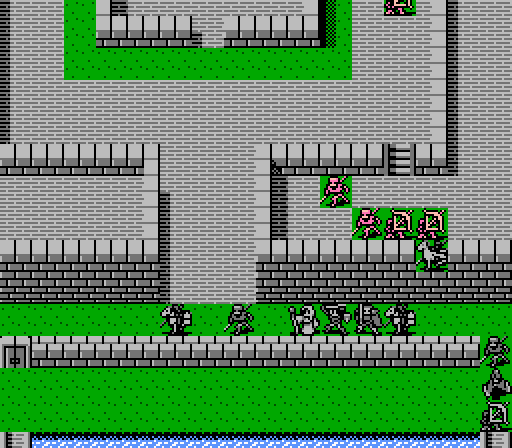
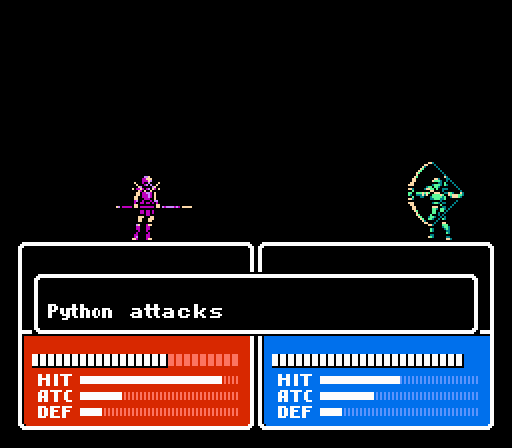
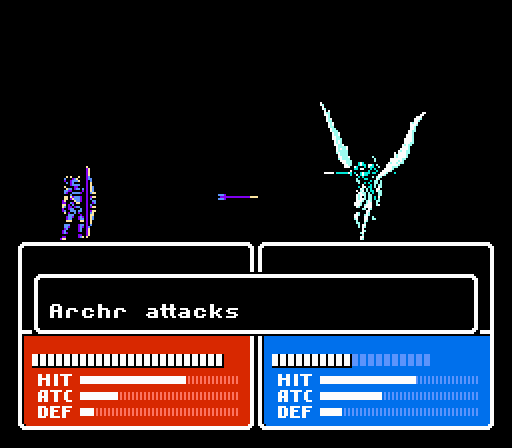
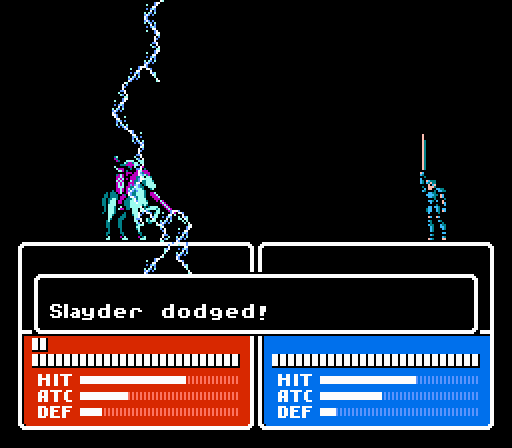
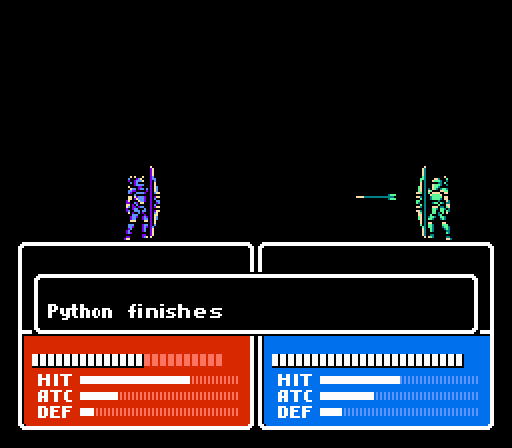
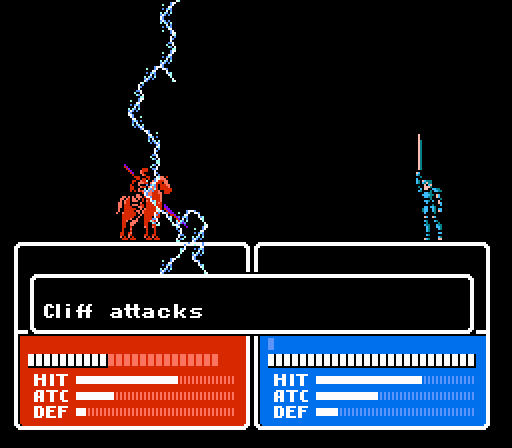
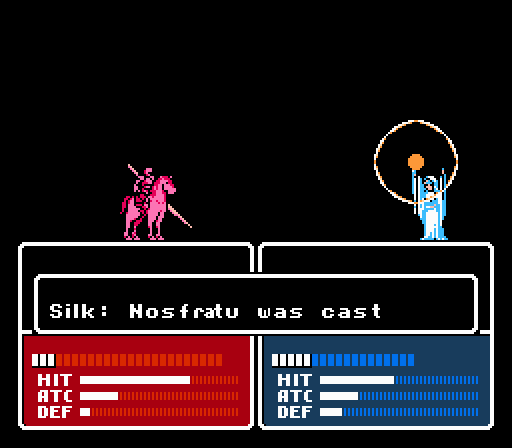
Slayder has some deep thoughts for us before he begins his attack.
_-_Chapter_1_Part_9_Battle_1.gif)
Cleive isn't really in Slayder's class by himself, but now we have the rest of our army ready to fight against the one paladin and his jump-happy horse.
Turn 7
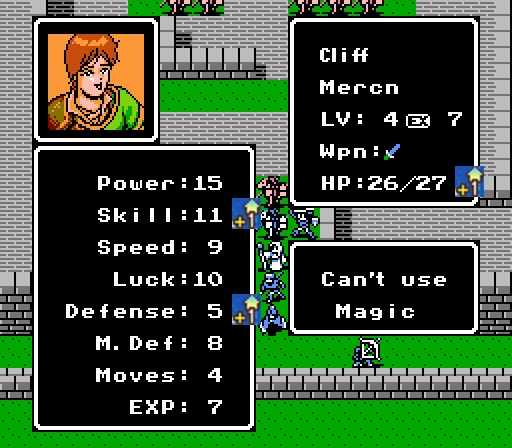
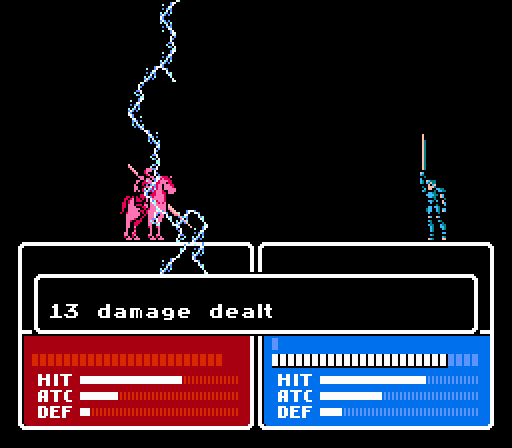
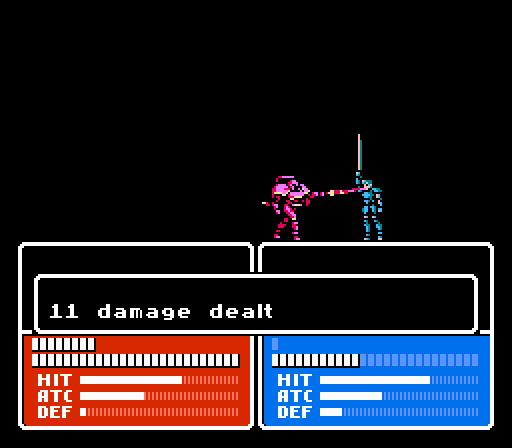
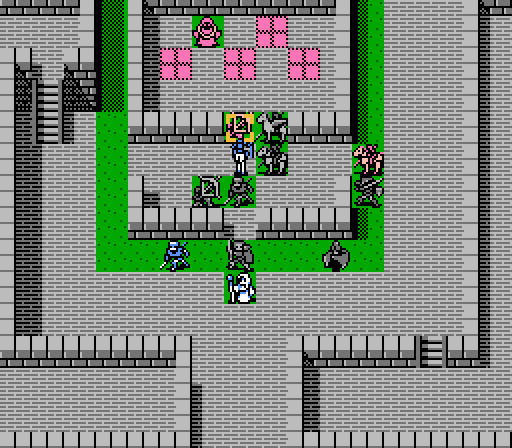
Cliff with the Bolt Sword is the easy counter for Slayder - he can attack from range, against Slayder's weaker Magic Defense, and get in a double attack with Cliff's superior Speed.
So of course, Cliff proceeds to miss both attacks.
That leaves us in a bit of a bind, so Silk patches up Cleive and Alm completes the line. Slayder will likely go after Cliff, who has the lowest Defense, and hopefully eat one or two lightning bolts in return.
Python finally does some damage, landing two attacks against the last of the archers on the wall.
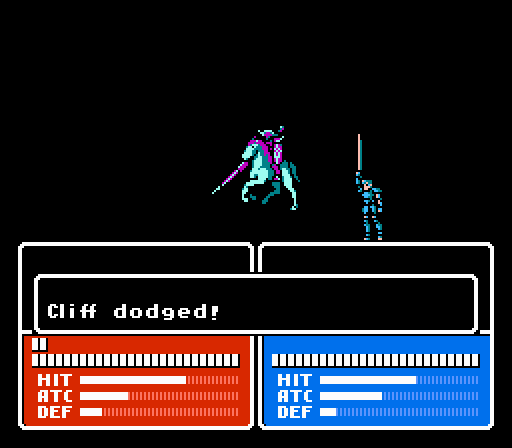
Cliff dodges the flying horse and then cripples Slayder this time around.
Cliff gets a little more sturdy with a solid level.
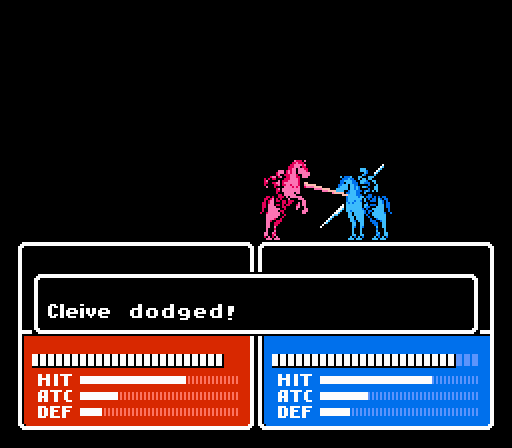
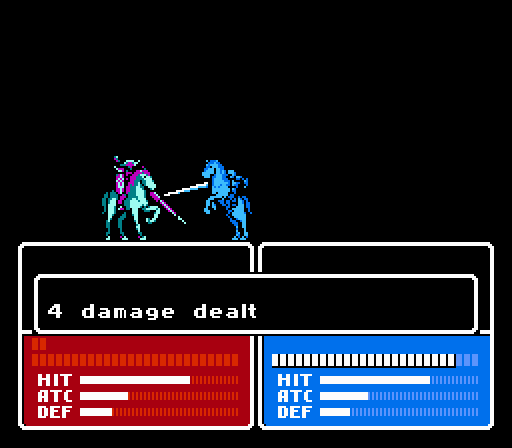
Slayder moving to the side to attack Cliff opened up space for a cavalier to come down for another shot at Cleive, but Cleive also dodges and dishes out 14 damage on the counterattack.
Turn 8
We need to finish off Slayder and then start working on the group of cavaliers.
Python starts off by bringing Slayder down to just 3 HP.
Cliff moves around and finishes off the wounded cavalier.
And Cleive gets his revenge on Slayder.
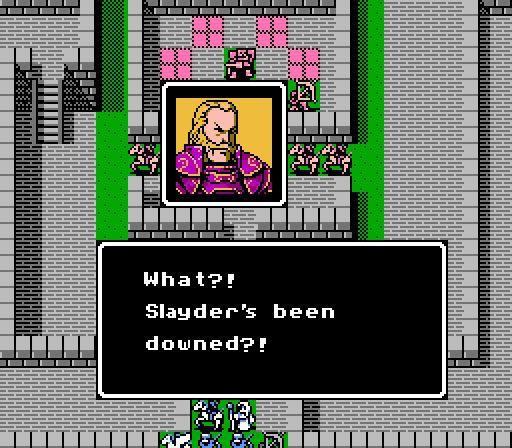
 I'm leaving this to you, men!
That prompts a sudden reaction from Dozer, who flees the battle and is removed from the map. Thank God.
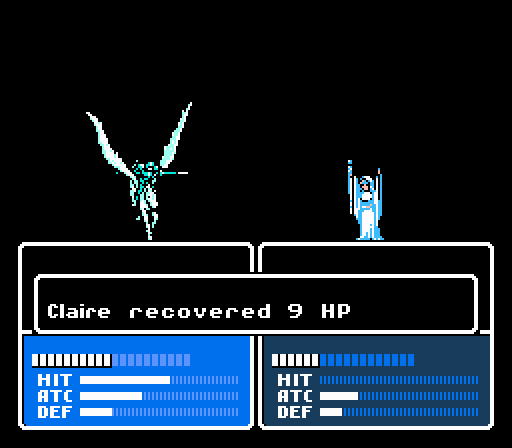
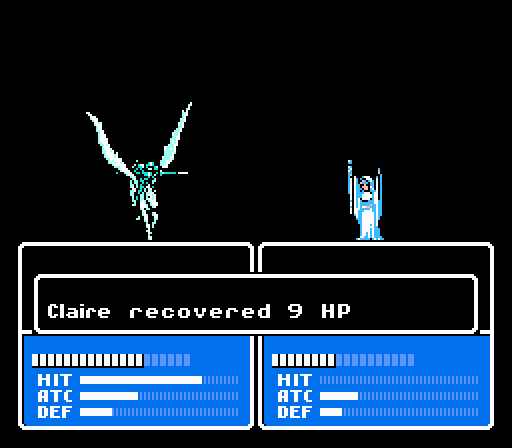
Meanwhile, Silk heals up Claire for the third time.
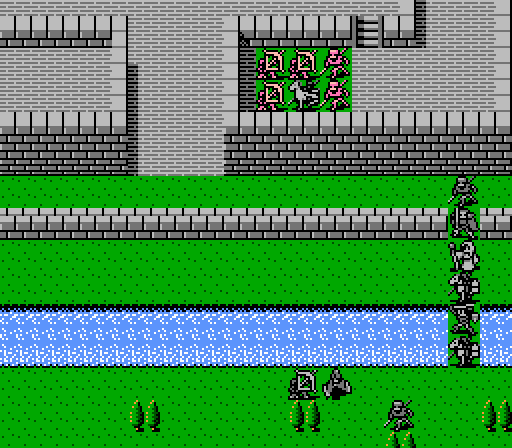
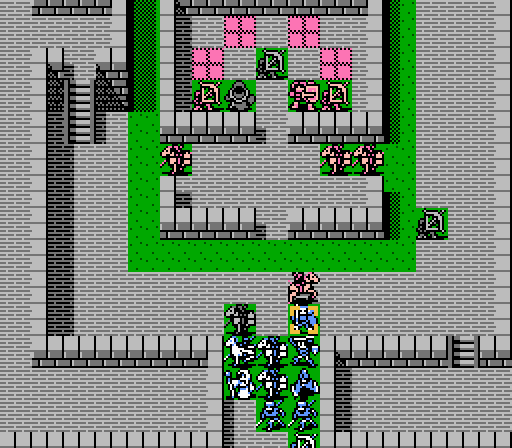
The rest of the army holds the line, ready to draw out a couple more cavaliers.
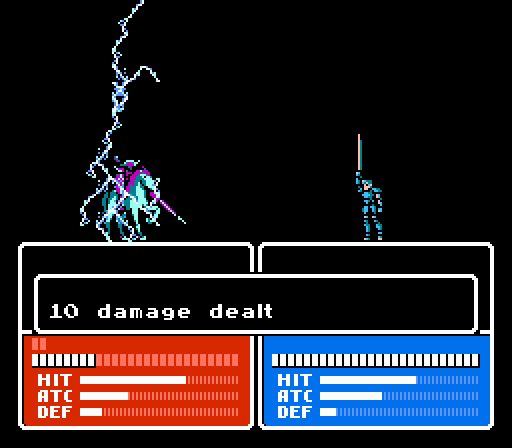
The first attack is on Claire again, who falls back down to 6 HP but deals out 10 damage.
Another foolishly attacks Cliff, but escapes death by dodging a lightning bolt.

The next cavalier to go after Cliff isn't so lucky, and is counter-killed by twin bolts.
Turn 9
Gray starts the turn by roasting a cavalier.
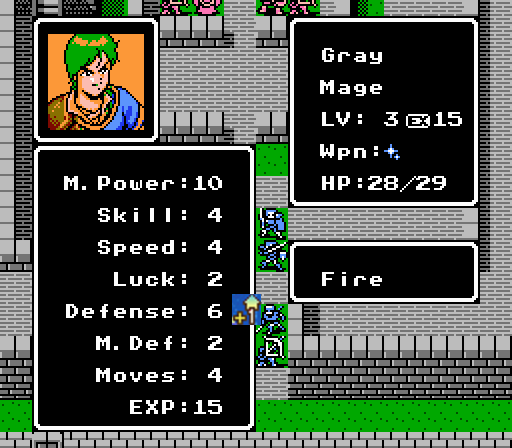
Not the most useful of levels, really, since Gray isn't really going to be taking many hits anyway.
Cliff meanwhile kills another cavalier.
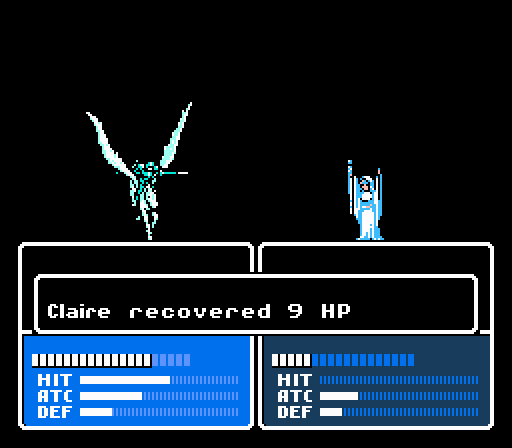
Four heals now from Silk to Claire.
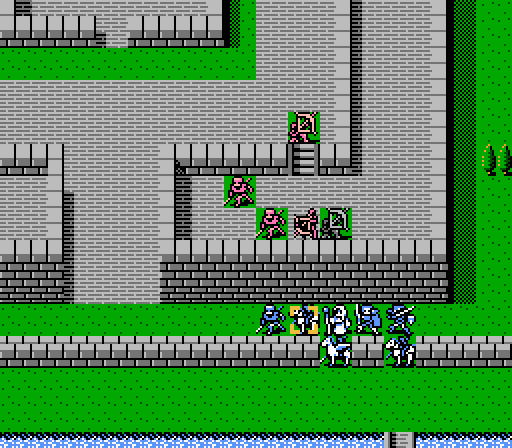
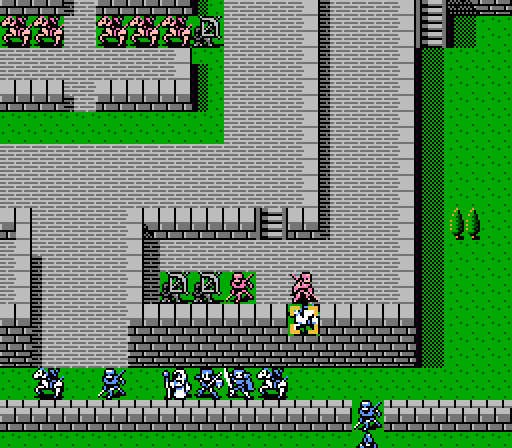
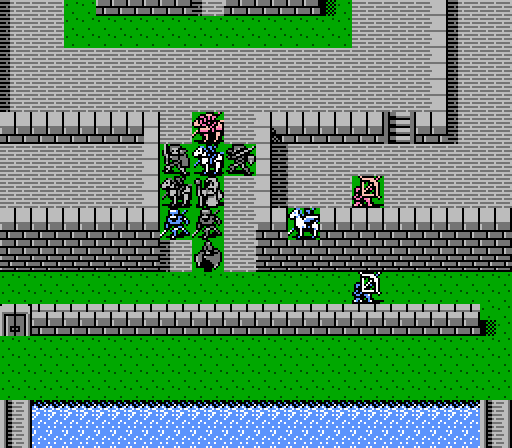
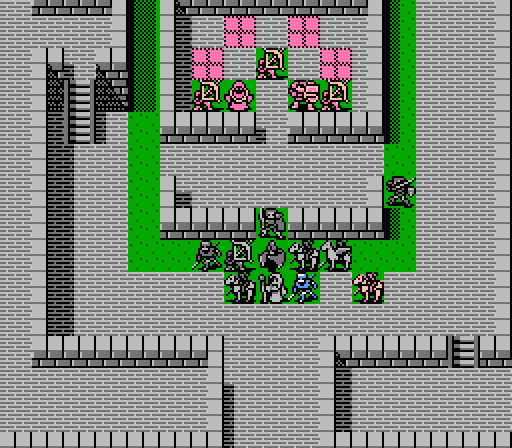
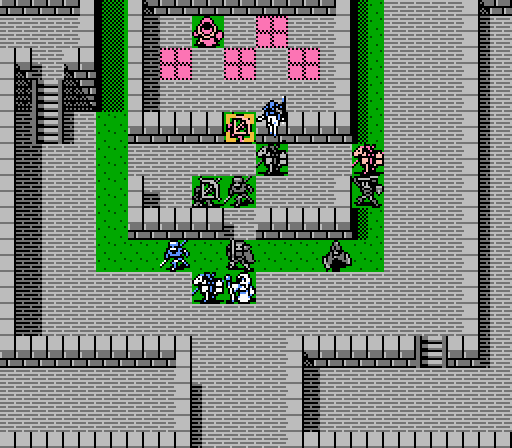
Setting up to draw in the remaining two cavaliers.
_-_Chapter_1_Part_9_Battle_2.gif)
The one on the left goes after Cleive, who somehow follows up a crit with a miss.
The other cavalier attacks Alm for 3 damage but receives 14 damage in return.
Turn 10

Alm catches up to the archer and finishes him off.

Python gets in the first attack on the back line, effectively taking the enemy wizard out of the fight.
Silk finally gets a break from healing, getting the kill on the last cavalier.
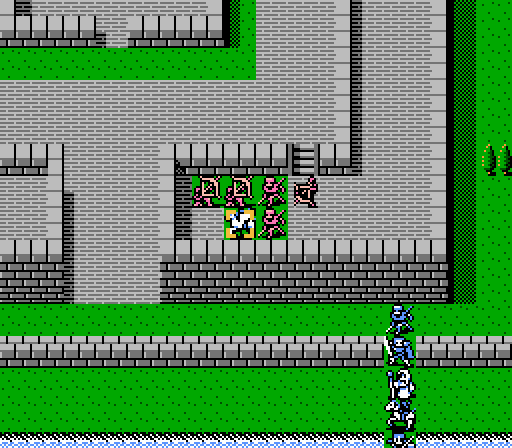
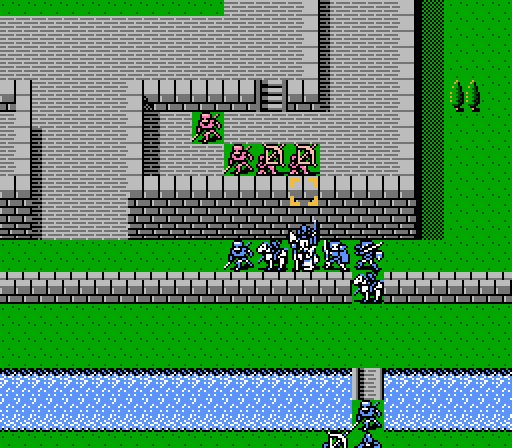
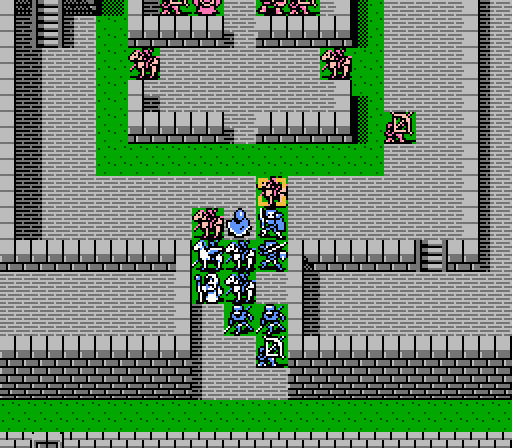
Down to just the back line now. Except I forgot about the enemy cavalier that had attacked Alm, so it's still just sitting there. It's in retreat mode, at least. Anyway, Cliff's going to draw in that knight....
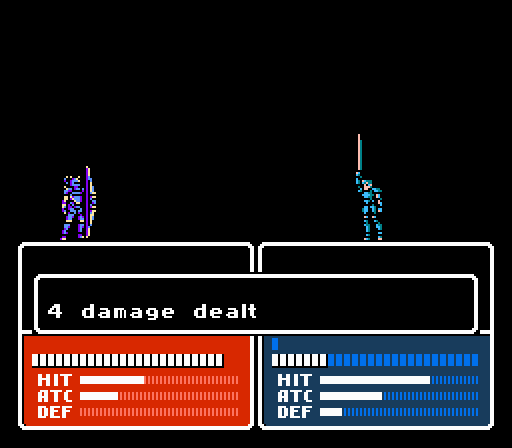
...like so. Ouch. Cliff does land one counterattack for 14 damage of his own, though.
All three archers also go after Cliff, but one gets too close and is counter-killed.
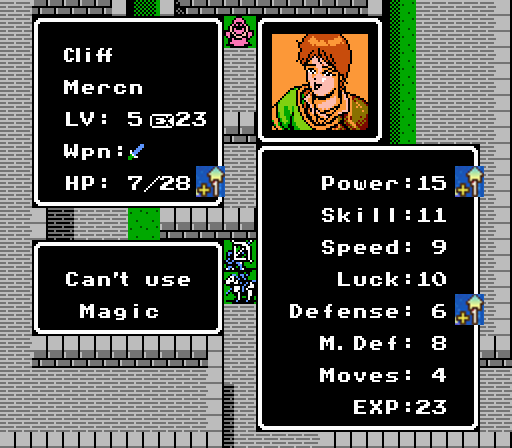
Now that's a pretty great level for Cliff. (Although his Power didn't really increase as displayed - it's set to 15 by the Bolt Sword - his base Power did go up from 8 to 9.)
Turn 11
Alm attacks the real last cavalier, but misses an attack so can't finish him off.
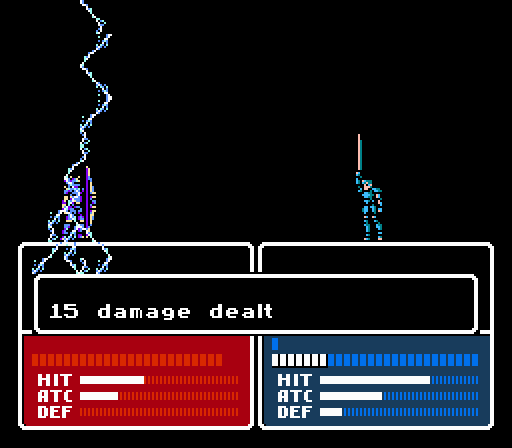
After Gray moves out of the way, Cliff backs out of melee range to finish off the knight.

Python continues to harass the wizard, missing one shot but bringing the enemy down to 1 HP.
Cleive quietly gets rid of one of the archers.
Claire and Robin team up for the last archer. Just clean-up from here, as both remaining enemies are in retreat mode.
Turn 12
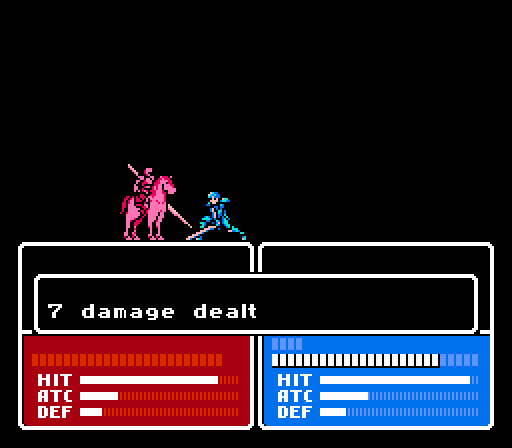
In our longest battle so far, Alm finally kills the last cavalier, while Python finishes up with the wizard.

The battle wasn't particularly challenging since I approached it carefully. Well, that and Dozer ran off instead of slaughtering us all.
Next time:
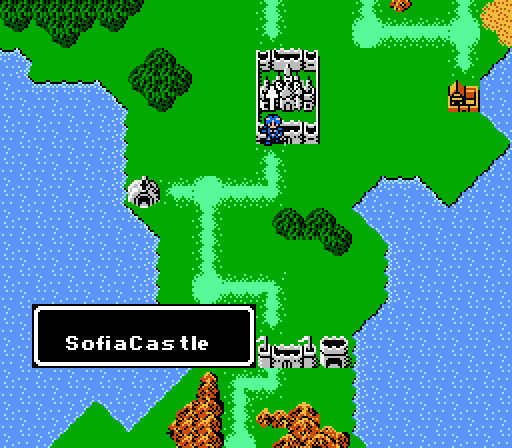
We finally arrive at Sofia Castle and wrap up the first chapter.