Part 16: Chapter 2, Part 4: Sea II
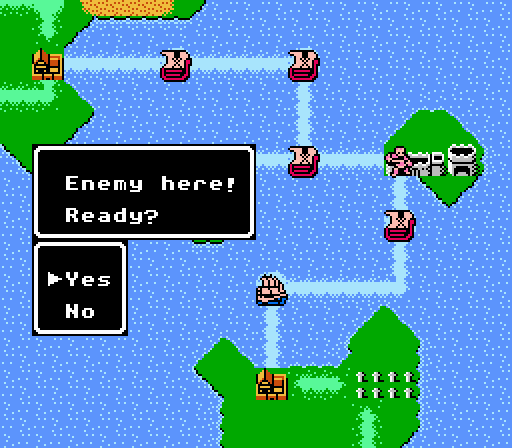
Ready to sail on and clean out another pirate ship.
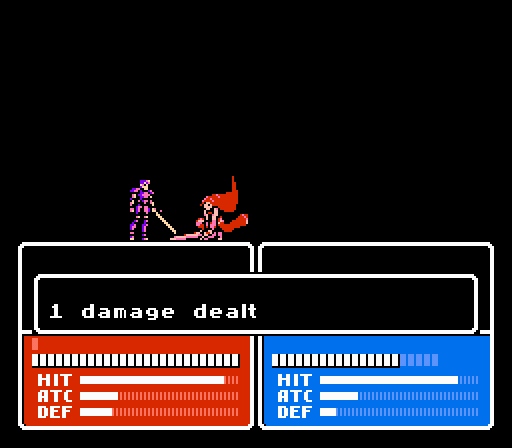
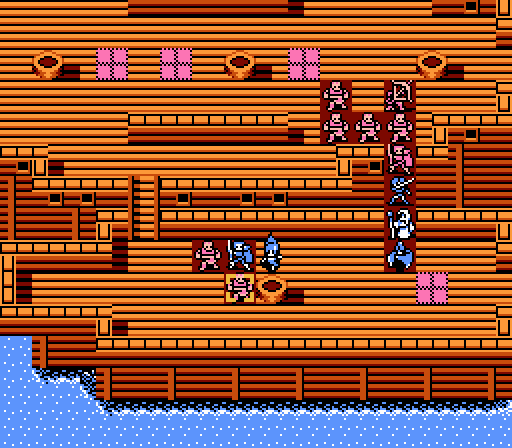
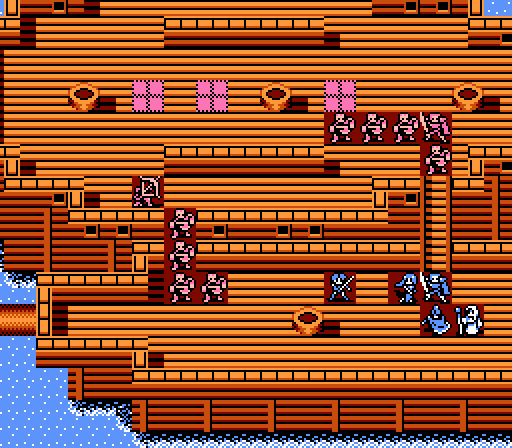
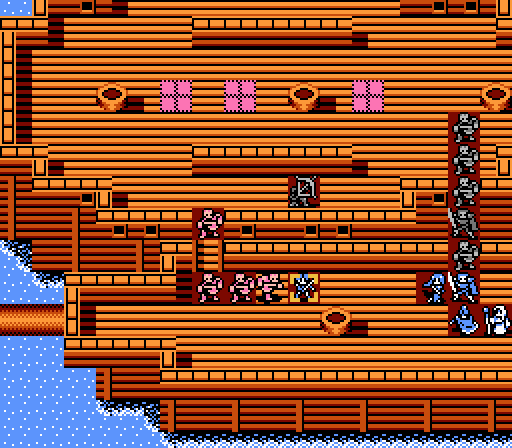
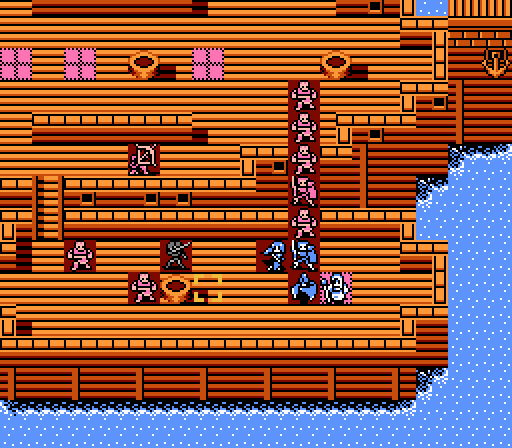
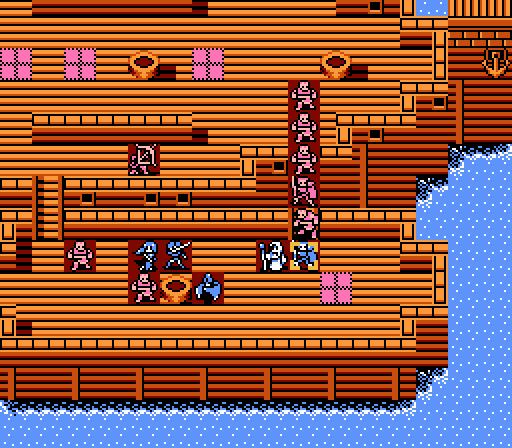
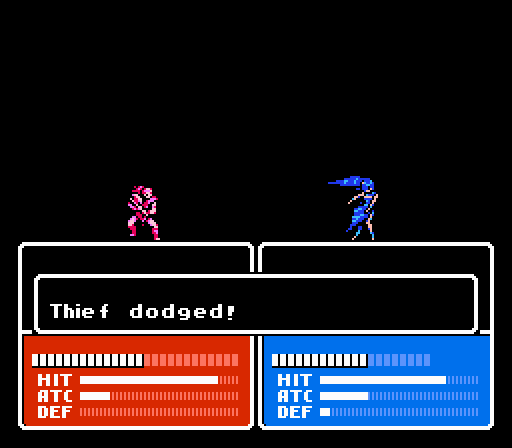
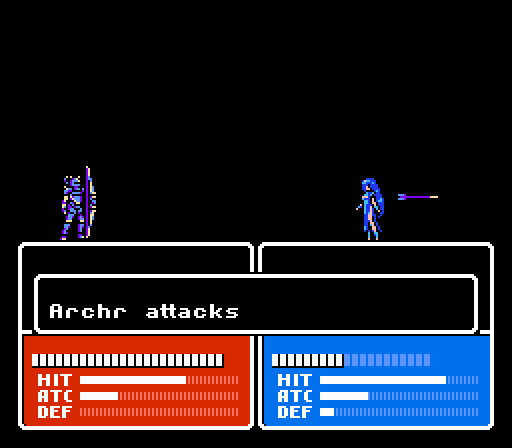
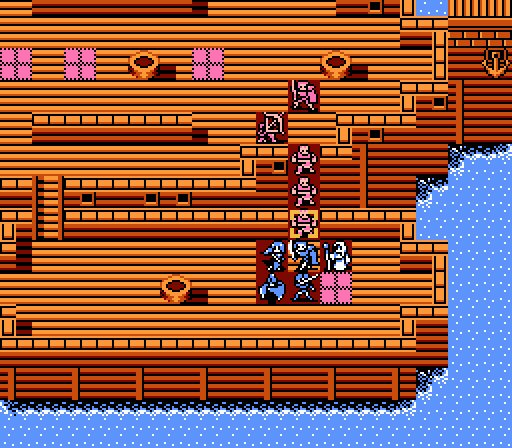
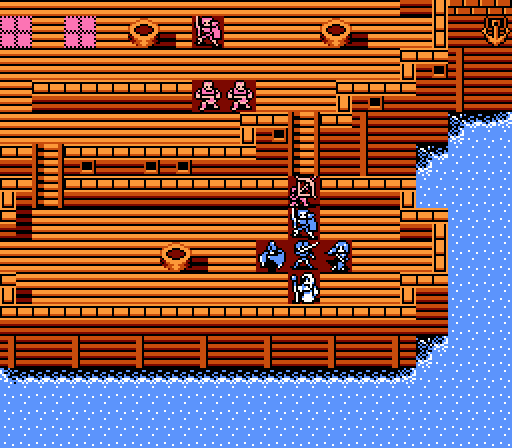
_-_Chapter_2_Part_4_Battle_0.gif)
Sailing through the sea, to fight another enemy....
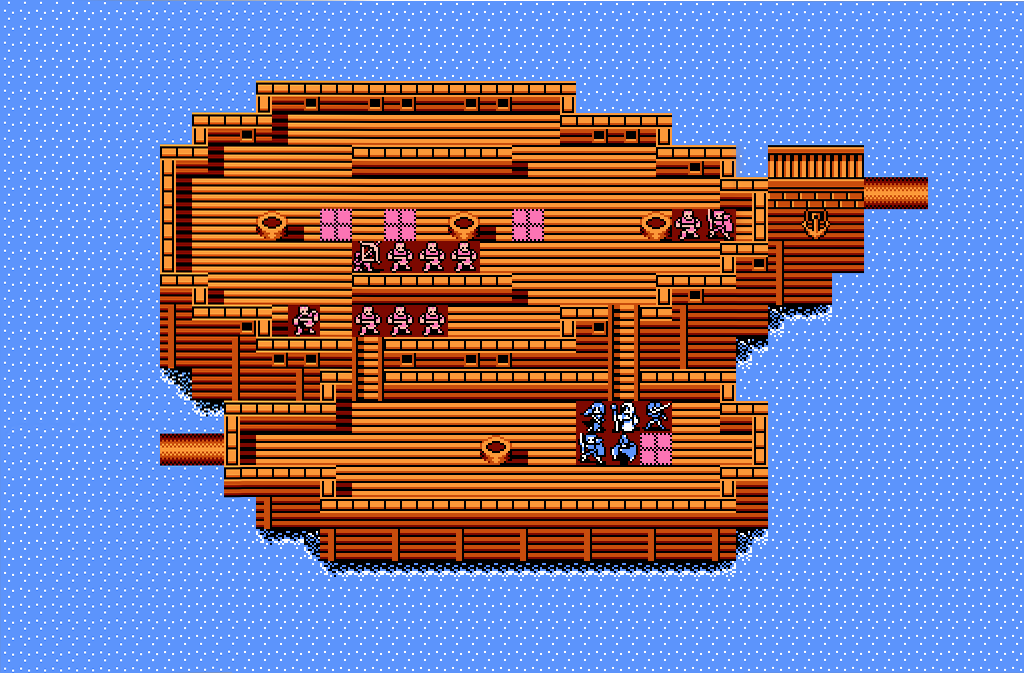
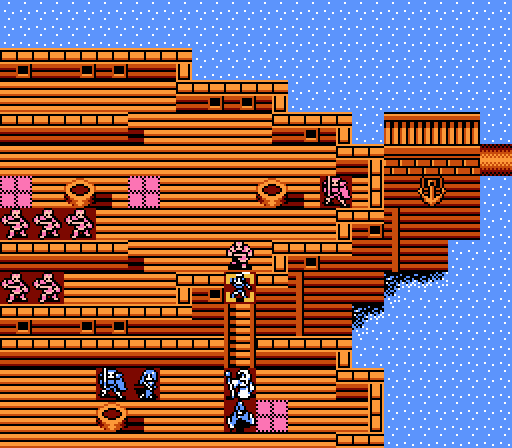
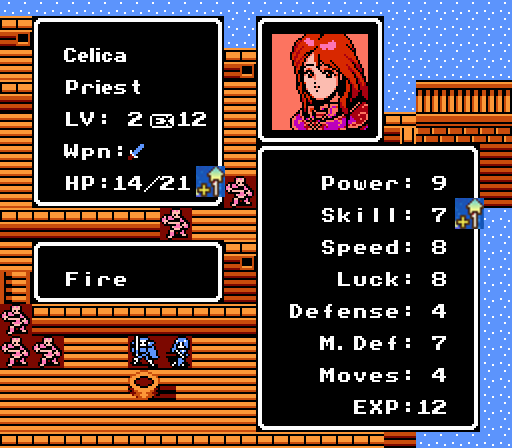
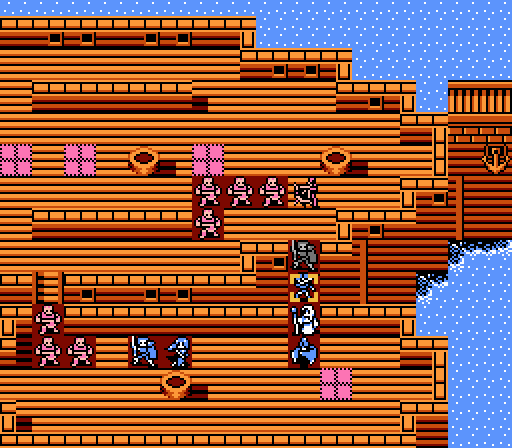
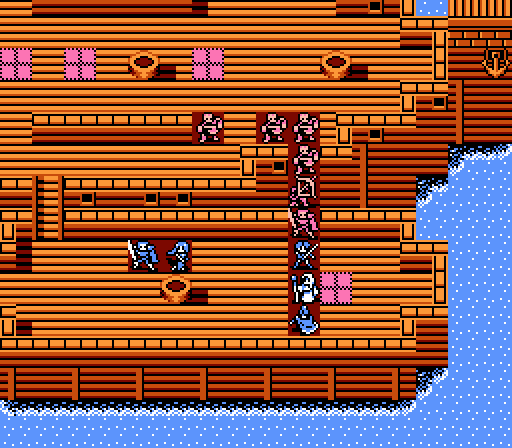
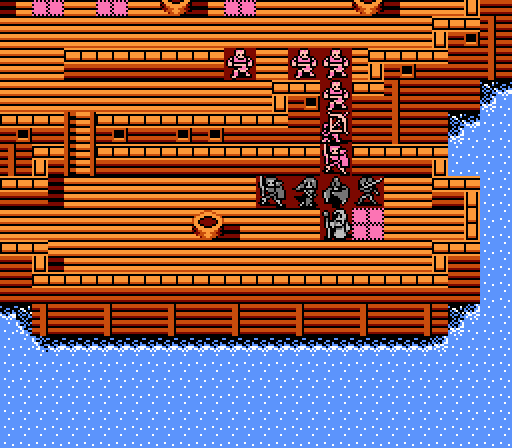
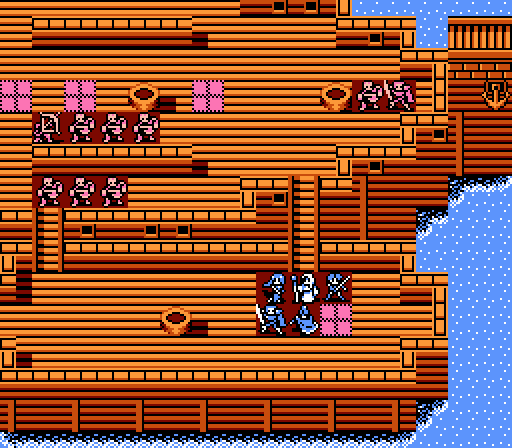
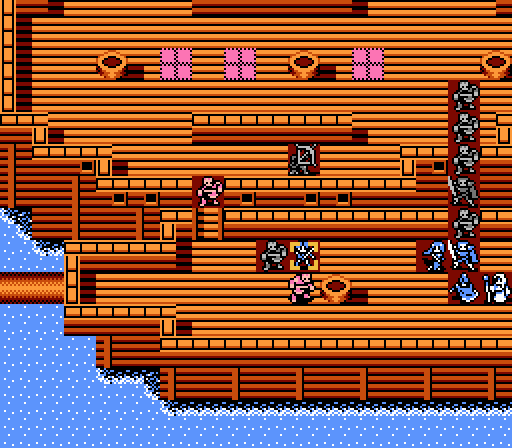
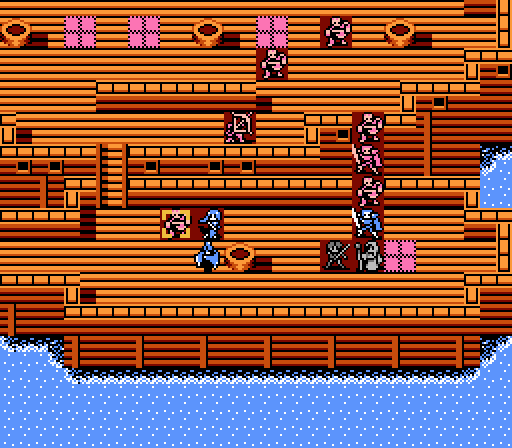
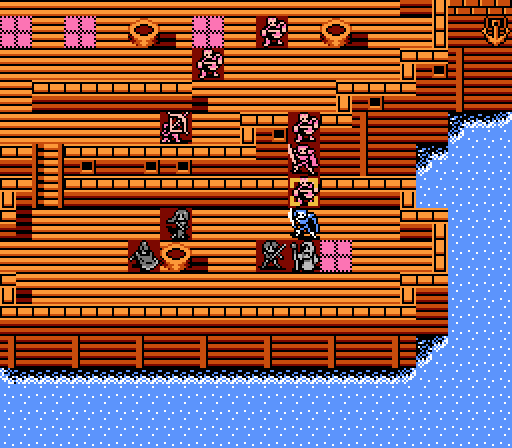
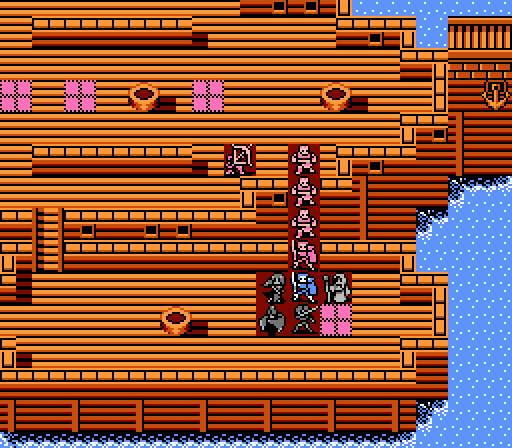
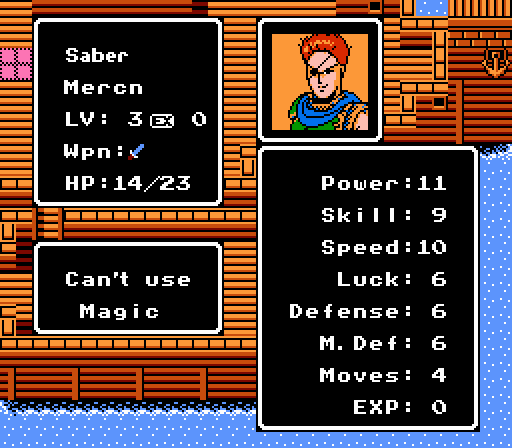
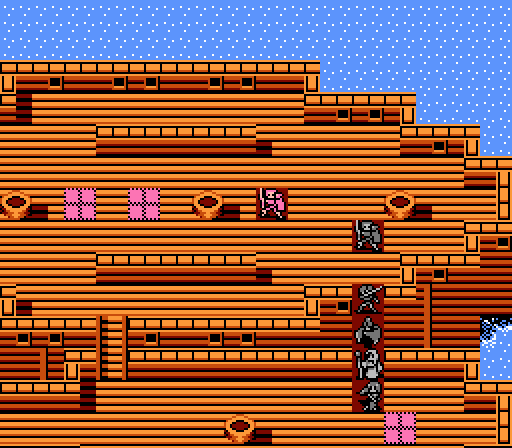
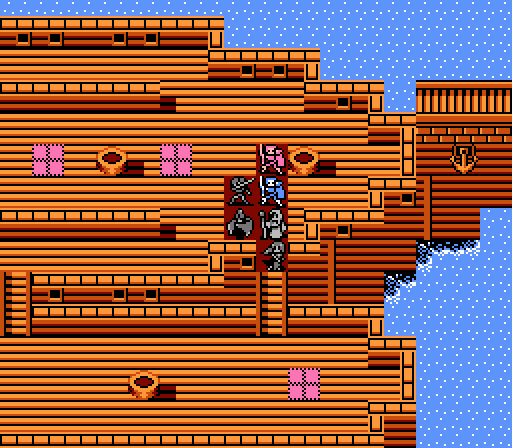
In a nice touch, our ship has the same 'map' as the last battle. The pirates have a larger ship this time around, with another seven level 1 thieves, a level 3 thief with a bit more power/speed/defense, a level 1 archer, and a level 1 mercenary.
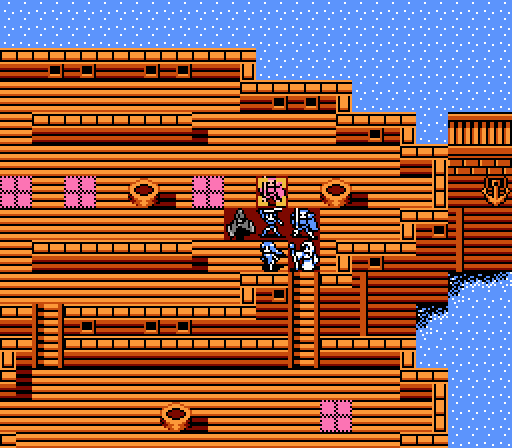
In another parallel to Alm's chapter, the mercenary comes with a Leather Shield (+3 Defense). Unlike Alm's encounter, the mercenary here starts off right next to us and will get to us at the same time as the other enemies.
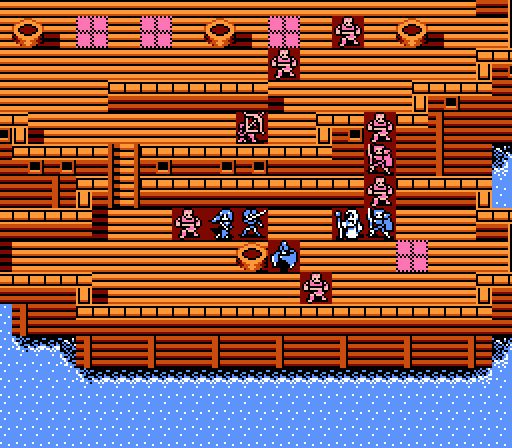
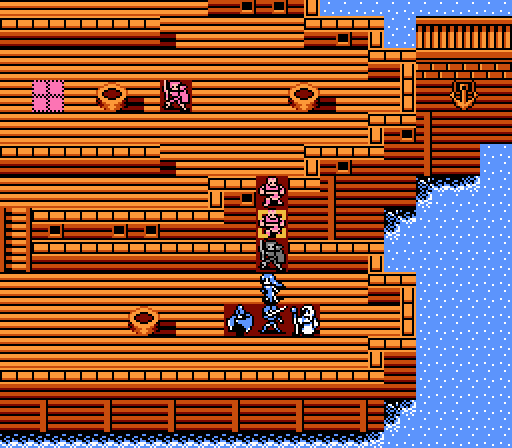
Turn 1
Celica blocks off the first bridge, while Saber and May prepare to meet the charge to the west.
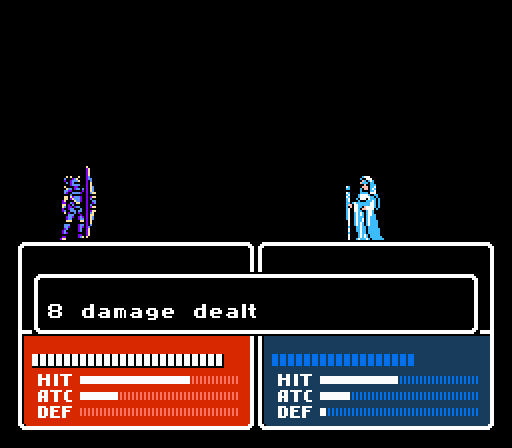
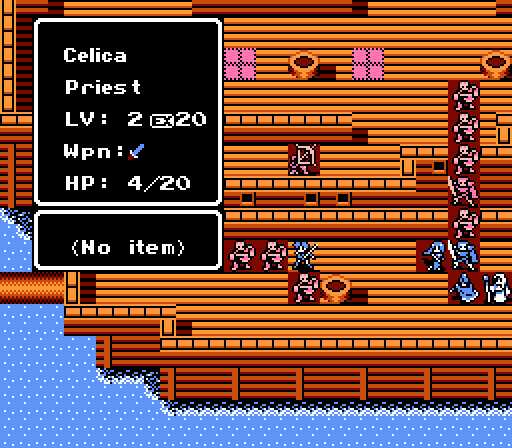
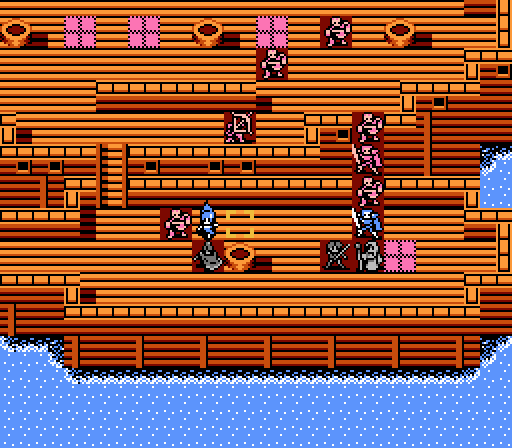
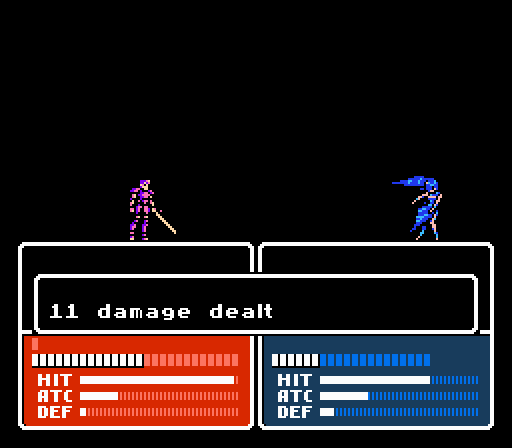
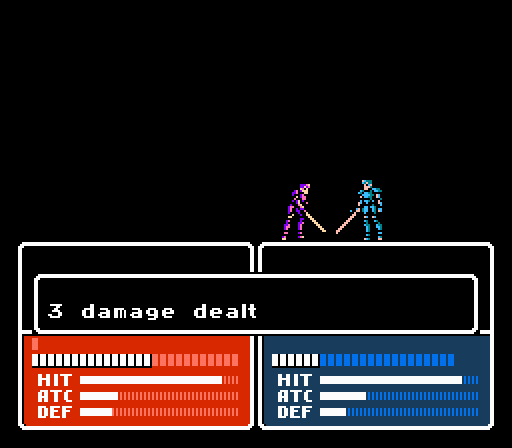
She takes 4 damage from the level 3 thief, and returns two attacks for 12 damage herself.
Most of the enemies go for Celica. Really I probably should have put Saber here instead since he got the extra Defense last battle.
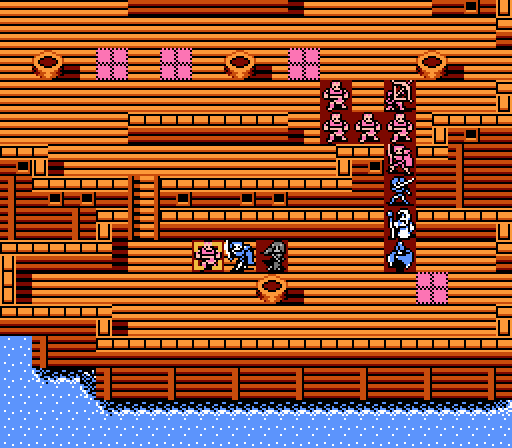
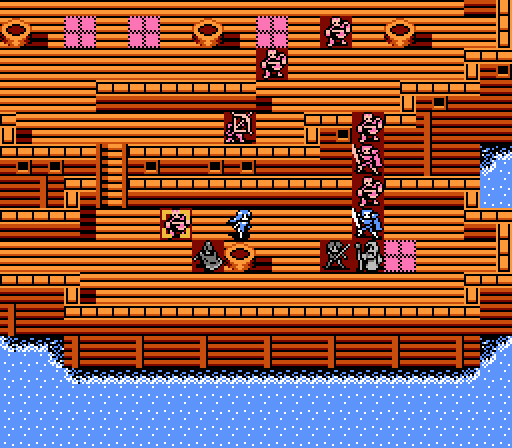
Turn 2
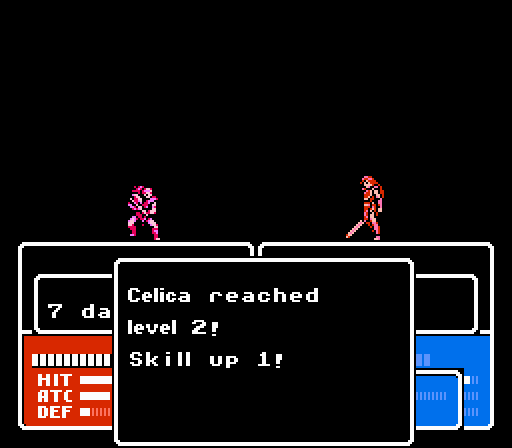
Celica backs off a space to finish off the thief.
She gets a rather terrible level out of it.
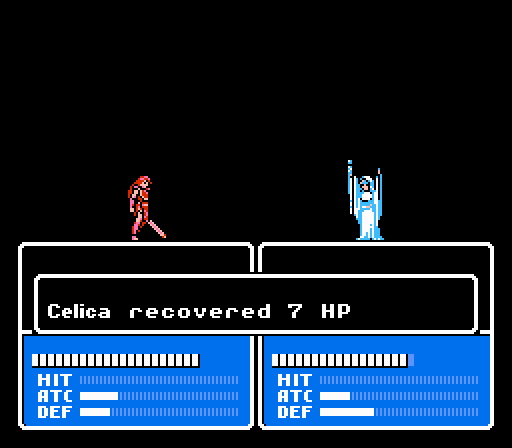
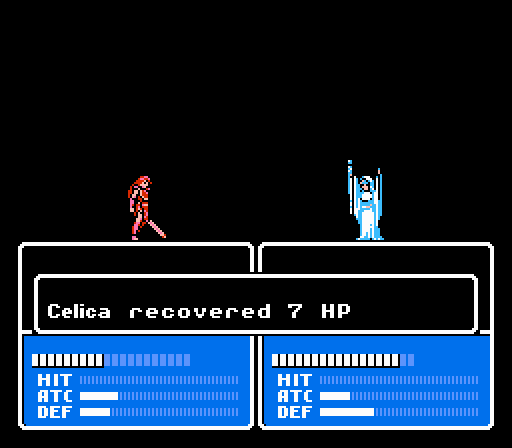
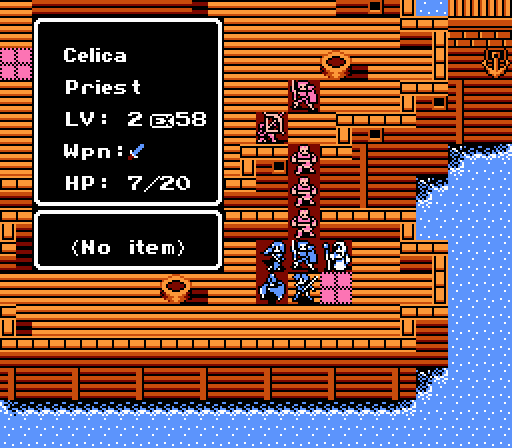
Jenny patches up Celica to face the mercenary.
Saber moves up a space to draw in more of the thieves, since we'll want to finish them off quickly and help out Celica.
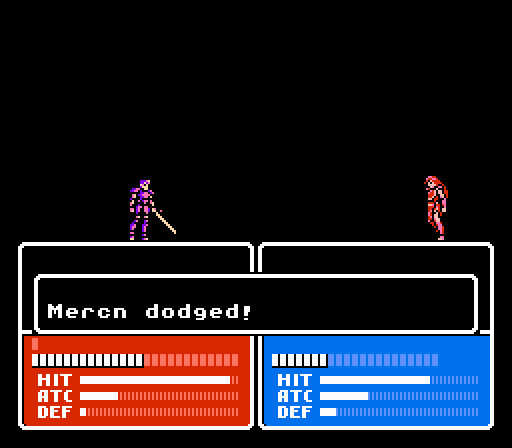
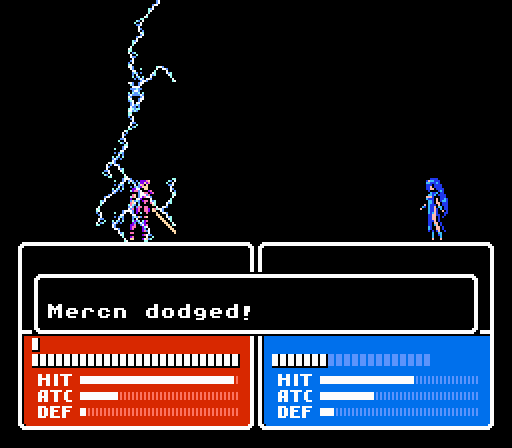
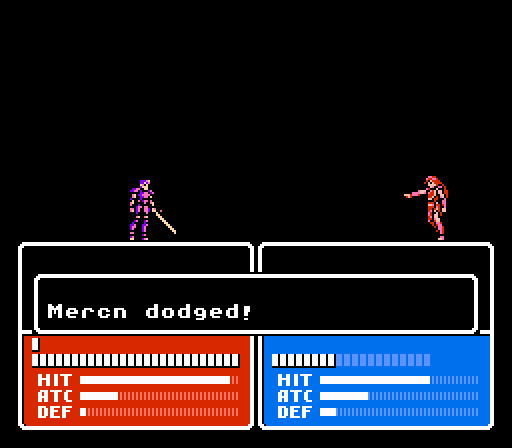
Celica's not really a match for the mercenary. She takes two attacks for 10 damage, and only manages 1 damage herself.
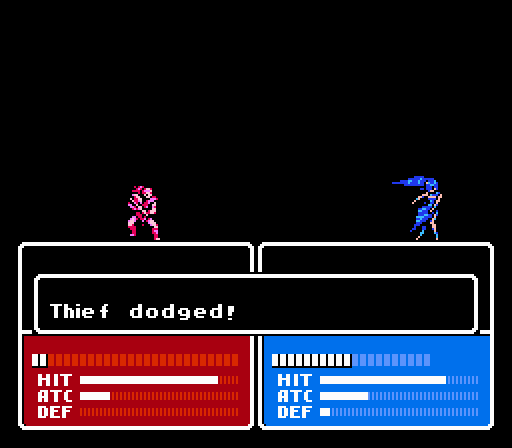
The archer also gets in range, but thankfully misses Celica.

Two thieves scratch up Saber without much effect.
Saber gets a nice critical to immediately kill off the second thief. Of course that just allows the third one in as well, but no trouble there.
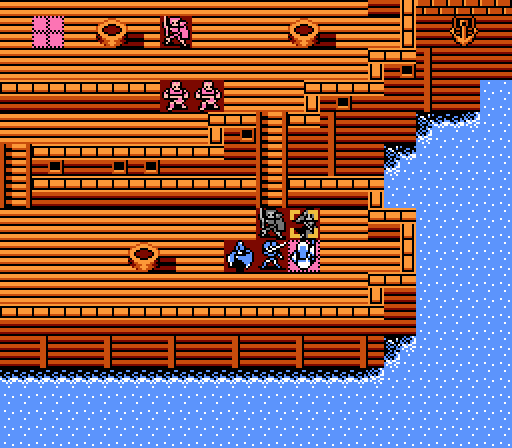
Turn 3
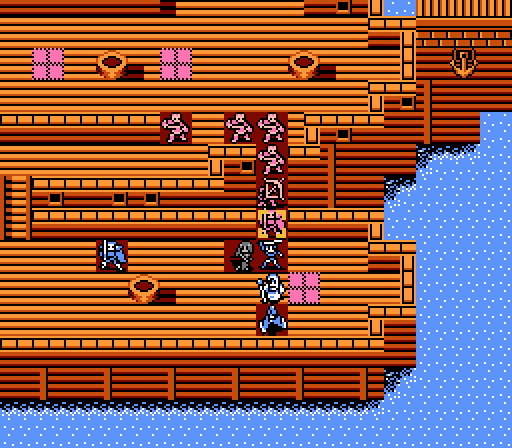
May and Saber start off by clearing out the two remaining thieves on our ship.

Celica can't survive another attack from both the mercenary and the archer, so everyone retreats so that Jenny can heal her up some more. Unfortunately Jenny can't actually heal up all of the damage.
The mercenary deals out another 10 damage to Celica in exchange for another scratch.

The archer moves forward and can now reach Jenny for 8 damage.
Turn 4
Okay, now I'm in a bit of a bind. Celica's down to just 8 HP and can't survive another encounter with the mercenary. Jenny's got less than 8 HP left and can't take another shot from the archer. And because I was so clever about moving Saber forward another space a couple turns ago, he's now too far away to take Celica's place.
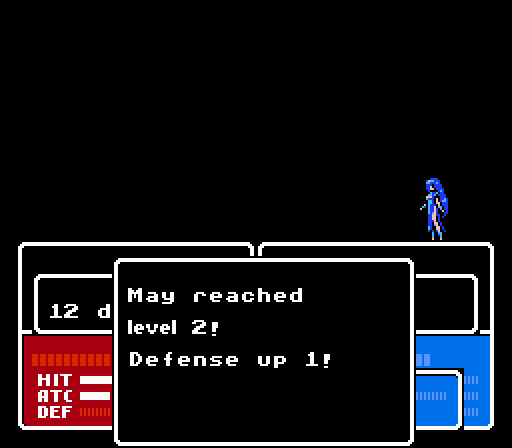
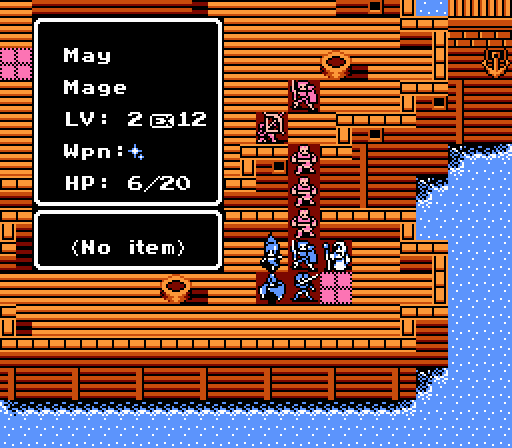
May gets in an 11 damage fireball, but the mercenary still has 16 HP remaining.
She gets a good enough level for it, though.

We need three of four magic attacks to land in order to kill off the mercenary. But Jenny misses here.

And another miss from Celica.
Boey stands in the way to keep the mercenary from immediately killing Jenny or Celica.
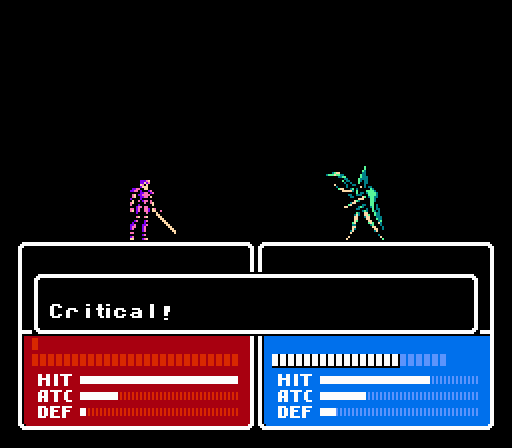
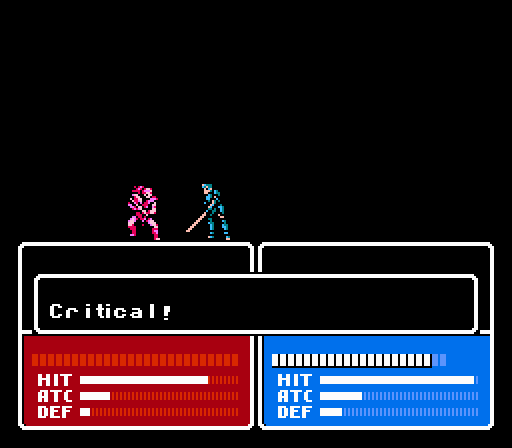
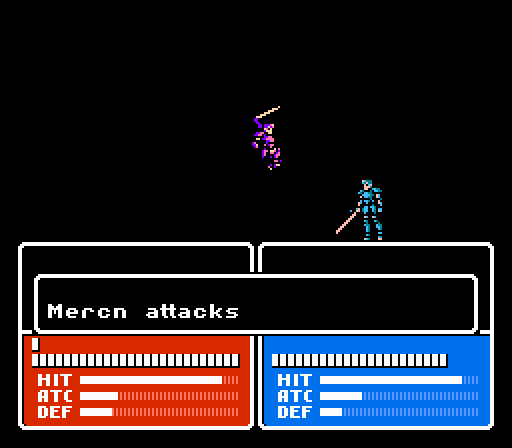
The strategy pays off as Boey gets an unlikely critical to kill off the mercenary.
Unfortunately, since Jenny didn't land Nosferatu, she's still in range of the archer and can't survive another hit.
Whoops.
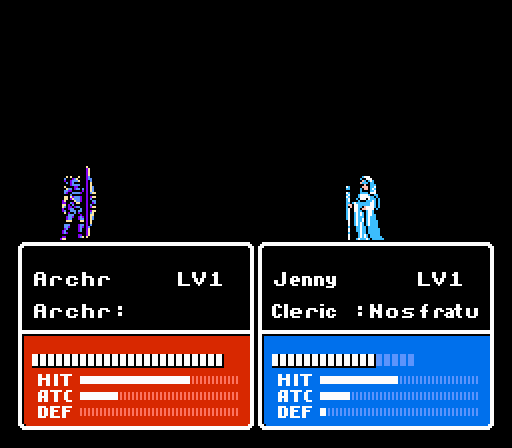
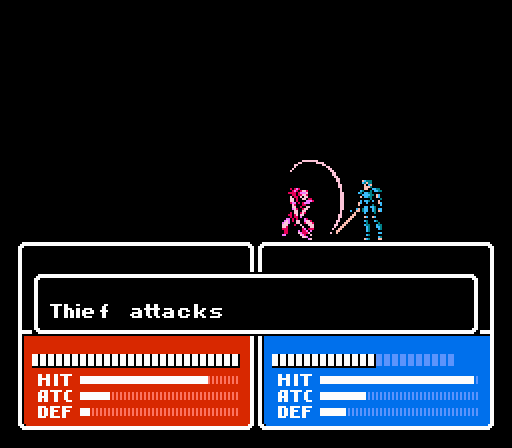
Music: Ally Falls
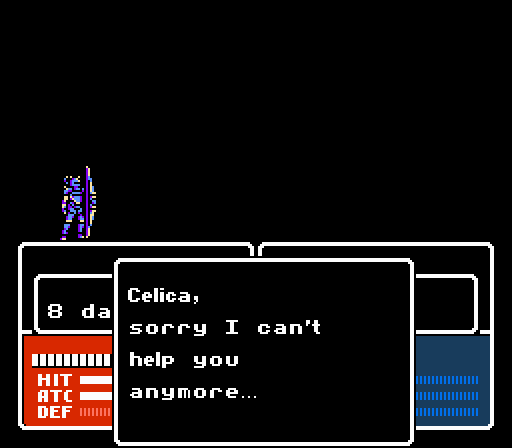
Well, scratch that then.
Let's try this again....
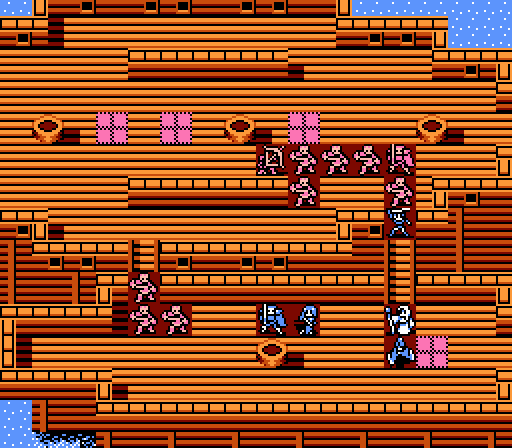
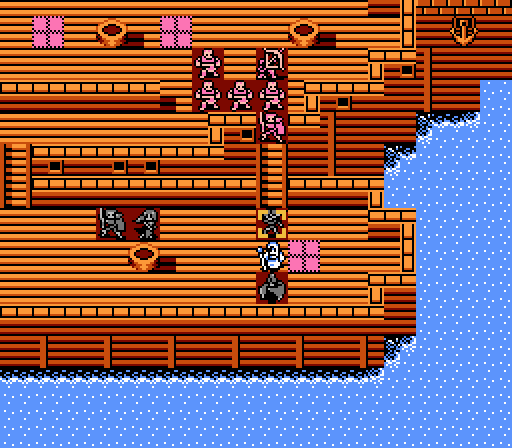
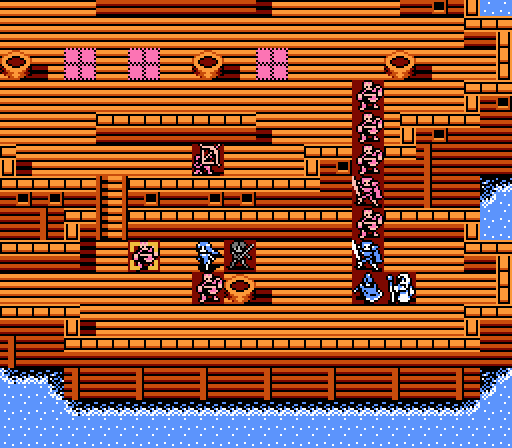
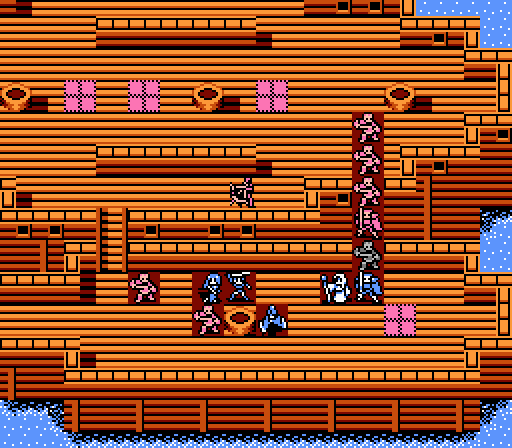
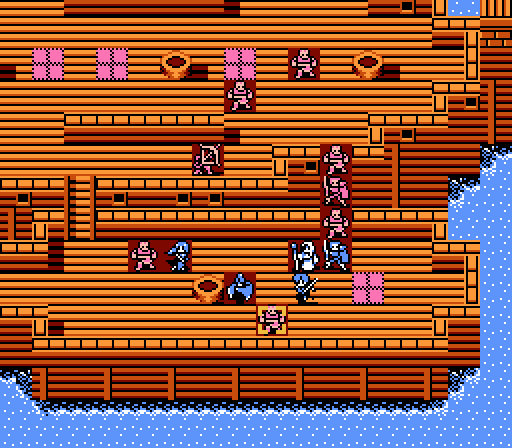
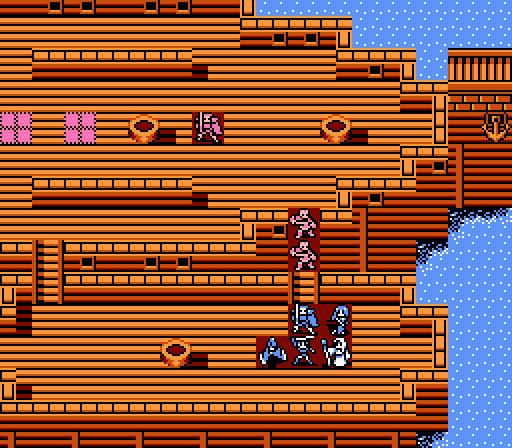
Turn 1
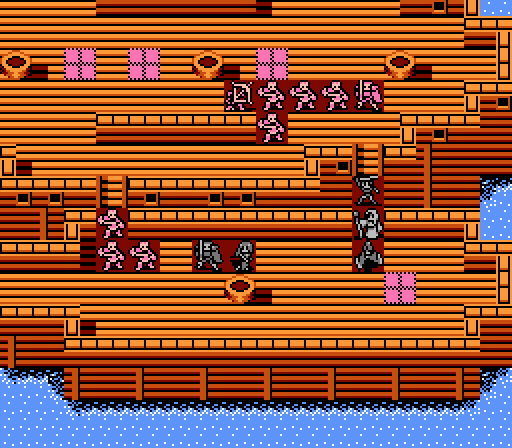
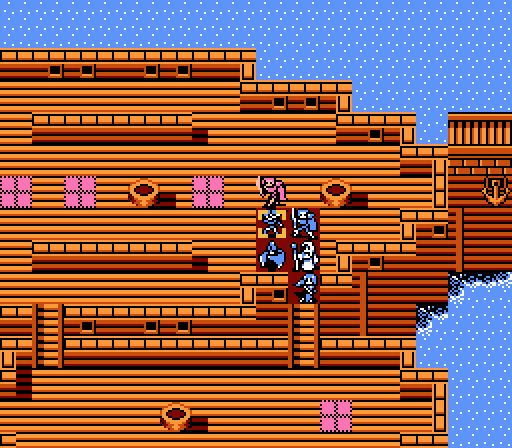
This time Saber blocks off the eastern path, but does so while staying safely on our ship. Celica then moves over to block the western side.
More of the enemies, including the archer, head down the western bridge this time.
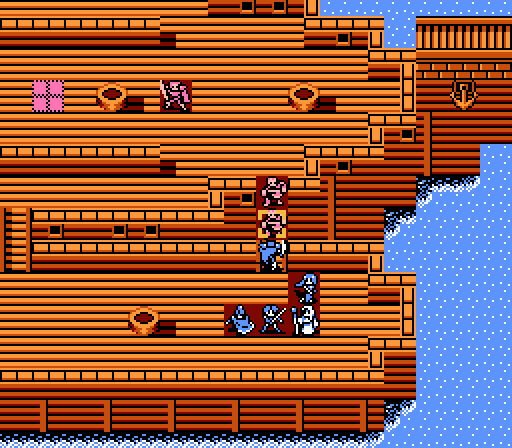
Turn 2
Celica moves forward to get the opening shot in on the lead thief.

Fireball hit rate: 1/2
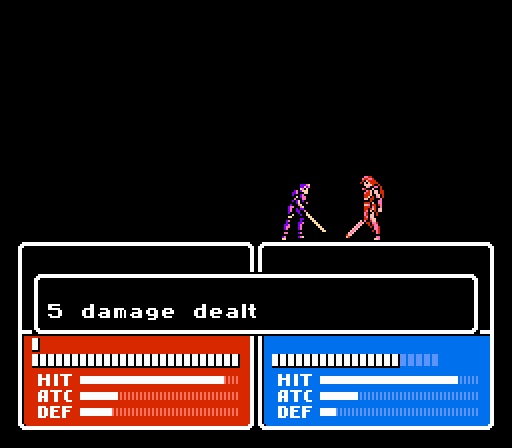
The level 3 thief closes first with Saber, trading 3 damage for 14.
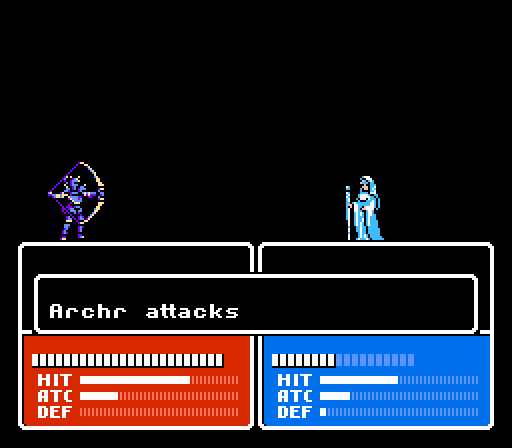
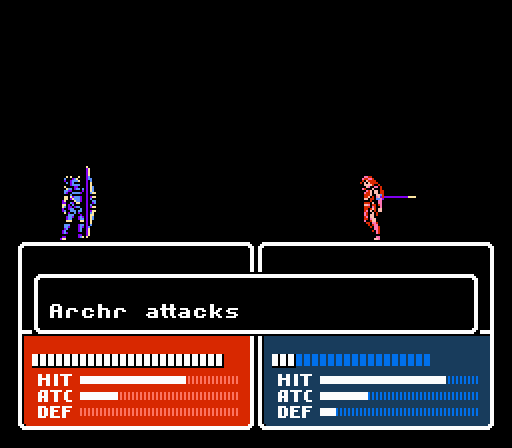
The archer gets in a shot on Celica for 5 damage.
Two thieves get in a total of 6 damage on Celica, each eating a pair of counterattacks.
Somehow Celica gets an even worse level this time around from that action.
One of the thieves was the one Celica weakened earlier this turn. So she is able to kill it and free up the space for a third thief to attack.
Turn 3
Celica's down to 4 HP, so I need to get her out of there and healed up by Jenny.
For some reason I instead have Celica back off only one space and try to attack one of the thieves with Fire instead.
Celica gets a critical but now has just 3 HP remaining. One attack from a thief or from the archer will do her in at this point.
Oh, and Jenny can't actually reach Celica to heal her. Fantastic.
Well, at least May can take care of the thieves. She moves in front to shield Celica, targeting the far thief.

Fireball hit rate: 3/5
Boey sees his first action, trying to rough up the other thief.

Trying, not really succeeding. Also Boey can't even double-attack a level 1 thief. (Fireball hit rate: 3/6)
The archer can't reach Jenny from here, so she patches up Saber. If Saber gets a lucky critical to kill the thief, that would let the mercenary in to attack, so might as well make sure Saber is at full health in that case.
The lead thief attacks Saber, and barely survives with 1 HP.
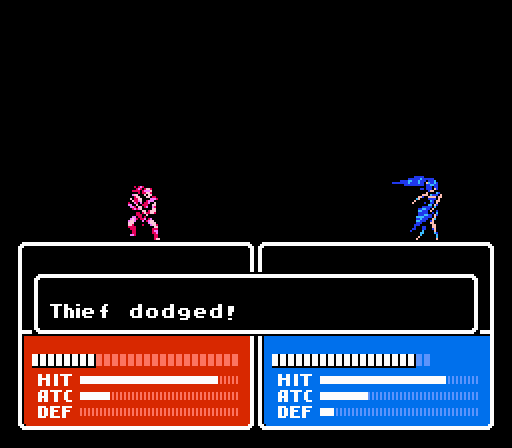
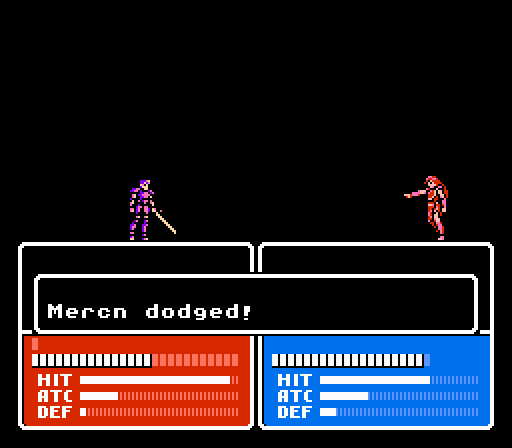
Well, here we go. The archer goes after Celica, and misses a 65% hit chance to keep me from having to reset for the second time in this supposedly simple battle.
There's still more that can go wrong here, though. A thief does 5 damage to May, who once again misses one of her two attacks. (Fireball hit rate: 4/8)
Turn 4
The mercenary is going to close with Saber on the enemy phase this turn, so we need to wrap up the thieves to the west and get Celica to safety first.
Might as well have Celica blast this thief as she retreats. (Fireball hit rate: 5/9)
Celica finally gets patched up...a little bit, anyway. Man I never thought I'd miss the Vulneraries so much (healing items that anyone could use).

Boey attempts to take out the other thief on our ship, but misses again. (Fireball hit rate: 5/10)
That means either May attacks the thief from the spot marked here, and risks an attack from the archer, or move to the bottom of the boat and stay safe from the archer but need two turns to get back into the fight to the east.
I opt to take the hit from the archer. May misses her first attack yet again, but lands the second to get the kill. (Fireball hit rate: 6/12)
May gets her first level for the second time, and it is again inferior to the prior version.
Saber is going to kill the thief on the enemy phase anyway, so he takes the initiative here and kills it now to avoid more damage.
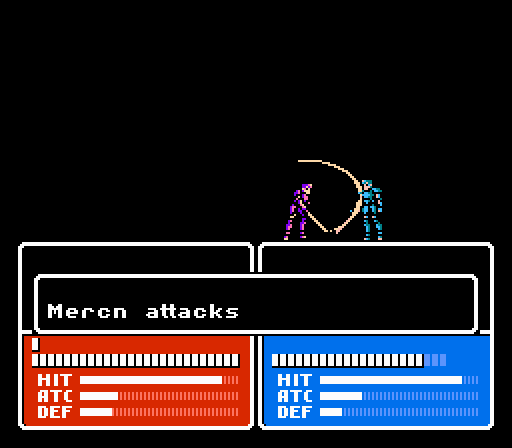
The mercenary joins the battle again, dealing 8 damage to Saber, who misses the counterattack.
May cashes in some karma as the archer misses again.
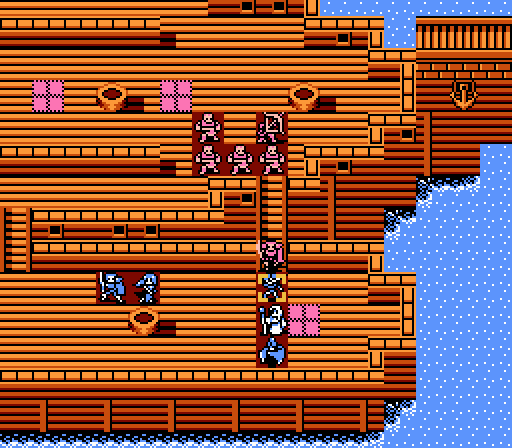
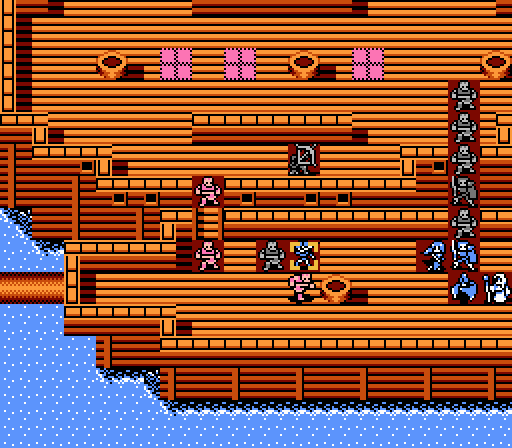
Turn 5
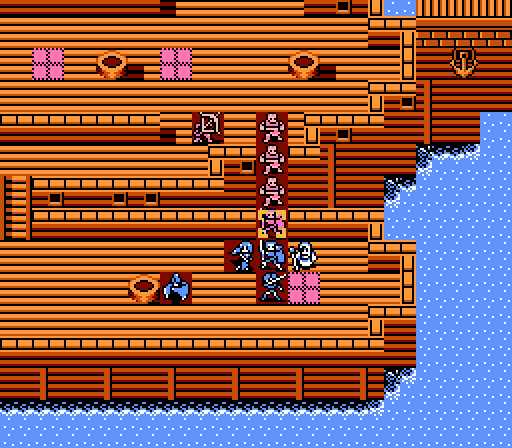
We've survived longer than last time already, so just need to keep it up.
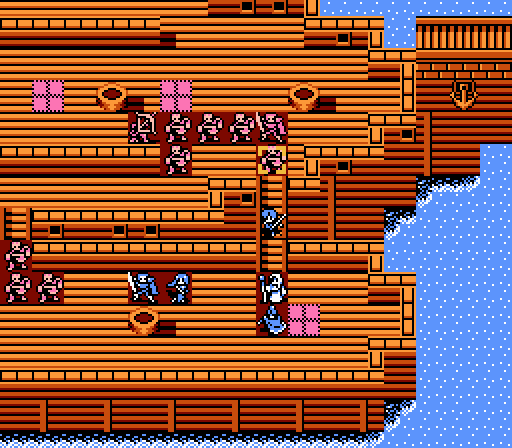
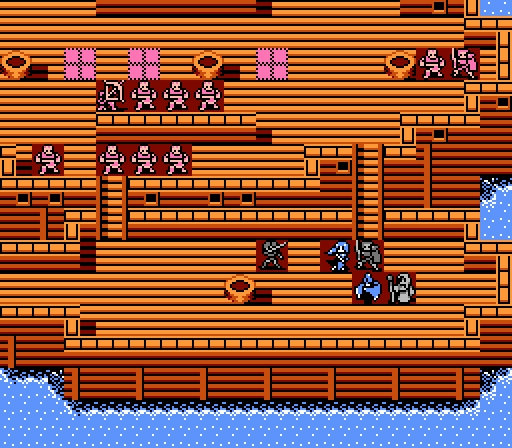
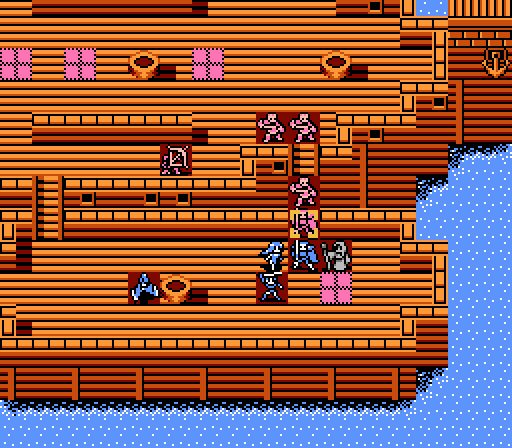
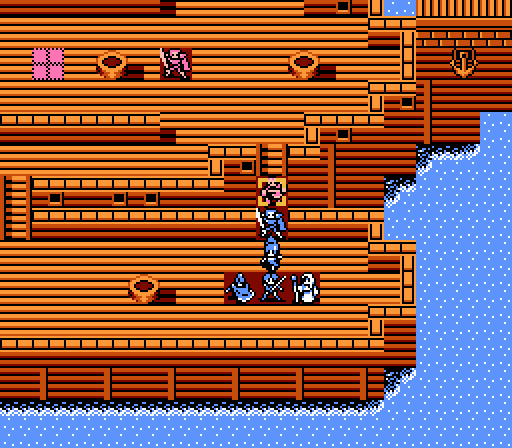
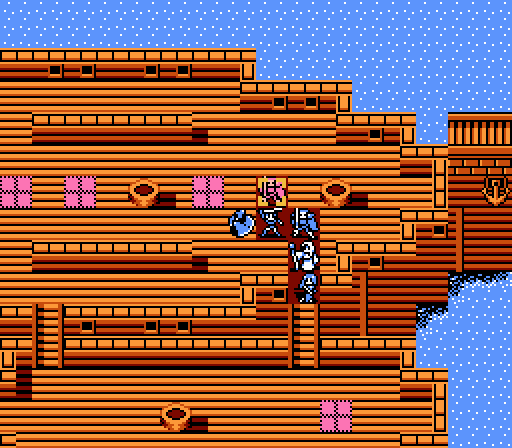
The first step is healing up Sabr back to near full health.
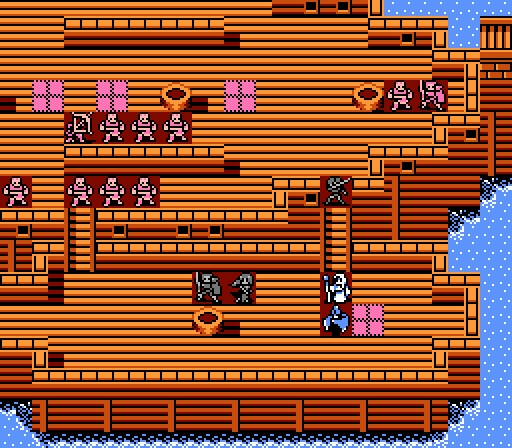
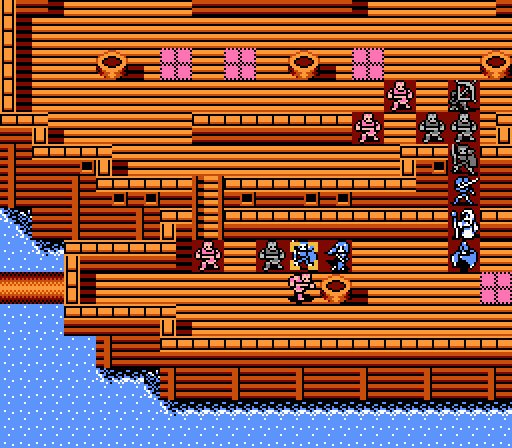
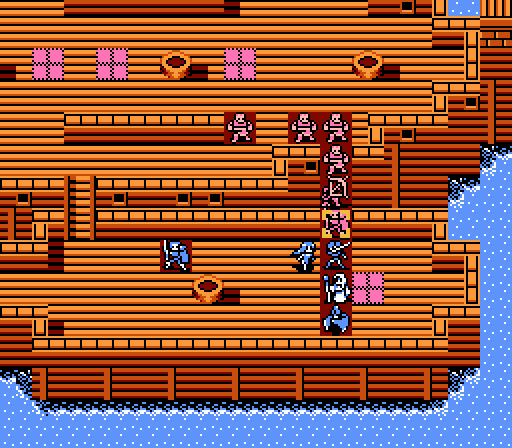
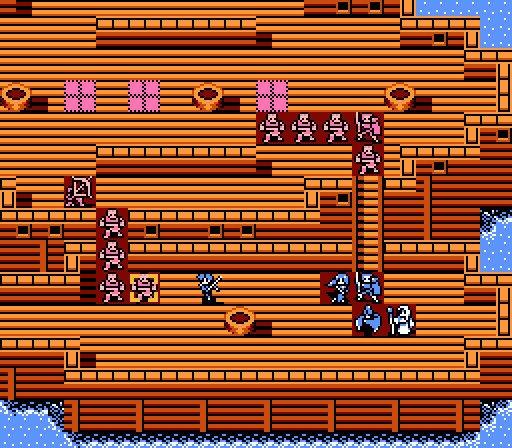
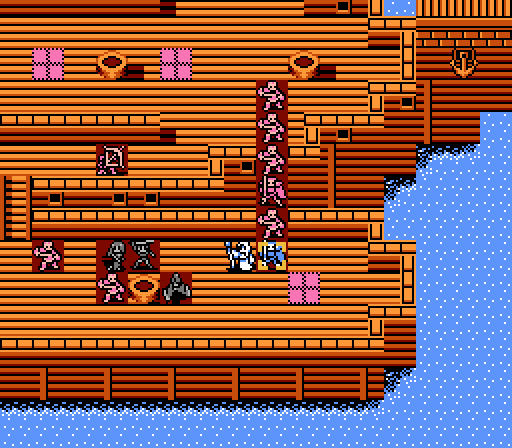
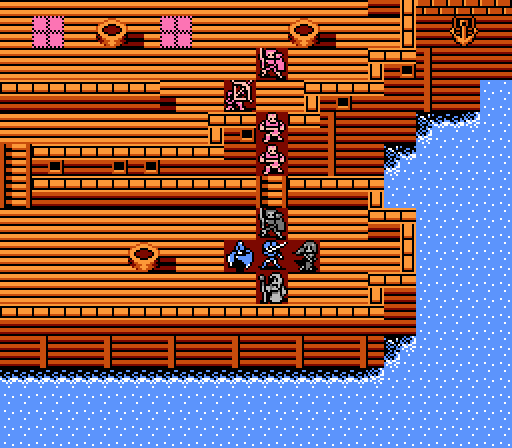
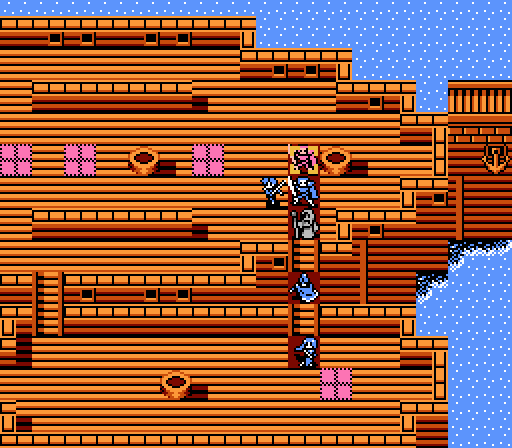
_-_Chapter_2_Part_4_Battle_1.gif)
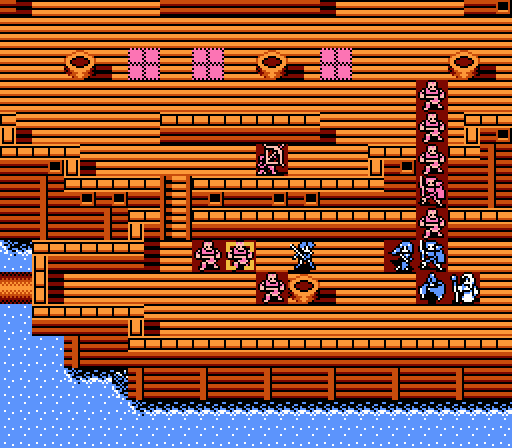
Somehow Jenny triggers a double heal. I didn't even know that was possible, and I still don't know what triggered it. Either way Saber's back to full health, and that's just a good thing.
The fireballs haven't really been working so I tried using lightning with May this time - still missed.
Fireball hit rate: 6/13
The enemy mercenary attacks twice again, missing once this time. Saber gets in the first damage on the enemy merc, a 2-damage scratch.
Turn 6

Since Saber only got hit once and doesn't immediately need healing, I try to get Jenny some of her HP back with a shot of Nosferatu. Of course, she misses.

May and Celica both finally land their attacks this time, though even then it's not enough to finish off the merc.
That archer could still cause trouble if it's able to get close, but thankfully the enemy turn order prevents that. The merc retreats first, having <50% HP. Then the archer moves, but can't reach the opening and can't go anywhere else with the thieves in the way, so the archer just moves up one space instead. Then a thief moves up to attack Saber and clog the line again.
Turn 7
May and Celica are hurting at this point, so the most immediate need is to get them healthy now that the merc is already retreating.
Since Saber's out of immediate danger, he takes a counterattack to get rid of another of the thieves.
Another pretty great level for Saber.

May moves onto the healing tile, and Jenny patches up Celica.
What I should have done here, is move Boey up to the empty space above Saber. He can take a couple hits from the thief and the archer. May, however, can't take another hit.
Fortunately, the archer goes after Jenny for some reason instead. She takes the hit but still has 5 HP left.
Turn 8
The mistake actually works out pretty well, since now the archer's exposed and we can take it out while the mercenary is still out of the picture healing itself. The thieves, having been blocked out by the archer, started to go around to try and take the west bridge, so they won't be a factor this turn, either.

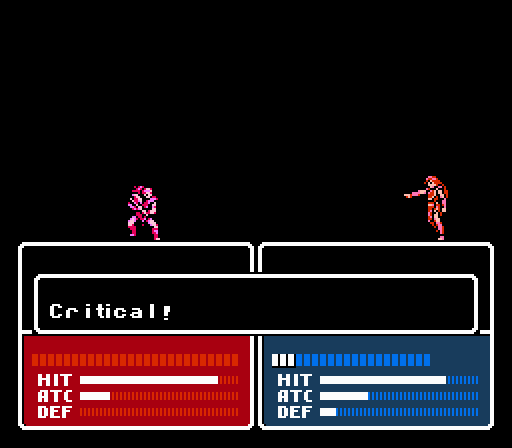
Saber starts and finishes with a well-timed critical. With the long-range threat removed, we can take our time with the rest.
Jenny parks herself on the healing tile this turn, while patching up May some more. She actually pulled off another double heal out of nowhere to get May back to full HP.
Turn 9
With only two thieves and the mercenary remaining, it's time to start getting aggressive - the sooner we get to the merc, the less time it has to heal.
Saber and May take out the first thief. May didn't even miss her first attack this time. (Fireball hit rate: 9/16)
Jenny gets Celica back up to full health so that she can...sit there and do nothing, rather than actually move up to attack the last thief.
Instead the last thief attacks Saber on the enemy phase for just 1 damage.
Turn 10
May gets the last thief kill, despite missing the first attack again. (Fireball hit rate: 10/18)
The enemy mercenary will be over 50% HP at the start of the enemy phase, so Saber's going to draw him back out and away from the healing tile.
The lure is successful, with Saber only taking 6 damage now thanks to that extra Defense he received.
Turn 11

The first action is to make sure Saber can survive another round or two.
Fireball hit rate: 10/19
Boey moves up to make sure the enemy mercenary can't get to Jenny. We're in pretty good shape, now.
The merc gets in another 10 damage on Celica, but nothing to really worry about.
Turn 12

Boey lands his first fireball of the battle, putting the merc back into retreat mode.

So of course with a chance to end the battle, May misses again. (Fireball hit rate: 11/21)


Celica likewise fails to end the battle. Oh well, one more turn. (Fireball hit rate: 11/22)
Turn 13

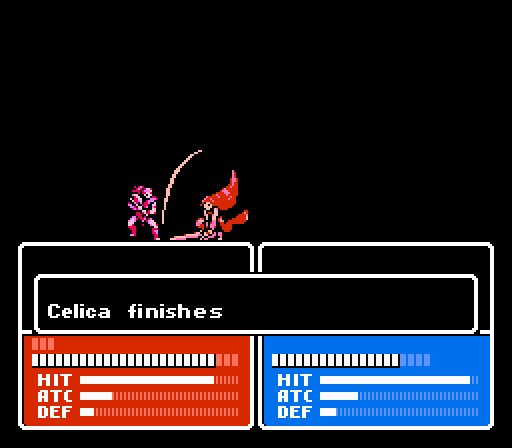
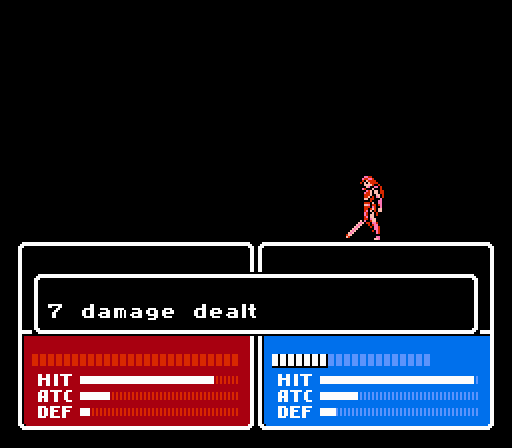
Given yet another chance, Celica finally ends things here. Final fireball hit rate: 12/23 (52%). Fire has an 80% hit rate, and even with the merc's 11 speed that's a minimum of 69% accuracy amongst all our mages. Just a bad luck streak there.
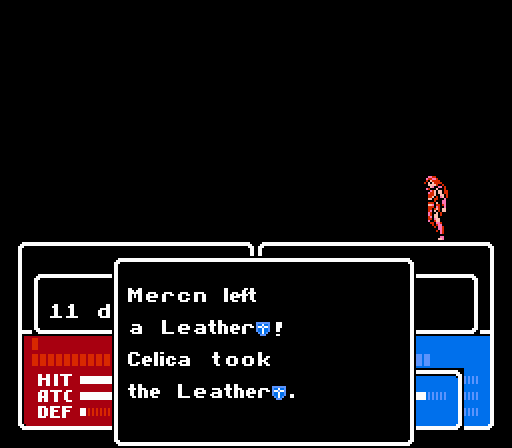
Celica gets the Leather Shield, as well. I'll let the thread decide who gets it - Celica, May, or Jenny are all good options, really.

That battle really should not have been that difficult. It only gets harder from here.
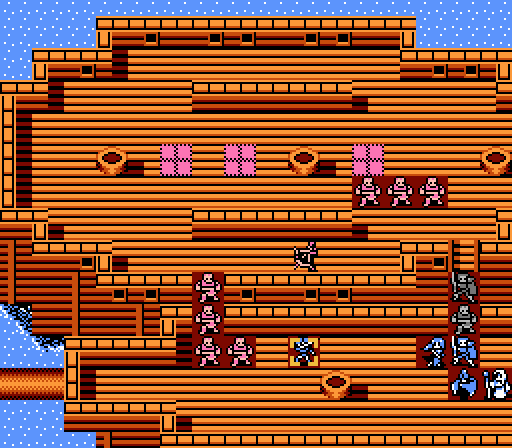
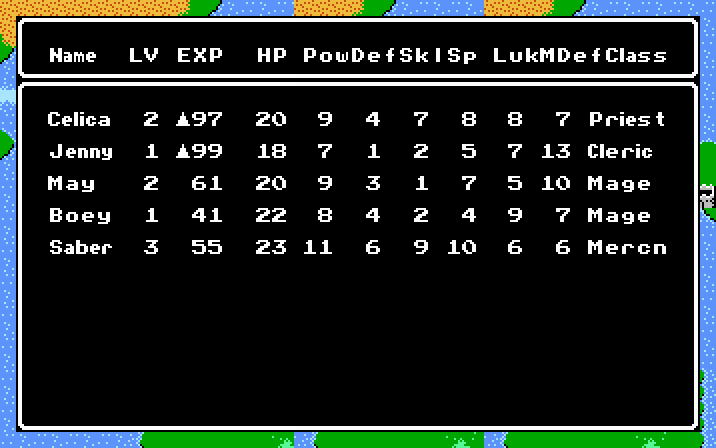
Current Roster
Next time:
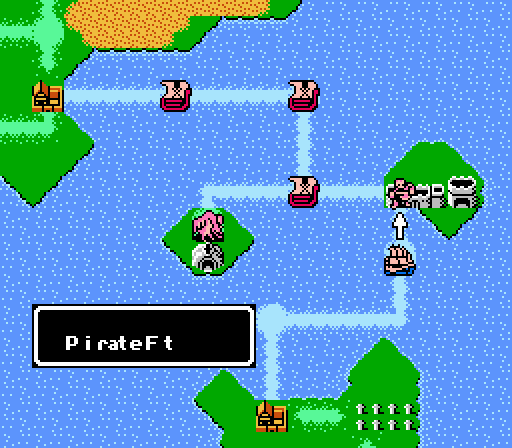
It's time to clear out the rest of these pirates at the source - the Pirate Fort.