Part 20: Chapter 2, Part 8: Sea Shrine II
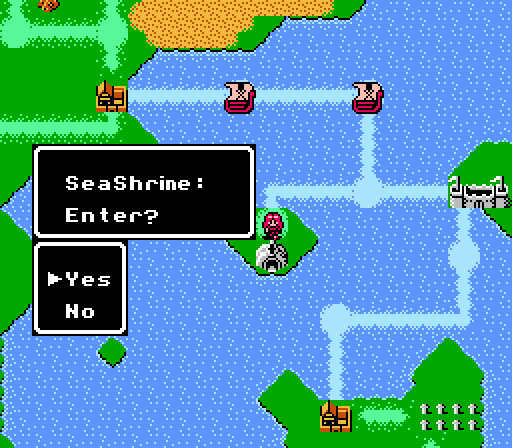
Time to enter Sea Shrine and claim whatever treasures lie within.

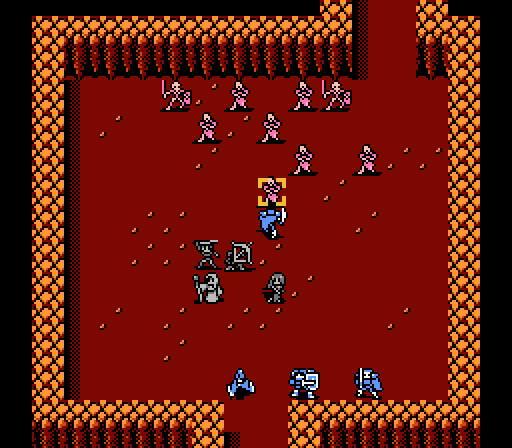
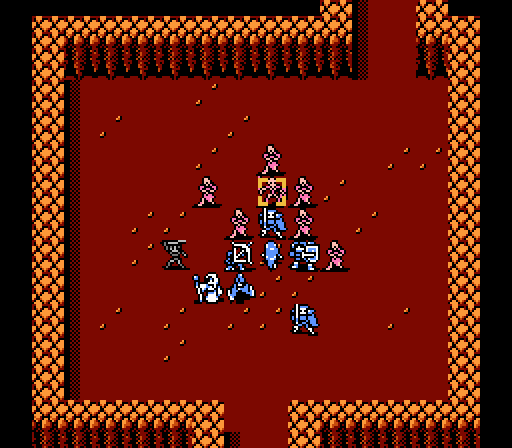
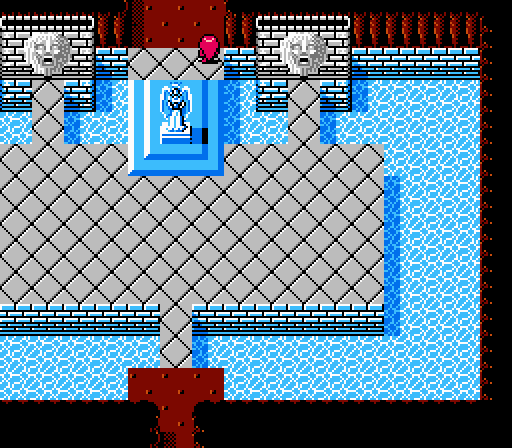
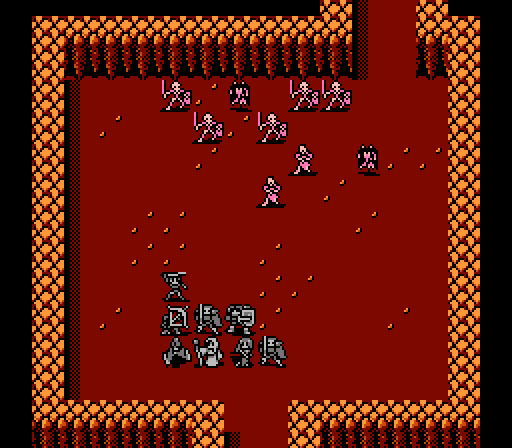
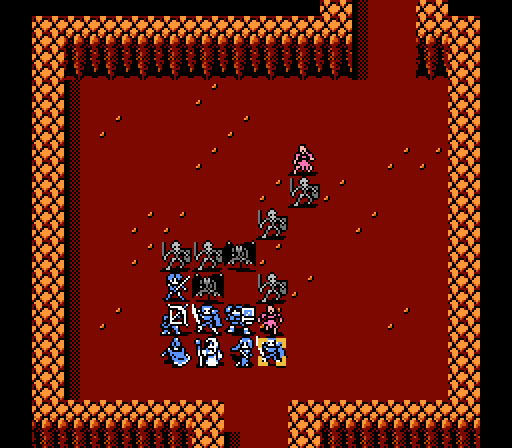
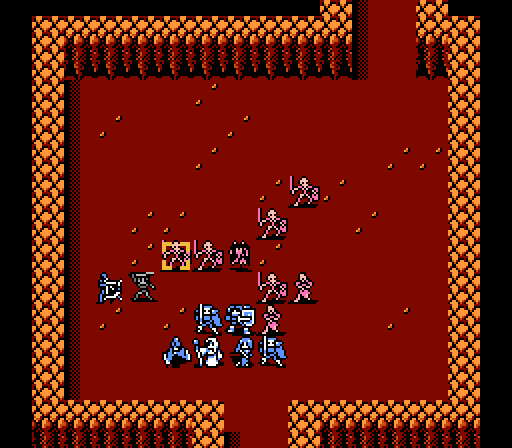
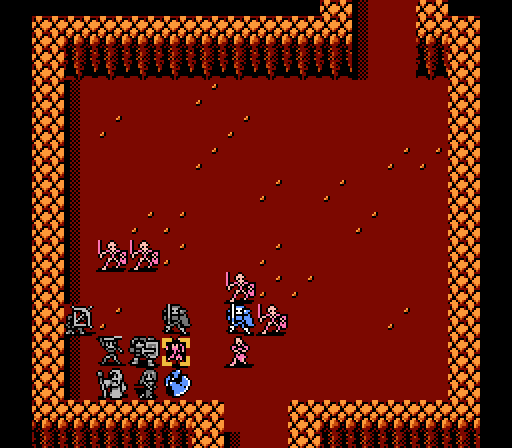
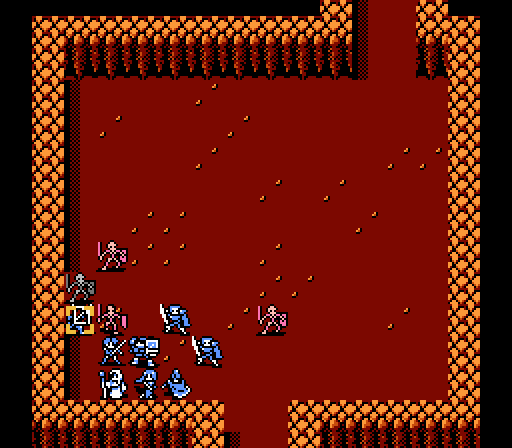
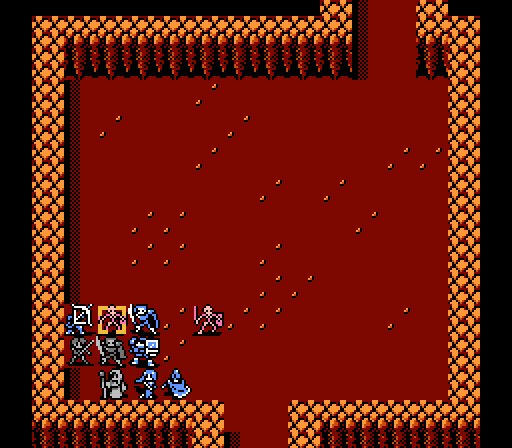
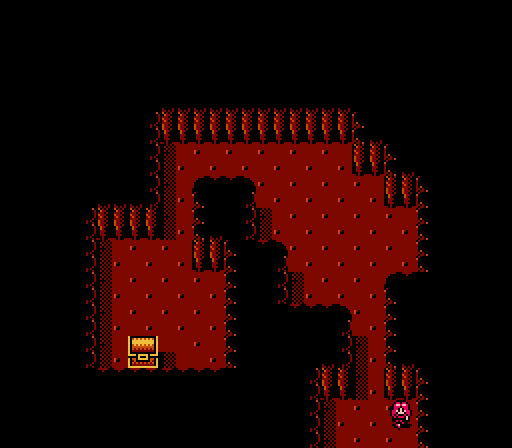
Another empty room to start, and then....

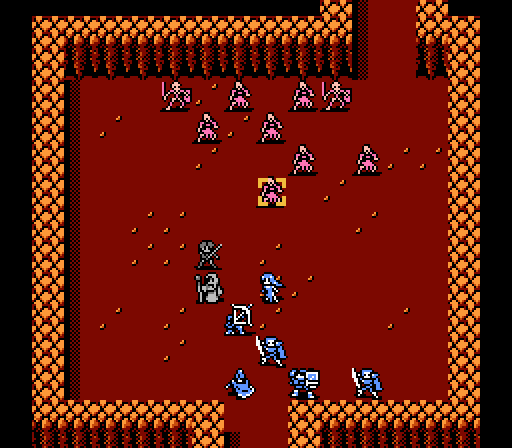
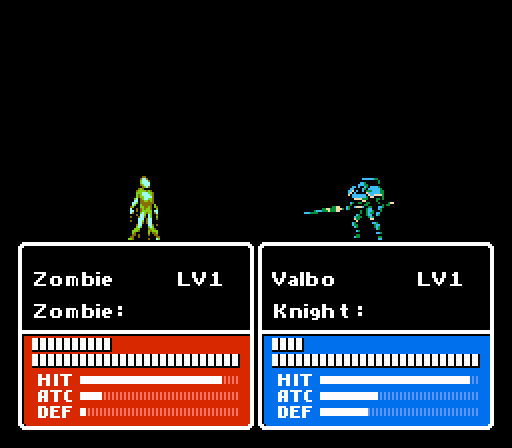
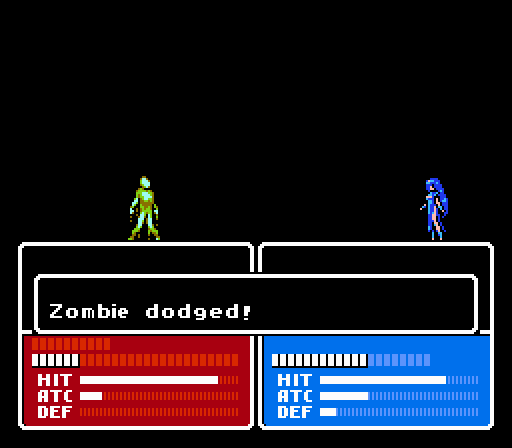
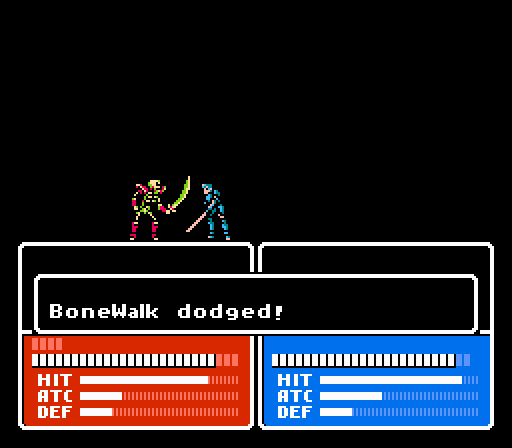
More undead to fight. The zombies are all level 1, barely qualified to be cannon fodder at this point.
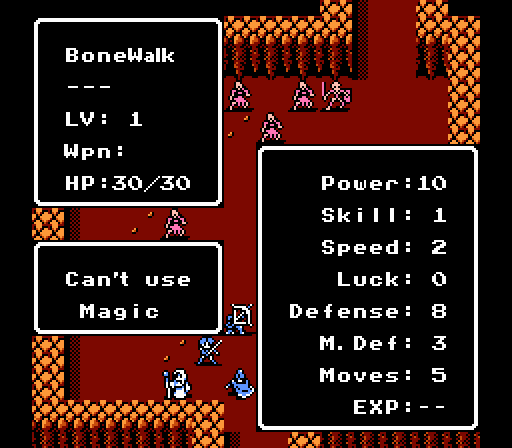
The skeletons are a little tougher, but still so slow that our front-liners will be able to handle them pretty easily.
This fight is the same as the one Alm fought clearing out the rebel camp, at about the same point in his chapter. Let's see how we compare.
Turn 1

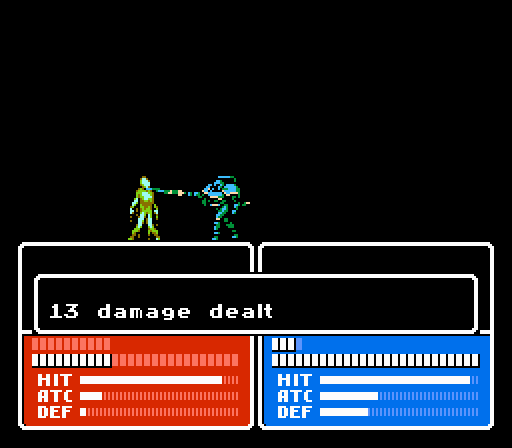
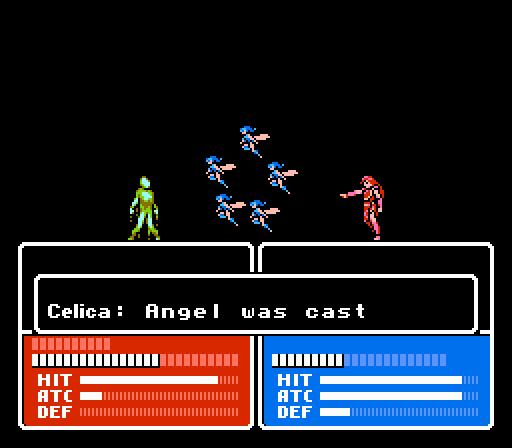
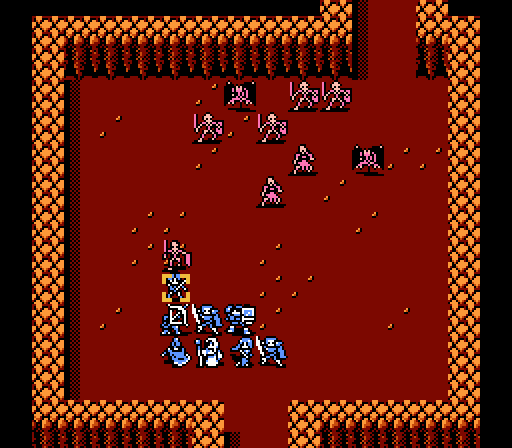
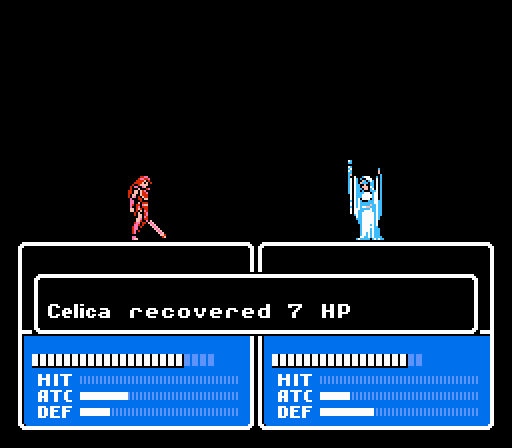
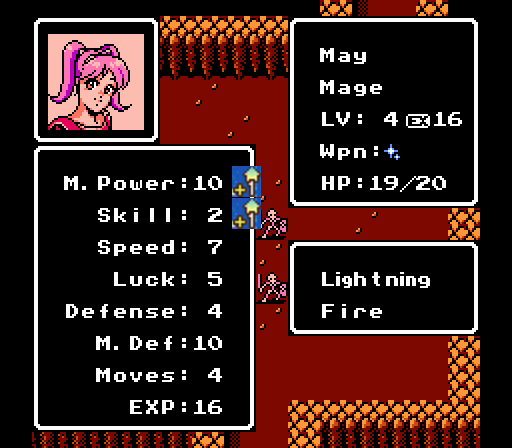
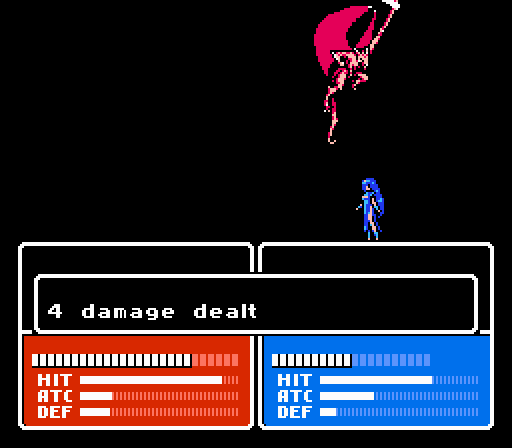
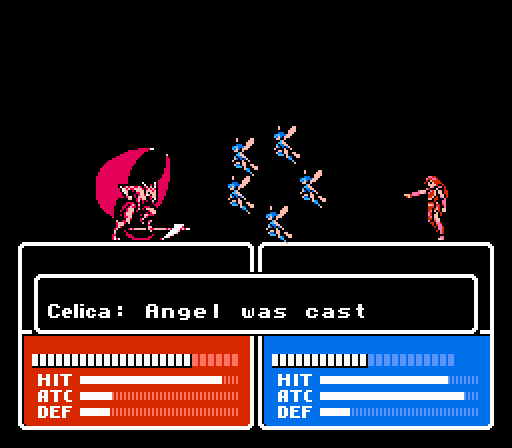
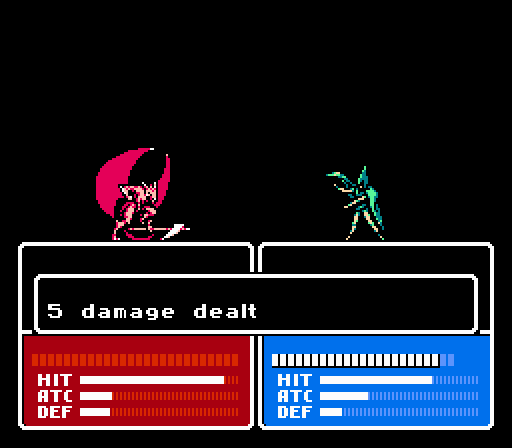
Angel is a very useful spell here. Celica's one Power away from being able to one-shot the zombies. Her second attack obliterates it.
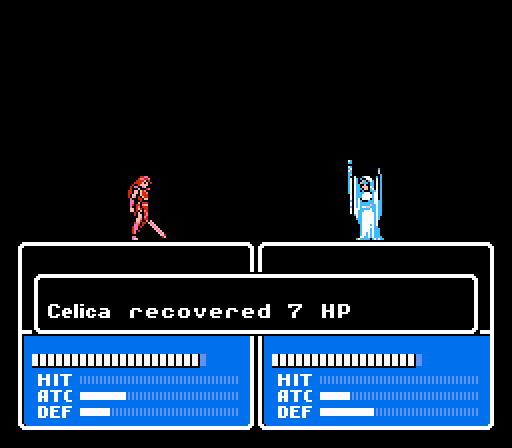
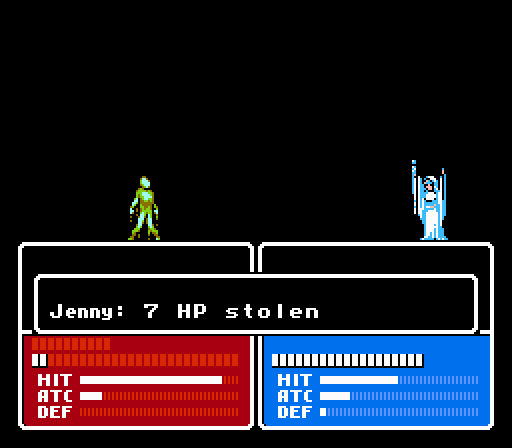
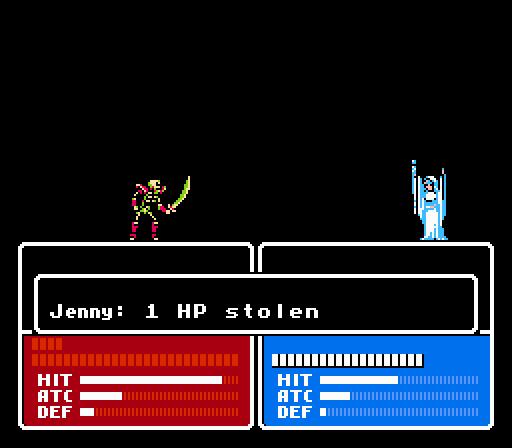
Angel's also an expensive spell so Jenny heals up Celica here. I gave Jenny the Holy Ring since basically the only thing that can go wrong in this battle is the healer getting beat up.
May tries for some long-distance action, but misses both attacks. Let's not start that trend again, please.
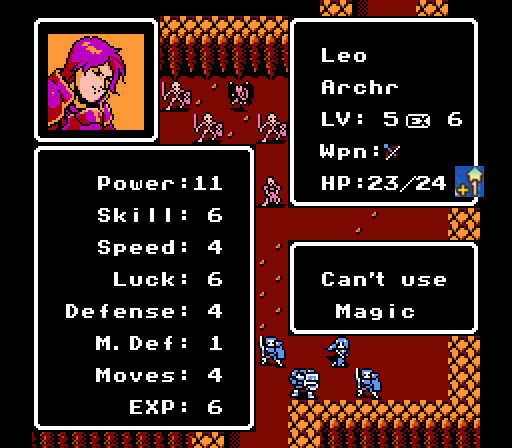
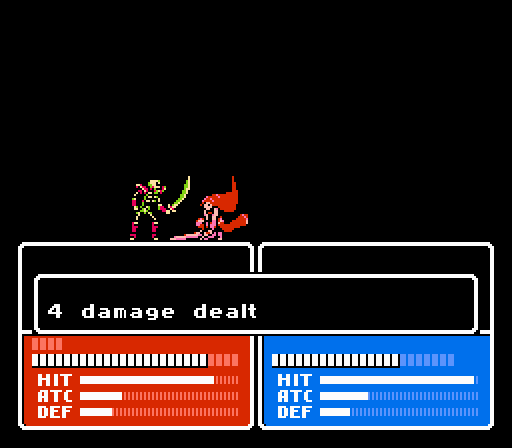
Leo takes a couple shots at the same zombie, and hits with one of them.
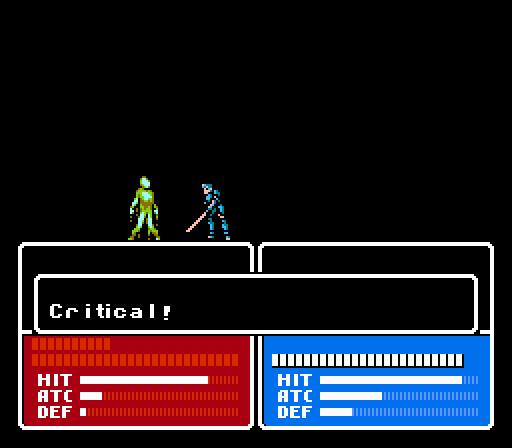
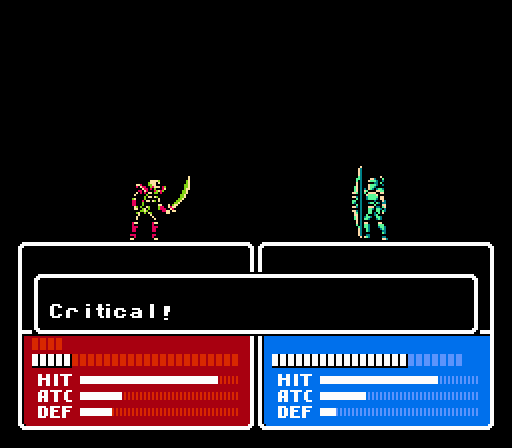
Saber aggressively charges straight ahead to finish off the zombie in style.

Unfortunately he spent his luck on the critical, as he gets his first bad level.
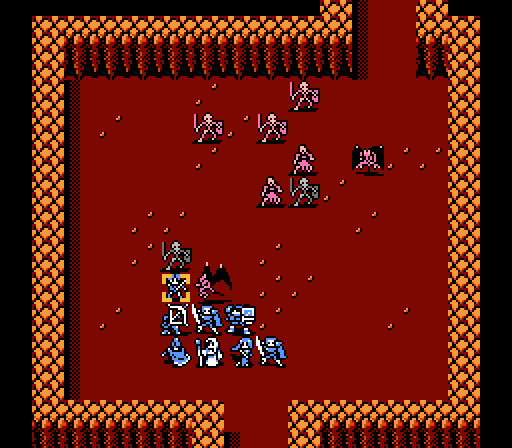
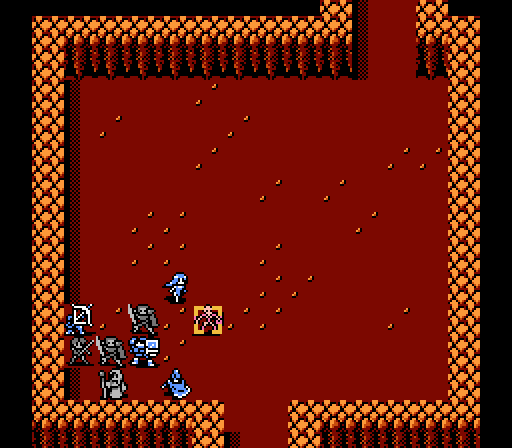
The skeleton on the left is just out of range of Jenny, and everyone else should be fine here.
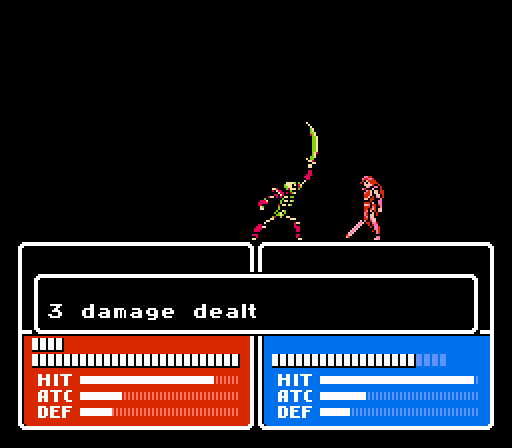
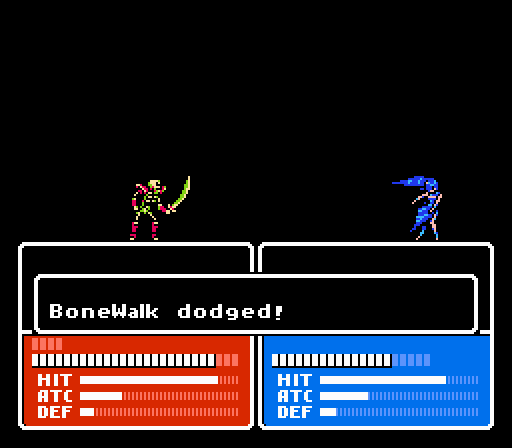
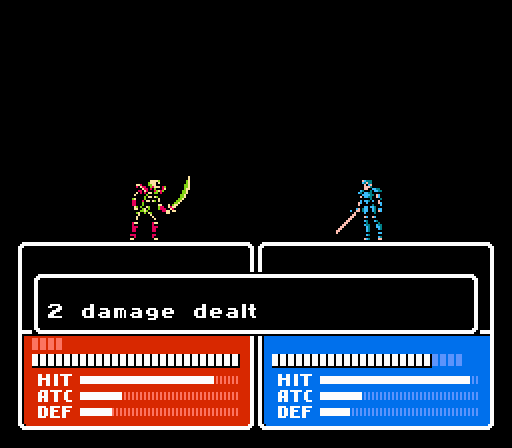
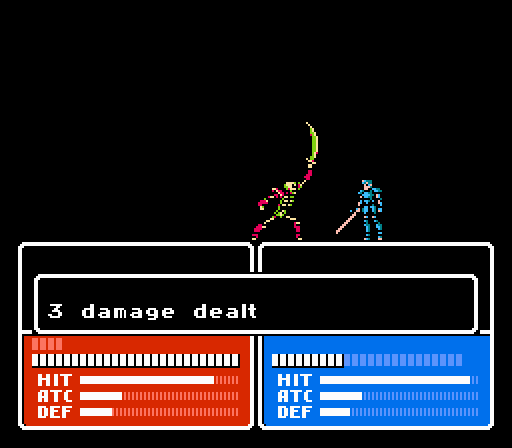
Celica holds off the skeleton pretty well thanks to the Leather Shield, dealing out 3 damage in return. Somehow she missed a 99% hit chance on her second attack.

The other one goes after Saber for just 2 damage. Saber is really the only one in our army with enough Power to really harm the skeletons physically, thanks mostly to the Steel Sword he's holding.
Zombies eat major counterattacks in exchange for some scratch damage.
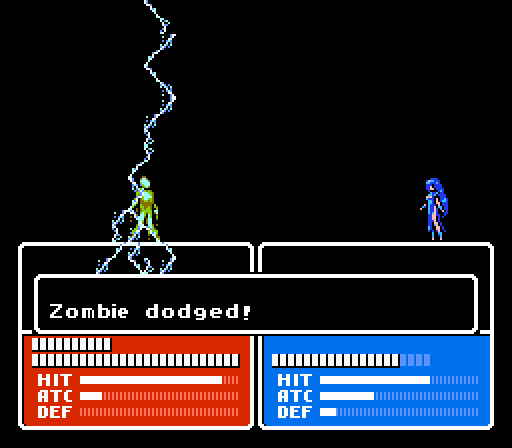
Only option available to this zombie isn't really a good one.
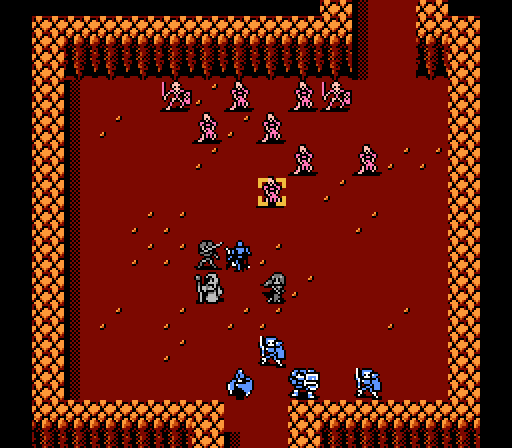
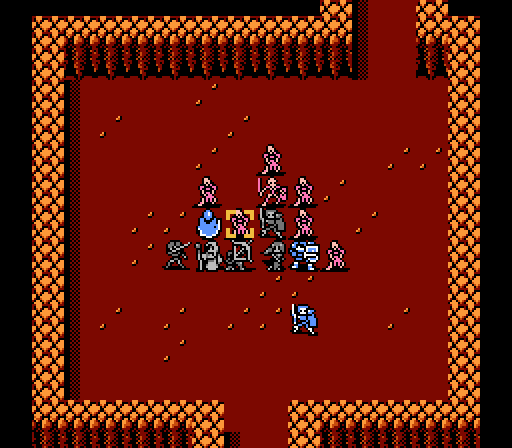
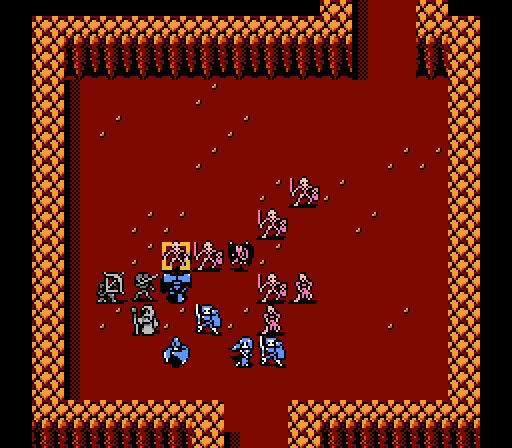
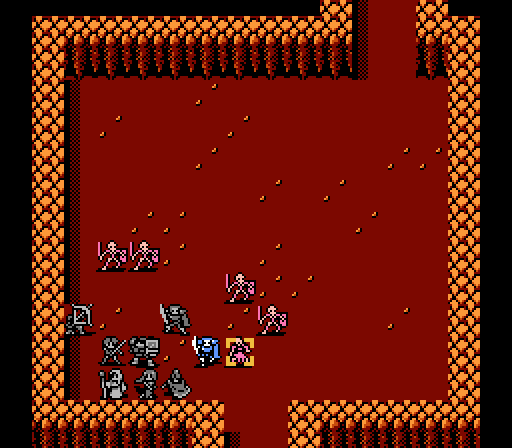
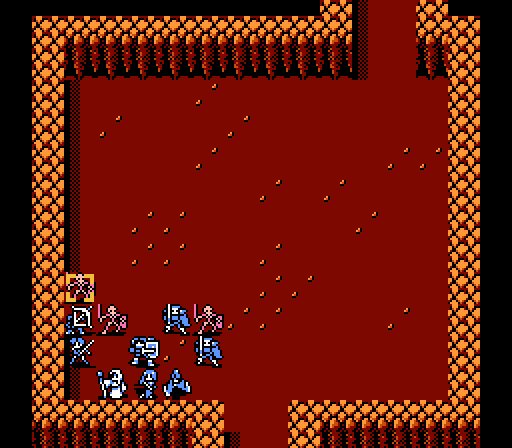
Turn 2
Angel wipes out one skeleton immediately.
Seriously May, get your shit together. She does land the second attack for 9 damage, at least.

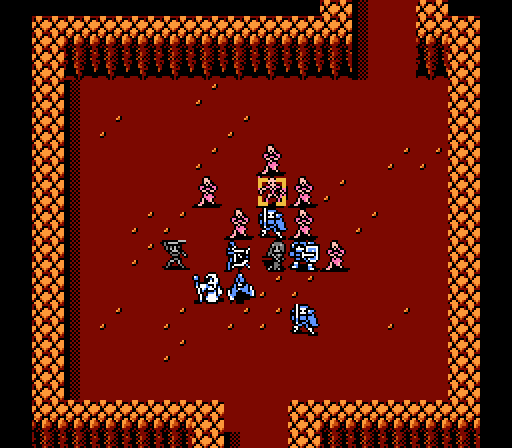
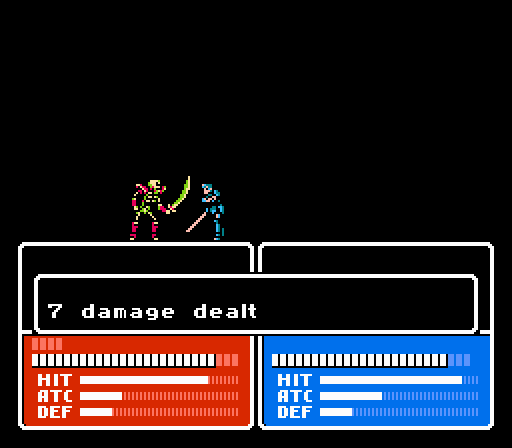
The skeleton's down to 14 HP. Saber does 7 damage per attack so could just finish off the skeleton here. Instead I have Leo attack for some reason. Even if he hits both attacks, it's just 6 damage, and Saber still needs to lands both attacks to get the kill. So kind of a wasted attack here. And Leo missed once anyway.
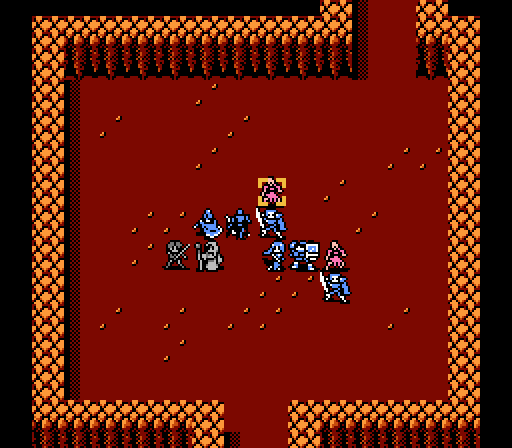
_-_Chapter_2_Part_8_Battle_1.gif)
Goddammit, Saber.
Instead of going after someone she could actually kill, I have Jenny take two shots at this random zombie instead. And she actually lands both 50% attacks somehow. Yet I'm missing 90%+ attacks everywhere else.

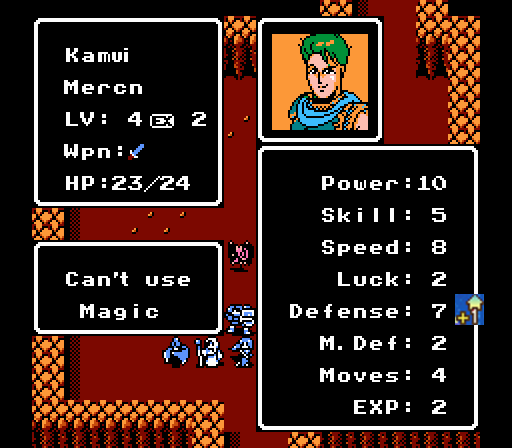
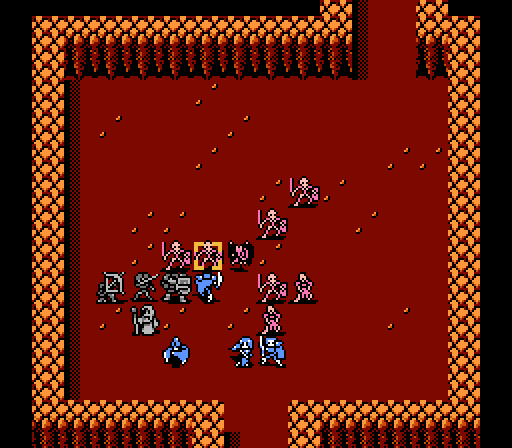
Boey and Kamui each grab a zombie kill.
Keep that up Boey and I might actually let you get some more levels.

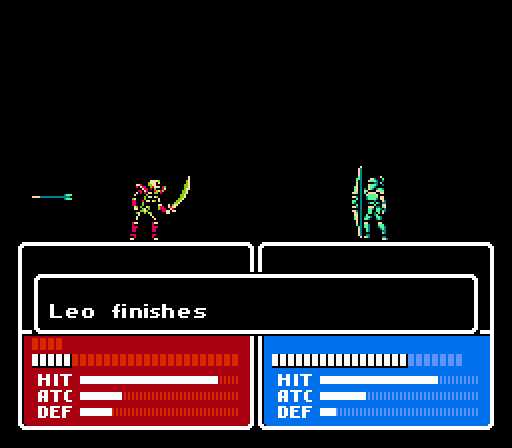
The skeleton attempts suicide-by-Leo, but Leo isn't having any of it.
Kamui's much more understanding about that kind of thing.
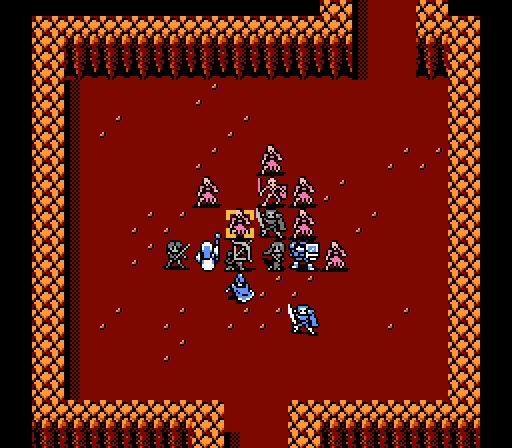
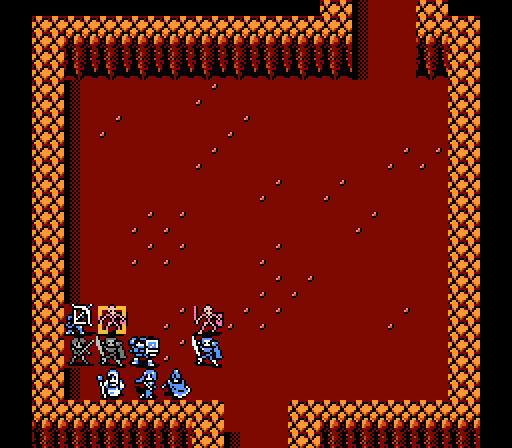
The rest of the zombies started the turn at full health, and ended it with less than half HP after scratching Celica, Saber, and Kamui.
Turn 3
Screw healing, Jenny has some bloodlust to work out of her system.
No kill like overkill.

Leo and May take care of the remaining zombies.
Wait, no, we're still going because May's drunk and can't aim her fireballs.

Thanks, Kamui.
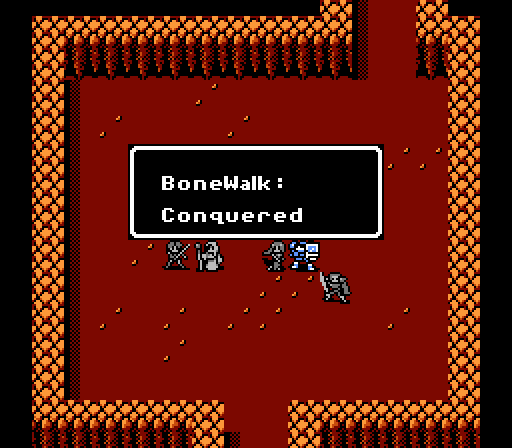

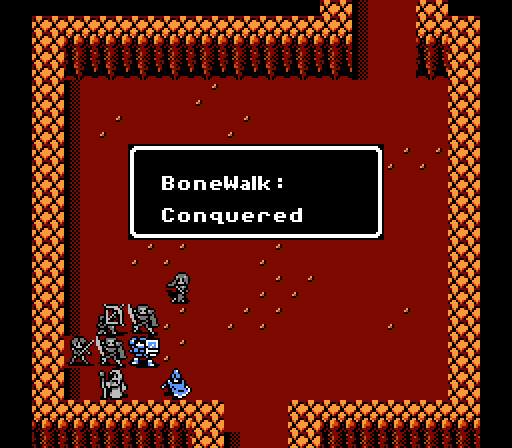
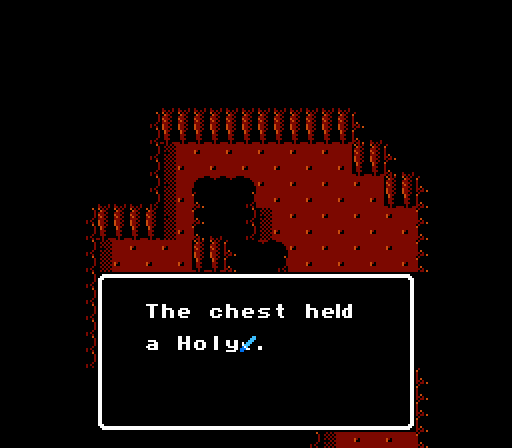
Celica, you've just cleared out a pack of undead from the Sea Shrine, let's see what you've won!

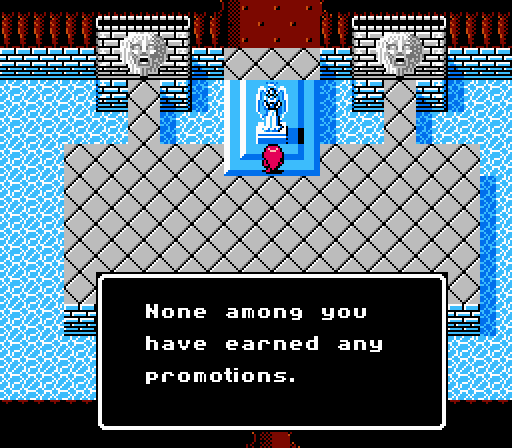
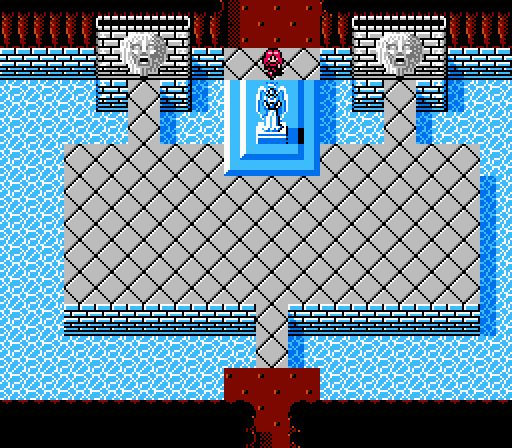
There's a promotion statue here too, if you've really been grinding those zombies back in the graveyard.
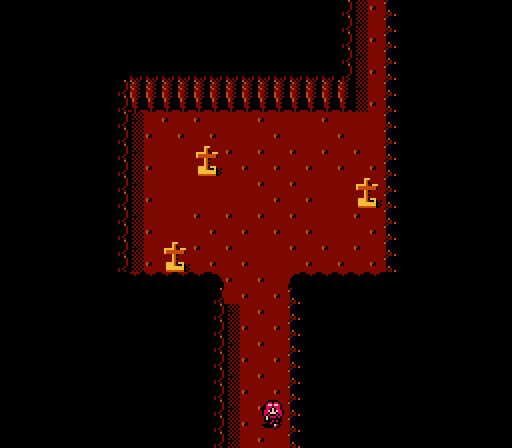
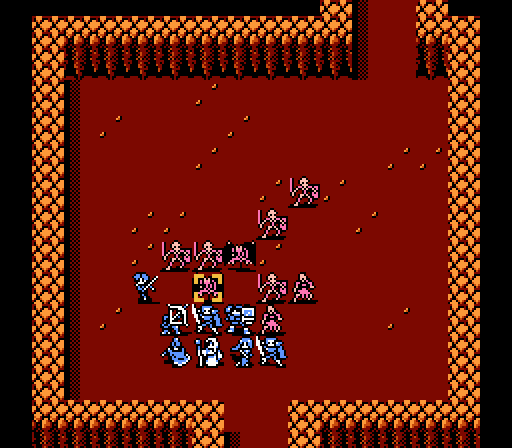
But wait! There's more....

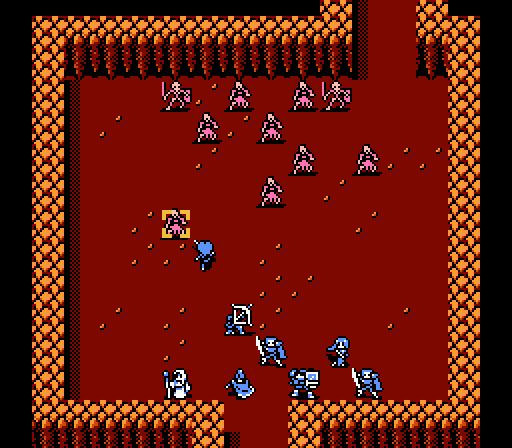
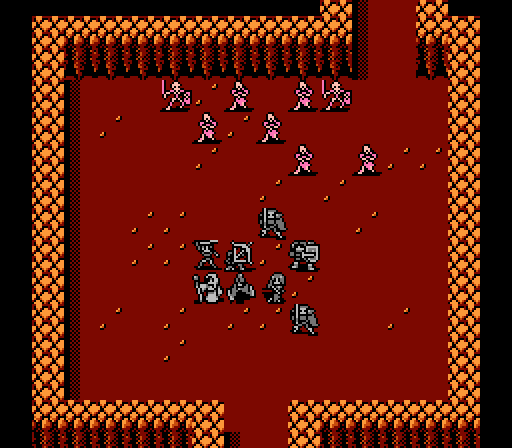
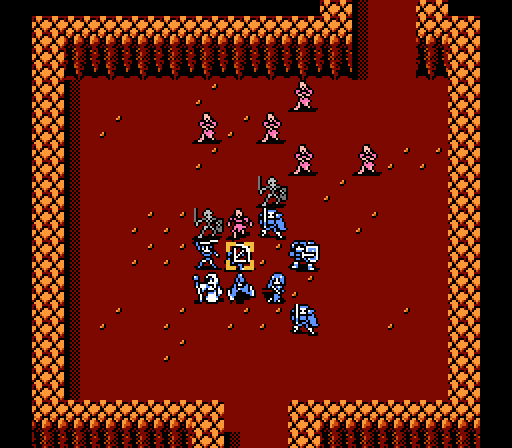
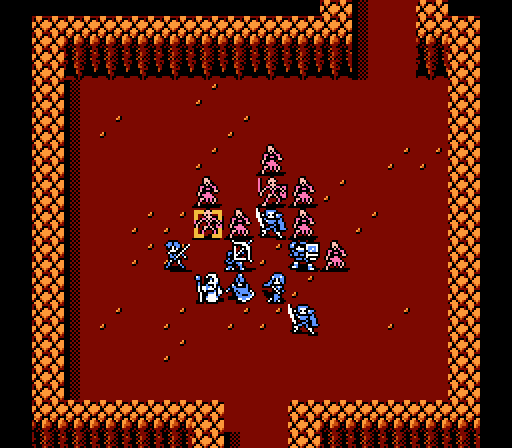
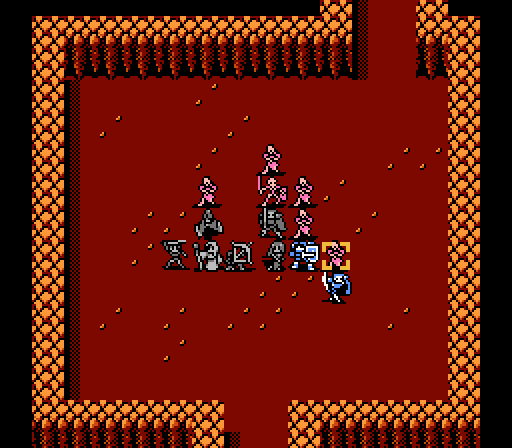
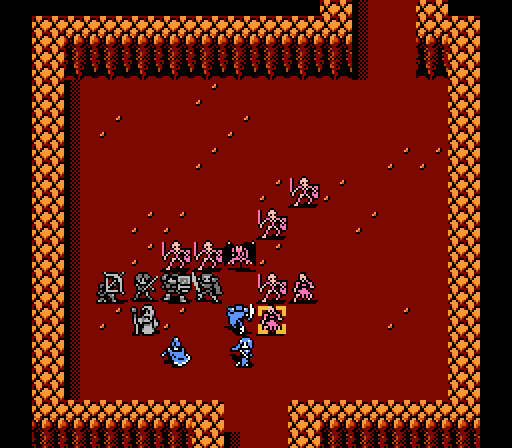
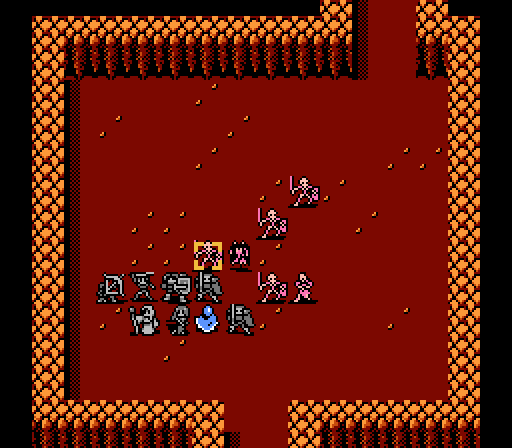
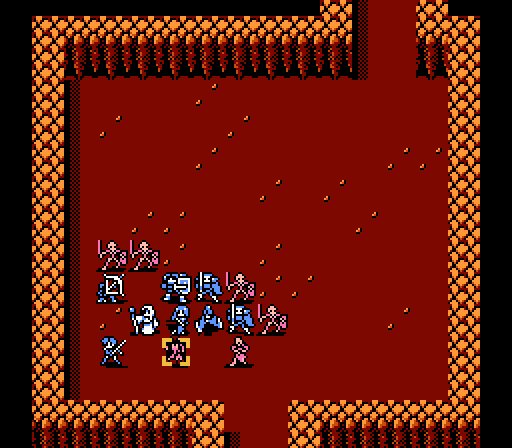
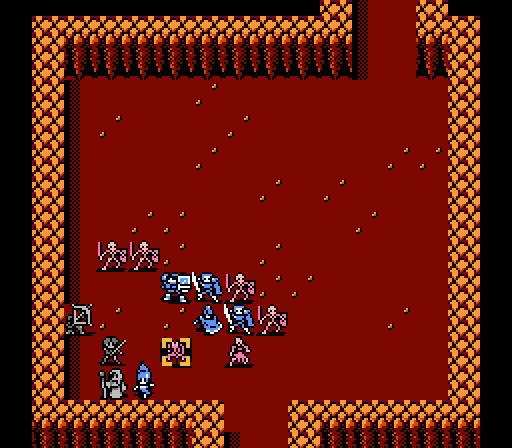
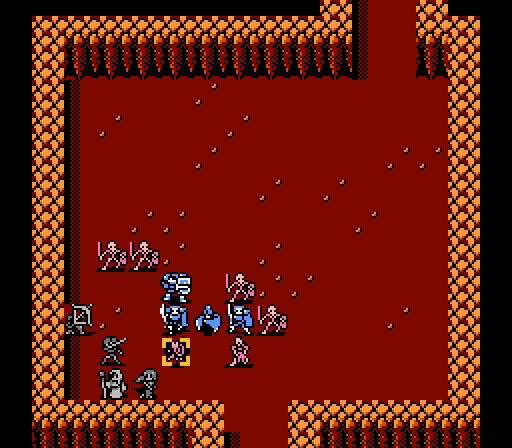
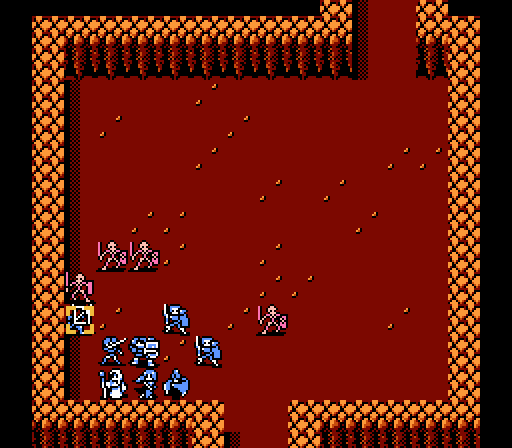
That's right, the Sea Shrine holds two battles, with the second far more difficult. We've traded three zombies for skeletons, and added a couple of new enemies.
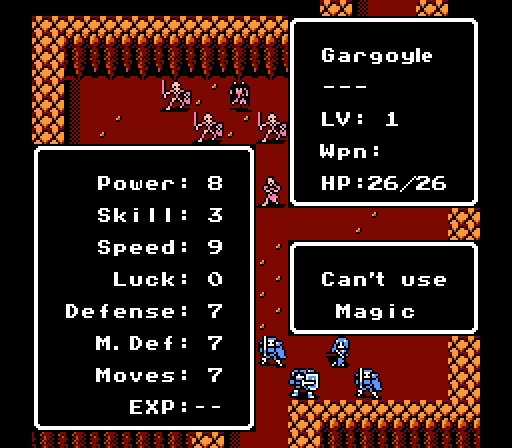
Gargoyles aren't as strong as skeletons, but they're fast and also have high Magic Defense and Moves to mess with us. The best way to deal with them is for Celica to one-shot them with Angel magic since they have much less HP than the other monster types.
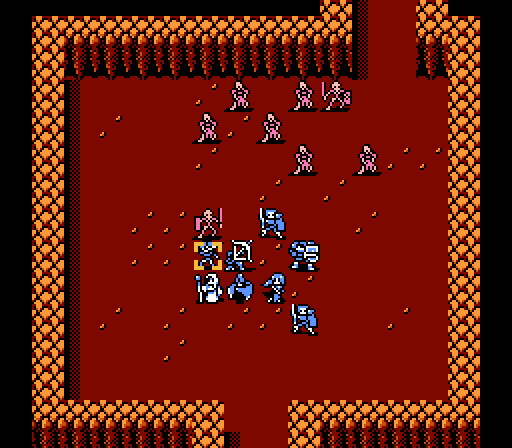
Turn 1


Same start as the first battle, except for Celica's second attack the squad of flying angels somehow missed.
That leaves Leo to clean up the mess.
So not a good start.
A solid defensive line is much more important in this battle. I probably should've had Jenny heal up Celica, though.

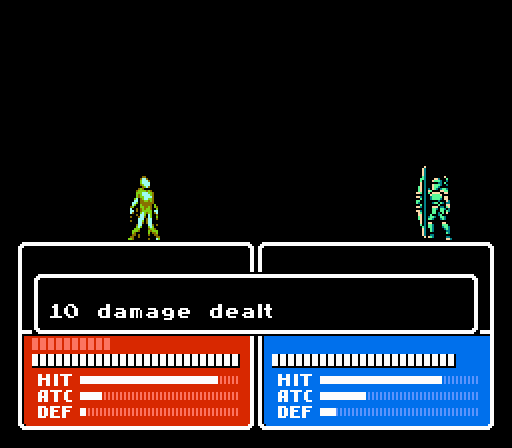
Not much damage for this crit.
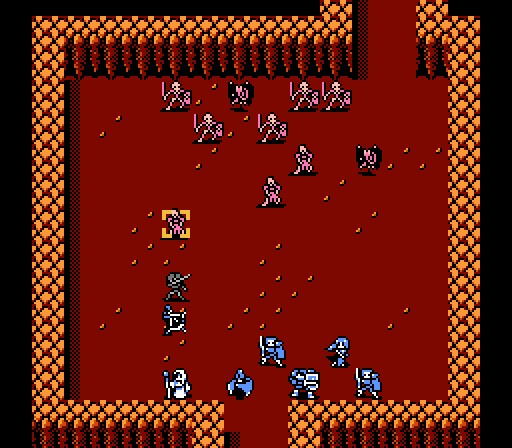
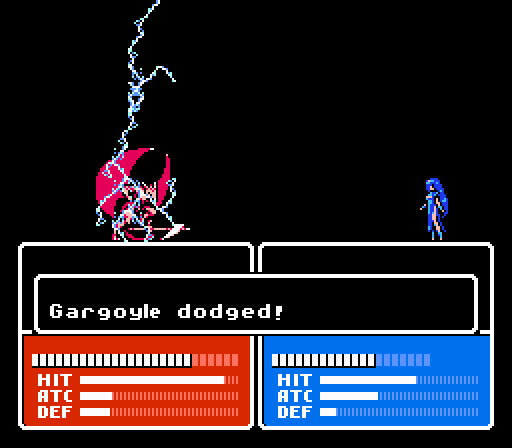
Here come's the gargoyle....
_-_Chapter_2_Part_8_Battle_2.gif)
The Leather Shield saves Celica again. Also she misses again. Note how the gargoyle's the one getting two attacks this time, flying around like a Pegasus Knight or something.
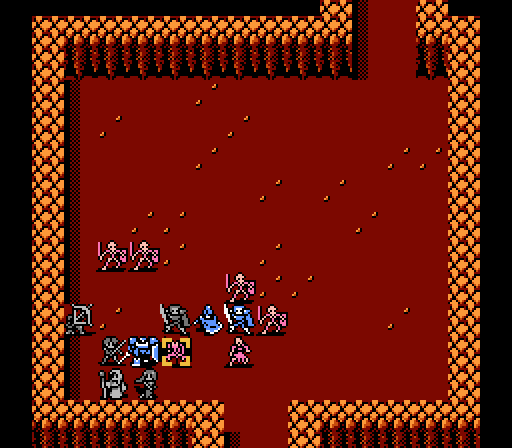
Kamui fends off the only other enemy that can reach us this turn.
You're no Saber, but not bad.
Turn 2

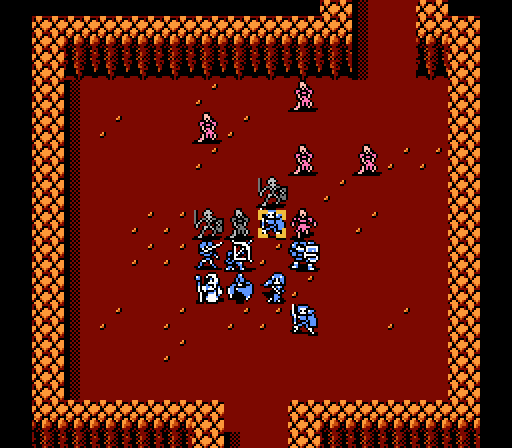
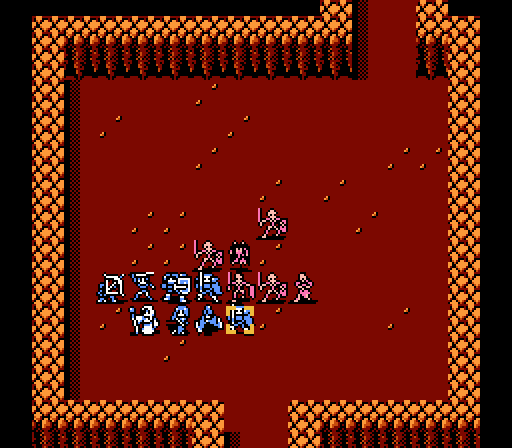
First step is taking out this gargoyle before it can cause anymore trouble.
We're going to have a very strong, slow army, aren't we?
Next is extending our line further to the left to protect Jenny. Leo manages to land both attacks but only does 6 damage total.
Jenny picked a good time to pull out a double heal.
Valbo gets in a solid 6 damage but is too slow for a second attack.
Seriously, Saber, what the hell?
Kamui holding the right edge here should prevent anyone from getting to Jenny for another turn. Killing the zombie is just a bonus.
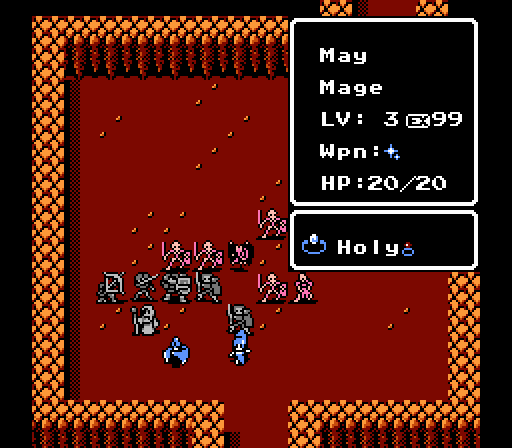
May's holding the Holy Ring this time so she never has to worry about running out of spell juice. She uses a fireball to finish off this skeleton.
Not getting any Speed now will catch up to us eventually, but I'm not saying no to more Power.
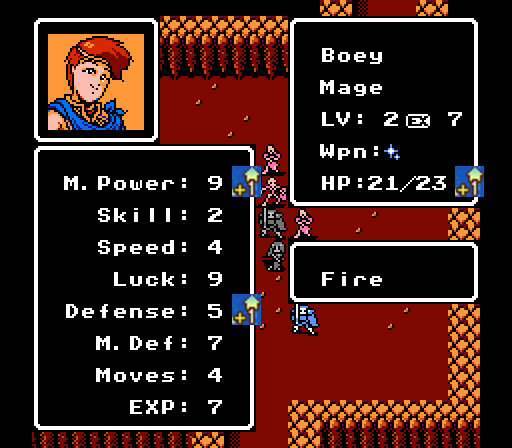
Boey gets in on the action, too. Let's see what the enemy phase holds for us....
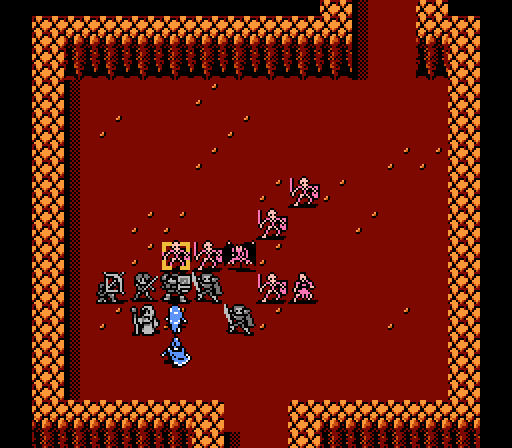
Two skeletons and a zombie all go for Kamui, without much effect.
Celica puts her extra Power to work, fighting off another skeleton.
Leo gets some attention from another skeleton, and follows up a critical with a miss.
The gargoyle flies all the way around our line but can't quite reach Jenny. It settles for two attacks on May instead. Fortunately she's got the Holy Ring which wipes out half the damage at the start of the next turn.
Turn 3
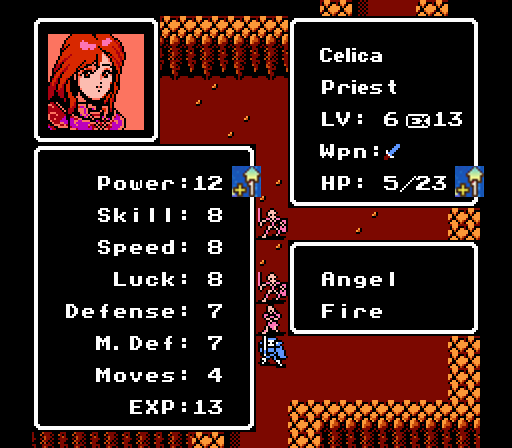
Celica tries to get rid of the other gargoyle. She misses.

Jenny retreats and heals up Celica on the way. That gargoyle is going to cause problems if we leave it where it is, though.

Leo closes off the left side but fails to kill off the skeleton.
May tries to help out with the gargoyle but also misses. At least Jenny's safe, now.
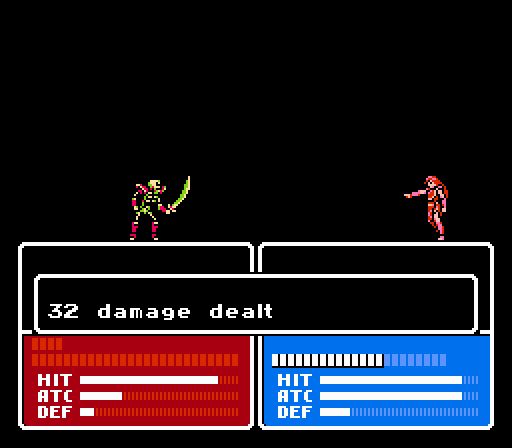
Saber and Valbo each connect for a total of 15 damage, but even Saber isn't fast enough to get in two attacks on the gargoyle.
Boey, of all people, steps in to get the kill.
Kamui moves here not so much to kill the zombie but to prevent more than one skeleton from getting to Boey at once.
Leo fends off a couple of skeletons.

The other two attack Kamui, who counter-kills one of them.
Turn 4
Celica lands here shot of Angel this time, wiping out this skeleton.

Saber softens up another skeleton but Jenny misses out on the kill.
Kamui takes the kill instead.
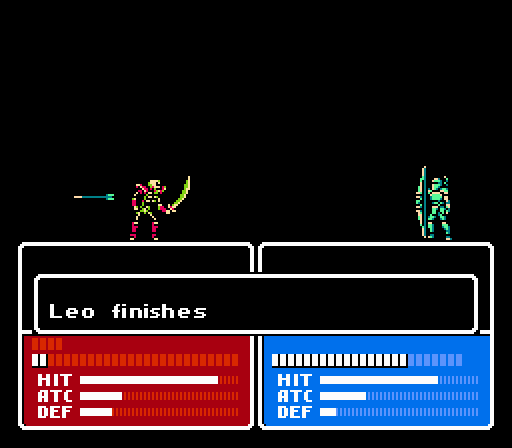
May and Leo tag-team the last enemy.
What do we get this time?
Ooh, a treasure.
The Holy Sword has a fantastic combination of effects. It has +3 Might, 100% Accuracy, 15% Crit Rate, and 0 Weight. It's also effective against monsters, like the Angel spell. On top of all that, it restores 5 HP per turn, like the Holy Ring. Totally worth all the effort. Saber takes the Holy Sword, giving the Steel Sword to Kamui.
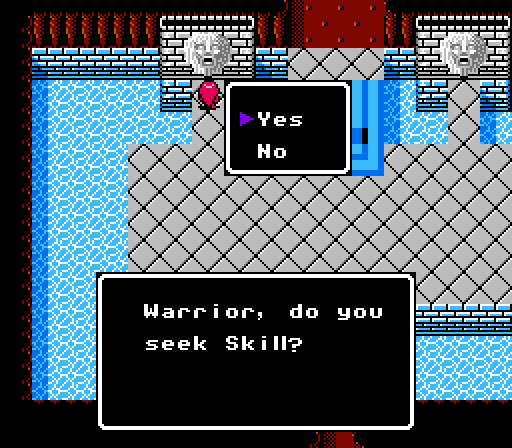
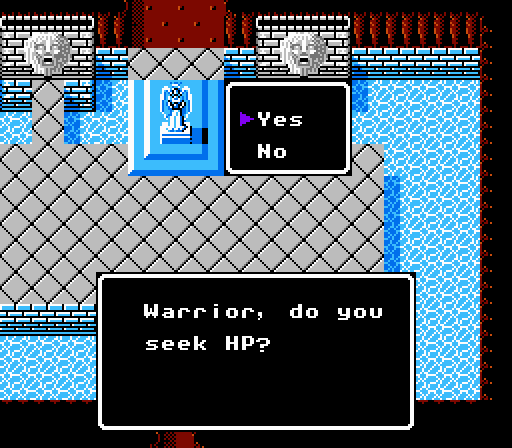
It's not much, but we still need to decide who gets the minimal benefits from the shrine - three total uses of +Skill and/or +HP.
Choose up to 3 Sea Shrine uses: HERE
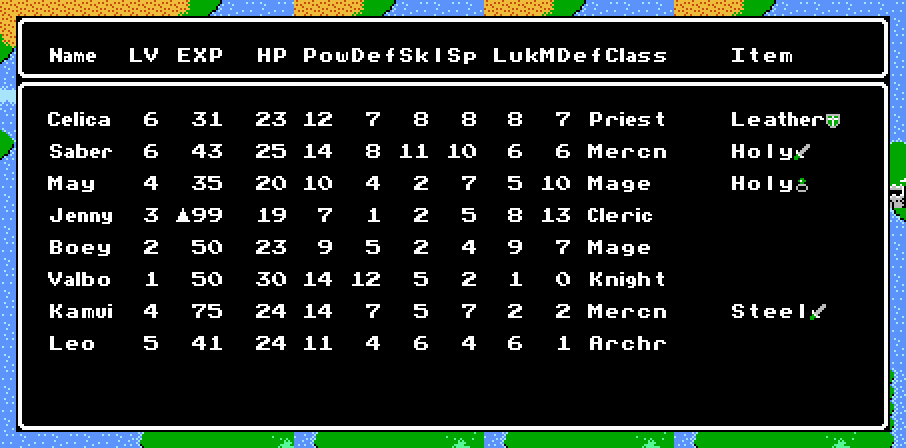
Current Roster
Next time:
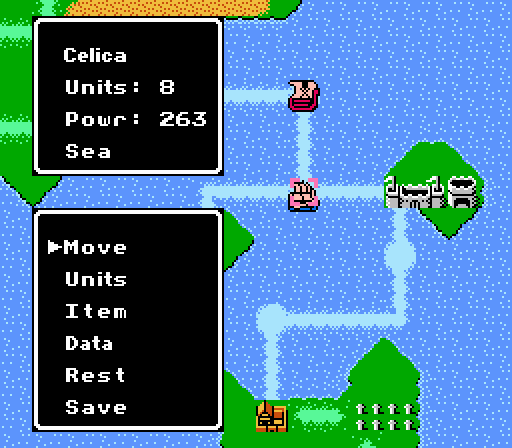
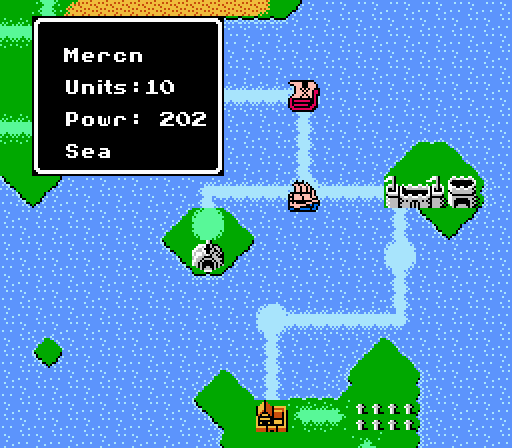
Another sea battle, with a mercenary force.