Part 30: Chapter 3, Part 6: Desert Fort
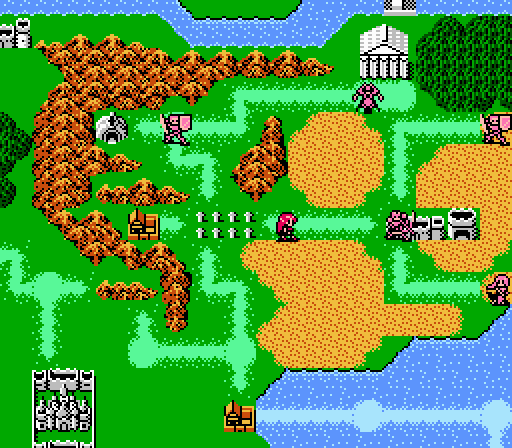
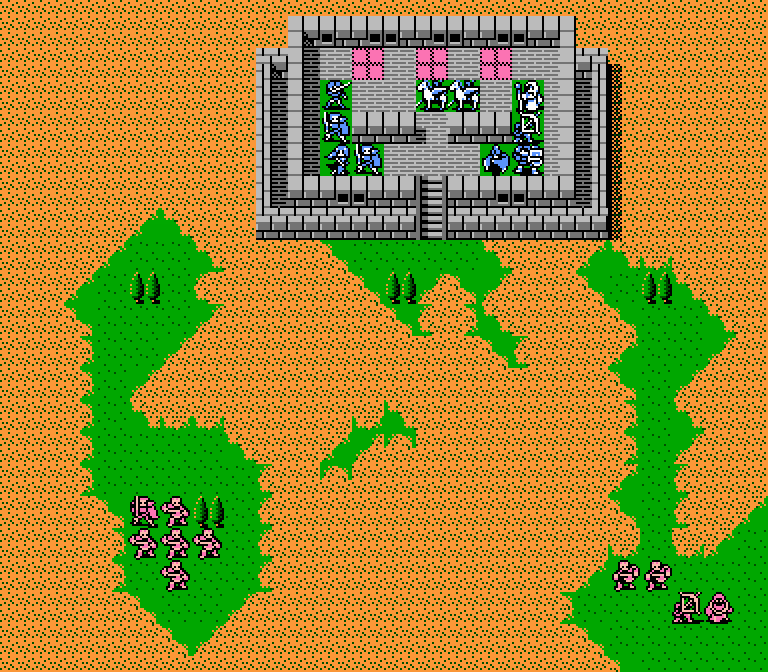
Technically there's two possible paths forward from here for Celica. She could skip the eastern branch in the desert entirely, as her only fixed goal is reaching Mila's Temple to the north. But that wouldn't be any fun, now would it? (Also I just bet there's a 'plot gate' of some kind, anyway.)
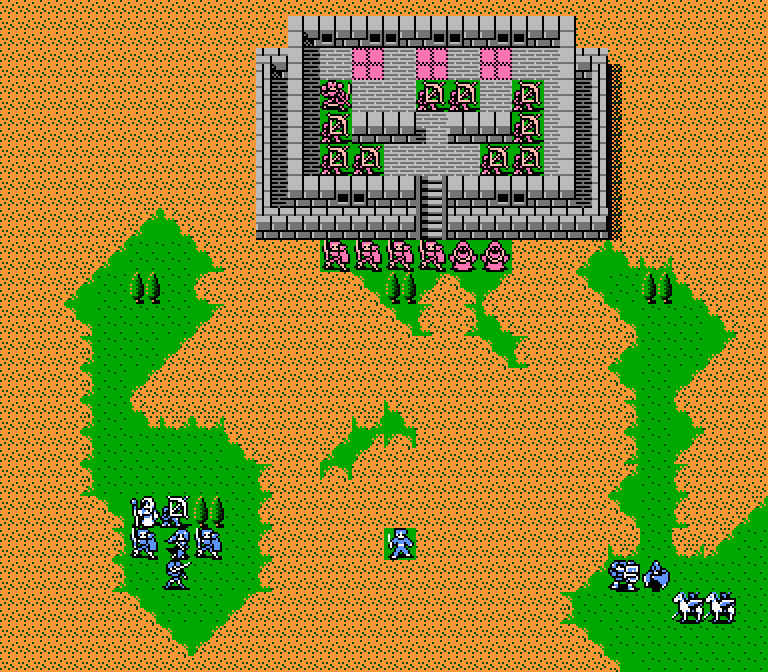
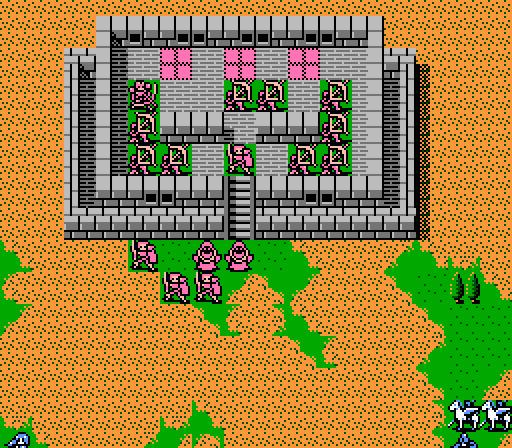
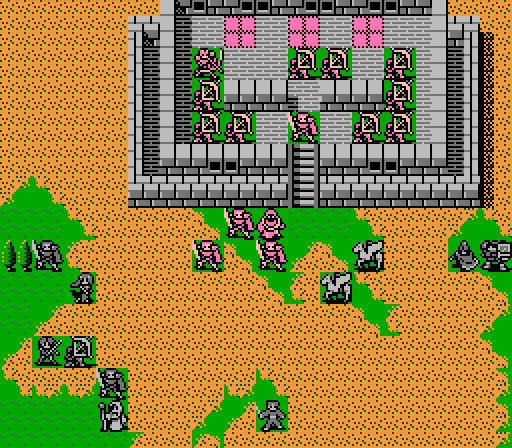
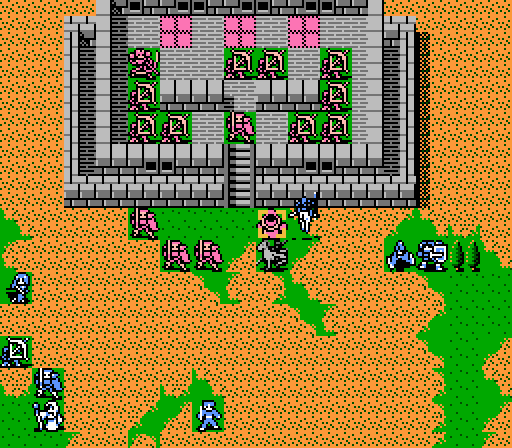
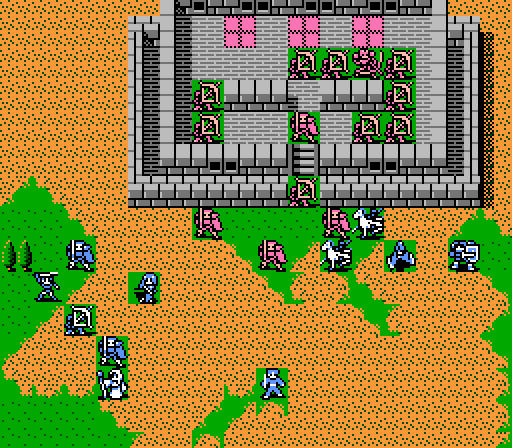
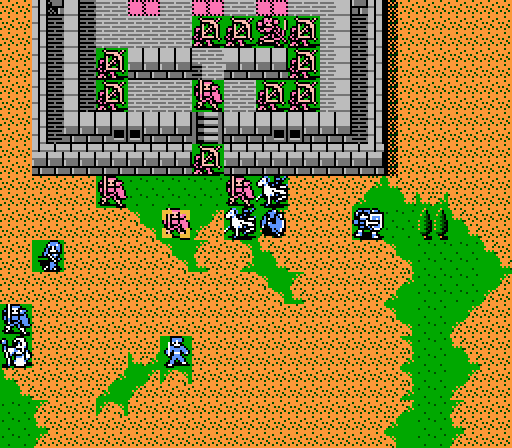
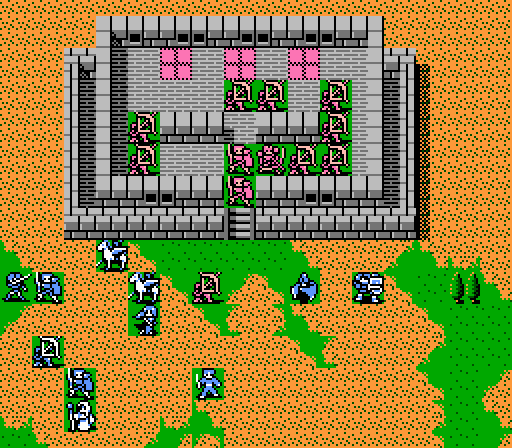
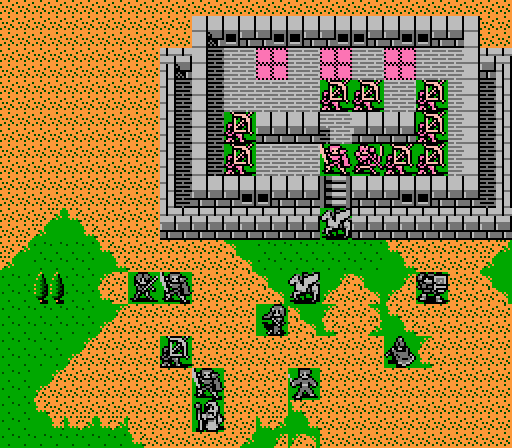
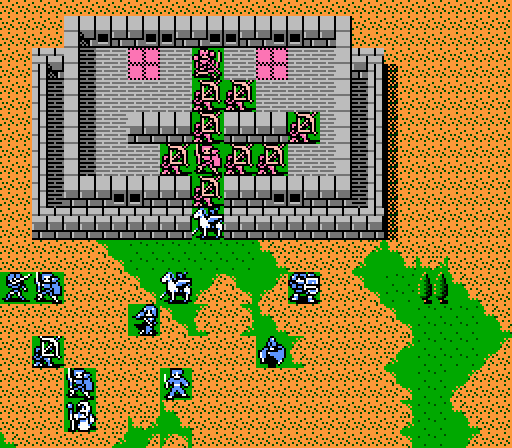
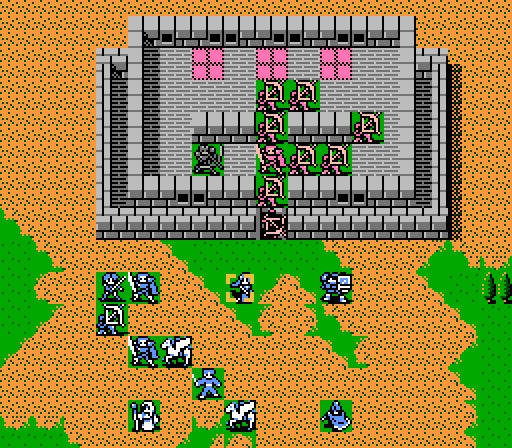
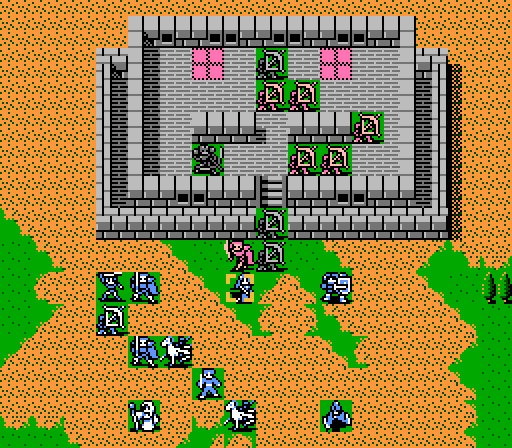
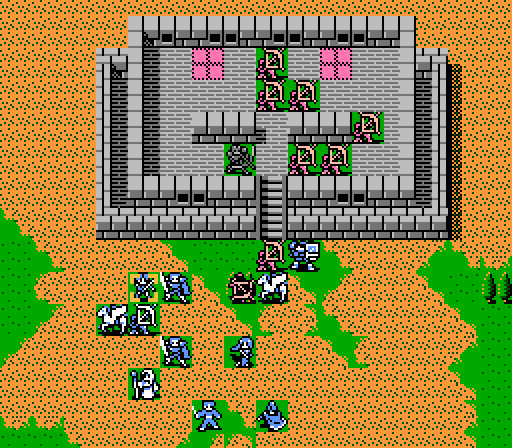
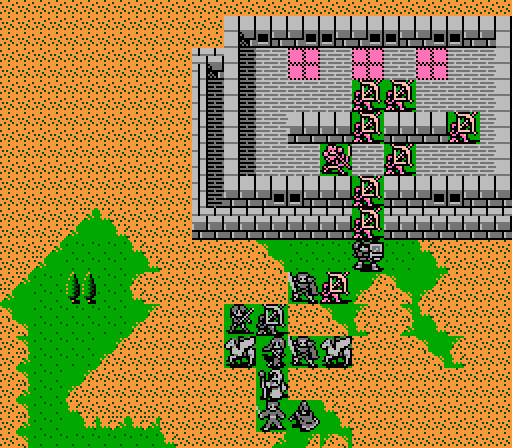
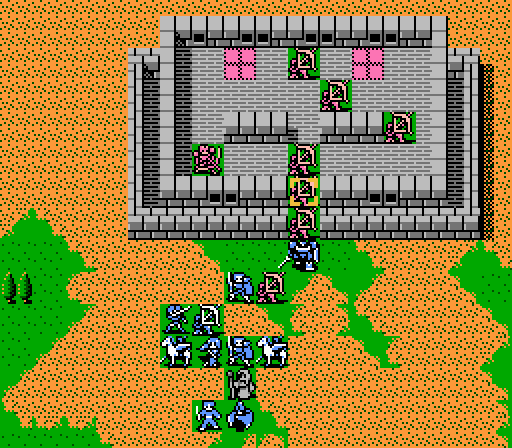
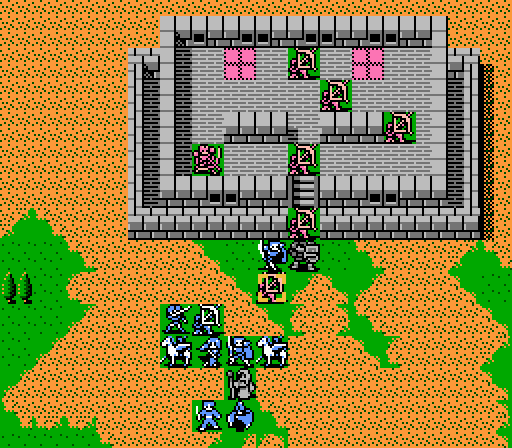
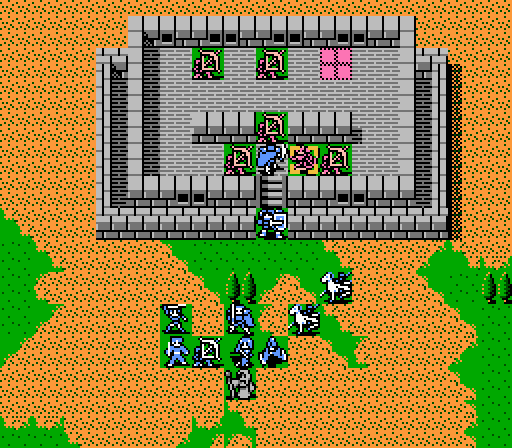
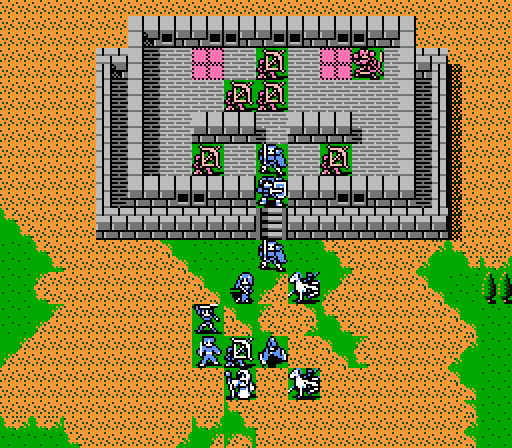
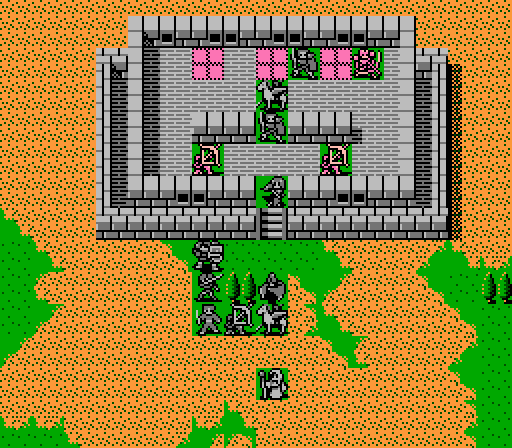
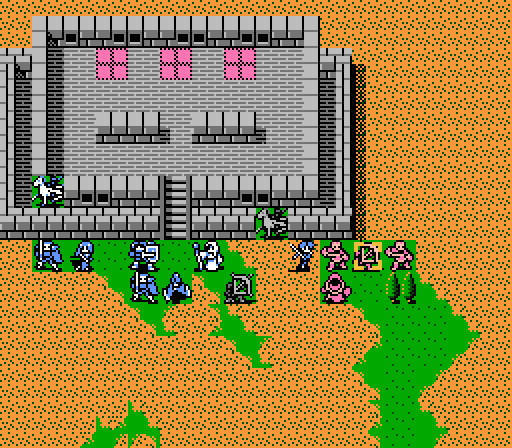
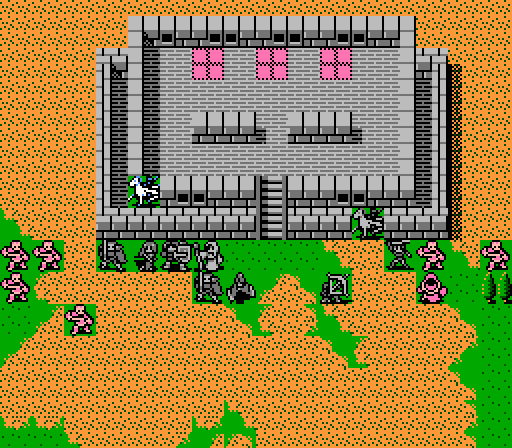
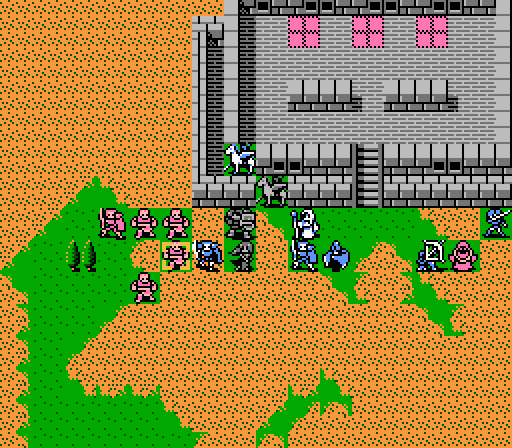
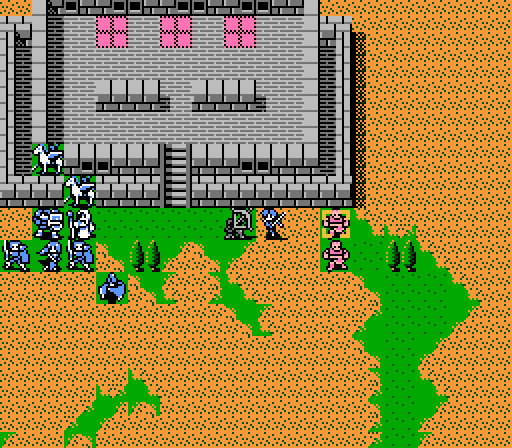
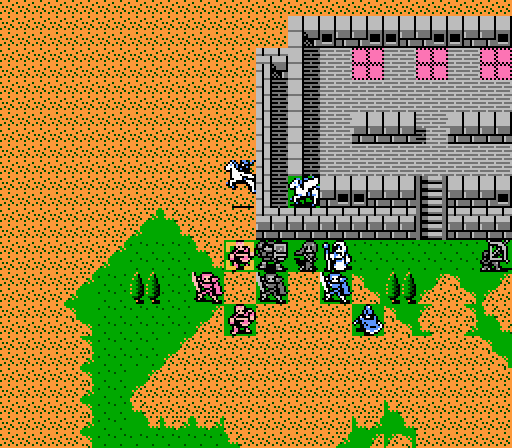
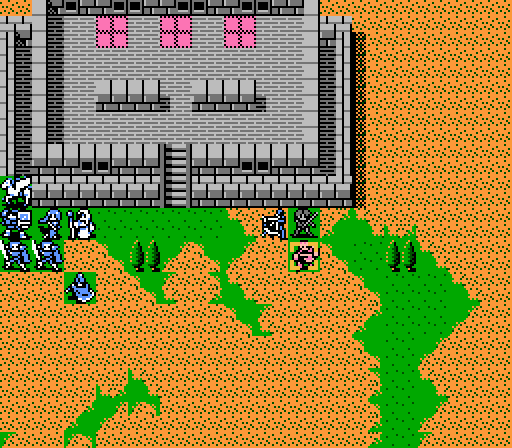
There's a desert between us and the fort. Desert tiles will reduce most of our army to moving one tile at a time - mages can move two tiles, while the pegasus knights can fly over everything as usual. The enemies are holed up inside, with a horde of archers ready to swarm anyone who tries to get close.
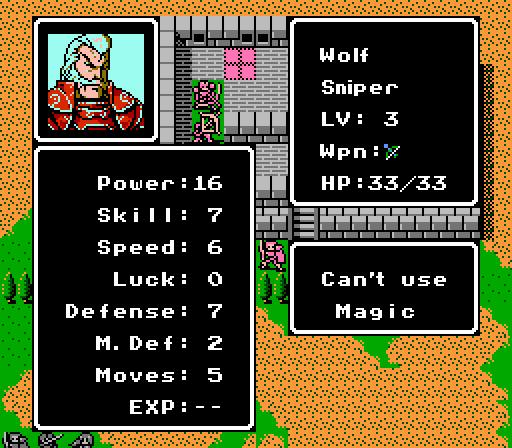
Most of the enemies are just level 1 regulars. Wolf the sniper, however, is especially dangerous, with extra range and damage from his Steel Bow. The weapon's also effective against the pegasus knights, so they'll have to be cautious in their approach.
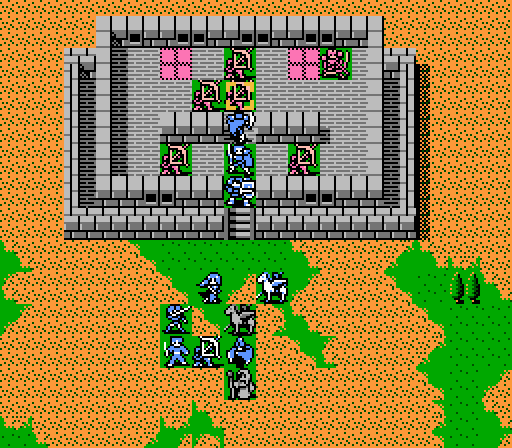
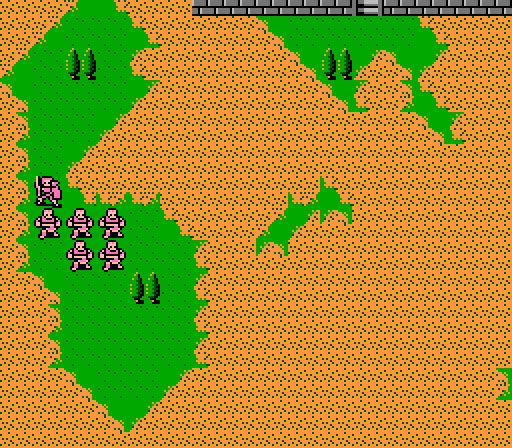
Turn 1
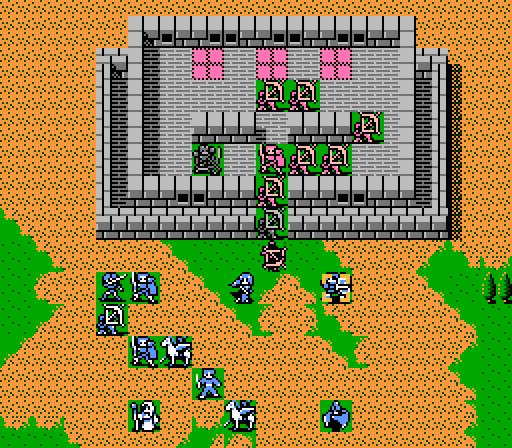
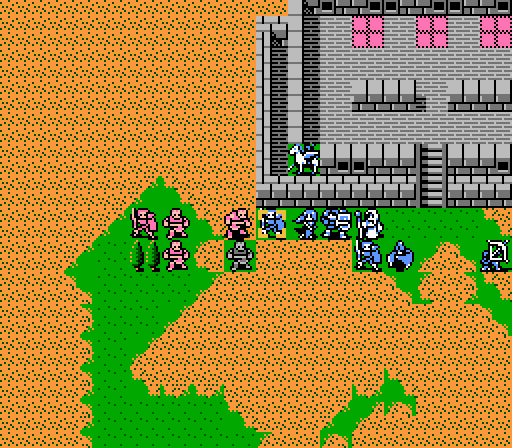
We approach slowly over the desert. The enemies out front re-arrange themselves a bit on the enemy phase. The archers won't move until they can attack something.
Turn 2
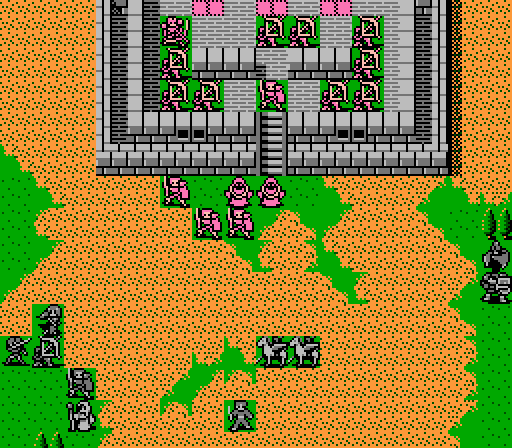
More of the same here, though our pegasus knights are now in striking distance. Nothing of note happens on the enemy phase, either.
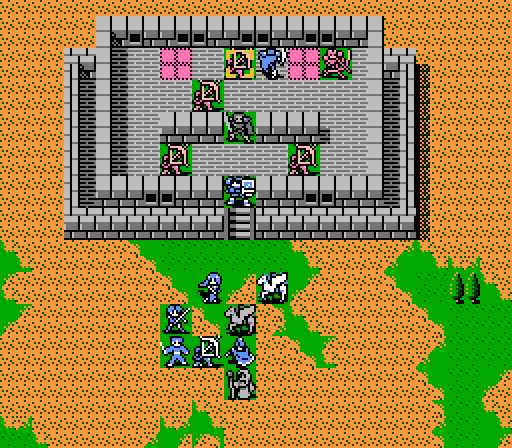
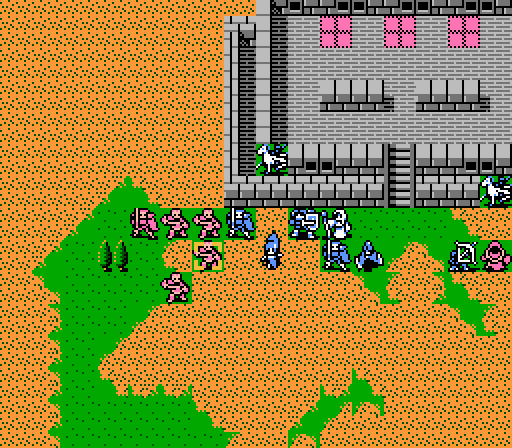
Turn 3
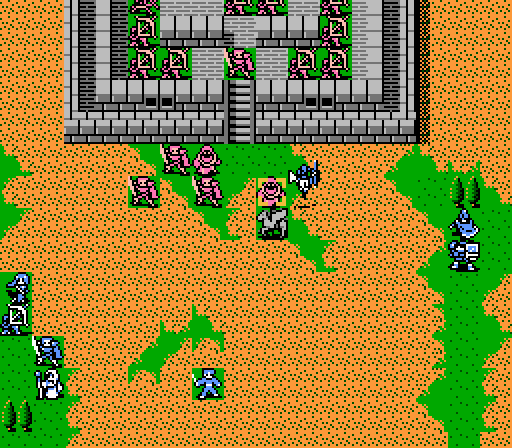
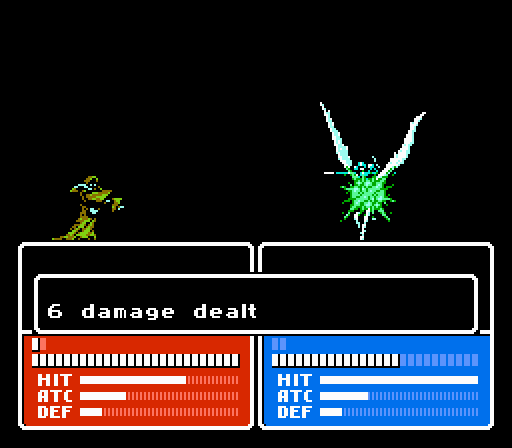
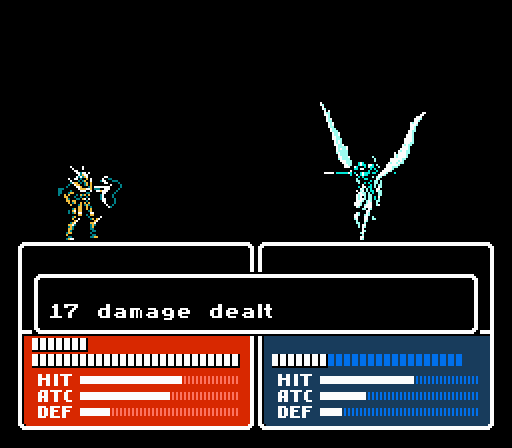
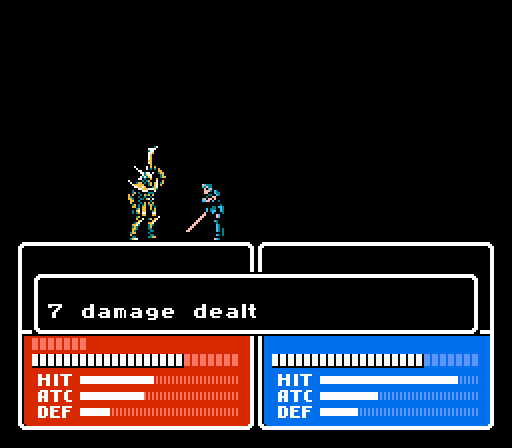
Palla and Catria draw first blood, taking out a wizard.
Getting closer....
The other wizard goes after Palla for some more damage. I gave Palla the Holy Ring ahead of time so she should heal up a bit next turn.
Turn 4
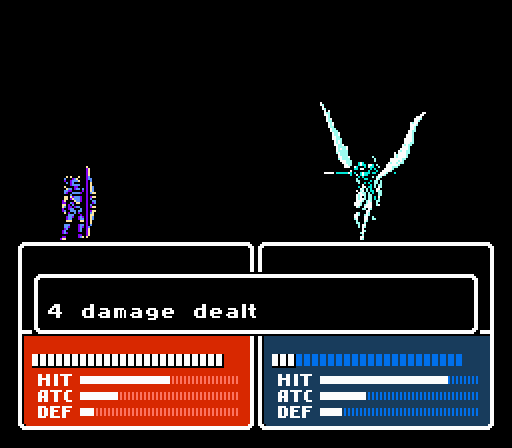
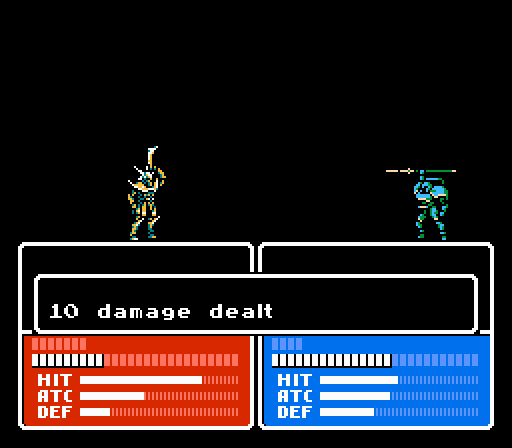
The other wizard falls to the pegasus knights as well, but there's a bit of a problem this time as Catria's in range of Wolf and the archers.
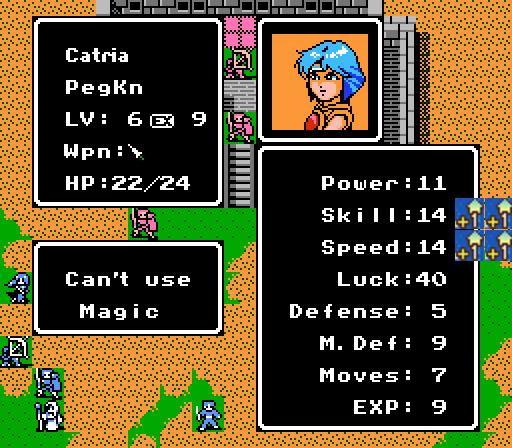
The Angel Ring does its work, giving Catra some extra evasion, at least.
May and Boey, our two mages, have almost joined the fight. They're even more vulnerable to concentrated fire than the pegasus knights, though.
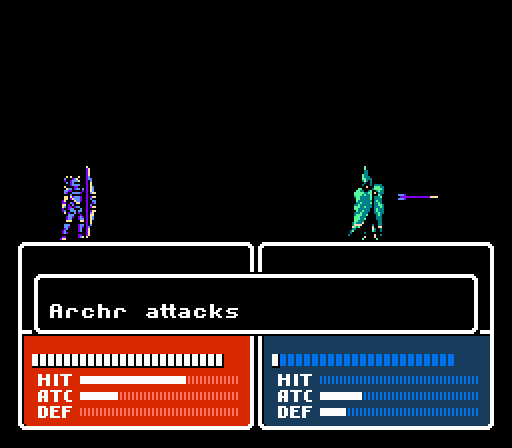
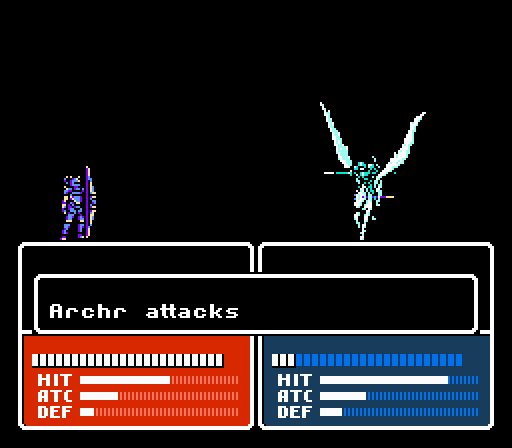
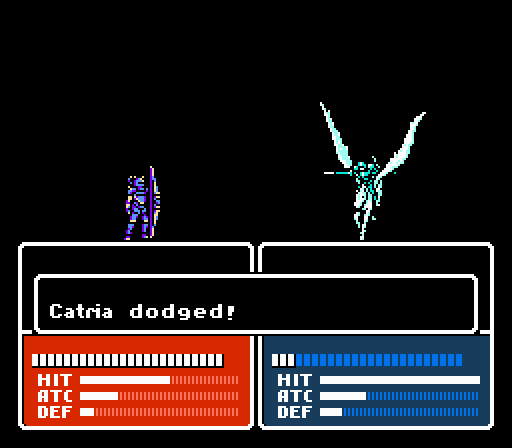
_-_Chapter_3_Part_6_Battle_1.gif)
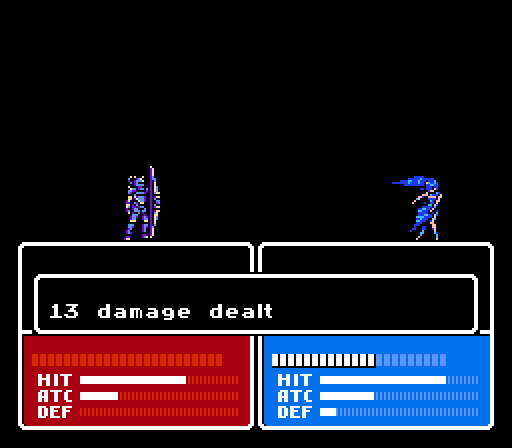
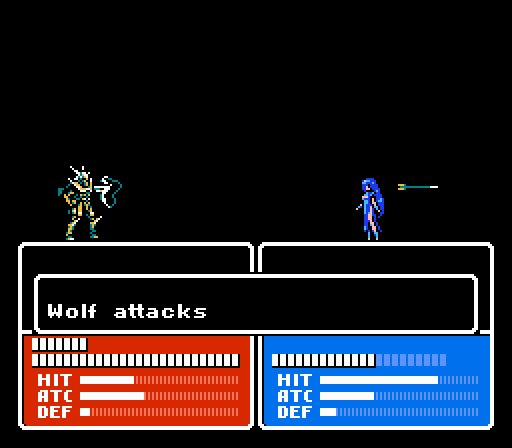
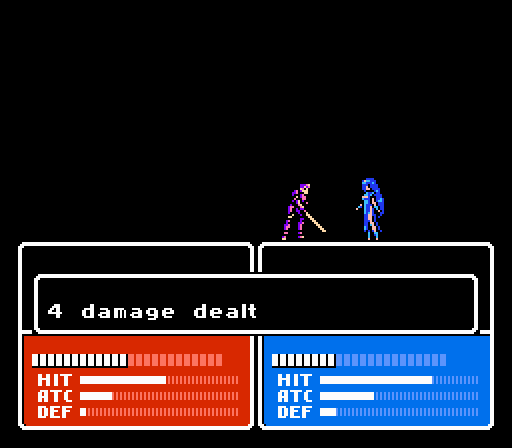
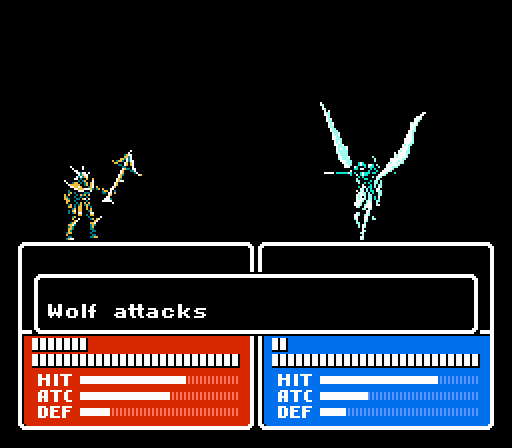
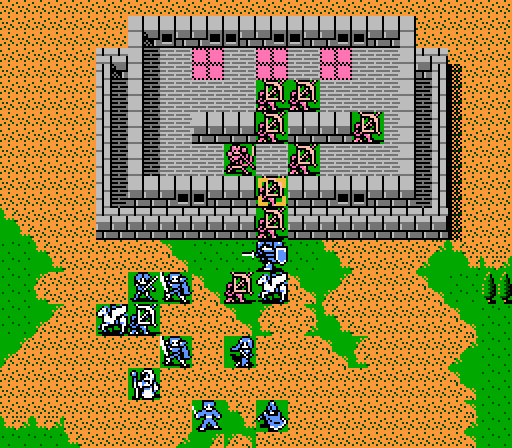
Wolf always moves first on the enemy phase. Luckily, he misses here.
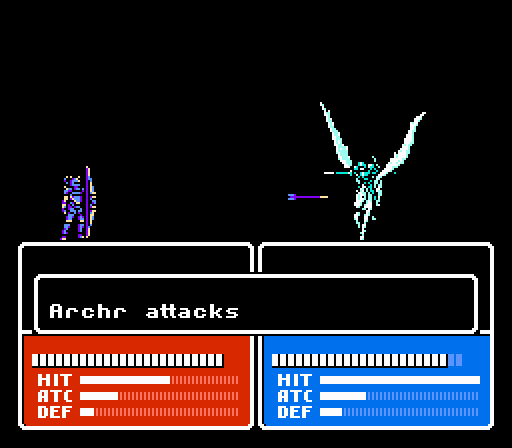

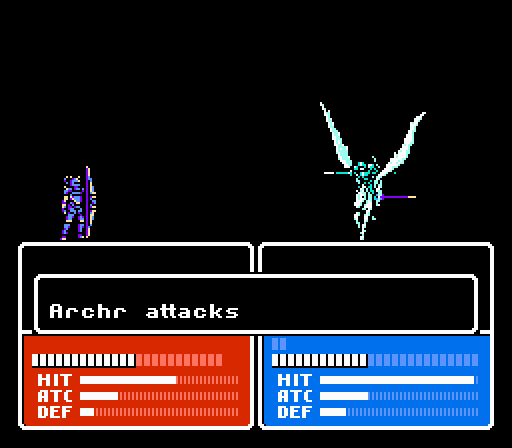
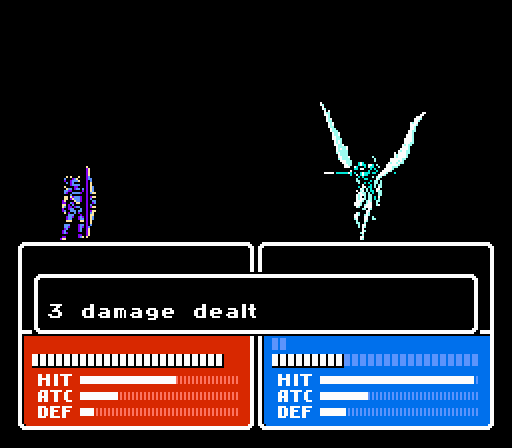
Two archers also attack Catria, but they both miss as well.
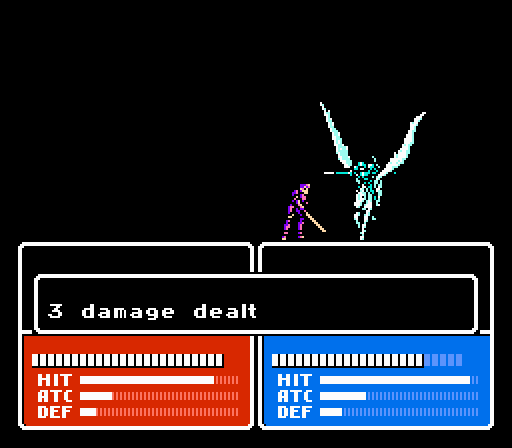
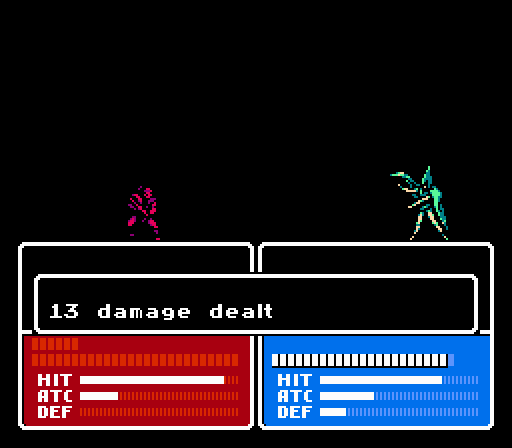
One of the mercs is able to connect, but Catria uses her extra Speed to take off over half his health.
Turn 5
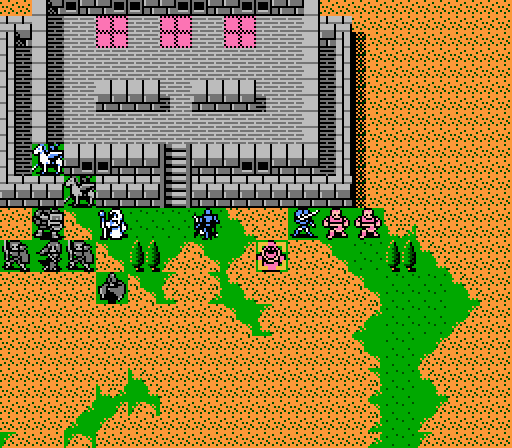
There's a problem here. Wolf has 5 Movement, so he can reach the stairs at the front of the fort and attack almost the entire area in front of it.
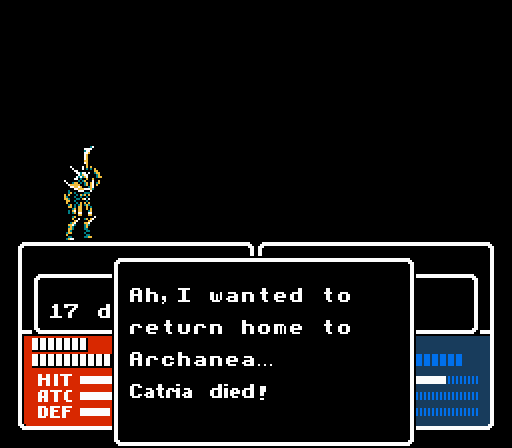
Death #1: Catria takes some damage from attacking a merc, then falls to Wolf on the enemy phase.
On the second attempt, Boey and May start off by taking out the lead merc in the forest.
Palla and Catria take out a merc on the west side of the fort this time.
Boey barely survives.
Turn 6
Only one archer remains outside the fort. Unfortunately Wolf is in position to wreak havoc, and Boey can't out-run him.
So Catria parks herself at the fort entrance to block it, and gets a crit to wipe out the merc as a bonus. But will she survive the enemy phase this time? There's an awful lot of archers around....
The archer doesn't get any help from the forest when it comes to May's fireballs.
Boey's out of range, but Catria has to survive Wolf, a merc, and a number of archers....
Well, fuck. One more hit and she's done.

Two misses! Still alive....

The last archer gets right up in Catria's face and also misses. A little too much reliance on luck in this battle. To be honest the start of this turn would've been a good opportunity to retreat from the battle and start again - the killed enemies stay dead, and we'd be fully healed.
Turn 7
I think it's time for a strategic retreat.
Another gamble, here - May has only 13 HP left, but with the extra evasion from the forest will hopefully do a lot of dodging. Basically I need to stall for a turn until Valbo can finally make it to the fort and start tanking for us.
The gamble pays off here, though Wolf's hit rate isn't as low as I would've liked.
I wasn't expecting a second attack. May is faster than Wolf, but apparently her Fire spell weighs her down even when she's too far away to actually use it.

She dodges the second arrow as well.
Two archers are drawn out - the first misses May, while the second scratches Valbo to avoid May's deadly counterattacks. This formation is important since it means Wolf won't be able to get out of the fort next turn.

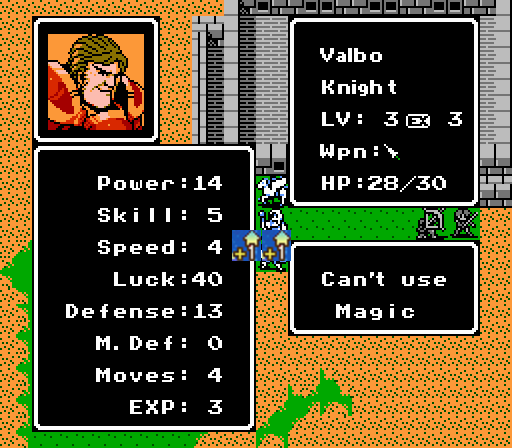
Valbo only needed the 1 XP he got from surviving an arrow to gain his first level, but I wasn't able to get him the Angel Ring.
The last merc is also lured back out, but can't get to May even with two attacks. Another turn survived.
Turn 8

Valbo has the Hand Lance for this battle, and uses it to finish off the merc.
May retreats, Palla attacks, and everyone else slides one space forward again.
Not my favorite matchup, but Palla has enough HP to take a hit and enough Speed to avoid a second one.


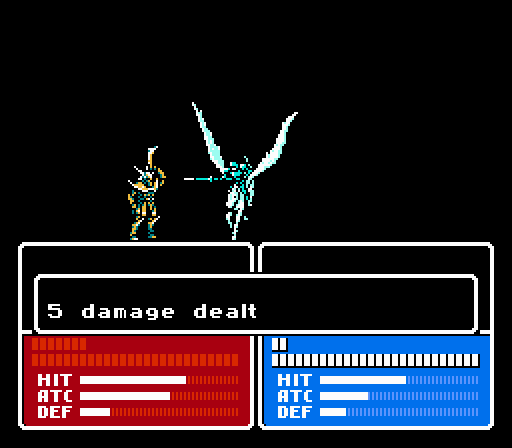
An archer makes it into the forest, and launches an attack on Celica for 5 damage.
Palla dodges one archer, takes a small hit from another.
Turn 9
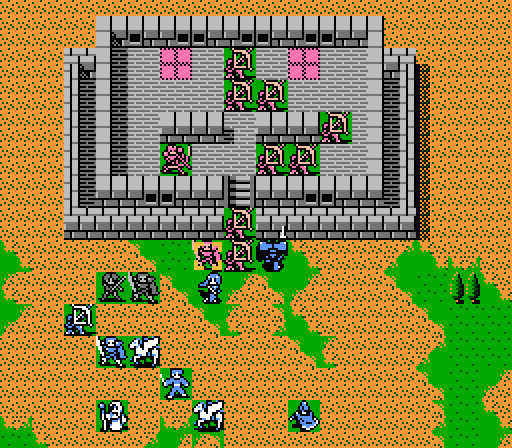
Valbo finally locks down the fort and takes out an archer.
Saber tears up the lead archer in the forest, and Celica finishes it off.
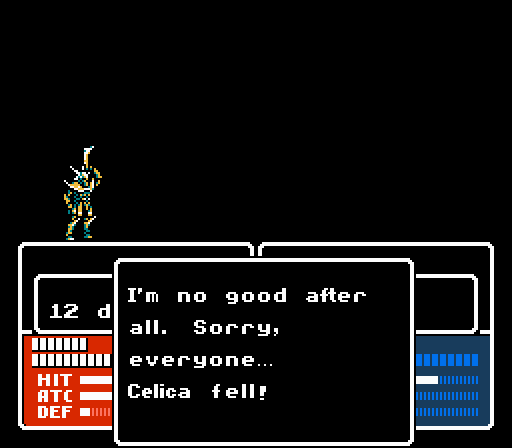
Oops. Wolf reaches Celica, gets in two attacks, and lands both.
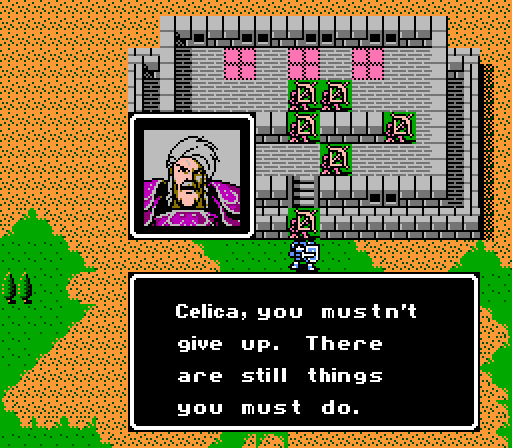
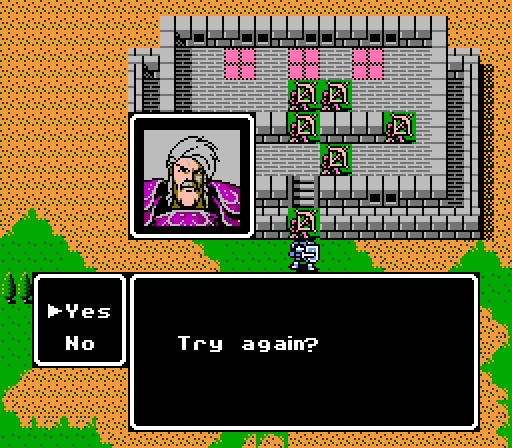
The game can't continue without Celica, so Mycen shows up out of nowhere to implore us to try again (restarts from last in-game save). To hell with that, I'm just going back to the start of the turn.
This time around Valbo misses his attack, and Celica hangs back with everyone else.
Had it all the way - Leo would've survived with 2 HP even if this attack had hit.
Of the seven archers remaining, four attack Valbo. One of them is actually counter-killed.
Turn 10
Valbo and Saber each take out an archer.
This setup is pretty paranoid, with Wolf unable to get to anyone but Saber and Valbo, but our army is pretty beat up and Jenny can only heal 8-16 HP once per turn.

Wolf is the first enemy that can do some real damage to Saber, but he misses his only attack anyway. A couple of archers do 1 damage to Valbo and Saber while the rest retreat for healing.
Turn 11
We're finally into the fort! Saber attacked the archer in front of him and brought it down to 2 HP, but Valbo missed on the follow-up. Everyone else shuffled around waiting for Jenny's healing.
This opening for Wolf was actually somewhat intentional, since I didn't want him double-attacking Valbo. Even with just 1 HP per attack, Valbo's starting to weaken as it is. Of the remaining archers, one attacks Saber for 1 damage and two others gang up on Valbo for a total of 2 damage.
Turn 12
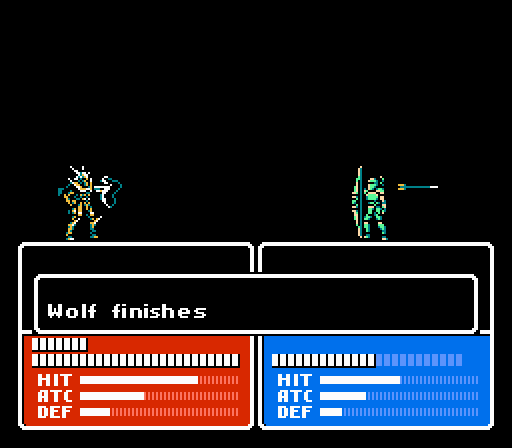
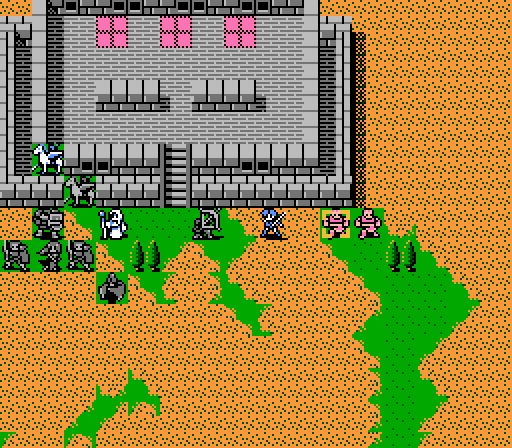
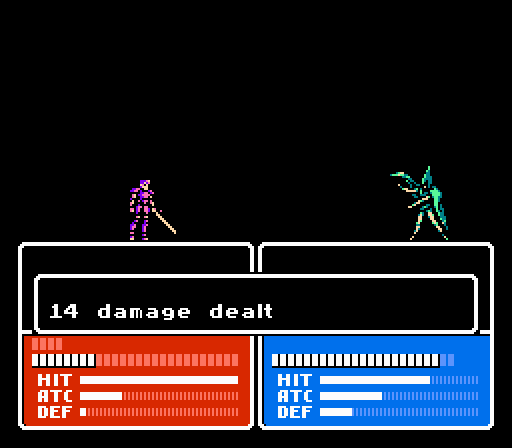
Wolf is finally exposed! Saber latches on for 14 damage, but that's not enough yet.
Valbo's hit rate is pretty low but this attack is worth the risk - it succeeds, and Wolf is driven into retreat mode. The rest of the fight is just mop-up from here.
Just need to get our army actually inside to clean up the remaining archers and help finish off Wolf.
On the enemy phase, three more archers attack Valbo and a fourth goes for Saber. Valbo's down to just 8 HP but should be fine for another turn.
Turn 13
Kamui finally reaches the front lines, taking out one archer while Saber gets another.
Valbo retreats, and Palla moves in for another kill.
May's healed up and ready to help with the last couple turns here.
One archer takes a futile shot at May while the other takes one last shot at Valbo. Wolf reaches the healing tile, but it's too late for him.
Turn 14
The pegagus knights have suffered the most at the hands of Wolf, so it's only fitting that Palla gets the final blow. She gets the Steel Bow from him, as well.
Kamui takes out one of the remaining archers, but the other one is going to have to wait one more turn.
Turn 15
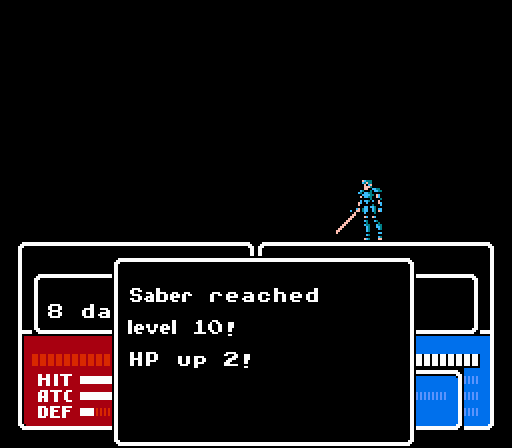
Saber lands the final blow, mercifully ending the battle.
Now you're just mocking me, Angel Ring.

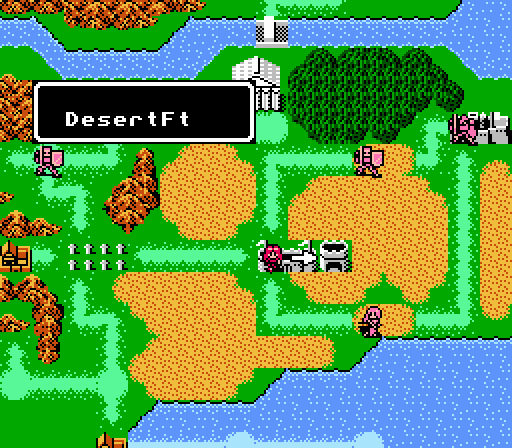
Well, time to explore the Desert Fort!
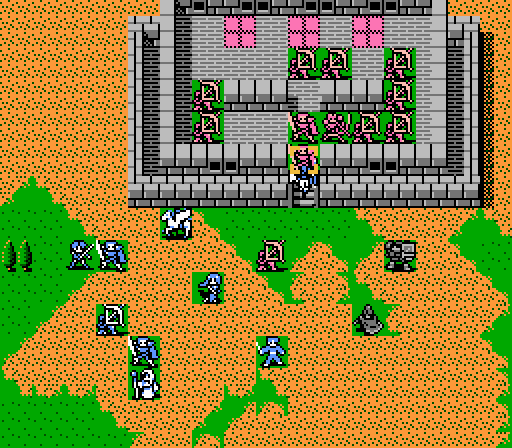
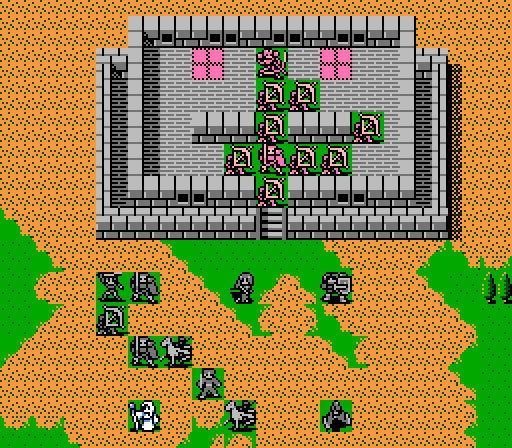
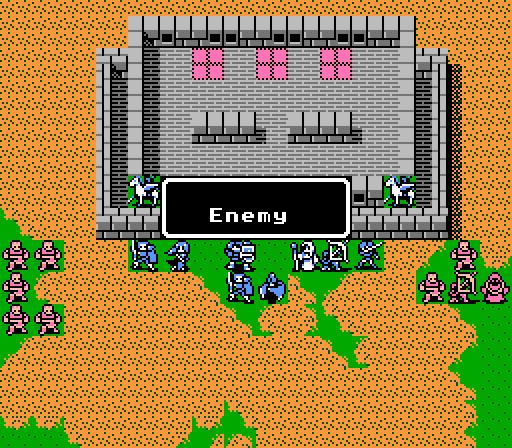
_-_Chapter_3_Part_6_Battle_2.gif)
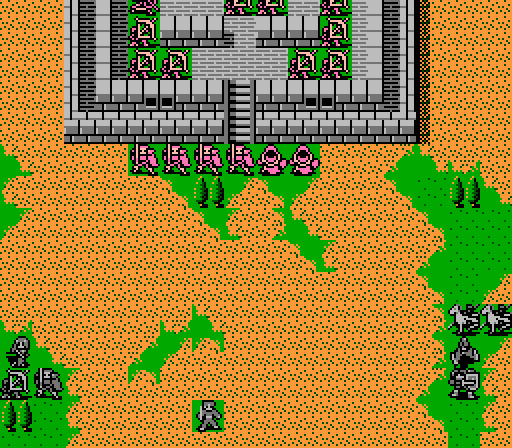
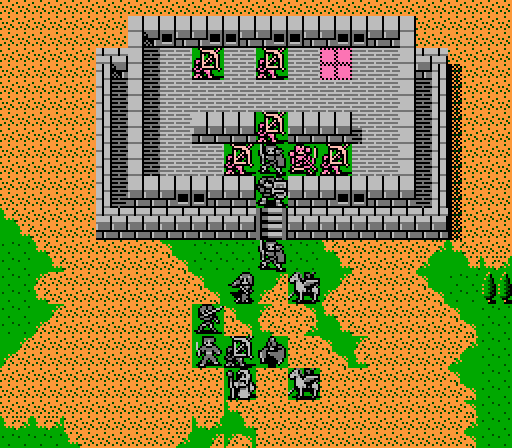
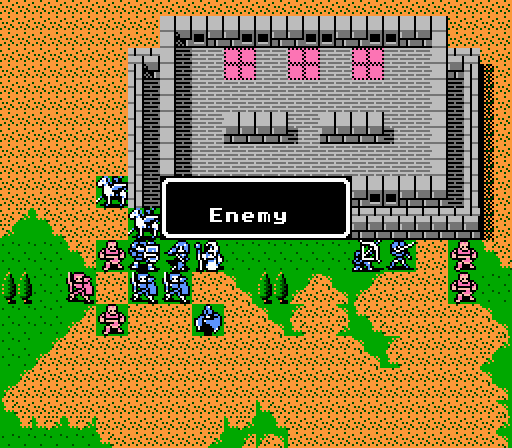
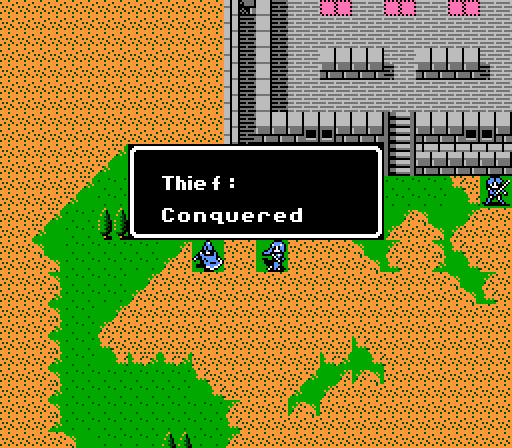
....Or not. The wandering thief has caught up to us, so it's immediately time for another fight.
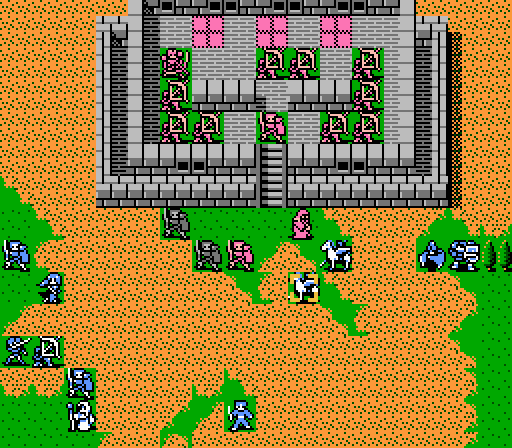
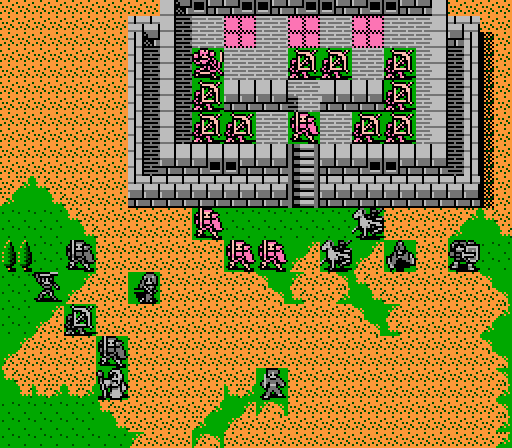
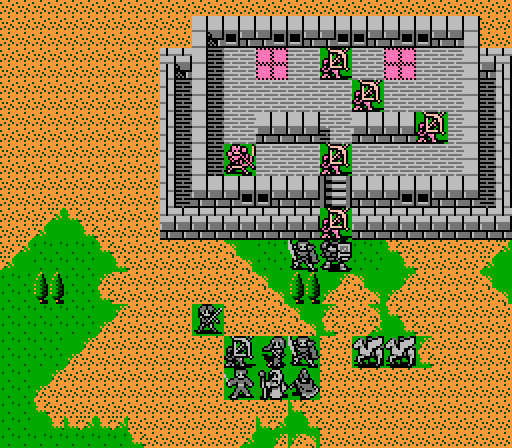
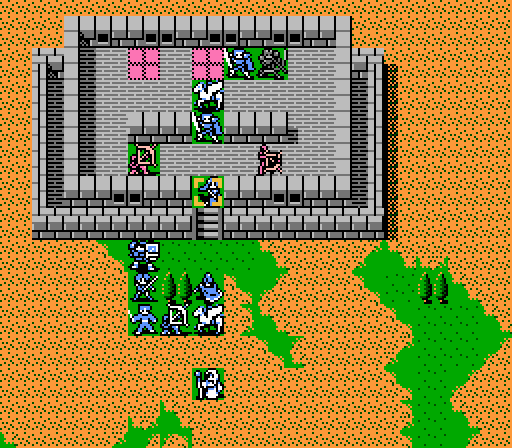
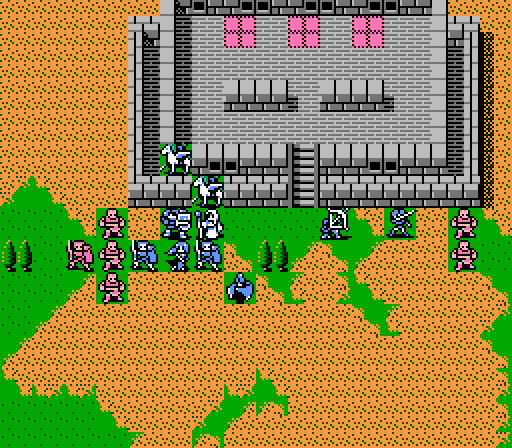
A much simpler battle this time. We start inside the fort, for one, and the enemies, while all level 5, are much less dangerous.
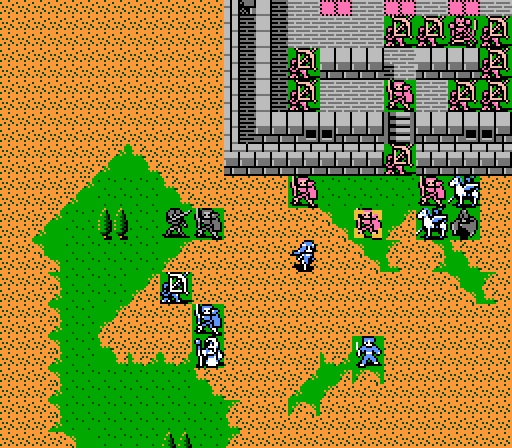
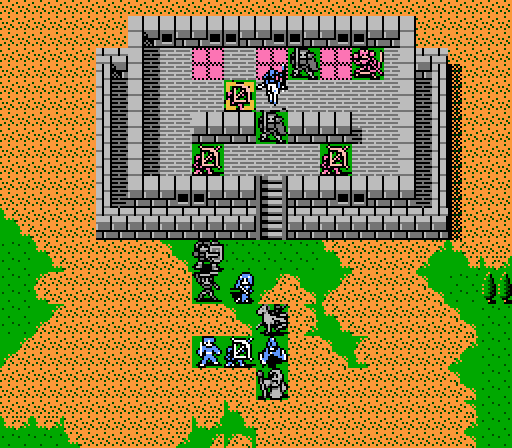
Turn 1
Since the enemies are attacking us here, they actually get to move first. Not that it matters for this battle, since it'll be several turns before they get anywhere close to us. Let's skip ahead a bit....
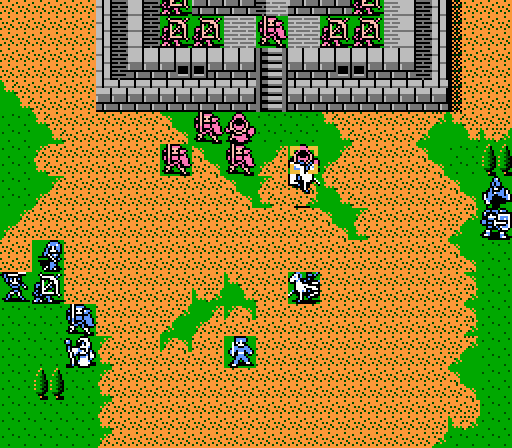
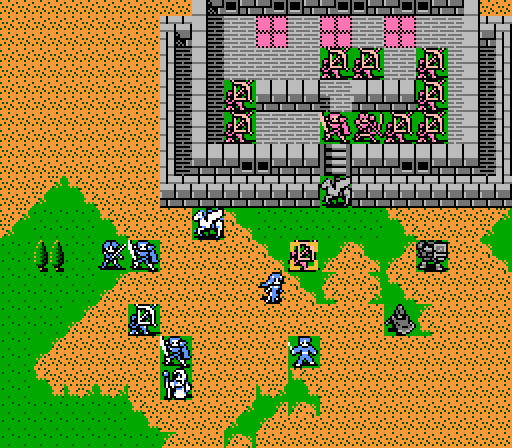
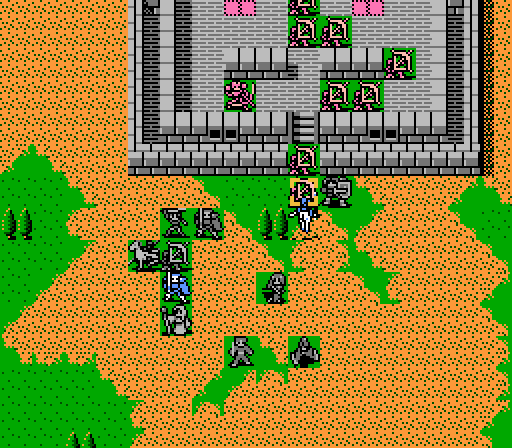
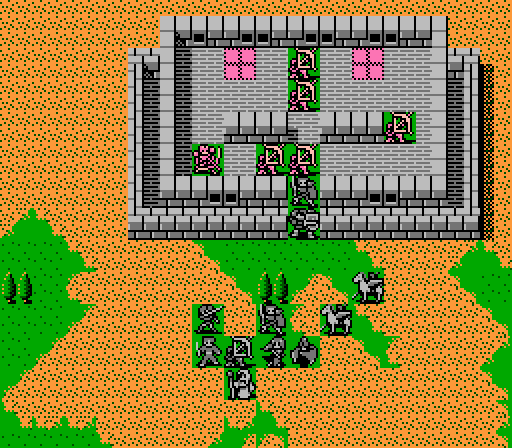
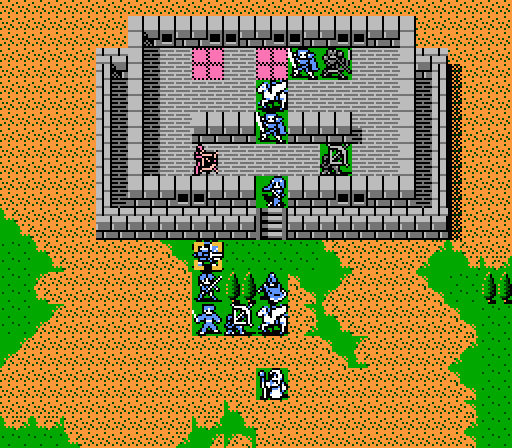
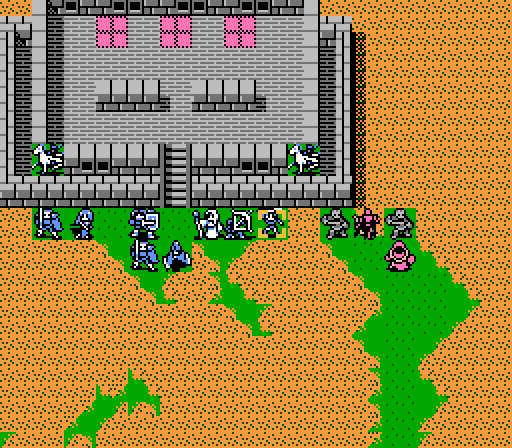
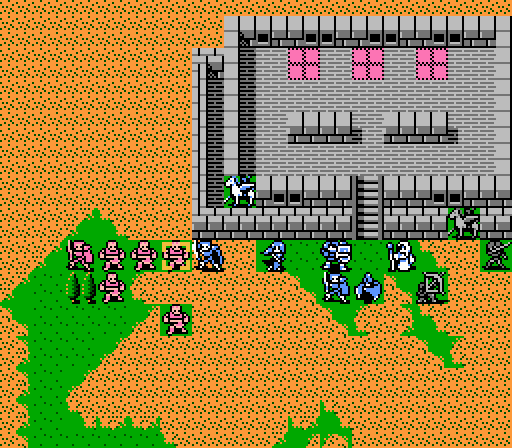
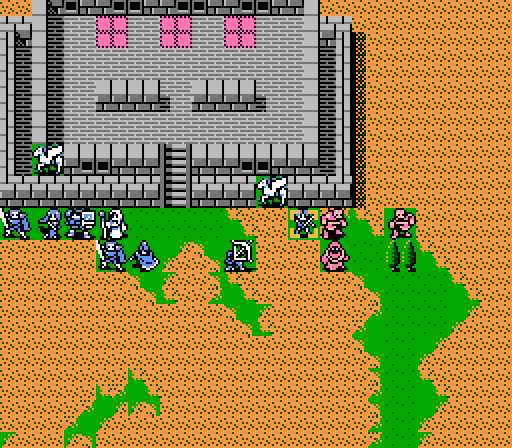
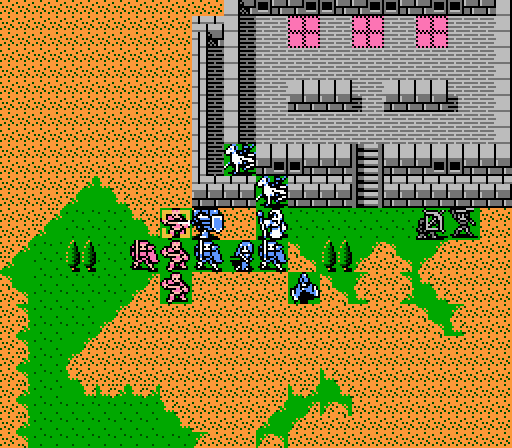
Turn 5
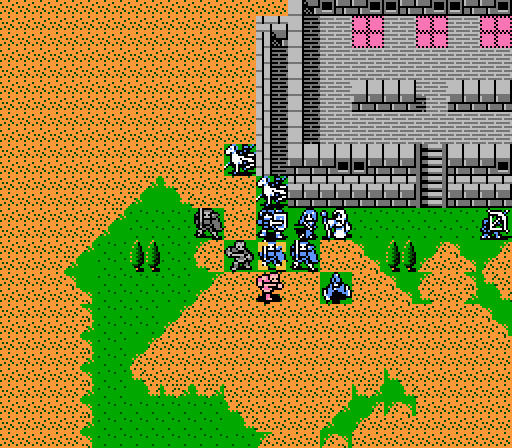
We've come out of the fort to hold the edge of the desert instead, limiting the enemy's ability to maneuver this time around.
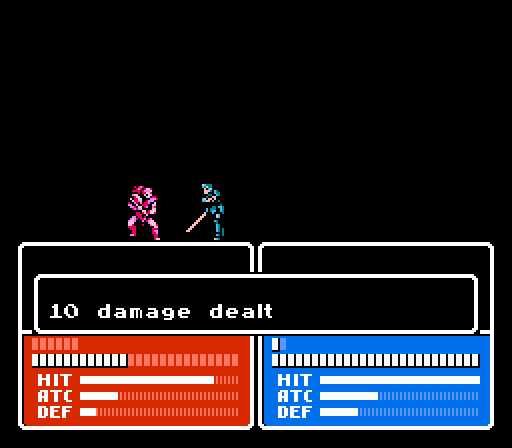
Celica dodges an arrow from the first attack of the battle.
The 1 XP is enough to push her into a new level, such as it is. She also picks up the Lightning spell.

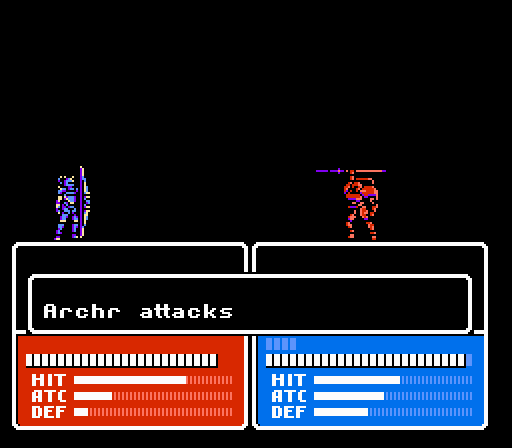
On the player phase now. Leo softens up the wizard, while Celica takes out the archer.
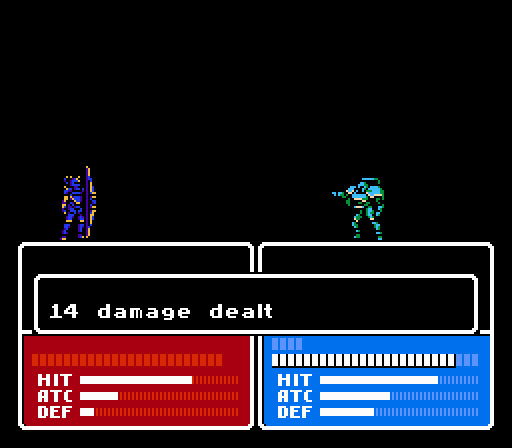
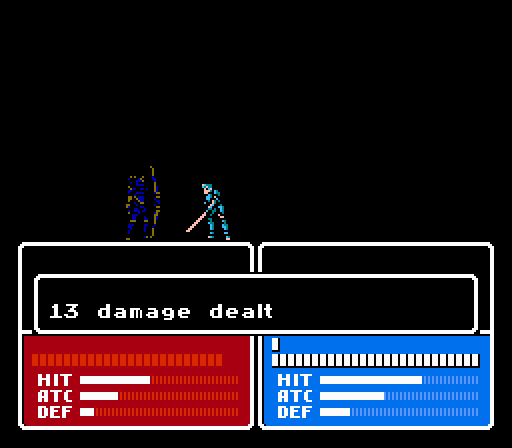
Saber engages the western group, hitting the lead thief for 20 damage.

May moves in and finishes it off.
I feel much more secure with this setup than at the same time last battle.
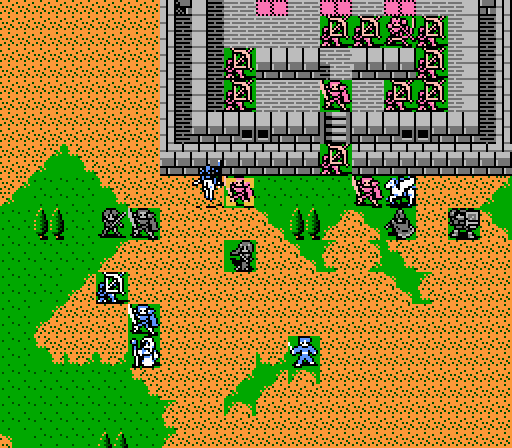
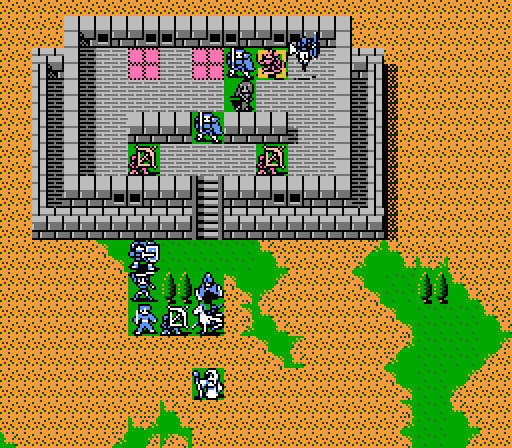
Turn 6
Saber fights off a thief to the west, while on the east side a thief and the wizard both attack Celica.
May and Saber start off the player phase by wiping out another thief.
On the other side, Leo gets the kill on the wizard while Celica brings the thief down to just 1 HP.
Turn 7
No attacks on the enemy phase, so let's see what kind of damage we can do ourselves.

Leo and Celica team up on the thief, but one too many misses costs Celica a kill.
Valbo and Saber form up a new front line, with Saber killing his target outright.
The Angel Ring, doubling terrible levels since 1991.
Catria gets in a couple shots, but not enough for the kill.
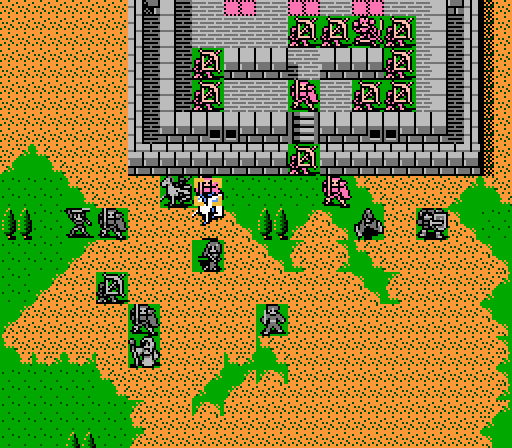
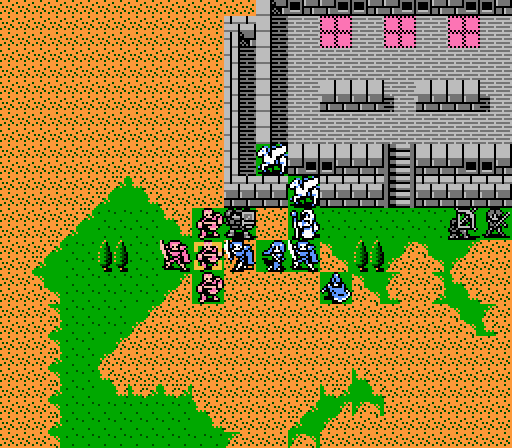
Turn 8
Just four thieves and a merc remain.
The injured thief retreats, blocking the path of the merc. The other thief commits suicide-by-Saber.

The pair of thieves remaining to the east don't really want any part of Celica.
The desert's on our side this time, as they can't get away from Celica and Leo.
Boey takes out the last thief. Just that merc left now.
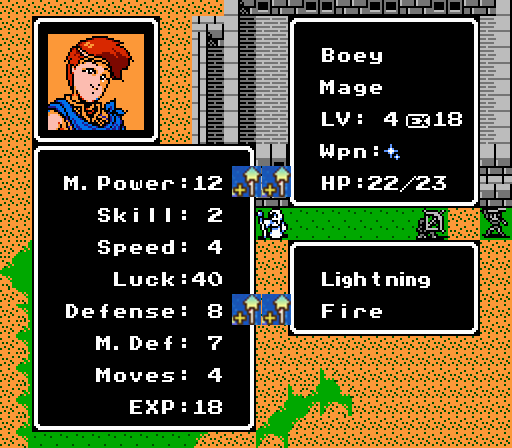
Leave it to Boey to get the best level of the update.
Turn 9

The merc reaches Valbo, though it doesn't do him any good.
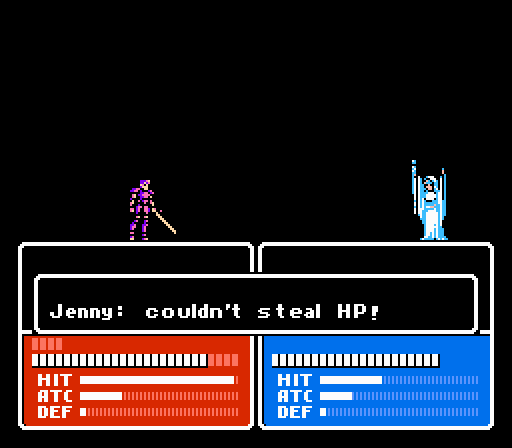
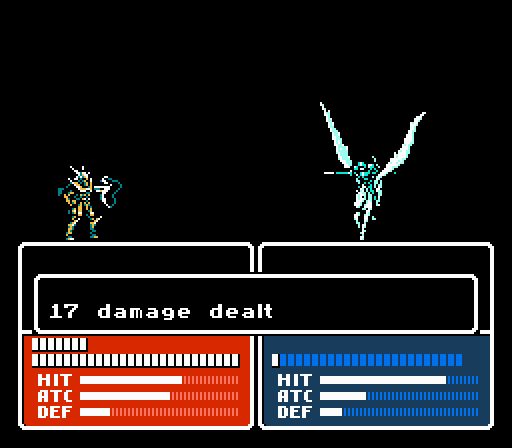
Jenny's been sitting at 99 XP since the start of the update. I finally got her the Angel Ring while she was in position to make an attack.

So, so not worth it.
Boey gets the merc down to critical condition. I got the Angel Ring to Kamui in hopes of getting him the kill next turn.
Turn 10
The merc decides to kill himself on Saber instead.

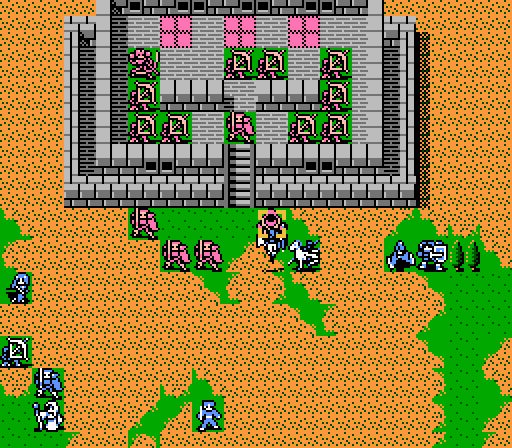
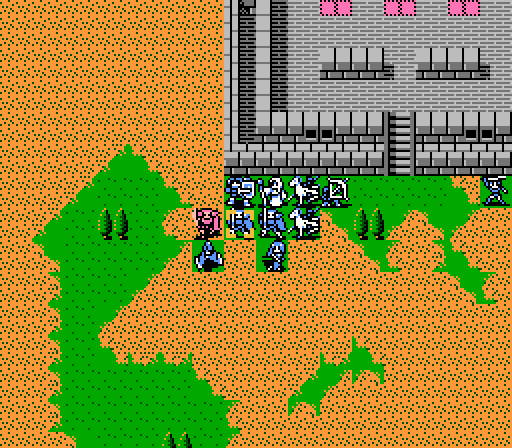
We're not quite done yet. Now we can explore the Desert Fort for real.
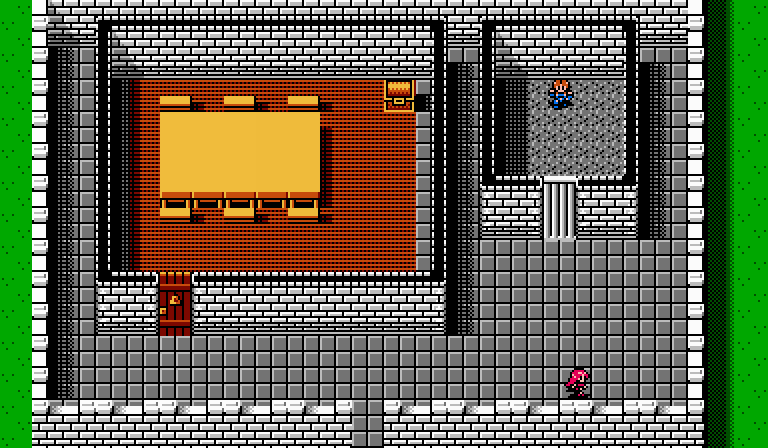
Some poor sap is locked up here. Maybe we should help him out. Oh hey, treasure!
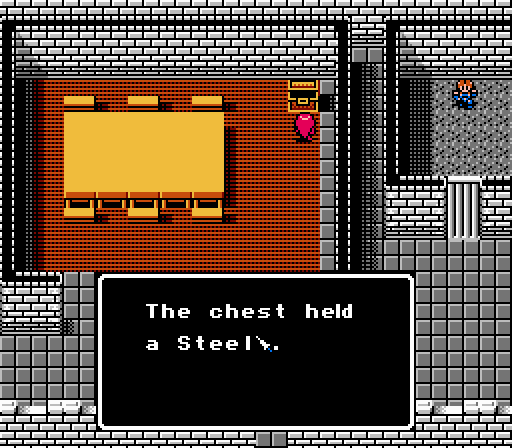
Solid power upgrade for the pegasus knights. I guess we'll let that guy out of his cell now.
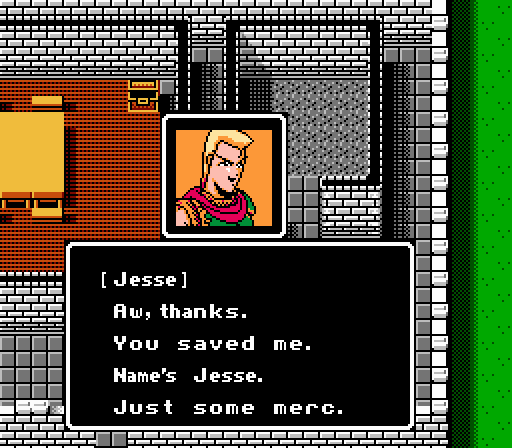
 I got caught helping out a girl jailed in Geyse's fort. Cute kid from a foreign land.
 That has to be Est.... Hey, Jesse. Is there a way we can save her? Nope. There's no way the few of us can do anything.
Too bad, off to Mila's Temple then!
But there must be a way....He just said there was no way, Celica, give it up already.
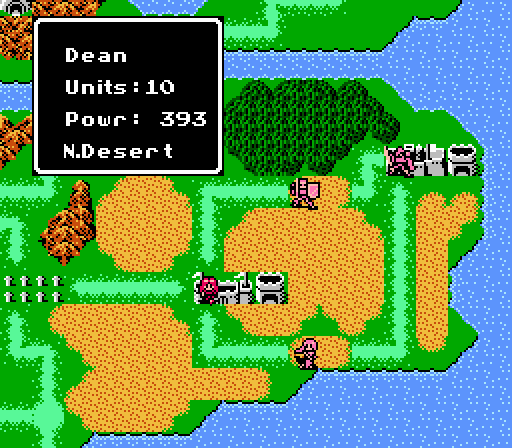
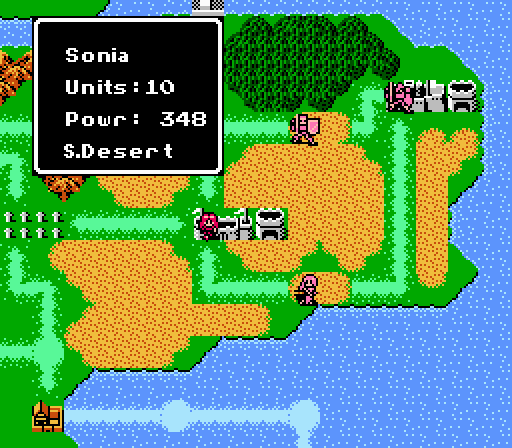
Well, I guess.... Geyse has these two underlings: Sonia and Dean. The guard the north and south desert regions, respectively.Note: The translators apparently didn't know what the word 'respectively' means, since Dean actually guard the north region while Sonia guards the southern one. Anyway....
Both of them seem to hate Geyse. However, neither will betray him while the other's alive. If you defeat one, the other may become your ally. Oh, and of course I'll lend you a hand, too.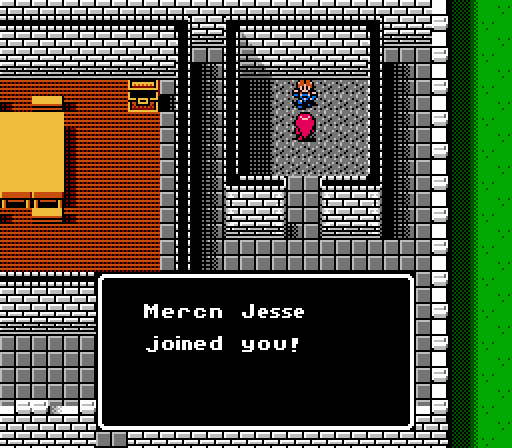
And we get another merc!
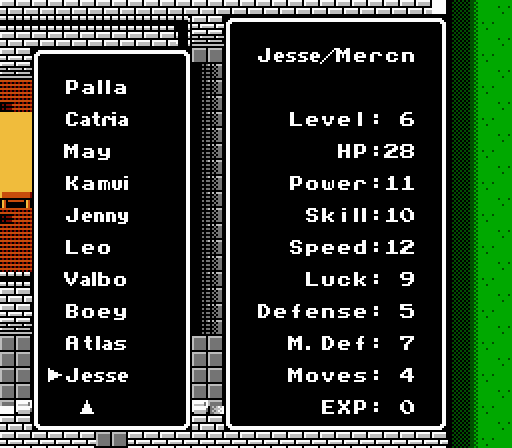
Jesse's a pretty solid unit. Saber's obviously in much better shape, but Jesse compares favorably to Kamui - more Speed but less Defense.
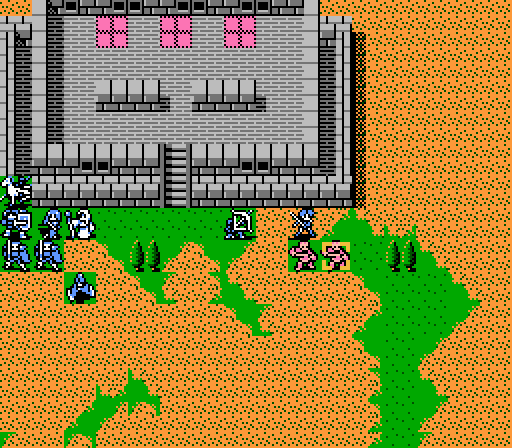
We face a choice on where to take Celica next. Attack Dean, so we can recruit Sonia? Or attack Sonia and then recruit Dean? (The more bloodthirsty option - kill 'em both - is sadly unavailable as one will retreat once the other is defeated.)
Dean is a myrmidon - a promoted mercenary. We don't really need another mercenary, strong as he may be. Sonia is another mage with a pretty good spell selection. Sonia has higher growth rates for everything but HP, but Dean has higher base stats (including a 17 Speed).
Make your choice here: VOTE
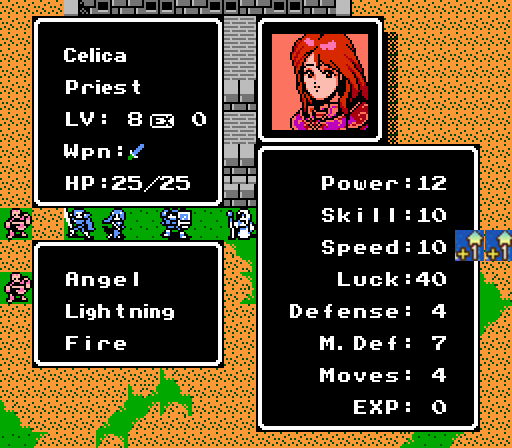
New Characters
Jesse comes off as "just another merc" but he actually has pretty good base stats and growths. The last thing Celica's army really needs is another paper damage-dealer, but at least he's a good one.pre:
Stat	Base L6	Growth
HP	28	40
Power	11	25
Skill	10	40
Speed	12	40
Luck	9	20
Defense	5	25
M. Def	7	0
Moves	4	0
Quality	47	150
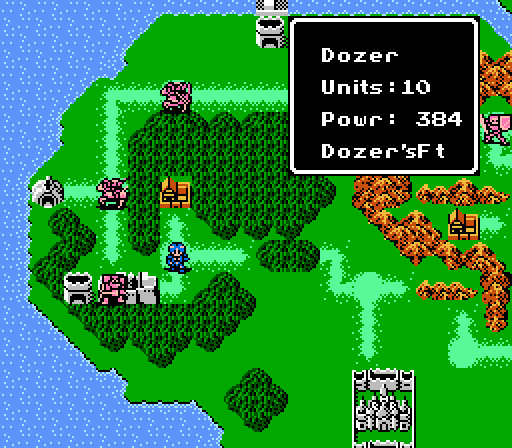
Alm has finally caught up to General Dozer.