Part 34: Chapter 3, Part 10: Sofia Woods II
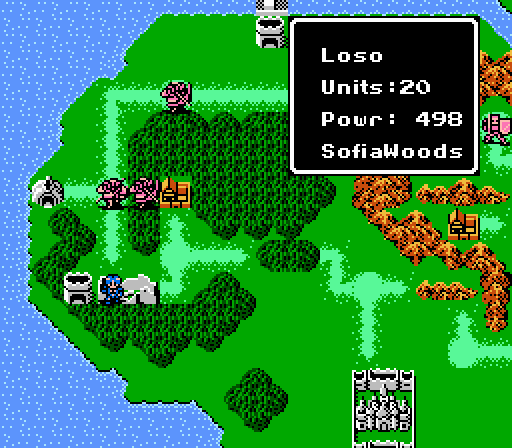

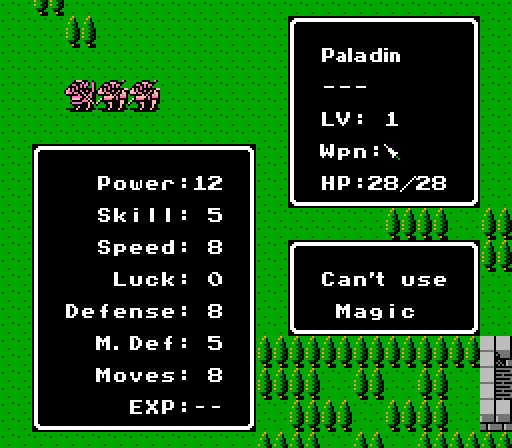
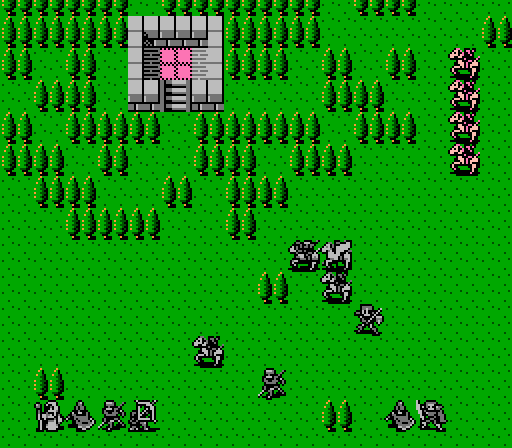
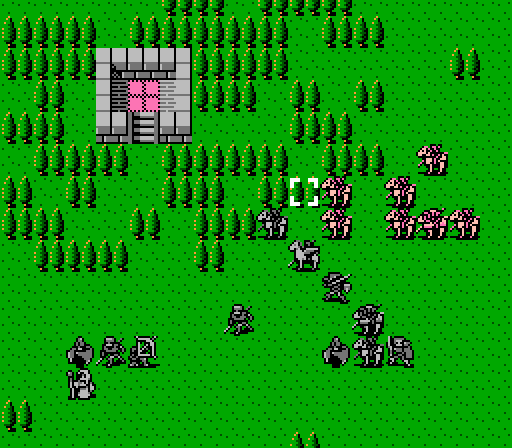
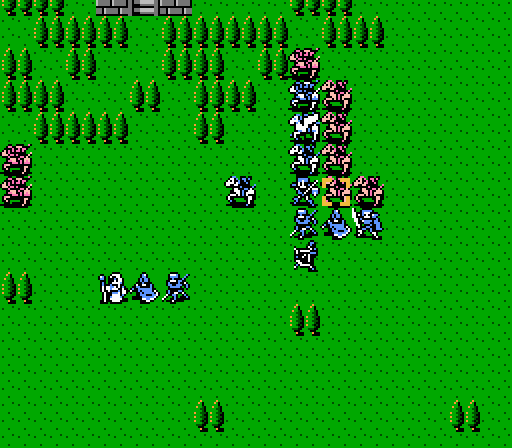
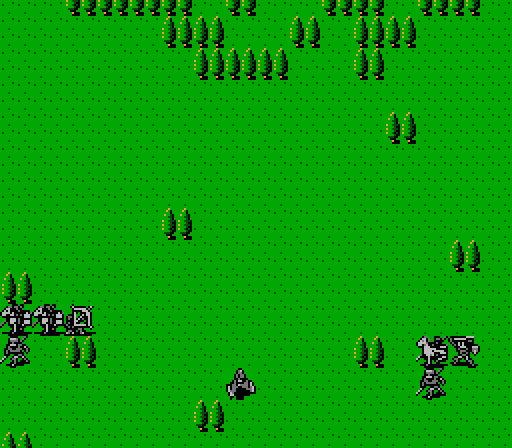
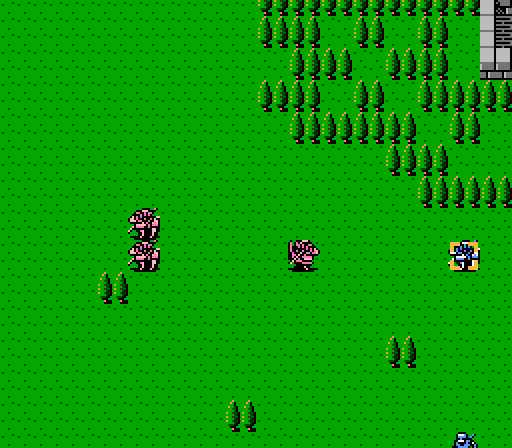
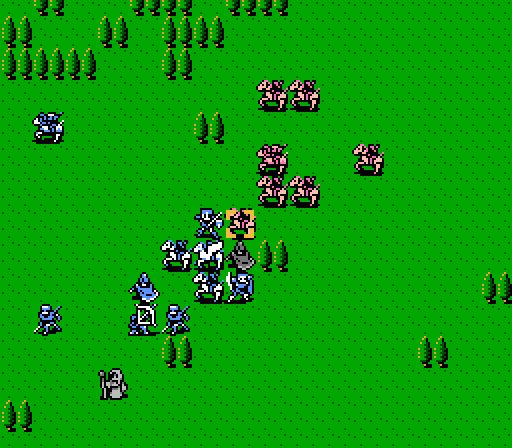
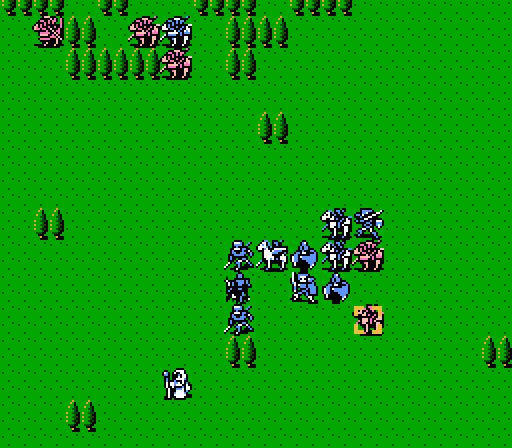
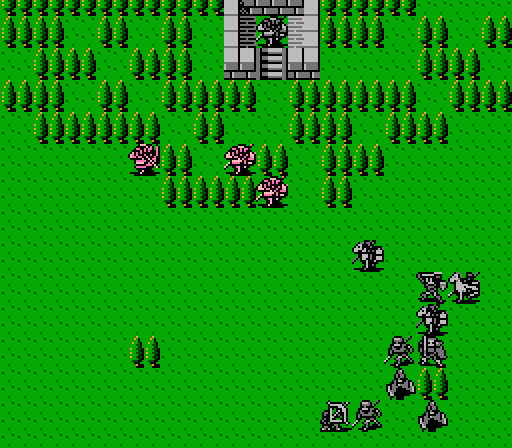
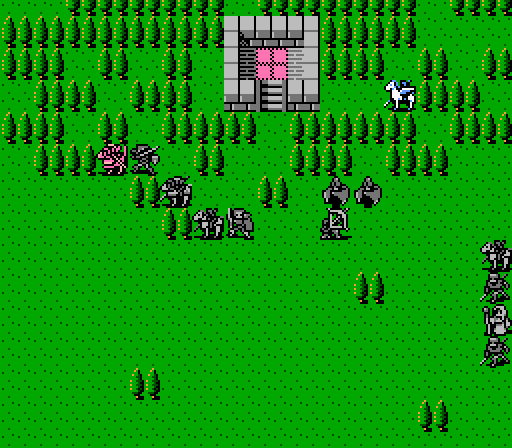
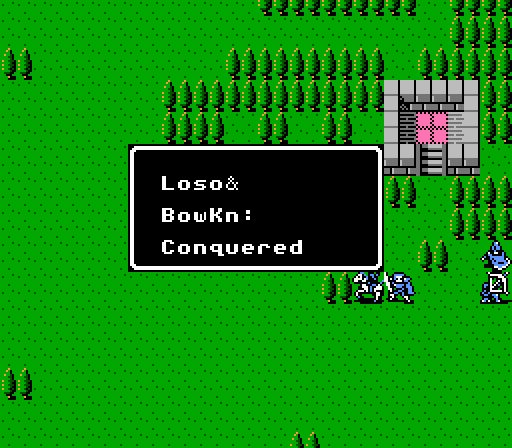
It's finally Alm's turn again, and he's up against a group of cavaliers and paladins led by Loso, with a small group of paladins led by a bow knight.
Alm's group is significantly less well-equipped than Celica's army, and without an Angel Ring hasn't been able to grind up acceptable levels. So a fight that might be easy for Celica will be quite challenging for Alm here. Let's get started.
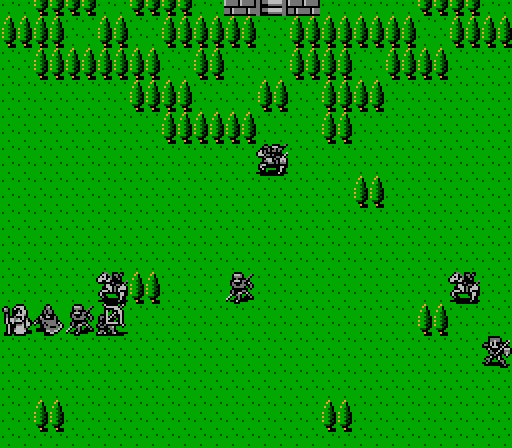
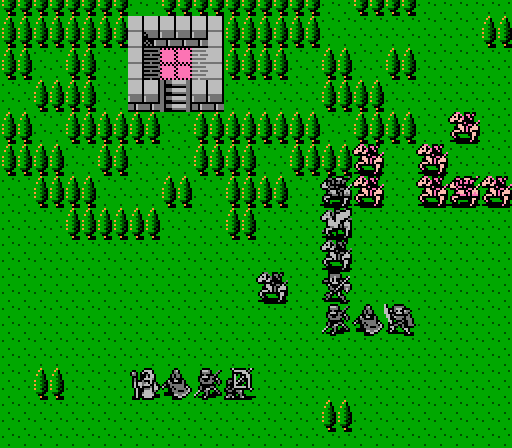
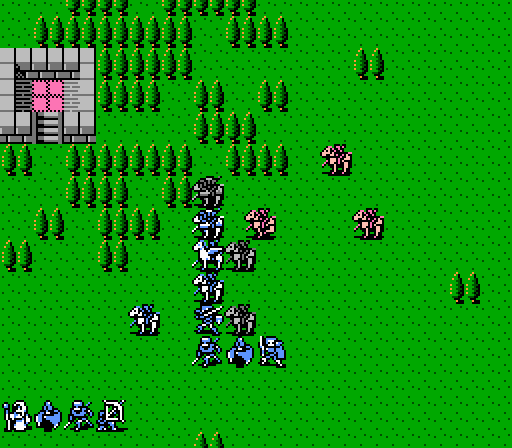
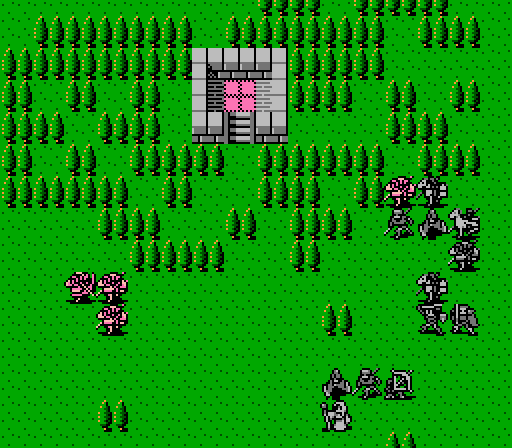
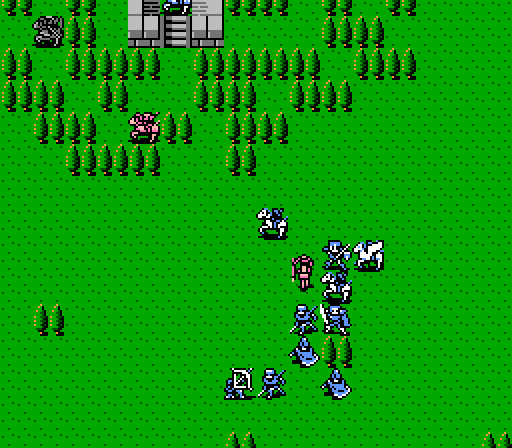
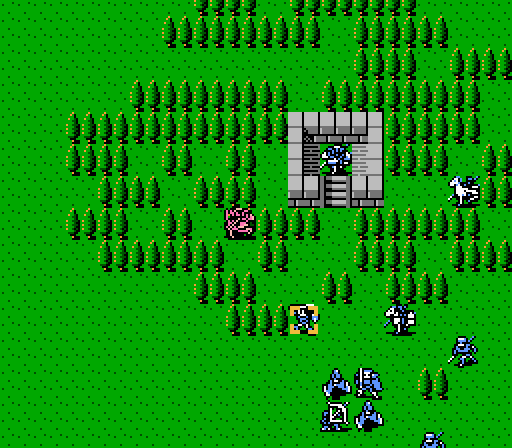
Hoo boy. We're spread out with no cover and being pincered by two forces with superior mobility and a strong boss in each.
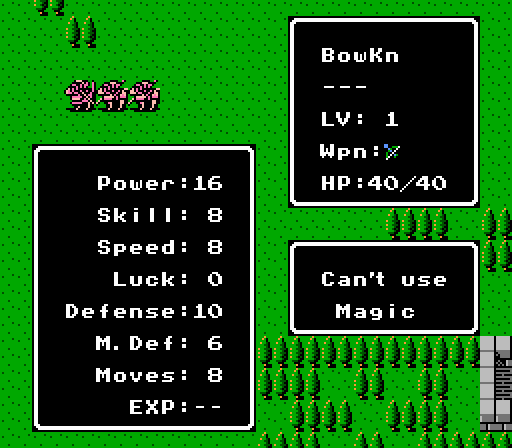
The bow knight is another new unit - the second promotion of the archer. Increased movement, high power, decent speed, and good defense combined with a large HP pool - he'll be tough to take down safely.
He's joined by two paladins that look much less intimidating in comparison but can easily wreck our weaker units if we let them get close.
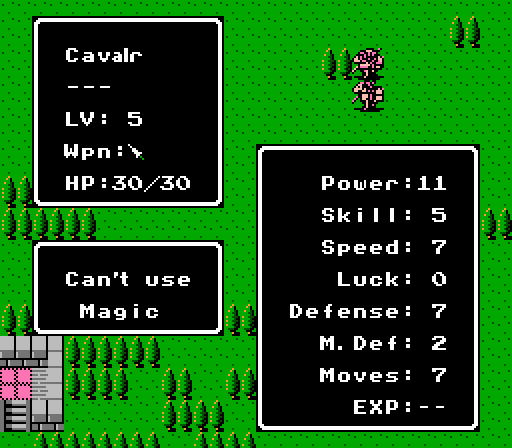
Two level 5 cavaliers lead the charge on the east side. The remainder are all level 1, much less threatening.
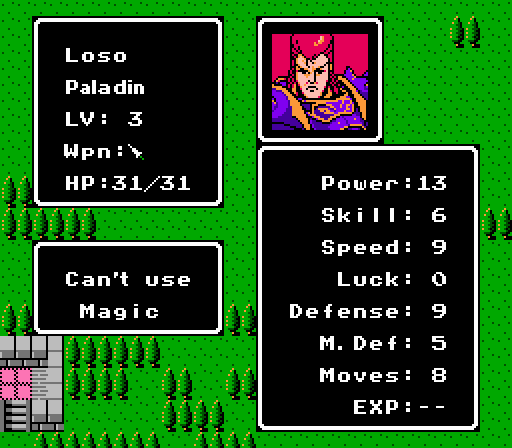
Loso's tough and strong but still looks pretty tame compared to the nameless bow knight reinforcing him.
Turn 1
The strategy here, is to get the group together to try and protect the weaker units from the oncoming rush. Reaching the trees would be a nice bonus since it slows down the enemy horse-riders much more than our walkers.
Turn 2
The group on the right is ready to meet the oncoming wave of cavaliers, while the group on the left continues to flee in terror from the bow knight.
Claire has the Knight Killer and uses it to counter-kill all comers. Which in this case is just the one cavalier.
Doom approaches from the west.
Turn 3
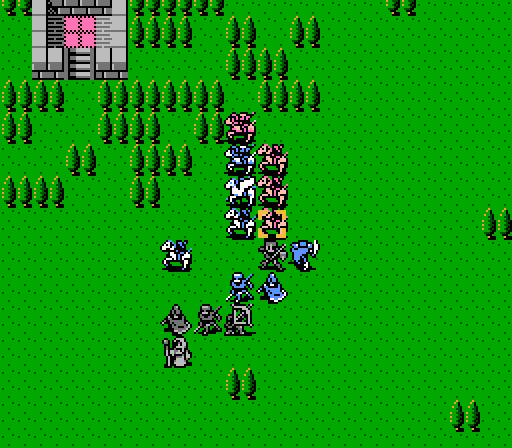
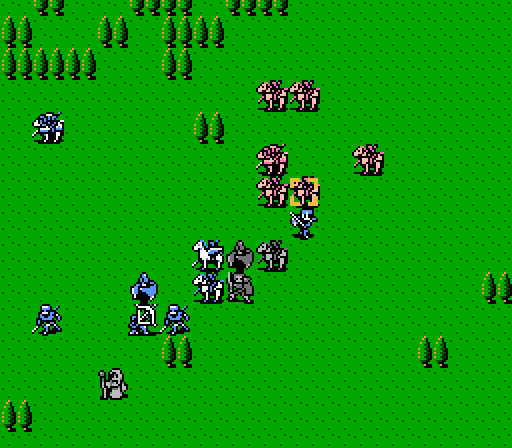
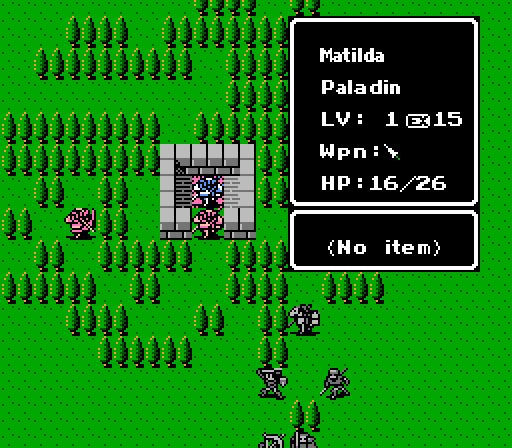
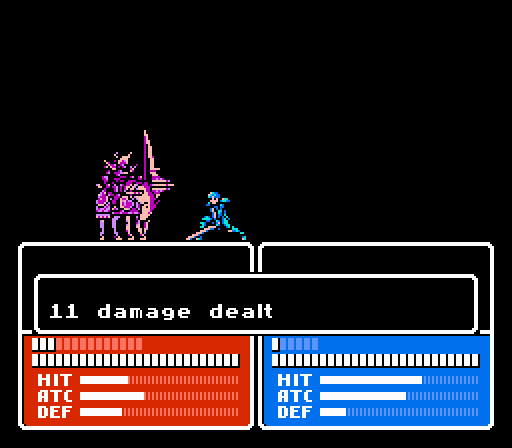
There's a lot of bad guys in our immediate vicinity here. And Silk is looking rather exposed to the bow knight and his lackeys.
Alm and Claire each take out a cavalier and a rough line is formed. The problem? Robin took a couple hits last turn and he's trying to hold up the north end of the line by himself.
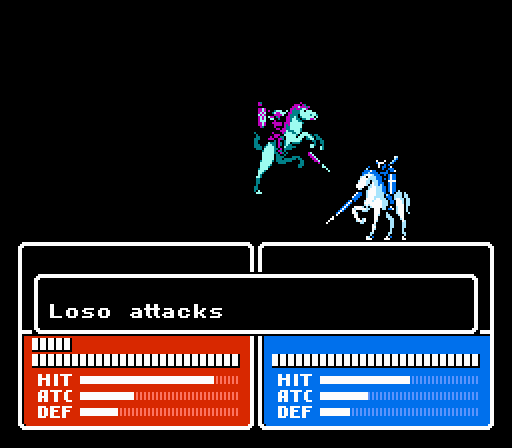
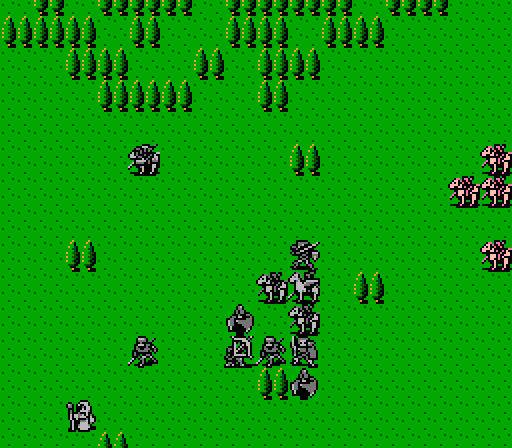
Loso immediately exposes the weak point in the line, and it's time to start over.
Another attempt at forming a similar line, this time further back and with Robin hidden safely away.
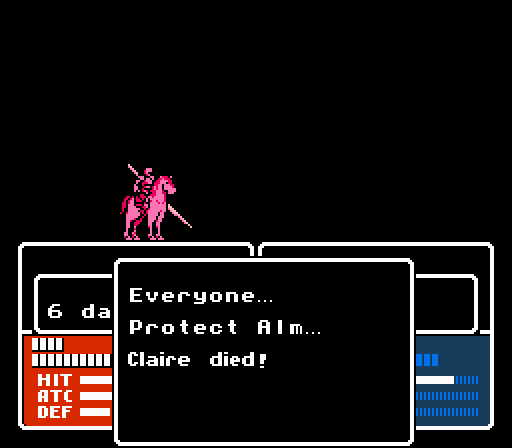
This time it's Claire that's over-exposed, getting wrecked by Loso with another random cavalier finishing the job.
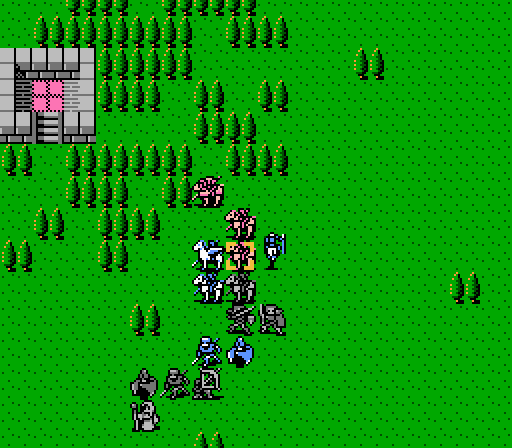
A much cleaner line this time, with Matlida and Cliff the only ones exposed to multiple hits, and they're fast enough to avoid getting double-attacked.
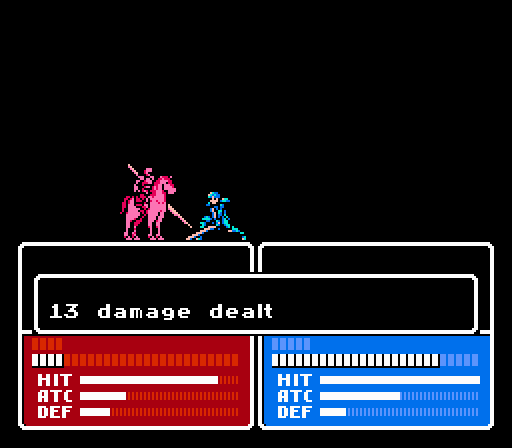
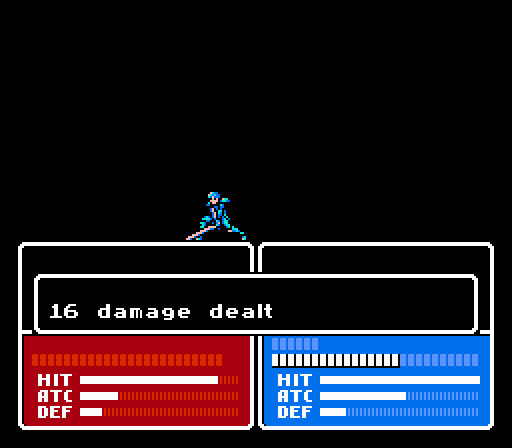
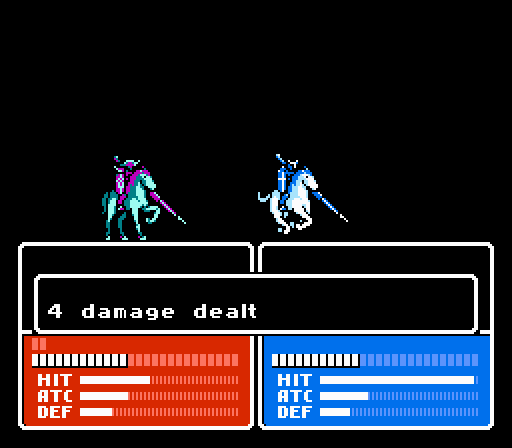
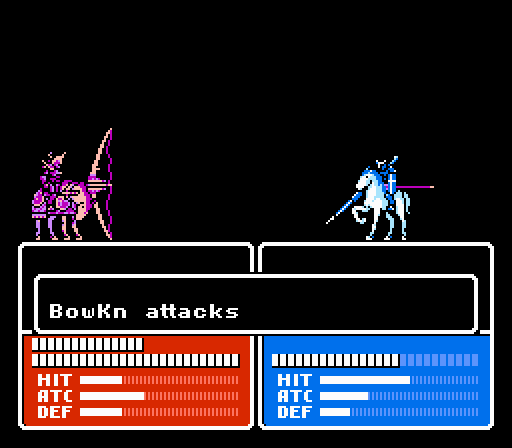
Loso goes after Matilda this time, but only gets in 6 damage.
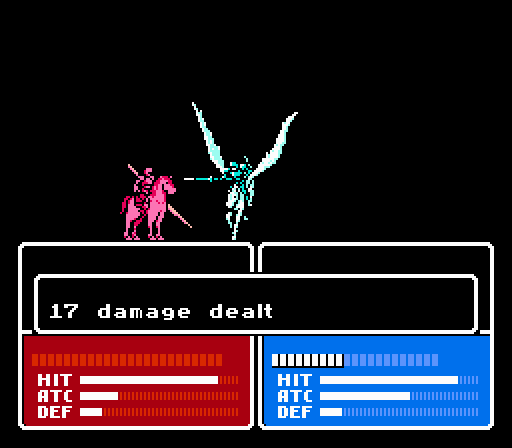
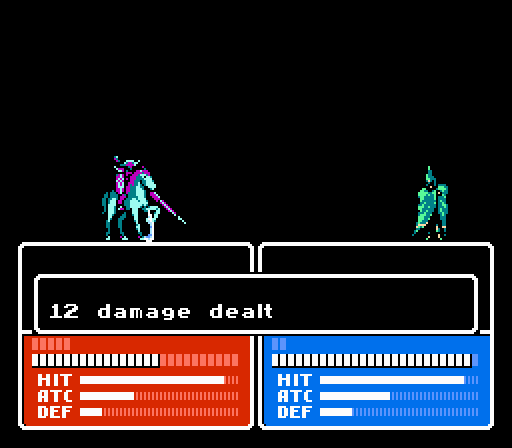
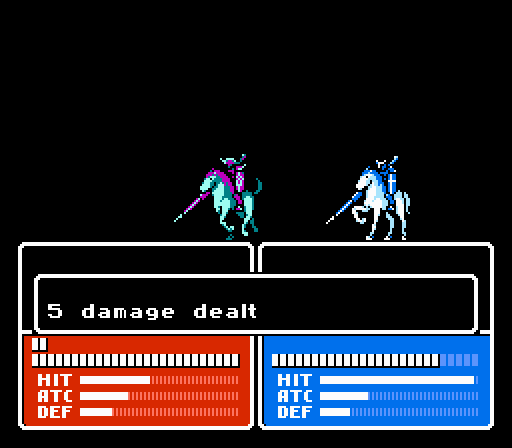
Alm eviscerates one of the level 5 cavaliers with the Regal Sword.
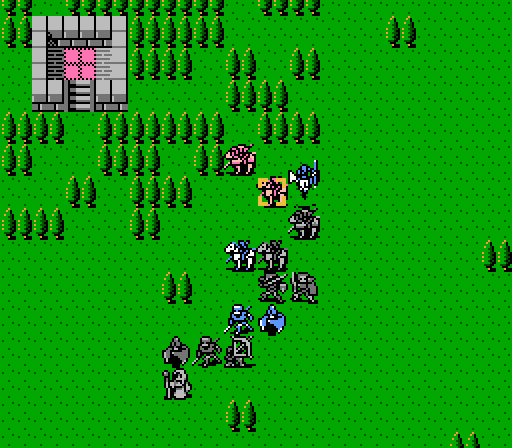
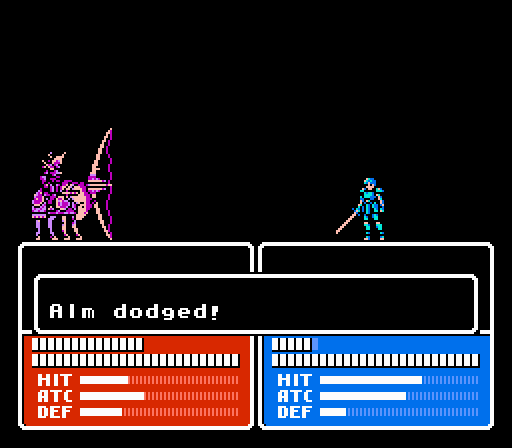
A little bit of a scare here - if Claire keeps counter-killing the remaining cavaliers, they'll eventually do enough damage to put her down.
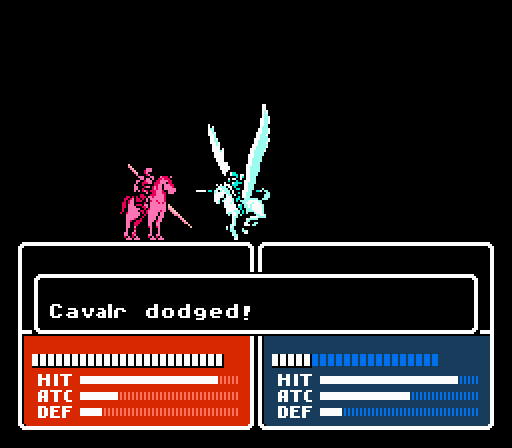
Luckily (?) she misses on her next attack, leaving the space in front of her occupied.
The remaining cavaliers fill in the remaining spaces, attacking Matilda, Cleive, and Cliff in turn. Finally able to survive the third turn!
Turn 4
That bow knight is getting awfully close, and we're still tangled up with Loso's group.

Two cavaliers down.
And two more.
Claire takes out another, though I probably should've healed her instead given she has just 5 HP remaining.
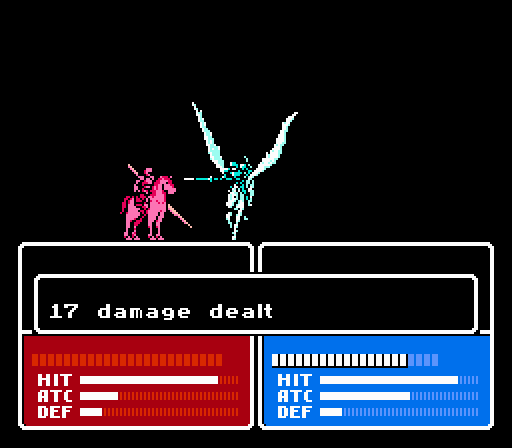
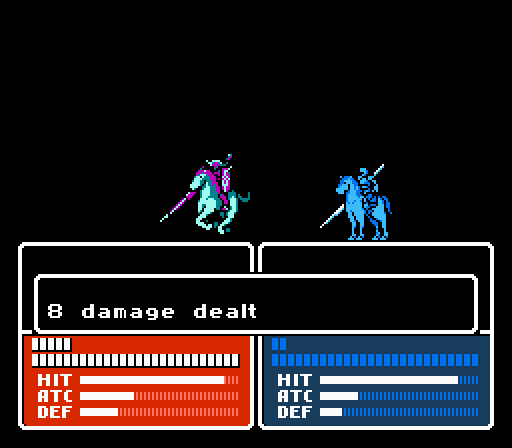
Ryuto slices into Loso, but gets only one attack.
Cleive and Luka try to pin in Loso, who's down to just 8 HP but stubbornly keeps attacking.
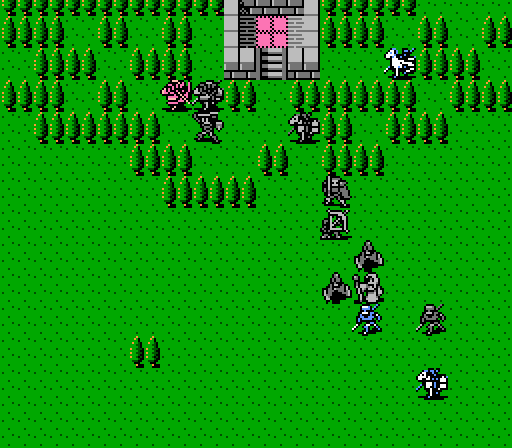
Like so. Oh well, easy enough to finish him off next turn. At least the other group can't fully reach us quite yet.
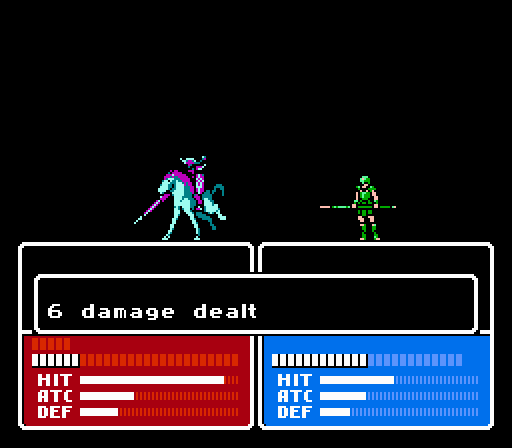
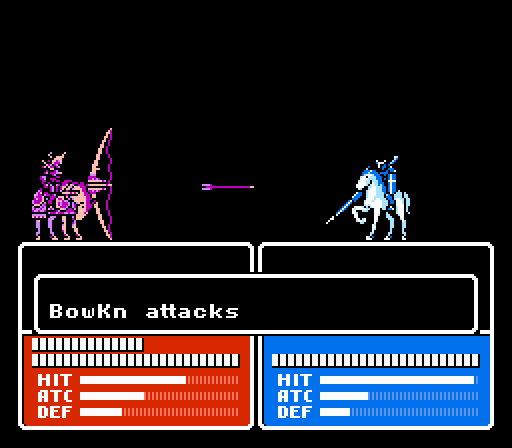
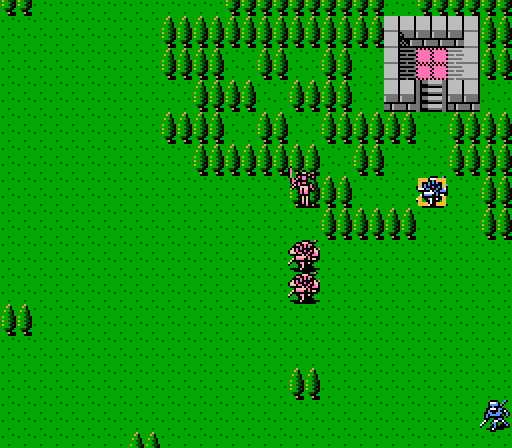
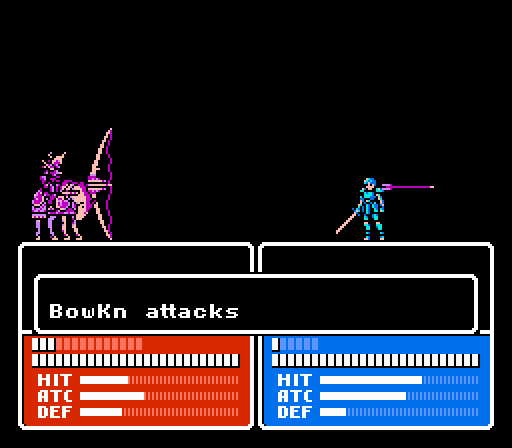
See the bow knight can only get to this tile, and only Boey is in its 3-tile range WAIT WHY ARE YOU TARGETING SILK?!?!
_-_Chapter_3_Part_10_Battle_1.gif)
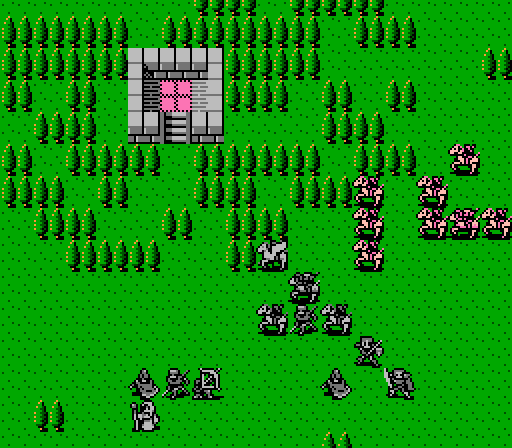
Well, shit. So it turns out, bow knights automatically get a 5-tile range, even without any items equipped. So Silk was screwed. I think we need a new strategy.
Turn 1
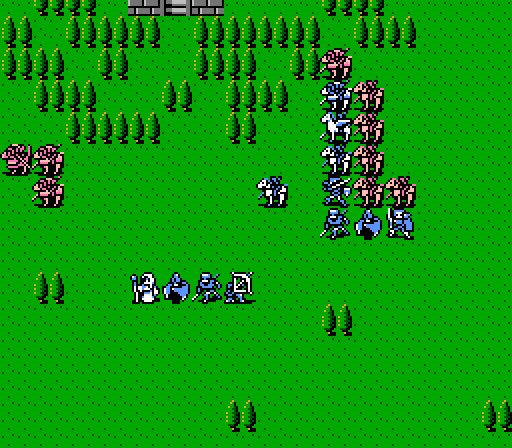
Everyone rushes straight for the center this time instead of heading a little north as well. Some of our units are in different places due to lineup rearrangement, but not in any way that matters.
Turn 2

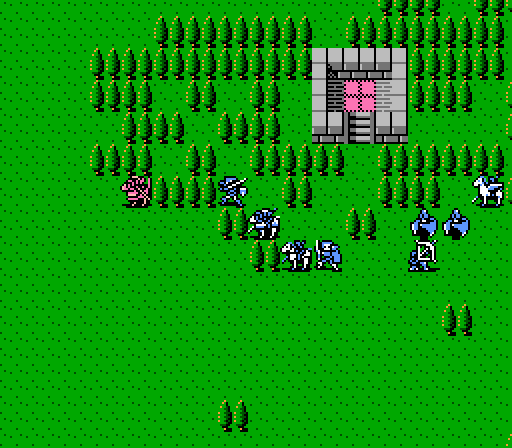
The group is somewhat together now, and none of the enemies can reach us yet.
Turn 3
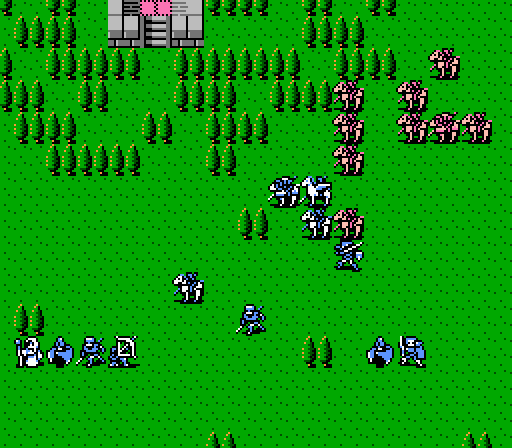
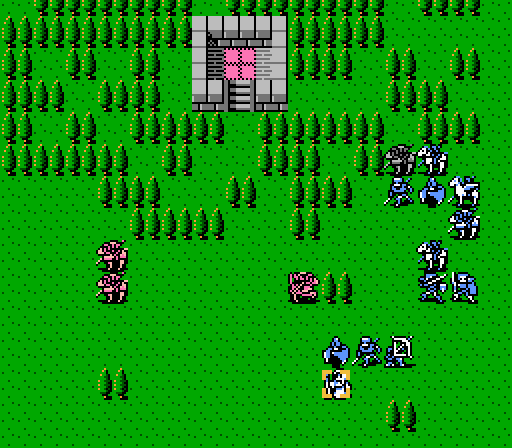
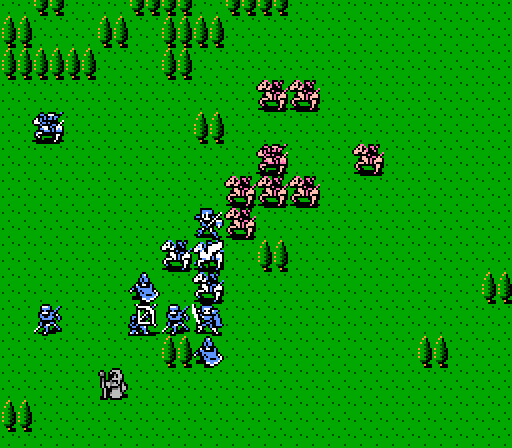
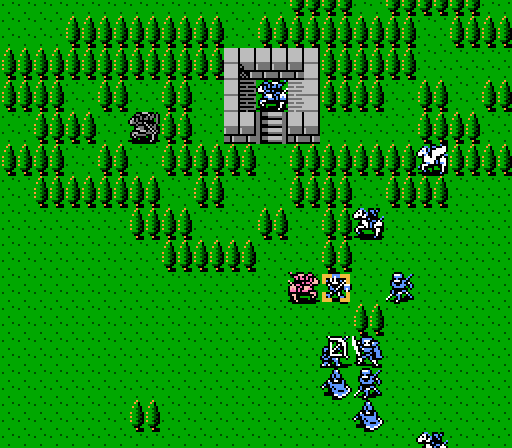
The key point of this strategy is distracting the bow knight. To that end, Matilda runs off to the north alone while the main army clashes with Loso and company.
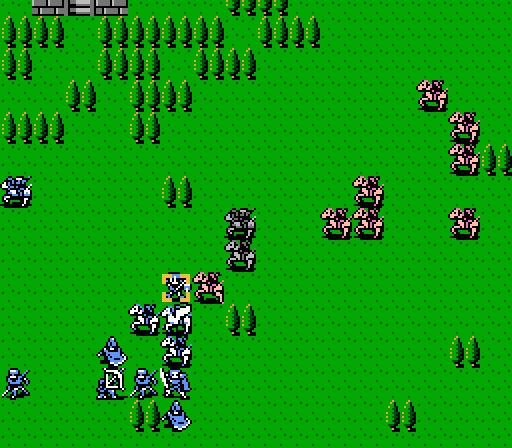
The two level 5 cavaliers get to Alm, but he cripples one and outright kills the other with a crit.

Another cavalier cycles into the open space and also suicides on Alm.
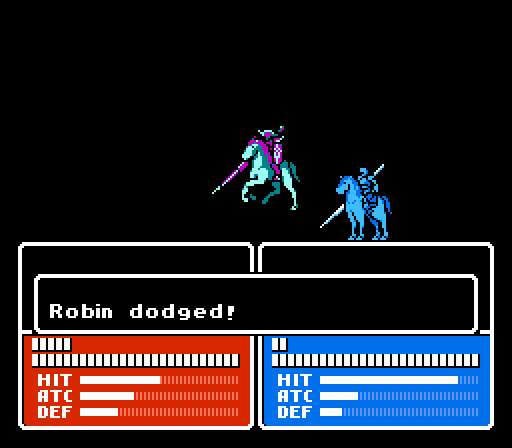
Seriously, 5 range on a double-promoted unit with actual decent stats is just unfair when the enemy is doing it. Fortunately Matilda dodges the attack, and is fast enough to avoid a second. How does that bow knight manage to control suge a huge bow from horseback, anyway?
Turn 4
There's no way we can get rid of Loso and his band of merry cavaliers before the bow knight gets over here, so Matilda's going to have to keep playing decoy.
Ryuto and Cliff start off by killing a couple cavaliers. I gave the Leather Shield to Ryuto precisely so he could withstand a turn on the front line, if necessary.
Alm takes out another cavalier and positions himself to draw in and counter-kill the rest.
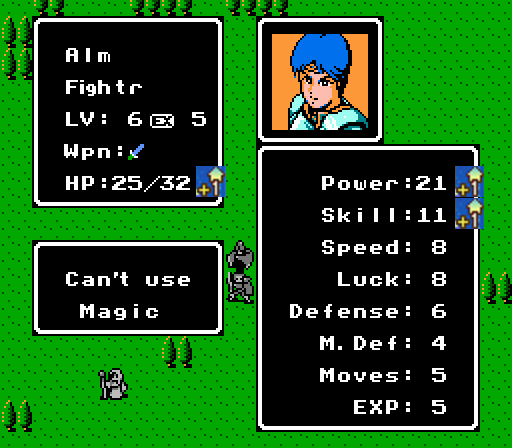
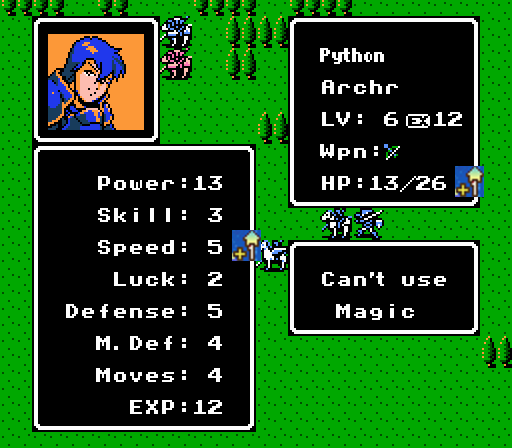
Alm is going to be the key to taking out the bow knight, eventually. The Regal Sword, remember, is not only giving him 7 Power, but weighs nothing, has perfect accuracy, heals him for 5 HP a turn, and has a not-insignificant 20% crit rate.
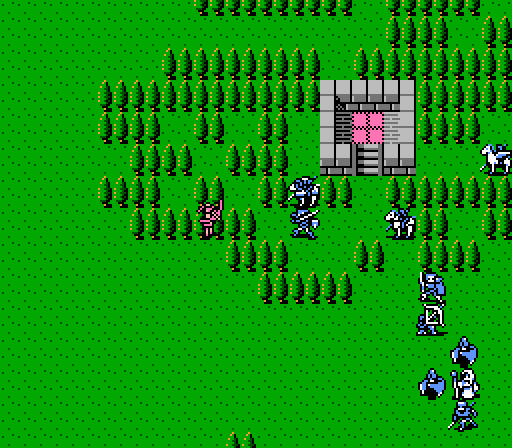
A weird cross-line forms to the southeast, while Matilda heads into the forest for some extra evasion. Technically Luka is also in range of the bow knight, but he has higher Defense so won't get targeted.
Robin's strategy of hiding in a tree also works out for him.
One cavalier decided to beat up Gordon, but the others all fell onto Alm's sword. Repeatedly.

The bow knight enters the forest and misses Matilda again. Taking advantage of the bow's naturally low accuracy is key here - check out that low hit rate.
The paladins accompanying the bow knight aren't as much of a threat, as Matilda double-counters each one for 8 damage.
Turn 5
Loso's group is looking much more manageable now. Python finishes off the last cavailier so it's down to just Loso, now.
More Speed is great. More Power would be better, but not going to get greedy with this group.
Ryuoto and Gray bombard Loso from a safe distance, bringing the paladin down to just 10 HP.
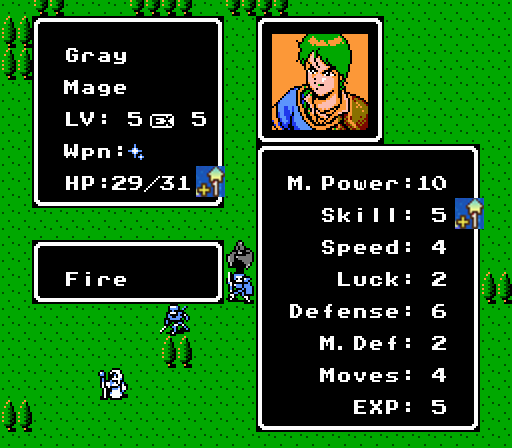
Gray gets a typically useless level out of it.
More importantly, Cliff, still wielding the Bolt Sword, is just barely able to finish off Loso.
Matilda completes her run-and-hide strategy, reaching the healing tile. Cleive waits on a tree in case the bow knight wants to come out into the reach of our entire army.
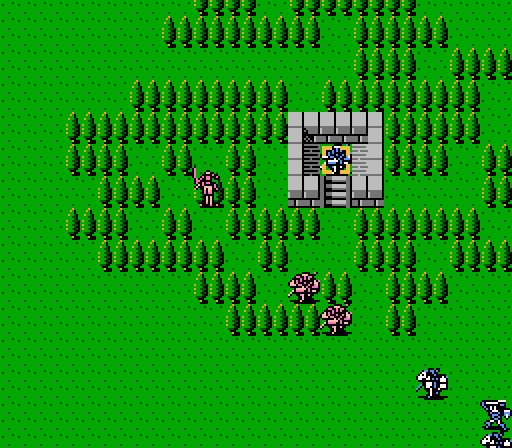
No such luck - the bow knight is a crafty opponent. It misses for the third straight time, though.
One of the paladins is overly tempted by the soft target that is Robin, but it will be his doom next turn.
Matilda takes another 5 damage from the other paladin but is giving as good as she gets and will get a dose of healing at the start of the next turn. Which is right now.
Turn 6

Ryuto and Cliff make short work of the paladin in their midst.
Alm and Cleive filter into the woods, ready to pounce.
Even if the bow knight and the paladin both connect on the enemy phase, Matilda should be fine here.
Another miss from the bow knight. He's much less threatening from cover.
The last paladin decides that suiciding on Alm is a popular recreational activity.
Turn 7
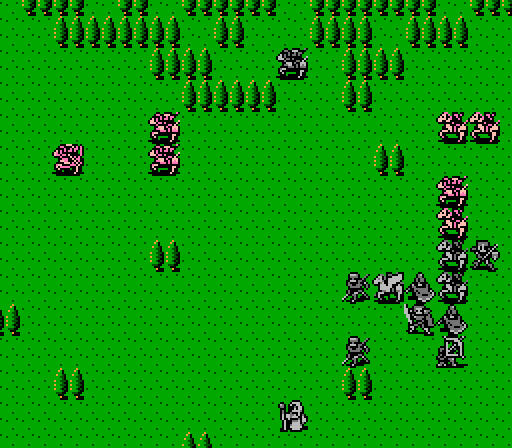
The bow knight is kind of tricky to track down, since its attack range exceeds the Movement of most of our units, but it helps that it's currently stuck in the woods.
Oh, and the bow knight misses again.
Turn 8
Matilda and Alm try to restrict the bow knight's movement, but it merely finds another tree in which to hide.

Alm takes some damage this time, but he's got a healing sword so he'll be fine.
Turn 9
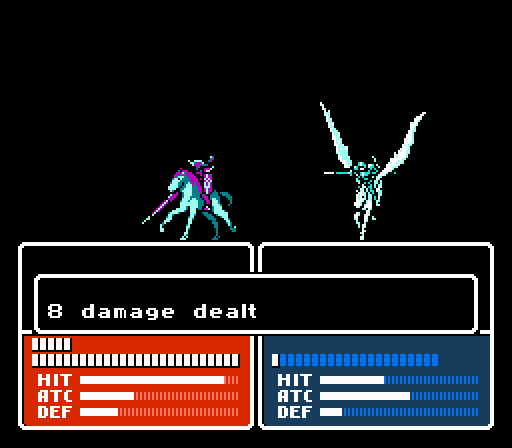
The bow knight is damaged for the first time. Only one attack for Alm, though.
There's open space for the bow knight here, but it's going to stick to the trees to help its own evasion and keep attacking Alm.
Another miss, this time.
Turn 10
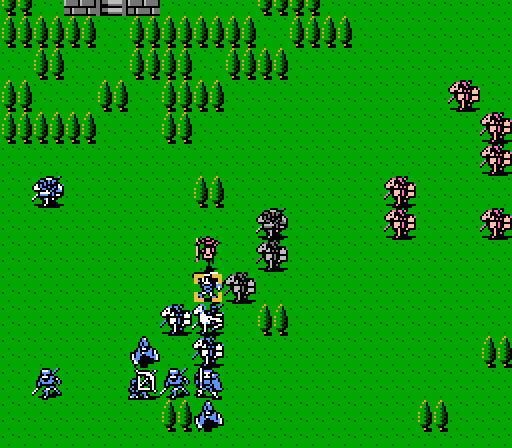
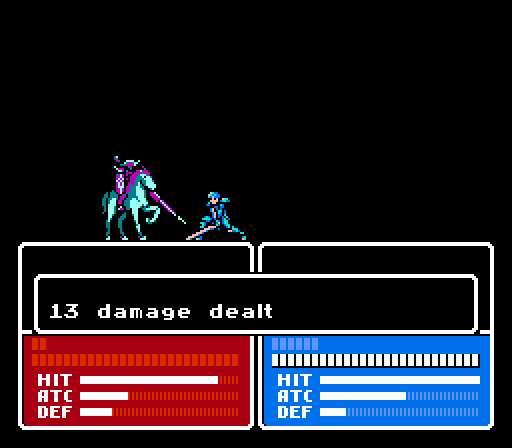
Our best units are closing in and the bow knight is running out of room to retreat. Another hit from Alm will bring it down to 18/40 HP.
_-_Chapter_3_Part_10_Battle_2.gif)
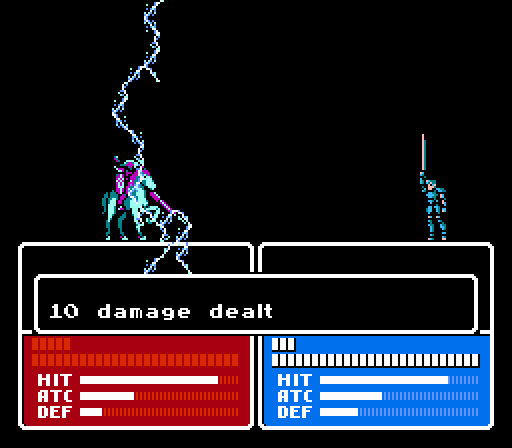
A crit immediately ending the battle is more than welcome, too, of course. Alm's crit-flourish is a great sight.
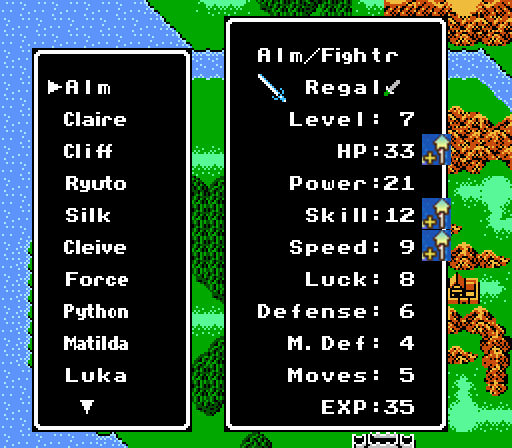
A good level for Alm - he's got enough Power for now, so more Speed is great.
And with that, Alm wins the first double-battle of the game.
Next time:
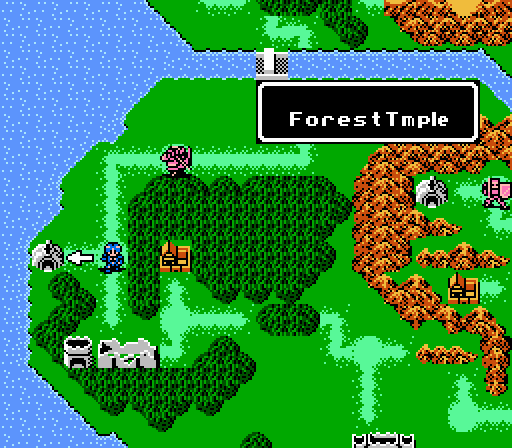
A mysterious forest temple awaits Alm, but first....
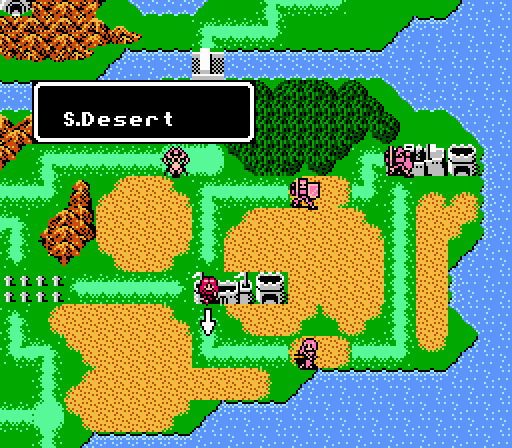
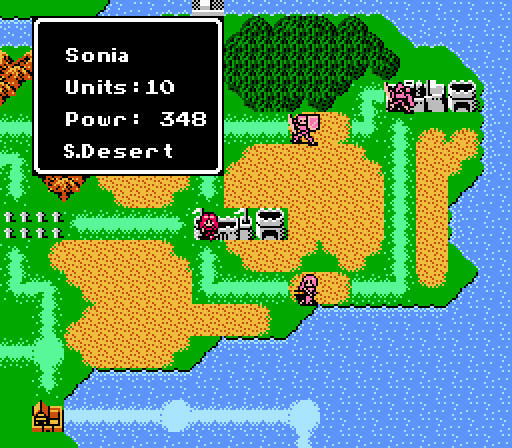
A brief interlude, to discover what would have happened if Celica had gone through the southern desert instead.