Part 52: Chapter 4, Part 8: Fear Shrine II
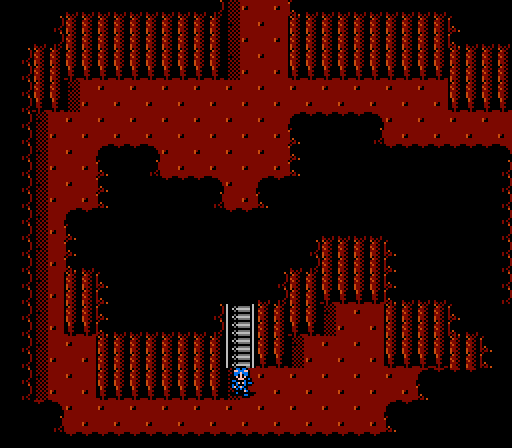
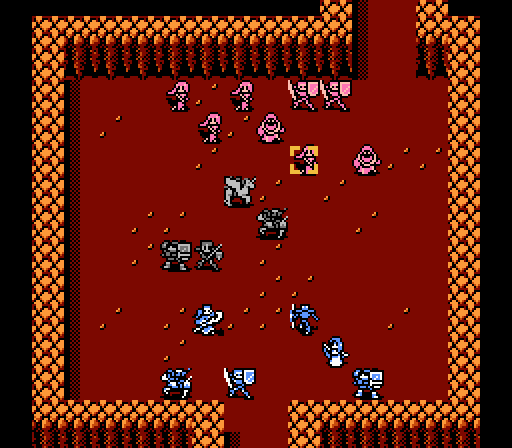
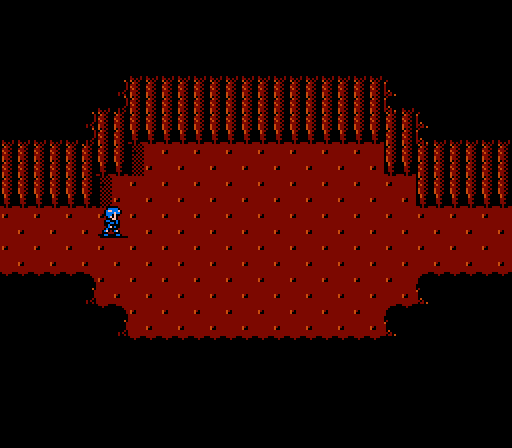
Time for Alm to clear out the rest of the Fear Shrine.
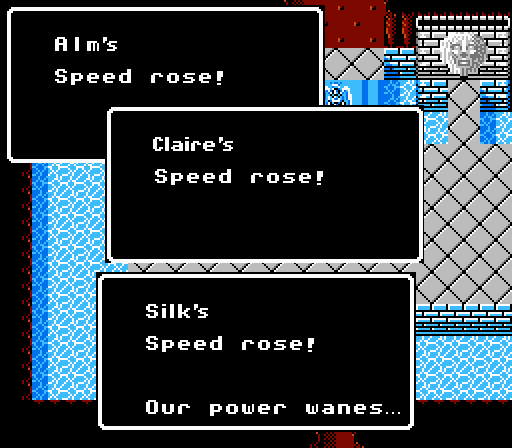
But first, some more Speed for some of our top units.
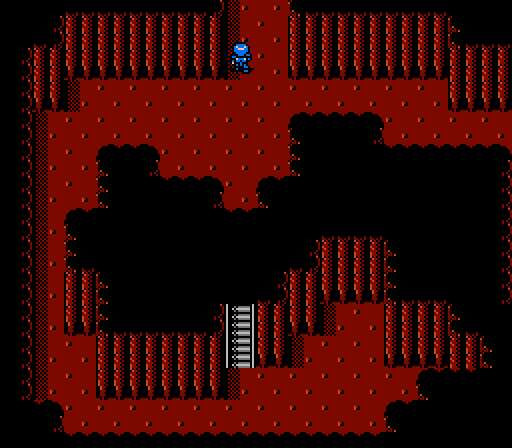
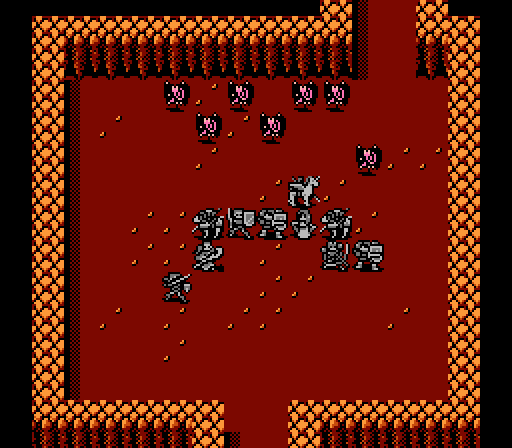
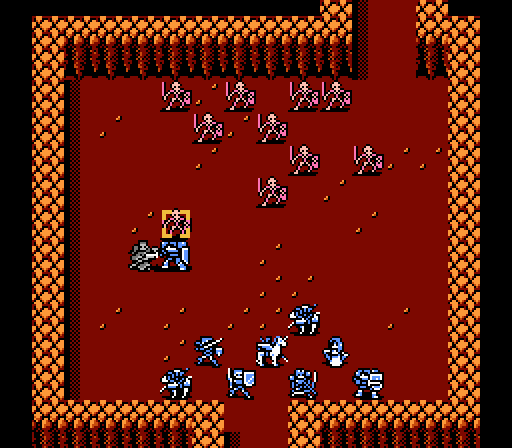
Let's head up first.
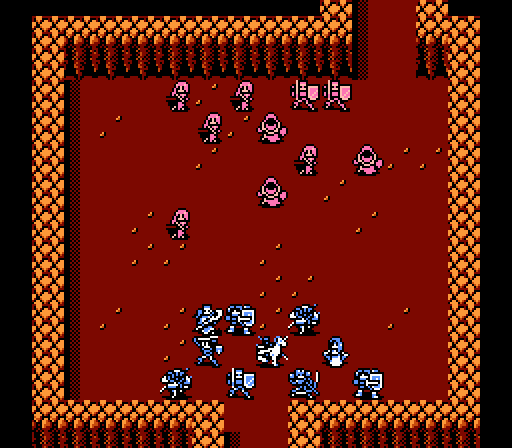
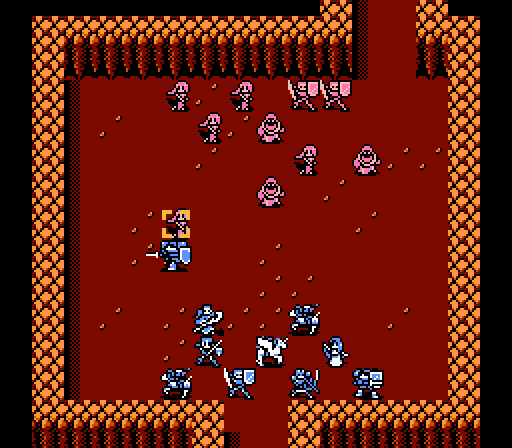
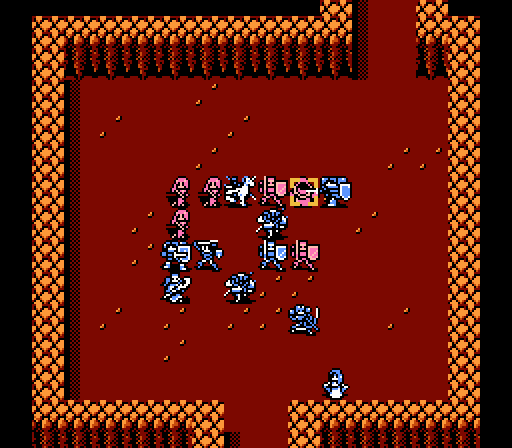
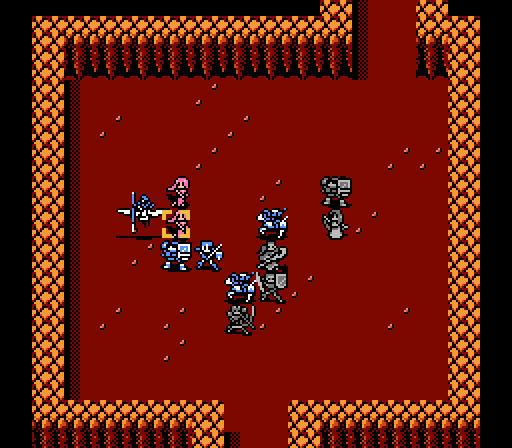
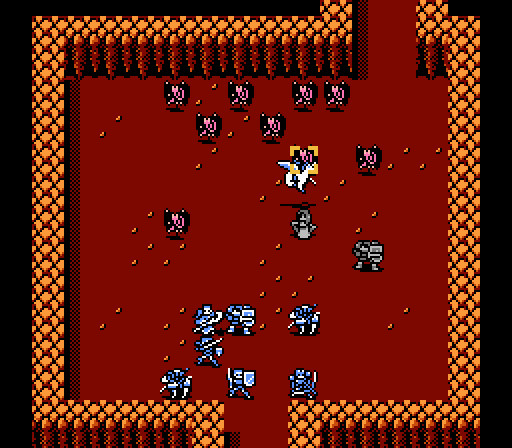
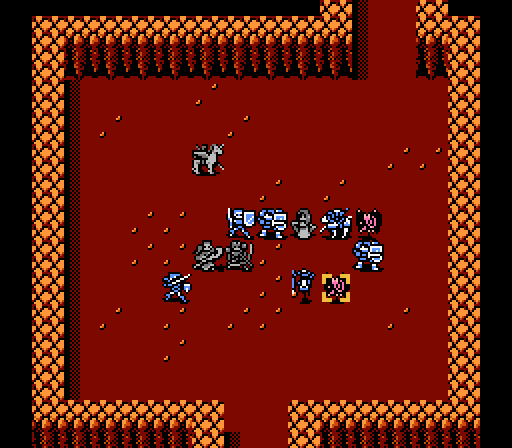
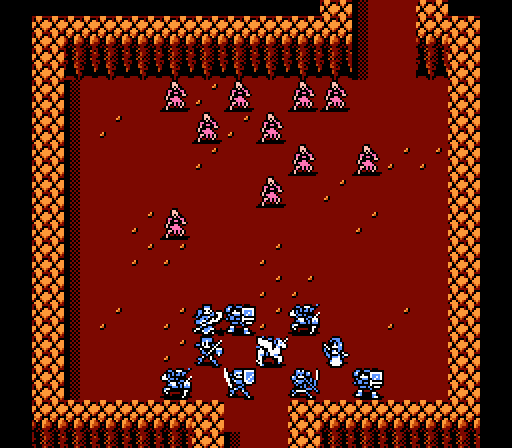
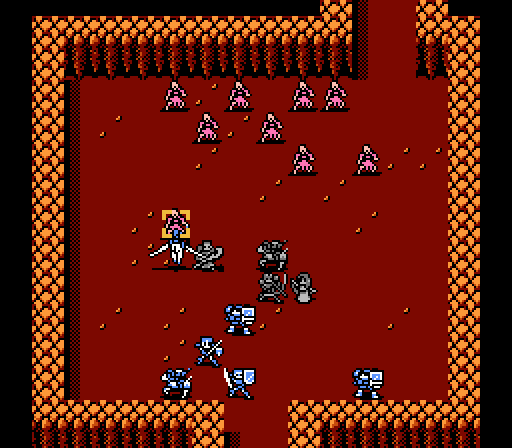
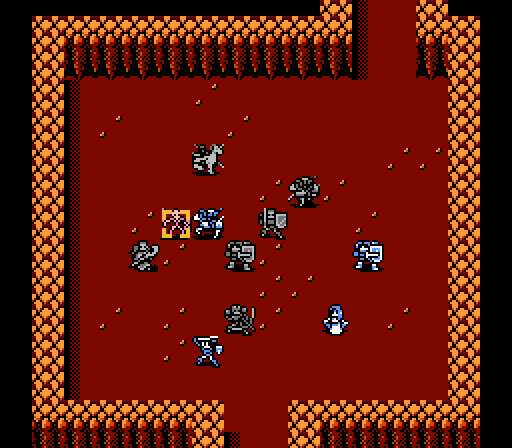
A varied group, but as long as we don't let the mages gang up on anyone there won't be any problem here. On the bench for Alm's team: Ryuto, Dyute, and Matilda, three of the strongest units who don't have any further promotions available.
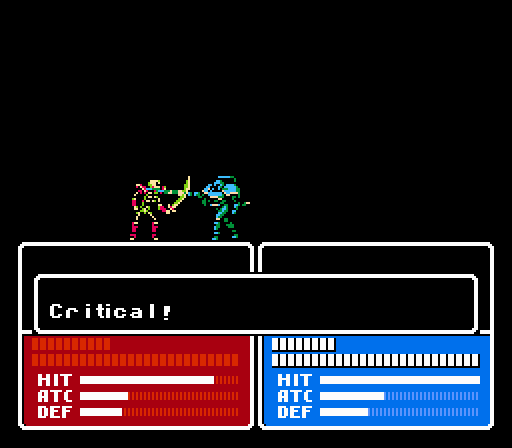
Luka takes out a witch all by himself somehow.
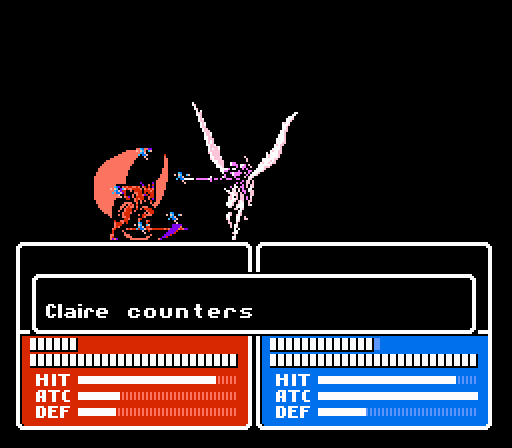
Claire and Robin take out a wizard. Robin's actually more useful than Cleive now. Who would've guessed?
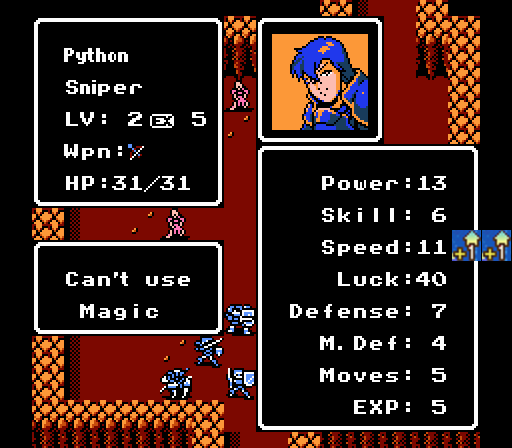
Python assassinates a witch.

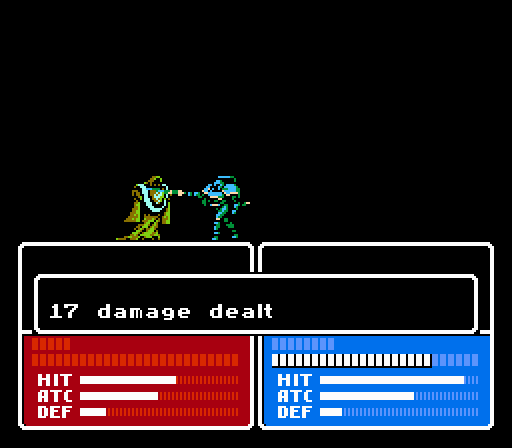
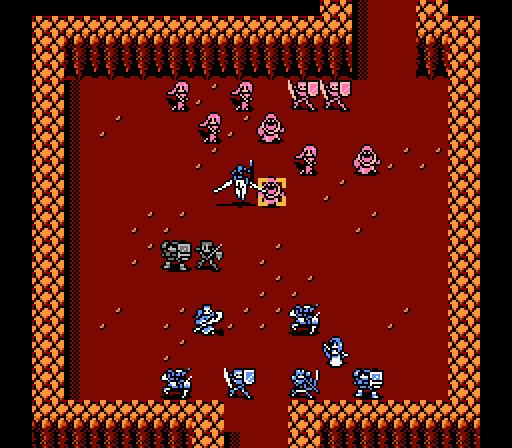
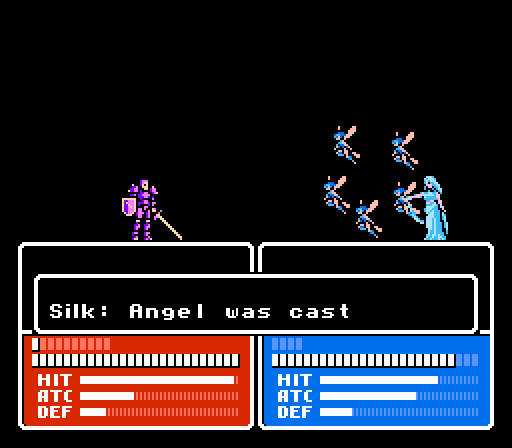
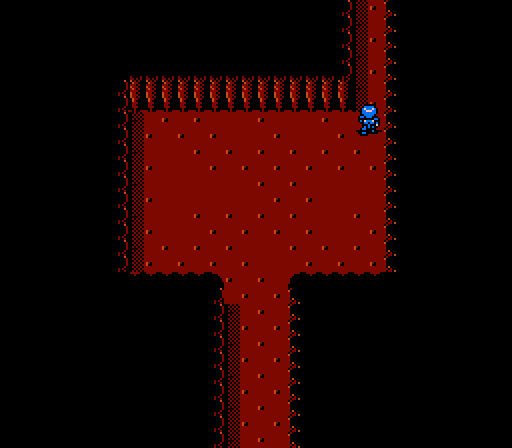
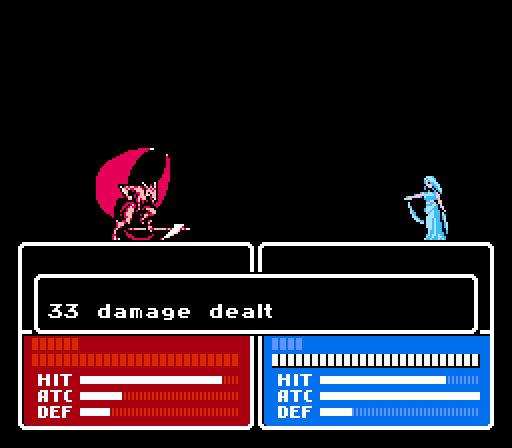
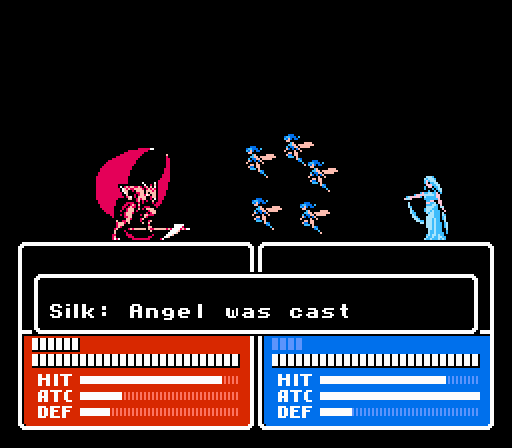
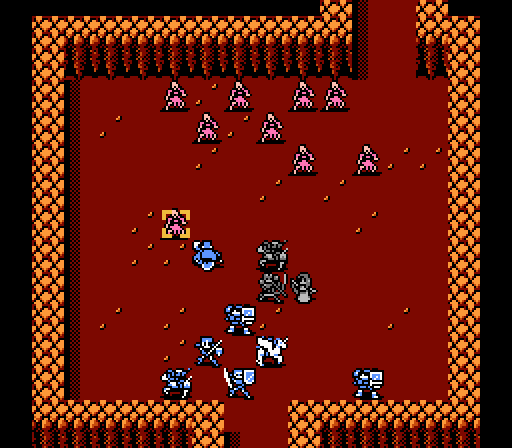
Silk warps Force up to the top of the map to take out another wizard.
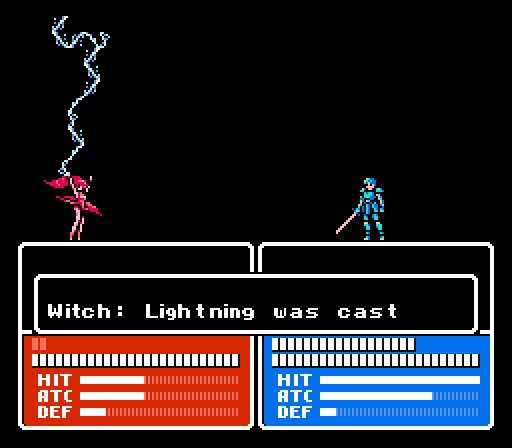
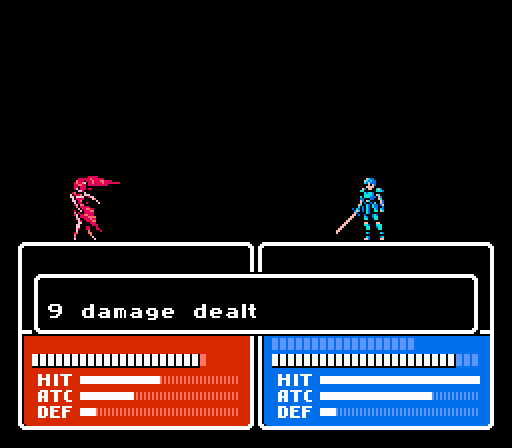
Alm gets a torched a bit on the enemy phase by two of the remaining witches.

Robin gets slimed by the last wizard, but he's got the Leather Shield for some extra Defense so the two myrmidons can't hurt him too bad.

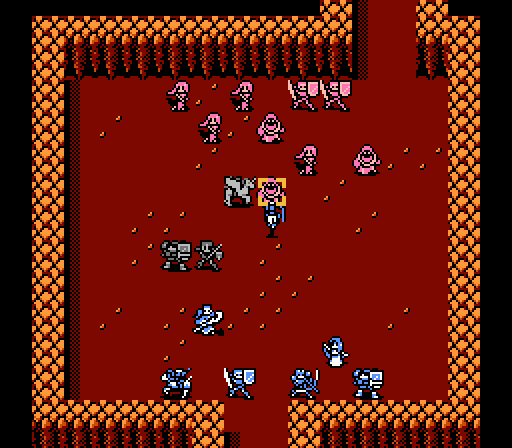
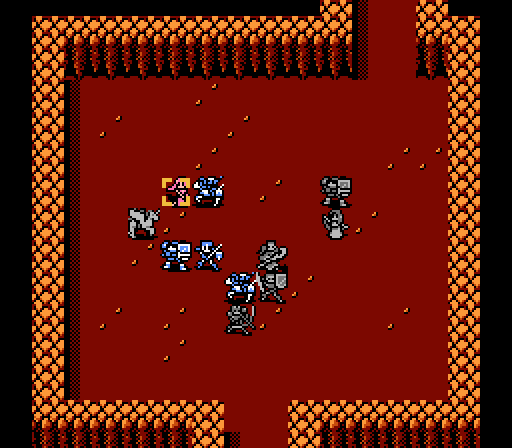
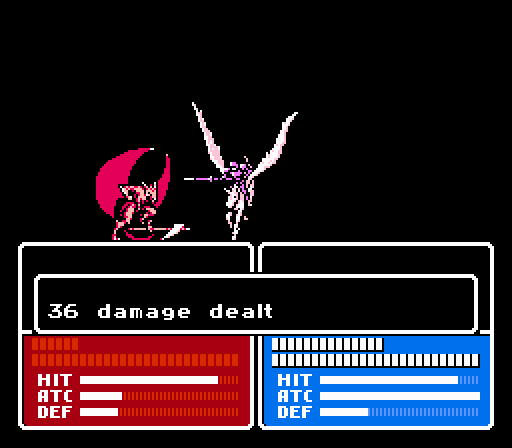
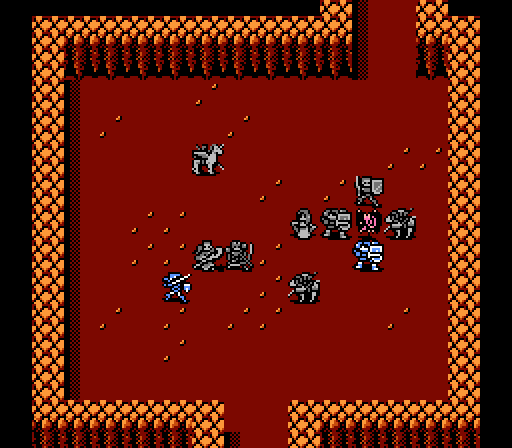
On the second turn now - this image is not a duplicate, Force is just a wizard-killer now.
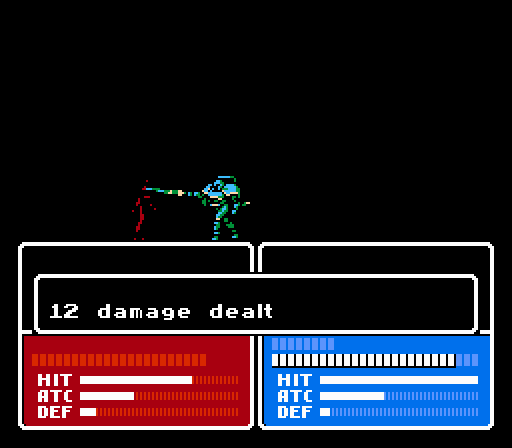
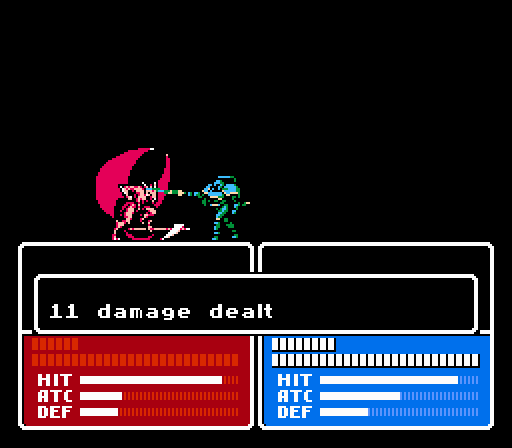
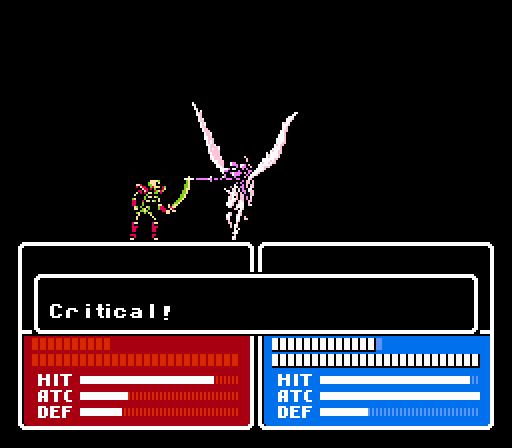
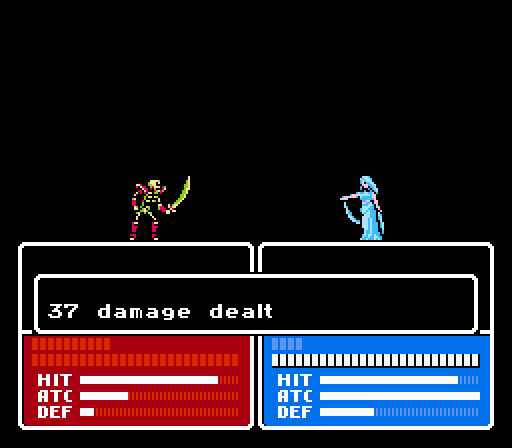
Silk's a boss now, wielding Angel like mad against the myrmidon for 18 damage. Cliff finishes it off.
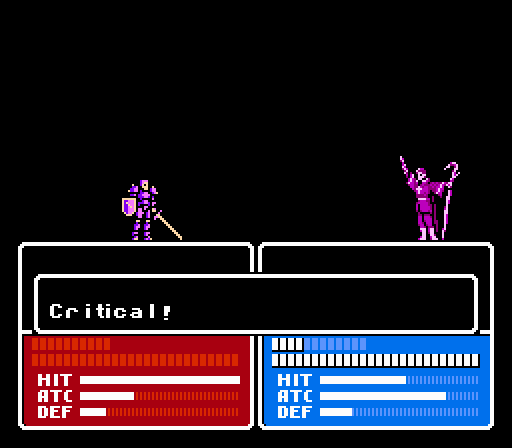
Arrow's not hugely reliable with a 70% Hit Rate, but when it lands and crits Gray can wreck units like the other myrmidon here.
Just three witches left now. Well, one after Python and Claire each take one out.
Robin ends the brief battle. It's still the second turn here.
Moving right along.
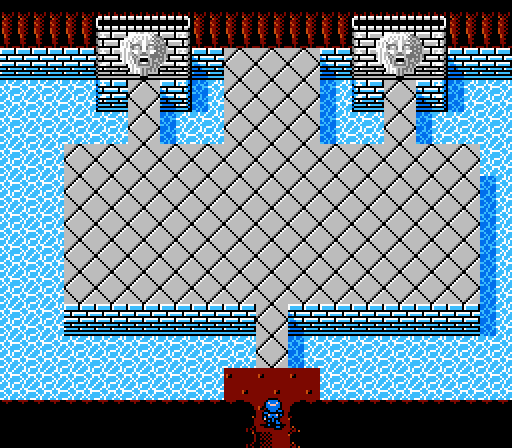
More creepy magic lion head statues!
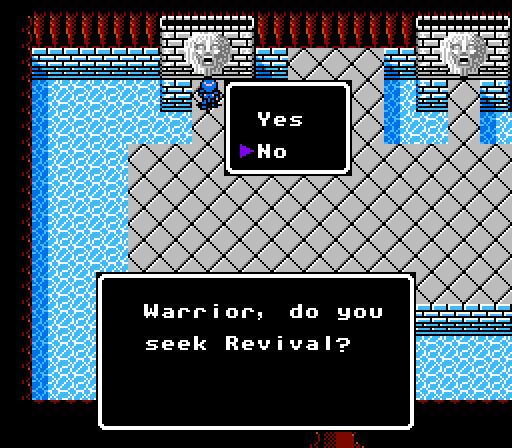
Unfortunately they're both just offering revival of dead units.
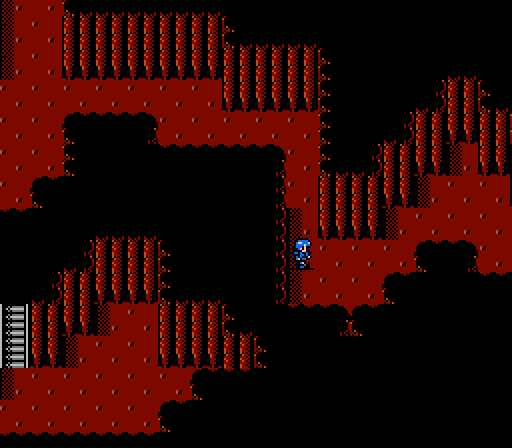
There's another path in this basement cavern off to the right, and another battle waiting in that direction.
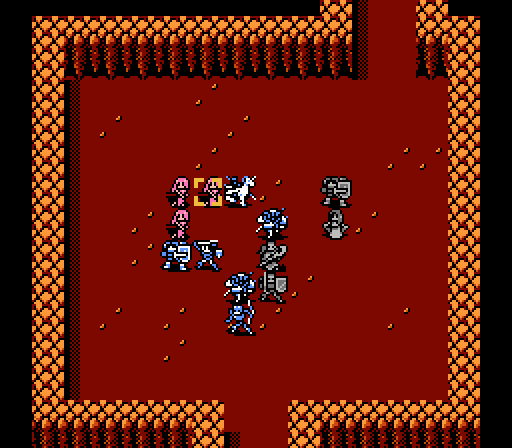
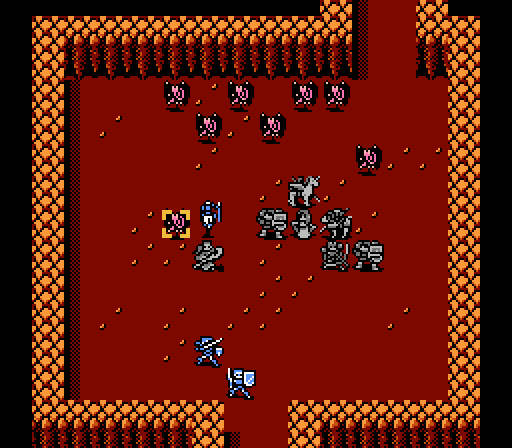
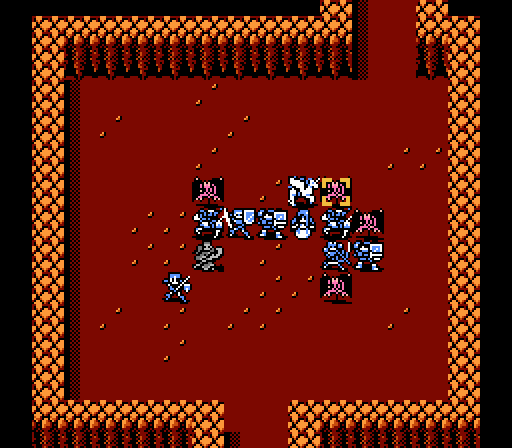
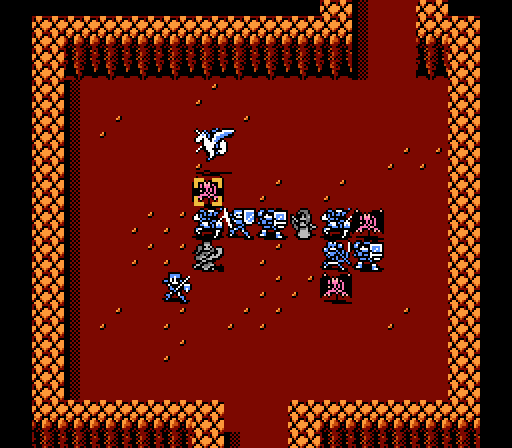
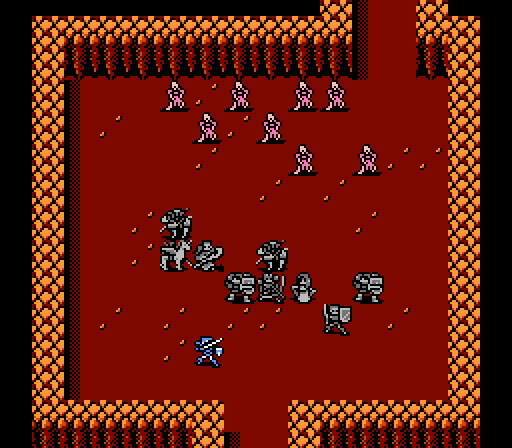
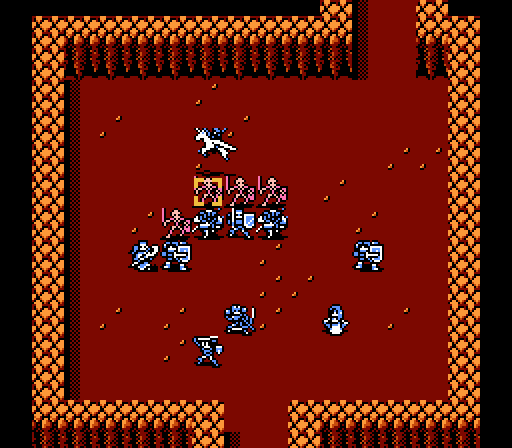
Ten gargoyles this time. We're pretty familiar with fighting them by now. Although these ones are level 5, so a bit tougher than the summoned variety.
The Angel spell gives Silk a huge advantage here - she can one-shot the gargoyles, and has enough Defense now to survive a few attacks. Silk gets 40 XP from the kill, too.
Claire's our other efficient monster-killer. The falcon knight class has a bonus that treats all of her attacks against monsters as if she were using a holy weapon (triple attack power).

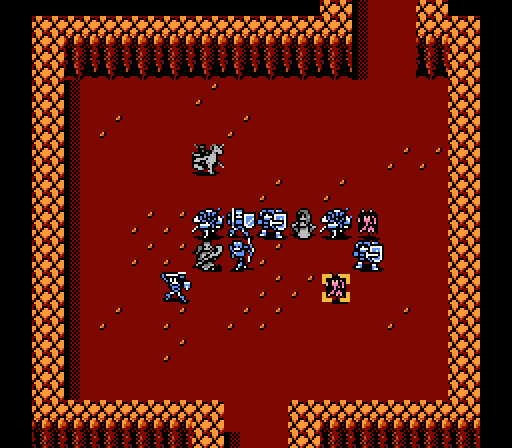
Gray and Cleive are able to pick off another gargoyle, while I surround Silk with some shields so that she doesn't counter-kill herself to death - she counterattacks with Angel now, which one-shots the attacking gargoyles and drains her HP.
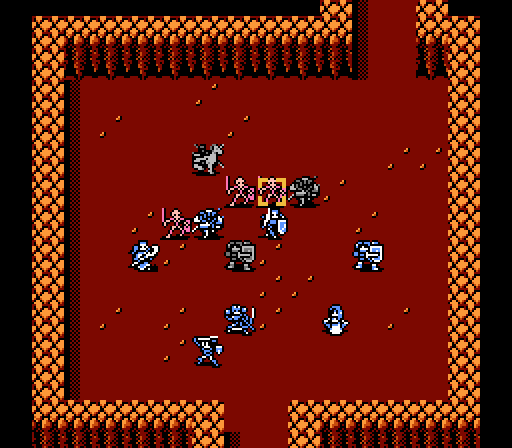
Seven gargoyles left, and our units are lined up so that they can't gang up too badly on anyone. Not that we have any low-Defense units for them to pick on anymore.
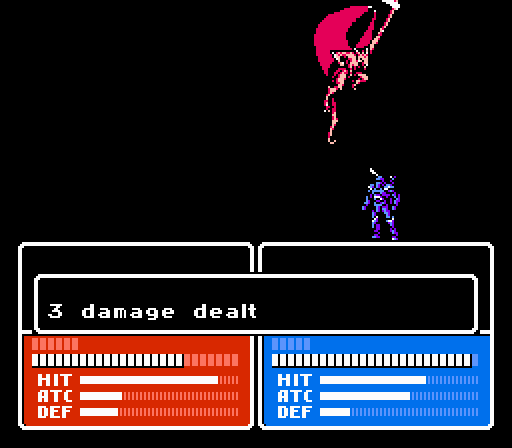
Robin and Cleive get scratched by two gargoyles each, Claire counter-kills two others, while the last flies around the line to go after Python for some reason. You can see the mini-Angel effect that accompanies Claire's attacks against monsters now.
Silk starts the second turn by pulverizing another gargoyle.
Remember when Silk was made of paper and had to be carefully shielded from all attacks?
Gray and Claire each finish off another gargoyle, leaving just two remaining.
Python and Cleive finish off another one.
Cliff, Robin, and Luka chip away at the last gargoyle. I'm leaving it alive on purpose for one more turn so that I can move the Angel Ring around.
Force takes the easy kill to start the third turn, ending another battle.
He's a pretty solid wall now.
Keep moving forward (to the right).
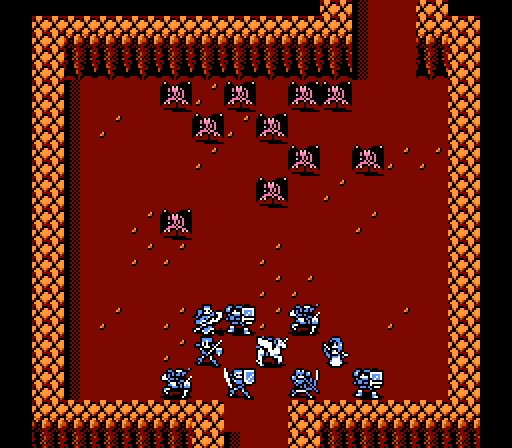
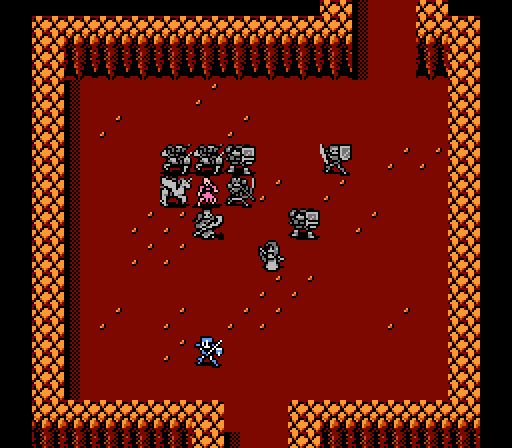
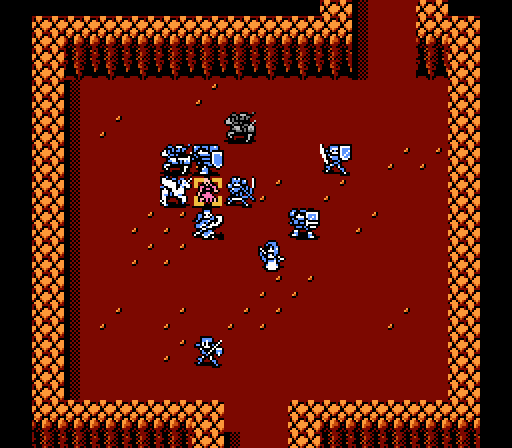
Another battle! There are three high-XP mummies mixed in with these zombies. The greatest challenge here is managing the XP-pinata mummies so that no one gains a level unless they're holding the Angel Ring.

Python's actually attacking a zombie first, since he's only a couple XP away from a level.
Speed's probably the biggest thing holding him back right now, so this level is pretty great.
Gray misses, but Claire follows up and gets the first mummy kill. She's got the smallest possible XP modifier though, so she only gets 26 XP out of it.
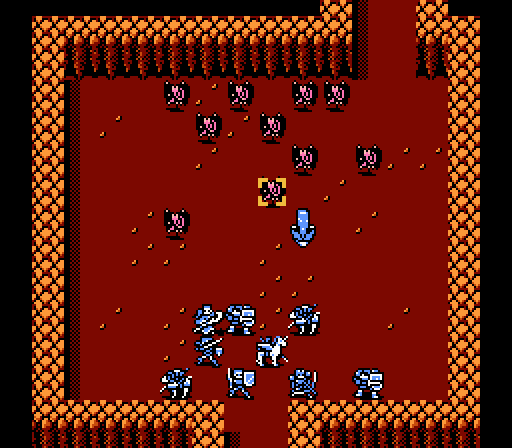
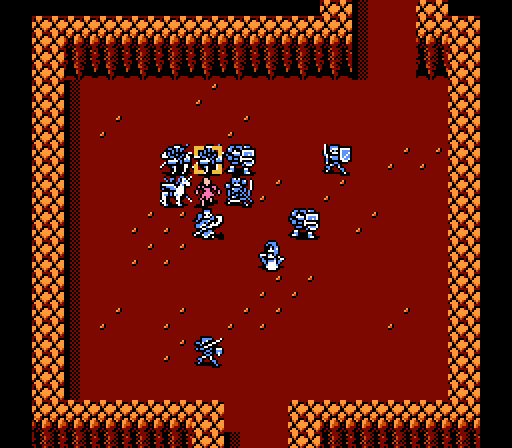
The two mummies are the two left units in the top row. One can only reach Cleive, who's too weak to get a kill. The other can't reach anyone yet.
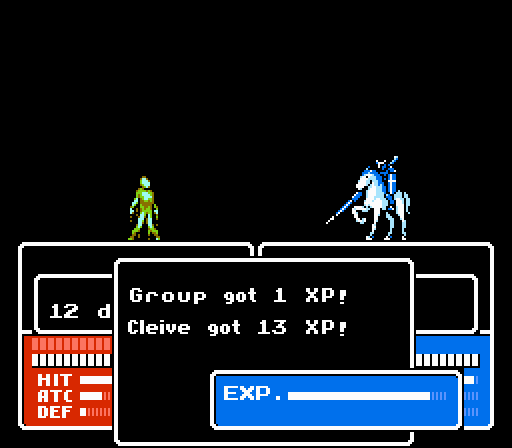
Cleive gets a ton of XP just from maiming the mummy. Half of the zombies kill themselves on Robin, Force, and Silk.
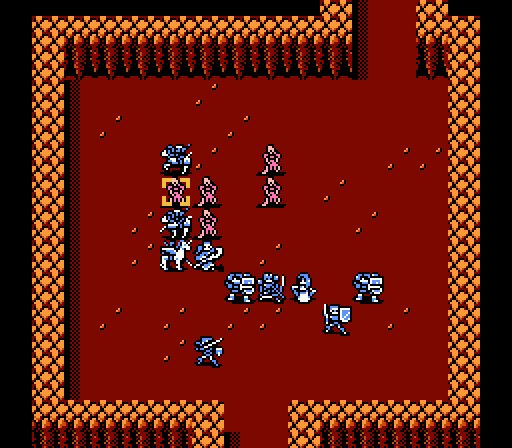
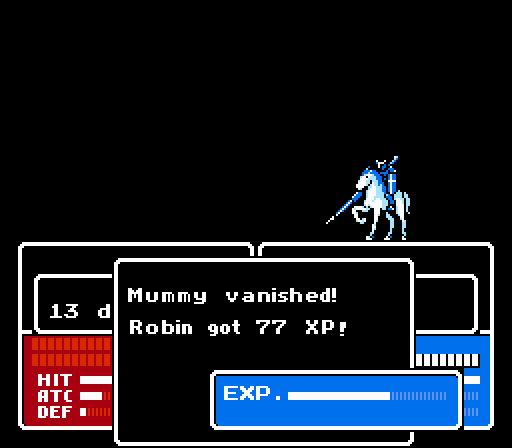
Robin's taking the second mummy kill. He gets 77 XP out of it.
Robin joins the ranks of units-who-used-to-suck-but-are-now-kind-of-good.
The rest of the zombies are taken care of with ease, and the end of the second turn has the mummy sealed up.
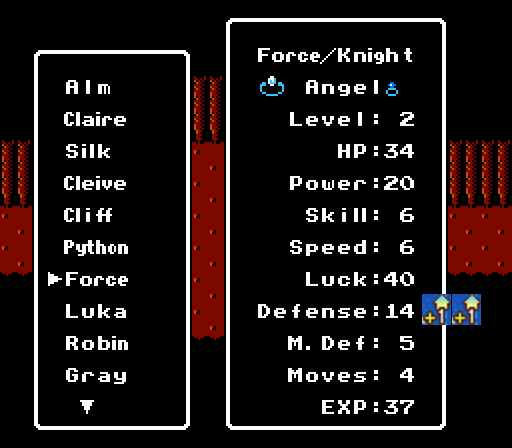
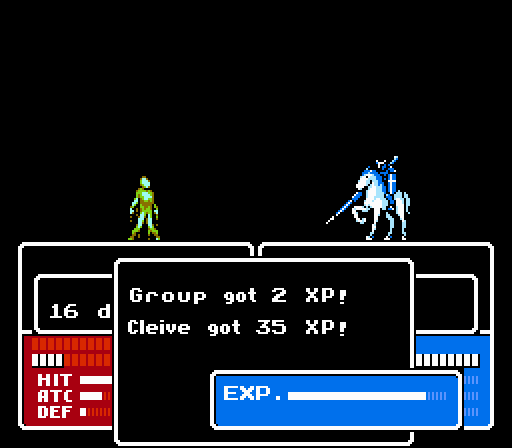
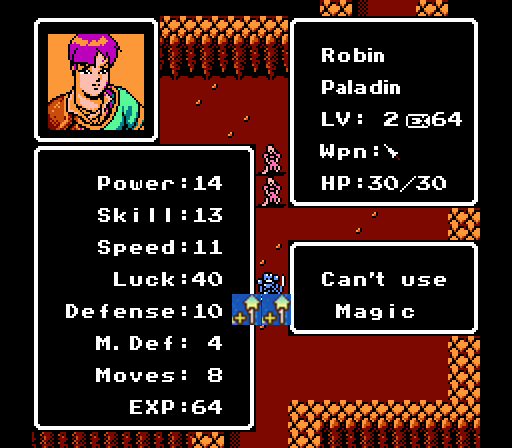
Cleive faces the mummy's attack, but I planned ahead and gave him the Angel Ring. He misses an attack so his XP gain is down, but it's still enough for his first promoted level.
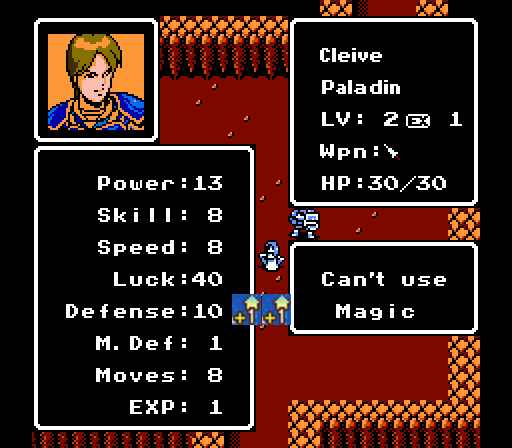
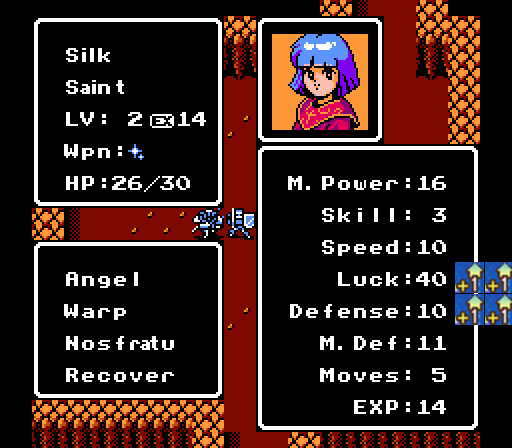
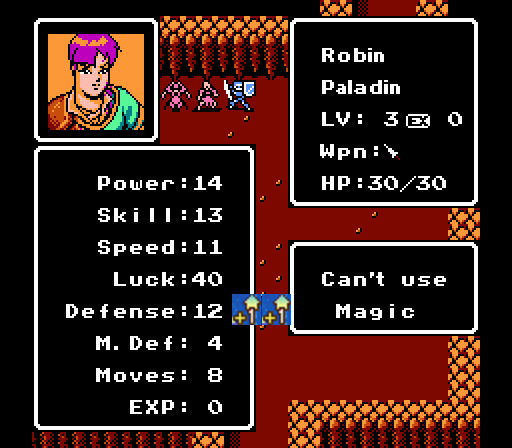
And even more Defense. Compare this stat screen to Robin's just above - Robin has 1 more Power, 3 more Speed, 3 more Magic Defense, and 5 more Skill. The only stat Cleive has on Robin is 6 more Luck, but who cares about that.
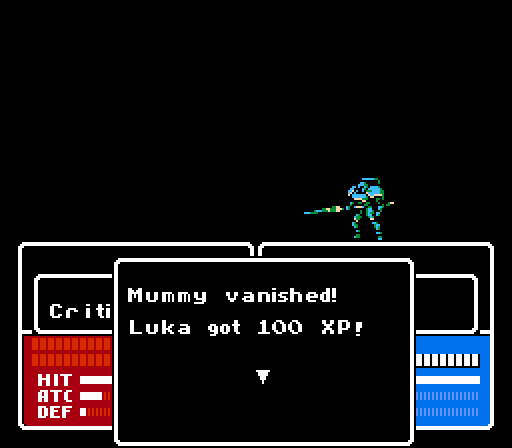
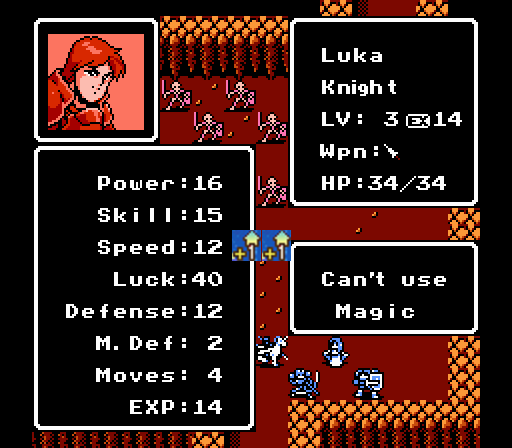
Cleive hands off the Angel Ring to Luka at the start of the third turn. Luka gets a full level from the kill. Knights get a bit more of an XP bonus than other second-tier units, probably because they're not expected to get as many kills while mainly playing the role of a wall.
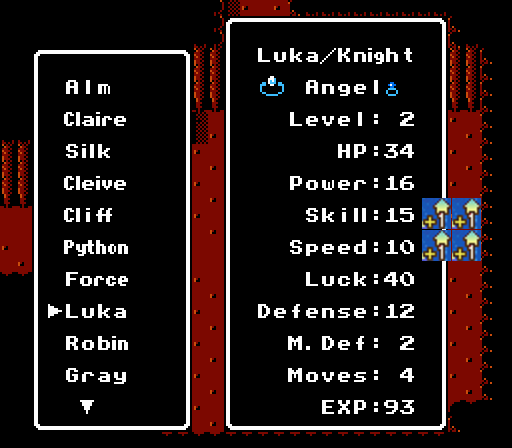
Where Force is a classic wall, Luka is actually more well-rounded with that extra Speed.
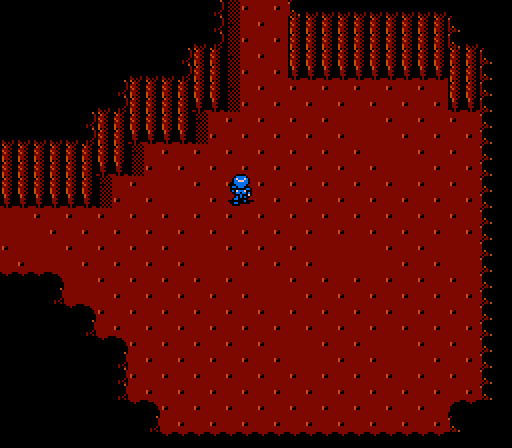
We came from the left, so forward is now up.
No battle on the next screen; keep going up.
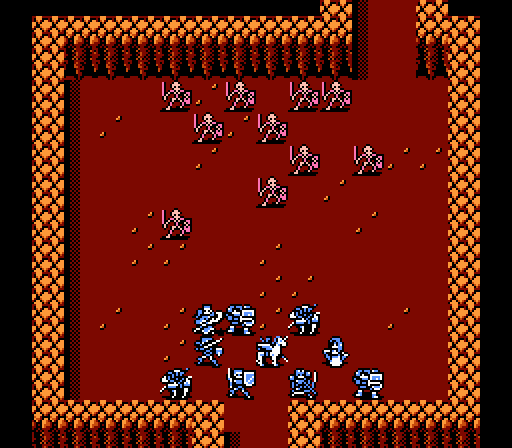
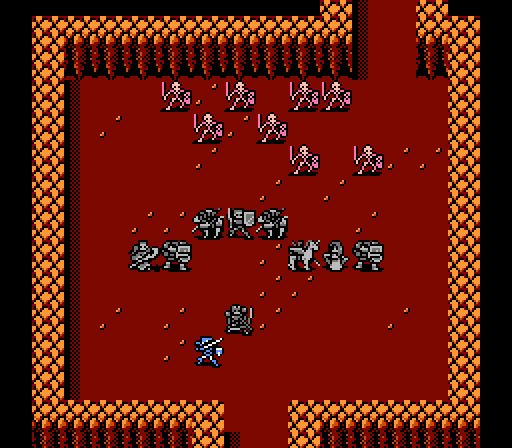
Ten vanilla skeletons, no real challenge here. Even our weakest units only take a couple points of damage from them now.
After Gray softens up the first target, Luka grabs another kill.
He ends up with even more Speed. Luka's actually a better unit than Cliff now, at least against physical attackers.
The player phase of the first turn ends with a simple line, against which the skeletons crash in the enemy phase, with little effect.
Claire and Silk are just as overpowered in this battle, racking up a few counter-kills.
Claire finishes off one skeleton to start the second turn. Cliff gets another one after Robin softened it up.

Cliff gets some more Speed, but he either needs some Power soon or a better weapon than the Bolt Sword.
The rest of the skeletons fall before the end of the second turn.

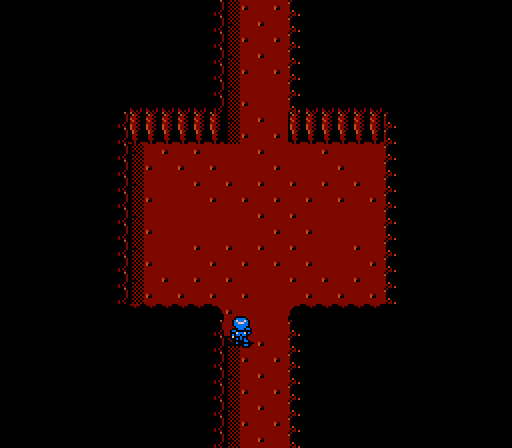
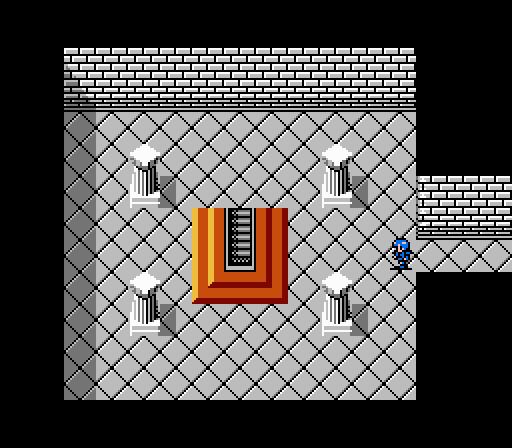
After the battle, we're left in a room with two ways to progress. Let's head up first.
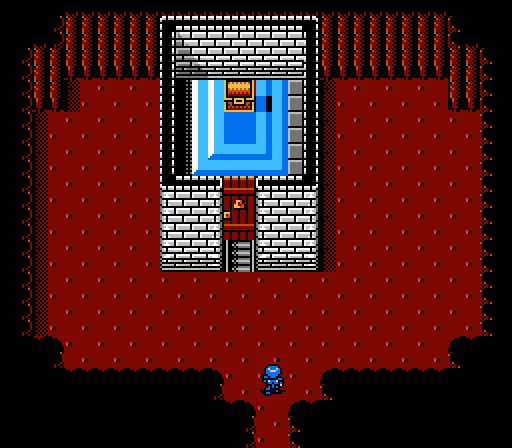
Treasure! Also, there's a trap here. See that dark tile in front of the treasure chest, that looks like it's just decorative? Let's flash back to a certain similar feature that Celica saw recently:
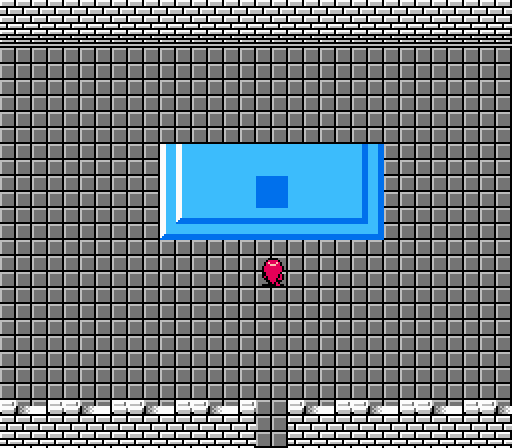
That was the teleporter in Dolk's Fort that took Celica and company into the Lost Woods. The dark tile here in the treasure room is also a teleporter.
It leads back to the entrance to the basement. The battles remain cleared, though, so all it really costs you is a couple of minutes walking back.
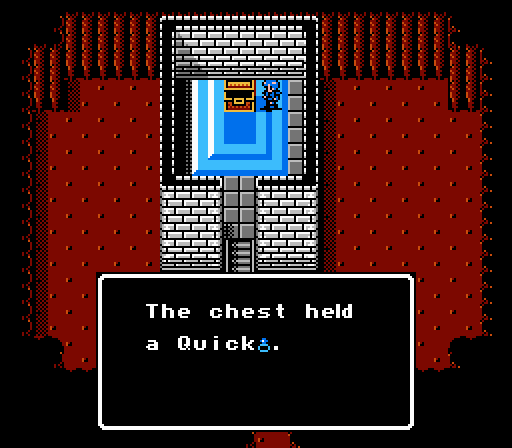
Approach the chest from the left or right instead to open it and receive the most over-powered combat item in the game. (The Angel Ring is the most over-powered item overall, but doesn't directly help combat ability all that much.) The Quick Ring not only sets the user's Speed to 40, it also grants +5 Movement. So, guaranteed double attacks and a huge mobile range. It also has the usual +5 HP per turn for the holder that every ring has. I put the ring on Force for now (his Speed goes from 6 to 40, and Movement from 4 to 9) which transforms him from a movable wall to some kind of mega-death tank.
Really, though, this item makes Dyute completely broken as she'd be able to double-attack with Ragnarok with ease. Two successive shots with a 51 Magic Attack can take out pretty much anyone short of the final boss, and she'll have 10 Movement to reach most of the battlefield instantly as well.

Headed back to the previous room, we go left this time for the last battle in the shrine.

A single shaman. This one summons zombies so isn't really worth grinding. I do pick up a few levels for units at 90+ XP:
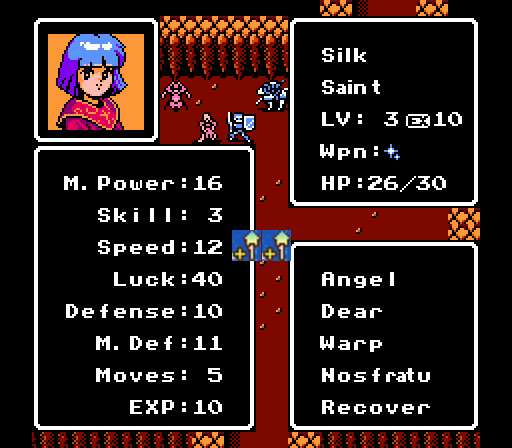
Silk gets yet more Speed and another new spell. Dear is a 'turn undead' type of spell - at a cost of 14 HP, it'll straight-out remove some number of enemy monsters from the map entirely. They don't count as kills, so the XP is just gone, but can be useful if you're stuck in a jam.
Robin picks up more Defense. It's been a very Defense- and Speed-heavy day today. Not that I'm complaining.
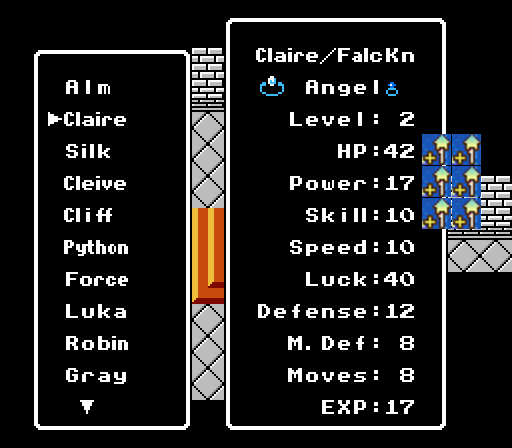
Claire gets a great level by killing the shaman to end the battle.
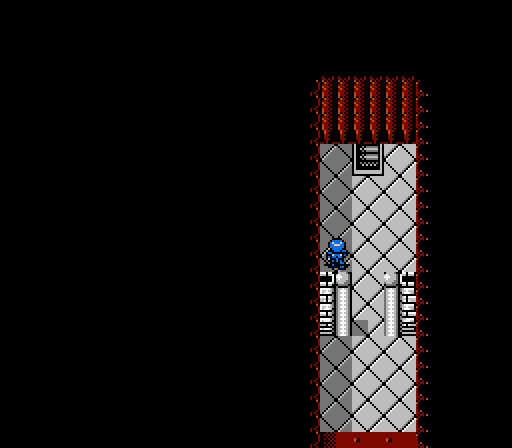
The battle leaves Alm in a room with nothing but more stairs headed down, so let's take them.
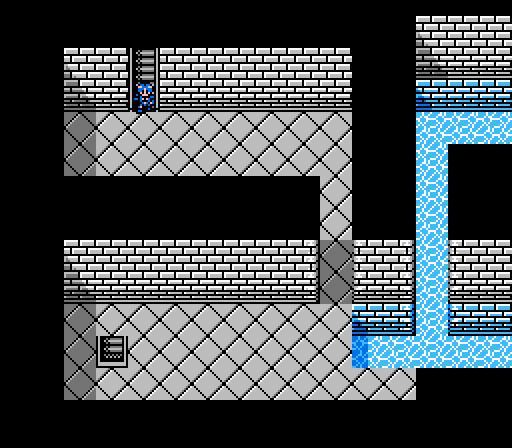
The sub-basement has yet more stairs, plus a couple of suspicious-looking waterways. First, let's head down the stairs again.
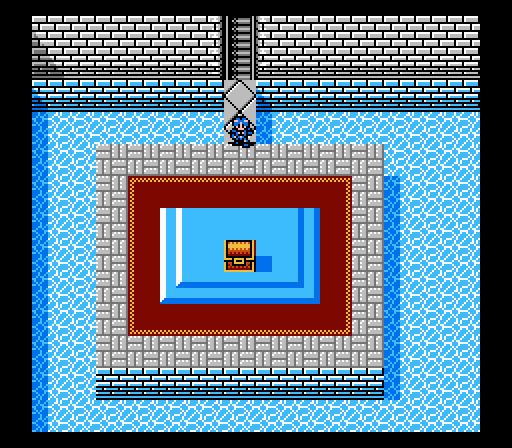
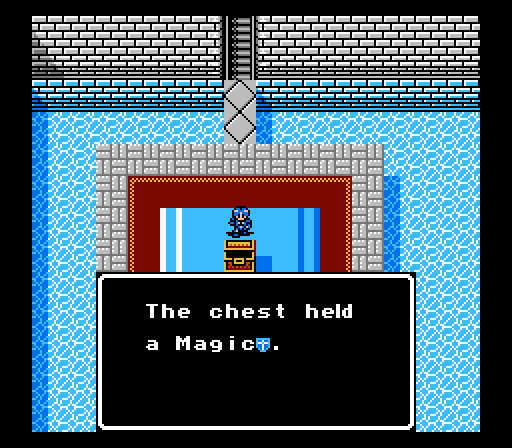
No tricks this time, just treasure. The Magic Shield doesn't directly modify your stats, but instead sets your magic evasion to 90%. Put this item on an otherwise strong unit with terrible Magic Defense - like Luka - and they won't have to worry about getting ganged up on by mages anymore.
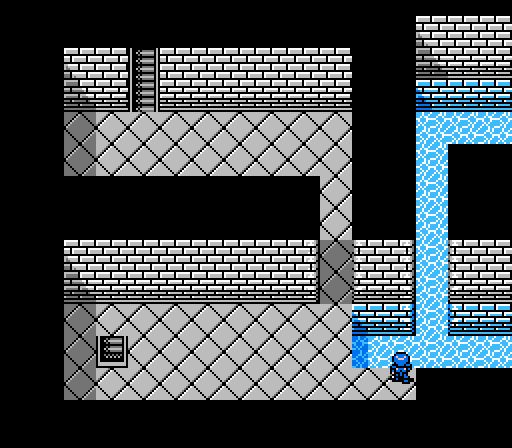
The waterway, as usual, has a trick to it - it can only be entered from below the second tile. From here, we'll take the top path first.
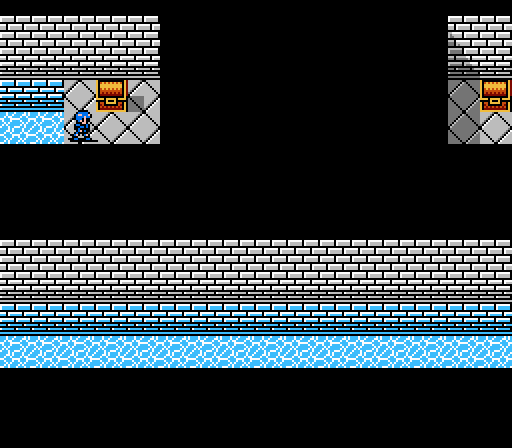
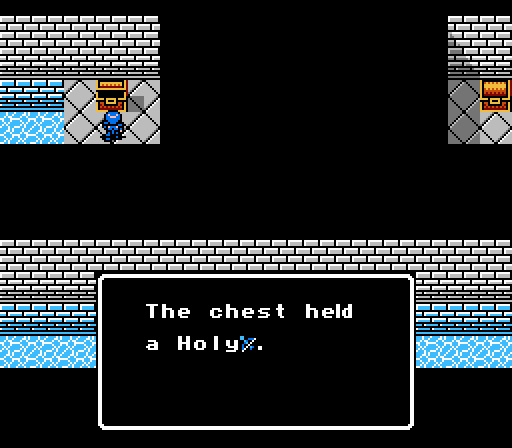
There's a great treasure right in front of us - the Holy Bow does exactly what you would think, with triple Might against monsters (as well as flying units) and healing the user for 5 HP each turn. Perhaps more important are its base stats - in addition to 5 Might, it has 100% Hit Rate, 10% Crit Rate, and 0 Weight, making it by far the best and most reliable bow available even against non-monsters. Python greedily grabs this upgrade.
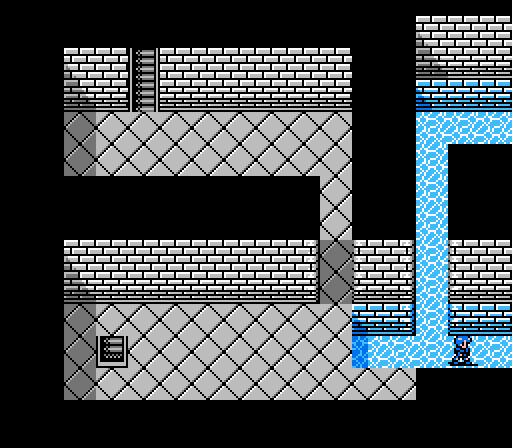
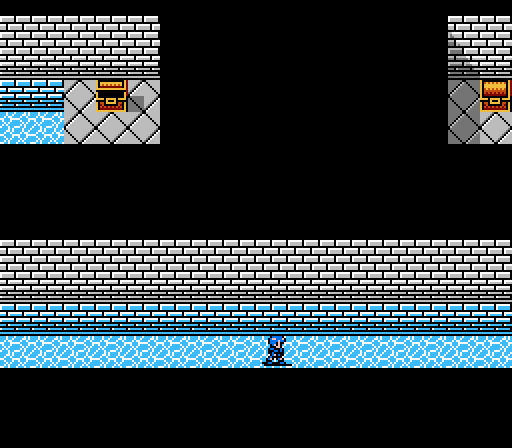
Taking the lower path, there's a promise of more treasure ahead....

Two treasures actually, with a sign posted out front:
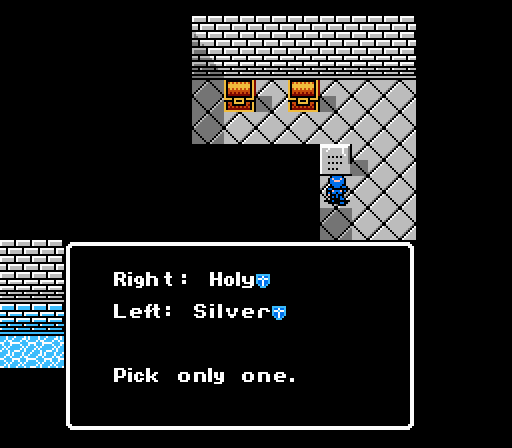
Looks like you guys have a decision to make.
Silver Shield: +7 Defense
Holy Shield: +13 Defense against monsters only, +5 HP per turn for the holder
Next time:
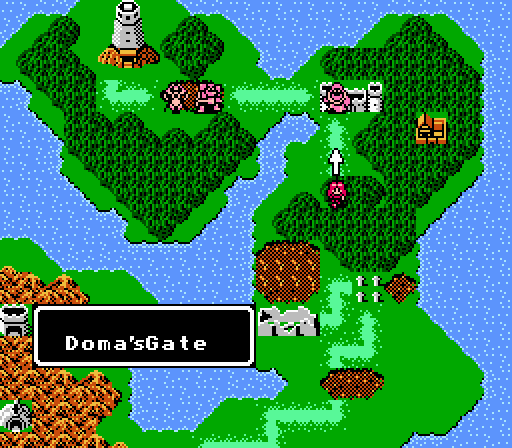
It's back to Celica as she charges Doma's Gate.