Part 55: Chapter 4, Part 11: Doma's Bog
Today's battle is a strange one. Celica has to face two armies that have a total of only five units. It's not a bad idea here to start the battle and take a look at the map, and then immediately retreat to set up your lineup and item distribution according to the map layout.
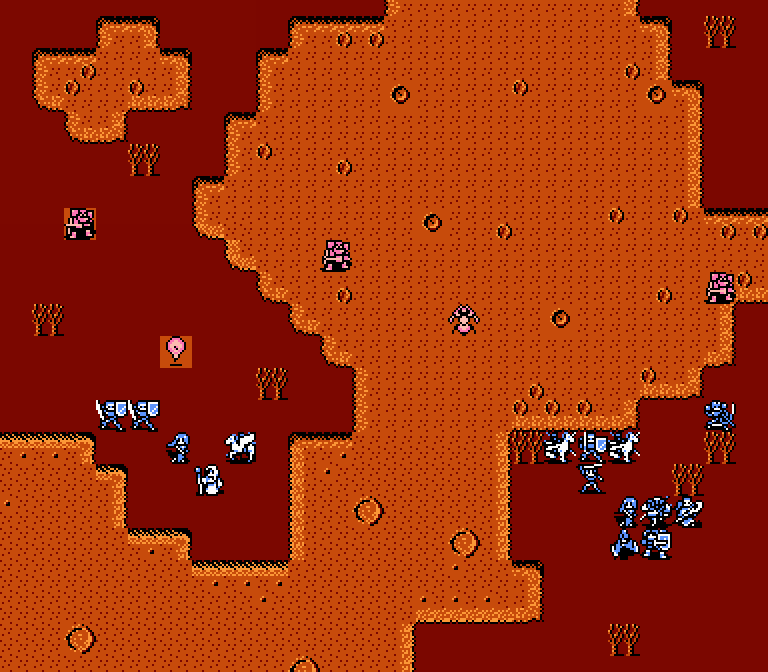
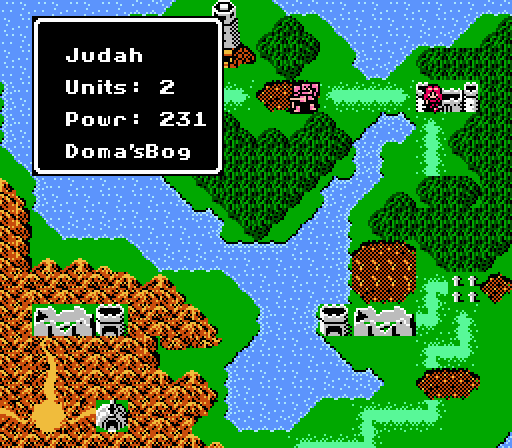
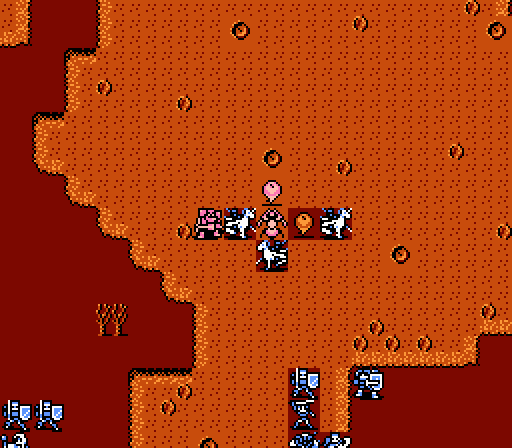
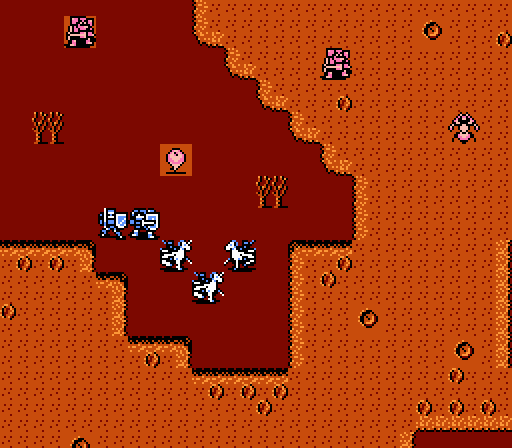
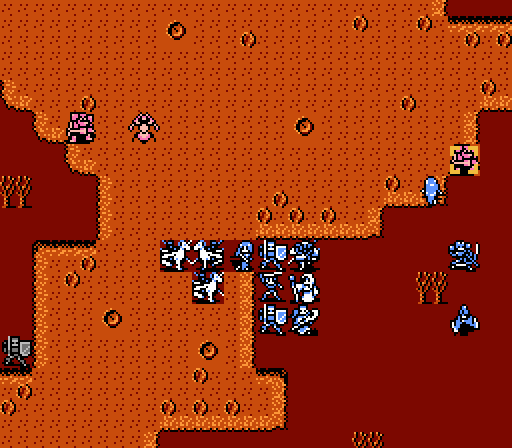
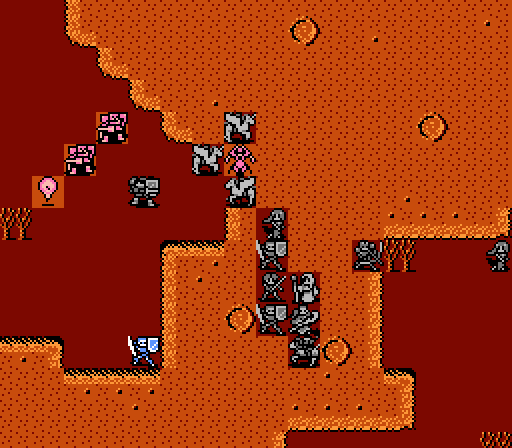
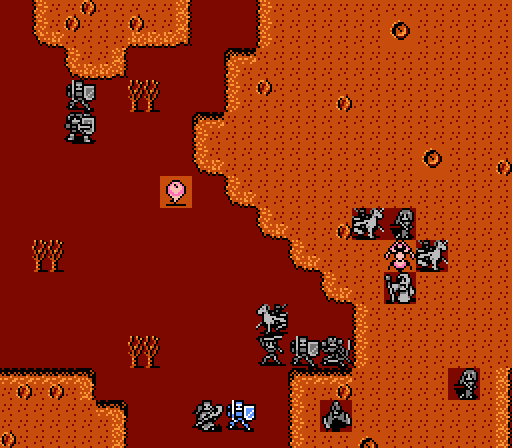
The three barons are there as expected. Judah's hanging out in the middle of the swamp. And there's some funny-looking new unit.
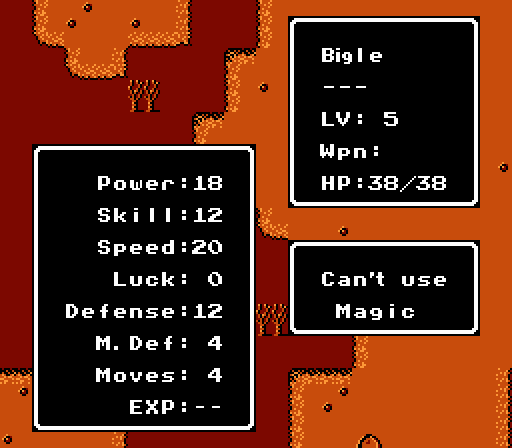
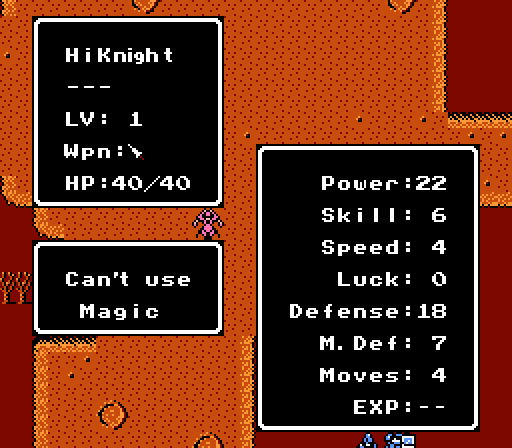
Meet the Bigle. High Power, Speed, and Defense. Like the armored units, magic is the easiest approach to taking down a Bigle. However watch out for that high Speed, as the Bigle will double-attack all of our units. Also the Bigle is a monster, so all of our monster-effective tactics apply.
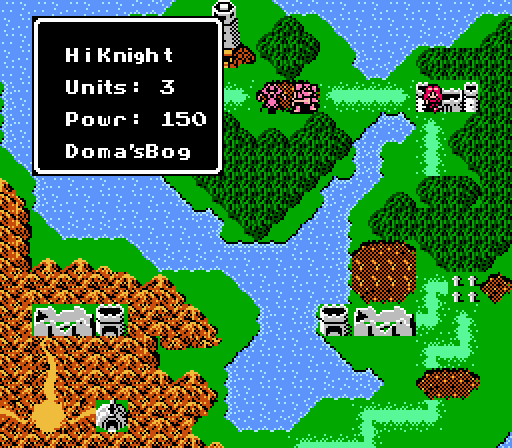
The barons/high knights are the same we've seen before. Easy to bring down with magic, just don't let them get close to squishy units.
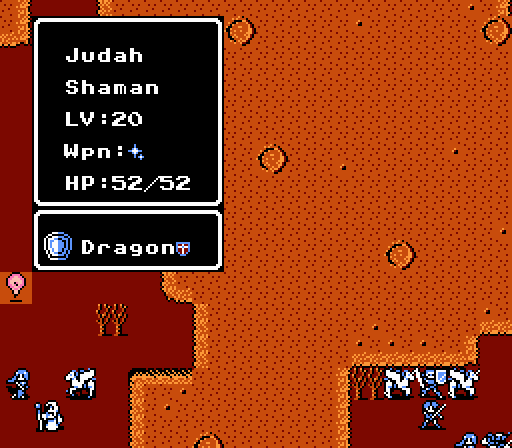
Judah is a trap. The last time we saw the Dragon Shield was back in the first chapter. Dozer was using it to scare Alm in the chapter finale, but ended up running away when one of his minions was defeated. There's a similar pattern here.
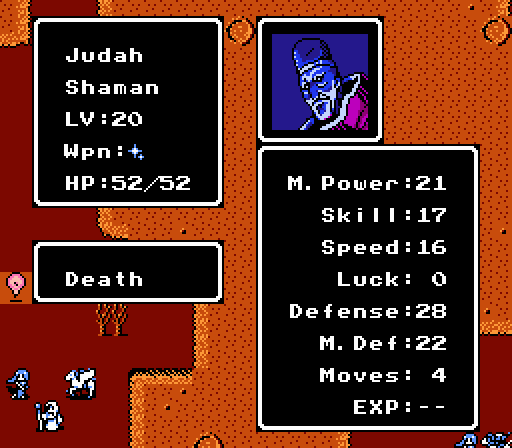
Unlike in the first chapter, where it's possible to defeat Dozer by bringing in severely over-leveled units, here Judah just straight out nullifies all incoming attacks. So even if you think you're clever and going to drain his HP by making him counterattack you over and over again, Judah still won't go down. The swamp will only bring him down to 1 HP rather than killing him, and he'll forego all counterattacks once his HP is too low to fuel the spell.
If that weren't bad enough, Judah can also summon more Bigles.
And if you leave a Bigle unable to reach anyone to attack, it can summon more Bigles as well. Clearly this battle can get out of control pretty quickly.
Since Bigles are monsters, however, there's an easy way to handle this battle if you have at least one of your pegasus knights promoted to a falcon knight.
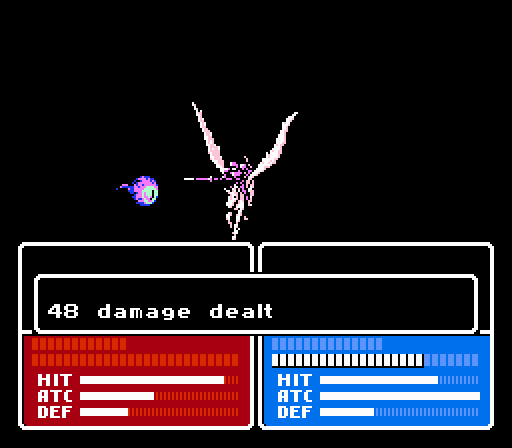
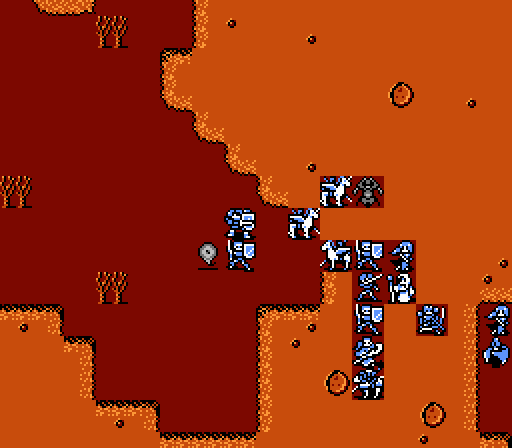
_-_Chapter_4_Part_11_Battle_1.gif)
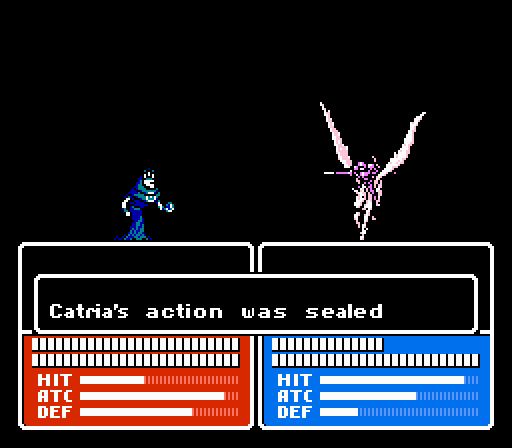
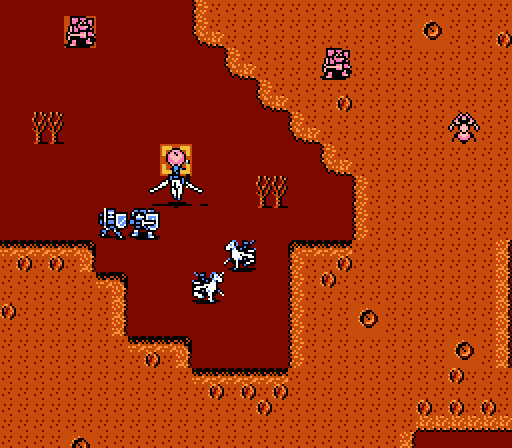
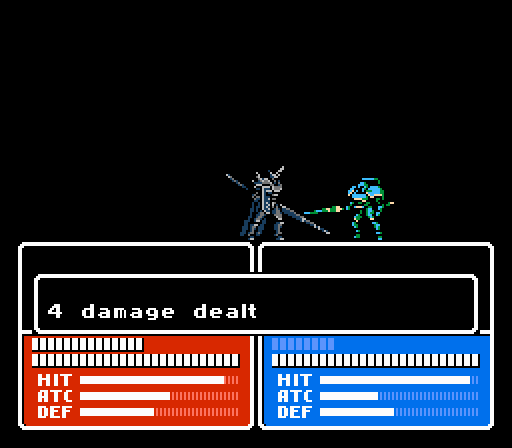
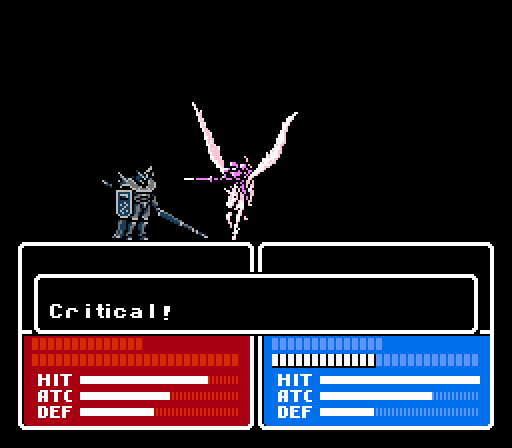
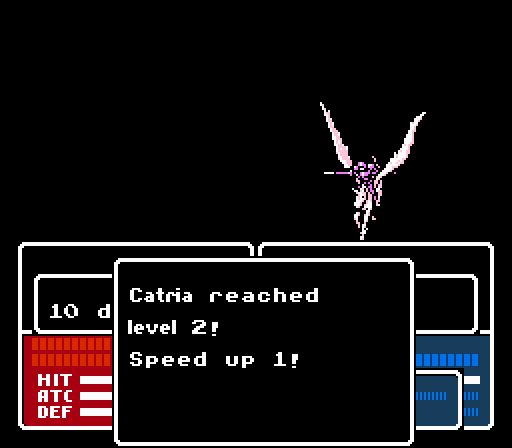
See, falcon knights get crazy bonuses against monsters. That's Catria attacking with 20 Power and a Silver Lance - normally 28 total Attack Power, but it hits like 60 Attack Power instead. I'm not sure what the exact formula here is, but the point is the Bigle here falls in one hit. (It looks like either Catria's Power or her entire Attack Power is tripled for the effective bonus, but caps out at 60.)
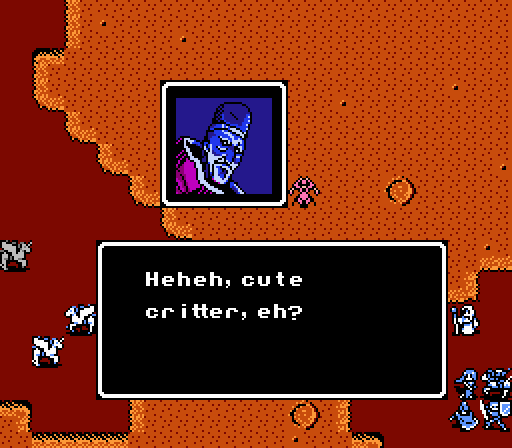
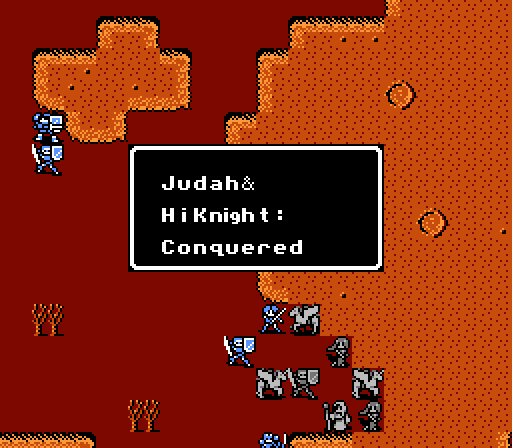
At that point, Judah gives a speech....
 I didn't expect you to kill it so soon. That brat was named Alm, yes? If you do not wish to lose him, girl...climb the Tower of Doma.
 And then Judah leaves, and we have our entire army against just three high knights. Piece of cake, right? But also kind of boring. See, there's a glitch in play here....
Turn 1
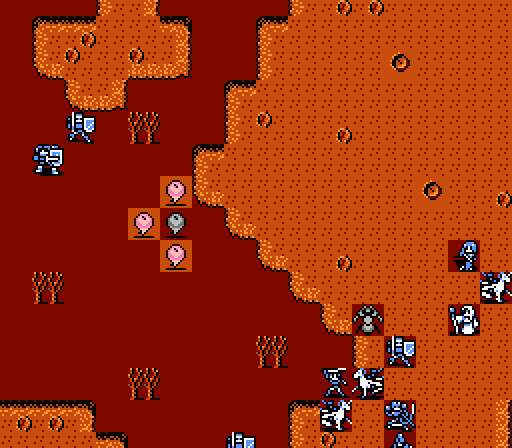
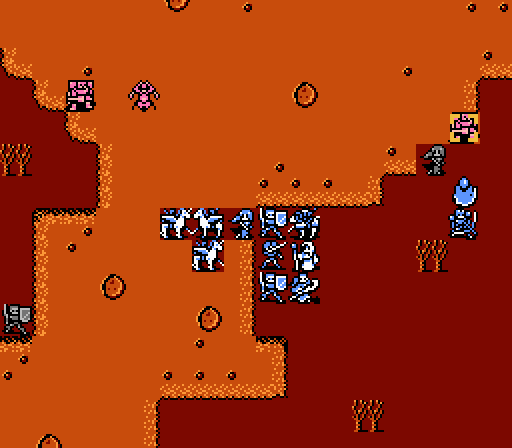
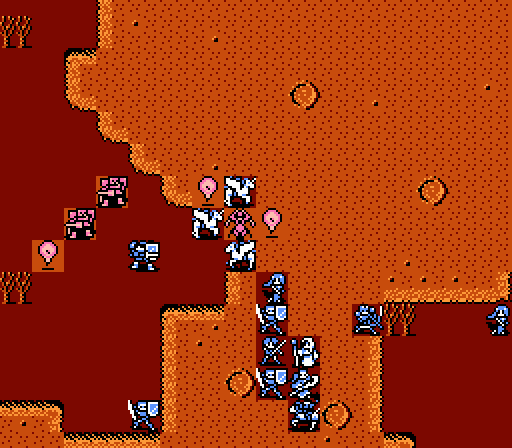
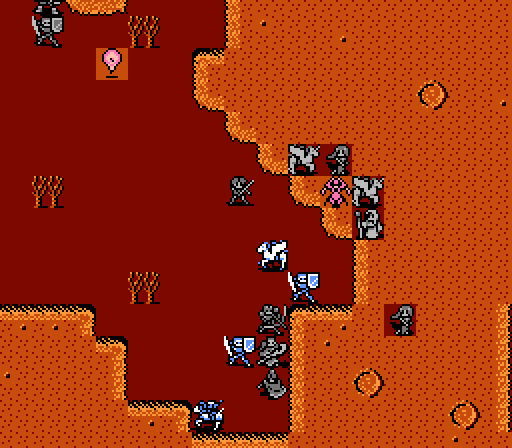
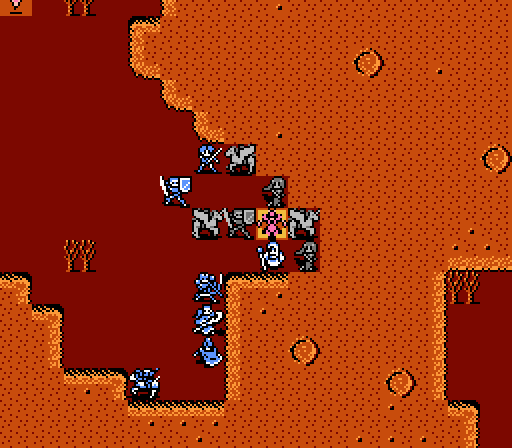
Before heading into the battle, I arrange my lineup so that the three fliers are on the left. Saber and Valbo are also here, each holding a shield for extra Defense. Units 5, 6, 7, 9, and 10 in your roster (numbered from the top) end up on the left side of this map.
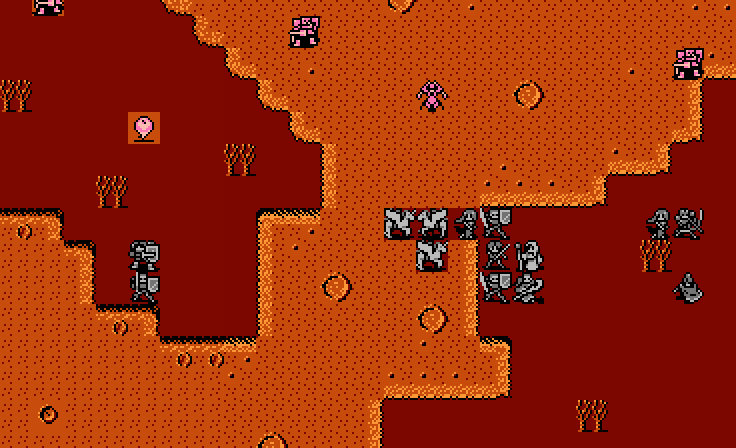
The fliers head east, while Valbo and Saber head south to draw the Bigle away. May, Leo, and Boey head east to handle the high knight on that side. Everyone else mashes together in the middle.
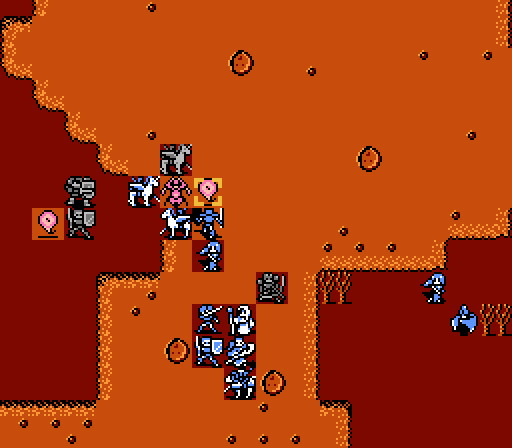
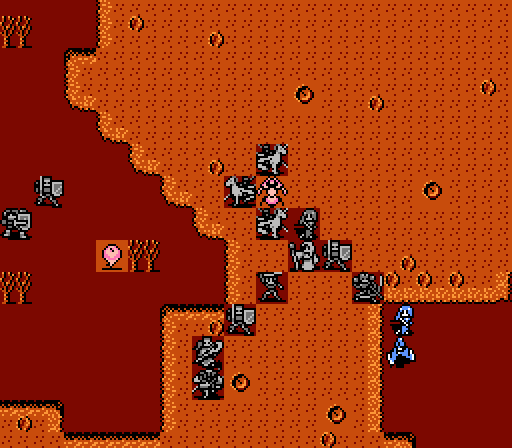
_-_Chapter_4_Part_11_Battle_2.gif)
The Bigle bashes Valbo but with little effect.
The high knights slowly head south, while Judah wanders west.
Turn 2
Saber stays out of the way, while Valbo is going to keep the Bigle and the high knights occupied. With the Steel Shield, Valbo has 18 Defense.
May and Boey team up to take out a high knight, clearing the east side of the map.
Everyone else is still clustered in the middle, with the fliers lined up so that the central high knight heads west towards Valbo as the closest target.
Valbo stands up to his twice-promoted counterpart rather well.

Four enemies all converging on Valbo.
Turn 3
Here's where things get tricky. We need to keep Judah separated from the Bigle. At the same time we want to get the high knights out of the way. With this formation, the Bigle will stay stuck on Valbo, while the high knights will go after the fliers. That'll bring the high knights in range of our mages (eventually). Judah's movements are restricted, so he'll have to move back east a bit. At the same time, I start attacking Judah to get him to spend some HP fueling his flying laser skull (the Death spell).
Or Judah could summon a couple more Bigles. Poorly-timed summons can ruin this whole trick, really.
The strategy with the high knights pays off big time - both attack Catria, and both get counter-killed with a couple of crits.
Catria gets even faster. I didn't get the full status screens this run, since I honestly didn't expect to keep it. A key part of the strategy is letting most of my army rot in the swamp and lose HP every turn, it's pretty ridiculous.
Turn 4
The falcon knights are very good at clearing the summoned Bigles, as Palla demonstrates. But Catria's still kind of hurting from the high knights and Judah's counterattack, so I'll need another tactic for the other Bigle.
Leo takes the first shot for 9 damage. Kamui follows up with the Dark Sword for 15 damage. Then Sonia gets the finishing blow with Excalibur for 14 damage (adding up to 38, the exact amount needed). Kamui took 16 damage in a counterattack, but Celica's right there for some power healing.
Down to just Judah and the original Bigle, now. Saber and Valbo are keeping the Bigle from getting to anyone else, and Judah is still walled off.
And as expected, the Bigle stays focused on the units in front of it, while Judah wanders a little bit.
Turn 5
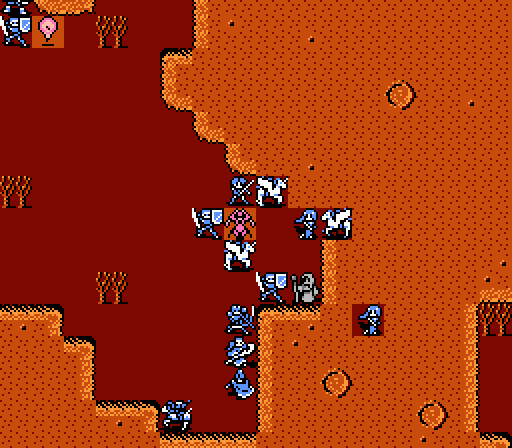
Now that the high knights are out of the way, and Judah and Bigle are sufficiently separated, I can execute the main part of this maneuver - luring the Bigle to the northwest while keeping Judah stuck in the swamp. Fortunately this group has three healers so I can keep up with the swamp damage and with Judah's successful counterattacks.

Judah stays put, but the Bigle takes the bait.
Turn 6
Had to keep Saber in a blocking position so that the Bigle wouldn't go after Est. I also moved Sonia up a bit to encourage Judah to move east and south, away from the Bigle.
Good enough!
Turn 7

The Bigle is pretty much out of the way at this point now, which means I can start herding Judah towards where I actually want him to be. I've also been able to keep Judah's HP drained so that he can't summon anything and mess up my plans.
Turn 8
You can tell I want Judah to head southwest here. The Bigle is still being lured farther away as well.
Turn 9
The Bigle is now a non-factor. Judah is being rather carefully herded still.
Turn 10
Okay that wasn't quite the right spot, Judah. Take the opening you see ahead of you, it's not a trap at all!
Turn 11
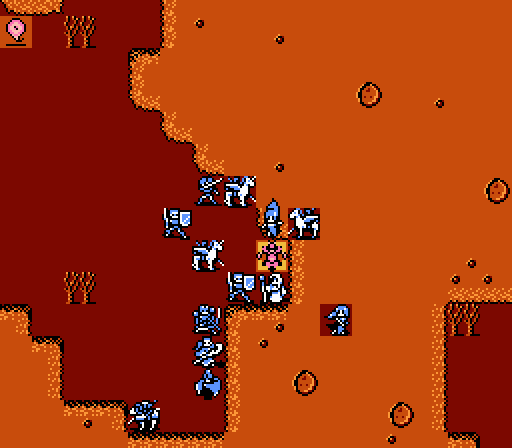
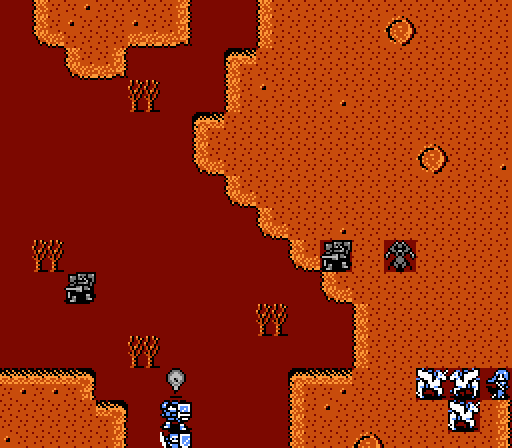
What's special about this spot, you say? Allow Sonia to demonstrate.
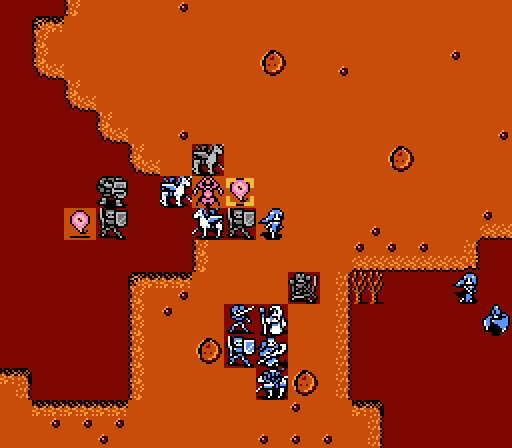
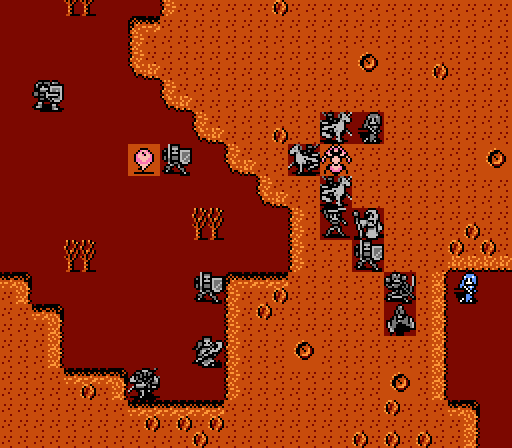
_-_Chapter_4_Part_11_Battle_3.gif)
Somehow, Judah is vulnerable on this tile. Actually, this one and the one to the left of it. Possibly others; I only discovered this glitch by accident during a test run and wasn't even sure if I could reproduce it at all.
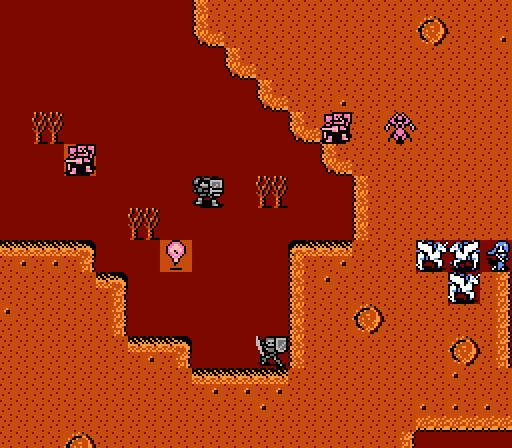
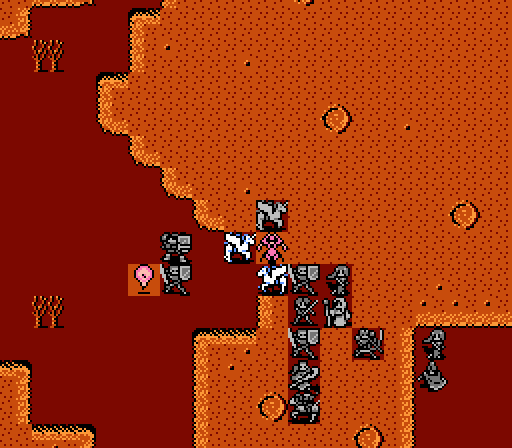
After some distance attacks to wear down the rest of Judah's HP, I think it'd be fun if Jenny got the final blow, don't you?
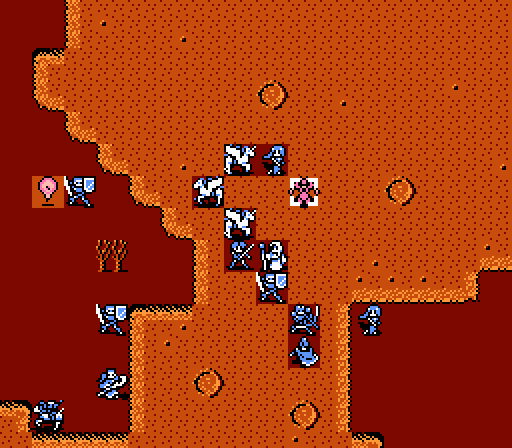
_-_Chapter_4_Part_11_Battle_4.gif)
Jenny comes through, and we get the Dragon Shield! Since you probably don't remember the last time we saw it back in the first chapter, the Dragon Shield gives +5 HP per turn and increases both Defense and Resistance by 13 - huge. We can pretty much make one of our units all but invincible with this item now.

The Bigle was apparently summoned by Judah before the battle, because it disappears once Judah is defeated.
And that's how you can spend entirely too much effort defeating Judah and taking his Dragon Shield.
Next time:
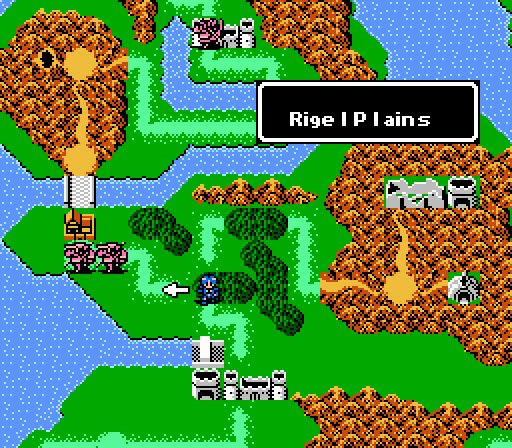
Alm finally makes it to Rigel Plains.