Part 58: Chapter 4, Part 14: Dragon Crater

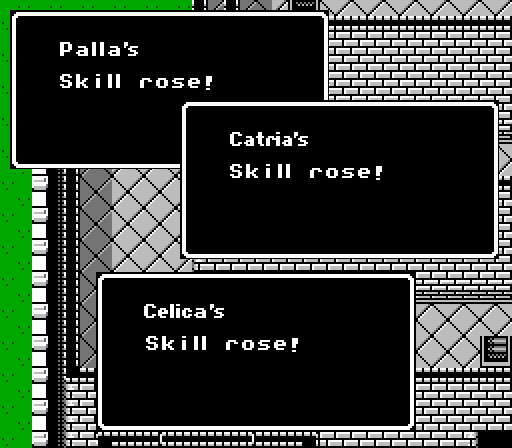
Before we start with Alm, Celica still has some things to take care of. The first two shrines get spread out amongst the top women of the team.
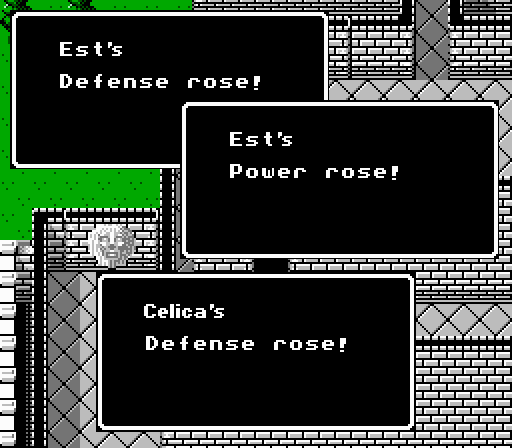
Est takes a hit from each of the shrines on the top floor, with Celica also picking up some Defense.
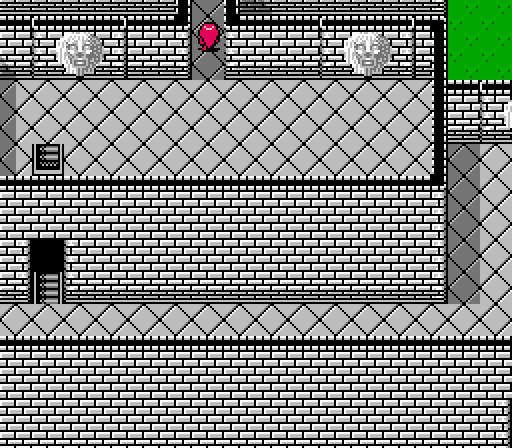
This is Celica's point of no return. If you want to grind up extra levels, trade items, or go back for promotions, you need to do it now.
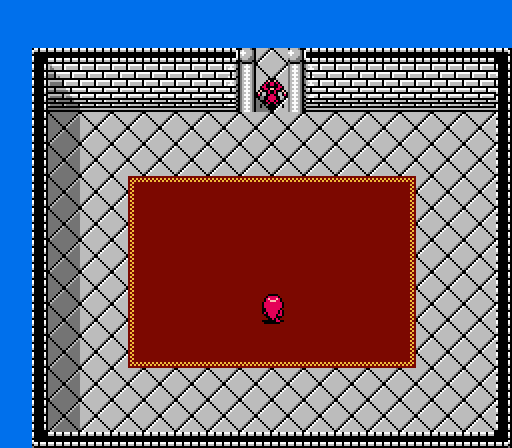
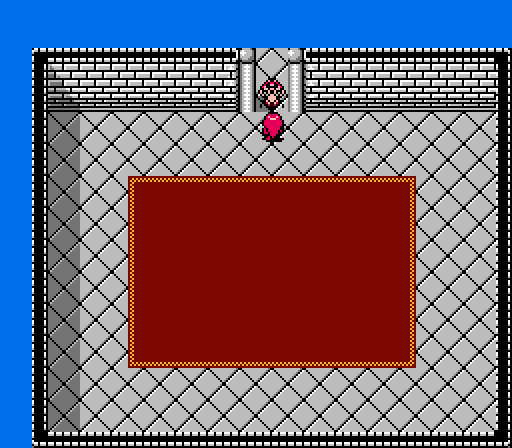
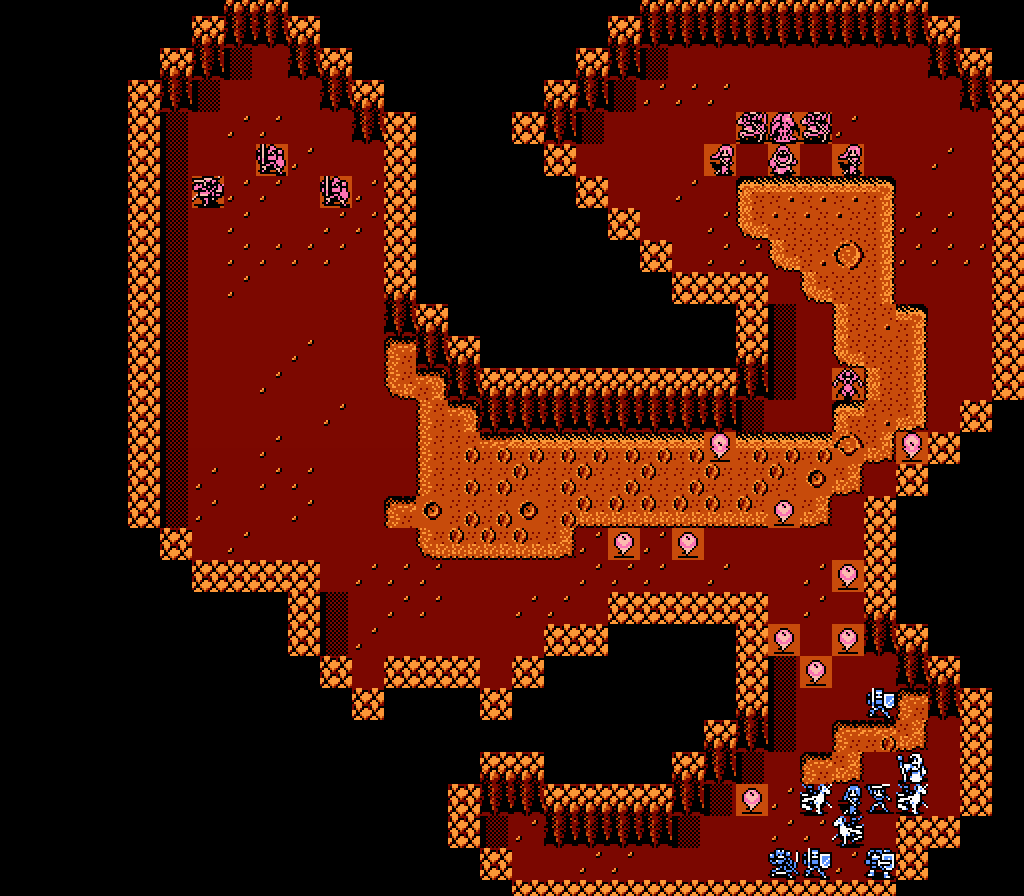
The exit closes behind Celica in the next room. Waiting is a random enemy shaman.
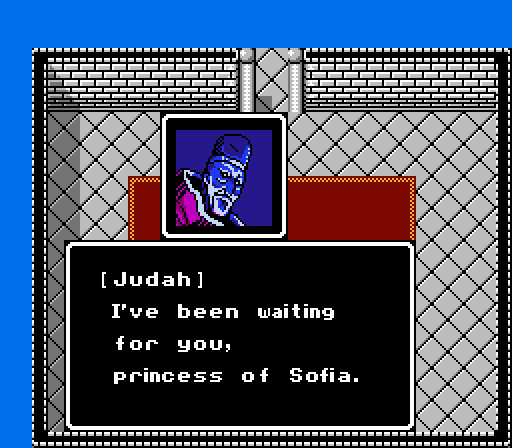
Okay, not so random.
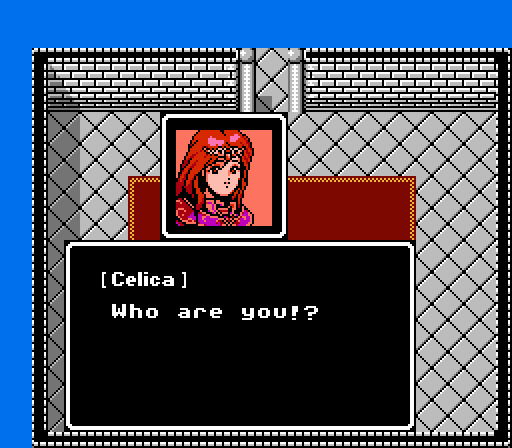
Celica, you just killed this guy like three updates ago, keep up.
Also of note: There's no side effects to having killed Judah out in the swamp, the game just continues on as if you hadn't. Since, you know, you're not supposed to be able to do that.
 I'm Lord Doma's top servant: Judah, head priest of our Lord.
 If that's so, then please, I beg you, free Lady Mila!
At which point Judah promptly apologizes and lets Mila go. It's a very anti-climactic ending, but these early NES games are kind of hit-and-miss in that department....
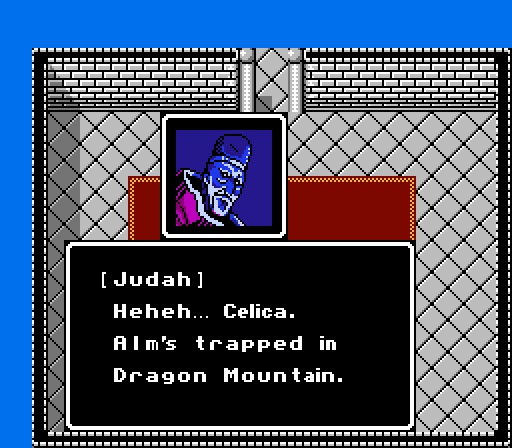
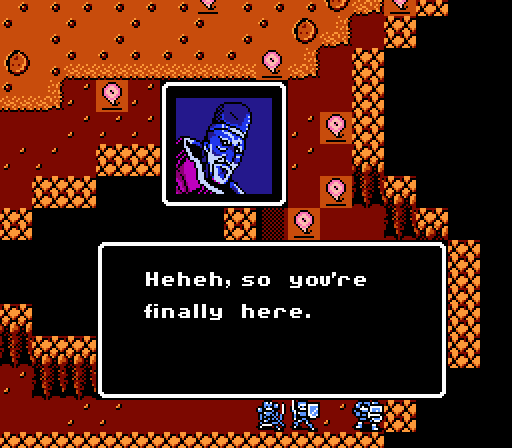
Heheh... What a panic you're in! Look into this crystal of mine. You've dearly missed seeing that face, yes? That's right. It's Alm. Why don't I let you watch him struggle?Ok, so not really. Judah's just a dick like nearly all early video game villains.
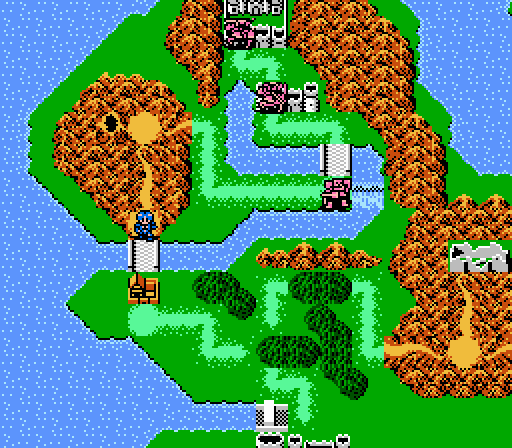
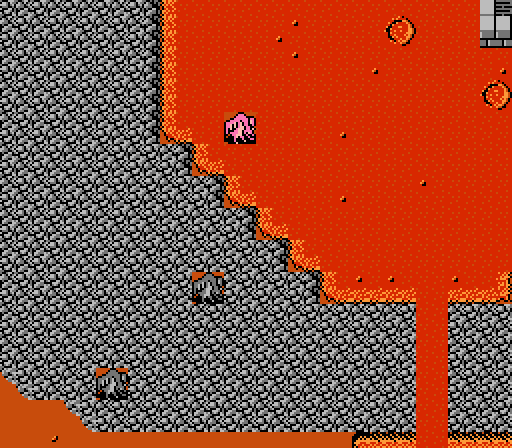
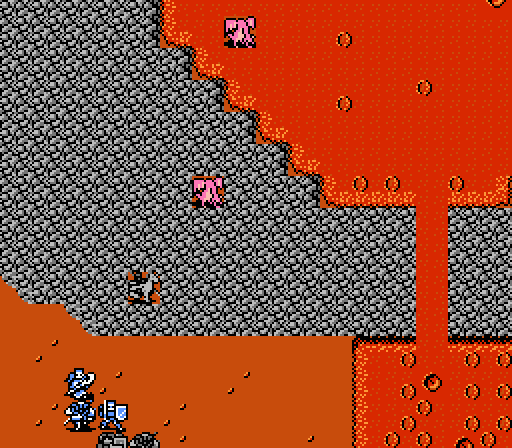
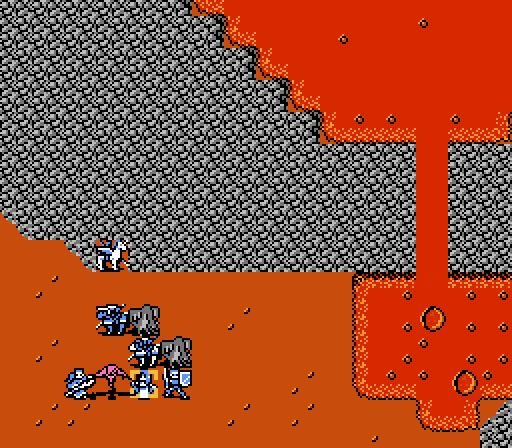
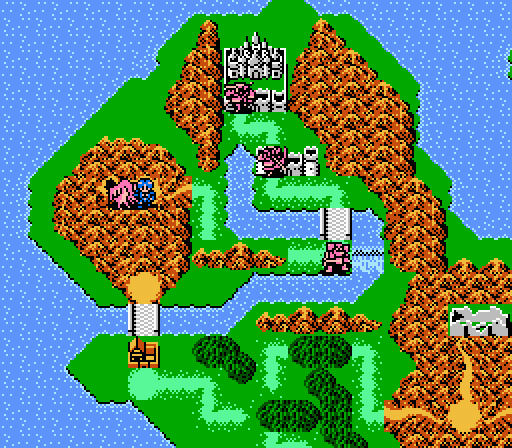
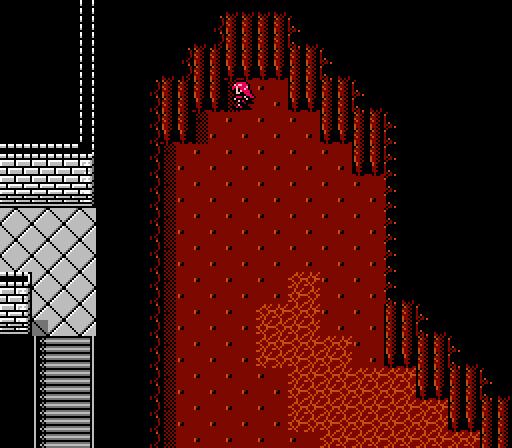
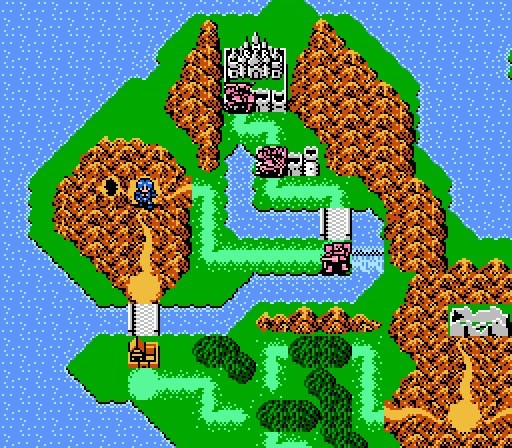
With that, we're dumped back to the world map, where Alm's waiting in Rigel Valley, on the other side of the town. Celica's watching through Judah's crystal ball, I guess. Let's watch Alm struggle!
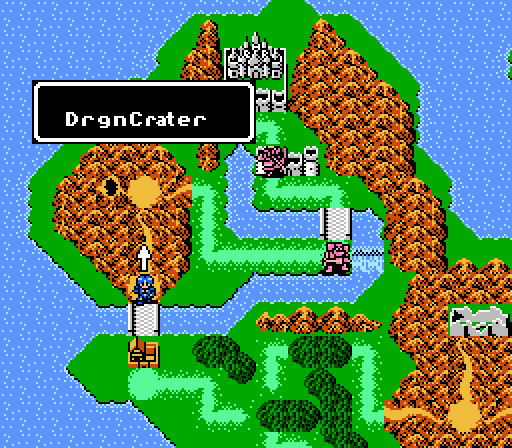
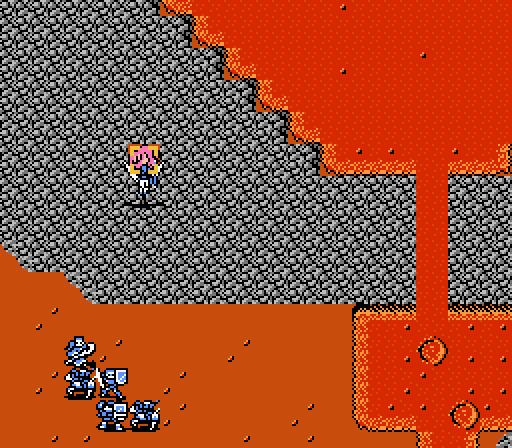
Alm's headed for Dragon Crater, a location not actually marked on the map.
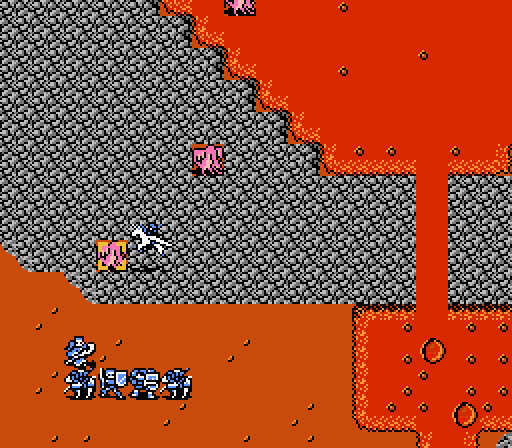
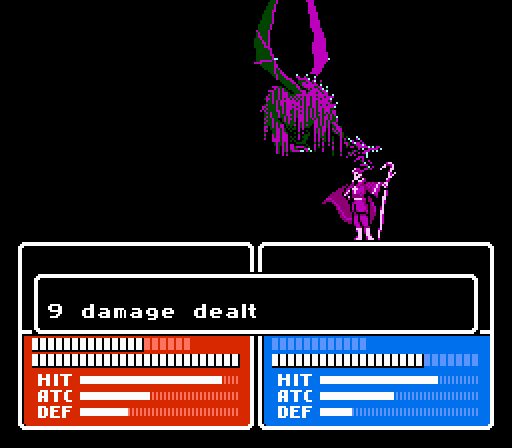
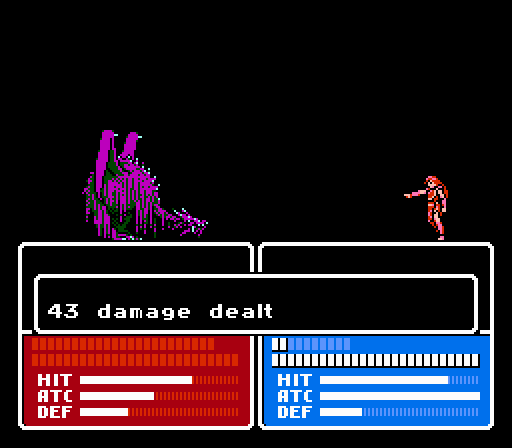
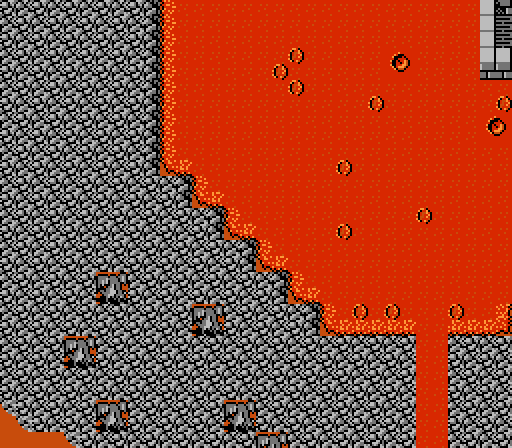
_-_Chapter_4_Part_14_Battle_1.gif)
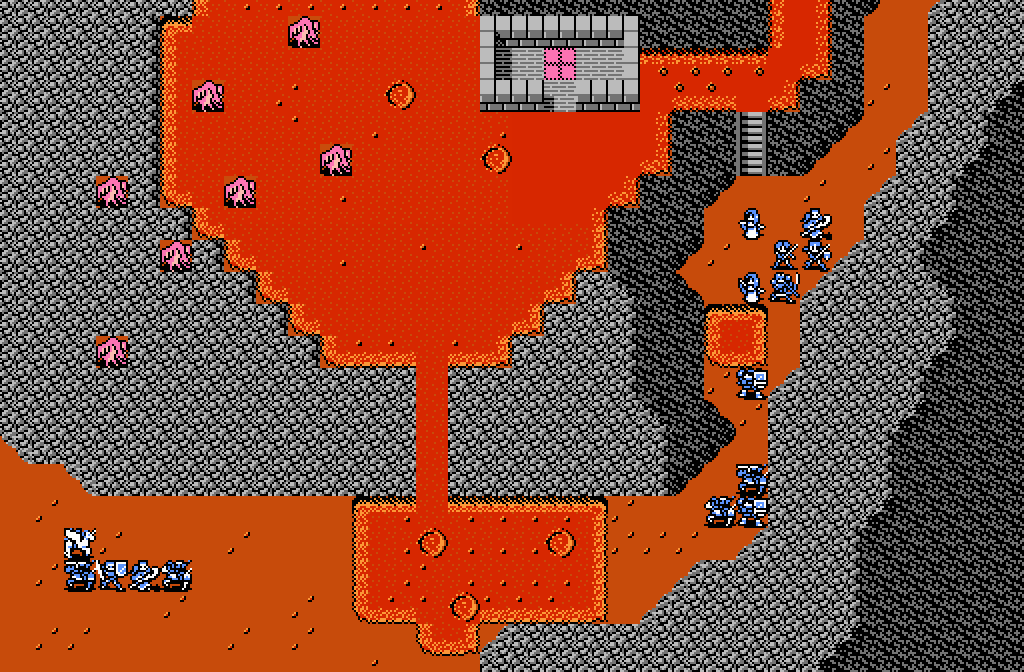
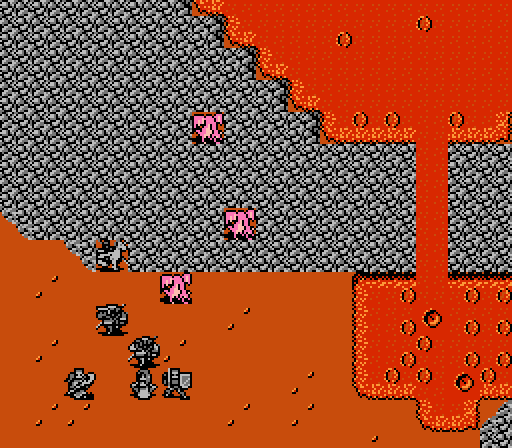
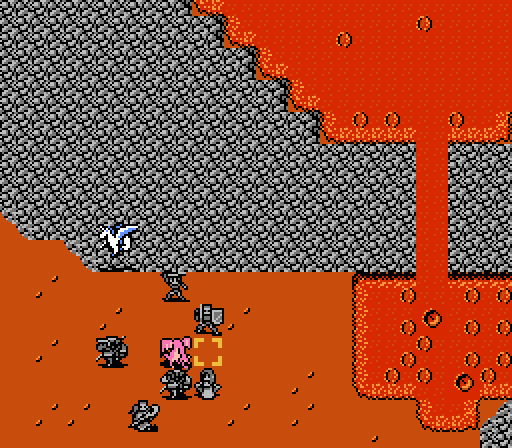
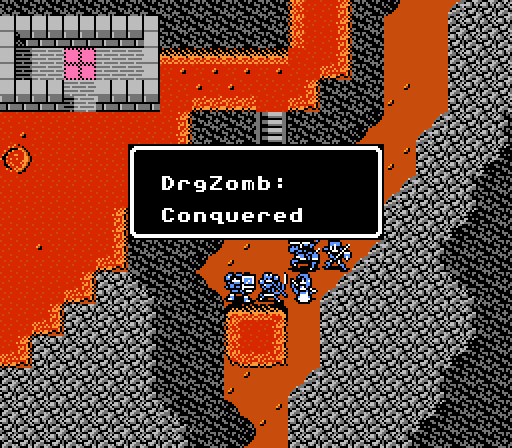
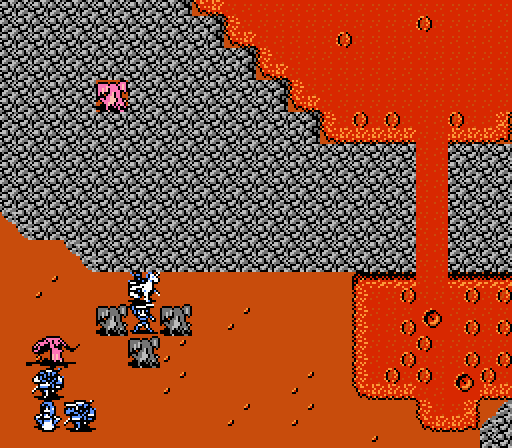
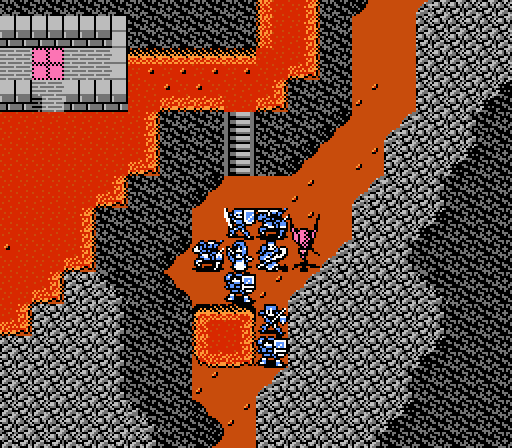
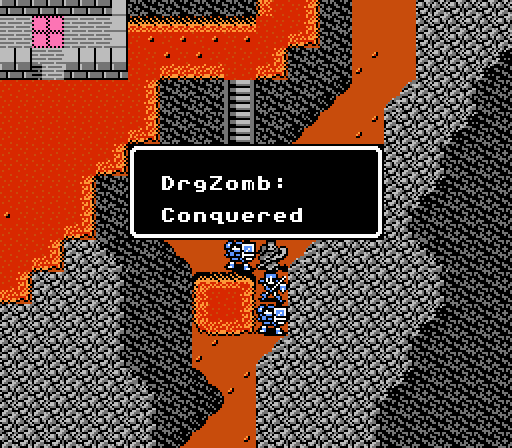
Sorry for the large image, but you can actually see some of the screen shaking here. Now picture that except much faster and longer and that's what actually happens in the game. Also note that both the entrance to and exit from the crater get blocked off at the end there, as a group of dragon zombies appear and immediately attack.

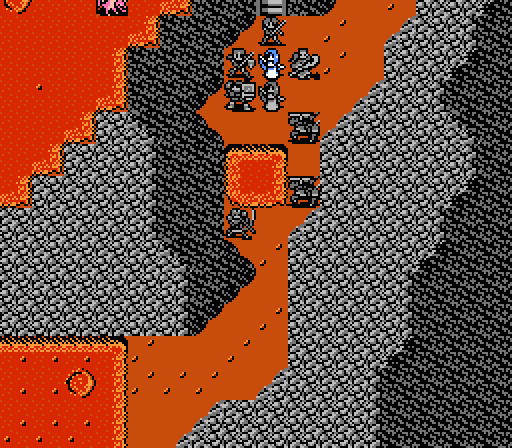
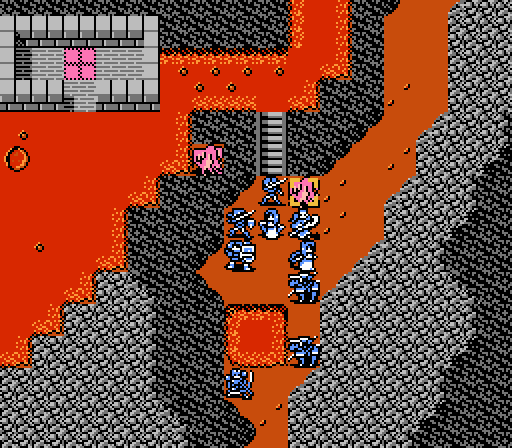
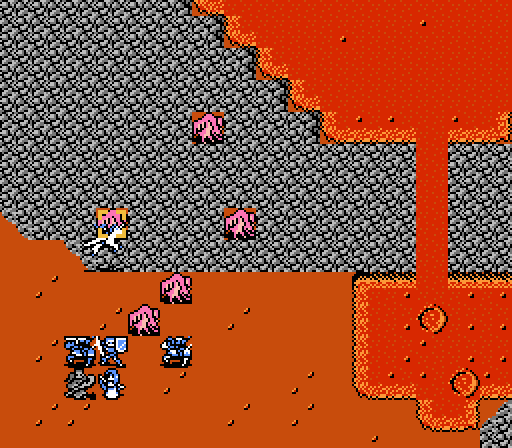
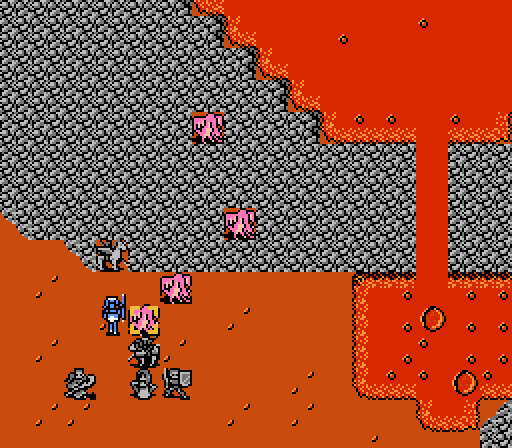
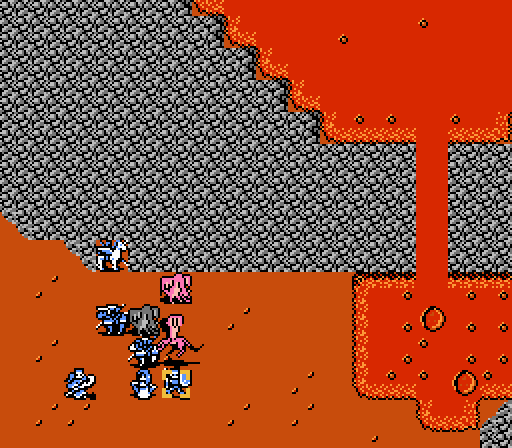
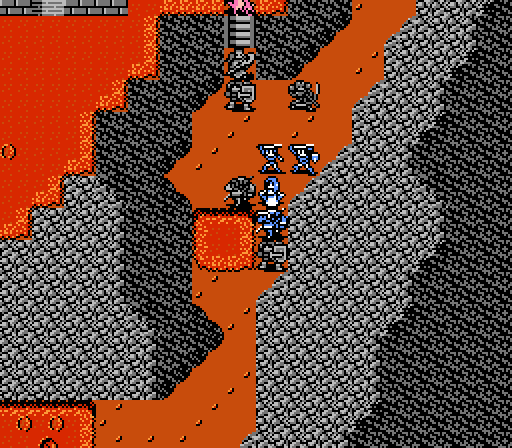
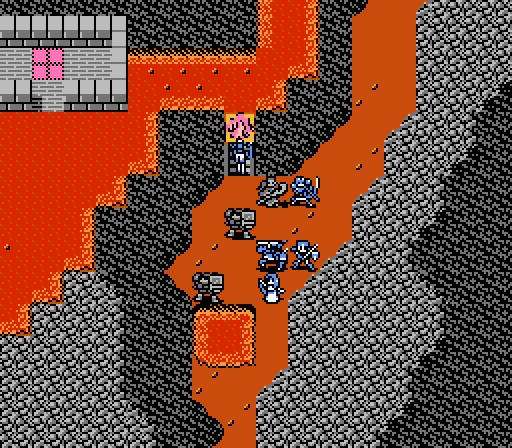
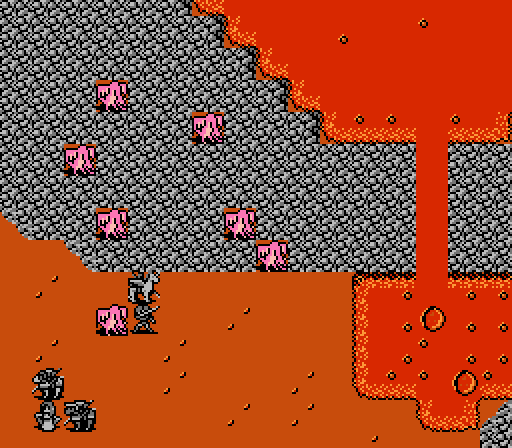
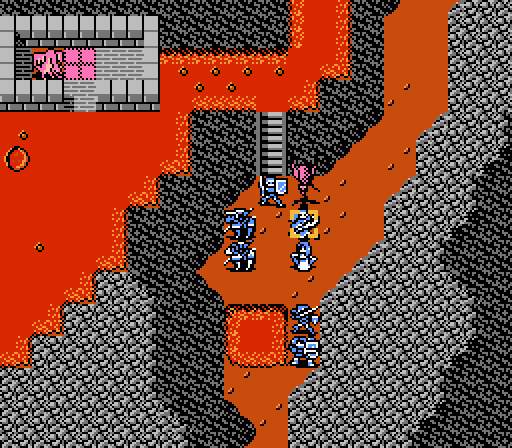
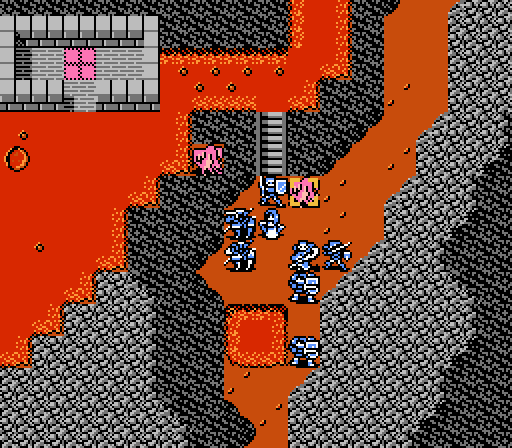
Five dragon zombies - not too tough. The main trouble here is that the dregs of Alm's army are on their own in the bottom-left corner - they won't last long there if more than one enemy comes after them.
Turn 1
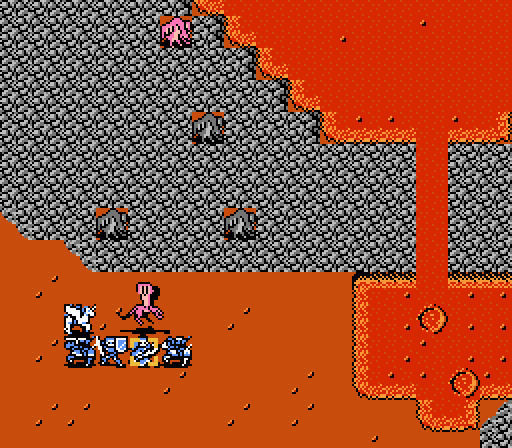
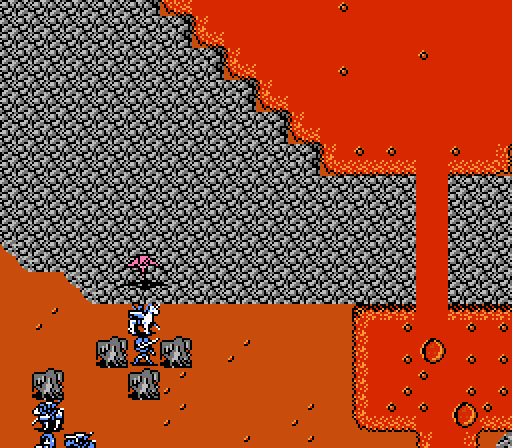
Of course, since this battle is an ambush, the enemies move first. Two dragon zombies head south, two head east, and the other apparently can't decide so just does nothing.
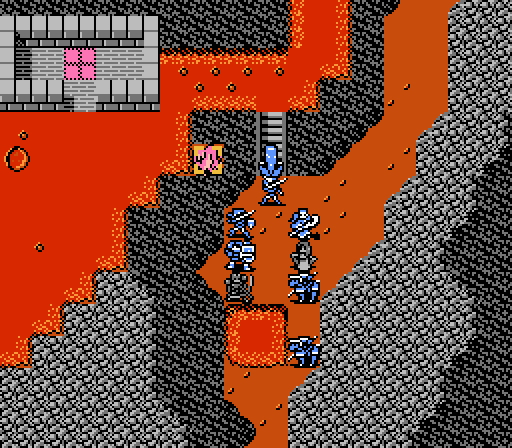
Since the lower group is in a lot of trouble, Silk sends Claire down to help.
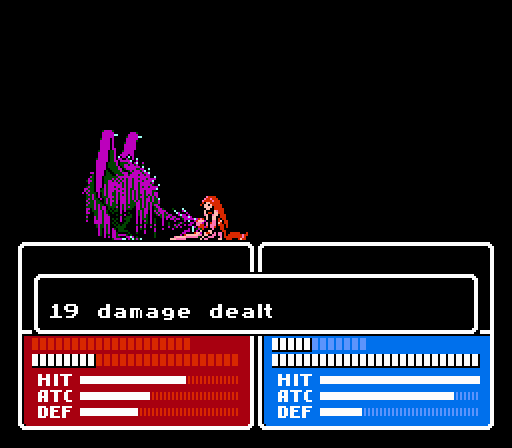
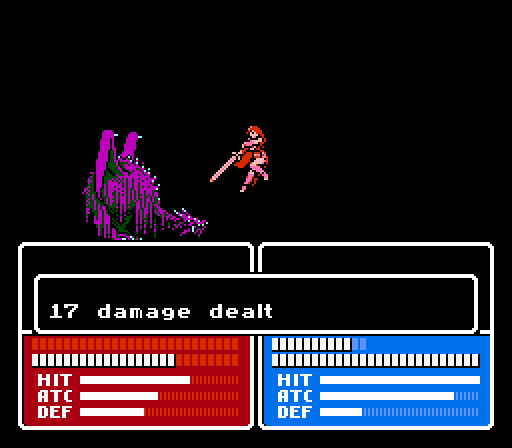
Claire's a one-woman dragon zombie-wrecking machine.
The other dragon zombies here can only reach Claire.
In the northeast we blockade our saints and hope for the best.
Turn 2
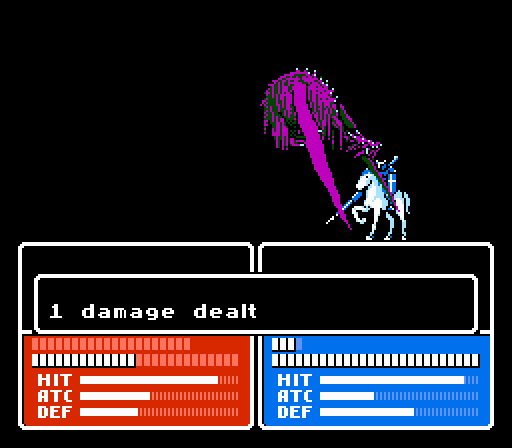
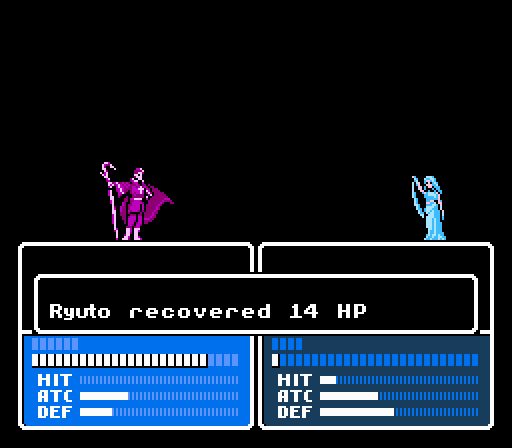
Ryuto's a favorite target with his rather low Defense, but I stuck the Holy Shield on him so the dragons can't actually hurt him. The AI apparently doesn't realize this.
Operation Claire Bait is a success, and she easily counter-kills her attacker.
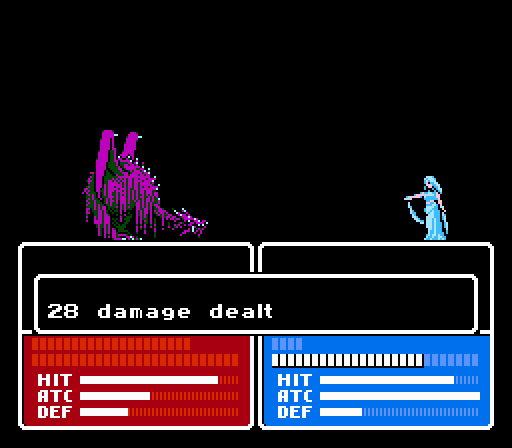
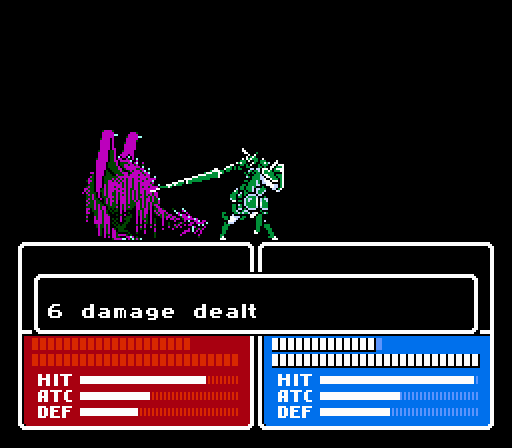
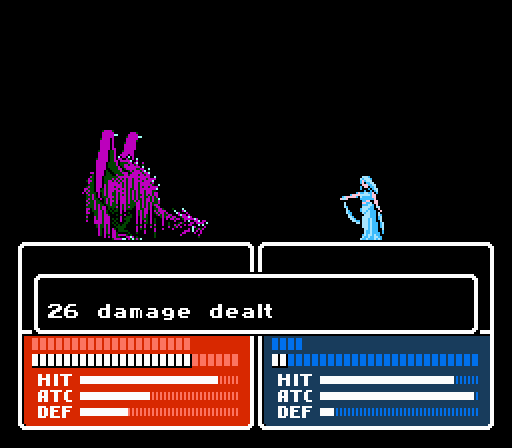
Our turn now; the Saints are prime attackers in this map, thanks to the Angel spell. Silk gets in more damage in these attacks than in the rest of the game combined I think.
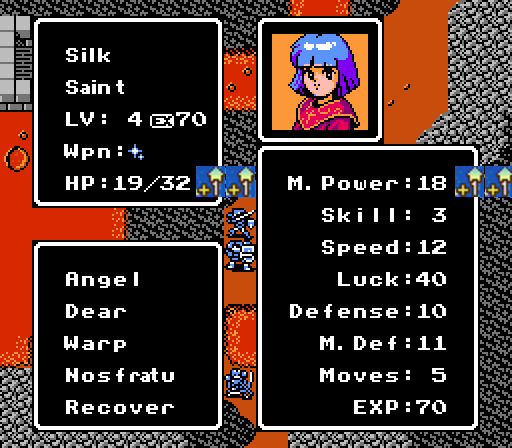
She's actually grown up rather well for what's primarily a healer class.

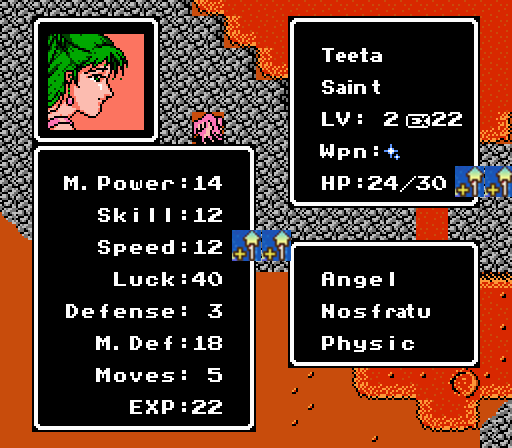
Teeta's not quite as strong or as fast as Silk, so can't get in two attacks and needs a little help from Python and his Holy Bow first, before killing the remaining dragon zombie in the area.
And Claire takes out the last dragon zombie in the map.
Well that wasn't so hard, I'm not sure what the fuss was about.
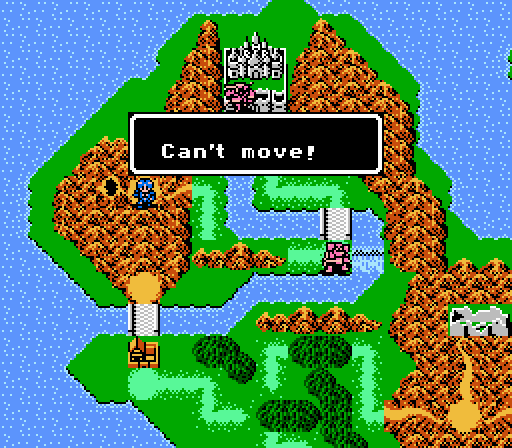
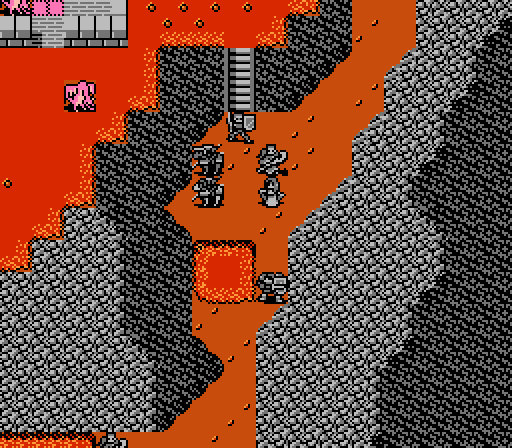
Back on the world map, if Alm tries to move, he just gets this helpful little popup telling him he can't, due to the entrance and exit both being blocked. Celica's stuck in the castle so we can't move her, either. So what to do?
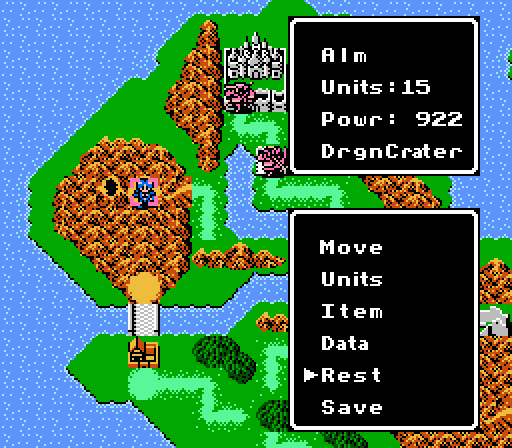
Well, that's what this 'Rest' option is for. Alm basically just 'waits' on the world map, giving up his 'turn'. Before that though I take the time to rearrange my army and some of the items, because I know what's about to happen when I pick that option....
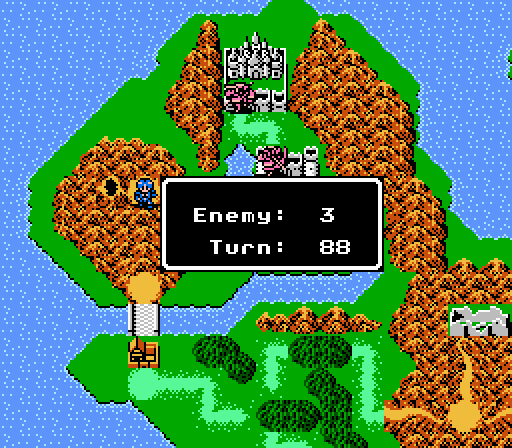
After resting, we get a handy popup telling me how many enemies remain and how many turns I've spent on the world map. The turn count is so you can figure out how long you've been stuck here...
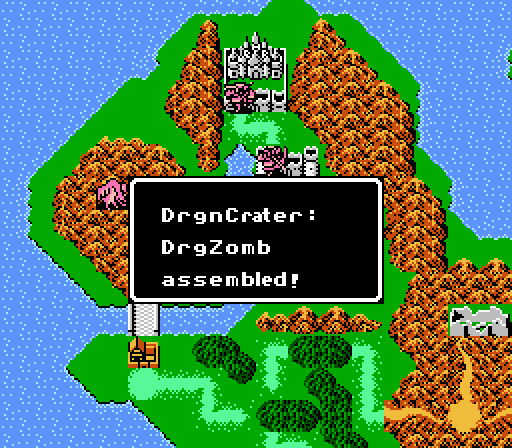
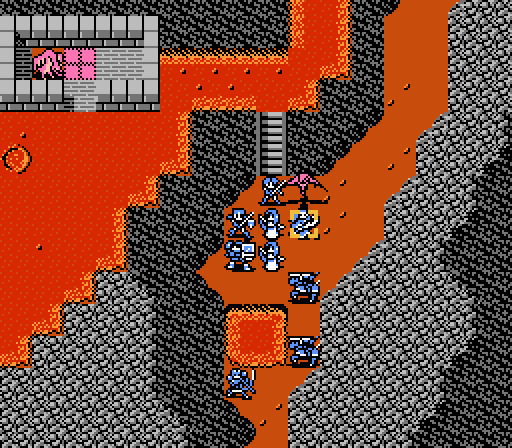
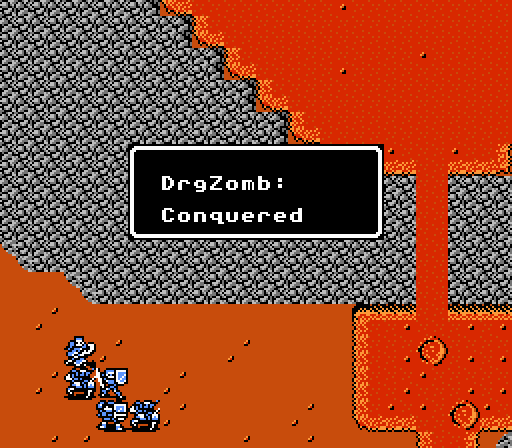
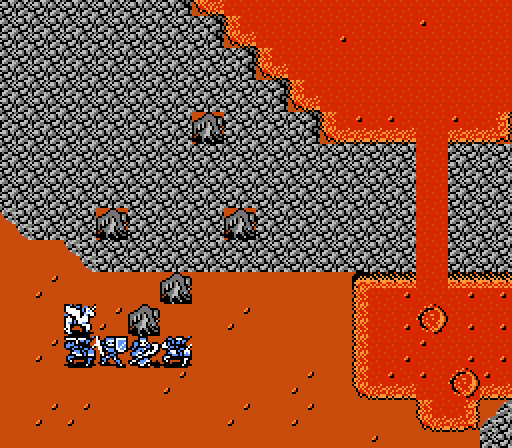
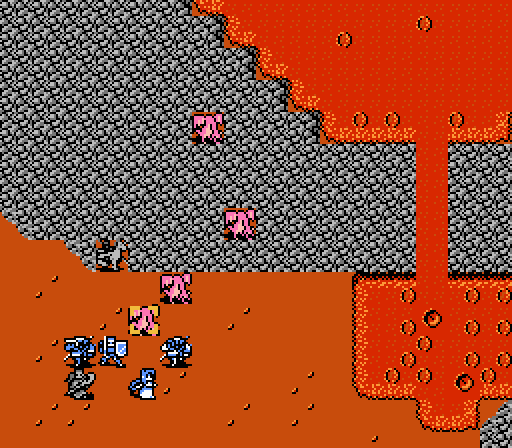
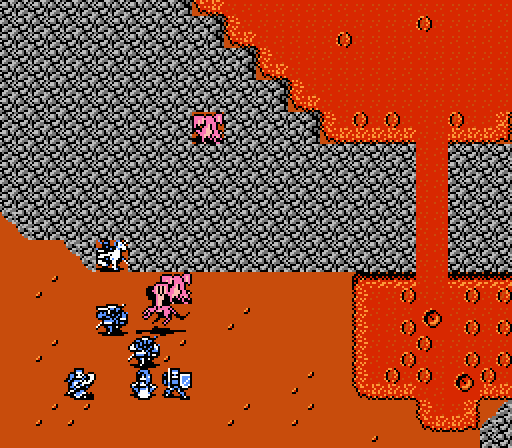
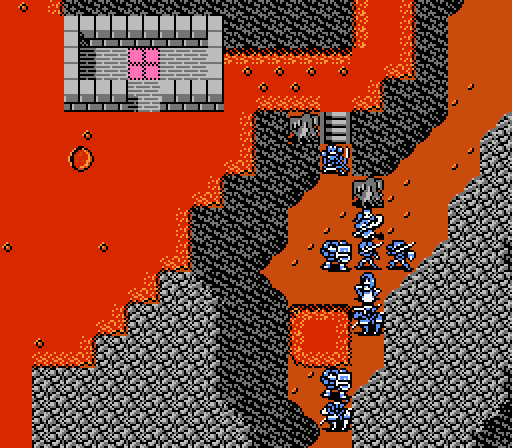
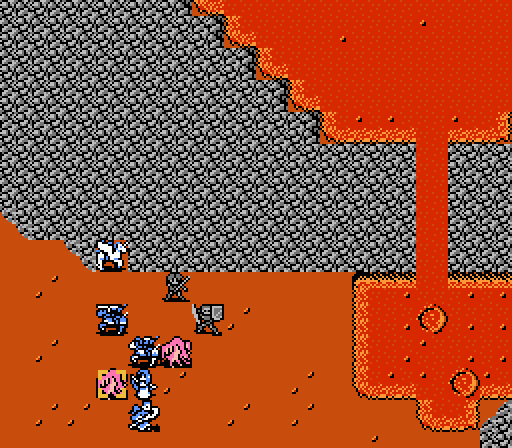
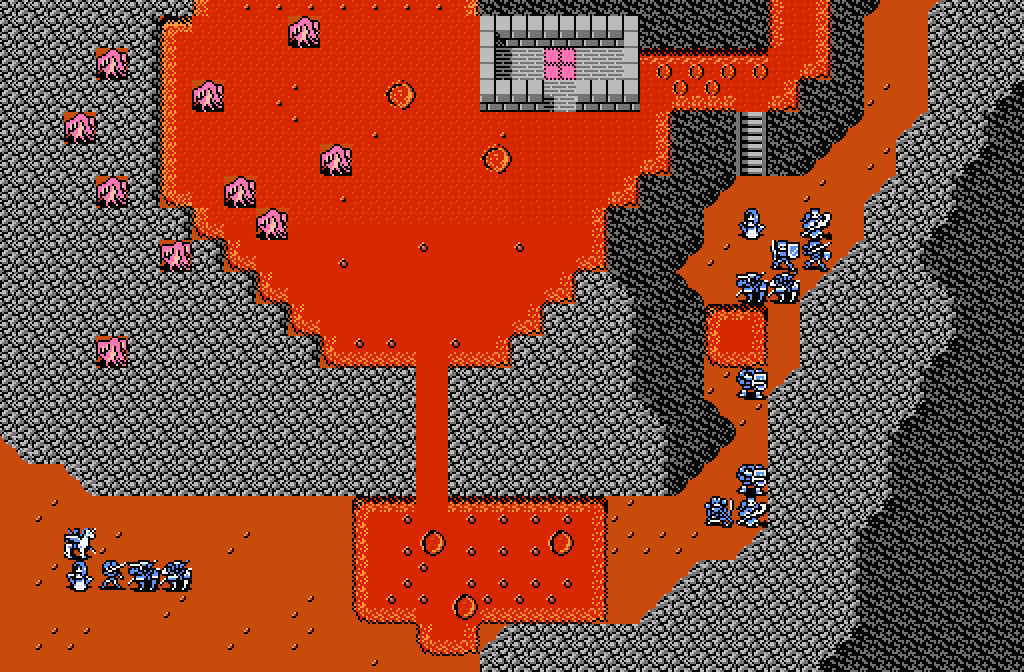
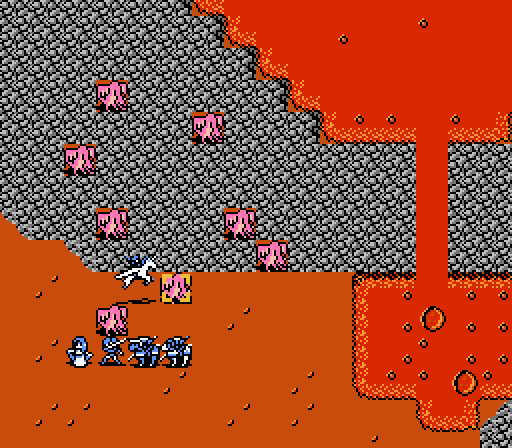
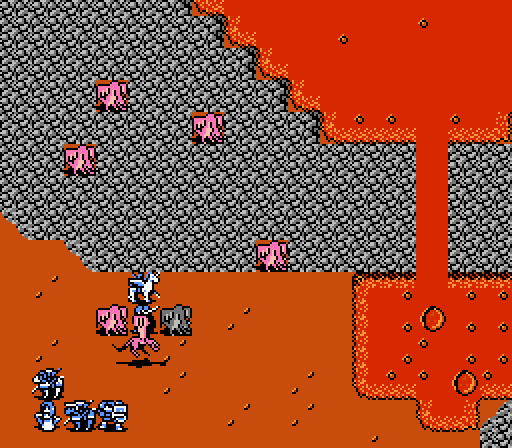
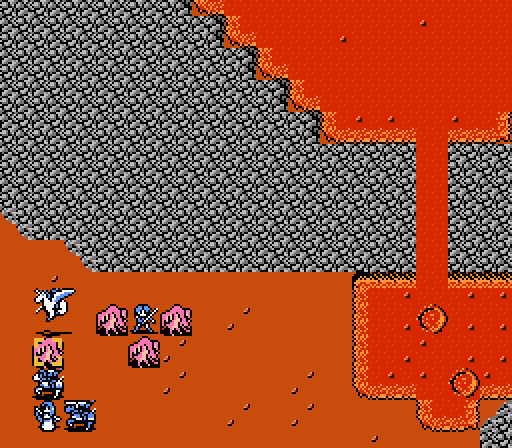
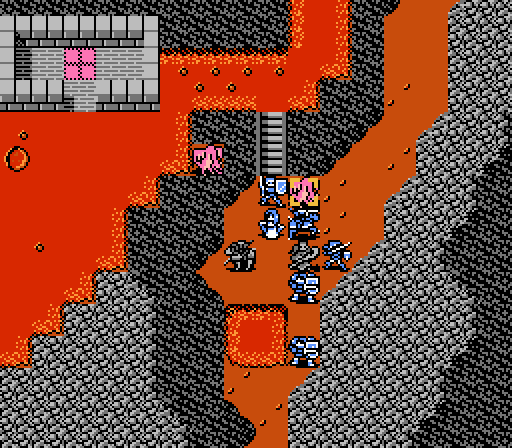
More dragon zombies! As before, they immediately attack:
This time around there are seven dragon zombies. And more of them will be headed for the southwest group, too. I severely underestimated how much stronger I needed to make that group, as a dragon zombie will reach it on the very first turn.
Turn 1
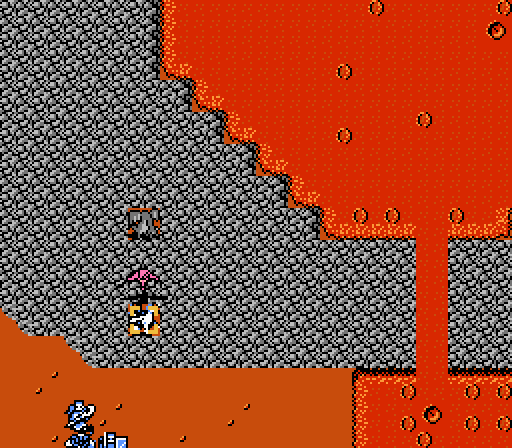
Gray is attacked right away, before I can really set up or anything, and gets double-attacked. Already he won't survive another attack like that.
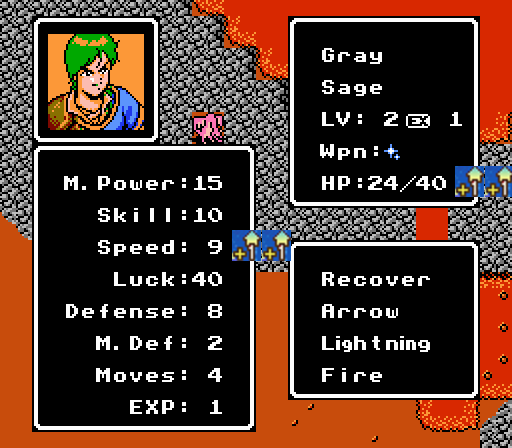
I may have snuck Gray the Angel Ring between battles, though, so he's actually able to go another round. He actually gained enough Speed that he'll be the one getting in two attacks now (at least with a lightweight fireball).
Five dragon zombies assault the southern group. Going to be a rough one.
Python takes a couple shots at the nearest dragon zombie, but otherwise the northern group doesn't do anything more than set up to receive a couple attacks.
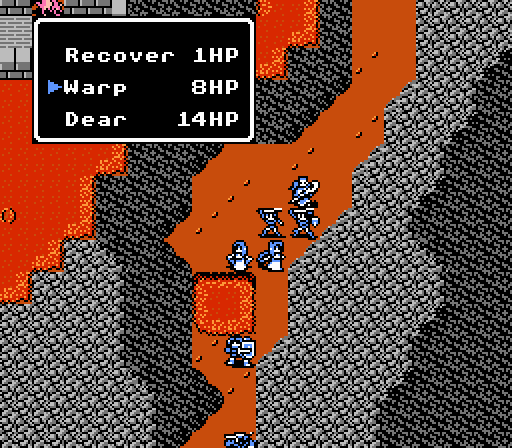
So Silk learned the Dear spell a couple levels back. If you're not hurting for XP (and really, we aren't) then this battle is a good opportunity to use it, as it'll wipe out most/all of the dragon zombies immediately. You just won't get any XP for them. We're going to be doing things the hard way, though.
And so Silk sends Teeta down to reinforce the south.
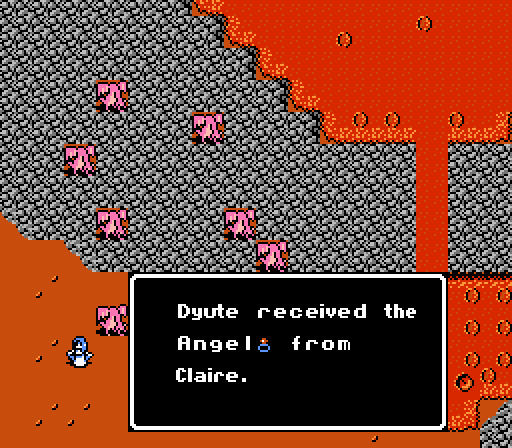
Claire wipes out a dragon zombie, while Teeta gets the Angel Ring from Gray and goes after another.
Useful levels today, as now Teeta has enough Speed to double-attack with Angel against the dragon zombies. She doesn't have enough Defense to deal with many attackers, though, so we'll need to block her off.
I gave Cleive the Holy Shield this time, and he trades scratches with the dragon zombie.
Teeta didn't actually kill her target, so Zeke gets his first action and finishes it off.
This formation should allow only one dragon zombie to get to Teeta, which is all she can handle. Cliff took the Angel Ring from Teeta, since he's at 99 XP.
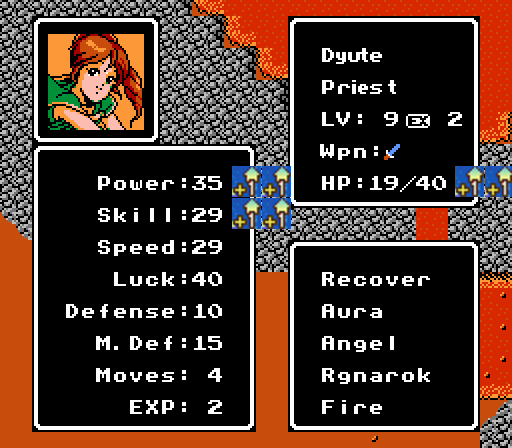
Ryuto's going to be bait again in the north, though he'll actually take some damage this time. Really the biggest struggle on this map is tring to fend off the dragon zombies while only gaining levels with the Angel Ring - Alm and Dyute have been waiting around the whole time. Dragon zombies are worth a lot of XP.
Turn 2
Just like Ryuto last map, here Cleive is able to use the Holy Shield to hide his low Defense and draw in the dragon zombie to another scratching battle.

And Ryuto is targeted again in the north. He takes some damage but only a single attack.
This dragon zombie would apparently rather go after Cliff, who after a great start to the game has really fallen behind.
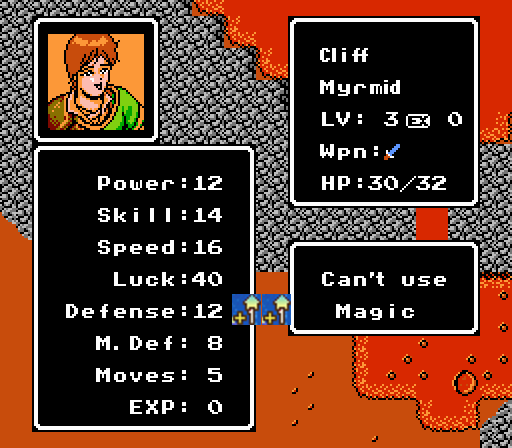
More Defense will help him out a bit, but he really needs either more Power or a more useful sword than the Bolt Sword.
The second dragon zombie in the north can't quite reach Python.
And Teeta draws in her target. She not only barely survives, she actually misses one of her counterattacks.

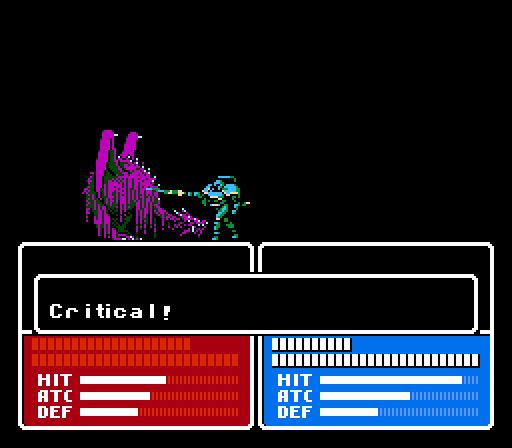
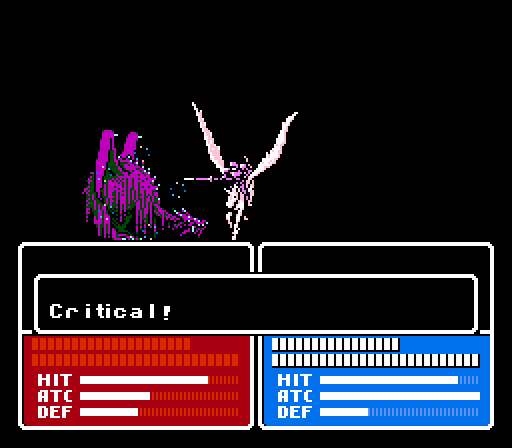
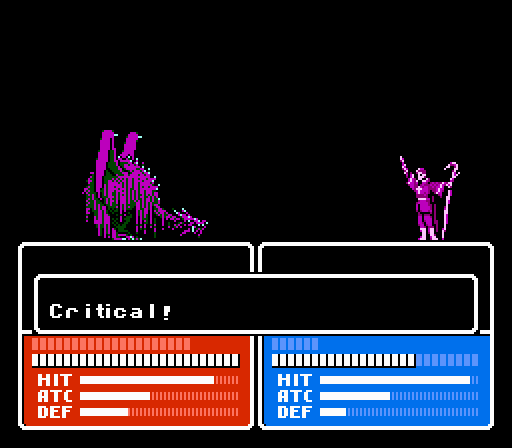
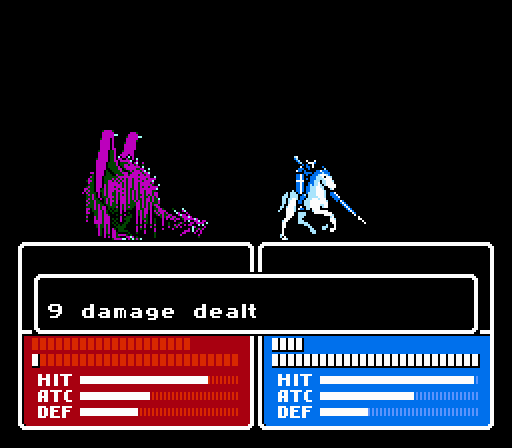
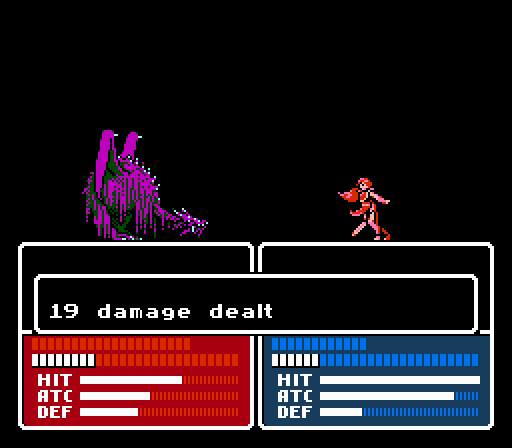
Our turn again, and Force finally gets involved with the Speed Ring. Good time for a crit.
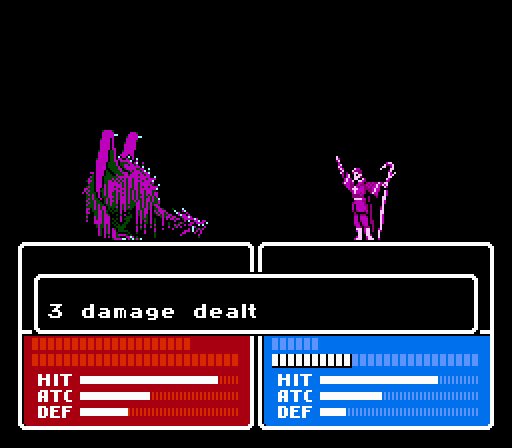
I actually can't attack with Python anymore without getting him an Angel Ring-free level, so I send Ryuto up there to distract the other dragon zombie in the north. He lands a nice Excalibur crit but it still barely makes a dent.
This formation is designed to hide Silk and force the dragon zombie to attack Ryuto again.
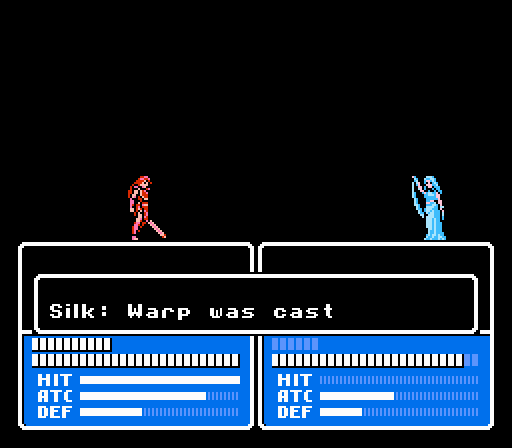
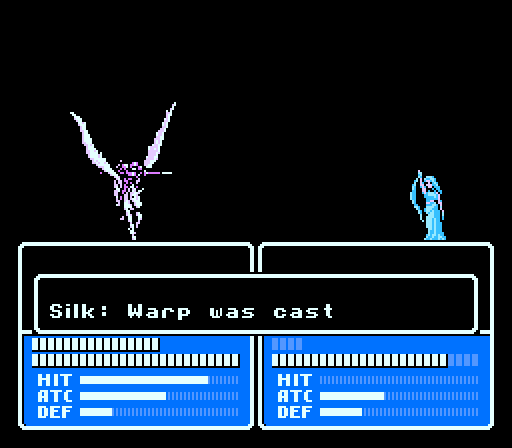
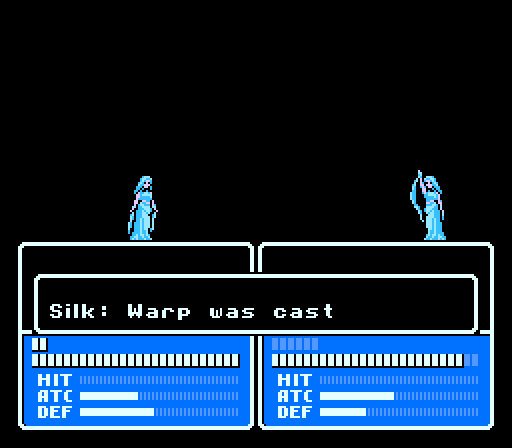
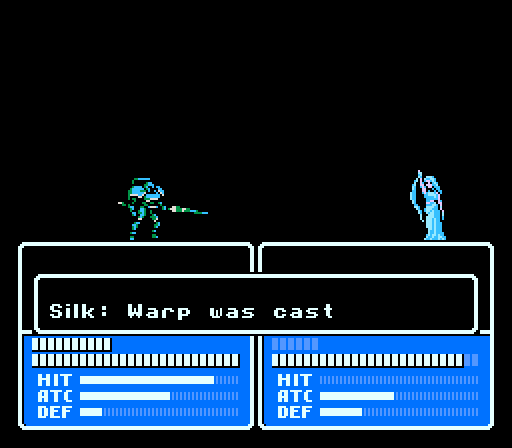
Of course I immediately bust that formation to have Silk warp Dyute down to the south. Time to break out the big guns.
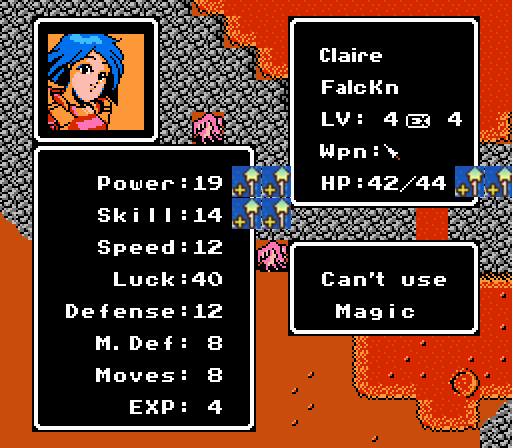
Dyute also has the Angel spell, so she's even more of an insane killer here than normal. And once Cliff gives her the Angel Ring, she has free reign to wreak havoc. Not quite a one-shot kill, but this dragon zombie is a bit higher level than normal (note the higher starting HP - 49).
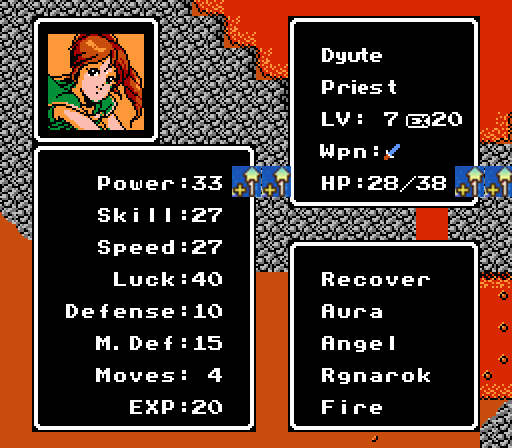
MORE POWER. The innocent face of a sweet psycho killer. Give that girl some Defense and she'd be unstoppable.
Gray and Zeke are able to team up to take out Teeta's attacker.
That leaves one dragon zombie and one super falcon knight to take it out. Except Claire is one attack away from a level so I have her sit around and take the Angel Ring instead.
No, I didn't forget about re-protecting Silk, either.
Turn 3
Bad move, dragon zombie.
_-_Chapter_4_Part_14_Battle_2.gif)
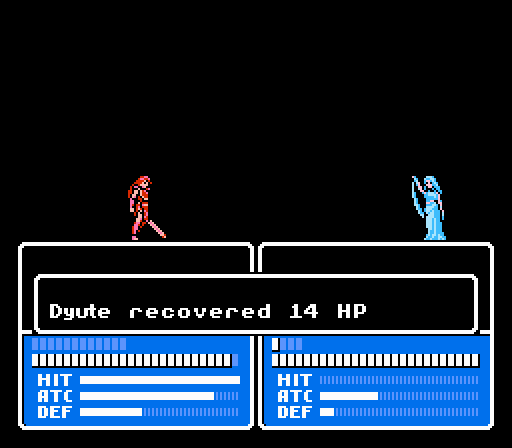
Dyute kicks ass with a sword, too.
Ryuto's not going to be able to take too many more of those.
With the southern battle over, Teeta uses her last bit of HP to patch up Ryuto for another round of taunt-the-dragon.
Force is now also on the can't-attack-without-gaining-an-Angel-Ring-free-level list, so Robin grabs the Holy Lance and bites into the last dragon zombie, bringing it down to just 1 HP remaining. That's right, Robin. Even his sorry ass can do some damage with an effective weapon, and he somehow dodged the counterattack as well.

I literally have no one left up here who can take that last 1 HP from the last dragon zombie without gaining a level that I don't want to gain without the Angel Ring because I'm a horribly OCD min-max'er. So I block off Silk again and wait another turn.
Turn 4
The dragon zombie helpfully suicides on Ryuto.
What, you didn't think we were done, did you?
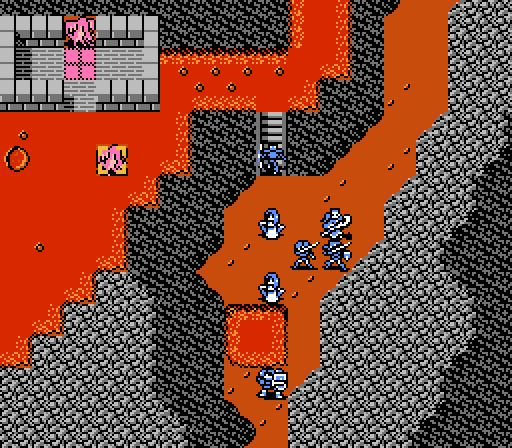
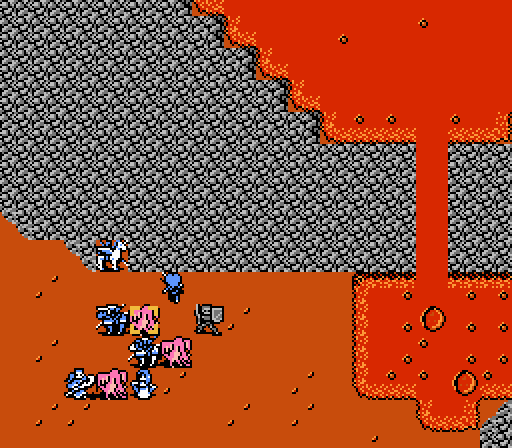
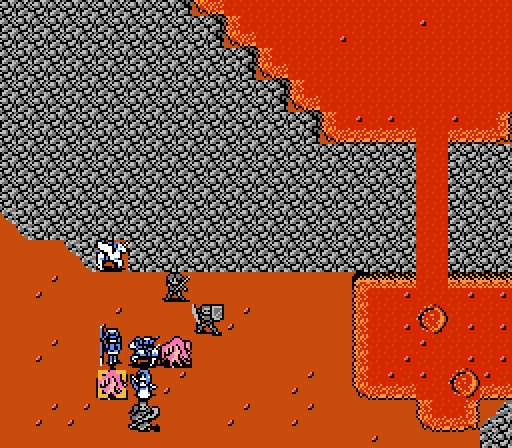
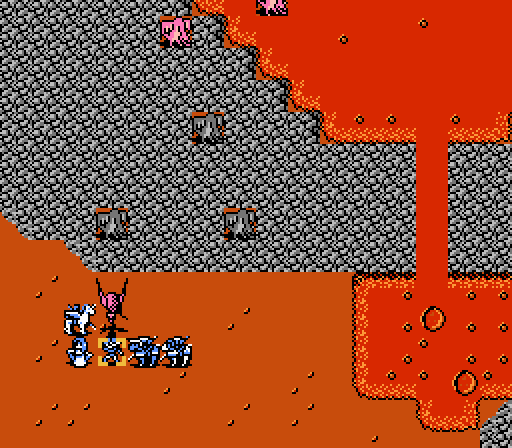
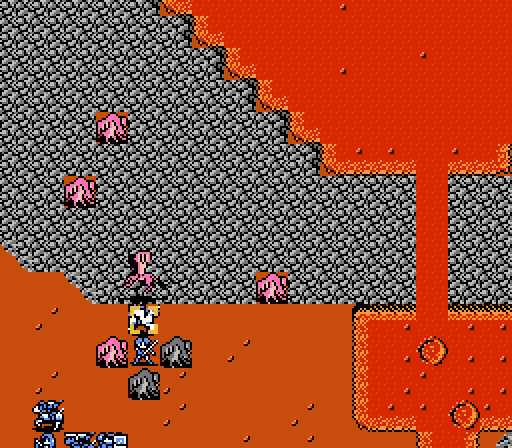
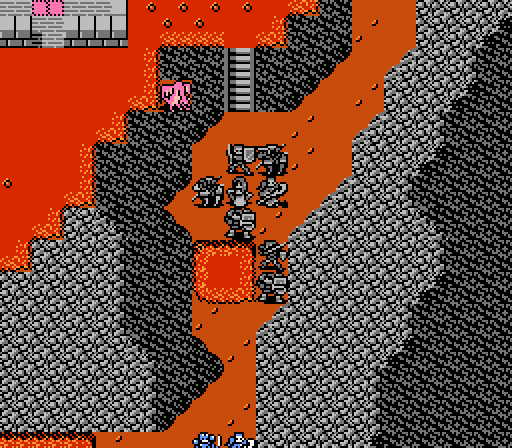
After I take the time to try and make a stronger southern group, more dragon zombies creep on Alm. Remember, this whole update started with Celica being forced to watch Alm suffer.
And we're up to ten dragon zombies now. Eight of which will be headed for the southern group. Joy. At least I was smart enough to put Dyute in the southern group this time.
Turn 1
Dyute is attacked first, but no sweet counter-kill for her this time.
Seriously eight dragon zombies go south. Where I can only place five units.
Claire's an easy choice to swiftly eliminate an enemy, and she doesn't have to worry about getting swarmed since her Defense is higher than others nearby.
Claire is saving my ass in this whole update.
Dyute is close to another level so she grabs the Angel Ring from Claire and sits waiting to be swarmed next turn.
Cleive and Matilda form up to guard Teeta in the corner.
And Force is sent down to help out the southern group as well. I have one main strategy down there - Dyute and Cleive each have 10 Defense, so will be the primary targets of any dragon zombie attacks. Dyute has the Angel Ring so can counterattack to her heart's content (as long as her HP holds out), while Cleive has the Holy Shield so can draw the dragon zombies into scratch battles that don't provide much XP. So Force is sent to be an extra high-Defense body that won't distract the enemies.
I don't have as much of a plan for the northern group, but there are only two dragon zombies there so I'm mostly just hoping it works out. That group is mainly made up of units without much XP so that they won't have to worry about needing the Angel Ring.
Turn 2

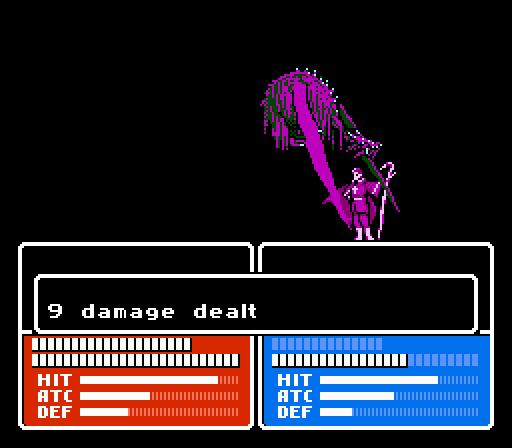
A monster level 9 dragon zombie is the first to attack Dyute, with a capped 52 HP. She dodges the attack and gets in two strong counterattacks but still leaves a lot of HP behind.

The mage drawing in the northern dragon zombies is actually Gray for this battle, because Ryuto is too close to gaining a level. Gray's not as good at it, taking two attacks from a slightly higher-level (and thus faster) dragon zombie.

Dyute does a bit more damage to a dragon zombie that is "only" level 5, but they're still giant HP soakers.
Claire is attacked by a dragon zombie that can't get to Dyute or anyone else. It ends poorly (for the enemy).

The dragon zombie that had initially attacked Dyute, does so again. He doesn't survive another round.
Unfortunately that opens up another slot for the next dragon zombie to also go after Dyute. She's running low on HP now, but fortunately she doesn't counter-kill this one so she's fully blocked off for the last attackers.
The final two dragon zombies here go after Cleive and Claire, respectively. Cleive stands there like a wall while Claire racks up another kill. Only four enemies left in the south.
Finally on the player phase, Claire starts off by wiping out the only full-health dragon zombie in the area.

Teeta uses Physic to give Dyute enough HP to survive a couple more attacks. Dyute then turns around and zaps the high-level dragon zombie to atoms. Just two dragon zombies left in the south, and Dyute has enough HP to take attacks from both, so that battle's practically already won.
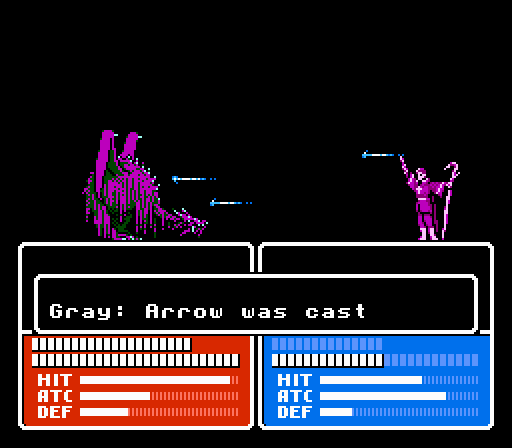
The north isn't going to be as easy, despite the numbers being on our side, since I sent the Angel Ring and all of our best units south. But the turn starts well, with Gray softening up a dragon zombie with Arrow and then Zeke using the Holy Lance to grab the kill. As a third-tier unit Zeke is only getting 11 XP per kill here so he's actually in a good spot to clean up.
Silk is tucked away, leaving Gray exposed as bait again.
Turn 3
Gray takes another two attacks for the team. Would it really hurt him to land his counterattack, though?
Dyute counter-kills the remaining dragon zombies in the south, as expected.
She's actually very close to capping Power, which I didn't think would be possible in this playthrough, especially on a unit that only gets one promotion.
The last dragon zombie falls to the Gray-Zeke combination.
And that's three ambushes fought off. I actually did a bit better on this battle than on the second one, with the right lineup and strategy down south making all the difference.
Meanwhile, at the top of Doma's Tower....
 Follow me if you want to save him. If you sacrifice yourselves to Lord Doma, Alm's path shall again open up!
Judah's still a dick.
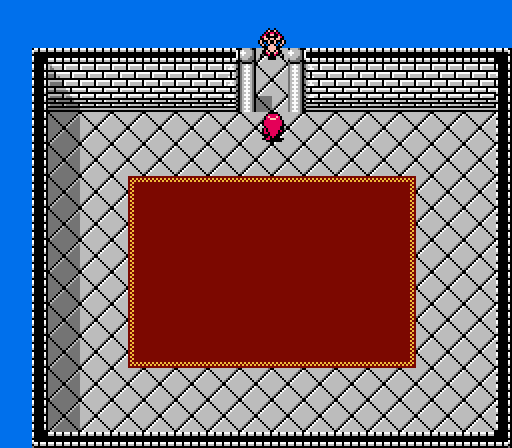
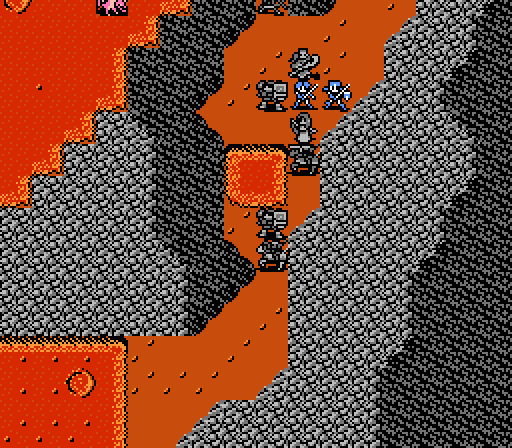
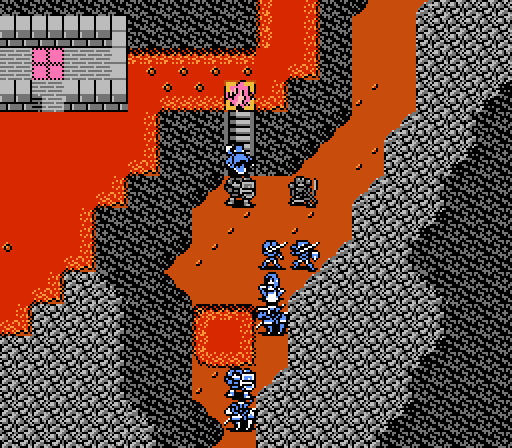
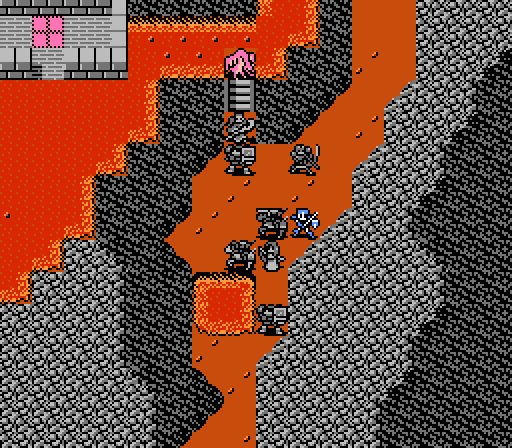
He walks through the opening, leaving the way forward open for Celica. There's no way out, so just go through the opening.
Music: Battle Final Map - Enemy
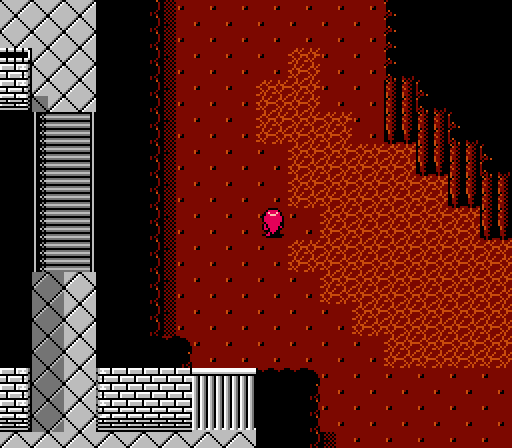
And Celica is apparently dropped/transported/??? into a cave. The music that plays here is actually from the final battle, Celica is just starting a bit early.
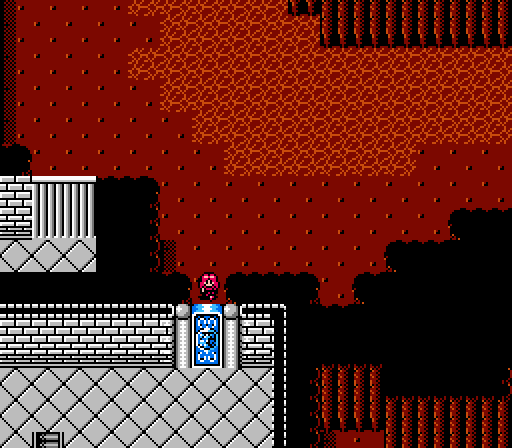
There's nothing to the north, and the door to the south won't open (that might be where we came from?) so the only way forward is to the right.
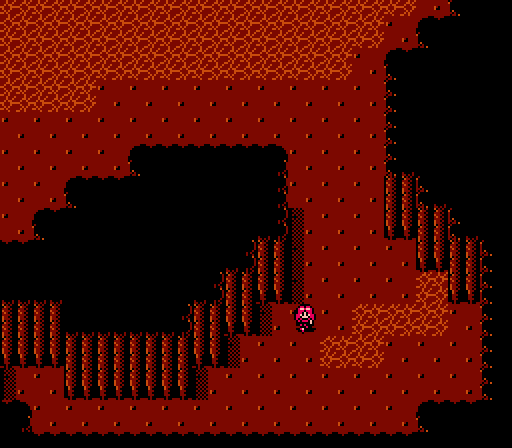
There's another side path to the southeast, but nothing on it. You could've at least put a treasure down there or something, come on.
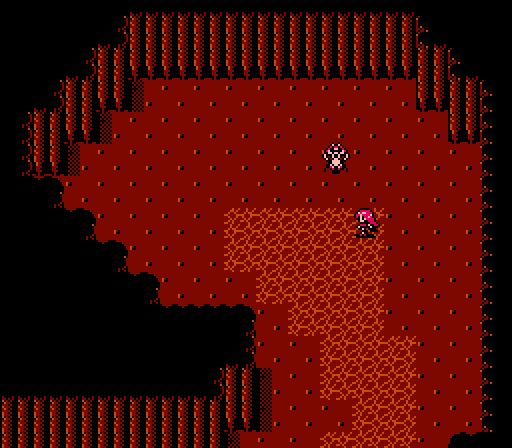
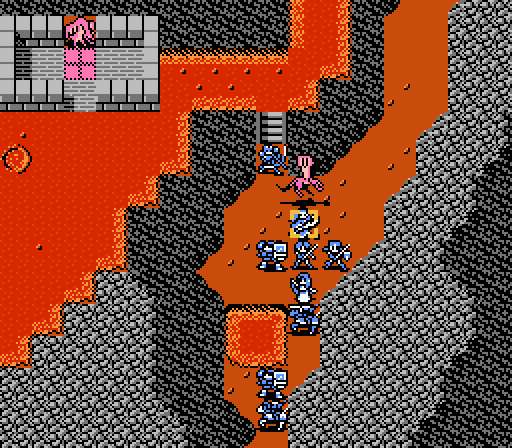
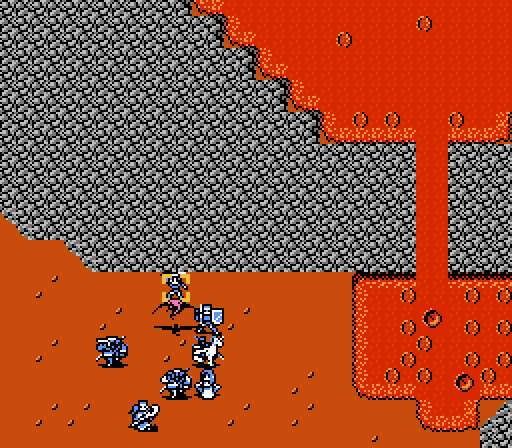
Judah waits alone in the northeast. Take the time to put your best ten units at the top of the roster and get your items straightened out, as you won't have another chance. Then talk to Judah.
Music: Battle Final Map - Player
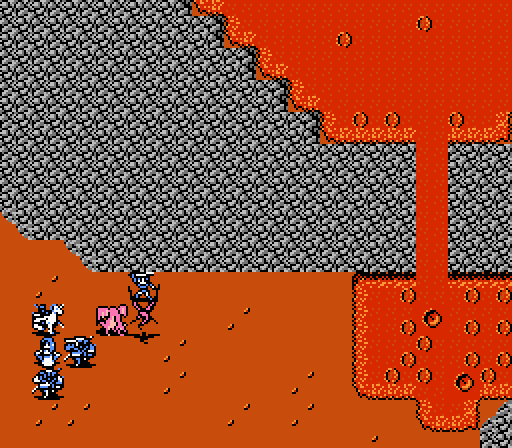
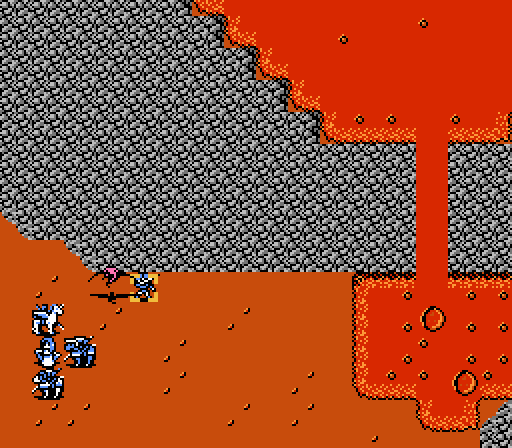
And Celica starts the final battle. She is surrounded by bigle monsters, with a healthy does of third-tier enemies waiting in the back ranks, plus a strange-looking unit we haven't seen before.
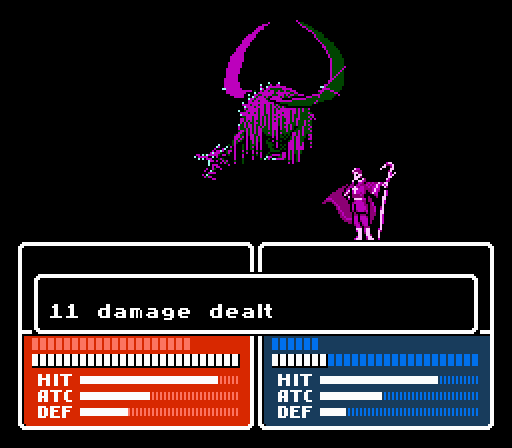
 This is Doma's Altar, our site of human suffering. Thus, I shall kill you slowly and painfully. Your pain will be Lord Doma's magnificent feast....
Bad guy motivations weren't particularly complicated in early video games.
The screen fades to black, and we're thrown back out onto the world map with Alm. The avalanche has been cleared away, and he's free to move again (in either direction). Three battles stand between Alm and victory, as far as he knows, while Celica is suffering at Doma's Altar.
There a couple different ways this chapter can play out. Our timing happened to be pretty good since we've been alternating updates between the two armies. If you decide to play Alm's half of the chapter first, though, you're in for a nasty surprise - he gets stuck at Dragon Crater until Celica reaches the top of Doma's Tower, and every time Celica moves on the world map, Alm faces another ambush. Potentially infinitely if Celica just wanders around without much urgency. If Alm's army is unprepared or hasn't been gaining enough levels - tough luck. Also, the number of dragon zombies in each ambush keep increasing after the third one. So if you played all of Alm's battles first, you just screwed yourself pretty hard.
Likewise, if Celica gets way ahead of Alm, she'll stay stuck at the top of Doma's Tower until Alm faces three ambushes at Dragon Crater, no matter how long it takes him to get there first, but that's a bit less of a downside. I think the optimal way to deal with the ambushes is to get Celica to the front door of Doma's Tower, walk Alm into the first ambush, and then have Celica clear Doma's Tower in one turn so that Alm is immediately freed. He might still have to face a minimum of three battles, though.
Next time:
Alm continues his mostly-unprovoked invasion of Rigel with a battle by a waterfall.