Part 67: Chapter 5, Part 4: Rigel Treasury
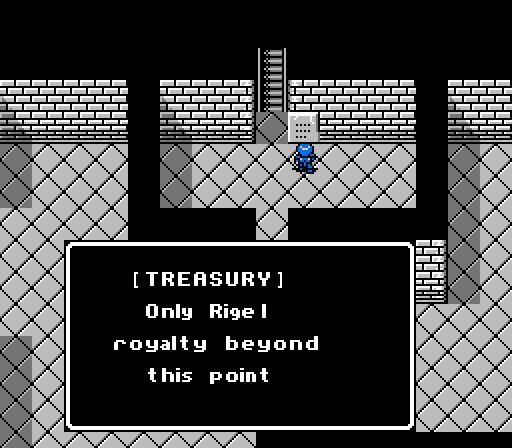
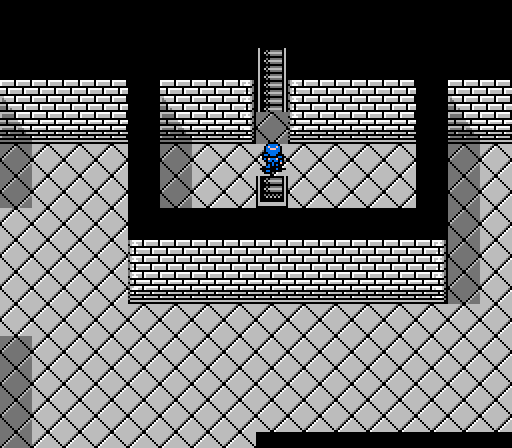
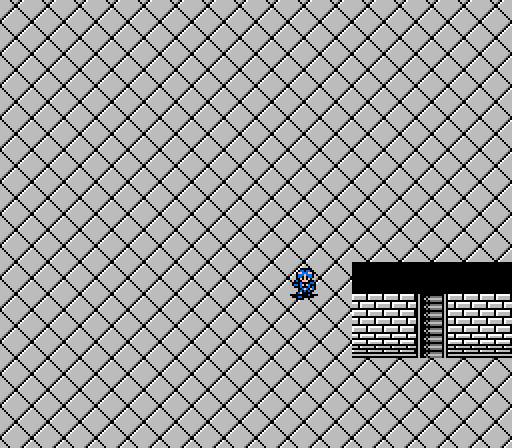
Time to enter the treasury. If you remember our goals headed in here, there were two. One was to rescue Celica. The other is to recover something from the treasury.

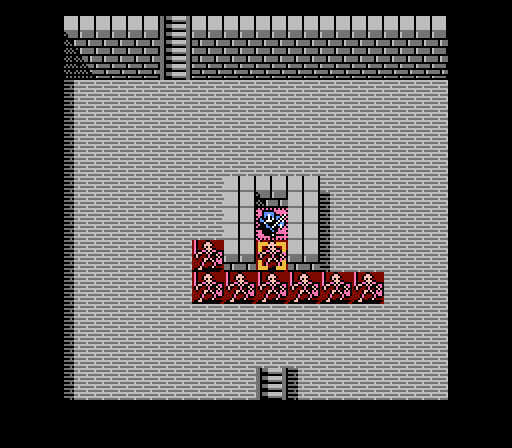
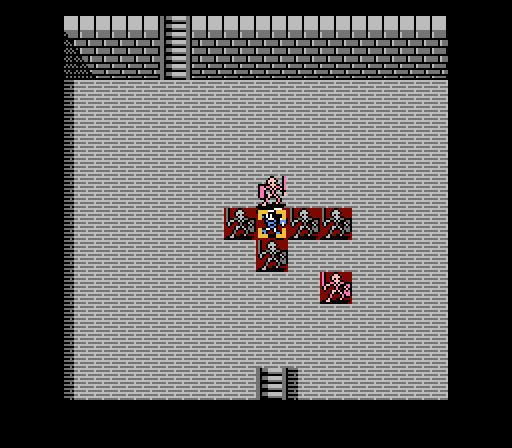
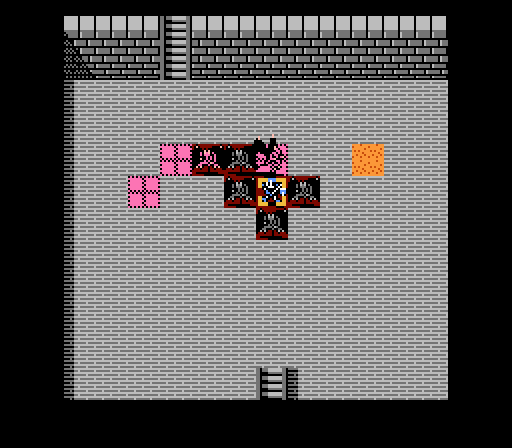
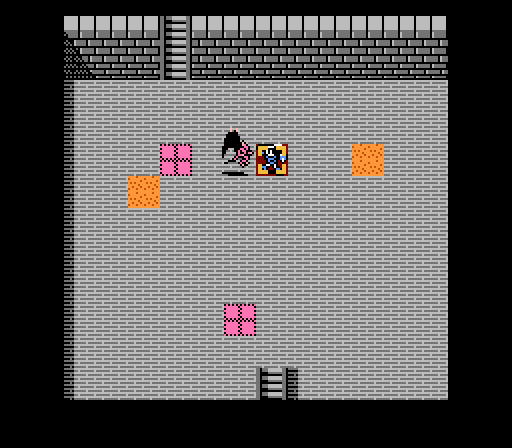
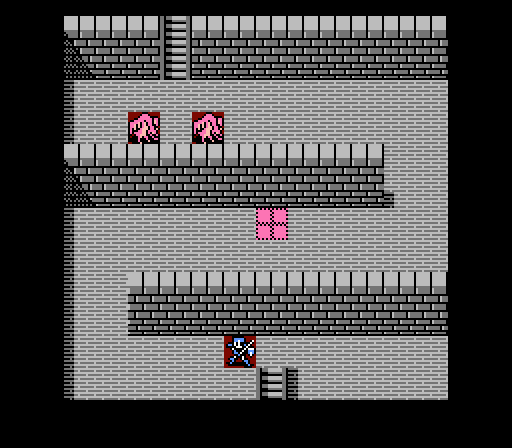
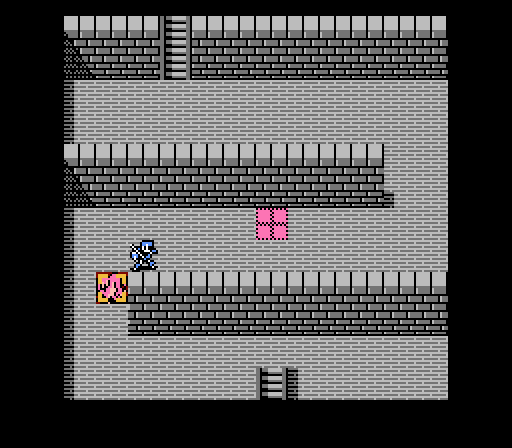
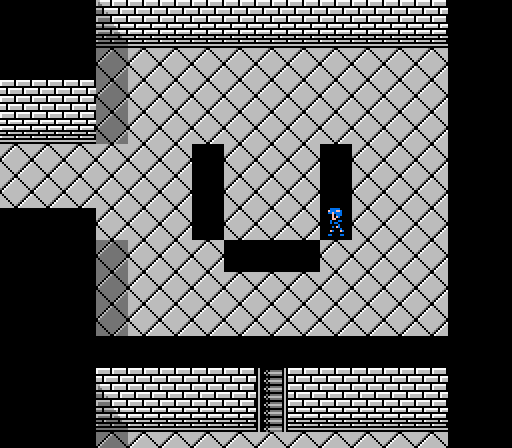
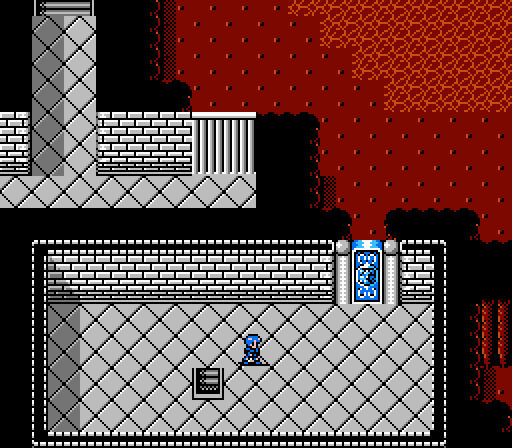
The sign's meaning is rather obvious. Alm has to get through the treasury's guardians on his own.

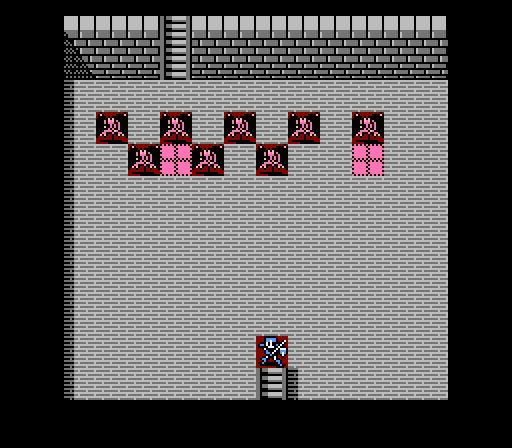
He gets to fight off ten wights, which are powered-up skeletons. Not really much of a threat to our powered-up Alm, especially with a handy choke point and recovery tile.
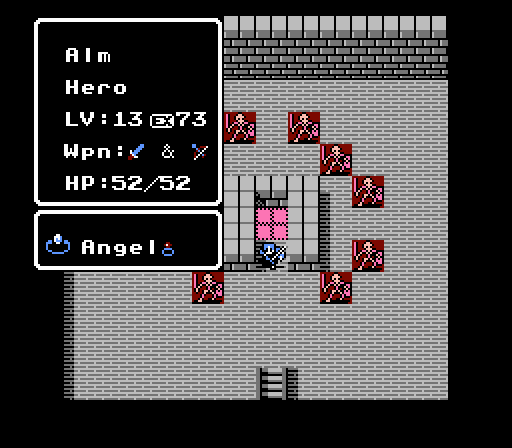
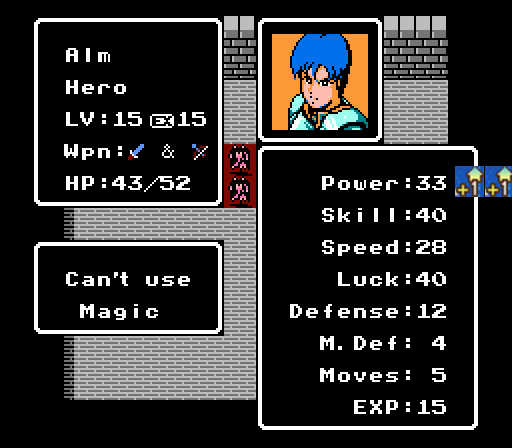
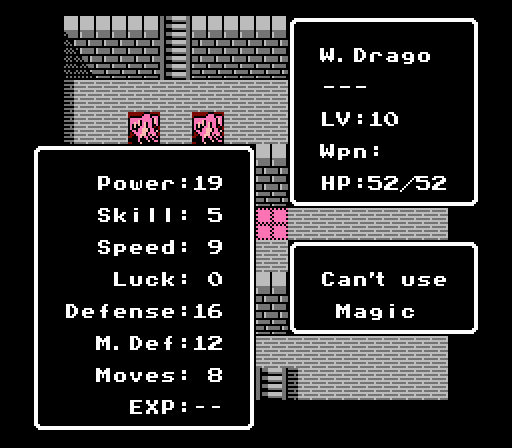
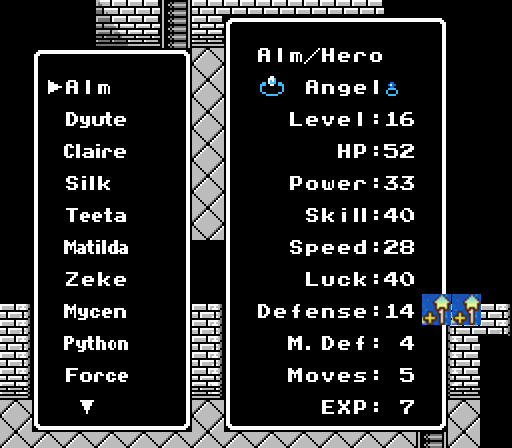
I've given Alm the Angel Ring here since he's going to gain a level and I might as well. Other strategies - give him the Regal Sword and with enough Power he can one-round each wight, counter-killing them all pretty quickly. But the real broken strategy, especially if your Alm is weak, is to give him the Holy Shield. It will give him +13 Defense and heal for 5 HP each turn, trivializing the entire update.
Turn 1

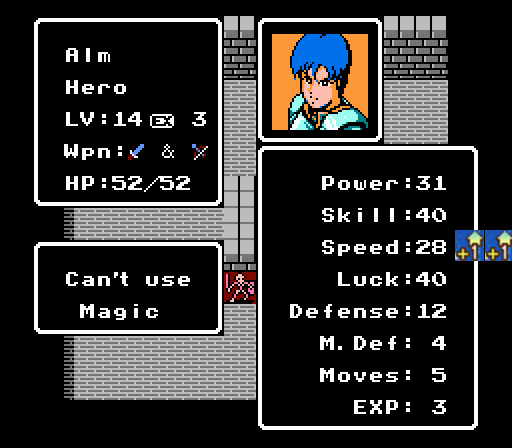
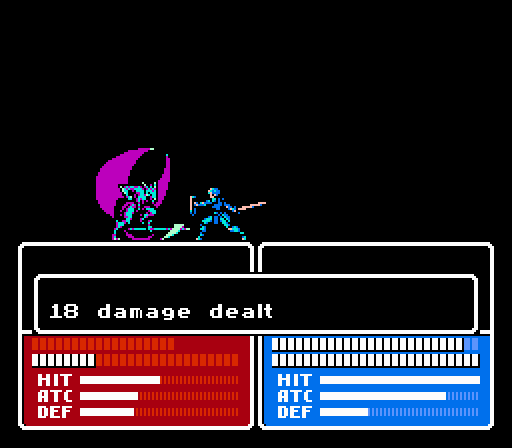
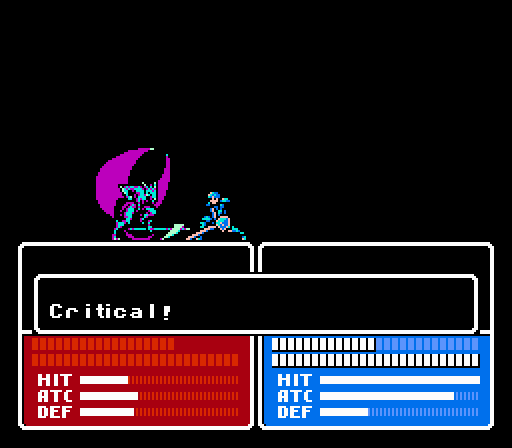
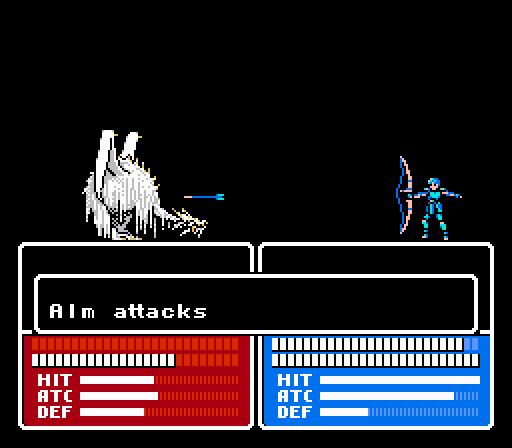
Alm has a bow, remember, so he can stay in the chokepoint and still take a shot at one of the wights. He's doing 17 damage with each attack, so needs three attacks (or one crit) to kill each wight.
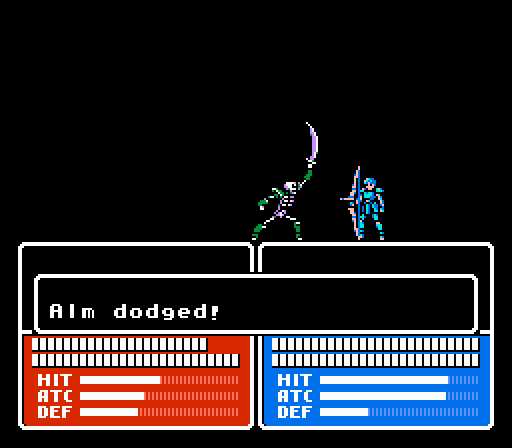
The wights predictably surround Alm, but only one can reach him at a time. Each wight is only fast enough for a single attack, only strong enough to do 4 damage, and only accurate enough to land a hit about half of the time. With the Angel Ring keeping Alm healed each turn, he won't be in any danger here. Though it may take awhile to clear out all the wights one turn at a time.
Turn 2
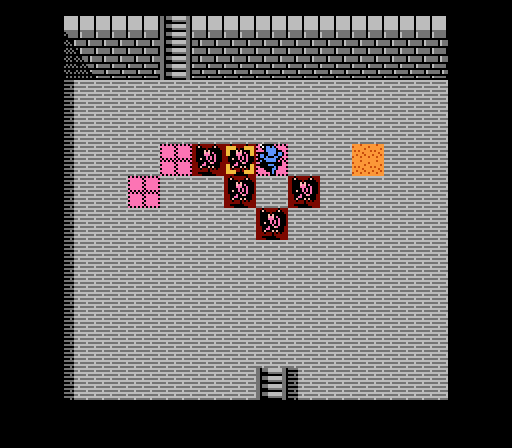
Alm moves onto the recovery tile for some extra evasion and finishes off his attacker from the previous turn. Another wight moves in on the enemy phase for a futile attack.
Alm counters with a crit, which really just means another wight gets in for an attack, speeding up the battle by a turn.
Turn 3
Alm takes out his attacker again, we're 30% done.
He already won't have trouble double-attacking anyone for the rest of the game, but this gain also boosts his evasion a bit so isn't wasted.
Another dodge and double-counter for Alm on the enemy phase.
Turn 4
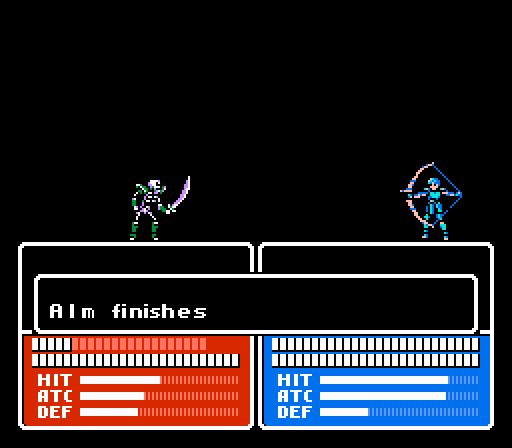
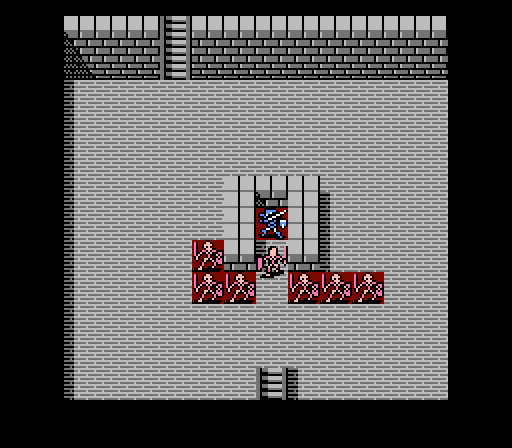
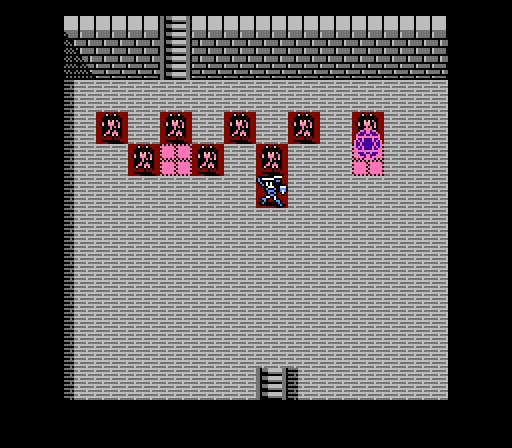
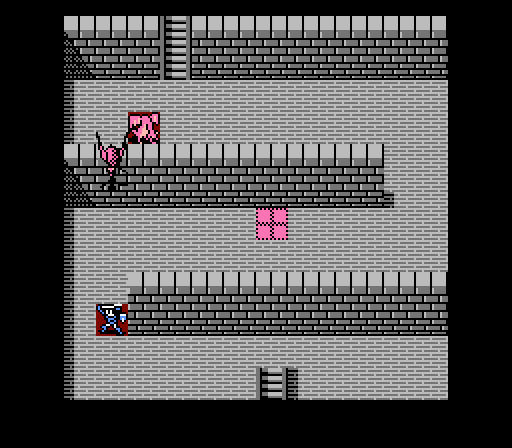
Alm's going to counter-kill the wight in front of him anyway, so he spends his turn softening up a different wight instead.
_-_Chapter_5_Part_4_Battle_1.gif)
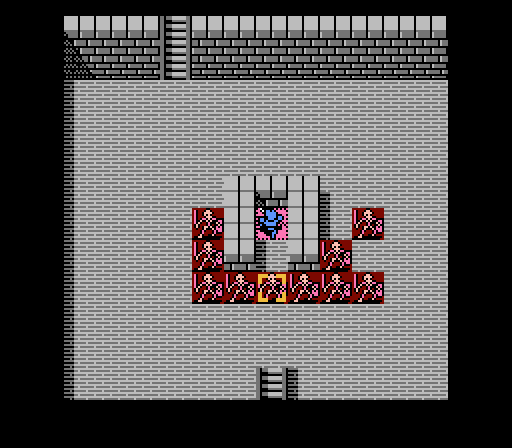
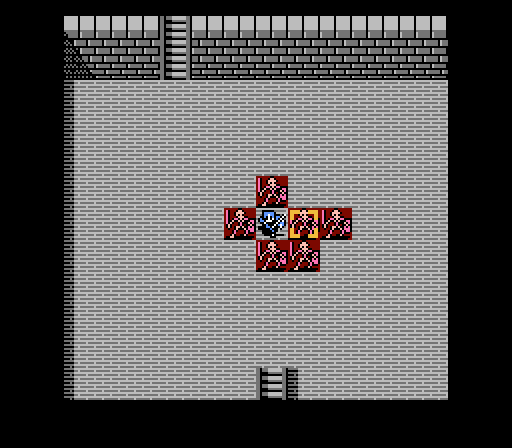
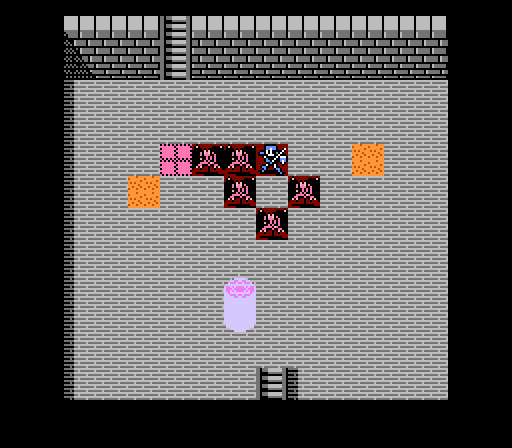
I'm not sure what triggered this bullshit. Maybe it was being surrounded and leaving the wight in front of Alm alive. Maybe it was always supposed to happen this turn. But suddenly Alm's protection is gone and the wights are free to go after him. To add insult to injury, the recovery tile moved from under Alm to under the wight next to him.
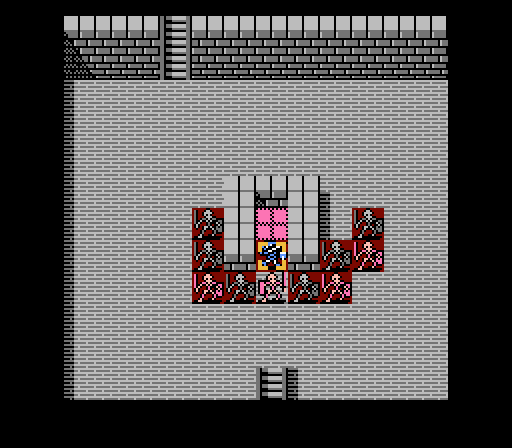
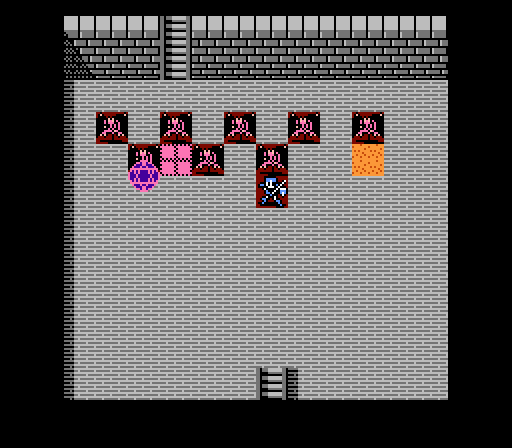
In this case the attempted screw job just lets Alm counter-kill the wights that much faster. Again if you have any trouble with this part, just give Alm the Holy Shield before the battle and the wights will only do 1 damage each against 5 HP of healing per turn, so Alm will be essentially invincible.
Turn 5
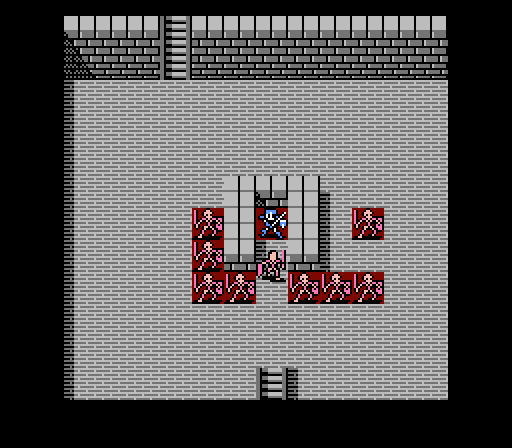
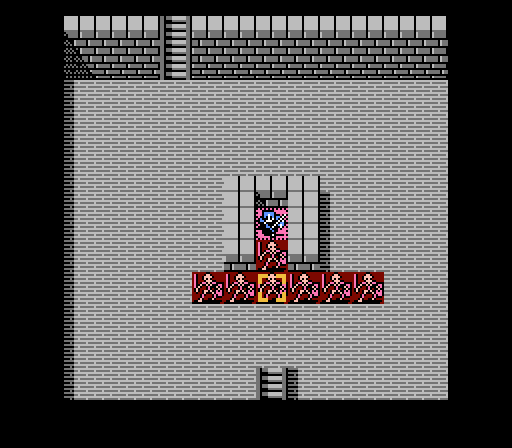
Murder one wight on the player phase, counter-kill four others on the enemy phase.
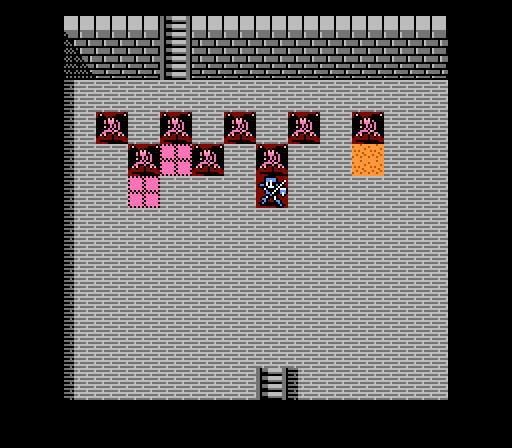
Turn 6
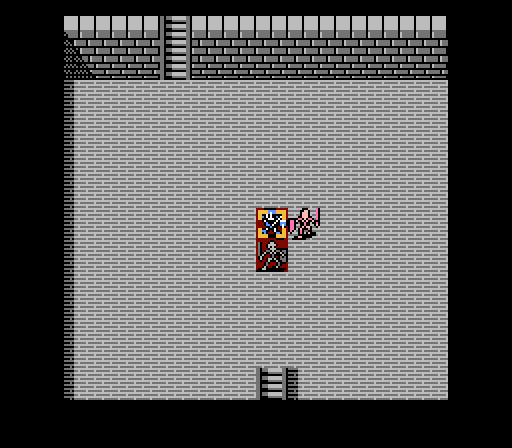
Alm moved away to get the last wight off the healing tile, then counter-kills it.

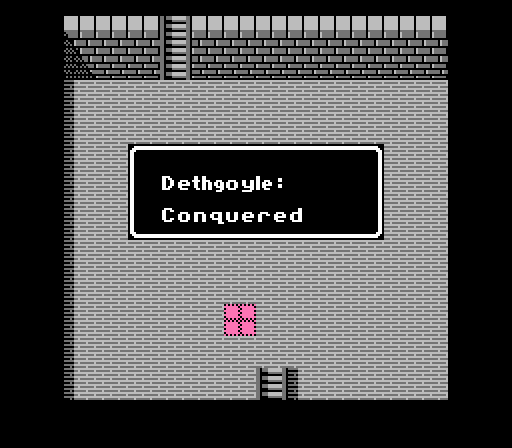
No sweat.
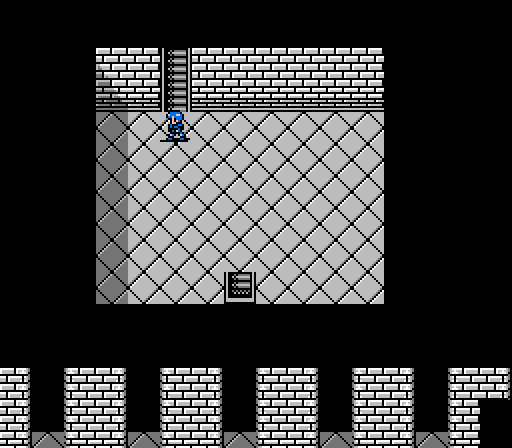
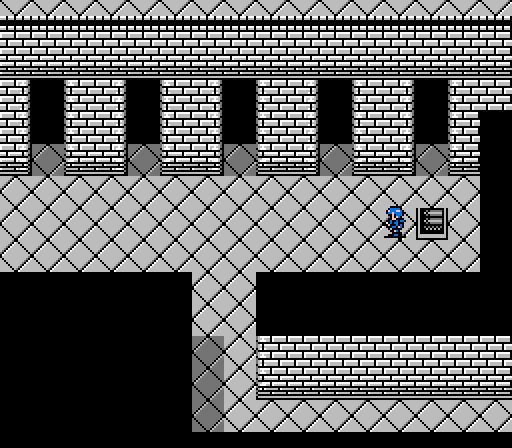
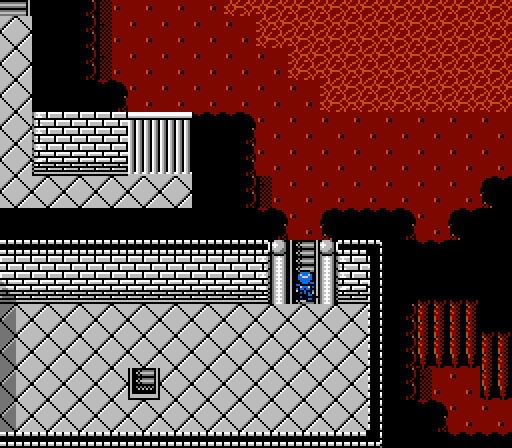
Alm has some more climbing to do. Guess what that means?
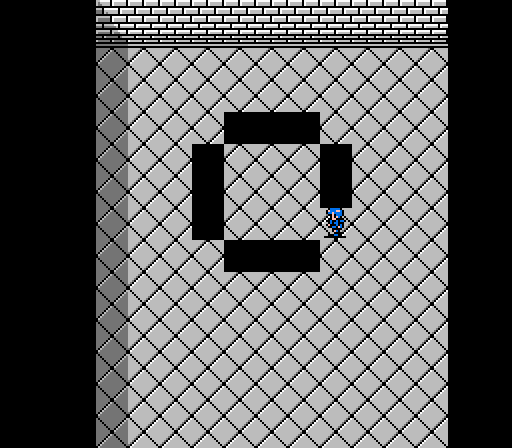
Yes, it's another battle. There's going to be one for each if the three main floors of the dungeon. But they're all pretty short so I'll throw them all into this one update.
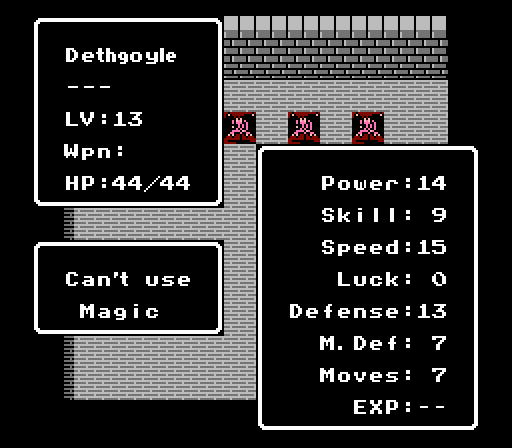
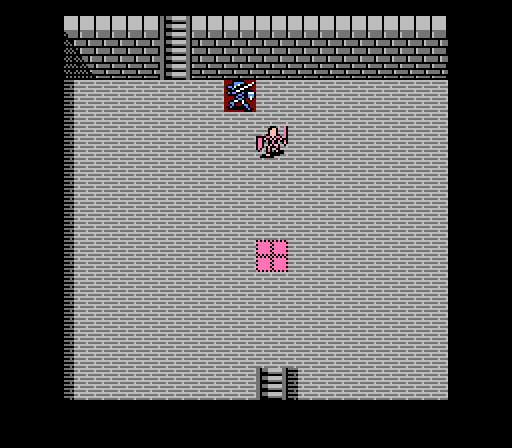
This time we have slightly upgraded gargoyles, creatively nicknamed deathgoyles. They're faster, but not fast enough to matter. Really since they have less HP, less Power, and less Defense than the wights, this battle will be even easier for Alm. Plus, there's only eight deathgoyles, versus ten wights in the last battle. No cover, but the cover was a lie anyway.
Turn 1
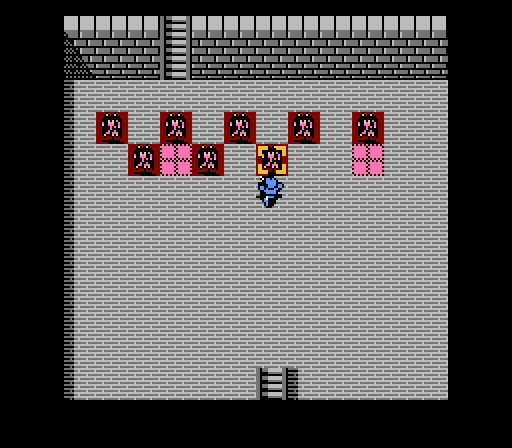
Alm has 52 HP. The deathgoyles can only do 2 damage a turn to Alm each. No reason not to be aggressive here.
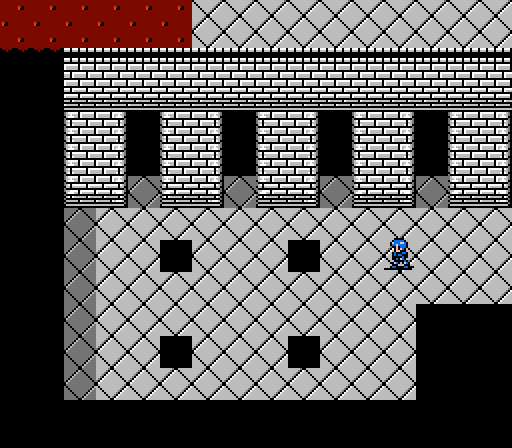
Something teleports in over the recovery tile.
No, wait, it just turned into poison.

Another recovery tile appears in a random location instead. A new gimmick for the battle - if you park on a recovery tile, you get a 1/3 chance of it turning to poison before the next turn.
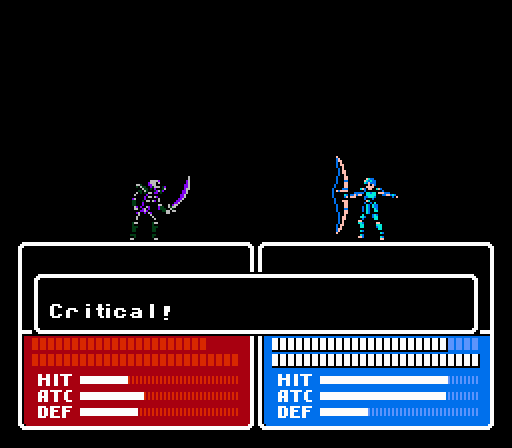
The deathgoyles swarm Alm on the enemy phase, and Alm counter-kills three of them.
Alm gains another level, this time with Power.
Turn 2
I hadn't really figured out the pattern of the tile changing yet, so I put Alm on the recovery tile to weaken another of the deathgoyles. I think only one of them is at full health now.
The new recovery tile turns to poison, and another recovery tile appears back where Alm started.
The four injured deathgoyles immediately suicide on Alm, leaving just the lone full-health one.
Alm doesn't want to wait for his turn to end this battle.
Two down, one to go.
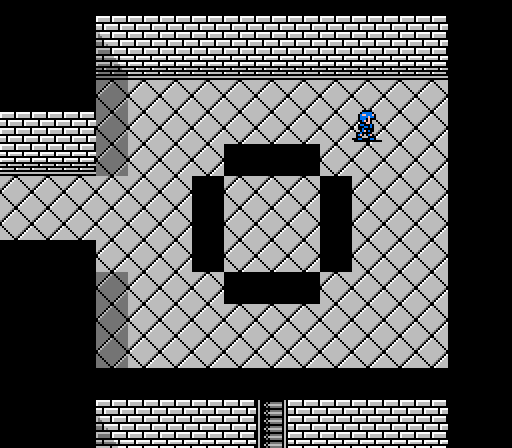
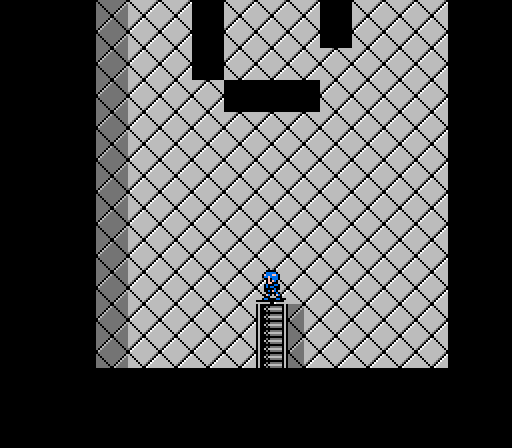
I promise these stairs are actually the next floor, even though it looks the same as the prior floor.
This time Alm is faced with two white dragon zombies, a small upgrade over the regular dragon zombies. They'll do a little more damage to Alm, but there's only two of them.
Turn 1

I'm not sure what the gimmick to this battle was supposed to be, if any, because the white dragon zombies immediately flew over the walls and engaged with Alm.
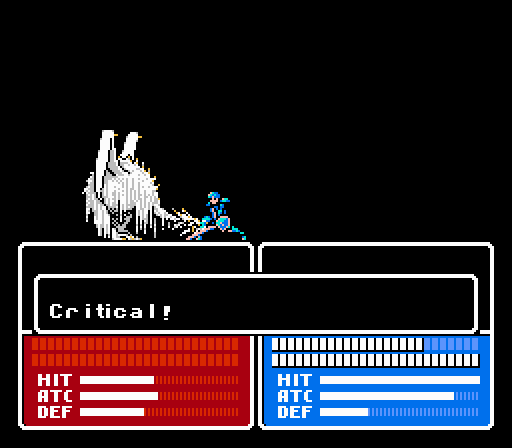
One of them did not survive the attempt.
Turn 2
Alm quickly finishes off the second enemy with his bow.
He shores up his main weakness, gaining Defense.

The third battle was probably the easiest of all. Really this whole update serves as a nice contrast with the rest of the game. We started out with skeletons, gargoyles, and dragon zombies as challenging enemies in the first couple chapters. Now at the end of the game, a horde of upgraded versions gets blown away by Alm alone, with him never really being in any danger.
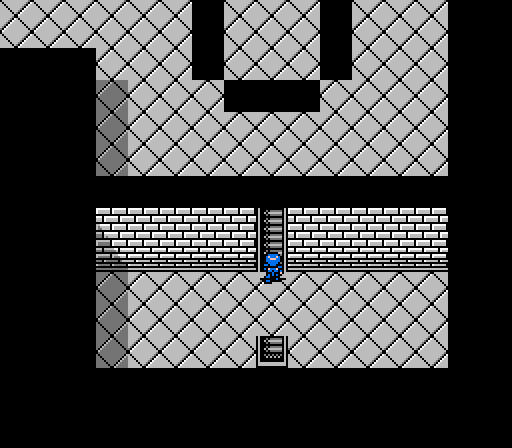
One more set of stairs....

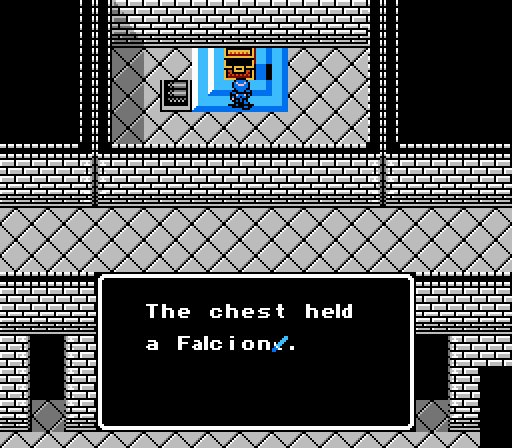
And we finally reach the blocked-off treasure chest from the start of the chapter. Inside is the Falchion, the holy weapon capable of striking down the earth god Doma. It's a bit stronger than the Regal Sword at 10 Might, but has just 80% Hit Rate, and no Crit Rate. It does get an effective bonus against monsters, plus a special effect for the final boss.
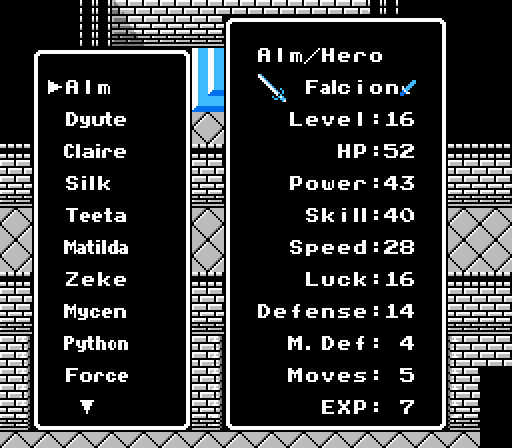
With the Falchion in hand, Alm's Power actually creeps up over the normal cap.
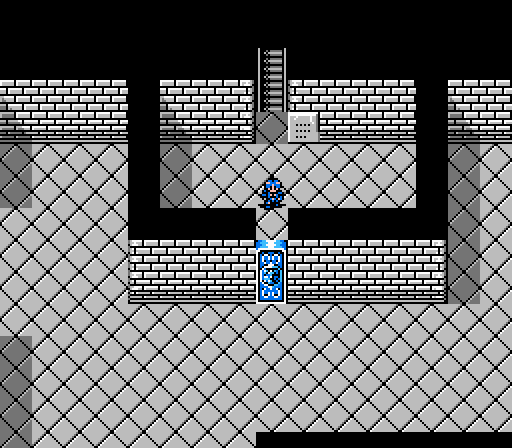
Time to backtrack.
We have to fall through to the basement, then climb all the way back up.

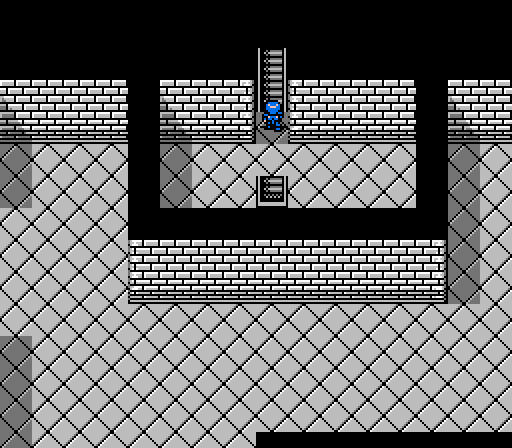
Back at the top, fall through the upper-left hole to stop on the first floor again. Really the most efficient path through this dungeon is to fall through the lower-right hole to hit the third floor and the treasury right away.

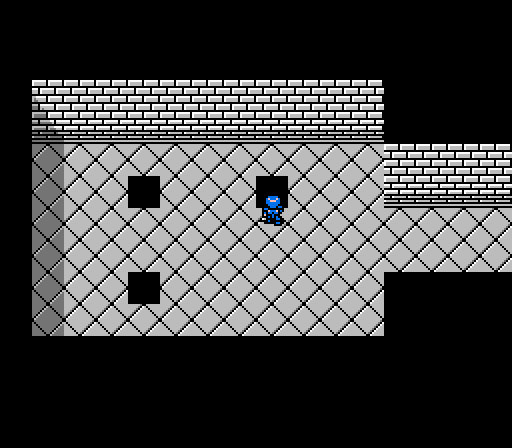
The battles in the final dungeon can't be repeated, if you were hoping for some last-minute grinding.
This single tile will let you fall past the second floor and stop at the third floor. Notice how there is no path to the left, where the treasury was located. Also notice how we didn't actually have to cross the second floor, making that battle entirely optional if you know where you're going from the start.
Another set of stairs leads all the way back to the top.
And finally Alm has reached the final battle. Just head through that door....
Next time:
Alm coldly kicks ass in the final battle.