Part 3: Map 2: Wings
Map 2: WingsOkay! Okay. This is, uh. This is the stupidest part, in terms of dialogue. It starts off okay but then oh man. You'll see. It is, however, quite a bit more tactically interesting than the fog map... Not that it doesn't have its own set of trial and error nonsense.
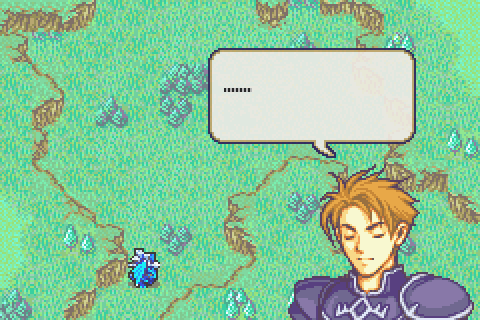
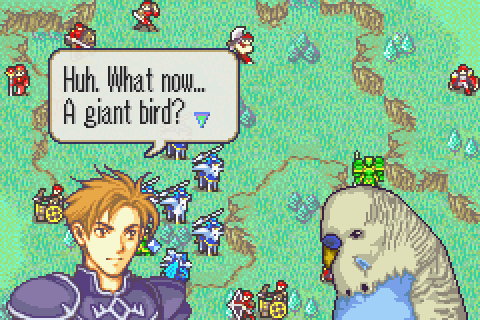
 ...Blast. This armor... This wyvern... I must still be--
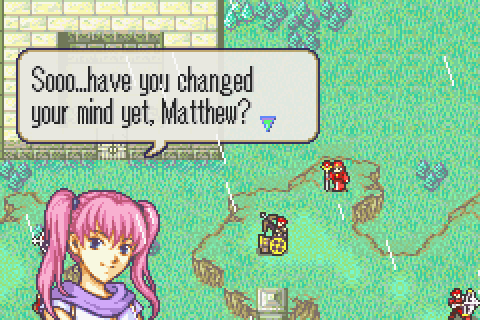
 And I'm not dead either! Serra! Get out of my head. I'm tired of your games. Oh? So you want to be my vassal now? Not a chance. Then too bad... But since I'm such a nice person,
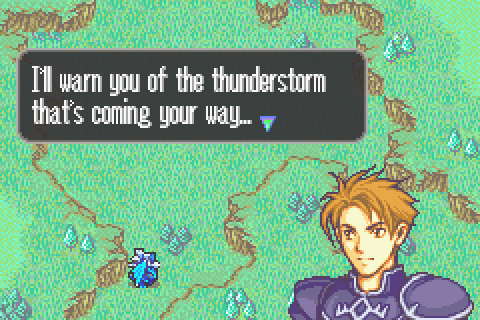 Good luck! Thunderstorm? That doesn't sound nice at all.
 Ah, peace! Lower your weapon, Matthew! I'm your conscience! My what...? Yes... Dreams can personify lots of random things, you know... Though "conscience" might not be the best word to describe me. Hm. I suppose I'm more like... the guardian of your sanity. ...... Don't worry, none of this is supposed to make sense. You are dreaming, remember? It's my job to remind you of that...
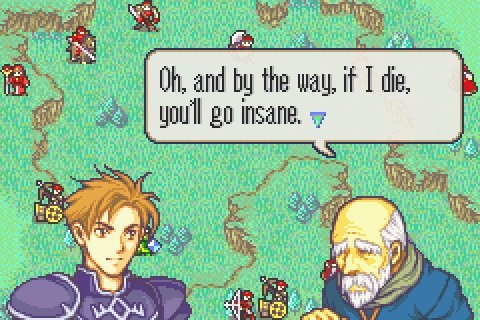 So please protect me. Great... Just what I needed to hear... I also came to warn you that your memories are in danger... My memories...? They're personified like you, aren't they... Yes. They've all been trapped in a gas chamber of some sorts. Only I have the keys to unlock the chamber... but I can't reach it without being killed by those snipers and mages! Please, you must escort me to the chamber, quickly! If you don't save your memories in time, you'll forget who you are,
 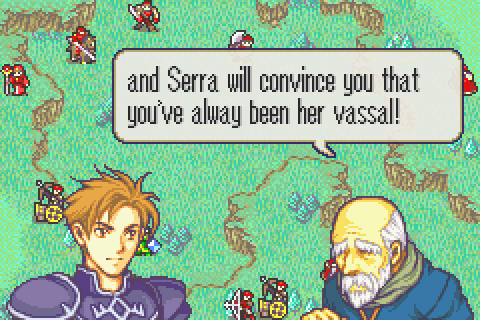 Really... What kind of twisted dream is this? It's making less and less sense by the minute. You must remember...! Dreams like this aren't supposed to make sense, Matthew. Point taken... But how am I supposed to get past all those archers and mages? I'm a wyvern knight...
 I know that voice...
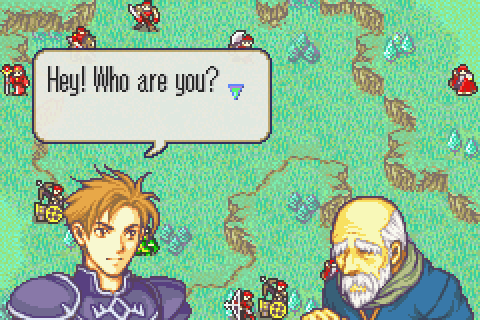
 If it isn't the scrawny thief boy from the war! Ha! About time he wore some real armor! He might have some fight in him after all! Hey birdie, don't worry about me! Fly ahead and guard that boy!
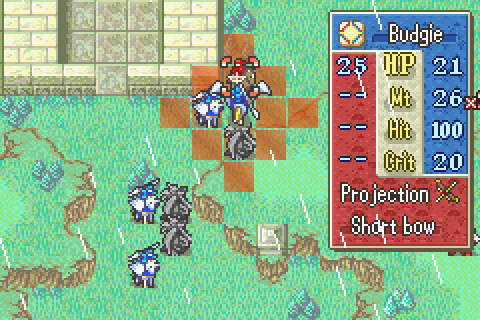
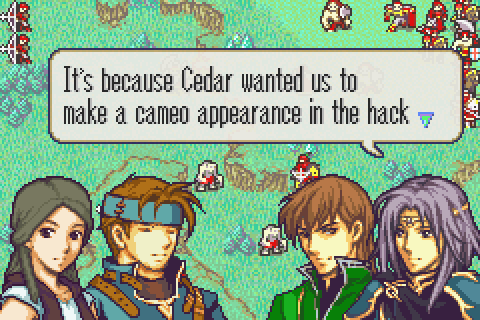
 I'm a budgie, actually. Your knight friend got himself lost in our world, so we decided to escort him back to a place called "Caelin." I don't think we came to the right place... But...
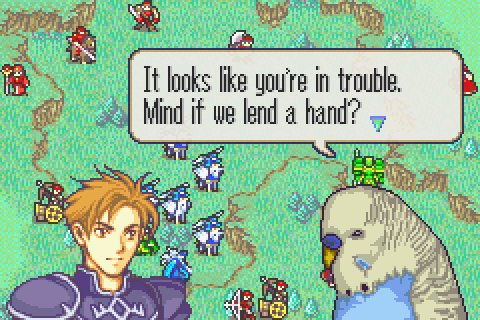 Yeah, that would be nice. Thank you... You're welcome.... Unfortunately... All my soldiers class changed to fliers when we stepped into this dimension... Also, I have a pegasus map sprite because Cedar fails at spriting... And breaking the fourth wall is legal in dreams, apparently... ...... One more thing.
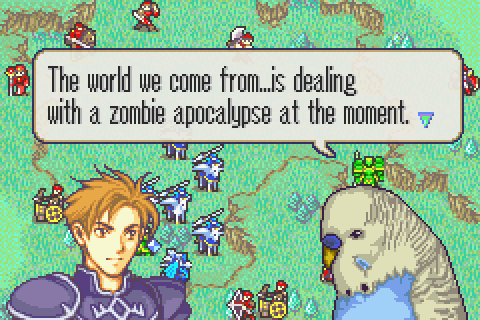 Some of the zombies followed us here... I hope that's alright with you. You're joking.
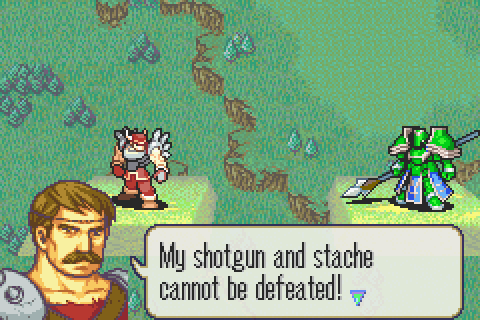
 My stache can control zombies! It's just that epic! Muhahahaha!
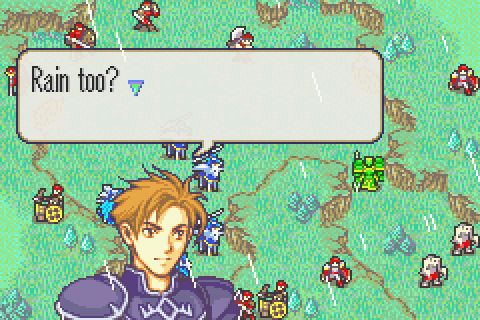 And here I was, thinking the situation couldn't get any worse... ...... Darn... I shouldn't have said that out loud...
 Someone... please... Save us...
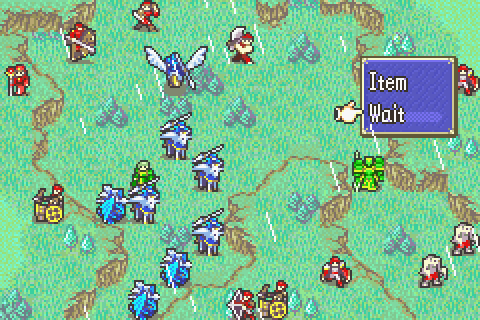
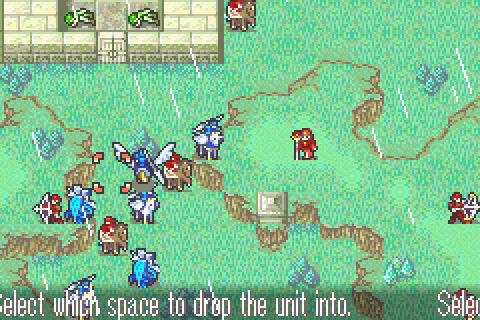
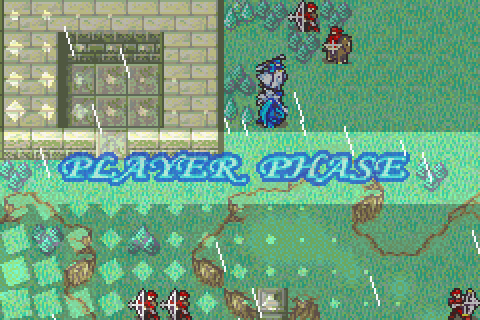
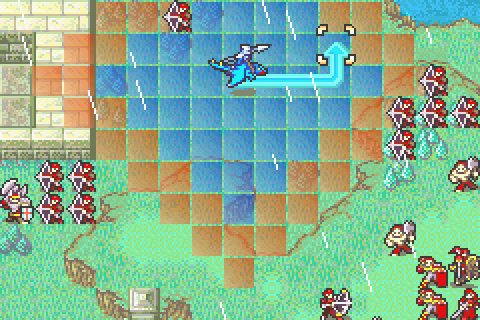
So here's the gimmick of this map. You need to navigate through a bunch of archers, but everyone you have flies. And you can't dawdle, because Moulder and his zombies will break through Wallace after three turns. There's also the time limit on the memory, but... That's not really a threat. But, it's always raining on your turns and clear on the enemy turns, so your movement is halved and theirs is not.
In general, the enemy units aren't too big a threat, except for Moulder. Your units are all good and can survive at least one arrow. I'll get to their stats soon, but first,
So... What happens if we say yes to this?
You finally agreed to be my vassal! It's about time! You have to address me as Lady Serra from now on, and do whatever I tell you to do! Got that? Good. Now all I have to do is wake you up!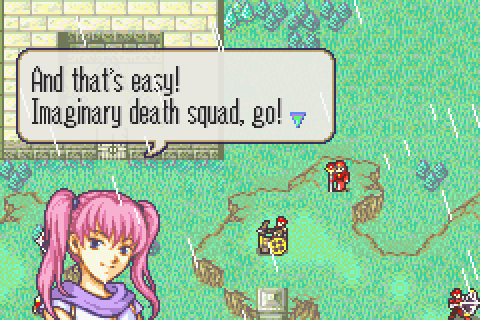
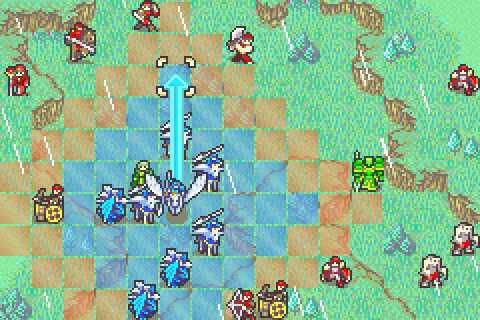
And then 8 of these guys spawn, one for each corner and side midpoint on the map:


They come for you on the next enemy phase. Though you can greet them early, if you want!
Video - A Bad Idea
(Too big to reasonably embed as gif)
But, I mean, answering no to that.

 You're right, Jasmine! Looks like someone gonna get beat up real bad!
 Let's watch, Paul! Oooh! That's a good idea, Jasmine!
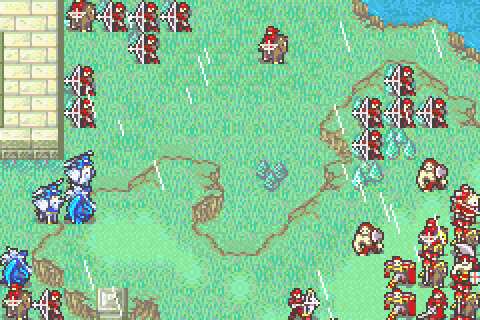
So, a lot of troops have just appeared on the right mountain range, to keep you from just flying out of the canyon. They're a much bigger threat than the units to the left; they'll really wreck us up, if we let them. We won't, though.
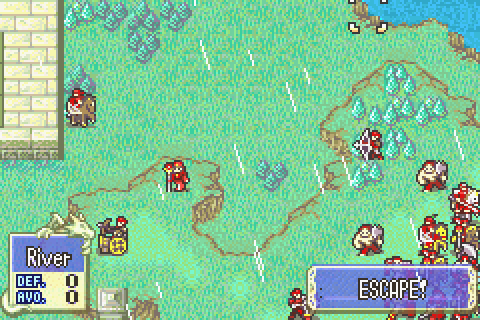
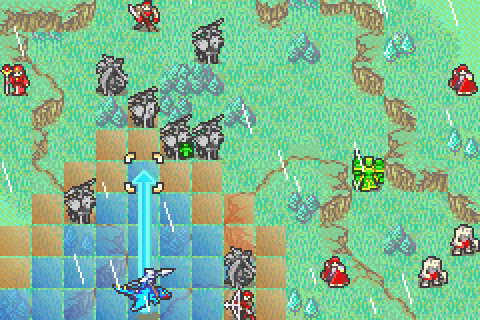
This is the top right corner of the map. Again, I'll be referring back to this screenshot significantly later. For now, though, note the river.
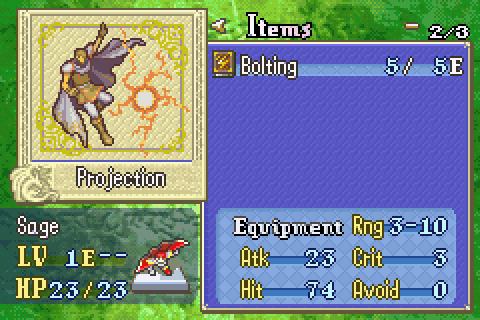
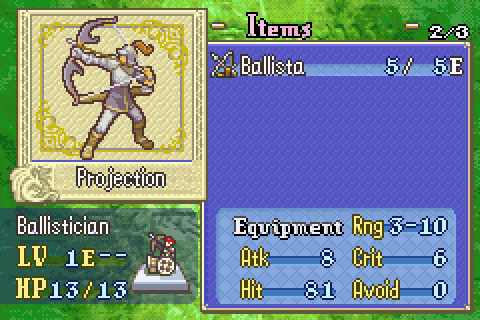
Note the hit rates on these guys. Two bolting users and three ballisticians are on the map, and they'll all usually miss our guys, but,
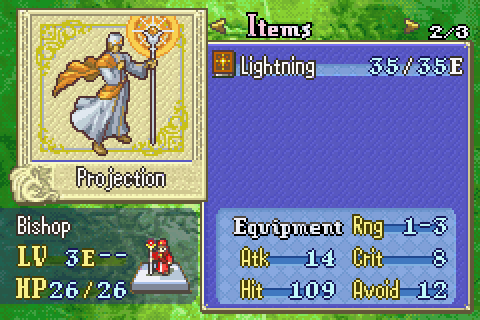
Don't worry, the bishops don't have physic, just Lightning. Thunder and Lightning have three range for some reason.
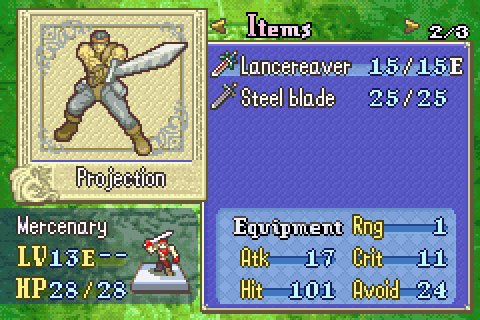
The one mercenary has a Lancereaver, so we'll be positioning our party to keep him from hitting anyone with a lance in the first turn.
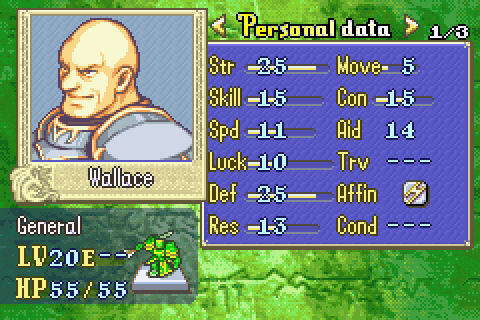
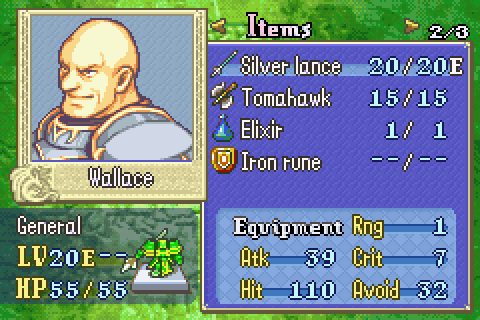
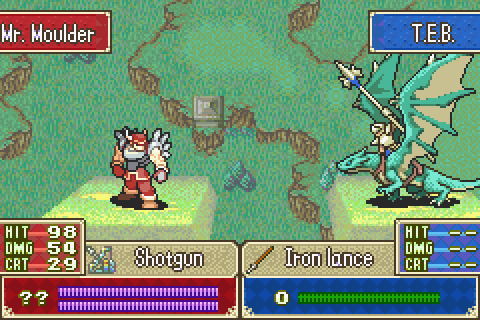
Wallace has legit stats, an Iron Rune, and an Elixir, so it'll take three turns for him to go down.
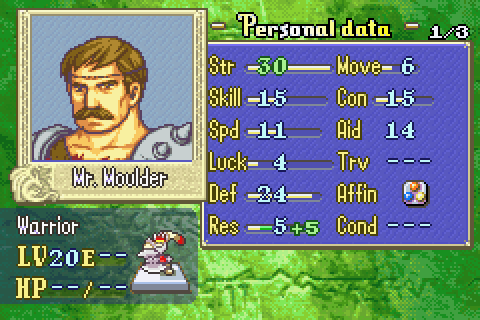
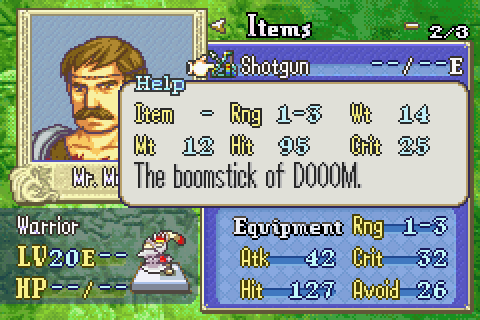
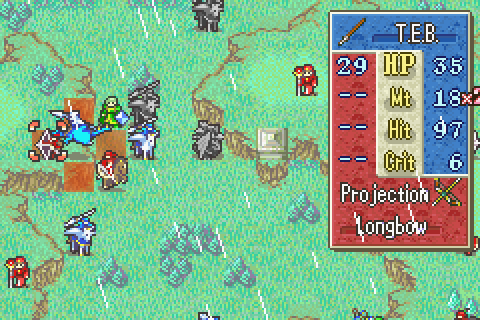
Moulder will effectively deal with anyone in his way. I omit his personal flavor text, because sigh.
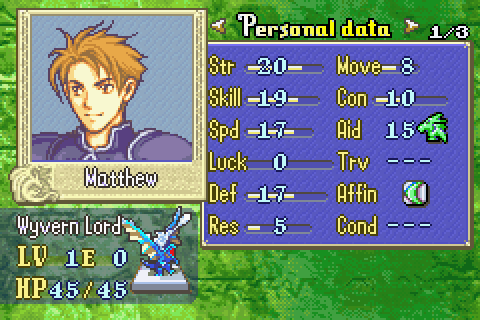

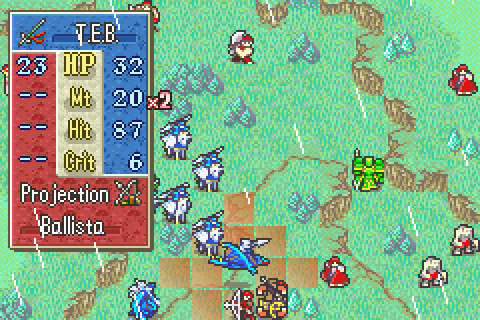
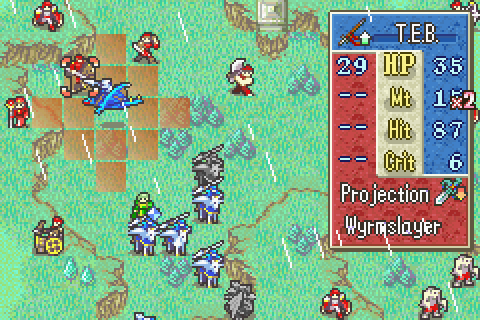
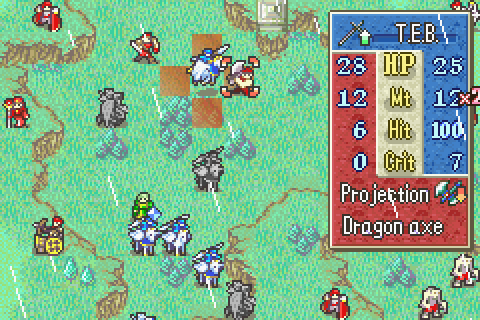
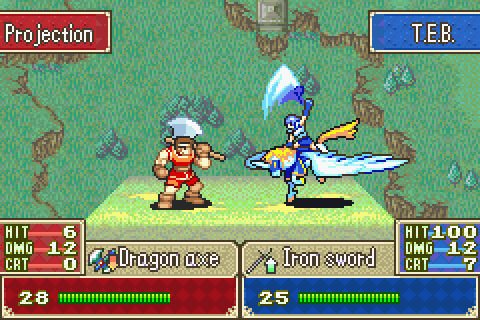
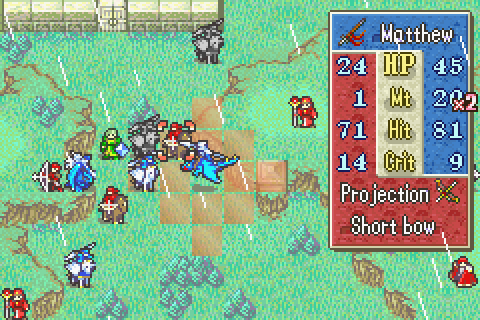
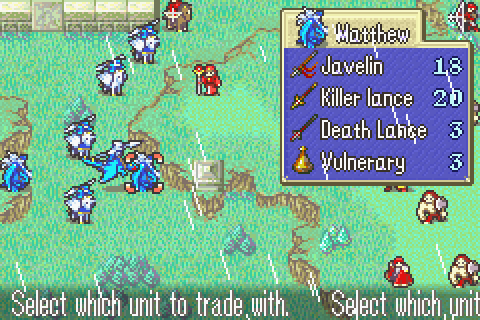
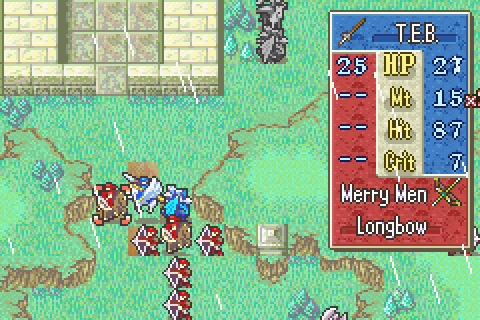
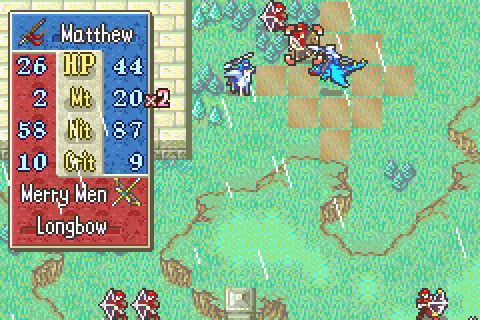
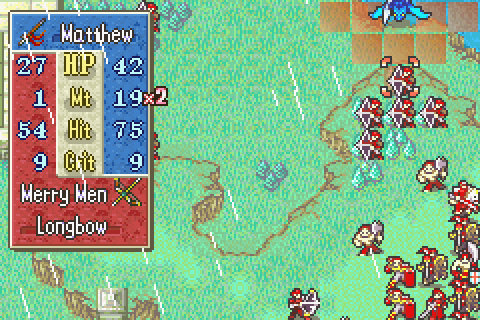
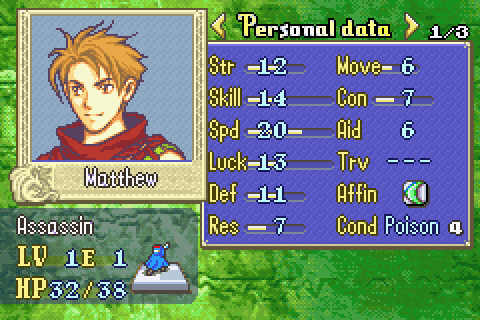
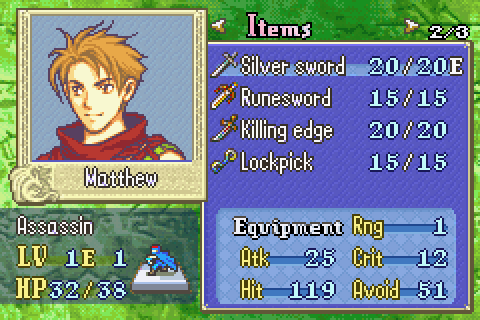
So this is us. Killer Lance and Javelin are pretty standard, but the Death Lance is cool. I'll get into it after we go over the rest of our party members.
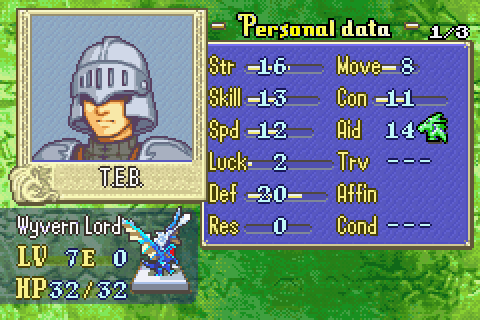
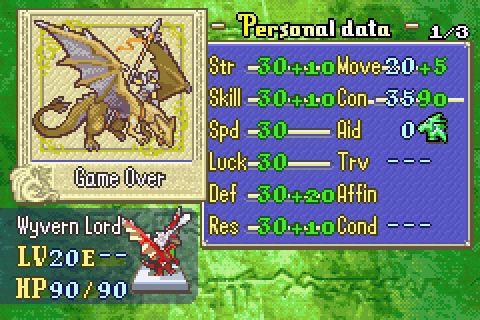
Here's one of our Wyvern Lord friends. There's two of them - this one has a Short Spear and a Brave Lance, while the other is a level lower with an Iron Lance and a Javelin.
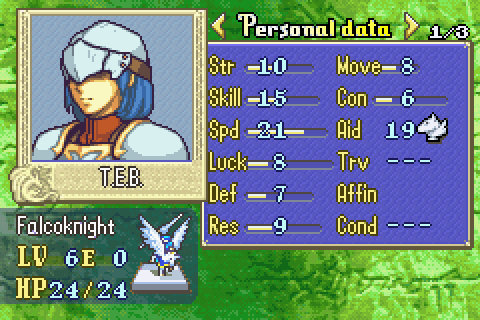
Our falcoknights have: Killer Lance/Slim Sword, Spear, Steel Sword/Silver Lance, Steel Spear/Iron Sword.

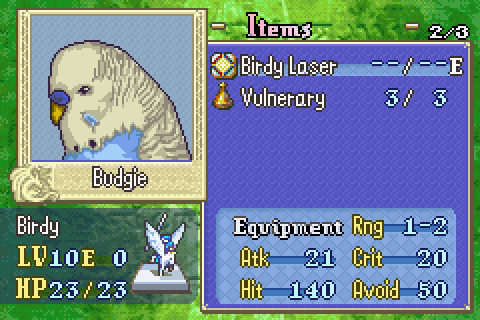
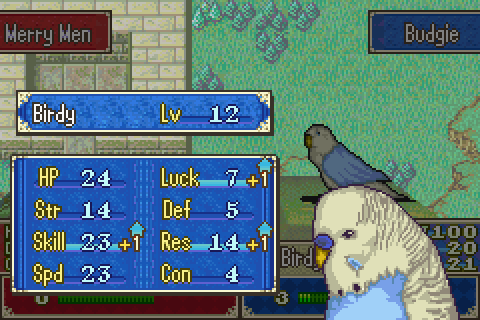
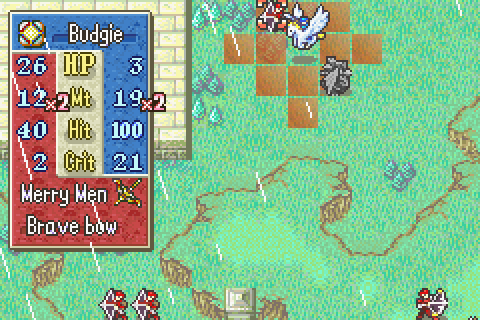
And then there's this thing.
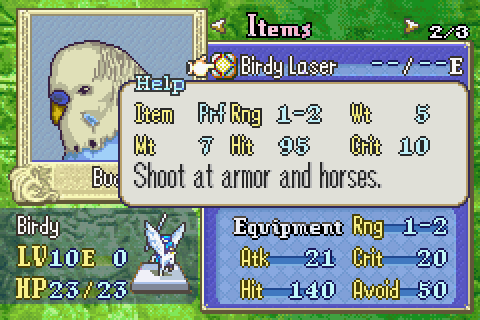
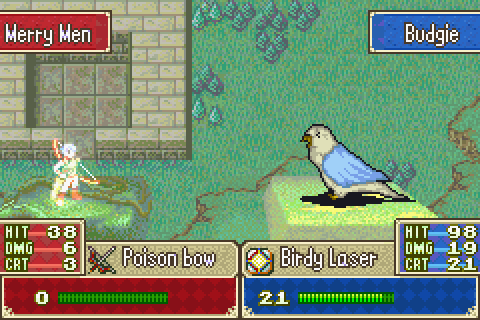
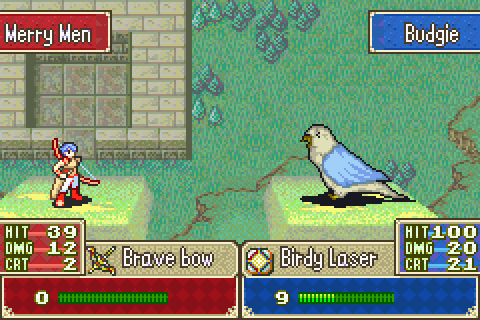
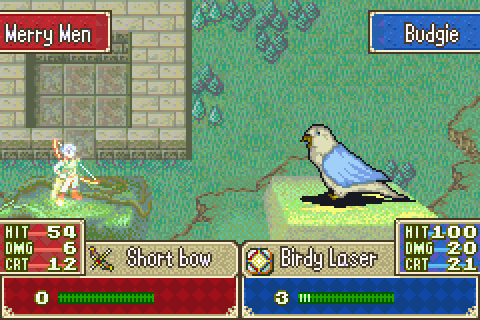
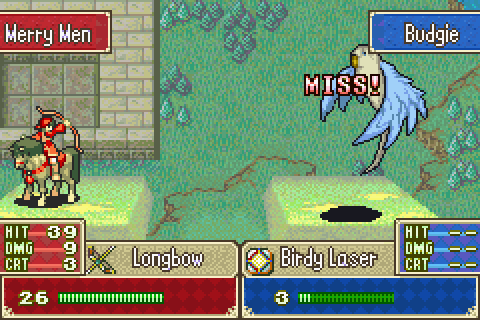
It's cool. Low defense makes Budgie a target, but arrows don't have Effectiveness on him.
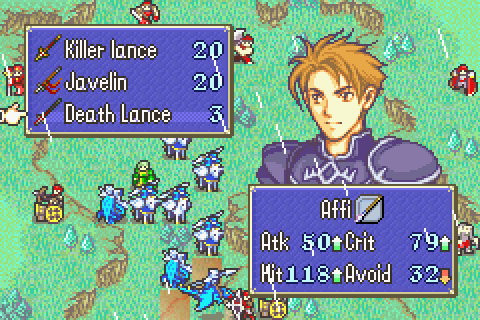
So, the Death Lance. For this map, we're given our own crazy weapon that hugely buffs us. Only three uses, but that's really okay.
It won't be seeing so much as one.
So let's move forward, then.
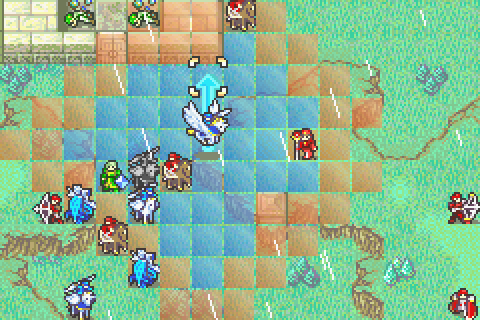
Or, no, Aion warps onto the wall tile below the northeast ballista.
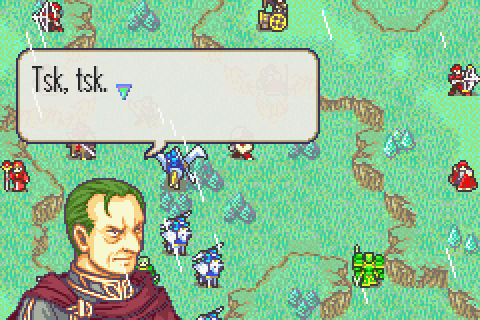
 Only a fool would stand under a tree in a thunderstorm!
I'm pretty sure we're actually flying above it, but whatever.
Now, you shall pay for your ignorance... DIE!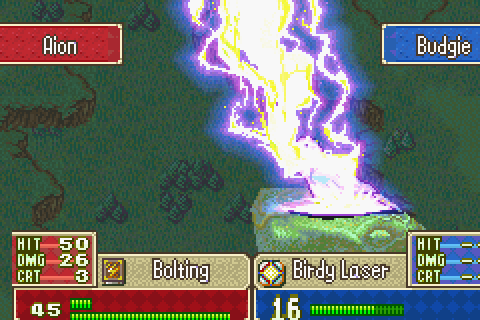
Did someone order a scripted crit?
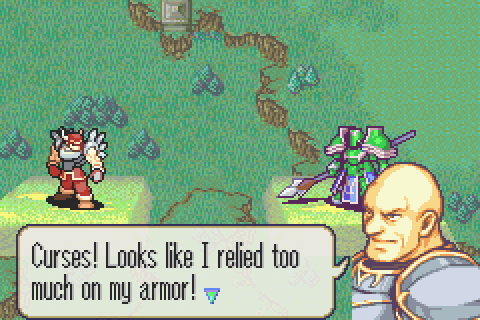
Ugh, I can't die here. Sorry, Matthew, but I'm leaving.  Unfair? Hah! Allow me to show you unfair!
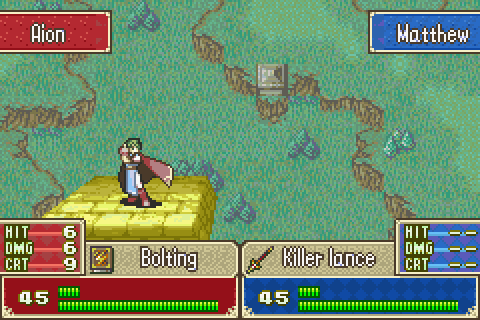
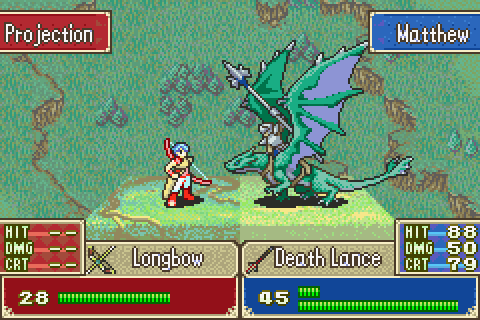
Well. That was, in fact, unfair... That's not even close to enough damage to crit OHKO. But, I mean, scripted sequences!
Ehrg... Aion, you dastard!
Alright, alright, time to actually play the map.
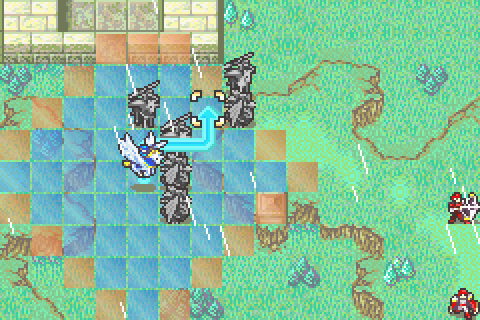
So, first thing's first, our short spear WL takes out the first ballista.

We trade the spear and the steel lance, so that the person with the sword can be the one carrying up the spear, to not get hit by the lancereaver.
Javelin Wyvern Lord takes out one guy, and Iron Sword Falcoknight hits the other one.
Critically. Cool.
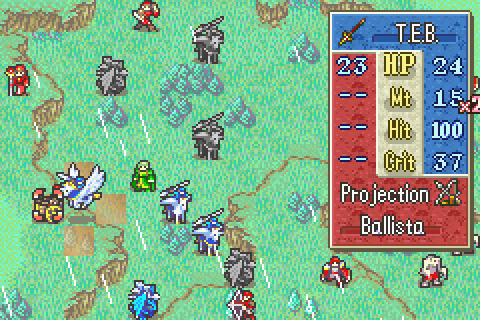
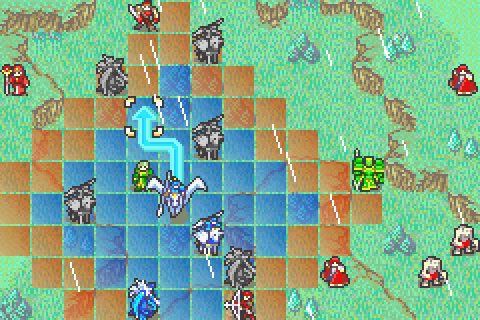
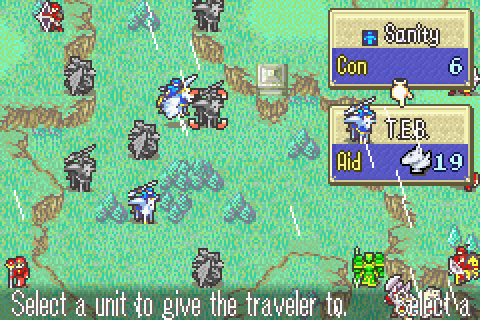
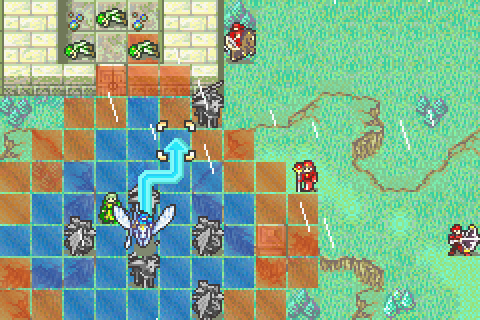
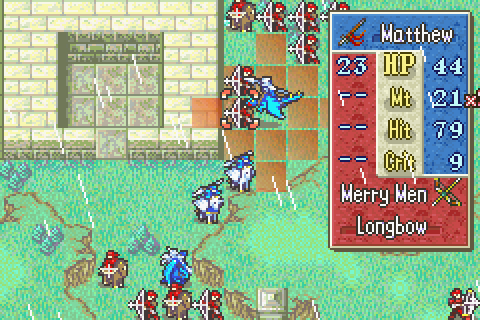
Killer Lance Falcoknight takes on the west ballista, Budgie specifically does not fly over the forest, and Steel Sword Falcoknight rescues Sanity and moves north. Sanity has 20 Skill and no other stats or items, and 10 HP. With 0 avoid, he gets one-shot easily by ballisticians and bolting sages.
Matthew moves north, and that's our turn.
The enemies mostly pick at us ineffectually for awhile, but the Falcoknight holding Sanity does get hit by a Ballista.
Nice critical animation, Budgie...

And I enjoy that his dodge sprite is really, really dodging, and not just moving his head slightly.

The only real meaningful attack on us, our wyvern lord down below takes a lot of damage so I'm going to have to have him avoid stuff for awhile. I want that short spear.

I'm somewhat disappointed by how much effort went into this character.
Regardless, Wallace uses an Elixir, and it's back to us.

To avoid Bolting guy on the right, Wyvern Lord doesn't move directly north.

Javelin/Iron Spear Falcoknight and Spear/Iron Sword Falcoknight handle the northern Bolting Sage and Ballistician, respectively.
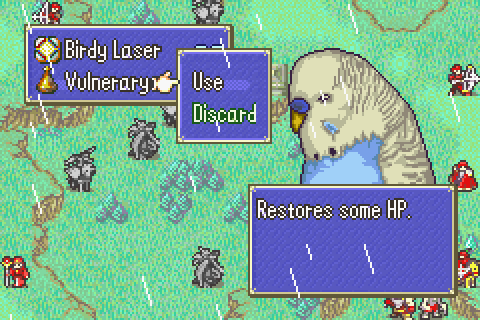
Everyone else moves up, with Sanity being passed to someone who isn't low on life and Budgie using a vulnerary to go back up from threat range.
The two nearby nomads finish off our damaged Falcoknight, but everyone else avoids significant harm. Except Wallace, who gets Shotgunned and poisoned by zombies he dodged last round. He won't last another turn. Memories are at 21, 22, and 11 HP, out of 35.

Back to us, here's our situation. Three nomads to deal with, a longbow sniper, and a lightning bishop... Plus we need to unload Sanity.
First off, we drop Sanity and plug this hole so the Nomad can't get through. I'd attack him, but if I miss he can run around and get to people I don't want him to unless I stay at range and let myself take more damage than I want to (while forcing myself to use the less accurate Spear), so this is fine.
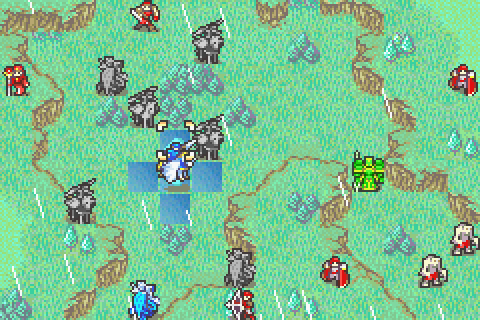
Matthew and friends clean up these enemies, leaving only the Lightning bishop alive. No one missed, so Budgie's assistance wasn't needed, leaving him free to move up. Our other Wyvern Lord, with the Short Spear and Brave Lance, moves up as well, avoiding Bolting range.
Our meat shield down south falls.
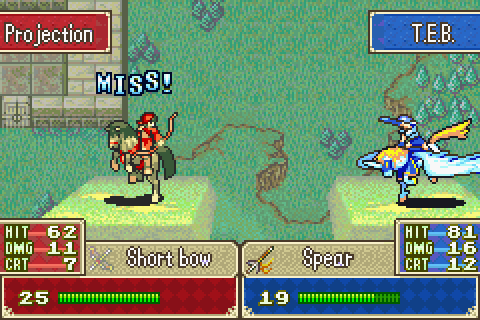
The last nomad goes after our falcoknight, but misses. She doubles him back, missing both times.
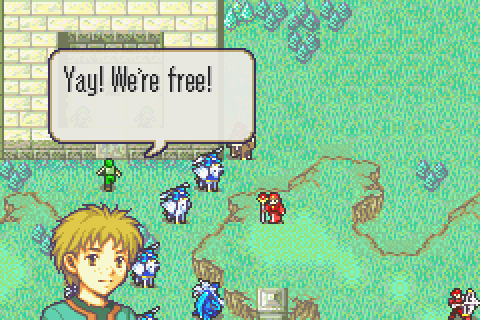
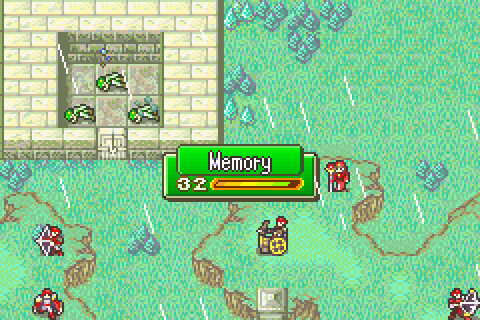
Sanity makes it to the Memories.
 Your memories are safe now, Matthew. Well, that's nice to know! Now that my mission is complete, I won't be a burden to you any longer. But before I go, I have a hint to help you escape. Yeah? I'm listening.
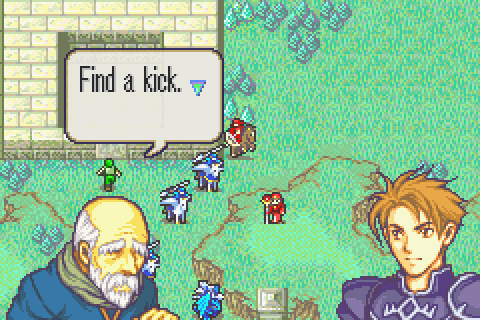 A kick? Yes, a kick! Haven't you ever watched Inception? No, never heard of it... Well, Adelheid should know what I'm talking about... Just look for something that might wake you up. Remember, it has to be something that won't kill you... So I'm afraid leaping off a cliff is out of the question. That being said... The kick should be pretty obvious. Okay... I think I've got an idea... Good. Now for my abrupt disappearance in 3, 2, 1...
I do not think that the kick is obvious. Do you know what I thought? I assumed it was to kill Moulder. My initial run, I had lured Moulder over with a flier so Wallace attacked him instead of vice versa and Wallace did a lot of damage to him. After Moulder went through, I had Budgie suicide on him, which criticalled and brought him to about 20 HP. Then, Matthew went to finish him off with, what else, his overpowered weapon with limited uses. And then it killed him.
I'm not sure I would have figured it out if I did not see a screenshot on the "sample screenshots" part of the serenes thread for this hack, which showed Matthew over the river to the top right with some dialogue. So yeah, it wants us to jump into the water. Guess we'll be heading that way, then!
Our injured Wyvern Lord gives Matthew the Short Spear, while standing at a space that won't attract the Longbow Sniper to the right.

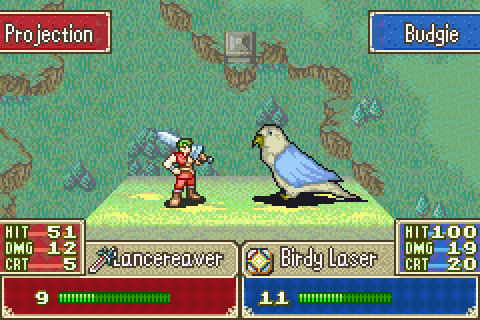
Matthew and Budgie give a Killer Lance and a Birdy Laser to a Bishop and a Nomad.
The rest of this turn is just repositioning.
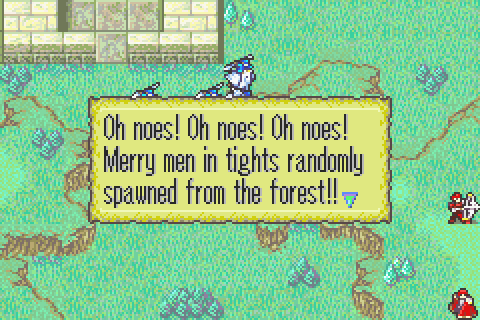
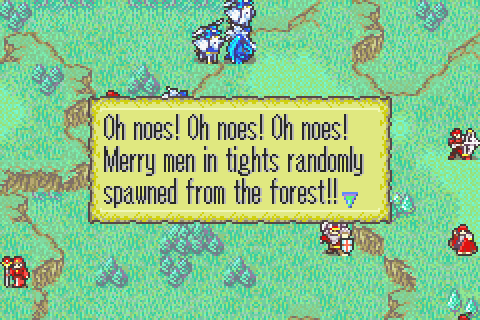
Hitting Start to text skip after this box pops up somehow makes the game hang on a black screen. Also, "Oh noes?" seriously? I guess this map wasn't LOL RANDOM enough. But on the whole I'm okay with this. This offers something this chapter was kind of sorely lacking in. That being,

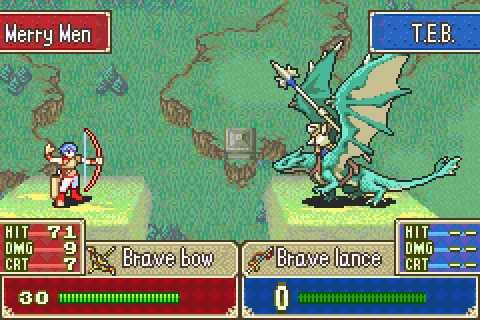
Huge jerks. Some are weaklings, while others are a strong nomad with a brave bow. These guys are the real reason you need to hustle. You could hold off Moulder just throwing away throwaway units, but these guys are a problem.


A serious problem.
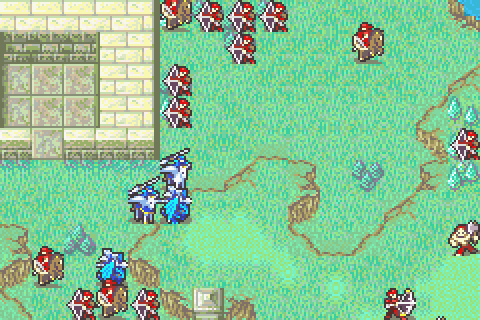

Ahahahahaha let's do this! I know I can be pretty critical of this hack, but this? I... I like this. While the first part of the chapter is kinda normal, this is an army with effective weapons against your entire brigade (except for Budgie, who just has very low defense.) It's actually pretty cool in how much tension it adds. Random humor aside, the map really picks up here, even if it's only for a few more turns.
Budgie is really dodgy, and Matthew has enough defense to tank several hits. Our remaining Wyvern Lord can slow them down a bit. Everyone else is completely dead weight.
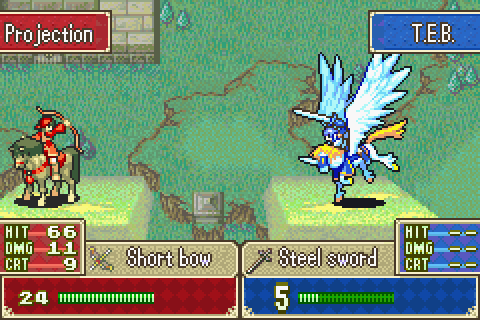
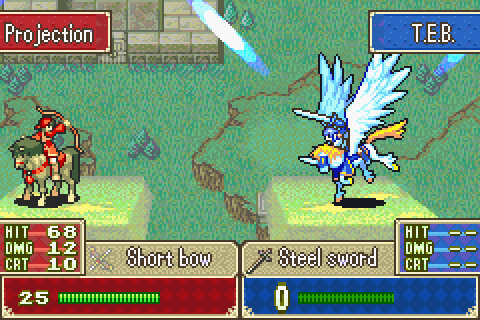
I take out two Longbowsmen. Matthew uses his Javelin to attack rather than his Killer Lance, even though it introduces a chance of not killing, because I want him to have a chance to retaliate if attacked. Our free Falcoknight could take up the slack if we missed twice.
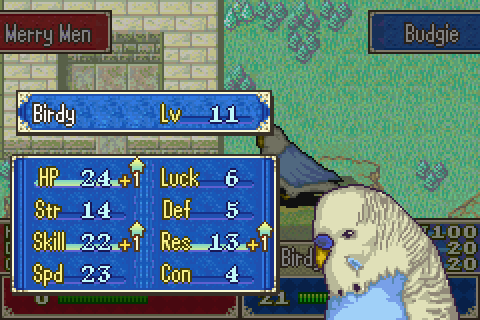
"Birdy" isn't a promoted class, so Budgie gets lots of EXP from these guys. I presume it's just pasted in over pegasus knight.

Meanwhile, our throwaways take out the two nomads, which would otherwise be the biggest threat for their ability to reach Budgie and Matthew and put more pressure on us than I want to deal with.

 and shamelessly promote TEB's website.
 Nevermind that... Where's Budgie? He should be here too.
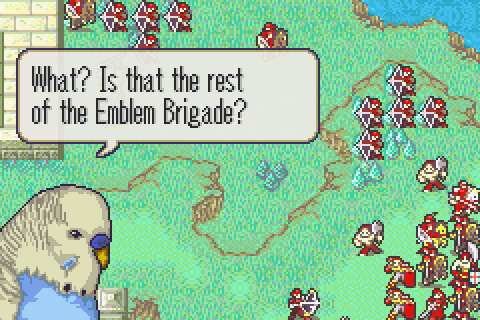 Blast... They'll all turn into fliers any moment now. I better warn them... Hey guys! Run away! It's a trap!
 What? Did someone say trap?
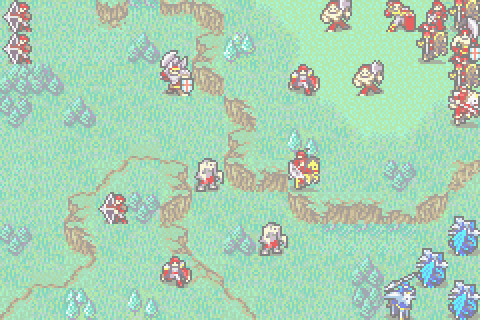
 What the heck?! Why am I a wyvern lord? Noooez! Why am I not a swordmaster?! ...... Well, this is awkward... I'm unchanged! ... Lucky.
So, this is more of the "Emblem Brigade," though these ones have names. They're pretty good, and they've got good equipment, but I'm going to just end turn and skip over them every time. They can't make it over to the part of the map that matters in time, so they're irrelevant. I dunno, though, these guys showing up and then immediately class-changing is one of the better-executed "wacky" parts of this map.

Our throwaways pass on.


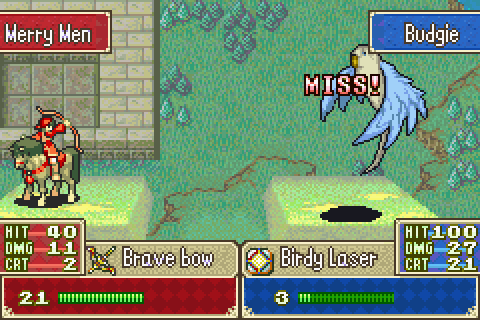
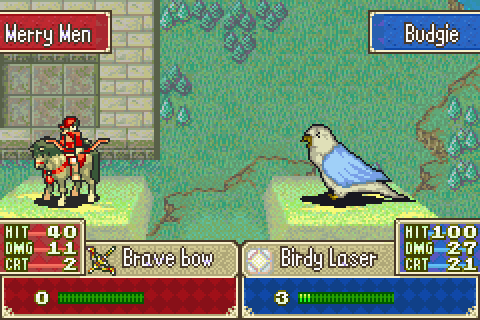
Budgie, meanwhile, dodgetanks like a champ, getting in four kills and a level.
This seems rather more manageable!
Using Javelin so that Matthew can be a square further forward.
Rolling the dice on this. It's not necessary, since that guy doesn't move for some reason.
And it doesn't pay off.
Ugh... I can't die here. Sorry, Matthew, but I'm leaving.Budgie leaves the battlefield. He was useful. Budgie is one part of this map that I am totally okay with.
Getting in one last kill, because why not?
 Maybe if I dive in... Well, here goes nothing.
And that's the end. Fade to white. Fade back in.

---
Next time:
No he isn't.
But, I mean, it's not all bad news.