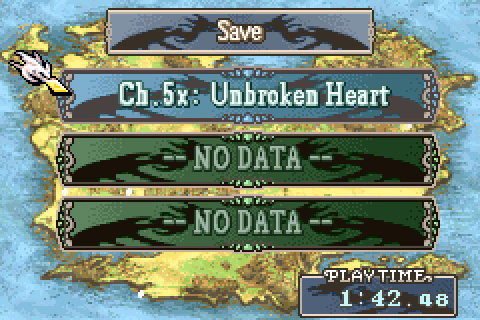
Part 6: Update VI - The Boss Box Begins
Update VI - The Boss Box Begins
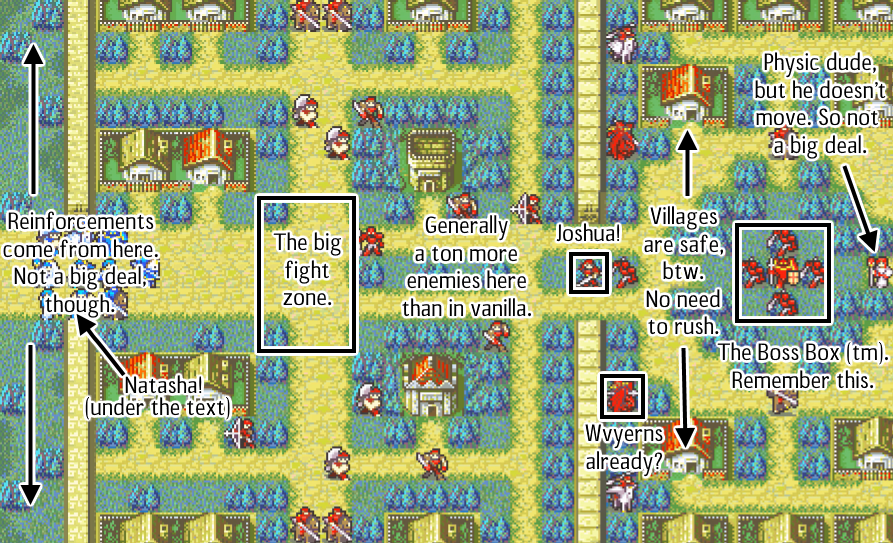
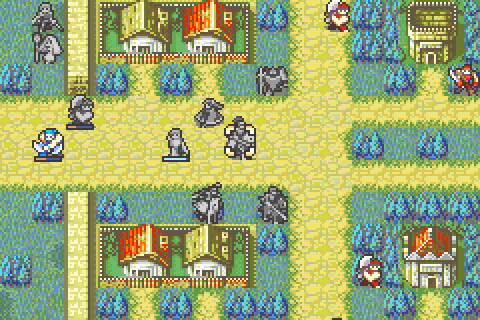
Alright, this map is where you'll start actually possibly running into some trouble.
But before that, we have a promotion decision to make.

There's a few routes I could go with Ross, but ultimately, I want him to be a Berserker. We can go over why once it actually becomes more relevant.
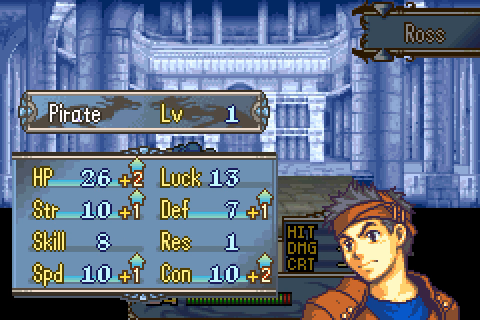
I guess the gain to CON is useful here. The patch notes say that this promotion should have gained an extra point in SPD and RES over what we actually got, so meh.
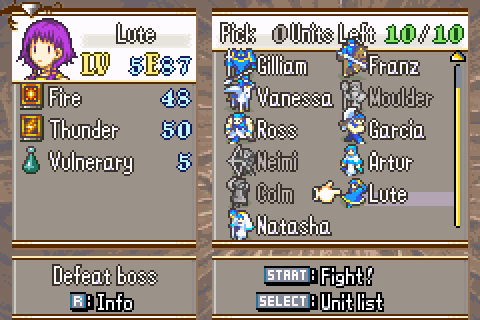
Moulder and Neimi sit this one out in favor of Lute and Natasha. Poor Neimi... I'll probably have to give her some tower grinding if I ever want her to go anywhere. Also, as a side note, I've been passing around the Star Seal to whoever I think could benefit from it the most. Previously, it was on Ross for his training, now it's on Vanessa. Now, on to the map.

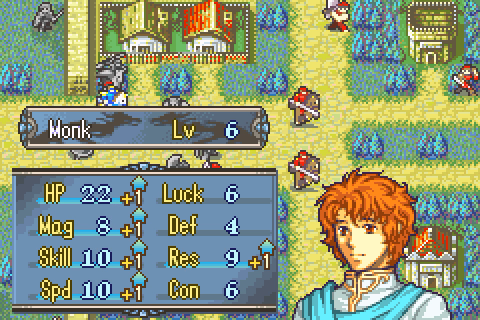
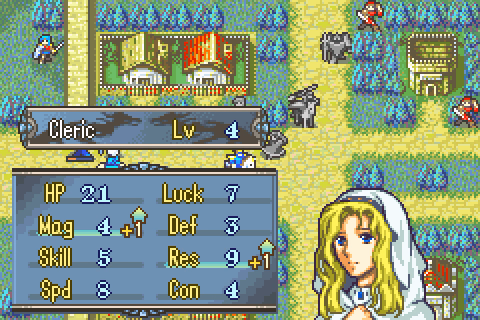
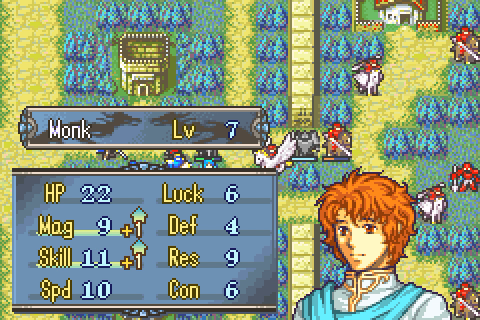
And before we get going, a look at our new unit!
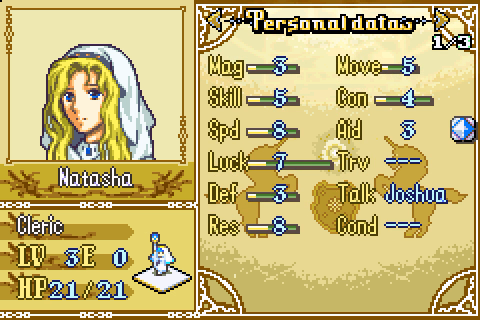
Natasha - Cleric:
STATS:
LV: 3 (+2)
HP: 21 (+3)
MAG: 3 (+1)
SKL: 5 (+1)
SPD: 8
LCK: 7 (+1)
DEF: 3 (+1)
RES: 8 (+2)
MOV: 5
CON: 4
GROWTHS:
HP: 50%
MAG: 60%
SKL: 25%
SPD: 45% (+5%)
LCK: 60%
DEF: 20% (+5%)
RES: 50% (-5%)
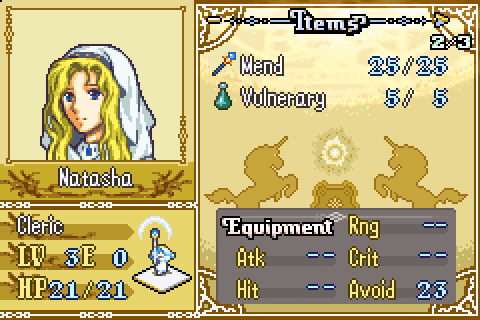
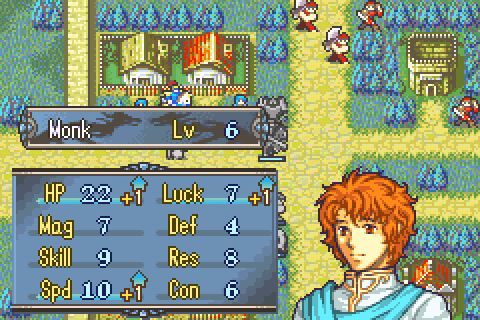
Mend: Rank E (formerly D). Range 1. Weight 4. 25 uses (+5). Heals 20 HP + MAG / 2. Use gives 20 EXP (+8).
Oh hey, something that doesn't have 50 uses. I guess a 50 use Mend would be kinda nuts. Anyway, Natasha has been leveled up a bit to make raising her less of a pain in the ass, and her using her staff gives nearly double the EXP that it used to, so that's going to help a lot as well.
I'm still not sure if Natasha or Moulder will be my primary healer. Disregarding for a moment that L'Arachel will be the primary healer, anyway. Either way, I believe whoever of the two it is will be sticking along a lot as a Bishop regardless.
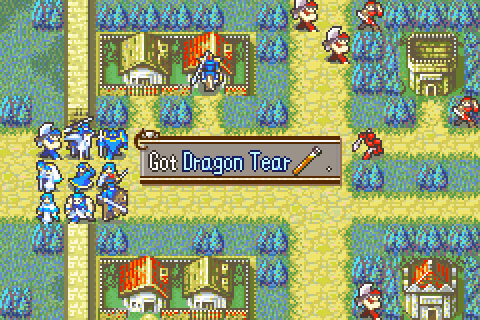
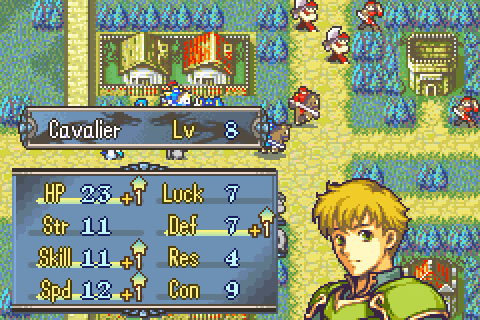
Seth goes to the first village, and would you look at that? Another Dragon Tear.

This one's going on Franz. That should turn him into even more of a wrecking ball than he already is.
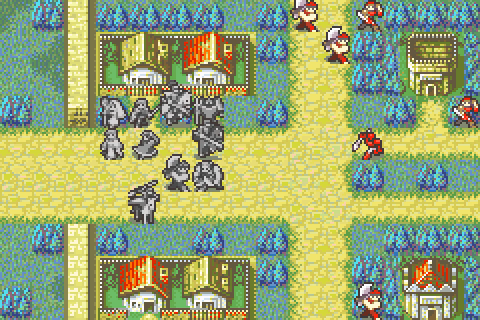
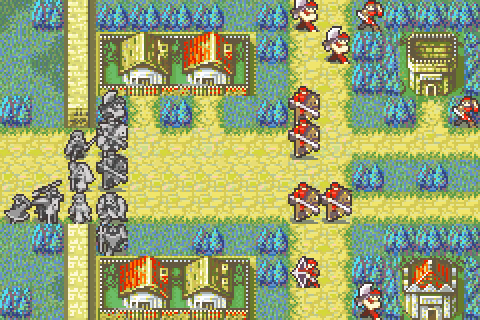
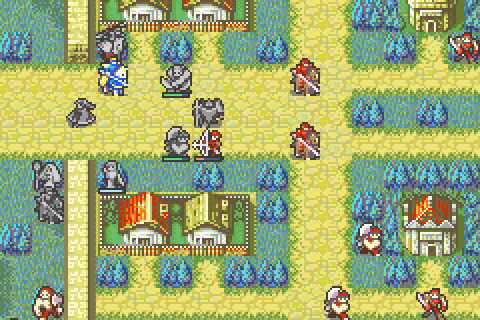
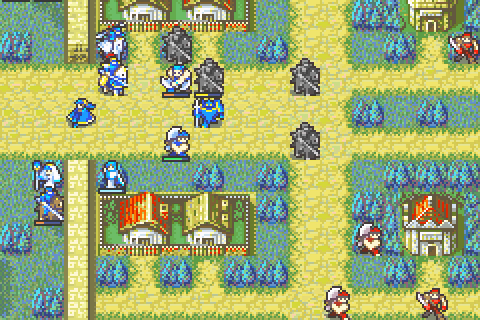
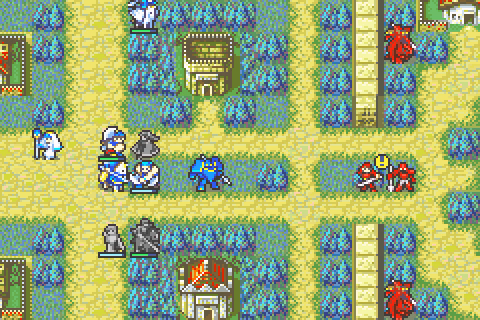
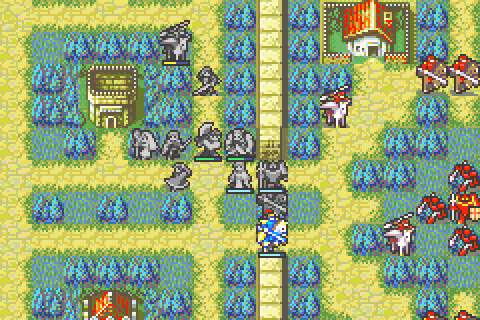
We set up in some sort of half-assed defensive formating to let the enemies come to us, because there's a fair share of them.
Nothing much on enemy phase, but on player phase, we have four cavs ready to strike, alongside an archer, and the nearby fighters will be ready to get involved when we meet the cavs in combat.
Ross takes out the archer to clear the way for Vanessa to get involved, and Garcia and Lute combine to take out a cav, netting Lute this solid level.
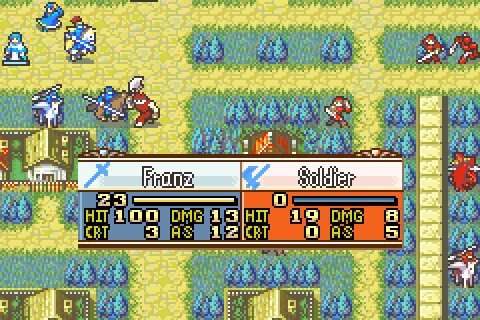
Franz takes out another cav and gets faster and sturdier. Sturdy is good.
Gilliam and Artur take out another cav.
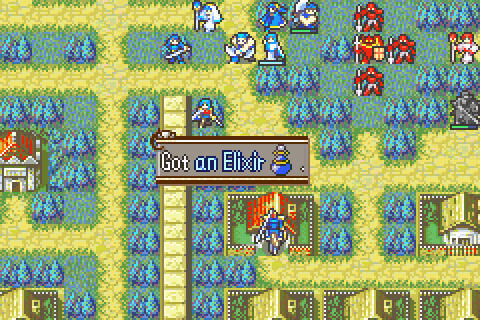
Seth plugs the hole in the line, and Vanessa picks up this helpful item. Spoilers: It's going on Lute later. She's got, like, no defense. But first, we need to get through this enemy phase.

Franz kills a guy.
Franz kills another guy.
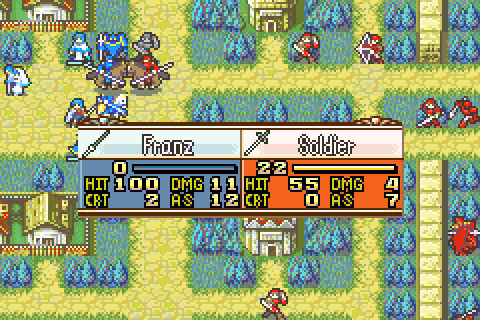
Franz dies. GG.
Resets: 2
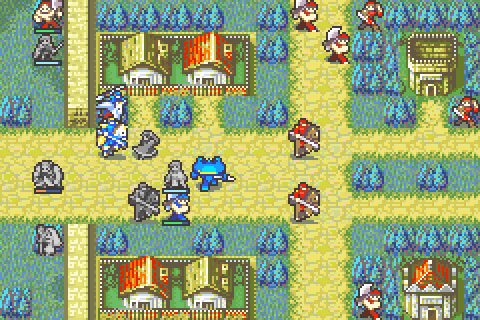
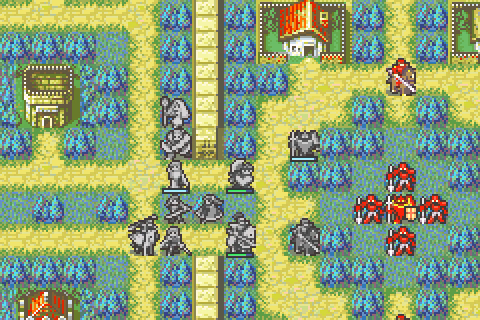
Alright, second attempt. This time, we set up more defensively, allowing us to fight the moving enemies without bringing the fighters into the mix as well. Also, the reinforcements from the left corners come on this next turn, and I want to have everybody together to deal with that as well. Also, just to notice, there's single cav reinforcements coming from where the two cavs each were at the beginning, so that's something additional we get to deal with trickling in.
Franz levels up worse this time around, but doesn't kill the cav he's fighting, so he's safe for now, which I prefer.
As such, the situation on next player phase is a lot better than "dead Franz". However, we do have four brigands coming down on us next enemy phase, so we need to deal with that pretty quick. Eirika should be able to deal with one group pretty well, and Franz gets to go and deal with the other group after getting healed up.

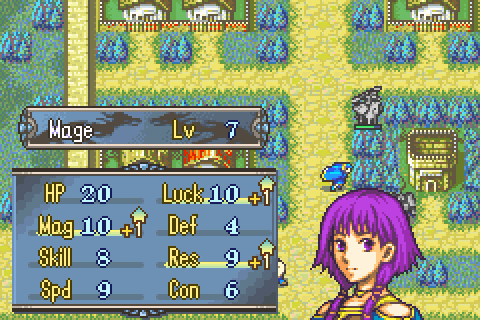
Lute levels on taking out a cav.
Artur takes one out as well and gets a far better level.
And we leave the situation like this. As long as the brigands don't mess us up, we should be good for now.
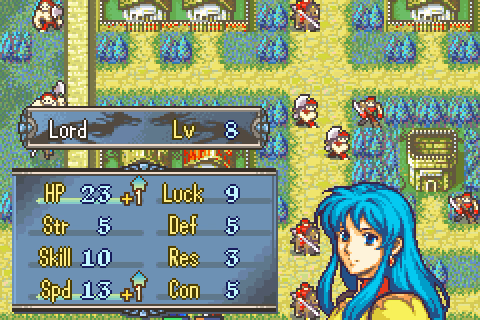
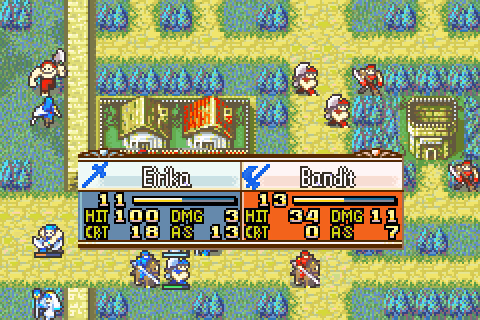
Eirika is trying to set a world record in Not Getting Strength, and she's doing great!
Franz is doing great in taking out his brigands (albeit while getting hit by both of them like the fucking putz with a deathwish he seems to be), while Eirika really struggles even dealing damage to one of them. Mind, still being at base strength might do that, but still...
Basically everybody gangs up on Ross, but he lives, so it's fine. We can mop up on player phase.
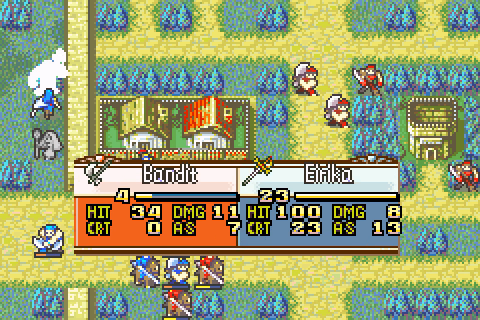
And mop up we do. Ross retreats to get healed while Franz returns to the fray. Eirika still has some work to do. We largely set up defensively and let those last two cavs come to us and to let Eirika clean up her second brigand.
A job she kinda fucking sucks at, to be honest. It's a brigand! Why is he so tough?
I guess we need the rapier for this job then.

Vanessa is going to wreck a lot of shit.
We clean up the remaining cavs. Also, you'll notice a bit of a line developing for Natasha to heal. Oh well, we have time, we're not playing for rank.
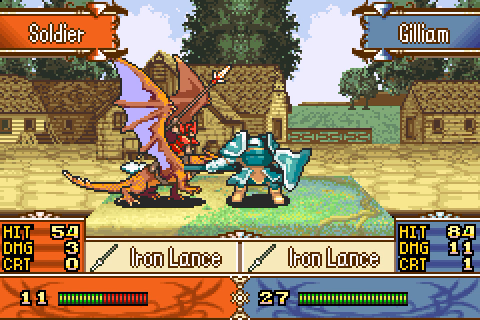
Gilliam and Franz set up in forests to bait out the fighter. The two Gilliam fights are almost dead, the two Franz fights are dead. Good work all around.
At this point I get curious and take a look at the enemy wyverns, and they look pretty tough. Good thing it's only two.
Also, they can't fly over these walls here, so they can't just surprise you like that. With that, Gilliam and Franz move out to start fighting those mercenaries. Everybody else piles in behind them.
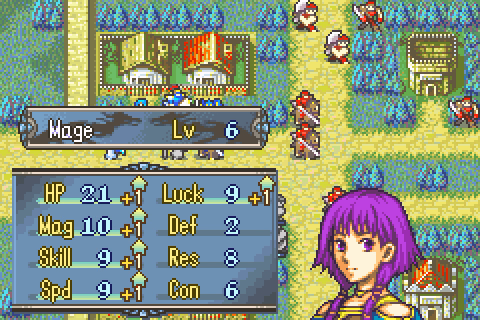
Natasha gets her first level. More magic!
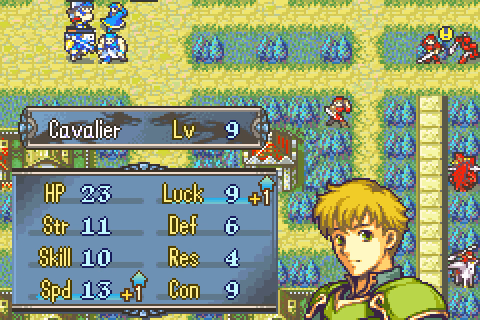
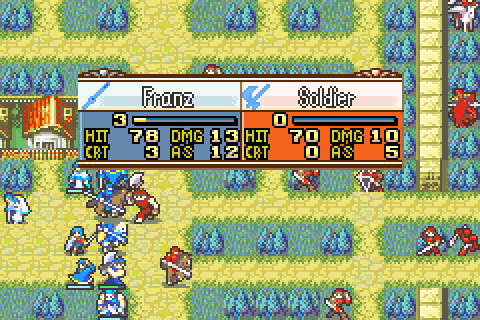
Next player phase, Franz levels on killing the merc he was assigned.
Lute and Vanessa take care of the merc up top, since Gilliam has come down with a case of The Miss. Instead he's luring out the archer. Everybody else again moves up behind. This enemy phase, two pegs and two cavs spawn in from the right, just in case you thought they were done with reinforcements. Of course not. We'll probably have to deal with them before we can safely recruit Joshua.
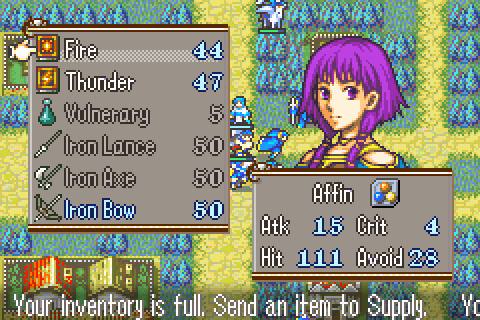
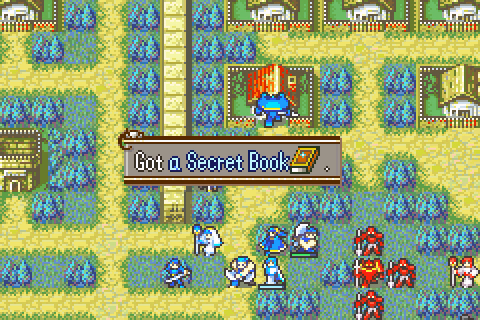
As Lute kills the archer, it should be noted that a lot of enemies drop weapons as well. So we get a lot of iron weapons kinda just thrown at us to toss into the convoy eventually. That's a lot better than the 5 gold the others usually drop!
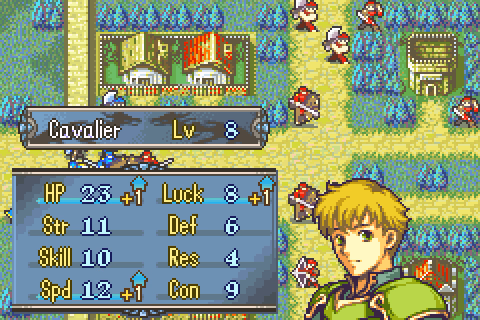
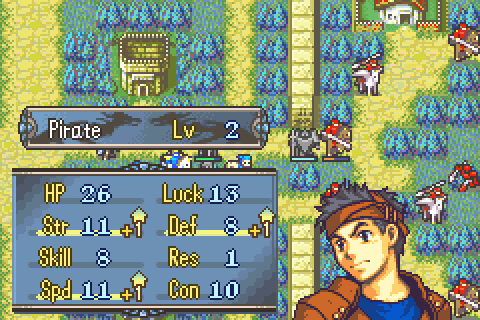
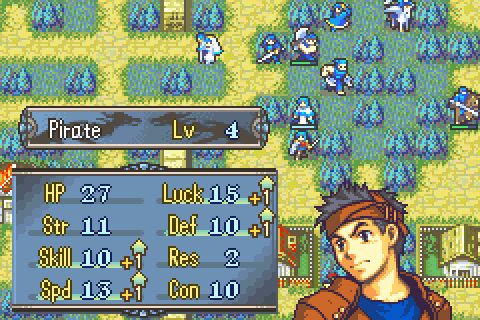
Now, since we're getting close to him, let's take a look at Joshua.
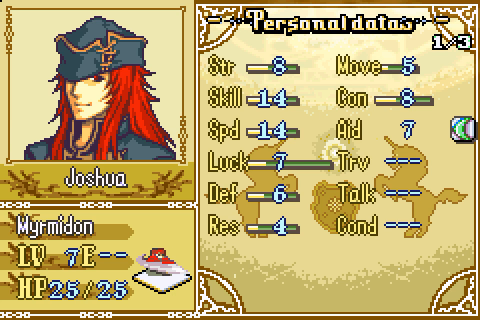
Joshua - Myrmidon:
STATS:
LV: 7 (+2)
HP: 25 (+1)
STR: 8
SKL: 14 (+1)
SPD: 14
LCK: 7
DEF: 6 (+1)
RES: 4 (+2)
MOV: 5
CON: 7 (-1)
GROWTHS:
HP: 65% (-15%)
STR: 45% (+10%)
SKL: 50% (-5%)
SPD: 55%
LCK: 30%
DEF: 25% (+5%)
RES: 25% (+5%)
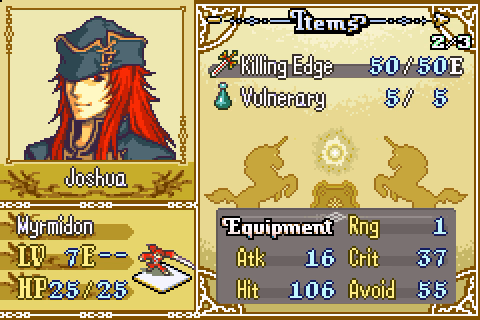
Killing Edge: Rank C. Rank 1. Weight 7. Might 8 (-1). Hit 75. Crit 30. 50 uses (+30).
Joshua didn't exactly get a lot of stats in the two levels he's gained in here, and that loss in CON isn't great as well, that'll hurt him more with a lot of the better swords available. However, I guess you can just give him whatever Killing Edges you have available and just let him wreck with those, he doesn't get weighed down by them, and the 50 uses now make one Edge go a lot further.
Also, apparently I misremembered, as I set Gilliam with an iron axe onto a forest in range of Joshua. Looks like I want to get the recruiting done with before the reinforcements roll in.
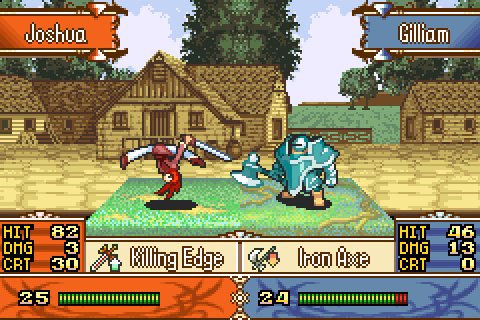
Joshua can't exactly pose much of a threat to Gilliam.

And there we go, we got ourselves a Joshua!

We let Gilliam take point and see what happens.
For one, the wyverns show up, but they don't look all that scary against Gilliam.
But we kinda do need to deal with a lot of these enemies, because bless his heart, Gilliam isn't quite capable of doubling and killing.
He's working on it, though!
Artur might hit double digits on the offensive stats soon, which is nice.
Ross is also working towards that, albeit still missing skill.
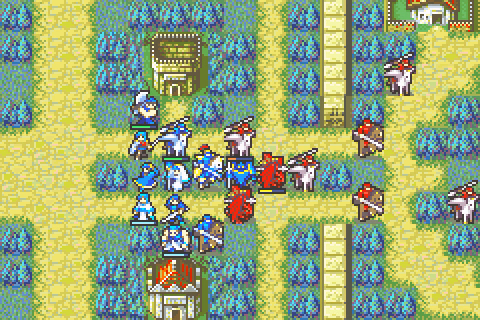
We set up a kind of half-assed defensive formation with Eirika having to take a hit because that tile above Gilliam is actually a "fence", not a "wall", so the pegs can fly over it. Thankfully I checked, or else Natasha would've probably taken the hit.
And with it being a crit, I don't think Natasha would have survived it.

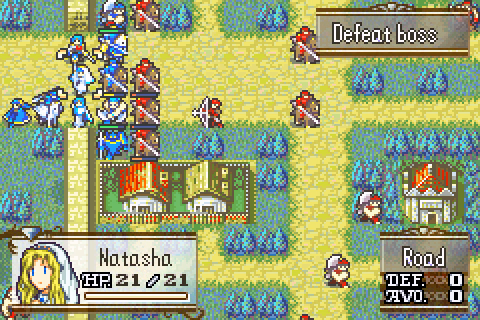
And on our next player phase, our defensive formation looks kinda weak. But hey, nobody died. We can figure out the rest later.
And figure it out we did! Nobody's close to dying that can be reached by enemies, and we plugged the gaps in our line. Now we can wait out the last few cavs and pegs, then deal with the boss.

Ross gets a great level on the next player phase - essentially perfect since he'll cap strength anyway.

And there we go. Everything cleaned out. Most enemies just suicided on enemy phase (Franz can double the pegs, which is nice), and two needed some extra convincing on player phase.
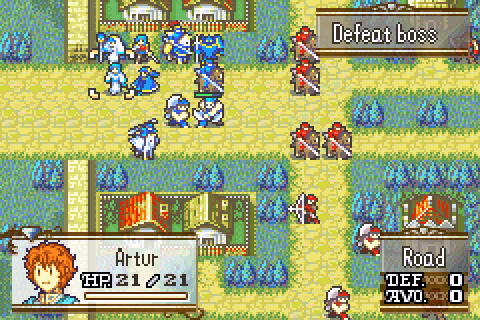
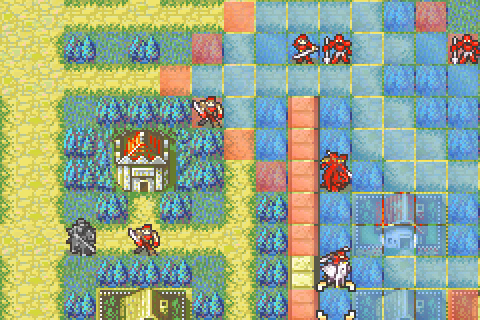
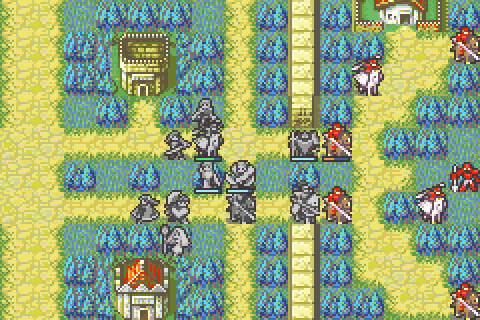
Now, we move Gilliam and Franz into enemy range. And... nothing happens. Yeah, the rest of these units just doesn't move. This is a thing this hack does as well - some enemies just won't move. This creates what I called "The Boss Box", which is also a thing this hack does occasionally - a boss that doesn't move, surrounded by enemies that don't move. Now, this is a sound tactical concept in theory, but what kind of hurts it is that there are no 1-3 range weapons that the boss could use to snipe units that attack the box enemies from range. Then it'd turn into an actual potential dilemma where you might have to rescuedrop to get units to safety and carefully approach the box. As is, we can just kill the regular units from range, then attack the boss with impunity. Especially since the soldiers here don't have javelins and can be sniped freely.
And so that's what we're doing.
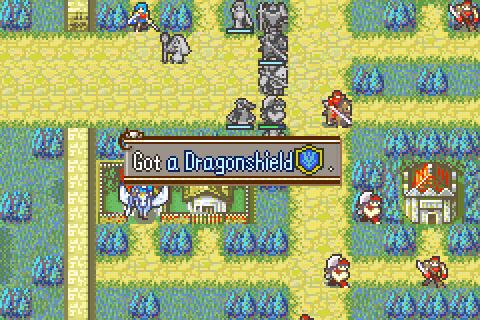
We also pick up some items from the villages. So like I said in the map, the villages are really safe. The only brigand spawns spawn behind you and are practically forced to move straight through your units to get to the villages, so you'd have to try incredibly hard to get them to loot them.
Garcia levels while taking out the soldiers. And with the soldiers largely taken out...
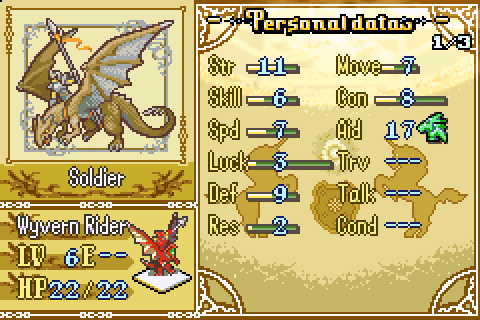
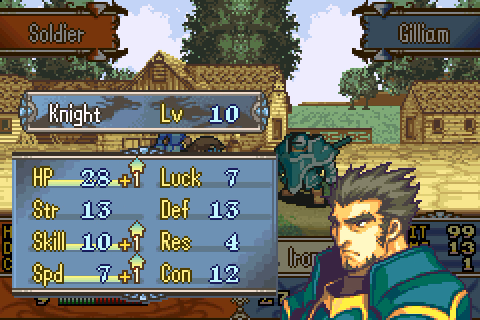
We let Ross wait in front of the boss. I think he's got this. Speaking of the boss, let's look at him.
+8 HP, +1 STR, +1 SKL, +2 SPD, +1 LCK and +3 RES compared to his hard mode counterpart. Beefy, but not unkillable. And while he does have his Physic buddy back there, Franz is going to take care of that problem next turn. Also...
Javelin: Rank D (formerly E). Range 1-2. Weight 10 (-1). Might 5 (-1). Hit 65. Crit 0. 50 uses (+30).
So, Javelins got slightly weaker, slightly lighter, but the big thing again is the 50 uses. Loading somebody overpowered up with Javelins and just letting them murder everything is still totally viable. Alas, Saar is not overpowered.
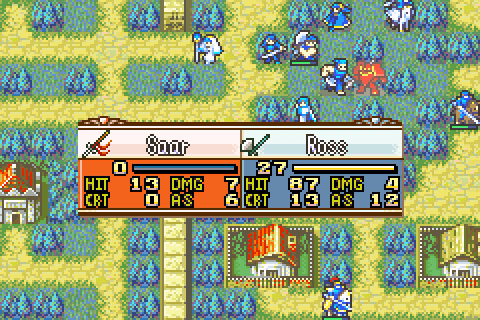
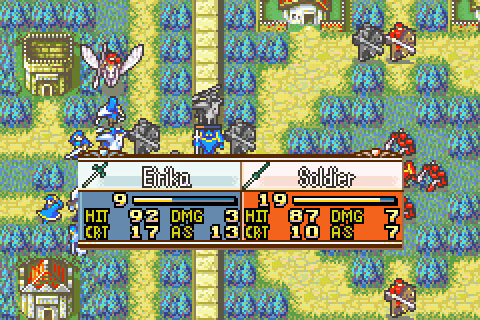
And so, Ross and Saar take a few turns whacking each other around - or rather, Saar misses a bunch while Ross always hits and occasionally crits.
And Ross hits double digits on everything except resistance at level 4 with that. Nice.
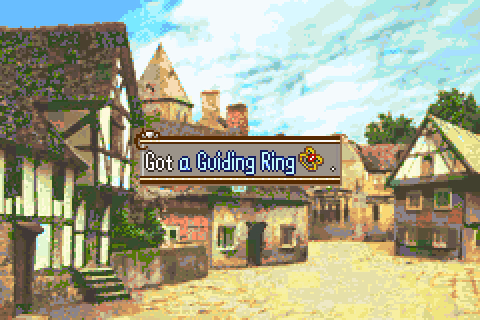
And we get a Guiding Ring on top of that!
That'll be it for this time. Next time, we get to run around with Ephraim for a bit!