Part 29: As Lightning Fall
As Lightning Fall
This mission is not for those who do not have a good sense of spatial awareness. You will probably hate trying to navigate via radar and guesswork in the nebula.
Thankfully there is a shortcut for those of you who are stuck in this boat. You miss out on some kills, but you also cut like 70% of the mission time out.
Watch the Campaign Briefing from SOC here / Mirror
Listen to the Campaign Briefing from SOC here / Mirror
This CB includes a transmission from Snipes, and thus you're just going to have to listen to it because he is awesome and I said so.
Watch the Mission Briefing here / Mirror
Listen to the Mission Briefing here / Mirror
On the upside, you get access to not only the Erinyes heavy fighter, but also the UD-8 Kayser main gun. The Kayser does almost 32% more damage to armor, 15% to shields, and 24% more to subsystems per second than the Prometheus S. It also fires faster, though it has a shorter range. Equipped with eight of them, an Erinyes can two-shot several Shivan fighters, though you have to be careful with your aim (fire in 'bursts', basically) because it will drain your weapon capacitors really fast.quote:
Recon located a Pharos navigation buoy not far from where Snipes's transmission was received. Your wing will be inserted at that position to find the Grall and make contact with Snipes. His transport has been incapacitated, and there's a high probability he's already a goner.
This sector of the nebula is extremely volatile. Recon reports heavy EM interference, scrambling sensors and communications. These buoys are the only chance we have of finding Snipes and the Grall. The EM storm will make aspect lock difficult to acquire and maintain, so we recommend you loadout with Tempests and Rockeyes.
Once you locate Snipes, call in Lambda 1. This is critical. Do not deploy the recovery craft until you are ready. Our transport will dock with the Grall and extract the survivors. You'll need to buy them some time as they complete this procedure. Good hunting.
In short, "it's awesome."
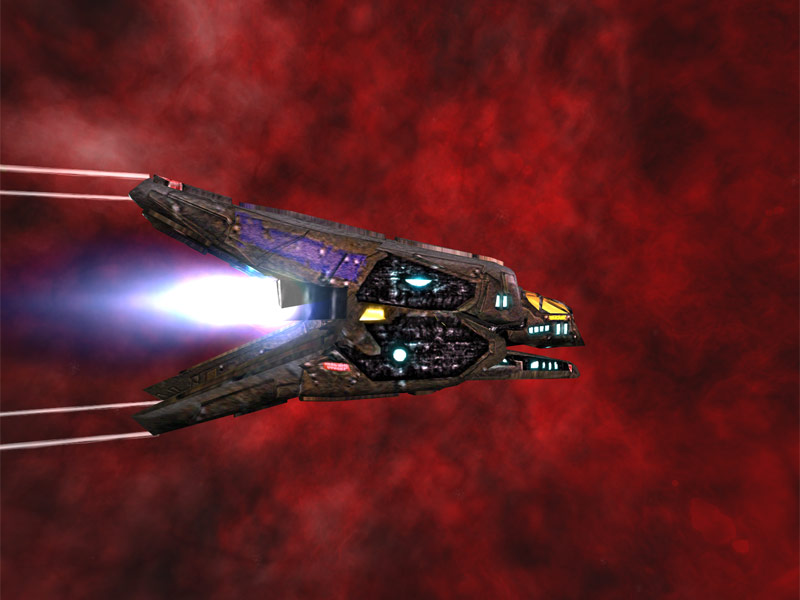

So's the Erinyes, to be fair. Relatively small secondary capacity for a heavy fighter, but eight guns is a nice enough payload in and of themselves. Combine it with a decent hull, shields, and manueverability, and the Erinyes is a solid choice for any mission.
So you're in a nasty part of the nebula, following a breadcrumb trail of nav buoys, looking for the coolest guy Freespace's entire universe has ever produced. Let's not fail, shall we?
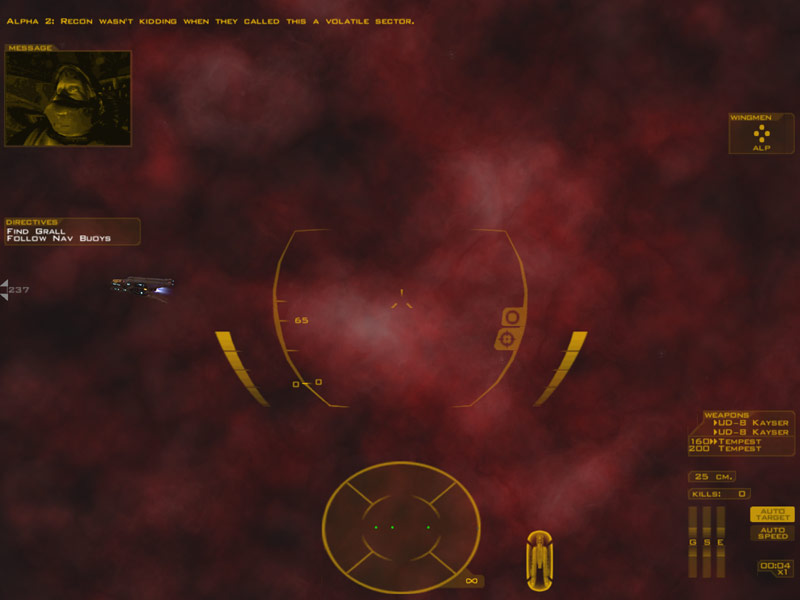
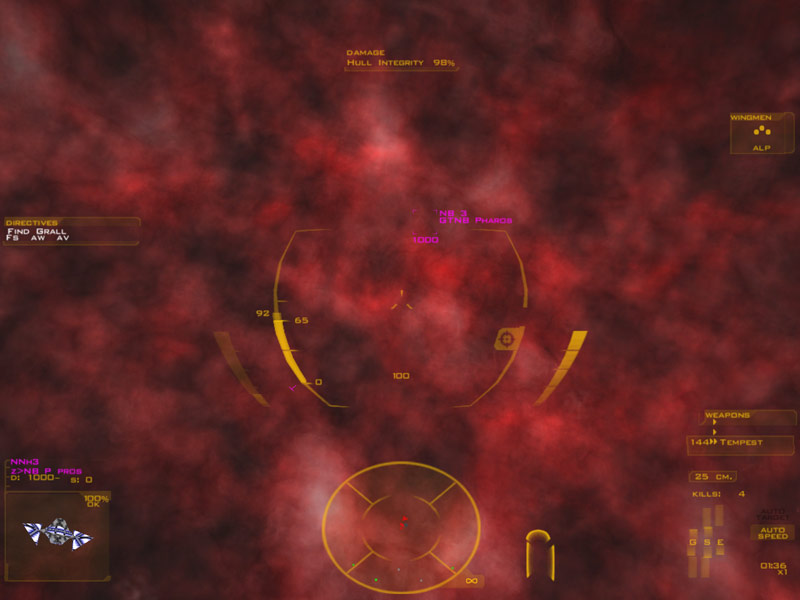
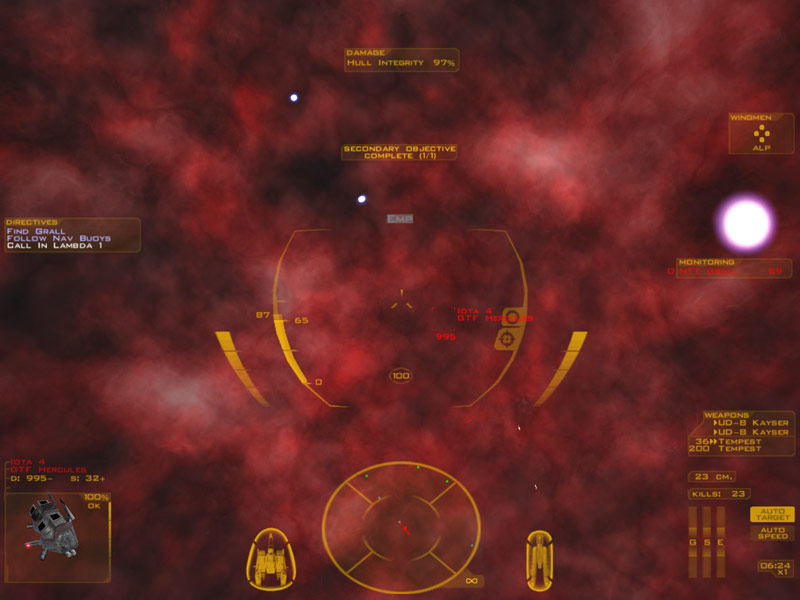
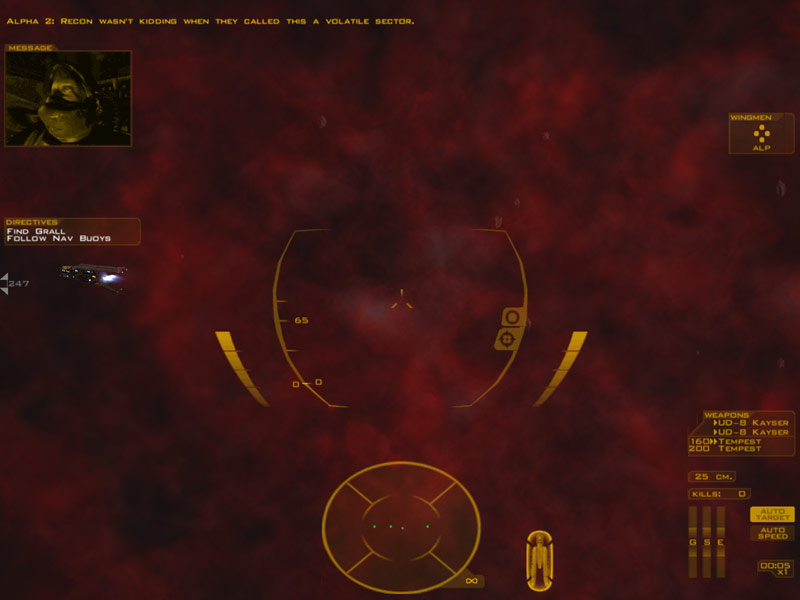
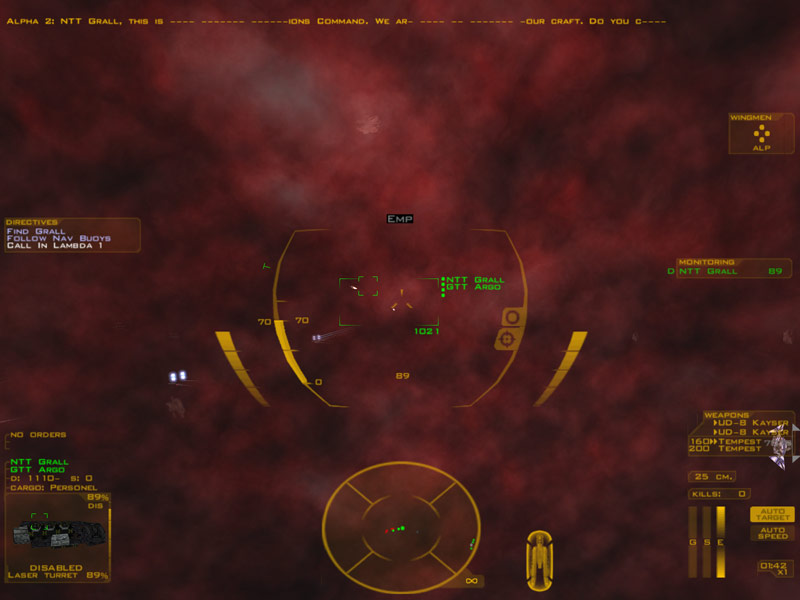
Notice anything odd about your HUD here?
No, looks pretty normal, right? This is potentially the only time you'll have a normal looking HUD in this entire mission. The EMP storms distort every aspect of your system - temporarily screw up your communications, distort your weapon, shield, radar, and incoming transmissions (actually they disrupt your radio reception too, so you only get 'pieces' of a conversation), perpetually disrupt your targeting and generally make it difficult to do any form of flying that ISN'T pure seat of the pants. I hope you don't rely on that lead indicator for your guns TOO much.
(As an aside: For the purposes of the LP, I'll transcribe the full transmission lines, even though as you play you may only hear 50% of the actual words.)
Alpha 2: Recon wasn't kidding when they called this a volatile sector!
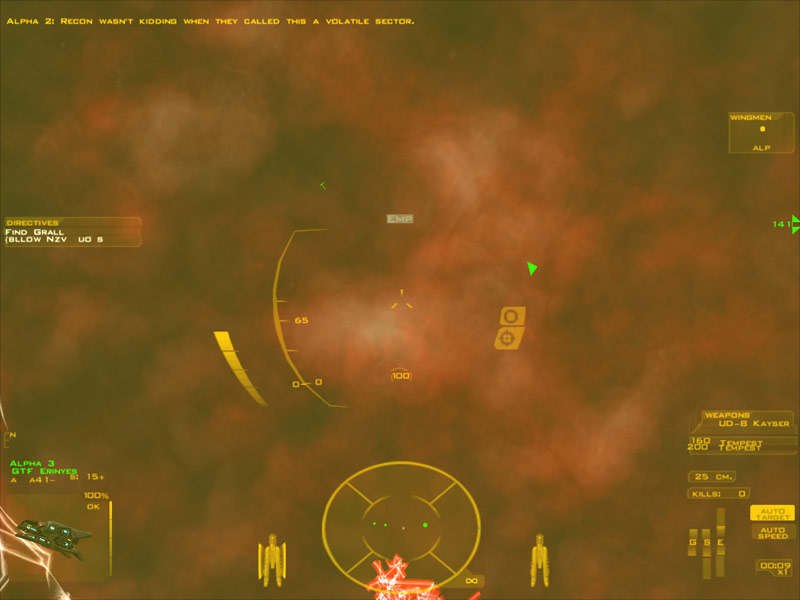
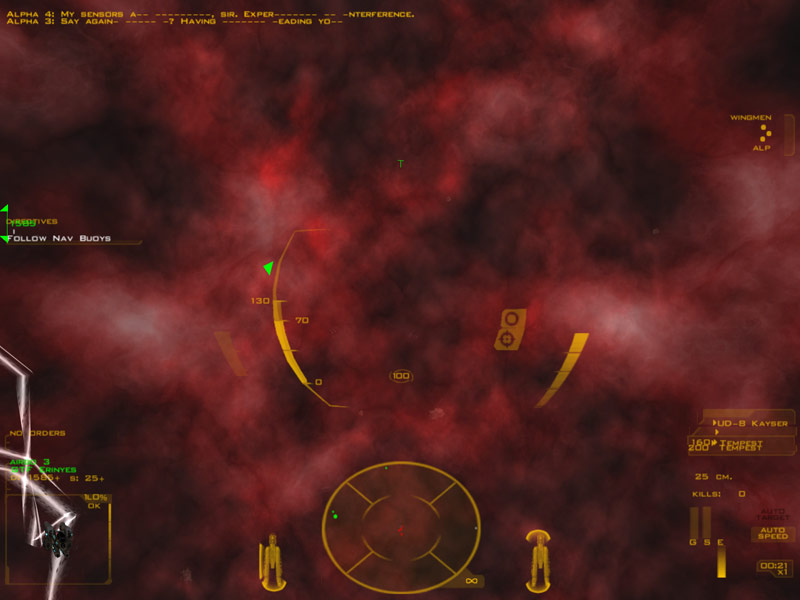
Ah, much better. Imagine all this stuff flickering on and off, throwing your targeting to who the hell knows what, and you'll get an idea. Nasty stuff.
Alpha 4: My sensors are scrambled, sir. Experiencing EM interference.
Alpha 3: Say again, Alpha 4? Having trouble reading you.
Alpha 4: Cut the chatter, pilots. We need situational awareness here. Stay focused.
Now in-game, you'll get something like this:

Where the dashes are, it's really hard to make out what they're saying over the EMP/background noise. And it's dynamically generated based on when you get popped with EMP, too - it just so happened to work out beautifully in this conversation with regards to context, but that's no guarantee whatsoever.
Anyway, right in front of you is Nav Beacon 1. For your sanity's sake if nothing else, beacon 1 is always visible - other beacons are only visible at close range in the nebula, so if you get well and truly lost, you can always start over.
The basic form of the mission is this; you go to a nav beacon and look for a new, faint, bouncing grey dot. That's the direction you need to head to get to the next nav beacon, and then you continue the process to Nav 8.
It wouldn't be so hard except Shivan fighters will constantly be trying to pull you off the 'line' between beacons because they spawn (typically) a few hundred meters or more off the beacons, you get mixed up all over the place in a dogfight, and end up backtracking all the time and going "Argh!" because of it. Hey, you volunteered for this SOC crap

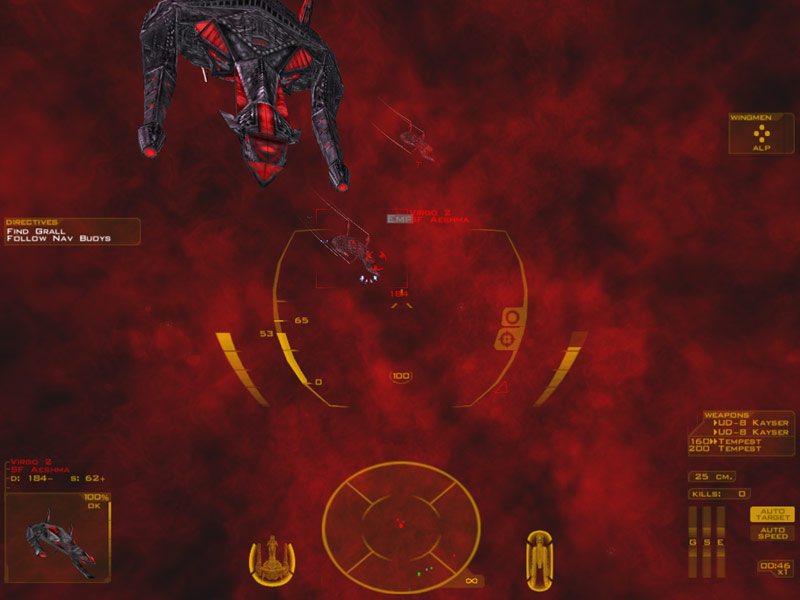
You'll encounter some Aeshimas near Nav 2. Take them out and move on:
Nav 3 is pretty empty until Sagittarius and Virgo wings come charging out of the nebula behind it:
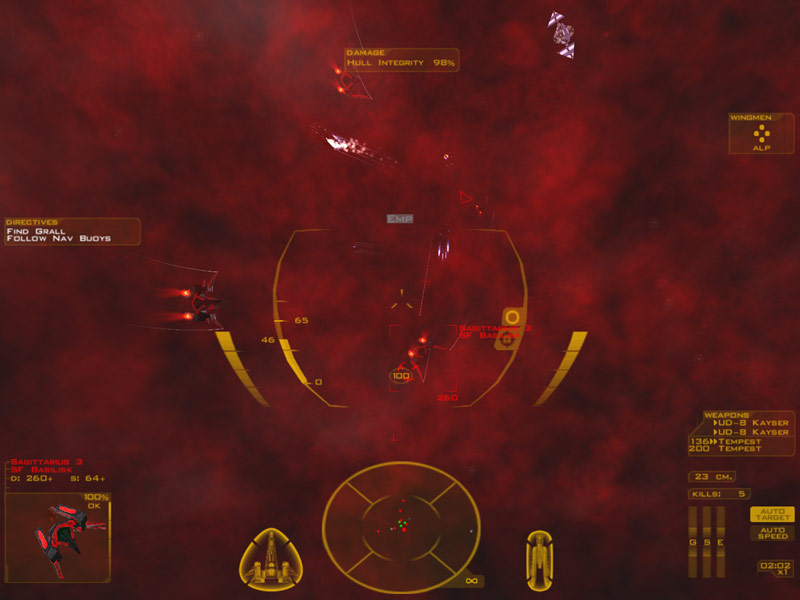
I should explain a bit of my technique here. I head for a nav beacon, keeping an eye on two things: First, where I'm going, AND where the nav beacon I just came from is on my radar. Basically you want a grey dot in front of you and you need to keep an eye out for where the grey dot 'behind' you is - so when the new grey dot shows up (pay close attention to your radar) you know which direction to turn.
If you get spun around a bit, and have a choice of two, pick one, head for it, and keep hitting Y to target it as soon as it comes in range (since it'll be under your reticule as you fly right at it) - if you end up wrong, stop, pull a 180, and try again. Stopping to get your bearings (if no Shivans are around) is an excellent way - it's totally legitimate to pull up 5 meters from any particular beacon, stop, and look for a minute.
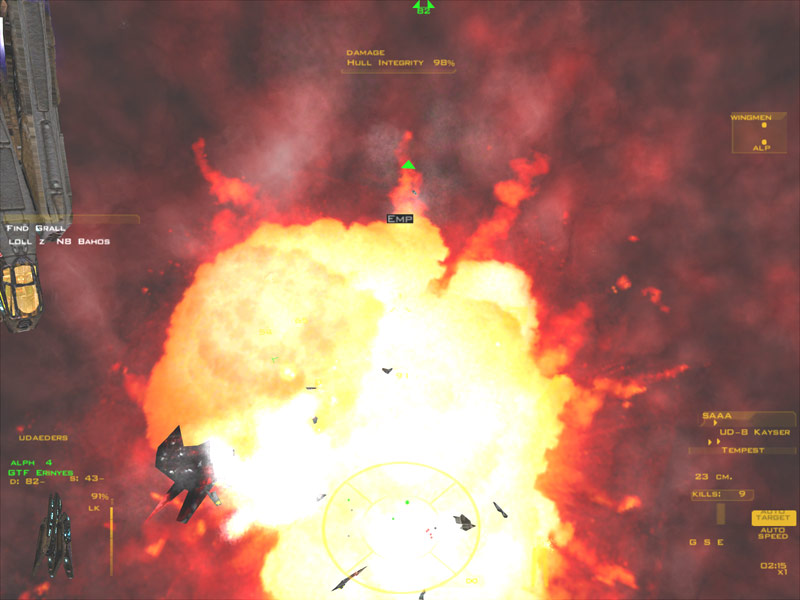
Oh and there are a few more Shivans just in case this wasn't complex enough:
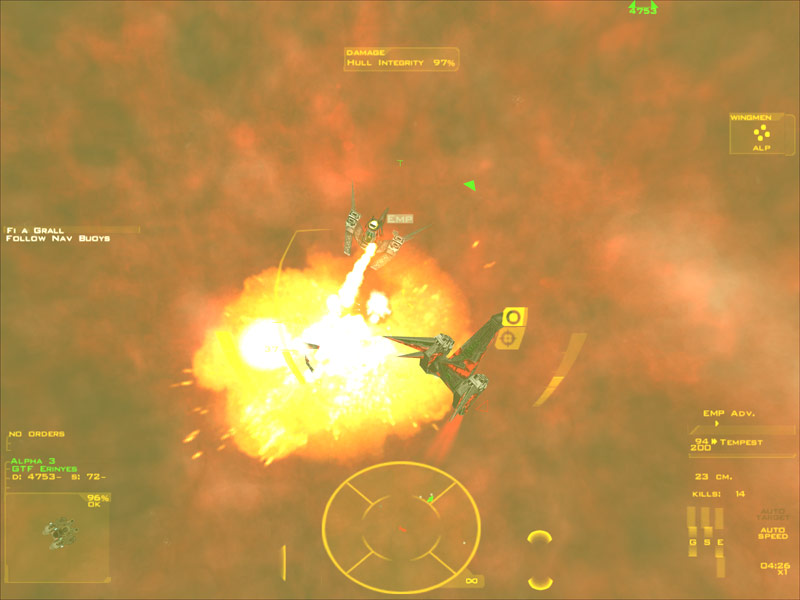
Anyway, eventually you get around to Nav 7 and towards Nav 8:
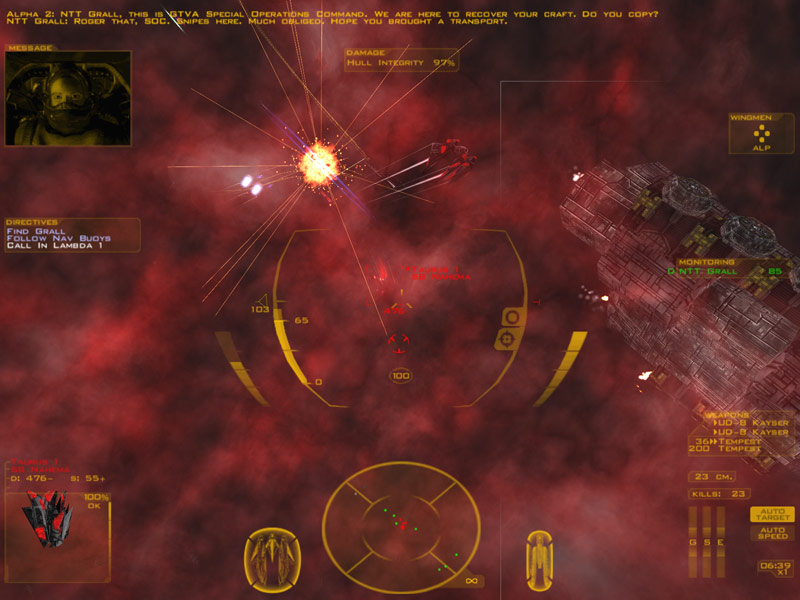
You'll see some Hercules marked hostile, though they soon are reflagged as friendly when the NTT Grall, an Argo transport, comes into view.
Alpha 2: NTT Grall, this is GTVA Special Operations Command. We are here to recover your craft. Do you copy?
NTT Grall: Roger that, SOC. Snipes here. Much obliged. Hope you brought a transport.
Right here you need to go into your reinforcements menu (good luck; the EMP will make this much more of a hassle than it ought to be) and call in Lambda 1. The transport will jump in and begin the docking procedure with the Grall.
NTT Grall: Call in the transport when you are ready, Alpha 1. I say again. Call in the transport when ready. We must initiate the recovery procedure ASAP.
There are multiple wings of Shivan fighters going for the Grall, and some of them are singleminded; concentrate on the Nahema bombers first, then the fighters. Targeting is going to be difficult, but it's Taurus and Libra wings you should take out first.
As you fight, Alpha 2 and Snipes (He's "NTT Grall" here) have a conversation you'll get about 5 words out of, thanks EMP!
(It's always Alpha 2. Why is this? Because when he gets to 40% hull, he's flagged invulnerable to ensure this conversation happens. At least you know you'll never be alone out here)
Alpha 2: You're lucky we found you, Snipes. What happened out here?
NTT Grall: The Shivans swarmed us near Gamma Drac, so we made an emergency jump. The rest is history.
Alpha 2: How many survivors?
NTT Grall: 17 of us made it to the transport. The shockwave banged us up pretty bad. Comm and life support were all we had to work with out here.
Alpha 2: What about the nav buoys?
NTT Grall: The Alexandria deployed them. We couldn't rely on navigation or sensors, so that was our best option.
(In case you forget, the Alexandria was mentioned to have already run the GTVA blockade in Gamma Draconis and into the nebula in the briefing for Endgame.)
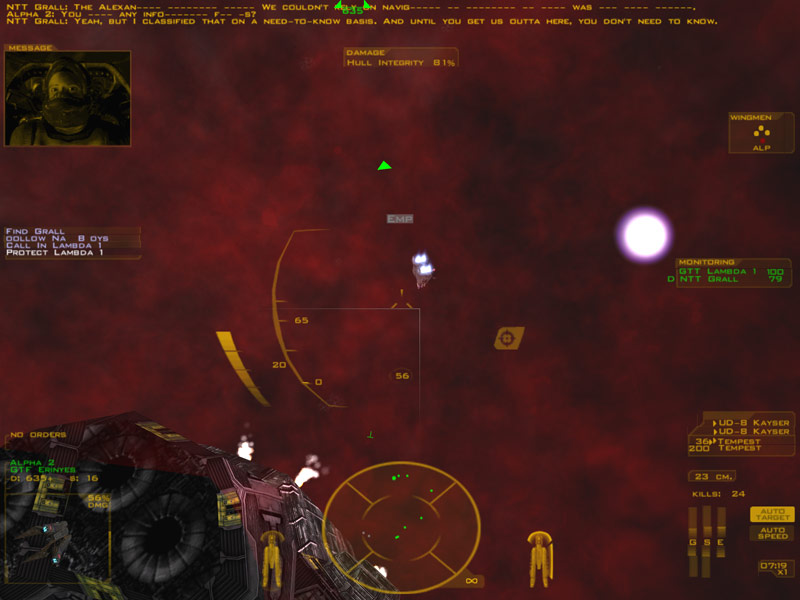
Alpha 2: You have any information for us?
NTT Grall: Yeah, but I classified that on a need-to-know basis. And until you get us outta here, you don't need to know.
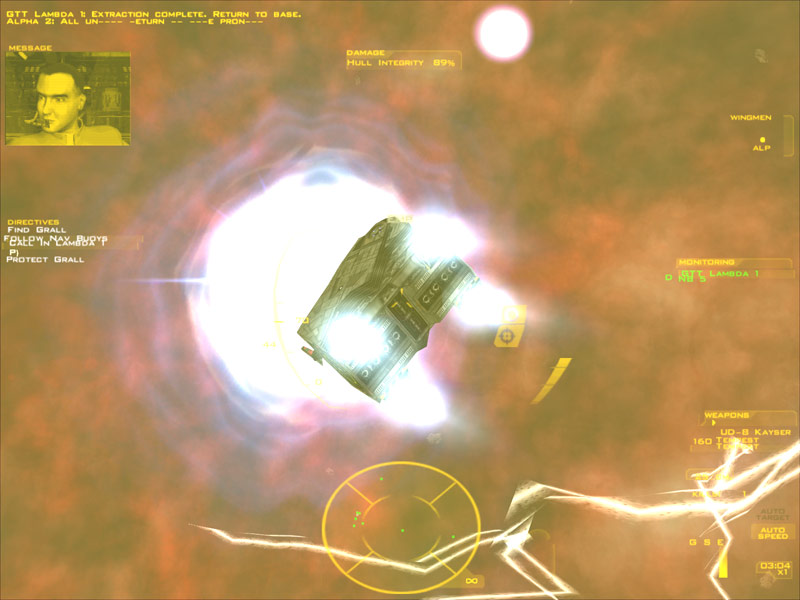
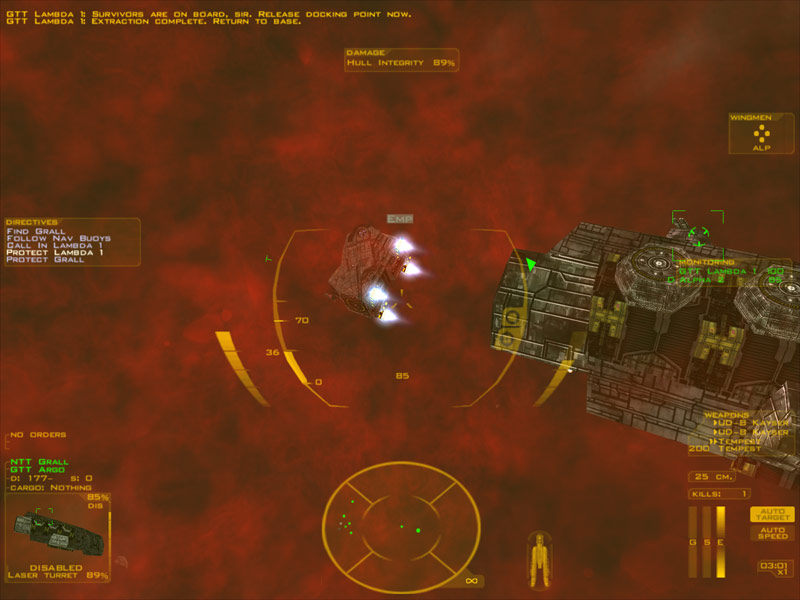
By this time, Lambda 1 should have docked with the Grall and started the undock sequence:
GTT Lambda 1: Survivors are on board, sir. Release docking point now.
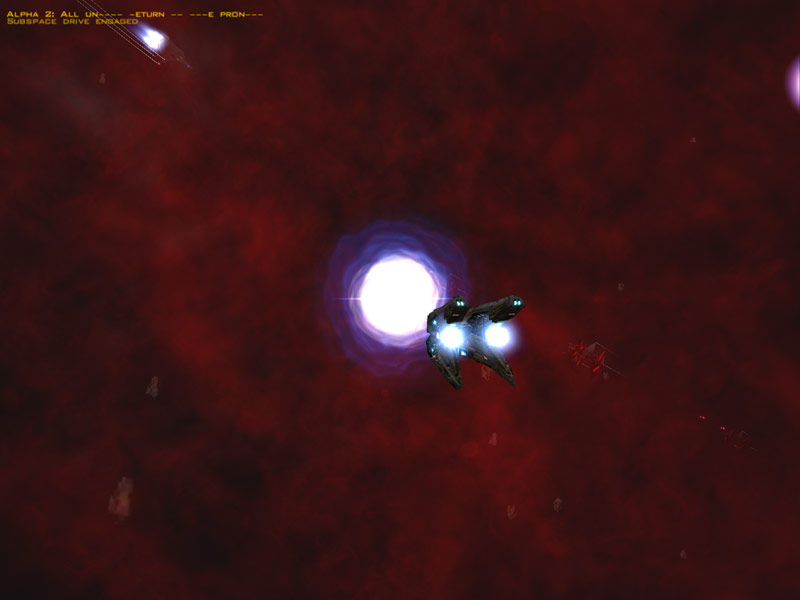
GTT Lambda 1: Extraction complete. Return to base.
Alpha 2: All units, return to base pronto!
And our second SOC Crest:
Now, for those of you willing to give up a few kills, there's an easy way to navigate the entire nebula using one key:
Tab.
Let's start the mission again:
Do not touch a single movement key. Order your wingmen to form up on you, go to maximum thrust, and put all power into engines. Hold tab (your afterburner key.)
Keep going. You'll pass some Shivans, ignore them.

Hey wait a minute, what's this?
I swear, this was a direct straight line.
Then it's mission as normal; order your wingmen to break/attack (or cover the Grall), call in Lambda 1, even out your shields/guns/engines:
And there we go:
Basically, your orientation at mission start is pointing exactly at the Grall. If you don't want the kills (you'll miss out on approximately 12, as your wingmen will probably get a few) and don't want to spend the time, just hammer afterburner and you're done.

This is a shot from FRED2; Freespace 2's mission editor. It's a bit difficult to read (and not giving you the full 3D look at the map, but it'll serve) - your ships (green dots in the lower left) are, from this orientation, pointing straight up, or straight north, along this map. Notice how the grid line that goes from your starting spawn rams straight into the Grall (Upper left)?
You'll also see how some Shivans spawn in off the 'track' between nav buoys, thus pulling you off course if you let them. It's entirely possible to sit near the nav beacon, zero your throttle, and let them come to you - potentially the only mission where this is a better idea than heading out to smash them at range other than A Game of TAG. I do have to say again this is a flattened 2D version of a 3D map; so it looks a little 'simpler' than it really is.
So there you have it. Either go for more kills (and a bit more frustration) or just burn right to the Grall and finish the mission.