Part 109: Mysterious Vanishing Hill 1
Welcome back!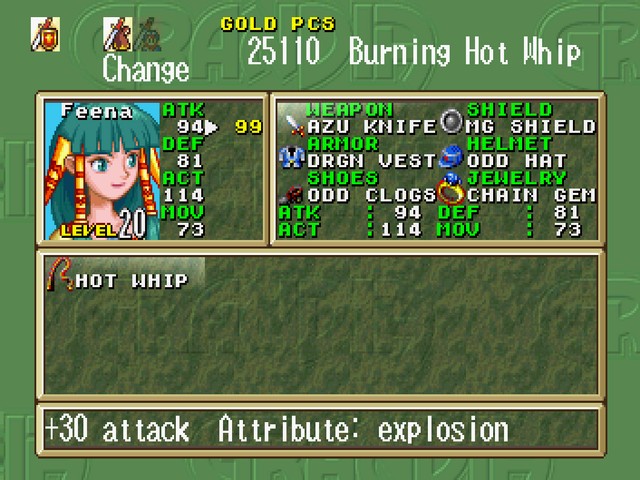
To start with, Feena grabs the Odd Clogs and Odd Hat along with the Azure Knife.
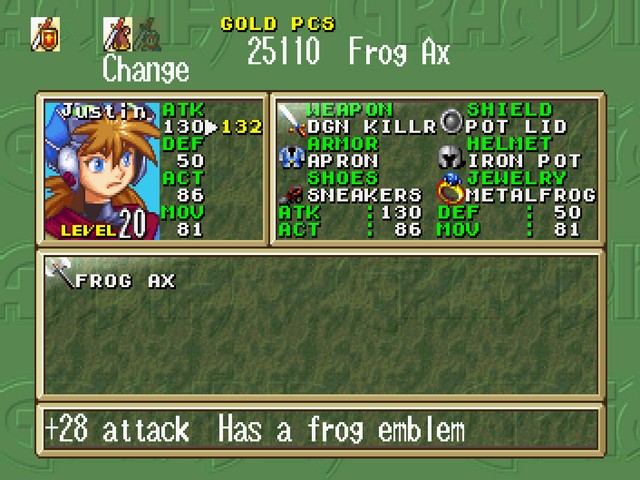
Justin just swaps the Frog Axe out for the Dragon Killer.
And with that, we're ready to begin.

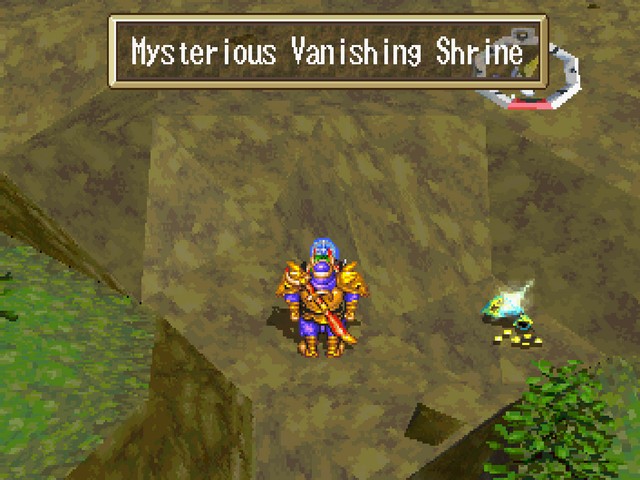
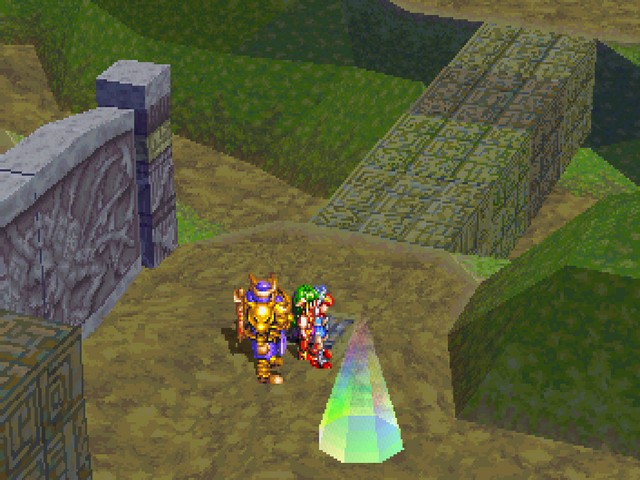
There's two areas to this dungeon; the Shrine and the Hill. The Shrine is a very small place.
Aside from this, there's two bags of gold. Not much treasure scattered around.
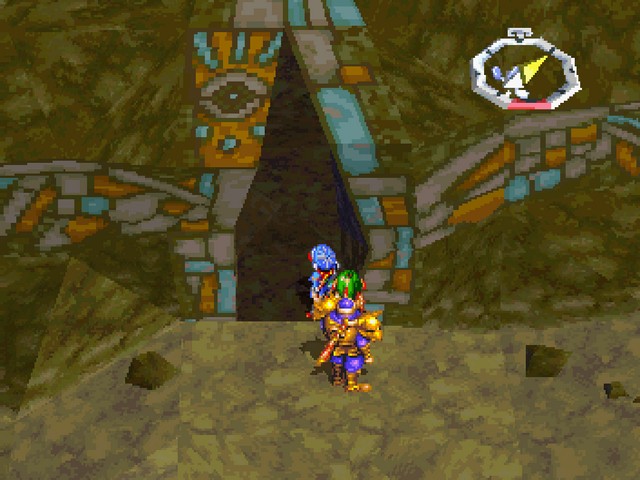
Although it does have some interesting scenery.
Thank you, Feena.
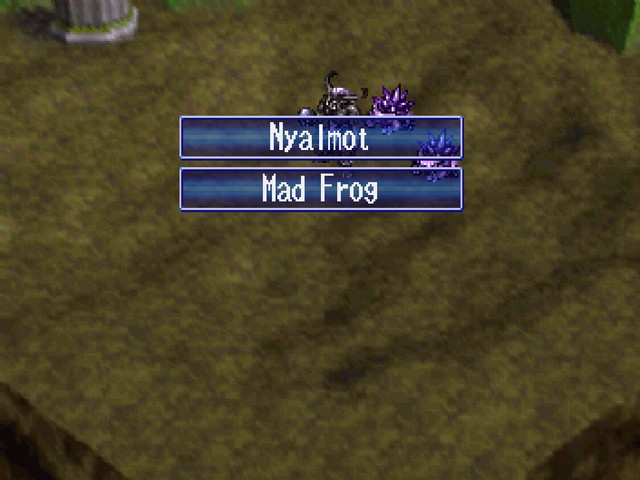
Enemy-wise, there's not much to note. These guys don't do anything their palette-swaps don't.
Mad Frogs are weak to fire. Nyalmots resist it.
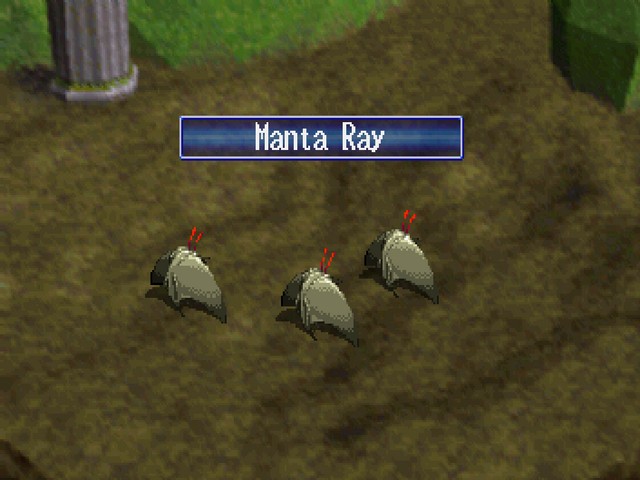
Manta Rays, like their blue cousins, are weak to wind and have a wide-line AoE.
Combining the Odd Hat with the Chain of Gems turns the lucky character into a chain-teleporting whirlwind of death. It's great.
Anyway, the fact that the enemies come in groups coupled with the elemental weaknesses means that I spam a lot of magic going through here.
And that's all the words I have about the Shrine for now. Next up, the Hill.

Ignore Gadwin, we've barely gotten started.
 : Well, we have to hurry it up. I'm worried about leaving Sue alone like that.
Spooky!

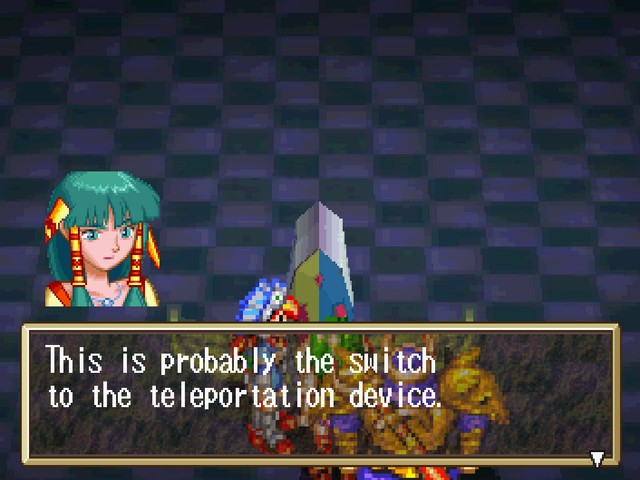
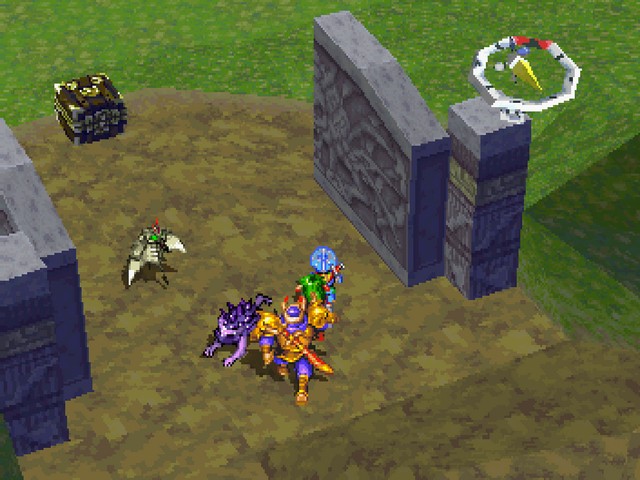
In this area, there are buttons on the floor that rearrange some floating blocks to form bridges.

Heading off to the west, we find another gate.
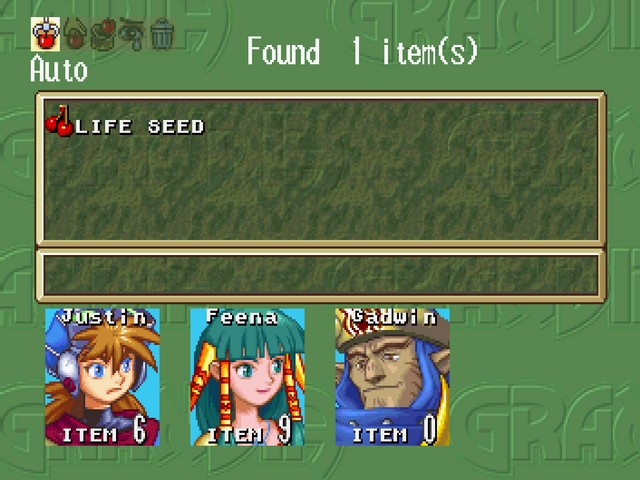
Also, monsters and treasure. (A healthweed, for the curious).
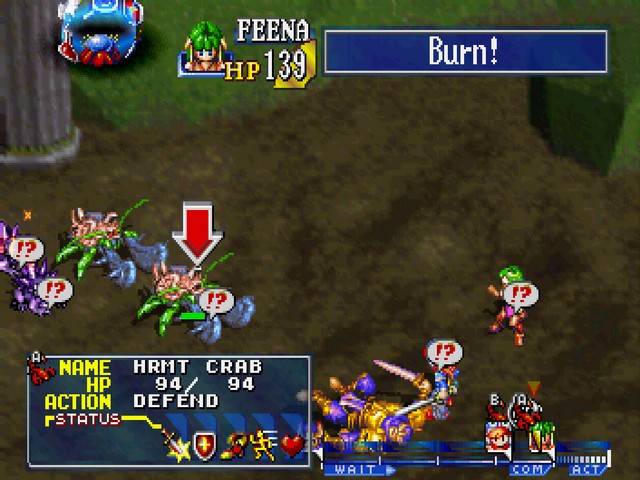
We do run into this area's only new enemy. Hermit Crabs are immune to fire, wind, and water, meaning Feena's only offense against them, what with her water-elemental knife, is Tremor.
Justin, though, can just stab the fuckers to death.
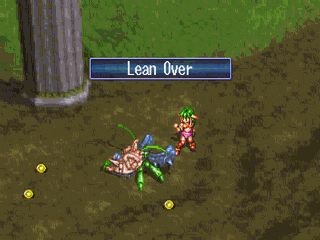
Their special attack, Lean Over, knocks the target down and stuns them for a long while afterwards. Not something you'd like to suffer more often than necessary.
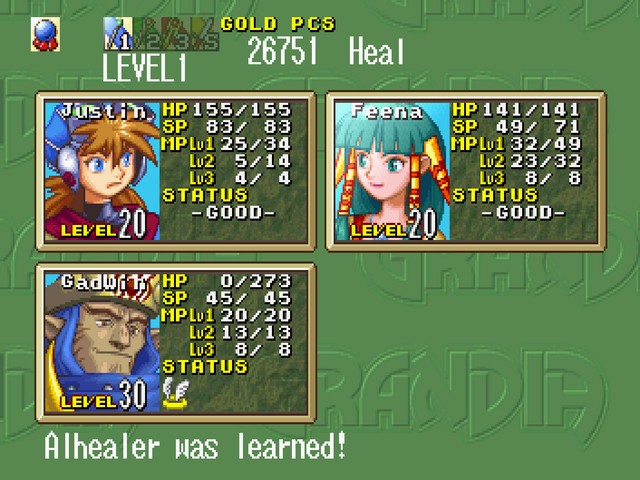
Patching up some incidental wounds, Feena hits Water 12 and learns Alhealer. Much as the name implies, it's the multitarget version of Healer. At 8 level 2 MP, though, it's a bit pricey to be pulling out except in emergencies.
There's also two other spells on Feena's list that require twelve levels of water, so it's kind of an important milestone for her.
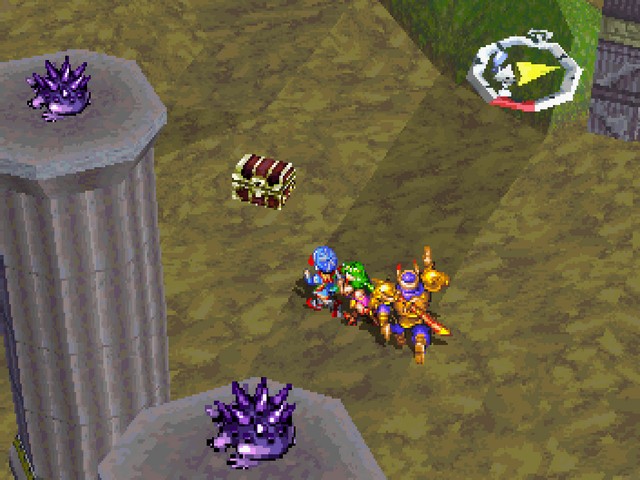
Anyway, the area to the east of the demon-gate has some frogs up on pillars and a treasure chest. Inside the chest?

No points for guessing what else we'll be finding here.

Of course taking the key causes the pillars to collapse and releases groups of enemies.

If Justin's level were his age, he could finally get some coffee.

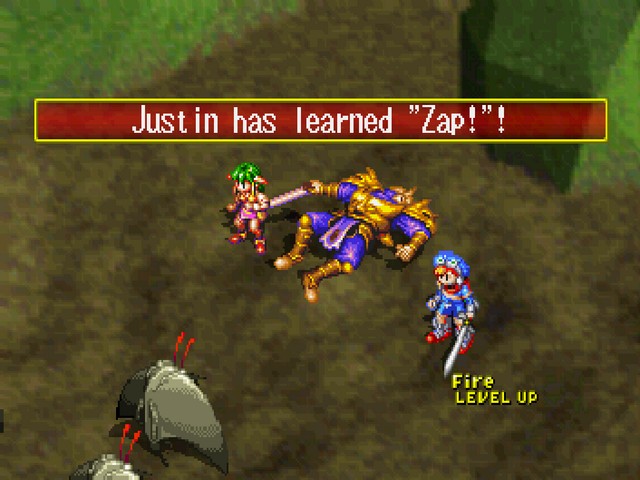
Just need a few more fire and earth levels for Justin to pick up BOOM!, and he'll have rounded out his level 1 spells.

Eh-whoops.

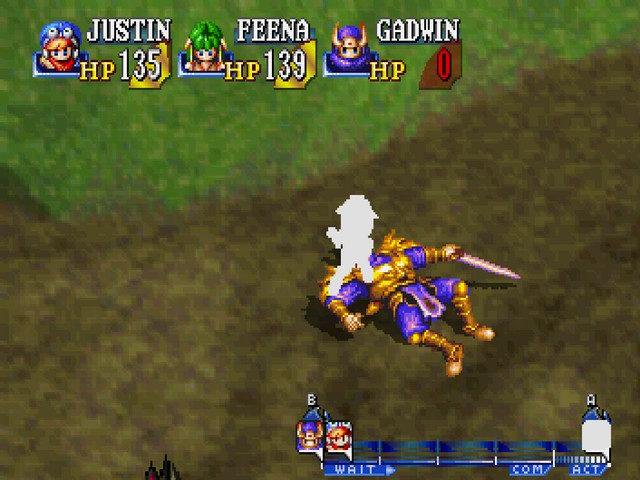
I was hoping to keep this around for a bit longer, but here's the Revival Stone in action. As soon as the holder's HP is depleted, they get a full heal. Only one use, obviously.
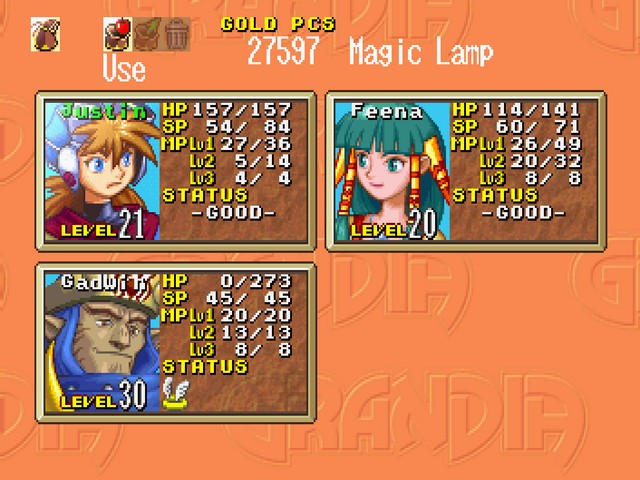
The fact that I'm getting so much use out of the Magic Lamp without it breaking is making me nervous.

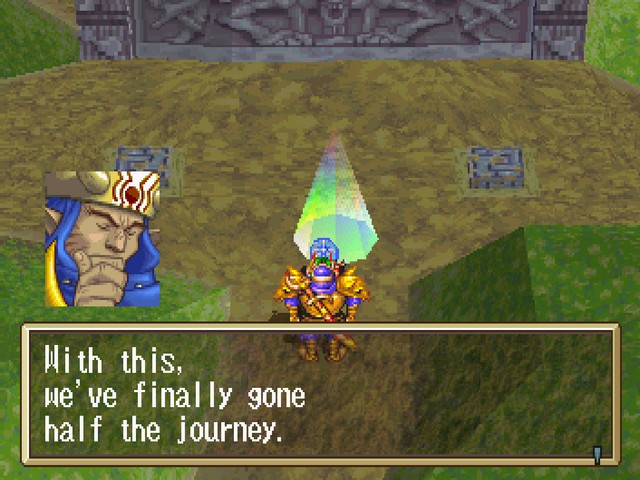
But it's worth the risk, as we're at the boss already.
http://www.youtube.com/watch?v=AHHKnFDGzps

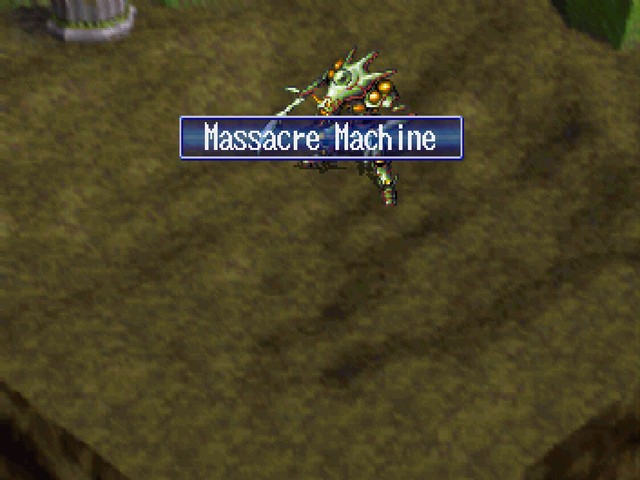
That doesn't bode ill at all.
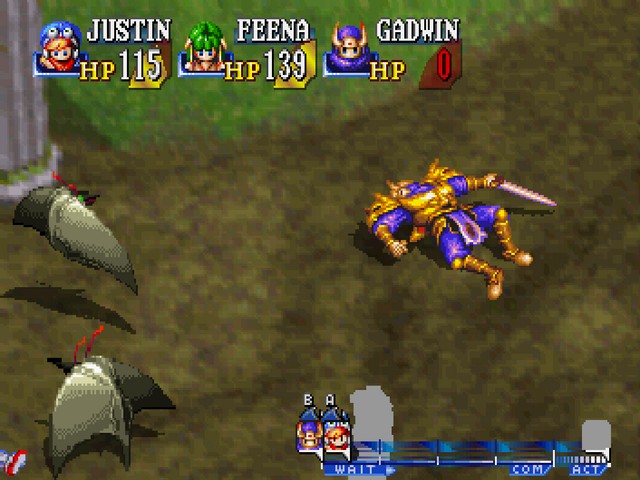
Name aside, the Massacre Machine is... well, it's a boss fight in this game. Can be hard if you're unprepared, but a level head and knowledge of the game's mechanics will let you topple it without any danger.

During the fight, Feena picks up Crackling. It's outrageously expensive, but it can clear the field, especially if its hitting a weakness.
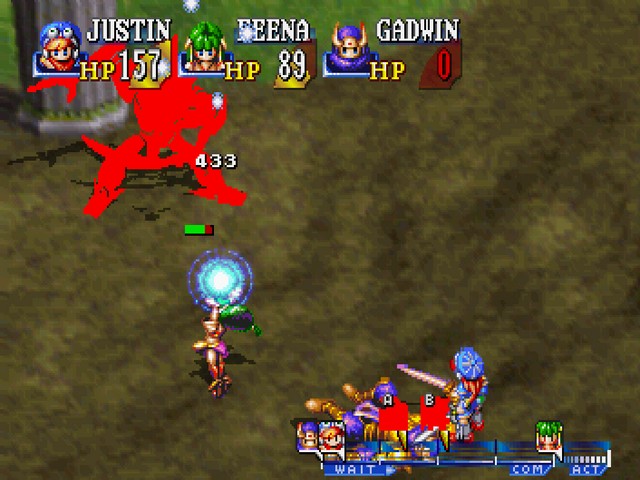
Nothing we have yet can match the crazy damage of Midair Cut, though.
Certainly not the boss's Burnflame.
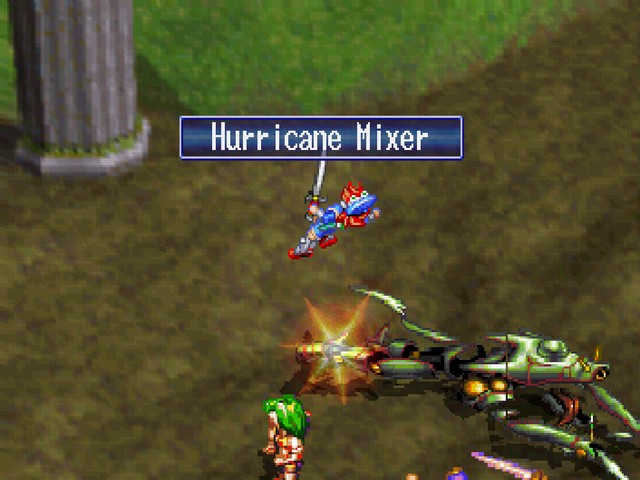
He can do a bit more damage with Hurricane Mixer, but, being a linear attack, isn't difficult to maneuver around such that only one person gets hit.
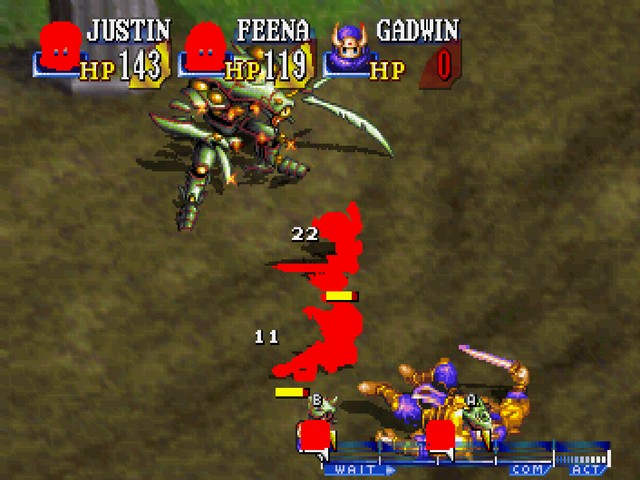
He takes quite a few hits, but goes down in the end.
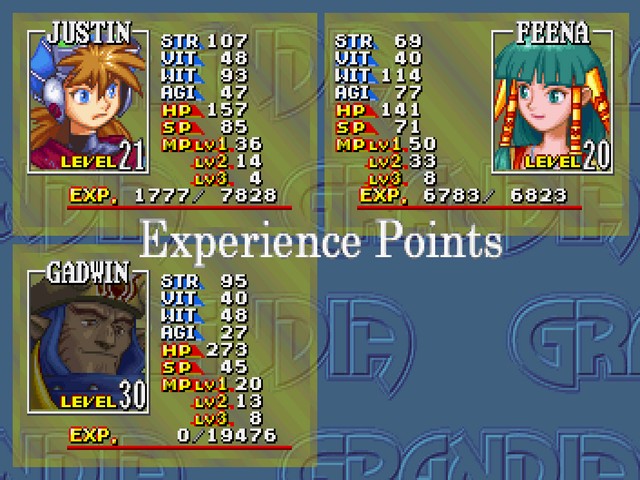
Leaving Feena just 40 XP shy of a level.
Oh well. Tune in next time!